What Makes a Garden Look Unkempt? 5 Fixes
Learn what makes a garden look unkempt, from weeds and messy edges to bare soil and crowded beds, plus the fastest fixes that last.
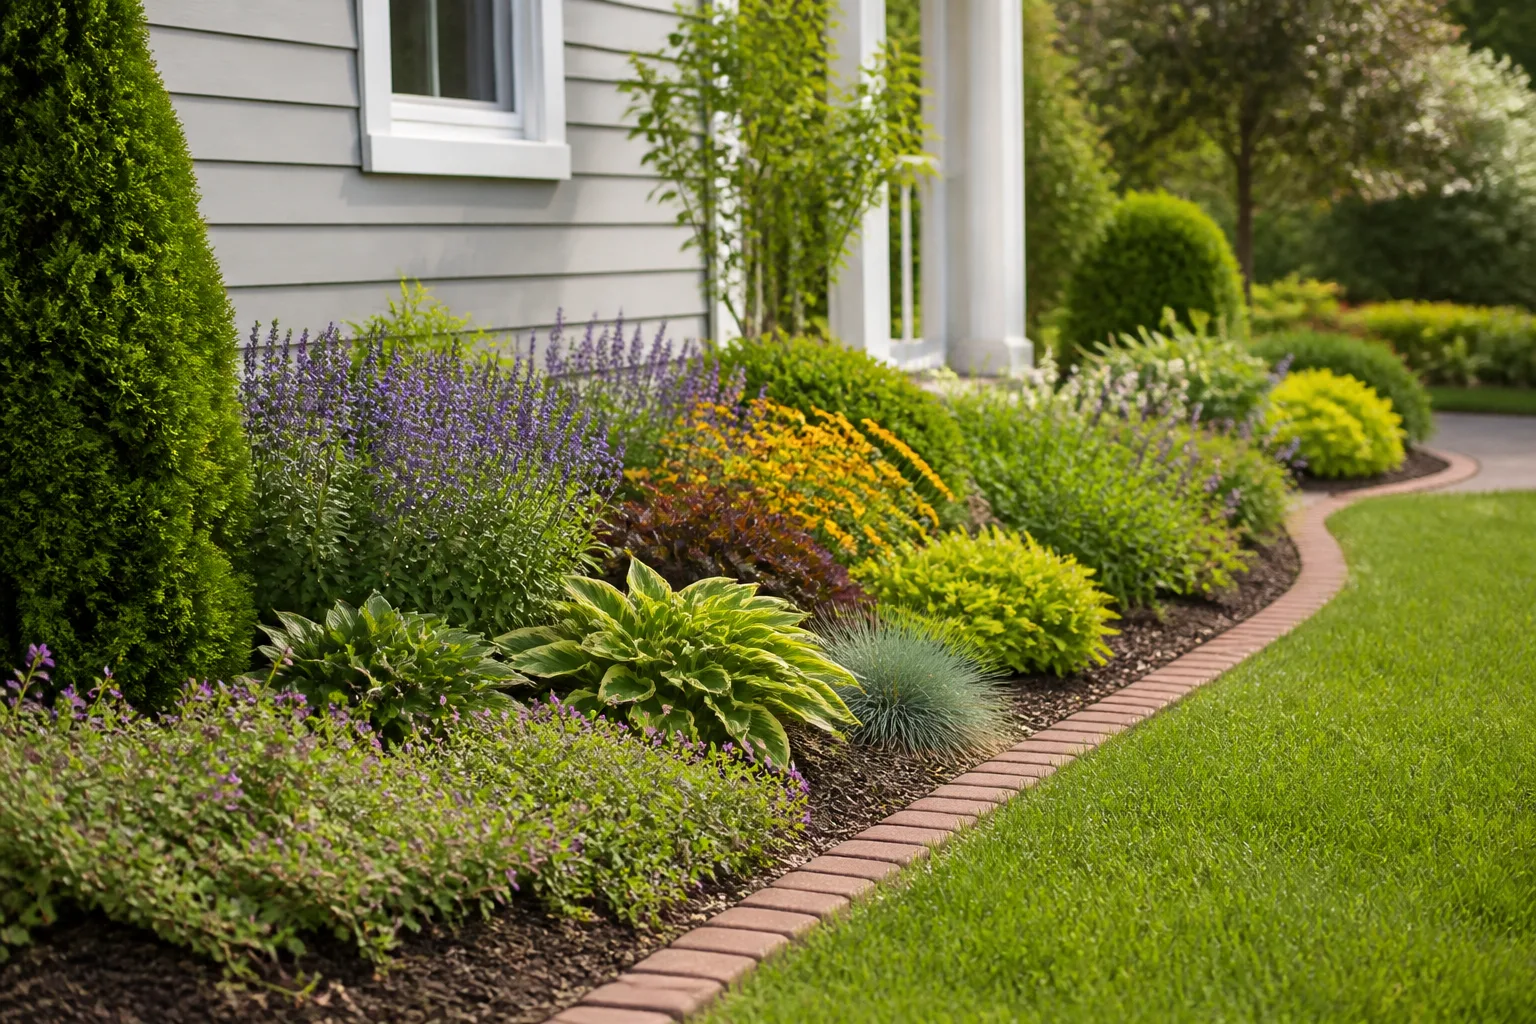
A garden can contain healthy plants and still look neglected. Usually the problem is not that every leaf is out of place; it is that a few high-contrast details—an edge that disappears, weeds taller than the flowers, a path covered in soil, or a bare patch in the middle of a bed—make the entire space read as unfinished.
The useful distinction is between mess that is intentional and mess that is competing with the garden’s structure. You do not need to sterilize a bed, remove every fallen leaf, or cut every seed head to make it look cared for. Start with the five visual problems below, fix them in the order people see them, and choose solutions that match the amount of maintenance you can actually repeat.
The 10-Minute Garden Audit: Fix What the Eye Notices First
Stand at the place where you usually approach the garden: the front walk, kitchen window, patio, or gate. Do not begin by walking into the bed with pruners. Look from that normal viewing distance and identify the first three things your eye lands on. That quick pause prevents the classic mistake of spending an hour grooming a back corner while the path and entry bed still look chaotic.
Use this simple priority order:
- Restore the main lines. Clear the walk, reveal the bed edge, and remove anything blocking steps or doors.
- Remove competition. Pull or cut the tallest weeds and discard dead plants that are collapsing into healthy ones.
- Repair the empty spaces. Cover exposed soil, replace a failed plant, or reshape a bed so the gap looks deliberate.
- Polish last. Deadhead, sweep hard surfaces, stake a flopping stem, or top up mulch only after the structure is readable.
Fine Gardening describes a similar assess-clean-enhance approach for quick garden makeovers: improve the areas people notice first, clean the obvious distractions, then add a small finishing touch. That logic works even when nobody is coming over because it puts limited time where it has the greatest visual return (Fine Gardening’s garden-shape method).
1. Weeds That Interrupt the Bed’s Shape
One or two tiny weeds do not make a mature bed look unkempt. The visual shift happens when weeds repeat across the same border, rise above the intended planting, or create a different texture from one end of the bed to the other. A line of grass through a shrub border is especially distracting because it blurs the boundary between lawn and planting.

Weeds also tell you something about the site. A sudden carpet in damp, fertile soil may point to moisture or drainage conditions; weeds clustered in a newly disturbed patch often reflect exposed seed rather than a failure of your plants. N.C. Cooperative Extension notes that some winter annuals germinate and grow while the rest of the garden is dormant, which is why a quiet winter bed can become a spring seed source if small weeds are allowed to flower (N.C. Cooperative Extension on winter annual weeds).
Do not use “weed-free” as the standard for every inch of ground. Use a more practical rule: remove anything tall, flowering, seeding, thorny, invasive, or positioned where it hides the outline of a desirable plant. Small, non-seeding weeds underneath dense ground cover can wait for the next maintenance pass.
Pull, Slice, or Smother: Choose the Right Weed Fix
Pull annual weeds when the soil is moist and the plants are still small. A hand fork helps with a taproot; a bucket keeps pulled weeds from being dropped back into the bed. If a weed has already formed seed heads, bag or bin it rather than tossing it into an open compost pile unless you know your compost reaches a temperature and duration that will destroy seeds.
Slice seedlings at the soil line with a sharp hoe when they are scattered across an open bed or path. A stirrup or scuffle hoe is fast because it cuts on both the push and pull stroke, but use a light touch around shallow-rooted perennials. Repeated shallow passes are safer than one deep cultivation that chops roots and brings more buried seed to the surface.
Smother cleared soil with a suitable mulch. Mulch is a light barrier, not a magic eraser: it blocks light and reduces new annual seedlings, but it will not stop a perennial weed with an established root system. Remove the existing weeds first, then cover the soil. For a long-term reduction in work, close large gaps with plants that suit the light and moisture instead of leaving a broad strip of exposed soil.
2. Muddy or Leaf-Strewn Paths
Paths are the garden’s visual punctuation. When pavers disappear under mulch, leaves collect in corners, or mud splashes onto edging, the garden can look untended even when the beds are thriving. People also judge maintenance by whether a path looks usable: a clear, stable route feels cared for before they notice the plants beside it.
Start with the simplest cleanup. Rake or blow loose leaves and grass clippings back toward a bed where they belong, then sweep the path clean rather than blasting soil into the planting. If mulch keeps migrating, rake it into a shallow, even shoulder and make the border more distinct. A narrow trench, brick soldier course, stone strip, or low edging can catch material, but the best choice is the one your mower and wheelbarrow can cross without creating another chore.
Do not pressure-wash every stained surface by default. High pressure can move joint sand, expose aggregate, damage soft stone, and send sediment into drains. Sweep first; rinse only when the surface material and local drainage can handle it. In a garden with heavy leaf fall, a short weekly pass is usually easier than waiting for a thick, wet mat that must be scraped up.
If the path is muddy because water collects there, cleaning is only a cosmetic pause. Watch where water travels during rain. You may need to redirect a downspout, add a permeable surface, raise a low spot, or choose plants that tolerate the moisture beside the path. Do not simply add more fine mulch to a place that stays saturated; it can become another slippery layer.
3. Lawn and Bed Edges That Have Lost Their Line
An edge is a frame. A crisp line between lawn, soil, and paving makes irregular plants look composed; a wandering line makes even a carefully planted bed look accidental. Grass creeping into mulch, mulch spilling onto turf, and a path narrowed by runners are three versions of the same problem: the boundaries no longer tell the eye where one use ends and another begins.
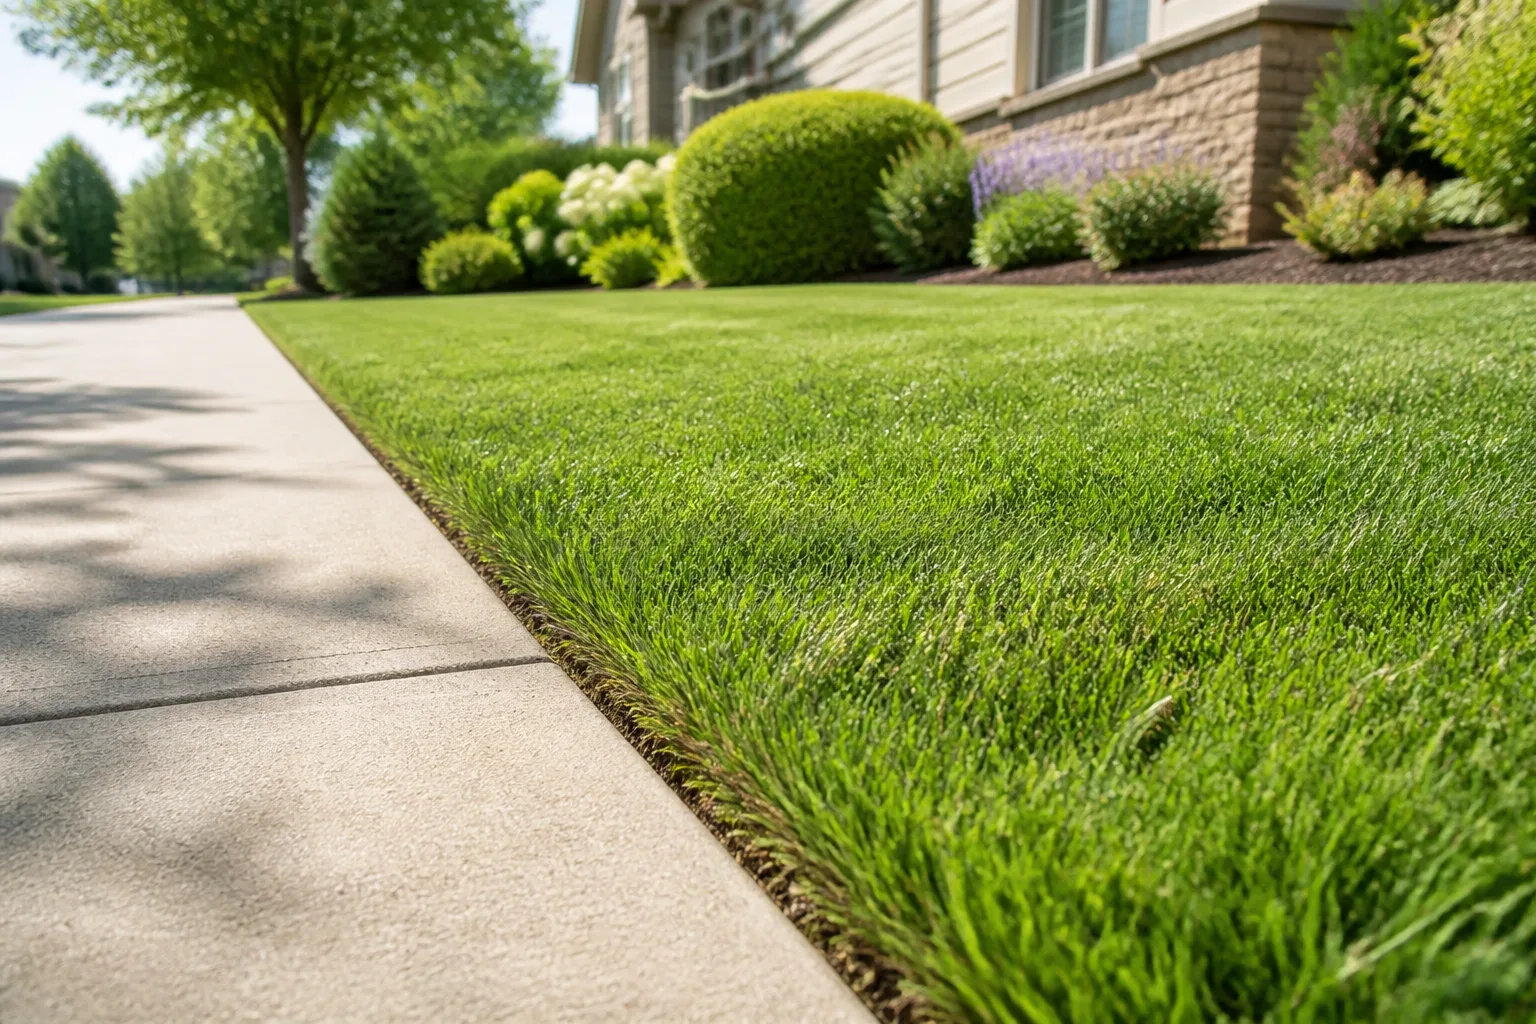
For a simple soil edge, mark the shape with a hose or rope before cutting. A spade makes a clean vertical slice; remove the narrow strip of turf and rake the soil back into a consistent slope. Curves should be broad enough to mow and edge without repeated stops. A series of tiny scallops looks fussy and is harder to maintain than one confident arc.
The timing matters less than the repeatable rhythm. Edge after the lawn has grown enough to blur the line, then touch up before grass sends runners deep into the bed. If you prefer power equipment, use it only where you can see the boundary clearly; a line trimmer angled too far toward the bed can scalp crowns, fling mulch, and expose roots.
Choose a Border You Can Actually Maintain
There are two basic approaches:
- Cut edge: The least expensive and easiest to change. It needs periodic recutting, but it gives you a clean look without buying or installing materials.
- Installed border: Brick, stone, metal, or a durable composite can hold mulch and protect the shape. It costs more up front and can complicate mowing if it sits above the turf or creates a narrow groove for weeds.
Choose a cut edge for a bed you expect to enlarge or reshape. Choose a fixed border for a permanent bed where the mower, hose, and wheelbarrow routes have already been tested. A border that looks polished but traps leaves, blocks a mower wheel, or requires hand-trimming every week will eventually become part of the mess.
When you want the visual effect without construction, a dense low plant can act as a living edge. Keep it low enough that it does not flop into the path, and confirm it will not spread aggressively into lawn. The goal is a readable transition, not another plant to fight.
4. Overcrowded Beds and Spent Flowers
Crowding looks untidy when plants lean into one another, lower leaves disappear under a tangled canopy, or one vigorous perennial has swallowed the space meant for several forms. It is also a maintenance problem: you cannot reach the soil, inspect stems, or water the root zones without stepping on something.
Begin by removing dead stems and clearly dead plants, not by shearing the whole bed into a uniform shape. Then identify which plants are too large for their locations. A perennial that is healthy but too wide can be divided at the appropriate season, moved to a larger space, or edited by removing a portion of the clump. Do not divide a heat-stressed or newly planted perennial just because the bed looks full today.
Spent flowers are a separate decision. Deadheading means removing an aging flower before it becomes a distracting brown mass or produces seed. Many repeat-blooming annuals and perennials look fresher and may flower again when deadheaded, but not every flower needs the treatment. Gardening Know How emphasizes that technique varies by plant: pinch soft stems or cut above a healthy leaf set, use clean sharp pruners for woody stems, and check for developing buds before shearing (Gardening Know How’s deadheading guidance).
The best cut is usually selective. Remove the spent flower and its stalk, not an entire green mound that is still feeding roots. If a plant is self-cleaning, such as many petunias, or if its seed heads provide winter interest, leave it alone. A few brown heads distributed through an otherwise clear bed can look intentional; a mass of wet petals stuck to a path usually cannot.
When Untidiness Is Actually Habitat
Dead stems, seed heads, leaf litter, and a slightly softer edge can provide shelter or food for wildlife. The answer is not to choose between a sterile “perfect” garden and total neglect. Keep the habitat features in a defined zone, cut a clear path through them, and remove anything diseased, invasive, hazardous, or blocking sight lines.
This is also a useful way to make a naturalistic bed read as designed. Repeat a few plant shapes, keep one strong edge, and leave seed heads in groups rather than randomly across every bed. Structure tells people that the looseness is intentional.
5. Bare Soil, Thin Mulch, and Patchy Planting
Bare soil is not automatically a flaw. New beds, vegetable rows, bulbs that have finished flowering, and spaces reserved for annuals all need open ground at certain times. It looks unkempt when the patch is unplanned, eroding, weed-prone, or surrounded by mature plants that make the gap look like a missing tooth.
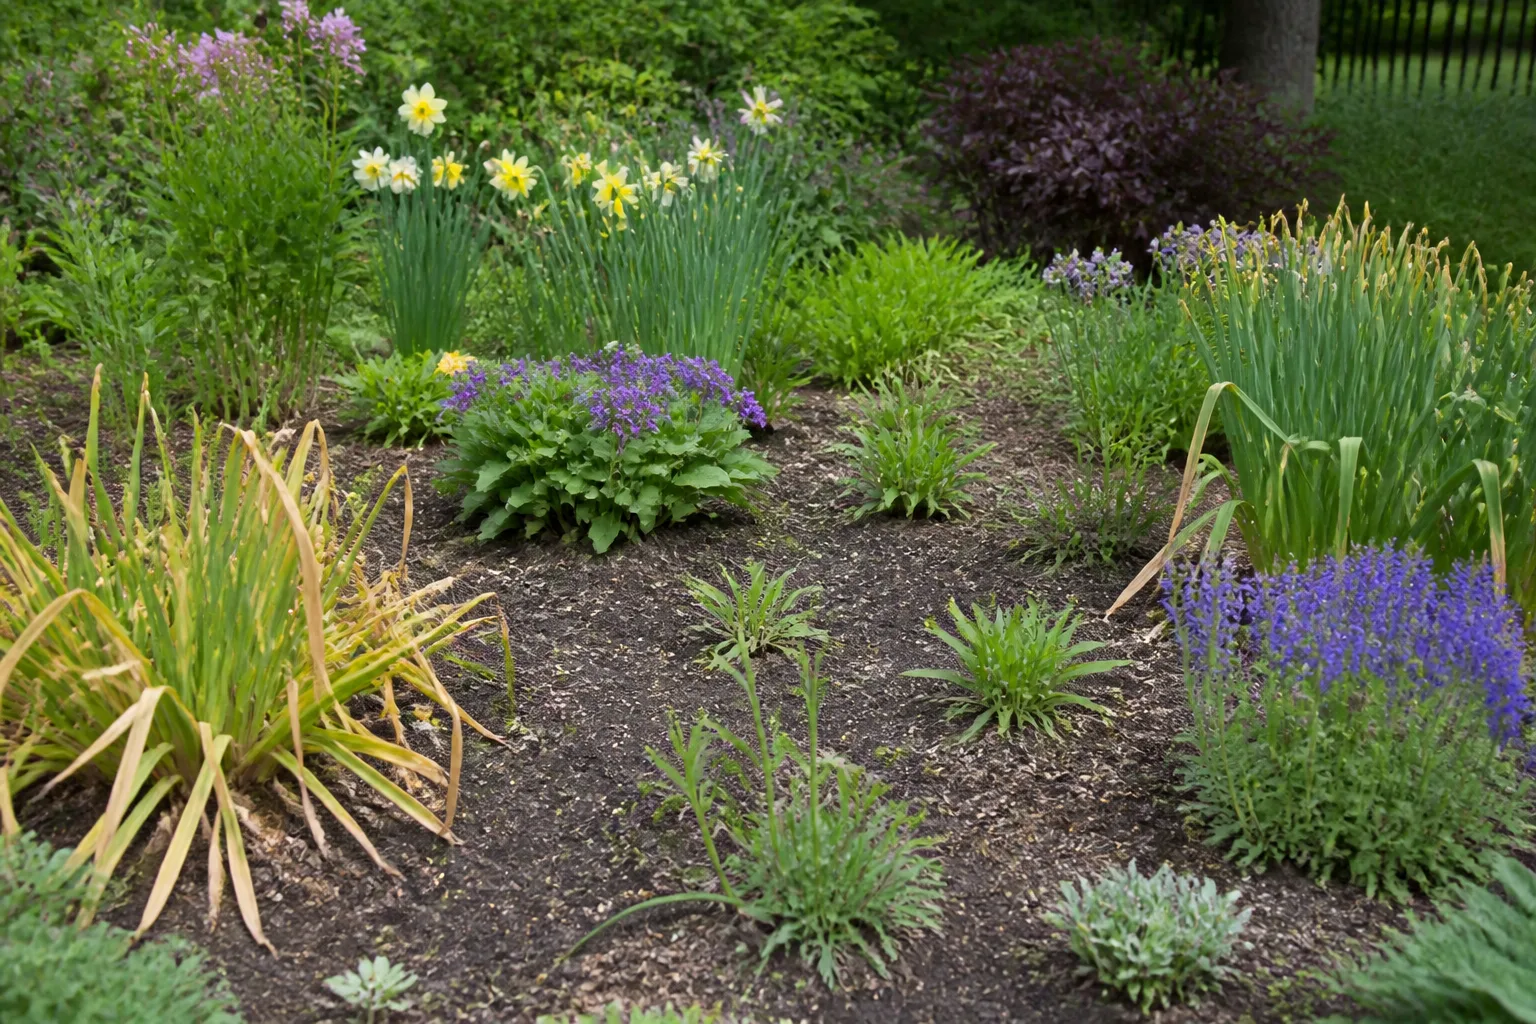
First ask why the soil is bare. A plant may have died from poor drainage, shade, drought, foot traffic, root competition, or a pest. A bed may have expanded faster than its planting plan. Or the soil may simply be waiting for the season’s next crop. The correct fix depends on that cause.
For a short-term gap, spread a suitable organic mulch or a clean layer of leaves. For a sunny, dry gap, choose a ground cover that can handle those conditions. For a damp shade gap, select a plant that naturally fills slowly rather than forcing a sun-loving annual into weak light. For a place where you need to stand or kneel, make it a deliberate access space with stepping stones instead of pretending it is a planting bed.
Avoid filling every gap with random nursery plants. A patchwork of mismatched mature sizes creates a new kind of disorder and increases watering demands. Repeat one or two reliable species, vary height and texture, and leave enough room for the plants’ expected mature spread. The quiet space around a plant is part of the composition, not wasted soil.
The Right Mulch Depth: Tidy Without Suffocating Plants
Fresh mulch is one of the quickest ways to make a garden look finished, but more is not better. The RHS describes mulch as a surface covering that can conserve moisture, suppress weeds, improve soil organic matter, and give beds a tidy finish. Its guidance recommends applying organic mulch at least 2 inches deep and ideally about 3 inches for effective coverage, while keeping it away from stems and crowns (RHS guidance on mulches and mulching).
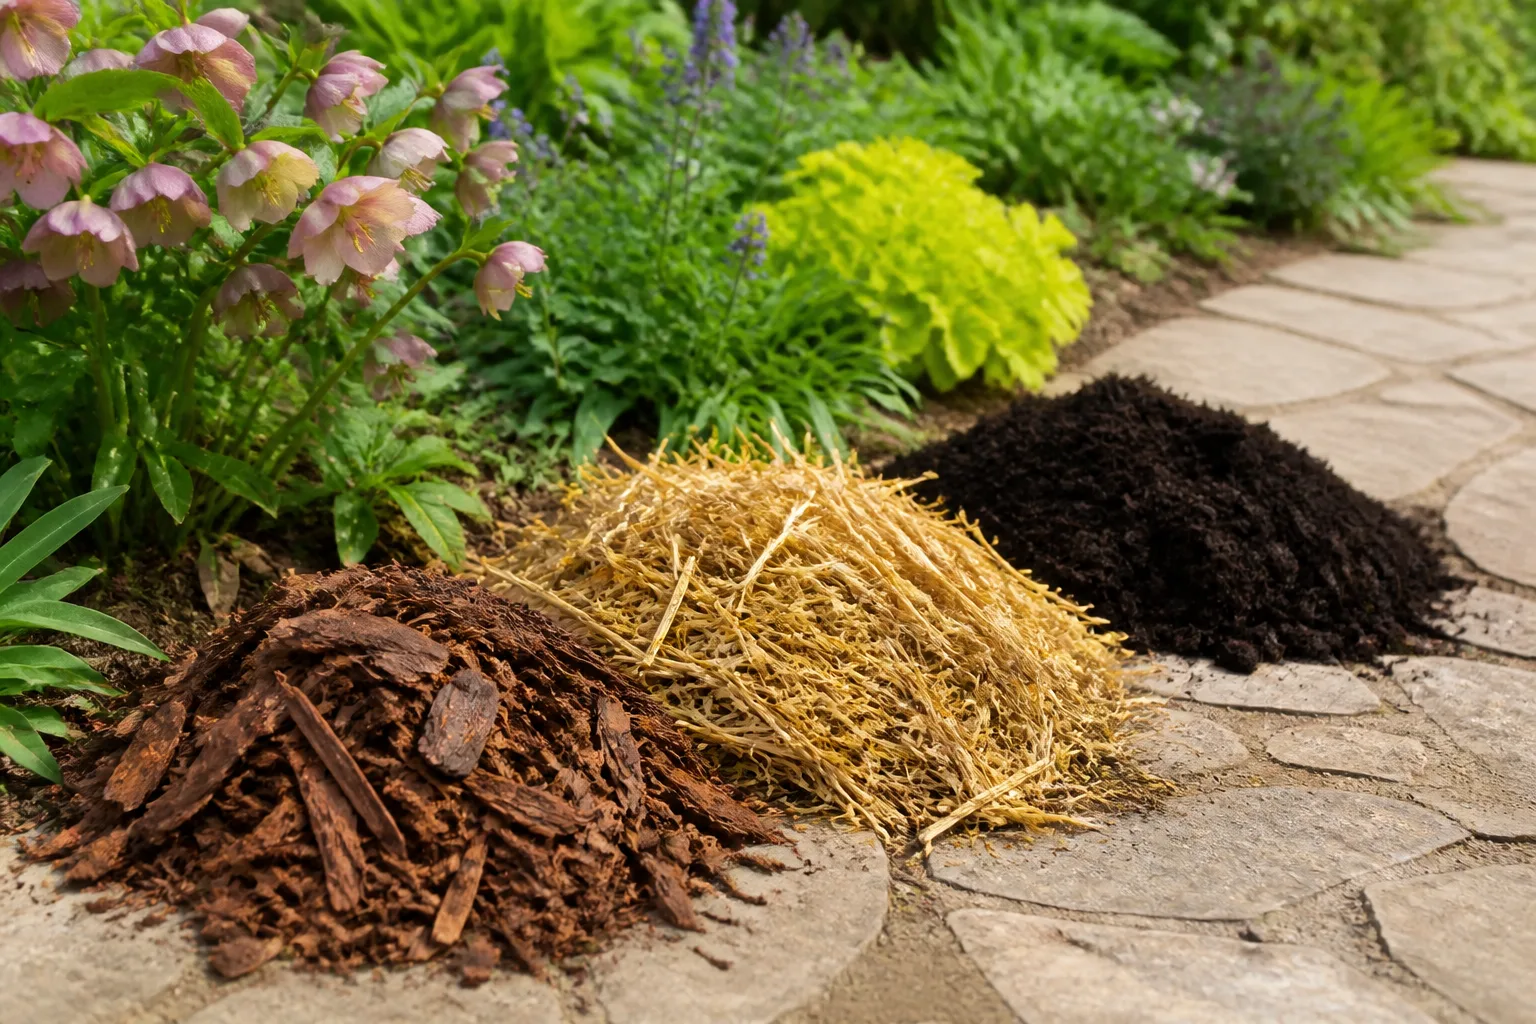
Use that as a ceiling-minded rule, not a reason to bury the bed. Pull weeds, water dry soil, and spread a level layer. Keep the plant crown visible and leave a clear ring around woody stems and trunks; mulch piled against bark keeps the base damp, hides problems, and can encourage decay. A flat donut looks deliberate and protects the plant better than a volcano-shaped mound.
Match the material to the job. Shredded leaves and compost suit beds you want to improve over time. Bark or wood chips can frame ornamental borders, but freshly chipped material may compete temporarily for nitrogen as it decomposes, and very fine mulch can mat. Gravel works in a permanent, well-drained design but is difficult to remove when you later want to divide perennials or amend soil. Straw can be useful around vegetables, but it can also provide cover for slugs in a wet garden.
Top up only when the existing layer has thinned or broken down. Piling a new layer over old mulch every year can raise the grade around crowns, bury edging, and create a thick wet interface. If the old mulch is matted, crusted, or mixed heavily with soil, rake it out or loosen it before applying a modest replacement. For a deeper material comparison, see what mulch does and how to use it and whether mulch actually prevents weeds.
A Reset Plan You Can Finish in One Weekend
An overgrown garden becomes discouraging when the task is defined as “make everything perfect.” Instead, give the reset a visible finish line: the front approach, one entertaining area, or one bed and its path. Finish that zone before expanding.
Saturday: Restore the Structure
Start with safety and access. Remove trip hazards from paths, put away hoses and empty pots, and set aside anything that needs repair rather than leaving it in the bed. Then edge the most visible lawn border, rake mulch back from the path, and remove the tallest weeds.
Next, work from the outside inward. Cut dead stems that block the outline, lift fallen branches, and clear leaves from drains or steps. Do not start major pruning of trees or shrubs during a rushed cosmetic cleanup; a bad cut can create a plant-health problem long after the garden looks tidy again.
Take a short break and view the space from the road, doorway, or patio. If it already reads better, stop. If one empty or chaotic area still dominates, mark it for Sunday instead of scattering unfinished work everywhere.
Sunday: Replant, Mulch, and Set a Rhythm
Use Sunday for the decisions that keep the reset from dissolving. Replace a dead plant only after checking why it failed. Cover a bare patch with the right mulch, divide or move a crowded perennial only if the season and plant permit it, and stake or tie stems that naturally need support.
Finish with selective deadheading, a sweep of hard surfaces, and a realistic maintenance appointment. For many yards, that might be 15 minutes after mowing to tidy the edge and path, plus one short bed walk each week during active growth. N.C. Cooperative Extension recommends frequent attention to young weeds because small plants are easier to control than flowering or seed-setting ones; the exact interval will depend on rainfall, temperature, and how quickly your garden grows.
Prevent the Mess From Returning
The easiest garden to maintain is one whose design makes the right action obvious. Keep paths wide enough for the tools you use. Leave room around shrubs for air movement and access. Group plants with similar water needs so a dry corner does not become a dead-plant-and-bare-soil cycle. Use a border material only where it solves a recurring problem.
Build a small seasonal rhythm instead of a daily obligation. In spring, inspect overwintered weeds and refresh only thin mulch. During the growing season, make short passes for tall weeds, path debris, flopping stems, and spent flowers that are genuinely distracting. In fall, decide which leaves and seed heads are habitat, which are smothering crowns, and which are blocking drainage.
Keep one “problem basket” or staging spot for broken stakes, empty pots, and tools that need cleaning. Garden clutter often persists because there is no convenient destination for it. Removing those nonliving distractions can make a bigger difference than buying another ornamental plant.
Mistakes That Make a Garden Look Worse
Mulching over weeds. The brown surface looks finished for a few days, then the weeds rise through it. Clear the existing growth first, especially anything flowering or spreading by runners.
Over-pruning for instant neatness. A hard haircut can expose bare interiors, remove flower buds, or create a blocky silhouette. Remove dead, damaged, crossing, or badly placed growth, and learn the plant’s flowering wood before making a major cut.
Using too many edging materials. A bed with plastic scallops, loose stones, brick, and metal all competing along one line looks busier, not more designed. Pick one boundary treatment per visual zone.
Installing landscape fabric as a permanent cure. Fabric can help in some new or permanent areas, but weeds can root in the mulch above it, and future planting becomes harder. Treat it as a specific tool, not a substitute for a planting plan.
Raking every leaf out of every bed. Wet leaves that mat over crowns or paths should be moved. A light layer under shrubs may protect soil and break down into organic matter. Decide by plant sensitivity, drainage, and habitat goals rather than by a blanket rule.
Planting the gap too quickly. A bare patch is information. If the cause is shade, compaction, or standing water, another plant may fail in the same spot and leave you with a larger mess. Fix the site or choose a plant adapted to it first.
How to Make a Wild-Style Garden Look Intentional
A garden does not need clipped shrubs and black mulch to look cared for. A cottage, meadow, pollinator, or wildlife garden can be loose, layered, and seasonally untidy while still having a strong visual grammar.
Give the looseness a container: a defined bed edge, a mown path, a repeated plant palette, or a clear transition to lawn. Let seed heads and stems remain in selected areas, but keep entrances, steps, sight lines, and drainage clear. Use repetition to replace symmetry—three groups of the same grass or perennial read as a plan even when each plant moves differently in the wind.
Choose one or two moments to edit hard. A clean gate, a swept patio, or a crisp path beside a relaxed planting is enough to signal intention. That contrast is more convincing than trying to make every part of a naturalistic garden equally manicured.
When “Unkempt” Signals a Plant-Health Problem
Sometimes the visual symptom is not merely cosmetic. Repeated bare soil may mean plants are dying from wet roots, drought, foot traffic, or unsuitable light. A bed that collapses into a gray, crowded mass may have poor airflow, weak stems, or a plant that is too large for the space. Persistent mud can indicate drainage trouble; mulch that stays wet against a stem can contribute to rot.
Look for patterns before you reach for fertilizer or pesticide. Are only plants beside a downspout failing? Are lower leaves yellow because the canopy is too dense, or because the soil remains saturated? Did the problem start after a new mulch delivery, a grading change, or a season of unusual rain? Photograph the pattern, inspect the root zone only when appropriate, and contact a local extension service or qualified horticulture professional if the diagnosis is unclear.
Cosmetic work should not hide a hazard. Remove diseased plant material according to local guidance, do not spread a suspected invasive plant through compost, and follow the label for any product you use. A neat surface is useful only when the soil, roots, and living structure underneath are also being treated sensibly.
Conclusion
The five things that most often make a garden look unkempt are weeds that break the planting’s rhythm, paths covered in debris, edges that have lost their boundary, crowded or spent plants, and bare soil that looks accidental. None requires a total garden overhaul. Restore the main lines first, remove the most visible competition, cover or replant the gaps, and polish only after the structure is working.
The durable fix is not a stricter definition of tidy. It is a garden whose paths, edges, plant spacing, and mulch choices fit the time you have. Keep habitat where it is intentional, set a short recurring maintenance rhythm, and your garden can look cared for without asking you to control every leaf.



