When to Cut Back Hostas: The Timing Test That Works
Not sure if it is too late to cut back hostas? Use this frost-and-foliage test, then clean up safely without damaging the crown or new shoots.
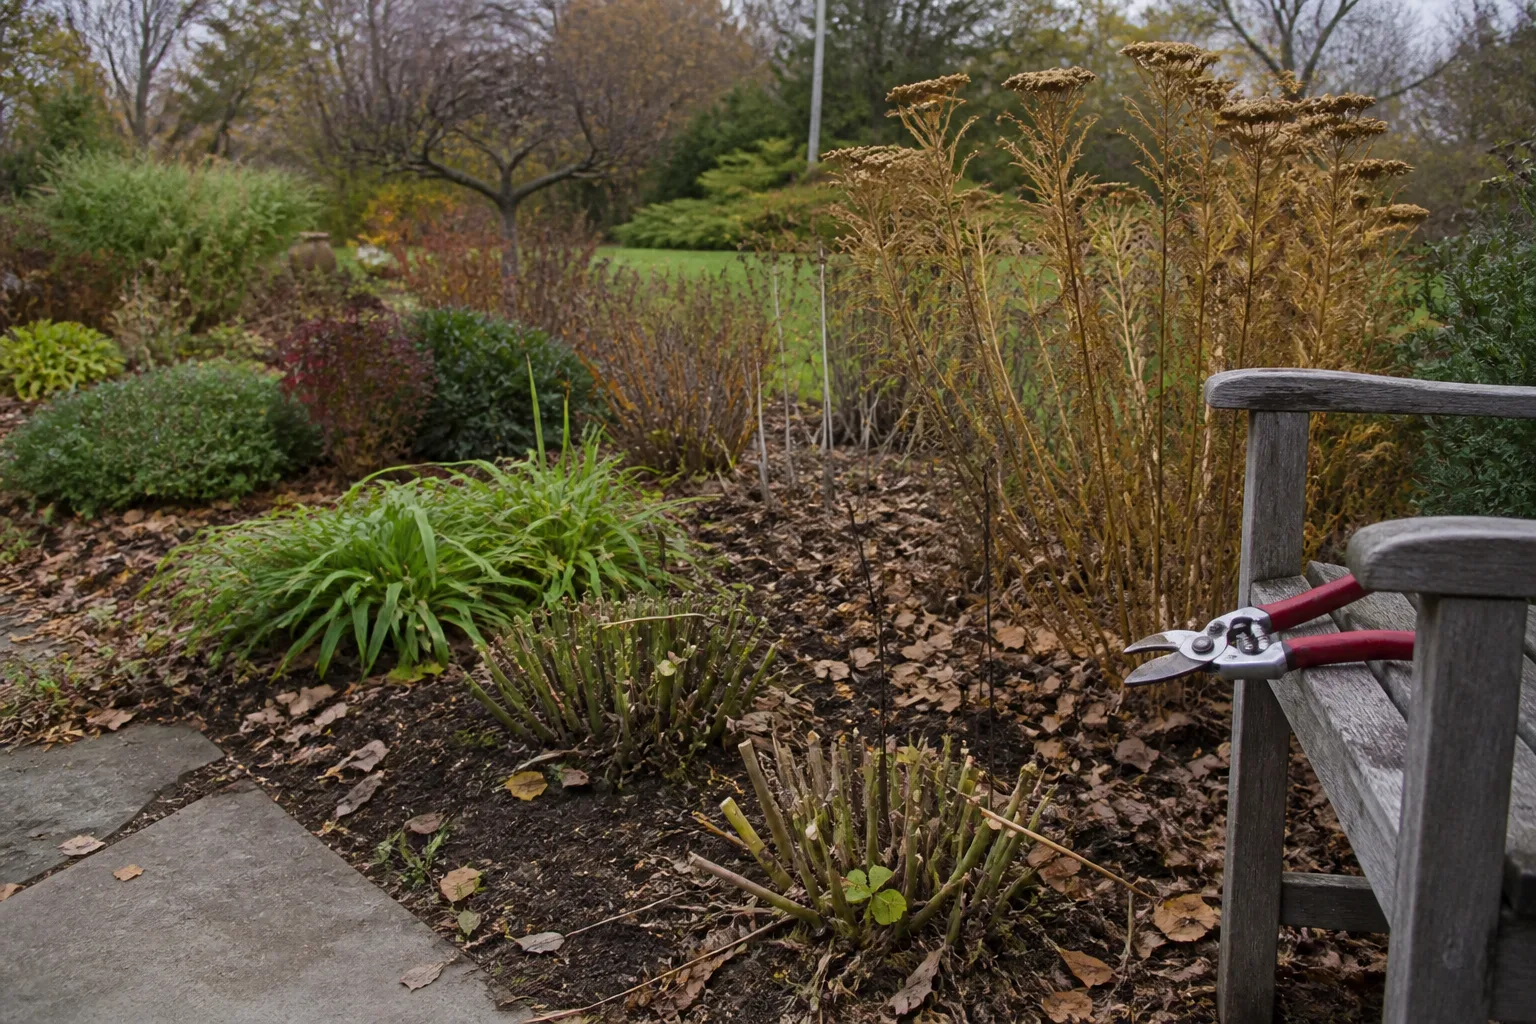
If your hostas are yellow, brown, limp, or already flattened by frost, you have not missed some tiny, unforgiving pruning window. In most gardens, the right time to cut back hostas is after the foliage has finished its work for the season—not on a fixed date printed on a calendar.
The practical rule is simple: leave healthy green leaves in place, remove individual damaged or diseased leaves when necessary, and do the full cleanup once the plant has clearly gone dormant. If winter has already arrived, let the leaves finish collapsing and clean up on a suitable day. If spring shoots are visible, switch from cutting to careful hand cleanup.
The short answer: wait for the leaves, not the calendar
Cut hostas back in late fall after the leaves have turned mostly yellow or brown and a hard frost has made them limp or collapsed. That timing gives the plant as much of the growing season as possible to photosynthesize and move stored energy into its crown for next year’s growth. RHS guidance describes hostas as fully hardy perennials that naturally die back in late autumn, remain dormant through winter, and are tidied at season’s end. The RHS hosta growing guide is a useful reference for that normal cycle.
You can wait until spring if the foliage is clean and you prefer to leave some winter structure or habitat in the bed. The exception is a hosta with obvious disease, a heavy pest problem, or a dense, wet mat of leaves that is likely to stay pressed against the crown. In those cases, remove the affected material once the leaves are no longer green and actively contributing to the plant.
The plant is still working after summer
Hostas look finished before they are finished. A leaf that is still green—even one with a few holes or ragged edges—is still capturing light. That matters because the plant is a herbaceous perennial: its above-ground leaves die back, while its underground crown and rhizome persist and produce new shoots in spring.
This is why cutting a green hosta to the soil line in late summer or early fall is a poor trade. You gain a tidy mound, but you remove useful leaf area before the plant has completed its seasonal shutdown. A plant can survive an early cut and still return, but survival is not the same as getting the fullest, strongest clump next spring.
There is no benefit in preserving a leaf that is completely dead, slimy, or carrying a confirmed disease. The useful distinction is not “pretty versus ugly”; it is still functioning versus finished or risky. That distinction makes the timing decision much less stressful.
Use this three-question timing test
Before you cut, answer these questions in order. They work better than “Is it October yet?” because frost dates, autumn temperatures, cultivar thickness, and local exposure vary widely.
Read the foliage before you reach for pruners
First, is most of the plant still green and holding itself upright? If yes, wait on the full cutback. You may still remove a single leaf that is completely dead, broken, or rubbing against a path, but keep the healthy canopy intact.
Second, has the foliage changed from yellowing to a soft, collapsed mass after a hard freeze? If yes, the main seasonal cleanup is ready. A light frost may discolor thin leaves without ending the plant’s activity, while thicker-leaved hostas can remain standing through several frosts. Look for the whole clump to have lost its structure, not just one cold-damaged leaf.
Identify a real reason to clean early
Third, is there a problem that makes waiting worse? Remove diseased foliage separately, even if the rest of the plant is still presentable. A leaf with suspicious spotting, unusual mottling, or a spreading lesion is not a reason to scalp every nearby hosta immediately, but it is a reason to keep clippings out of shared compost and clean the tool before moving to another plant.
Likewise, a bed with a history of slug pressure, vole runways, or persistent wet leaf litter may justify a thorough late-fall cleanup once the hostas have frozen down. If none of those conditions applies, waiting for spring is a reasonable gardening choice.
The decision also depends on what you mean by “cut back.” A full cutback removes the season’s leaf stems and flower scapes from the clump. Selective pruning removes one leaf, one scape, or one damaged section while the rest of the plant stays intact. Those are different jobs with different timing. Many gardeners get into trouble by treating a small cosmetic problem as a signal to perform the biggest possible cut.
The same distinction helps when a hosta has been nipped by deer or shredded by hail. If most of the leaves are still green, remove the torn tissue only if it is collapsing or likely to rot. If the plant has been almost completely stripped, do not keep cutting just to make the remaining stems look even; the plant needs every usable leaf it has left.
What “too late” really means
For hostas, “too late” usually means the normal fall cutting opportunity has passed, not that the plant has been harmed. If the foliage has already frozen into a brown, mushy pile, you do not need to force a cut on the next mild afternoon. You can remove the loose debris in winter or wait for early spring, provided you do not bury the crown under a wet blanket of leaves or mulch.
If you see no green shoots, gently gather the dead material and cut any stubborn stems a short distance above the soil. If the stems pull away easily, you can lift them by hand rather than disturbing the soil. Then check that the crown is visible and that water can move away from it.
The real deadline is the return of active growth. Once pointed hosta shoots begin to emerge, raking or shearing across the bed can snap them. At that point, kneel close to the plant and remove old leaves one handful at a time. Do not yank a stem that resists; cut it above the new growth instead.
Fall cutback or spring cleanup?
Fall and spring are both valid, but they solve different problems. Fall cleanup gives you a clearer bed, removes decaying tissue before winter, and can reduce places where slugs, snails, mice, or voles shelter. It is especially useful when a hosta had a foliar disease or when the bed routinely stays wet and crowded.

Spring cleanup preserves winter structure and can provide shelter for small garden organisms. It also lets the old foliage act as a loose layer over the crown during freeze-thaw weather. The trade-off is that spring cleanup is more time-sensitive: once the shoots move, the work becomes slower and the risk of breakage rises.
There is also a soil trade-off. Fall may be the better choice in a very wet garden where spring access would compact soggy soil. In a light, well-drained bed with clean foliage, spring may be the kinder option for both the soil and overwintering habitat. RHS advice on cutting back perennials makes the same broader point: autumn tidies the garden, while delaying some cleanup until spring preserves habitat and winter interest. Read the RHS perennial cutting-back guidance for the wider context.
Think of the choice as a small risk calculation. Choose fall when sanitation, access, or pest pressure is your priority. Choose spring when the leaves are clean, wildlife value matters to you, and the bed will be easy to reach before shoots open. There is no prize for choosing the same season every year; the best routine can change with weather, disease history, and how much leaf litter your site collects.
That goal-based approach is also useful in practice because hosta pruning is not one all-or-nothing task. Savvy Gardening’s seasonal hosta pruning guide separates fall cleanup, spring removal of dead leaves, and summer trimming of damaged foliage and flower scapes. The useful takeaway is to match the cut to the plant’s condition instead of forcing every problem into a fall schedule.
Summer pruning has a much smaller job
Do not cut a whole healthy hosta down in summer because it looks tired. Summer browning can come from drought, too much sun, storm damage, browsing, or a leaf disease; removing the entire canopy can make the underlying stress harder for the plant to recover from.
Summer is appropriate for selective work. Cut out a leaf that is fully dead, badly torn, or clearly diseased, and remove spent flower scapes if you dislike their appearance. If slugs, snails, deer, or rabbits have damaged a few leaves, remove only the worst leaves and leave as much healthy green tissue as possible. Once a leaf is cut, that leaf will not regrow during the same season.
Wilting is not a pruning instruction. Check soil moisture and light first. Hostas generally perform best in moist soil and partial shade; the RHS notes that dry soil, exposed sites, and excessive sun can produce brown or scorched foliage. Its growing guide recommends checking moisture below the surface rather than treating every brown edge as a disease.
How to cut back hostas without injuring the crown
Plan the full cutback for a dry day after dormancy is obvious. Sharp bypass pruners are best for a few plants; long-handled shears can handle a large patch if you can see where the crown begins. A string trimmer is difficult to control around a low crown and emerging shoots, so it is rarely the best choice for a mixed bed.
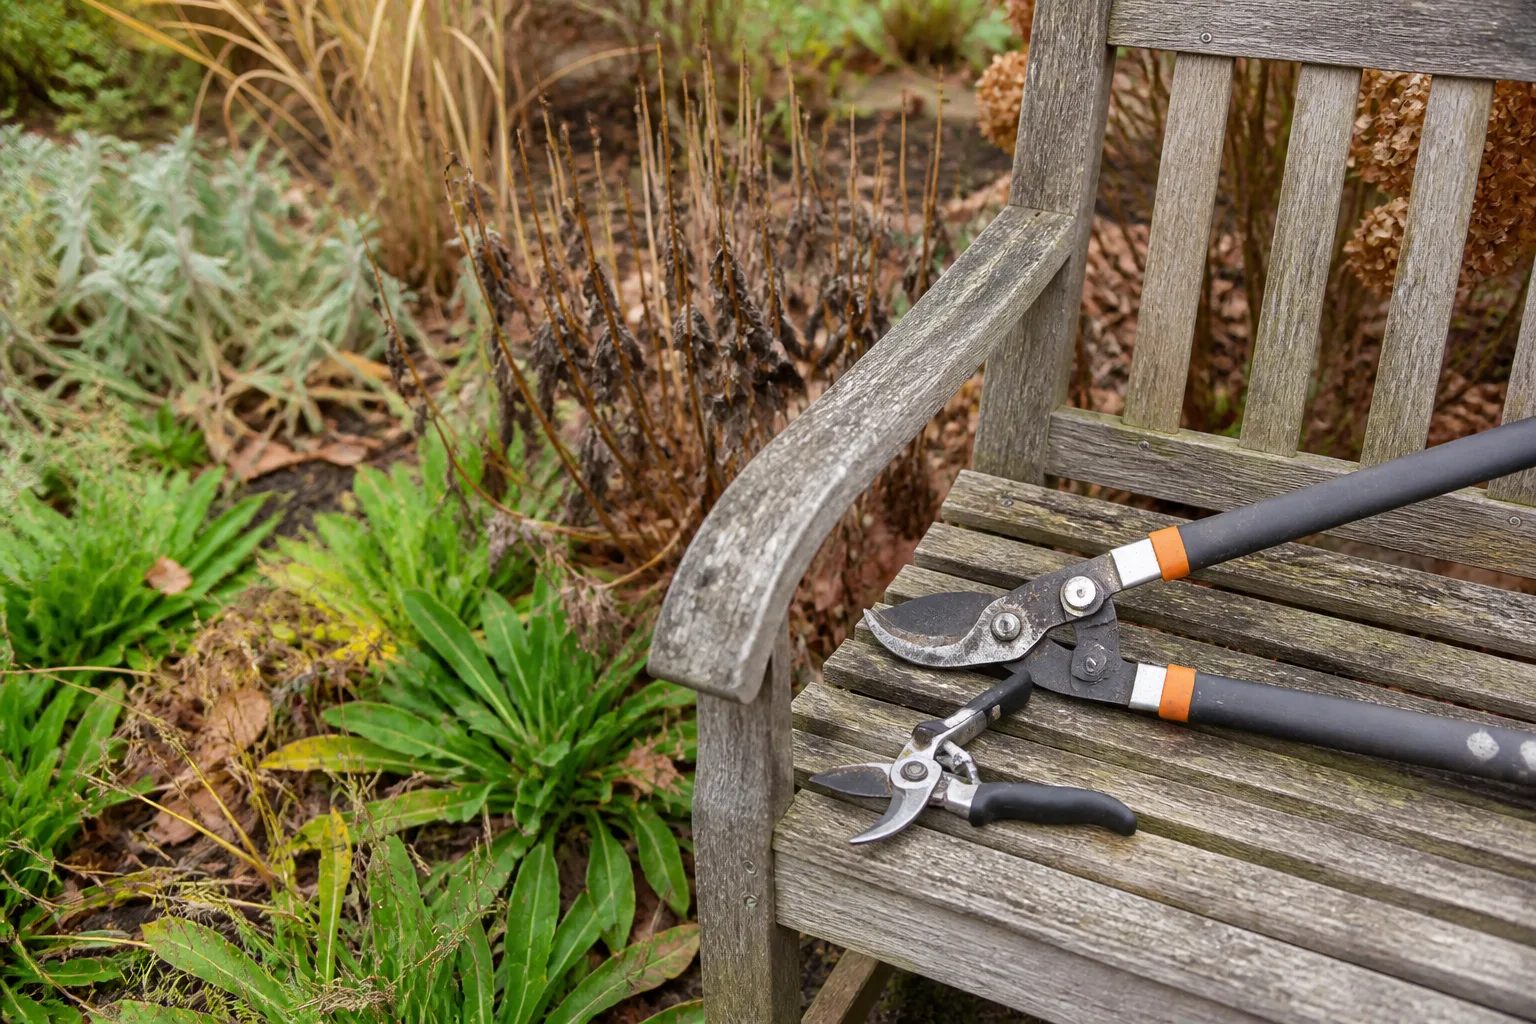
Choose tools and make the cut
Start by lifting leaves and weeds away from the base so you can see the plant’s outline. Cut the flower scapes first if they remain, then gather a manageable bundle of leaf stems and make clean cuts roughly 1 to 2 inches above the soil. Leaving a short marker is helpful in beds where fallen leaves will cover the ground; cutting lower is acceptable when you can clearly avoid the crown.
Do not dig, chop, or pull through the crown. Hosta growing points sit at the top of the crown, and the short stems are not worth sacrificing for an artificially bare surface. If you are cutting a plant with suspicious disease symptoms, wipe or disinfect the blades between clumps. A 10 percent bleach solution or an alcohol wipe is commonly recommended for tool sanitation, but follow safe handling directions and avoid splashing disinfectant into the soil. BHG’s hosta fall-cleanup guide likewise recommends sharp bypass pruners and leaving a short stem marker above the soil.
Keep the crown visible
After cutting, spread the remaining stems slightly and look at the soil line. The crown should not be buried under a cone of clipped leaves, a thick wad of wet tree leaves, or a mulch mound. A small clear space around the crown allows air movement and gives you a visual marker when spring shoots appear.
If the bed is large, cut one clump, clear it, and then move to the next. This is slower than sweeping through every hosta and raking later, but it prevents a hidden crown from being crushed or covered. It also helps you notice whether one plant has a disease or pest problem that requires separate disposal.
What to do with the removed foliage
Healthy, fully dead hosta leaves can usually go into a well-managed home compost pile, provided the pile reaches conditions that break down plant material and you are not mixing in suspiciously diseased tissue. When in doubt, use municipal green-waste guidance or remove affected leaves with household waste according to local rules.
Keep foliage with recurring leaf spots, unusual virus-like mottling, or obvious crown-rot residue out of the compost you will spread around hostas. Connecticut Agricultural Experiment Station guidance describes hosta diseases such as basal or root rot and emphasizes removal of infected plants or tissue; its hosta plant-health page is a helpful diagnostic reference.
Do not pile the cut leaves at the crown while you decide. Bagging or moving them immediately keeps a wet mat from forming and makes it easier to inspect the soil. If the foliage is clean but your main concern is winter habitat, a better compromise is to leave selected stems in other parts of the garden while keeping the hosta crown and its immediate surroundings open.
Mulch without smothering the crown
Hostas rarely need a thick winter blanket simply because the calendar says winter. A healthy, established plant is hardy, and the most common mulch mistake is piling material directly over the crown. That can hold moisture against the plant and create a hiding place for rodents.
If your site is exposed, newly planted, prone to freeze-thaw heaving, or unusually cold, apply a loose layer of shredded bark, pine needles, or clean straw around the plant after the soil has cooled. Think of mulch as a surface layer that moderates the soil, not a cap placed over the growth point. Keep the crown visible or leave a small open ring around it.
Container hostas deserve extra attention because their root zone is surrounded by above-ground air. Move the container to a sheltered position with drainage, protect it from repeated wet-freezing cycles, and avoid leaving the pot sitting in a saucer of water. In spring, pull back winter mulch before the shoots push through so emerging leaves have light and air.
When disease, slugs, or voles change the plan
Hostas are famous for slug damage, but not every hole means slugs. Missouri Botanical Garden diagnostics describe slug and snail feeding as smooth, irregular holes and slime trails, while hail tends to leave jagged tears. Its Hosta Problems guide also distinguishes deer, rabbits, voles, frost injury, scorch, anthracnose, and hosta leaf nematodes.
That distinction matters at cleanup time. Removing leaves can improve sanitation, but it will not fix a plant that is sunburned, drought-stressed, rooted in wet soil, or losing roots to voles. If an entire section collapses while nearby leaves remain firm, inspect the crown and roots rather than assuming normal winter dieback. If brown areas follow the veins in a distinctive pattern, or leaves show repeated mottling and puckering, flag the plant for diagnosis instead of propagating or sharing it.
Fall cleanup is most valuable when diseased material is present or when pests are a predictable seasonal problem. Clear the bed, avoid spreading suspect debris, and improve the conditions that made the problem likely—such as stagnant wetness, crowded foliage, or unprotected access for browsing animals. Pruning is one part of prevention, not a cure for every hosta problem.
If you are unsure whether a plant is dormant or sick, compare it with another hosta in the same bed and inspect the pattern. Normal fall decline tends to affect the whole clump as temperatures fall. A problem may be patchy, begin on only one side, follow veins or leaf margins, or include soft tissue at the soil line. Photographing the plant before cleanup can help you compare symptoms next year, when the new leaves make diagnosis easier.
Adjust the advice for containers and climate
Calendar ranges such as “October” or “November” are only rough shorthand. In a cool northern garden, hostas may be fully collapsed before a mild-climate garden has its first serious freeze. In a warm region, the leaves may linger longer or decline from heat and drought before a true dormant shutdown. Use the condition of the plant and your local frost pattern as the signal.
In colder climates, leaving clean dead foliage in place can offer a little surface protection and preserve habitat, but it is not a substitute for good drainage or appropriate siting. In wet climates, spring cleanup may be difficult if the bed remains saturated; fall cleanup can be sensible because walking through soggy soil can do more damage than leaving a few leaves until a dry day.
Newly planted hostas and divided clumps also deserve a lighter touch. Do not tug at a plant that has not anchored well, and do not treat a late-season transplant as a reason to strip every leaf immediately. Remove foliage that is dead or badly damaged, keep the soil evenly moist while the plant establishes, and protect the crown without burying it.
Common mistakes that weaken a hosta bed
The first mistake is cutting by date. A warm October can leave hostas active, while an early freeze can finish them sooner than expected. The second is cutting every damaged leaf in summer, even when the plant still has a useful green canopy and the real issue is drought, sun, or browsing.
The third is using a dull or dirty tool. Ragged cuts are slower and harder to control, and contaminated blades can move problems between clumps. The fourth is treating all brown foliage as disease; normal frost collapse, scorch, hail, and fungal leaf spots do not look or behave the same way.
The fifth is burying the crown under mulch or a wet pile of leaves. The sixth is raking aggressively after new shoots appear. When in doubt, slow down, expose the soil surface by hand, and cut only what you can identify. Hosta cleanup is forgiving when it is deliberate.
A simple aftercare checklist
Once you finish, walk the bed once more and check the basics:
- Most healthy green foliage was left in place until dormancy.
- Remaining stems are short and above the crown rather than cut into it.
- Loose leaves and clippings are cleared from the crown.
- Suspect diseased material is separated from ordinary compost.
- Mulch is loose, shallow enough to breathe, and not piled on the growth point.
- Containers have drainage and protection from standing water.
- Any slug, vole, deer, rabbit, or disease pattern has been recorded for spring follow-up.
- The planting is marked clearly enough that spring cleanup will not crush emerging shoots.
If you have already missed fall, the next action is not to panic or cut into frozen soil. Wait for a dry, workable day, remove what is loose, and finish before new shoots emerge. If the shoots are already up, use your fingers and small pruners around them. The plant’s return next spring matters more than achieving a perfectly bare bed in winter.
When spring arrives, do not automatically fertilize a hosta just because last year’s foliage was cut late. First check whether the crown is firm, the soil drains, and the shoots are opening normally. A thin layer of finished compost or organic mulch can improve the bed over time, but strong spring growth depends more on suitable moisture, shade, and an undisturbed crown than on a large dose of fertilizer.
Conclusion
The best answer to “Can I still cut back my hostas?” is usually yes—with the timing adjusted to the plant’s condition. Wait for healthy foliage to finish photosynthesizing, do the full cutback after a hard frost has collapsed the leaves, and use spring as a safe fallback when the bed is clean and the crown is protected.
Cut only individual damaged or diseased leaves during summer, make the dormant cut about 1 to 2 inches above the soil, keep tools clean, and never bury the crown under mulch or wet debris. Once you judge the leaves instead of the calendar, hosta cleanup becomes a small seasonal choice rather than a high-stakes deadline.



