Slit-Seeding Guide: Timing, Steps, and Costs
Before you rent a slit-seeder this spring, read this guide: timing for cool- and warm-season grass, prep, two-pass technique, watering, and when to skip it.
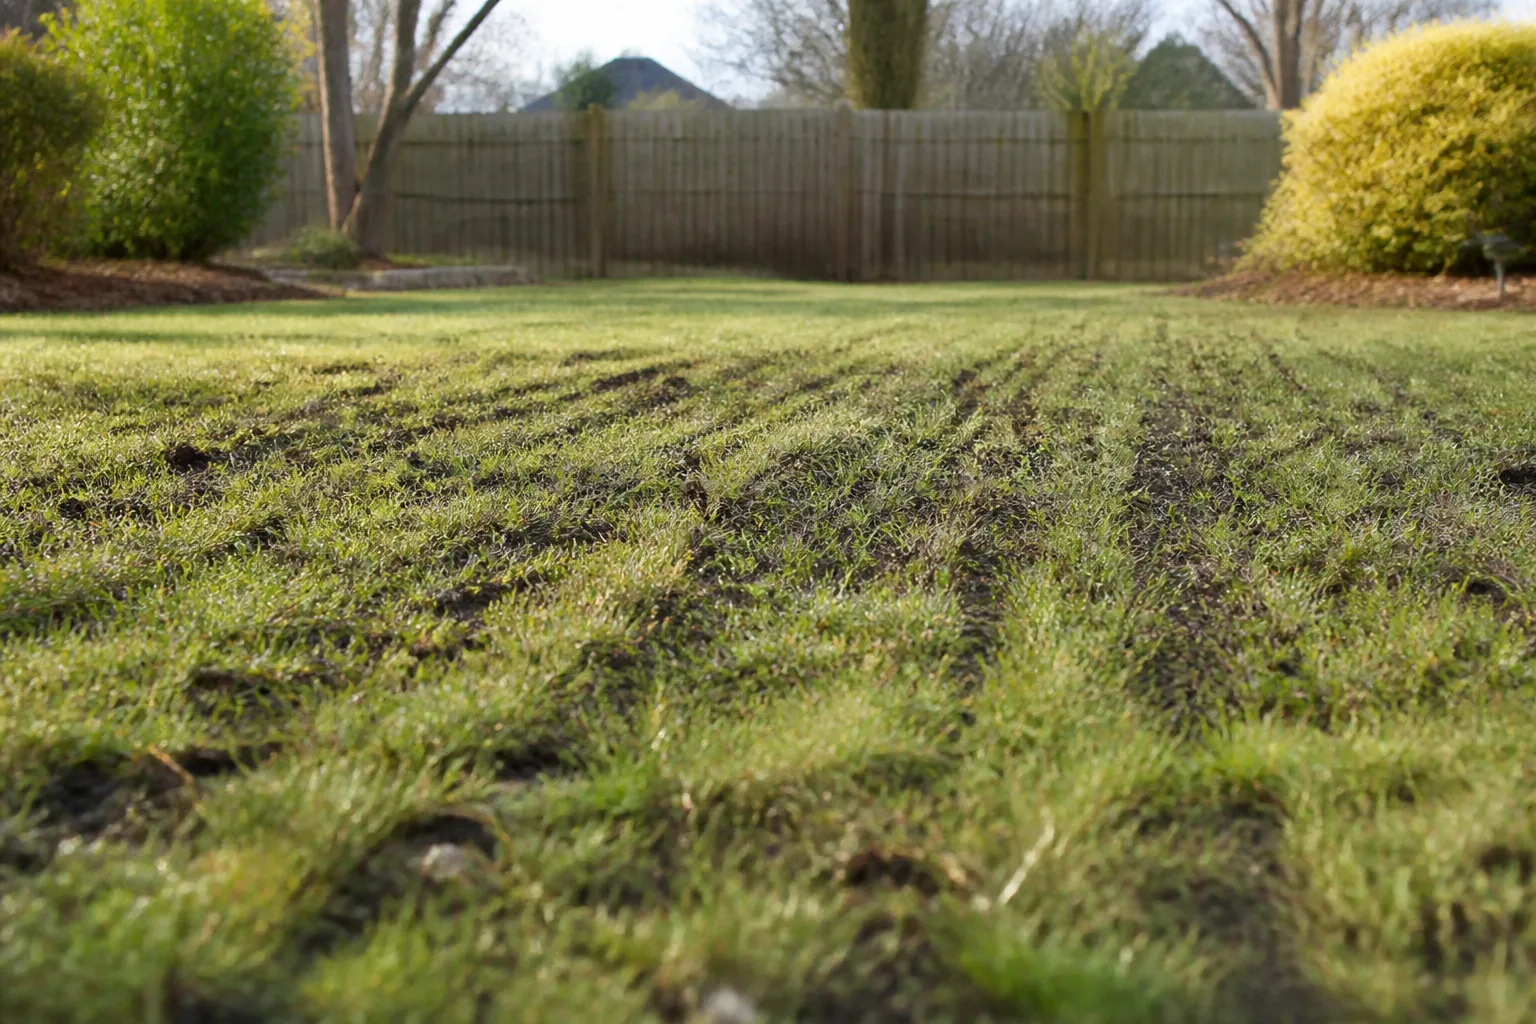
A lawn that looks tired in late winter rarely fixes itself by April. Broadcast overseeding can thicken turf that is only slightly thin, but much of that seed never reaches soil—it sits on thatch, gets eaten by birds, or dries out on the first warm afternoon. Slit-seeding (also called slice seeding or power seeding) solves that contact problem by cutting narrow grooves into the turf, dropping seed directly into those grooves, and partially covering it as you water. If your yard has bare patches, heavy traffic wear, or large thin zones heading into spring, understanding slit-seeding now saves you from renting the wrong machine—or tearing up grass that did not need mechanical renovation.
What Slit-Seeding Actually Does to Your Lawn
Slit-seeding is a renovation technique, not routine maintenance. A walk-behind slit-seeder uses rotating vertical blades or disks—usually spaced about an inch apart—to slice ¼- to ½-inch grooves through existing turf and into the upper soil layer. A seed hopper meters grass seed into those grooves as the machine moves. When you irrigate afterward, dislodged soil falls back into the slits, burying seed more reliably than a spreader alone.
The payoff is seed-to-soil contact. Penn State Extension notes that spring and early-fall overseedings work best when seed contacts soil through aeration, dethatching, or a disk-type seeder that drops seed into slits in the soil. Slit-seeding builds that contact into every pass, which is why it outperforms broadcast overseeding on lawns where more than a third of the stand is thin or bare.
How a Slit-Seeder Works
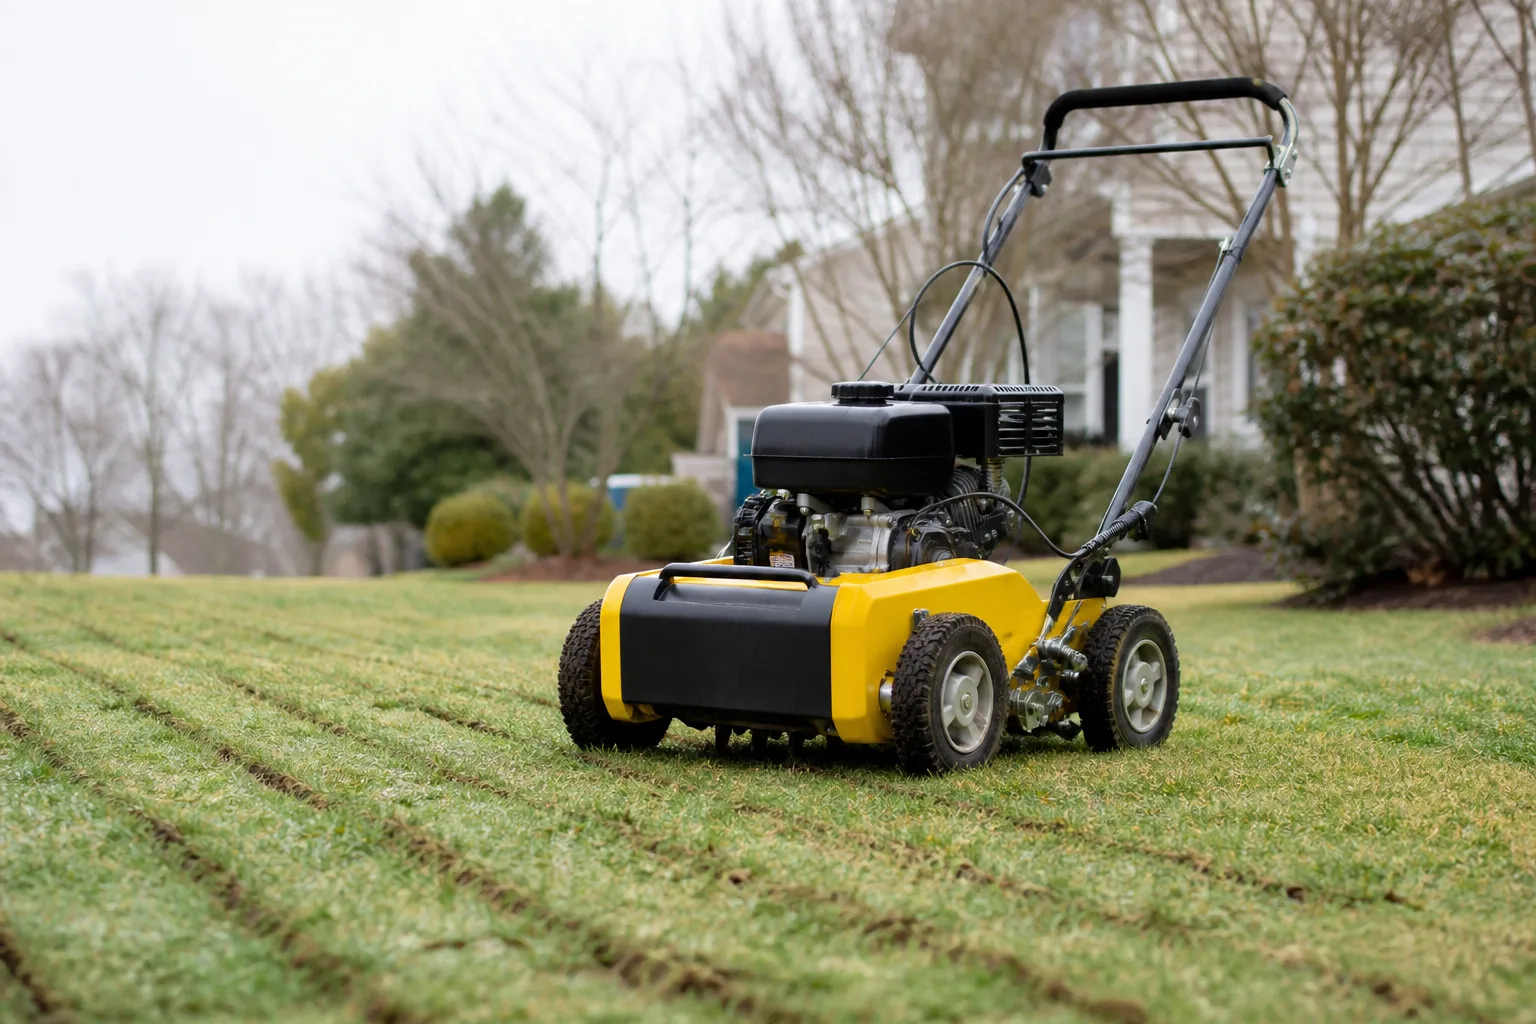
Most rental units combine a front roller, spinning blade assembly, and rear roller or drag that firms the groove. Brands such as Ryan, Bluebird, and Classen are common at equipment rental counters. The machine is roughly the size of a large walk-behind mower, but heavier and louder. You set blade depth with a lever—shallow on established turf, slightly deeper on bare soil—and calibrate the seed drop rate to your grass type and label recommendations. Pass pattern matters as much as settings: pros almost always make two passes at half the total seed rate, with the second pass perpendicular to the first, to avoid striped thin areas.
When Slit-Seeding Beats Broadcast Overseeding
Broadcast overseeding scatters seed across the lawn surface with a drop or rotary spreader. It is cheaper, faster, and fine for lawns that are already mostly healthy but slightly thin. The trade-off is placement: seed that lands on leaves, thatch, or hardpan struggles to germinate. Pairing broadcast seed with core aeration improves contact, but aeration alone does not place seed in the soil—you still lose a large share of seed to the elements.
Slit-seeding wins when contact is the bottleneck. On lawns with dry patches, dog wear, disease scars, or chronic thin areas, mechanical grooves protect seed from wind, rain washout, and birds better than surface spreading. The machine also scores through a modest thatch layer, which helps water and air reach new seedlings without a separate dethatching pass on many yards.
The 70 Percent Rule and Bare Patches
A practical threshold: slit-seed when less than about 70 percent of the area is healthy, dense turf you want to keep. Above that, broadcast overseeding with aeration is usually enough—and less destructive to existing grass crowns and roots. Below that, or when bare spots are larger than a dinner plate scattered across the yard, slit-seeding earns its rental fee.
If weeds or an unwanted grass species dominate the area, slit-seeding alone will not fix the species problem. You may need a non-selective herbicide application and a waiting period before seeding—often a week or more after glyphosate, per product label directions—then slit-seed into the dead mat. Our guide on when to overseed bare patches walks through diagnosing whether the underlying problem is cultural, pest, or disease-related before you commit to mechanical seeding.
When You Should Skip Slit-Seeding
Slit-seeding is aggressive. The disks can cut and dislodge healthy grass on lawns that are already thick. Skip slit-seeding if your turf is dense and only needs a light top-dress of seed, if more than about a third of the lawn needs full soil renovation (sod or bare-soil prep may be smarter), or if you applied a conventional crabgrass pre-emergent this spring—prodiamine, dithiopyr, and similar products prevent turfgrass seed from germinating along with weeds.
Also pause if soil is still cold. Cool-season grasses need soil at seeding depth around 55°F to 65°F for reliable germination; UMaine Extension places ideal soil temperature for cool-season root hair growth in that 55–65°F band. Warm-season lawns such as bermudagrass and zoysia follow a different calendar—they establish in late spring and summer, not during cool weather. Slit-seeding a warm-season yard in early spring while soil is still cool wastes seed and opens bare soil to weeds.
Slit-Seeding vs Aeration-Overseeding vs Hydroseeding
Homeowners often lump these methods together because all three put new grass on an existing yard. They solve different problems at different price points.
Aeration plus broadcast overseeding pulls soil plugs to relieve compaction, then spreads seed on the surface. It is the right call for mildly thin cool-season turf with hard soil. Germination rates depend heavily on how much seed falls into aeration holes versus on top of thatch.
Hydroseeding sprays a slurry of seed, mulch, fertilizer, and water onto prepared bare soil. It shines on large new-construction sites and slopes where you need even mulch cover fast. It is overkill for patching an existing residential lawn with decent turf between the thin spots.
Slit-seeding targets existing lawns that are too thin for broadcast overseeding but not bare enough to justify hydroseeding. It places seed in grooves without the full site prep hydro demands.
Compare the Methods Side by Side
| Method | Best for | Seed-to-soil contact | Typical DIY difficulty | Notes |
|---|---|---|---|---|
| Broadcast overseeding | Slightly thin, mostly healthy turf | Low to moderate (higher with aeration) | Easy | Cheapest; birds and dry seed are the main enemies |
| Aeration + overseeding | Compacted, mildly thin lawns | Moderate | Medium | Core aeration first when footprints linger on moist soil |
| Slit-seeding | Thin, patchy, or weedy lawns with some living turf | High | Medium to high | Can damage dense grass; calibrate carefully |
| Hydroseeding | New lawns, large bare areas, erosion-prone slopes | High on bare soil | Hard (pro equipment) | Requires bare-soil grading and mulch slurry |
For a deeper spring timing breakdown on cool-season yards, see our early-spring slit-seeding guide. For the fall argument, read whether fall overseeding is worth the money.
Best Timing for Cool-Season and Warm-Season Lawns
Timing beats technique. The best slit-seeding pass in the world still fails if seedlings have no runway to root before stress arrives.
Why Fall Wins for Cool-Season Grass
For Kentucky bluegrass, tall fescue, perennial ryegrass, and fine fescue blends, late summer to early fall remains the best establishment window in most northern and transition-zone yards. UMaine Extension recommends August 15 to September 15 as the best seeding window in Maine, citing warm soil for quick germination, cool nights for seedling growth, and less weed competition than spring. Penn State Extension similarly favors late summer to early fall for cool-season establishment because new plants get fall and spring to root before serious summer heat.
If you are reading this in winter or early spring, use the months before soil warms to soil test, source seed, and reserve a rental machine—not to rush seed into cold ground.
Spring Slit-Seeding Before Summer Heat
Spring slit-seeding is the backup plan when fall was impossible. You are racing summer: cool-season seedlings need roughly five to six weeks from seeding to modest establishment before sustained hot weather. Work backward from your typical mid-June heat. In USDA zone 5, that often means finishing slit-seeding by late April to very early May; zone 6 may stretch into mid-May if spring stays cool. Past that cutoff, spend spring on weed control and plan a late-summer renovation instead.
Warm-season grasses—bermudagrass, zoysia, centipede—slit-seed in late spring through early summer when soil consistently holds 65°F to 75°F. Do not slit-seed warm-season turf in early spring while soil is still cool. Our best time to plant grass seed guide maps zone-specific soil-temperature triggers for both grass families.
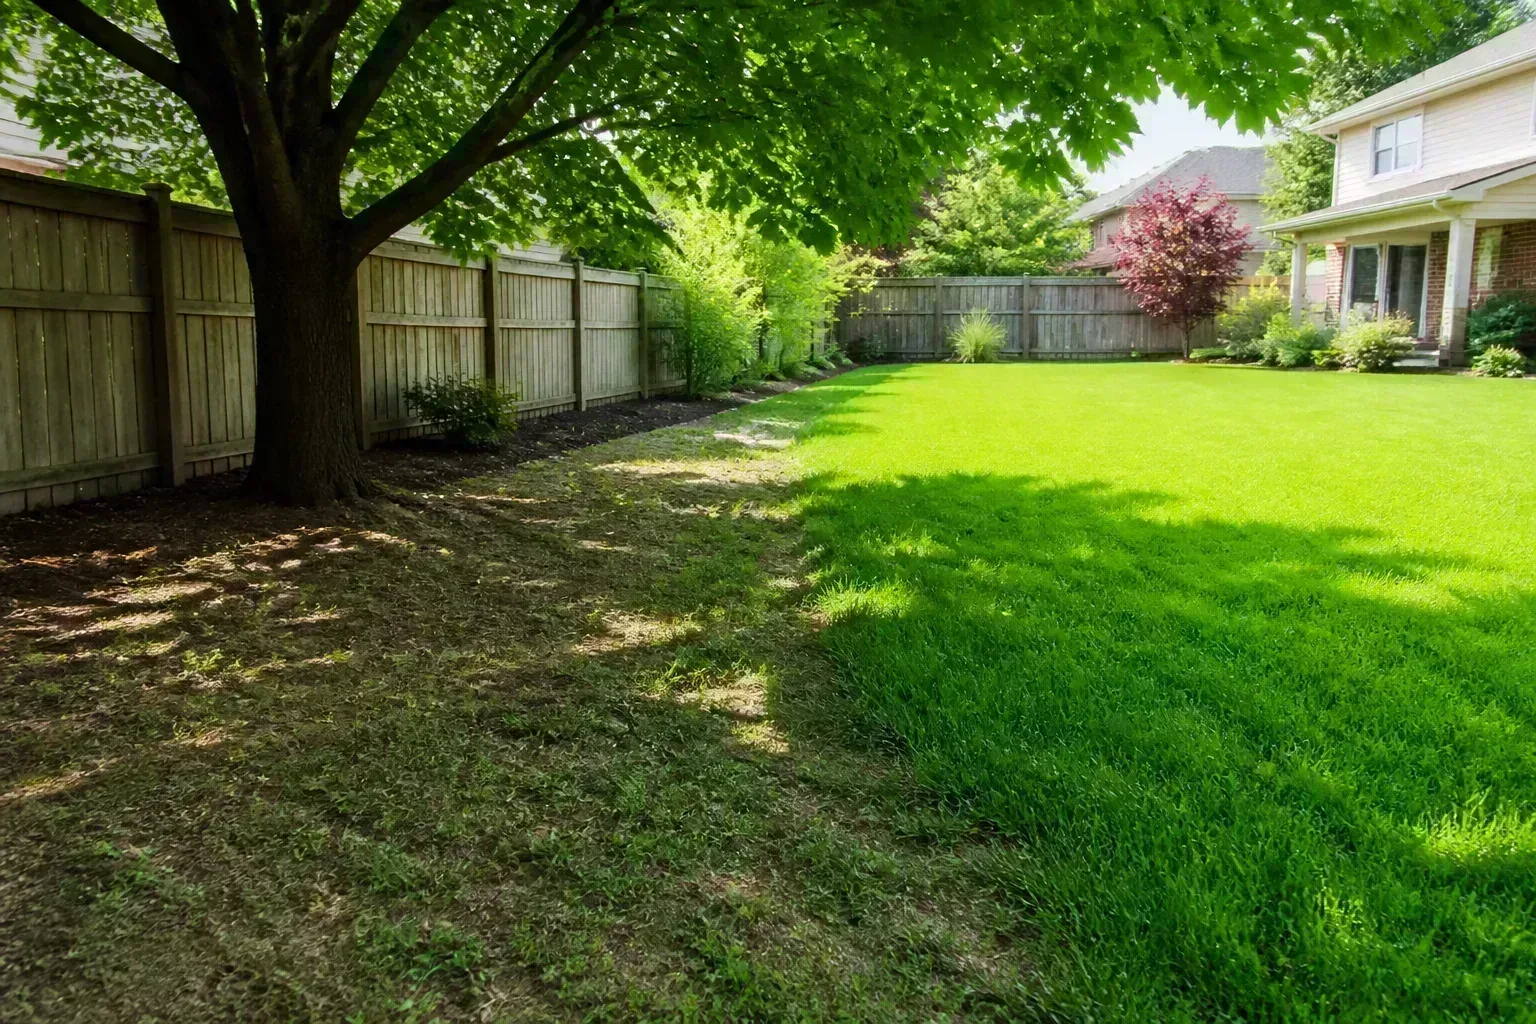
Prep Your Lawn the Week Before You Rent the Machine
Good slit-seeding starts before the machine arrives. Rushed prep is how DIYers end up with striped lawns, buried sprinkler heads, and seed that never germinates.
Mowing Short, Flagging Heads, and Weed Control
Measure the lawn area so you buy the right seed quantity—rates are listed per 1,000 square feet on the bag. Mow progressively shorter over several days until grass is about 1 to 2 inches tall, never removing more than one-third of the blade in a single cut. Short turf lets the slit-seeder blades reach soil without fighting tall leaf tissue.
Flag every sprinkler head, valve box, and shallow tree root before you start. Slit-seeder disks will destroy plastic heads. Clear rocks, sticks, and debris from the lawn surface. If the lawn is more weeds than grass, apply a non-selective herbicide labeled for lawn renovation, wait the label interval—often at least a week after glyphosate—then slit-seed into the dead vegetation rather than live weeds.
Choose seed that matches your site, not whatever bag is on sale. Sun blends differ from shade mixes; our best grass seed roundup explains species trade-offs. Match the seed type to what already dominates your yard unless you are deliberately switching species after herbicide kill.
Should You Aerate or Dethatch First
Aerate first if soil is compacted—footprints linger on moist turf, water pools after rain, or the yard sees heavy traffic. Slit-seeder disks scratch only the top inch; they do not relieve deep compaction. Core aeration opens the profile 2 to 6 inches down so new roots can spread. Our dethatcher vs aerator guide helps you pick the right tool when both thatch and compaction are issues.
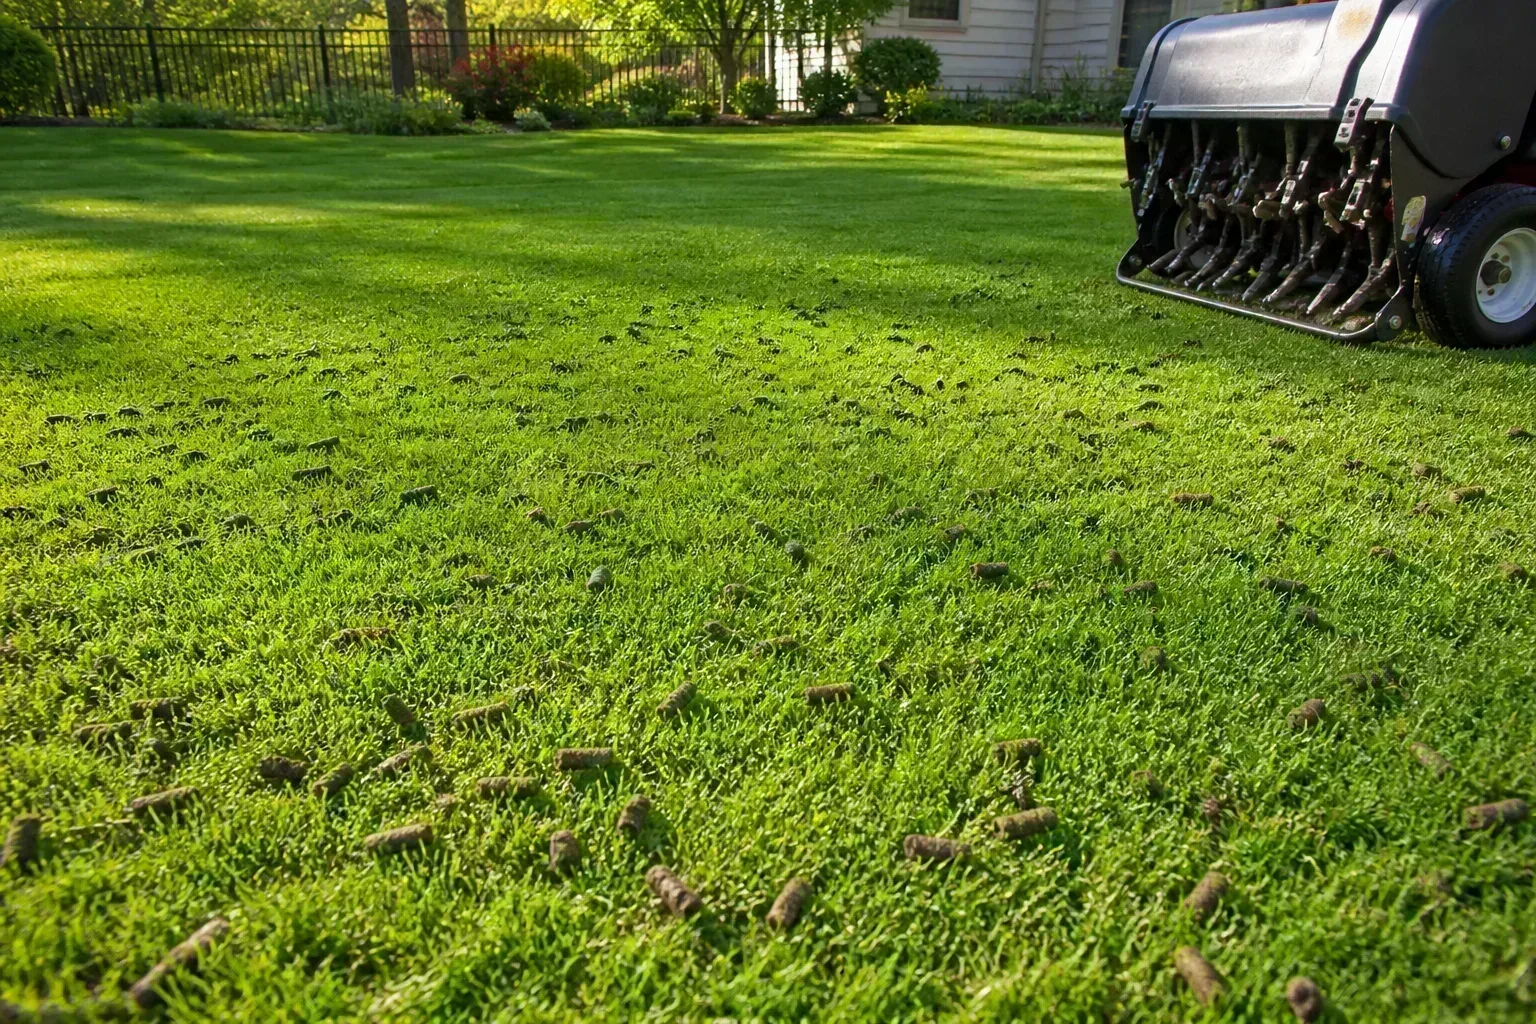
Dethatch when thatch exceeds about ½ inch and forms a spongy mat that blocks water. Many slit-seeders cut through thin thatch, but thick layers reduce seed-to-soil contact. Penn State Extension recommends dethatching only when thatch is one inch or deeper, during cool weather with adequate moisture—not during drought or late-fall desiccation risk. Some rental slit-seeders can run with an empty hopper to scarify lightly; heavy thatch may need a dedicated pass first.
How to Slit-Seed Step by Step
Reserve the machine for a dry day when you can irrigate immediately afterward. Read the rental manual before you leave the store—depth and rate dials differ by brand.
Step 1: Safety and setup. Wear safety glasses, hearing protection, and a dust mask. Keep children and pets off the work area. Fill the hopper on pavement, not the lawn, to avoid spills.
Step 2: Set blade depth. On existing turf, start around ¼ inch—deep enough to reach soil without gouging crowns. Bare soil or heavy renovation may allow up to ½ inch. Test on a hidden corner first; you want grooves, not trenches.
Step 3: Calibrate seed rate. Divide the label rate for your grass type by two because you will make two passes. Typical renovation rates per 1,000 square feet include roughly 2–3 pounds for Kentucky bluegrass, 5–6 pounds for tall fescue, 3–5 pounds for perennial ryegrass, and 3–6 pounds for fine fescue. When thickening turf that still has living grass, use the lower half of the range. Set the hopper dial according to the machine chart and your bag label—do not guess.
Calibrate Depth and Seed Rate
If the rental counter did not walk you through calibration, do a 30-second timed catch test: run the machine over a tarp, weigh or count the seed dropped, and adjust until the rate matches half your target for pass one. Under-seeding leaves stripes; over-seeding wastes money and can crowd seedlings into disease-prone mats.
Two Perpendicular Passes
Pass one: Walk parallel rows across the lawn with half the total seed, overlapping slightly like mowing stripes. Pass two: Cross the first pass at a 90-degree angle with the remaining seed. Finish the perimeter with a light third pass if edges look thin. The perpendicular pattern is the single biggest difference between a pro result and a striped DIY lawn.
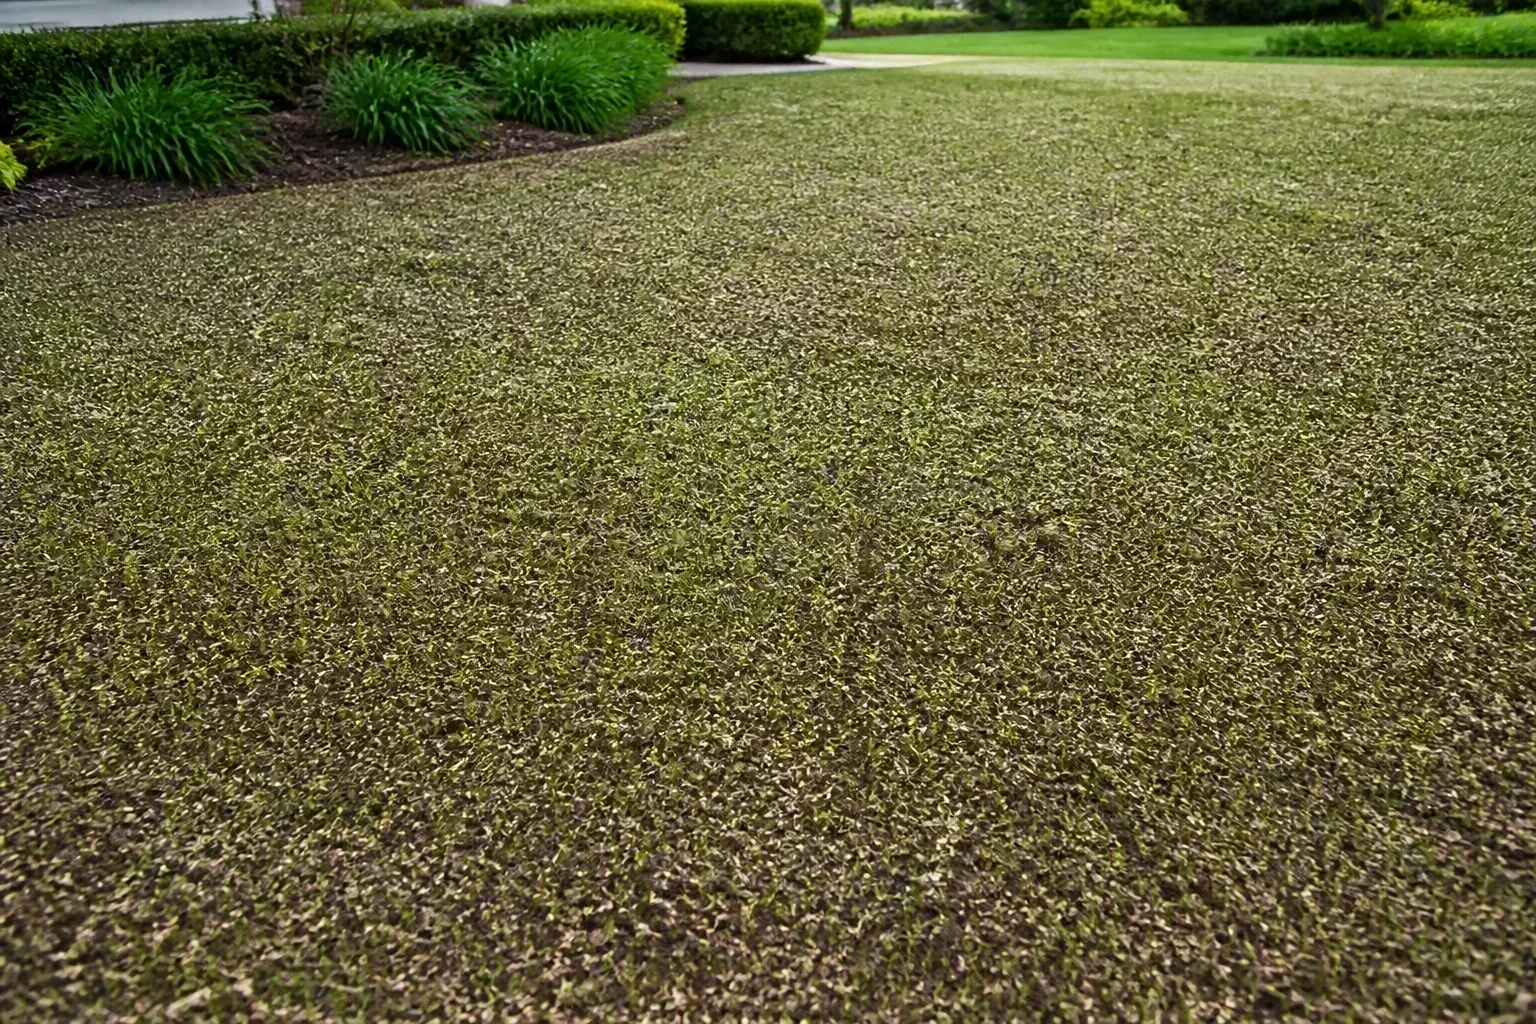
After seeding, you may see cut debris and light thatch on the surface. A thin layer can act as mulch; rake off clumps thicker than about an inch so seedlings are not smothered.
Watering, Fertilizer, and Mowing After Slit-Seeding
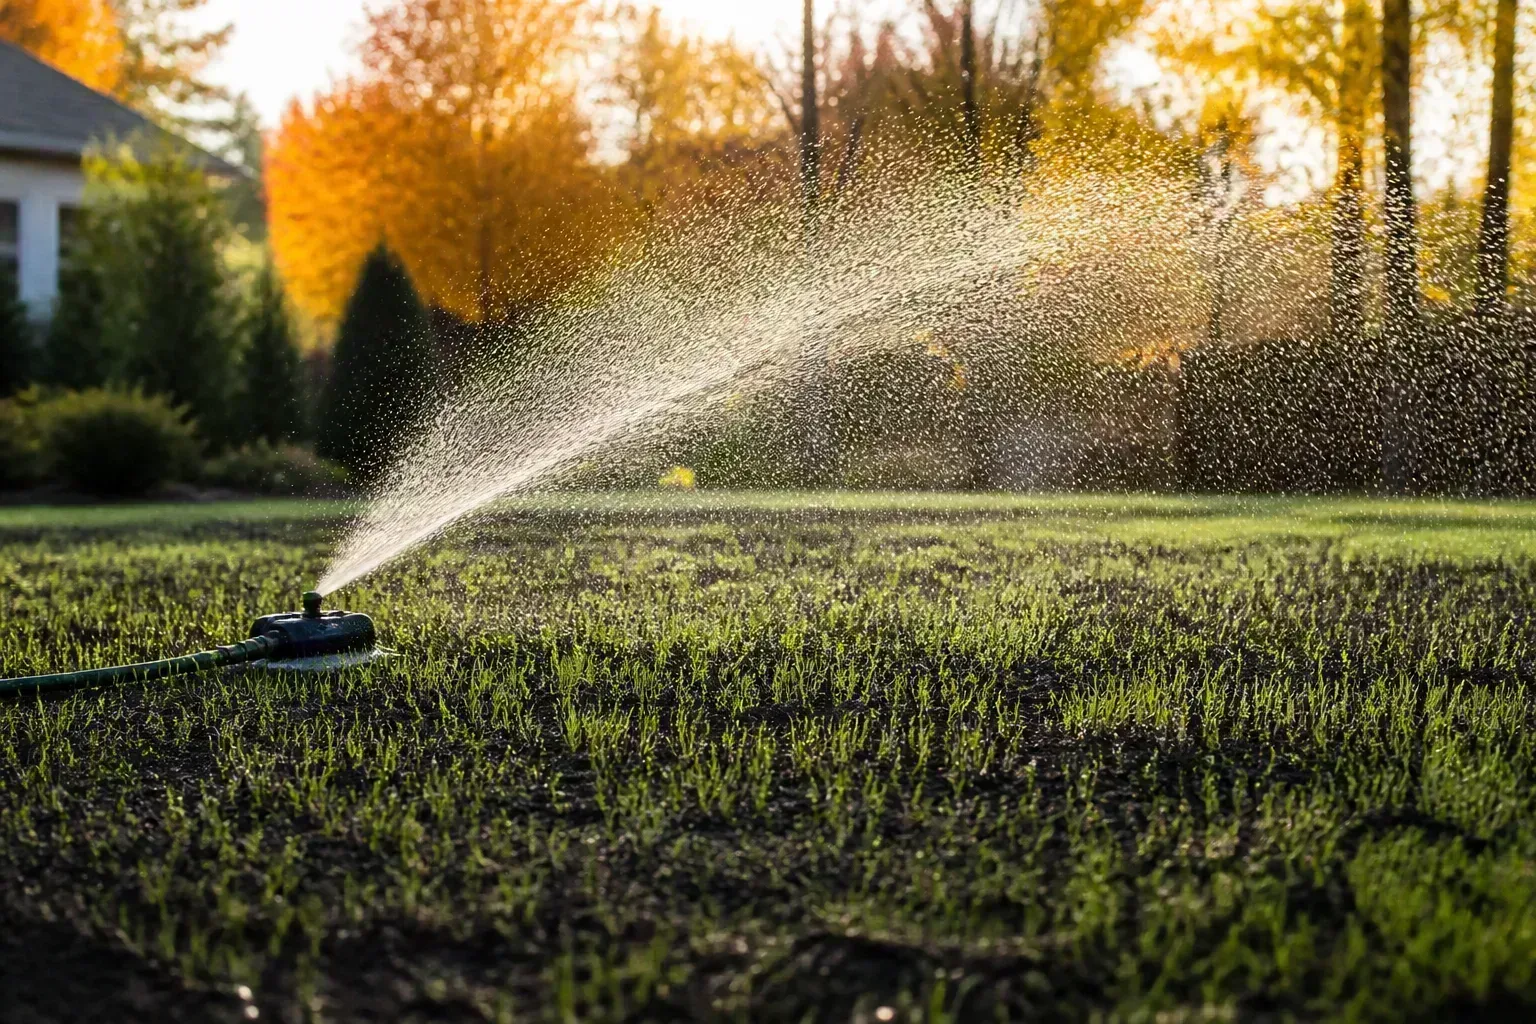
New seed dies from drying out faster than from almost anything else. Water lightly and frequently for the first two weeks—often two to three short cycles per day on sunny, windy days—keeping the top inch moist but not flooded. Our how often to water new grass seed guide details overseeding schedules versus bare-soil renovation.
Apply starter fertilizer at label rates after seeding, or use a product labeled safe for new seedings. Avoid high-nitrogen feeds that push top growth before roots anchor. If birds are pulling seed from grooves, see how to keep birds from eating grass seed for netting and timing tips—slit-seeding reduces bird loss but does not eliminate it on open lawns.
Mow when new grass reaches about 3 inches, typically three to four weeks after germination for ryegrass-heavy mixes, longer for Kentucky bluegrass. Use a sharp blade and limit traffic on new seedlings for the first month. By six to eight weeks, you should see meaningful fill on thin areas if watering and species choice were right.
DIY Rental Costs vs Hiring a Pro
Slit-seeding is DIY-able on small to medium lawns if you respect calibration and timing. Expect roughly $60–$95 per day for a walk-behind slit-seeder at big-box rental counters—sometimes less for a four-hour block. Add seed, starter fertilizer, and a long day of labor. Most residential lots under 5,000 square feet can be done in one day if prep is finished beforehand.
Professional slit-seeding often runs $0.08–$0.18 per square foot including labor, machine, and sometimes seed—higher in high-cost markets, lower on large open lawns. Pros bring experience on depth, rate, and pass overlap that prevents the striped, clumpy results common on first-time DIY runs. Hire when the lawn is large, slopes are tricky, or you need herbicide renovation paired with seeding on a tight calendar.
Slit-seeding is not an annual chore. Use it every few years when renovation is warranted, and rely on lighter overseeding or aeration in between on lawns that stay mostly healthy. Treat it as a targeted repair—not a substitute for soil testing, mowing height, and sensible irrigation the rest of the year.
Conclusion
Slit-seeding is one of the most effective ways to put seed where it can actually grow on a tired lawn—but only when the yard is thin enough to need mechanical contact and the calendar still gives seedlings time to root. Learn the method before spring so you can soil-test in winter, book a fall renovation if cool-season turf allows, or hit a disciplined spring window with soil at 55°F to 65°F and six weeks of mild weather ahead. Measure the lawn, mow short, flag sprinklers, calibrate the machine, make two perpendicular passes at half rate, and keep the top inch moist until grass is established. When your turf is already thick, when pre-emergent is down, or when more than a third of the yard needs bare-soil prep, choose a different path. Get the decision right first; the machine is the easy part.



