When to Plant Bare-Root Roses in Spring
Plant bare-root roses at the right spring moment with a zone-aware timing rule, planting steps, watering schedule, frost protection, and troubleshooting.
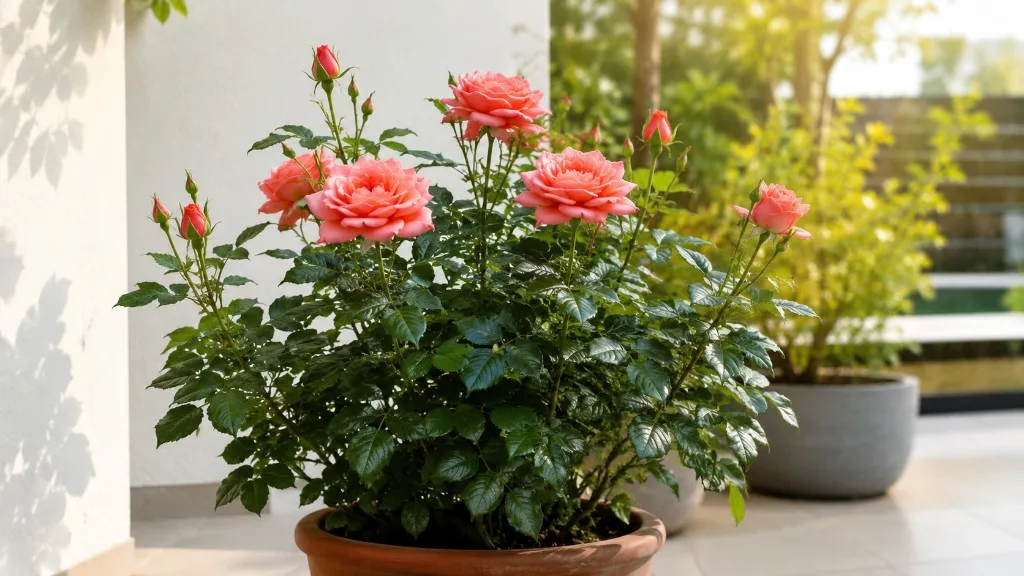
Spring is the safest default for planting a bare-root rose in much of North America because the plant can settle its roots before summer heat and drought arrive. The best day is not necessarily the first warm day on the calendar, though. Plant while the rose is still dormant, the ground is workable and draining, and the forecast gives it time to stay evenly moist.
That rule is more dependable than a date printed on a zone chart. A sheltered Zone 7 garden may be ready weeks before an exposed, soggy site at the same latitude, while a desert garden may need to finish its bare-root season before intense heat begins. Use the calendar to plan, then let the plant and the soil make the final call.
The right planting window depends on conditions
The ideal spring window has four parts: the rose is dormant or only just beginning to wake, you can dig without making a muddy hole, the soil drains after watering, and severe cold or summer heat is not immediately ahead. The Royal Horticultural Society’s planting guidance describes bare-root roses as a late-autumn-to-early-spring purchase that should be planted before active growth resumes, while Iowa State University Extension likewise frames bare-root shrub and rose planting around spring before bud break. Those principles translate well to gardens beyond the United Kingdom or Iowa, even though the dates will differ.
Use dormancy and soil, not the calendar alone
Look first at the rose. A few swollen buds or short pale-red shoots are not an automatic reason to reject it, but they are a sign to shorten storage and plant promptly. A rose covered in soft new leaves has already spent some of its stored energy and has delicate feeder roots beginning to form; it can still establish, but rough handling, drying, or a late hard freeze will cost it more.
Then check the ground. If a spade comes out coated in slick mud, or if water remains in the hole after a reasonable period, wait and improve drainage rather than compacting wet soil around fragile roots. Frozen ground is an obvious stop, but waterlogged ground is just as important: roots need both water and air, and a saturated planting hole removes the air spaces they need.
Finally, check the next seven to ten days. A normal light frost is not the same as a sustained hard freeze, but a newly planted rose benefits from a stretch of moderate weather. If a cold snap is coming, you can plant and protect the rose in some climates, or hold it safely for a short delay. If a run of hot, drying wind is arriving, a container-grown rose may be the more forgiving purchase than a bare-root plant that must rebuild its root-to-shoot balance immediately.
Approximate spring windows by USDA zone
Use these as planning bands, not promises. The USDA Plant Hardiness Zone describes average annual extreme minimum temperatures; it does not tell you whether this week’s soil is frozen, whether your yard is exposed, or when your specific rose will break dormancy.
| Garden climate | Common spring planting band | What should decide the day |
|---|---|---|
| Zones 3–4 | Mid-April through early May | Ground fully thawed, drainage restored, and severe freezes easing |
| Zones 5–6 | March through mid-April | Dormant canes, workable soil, and a manageable late-frost forecast |
| Zones 7–8 | Late February through March | Soil ready before warm weather pushes rapid growth |
| Zones 9 and warmer | Late January through February in many areas | Dormancy and avoiding the first stretch of intense heat |
There are important exceptions. The RHS recommends late autumn or late winter to early spring for bare-root roses in its climate, so a mild-winter gardener may have a good fall option as well. In the desert Southwest, University of Nevada, Reno Extension recommends planting bare-root roses from December through mid-February and warns that later planting can fail as heat and dry winds intensify. That is not a universal rule for Zone 9; it is a useful reminder that heat can close the planting window just as cold opens it.
Why spring gives bare-root roses a strong start
Bare-root roses arrive without the insulating, moisture-holding root ball that surrounds a container plant. That sounds like a disadvantage, but it also means the plant is usually shipped during dormancy, when it is not trying to support a full canopy of leaves and flowers. The rose can spend the first part of the season making root contact with the surrounding soil instead of defending a lush top against transplant shock.
Spring also gives you control over the establishment period. You can watch the soil moisture closely, add a modest mulch layer before hot weather, and respond to late frosts or wind before the rose is fully leafed out. A rose planted at the right moment may not produce a spectacular first flush, but it has a better chance of building the root system that supports stronger flowering in later seasons.
Bare-root stock is often less expensive and available in more cultivars than plants sitting in retail containers. It may also have a broad, undisturbed root system. The trade-off is handling: roots must not dry out, the plant should not sit in water, and the delivery-to-planting interval matters more than it does for a potted rose.
What to do when your rose arrives before planting day
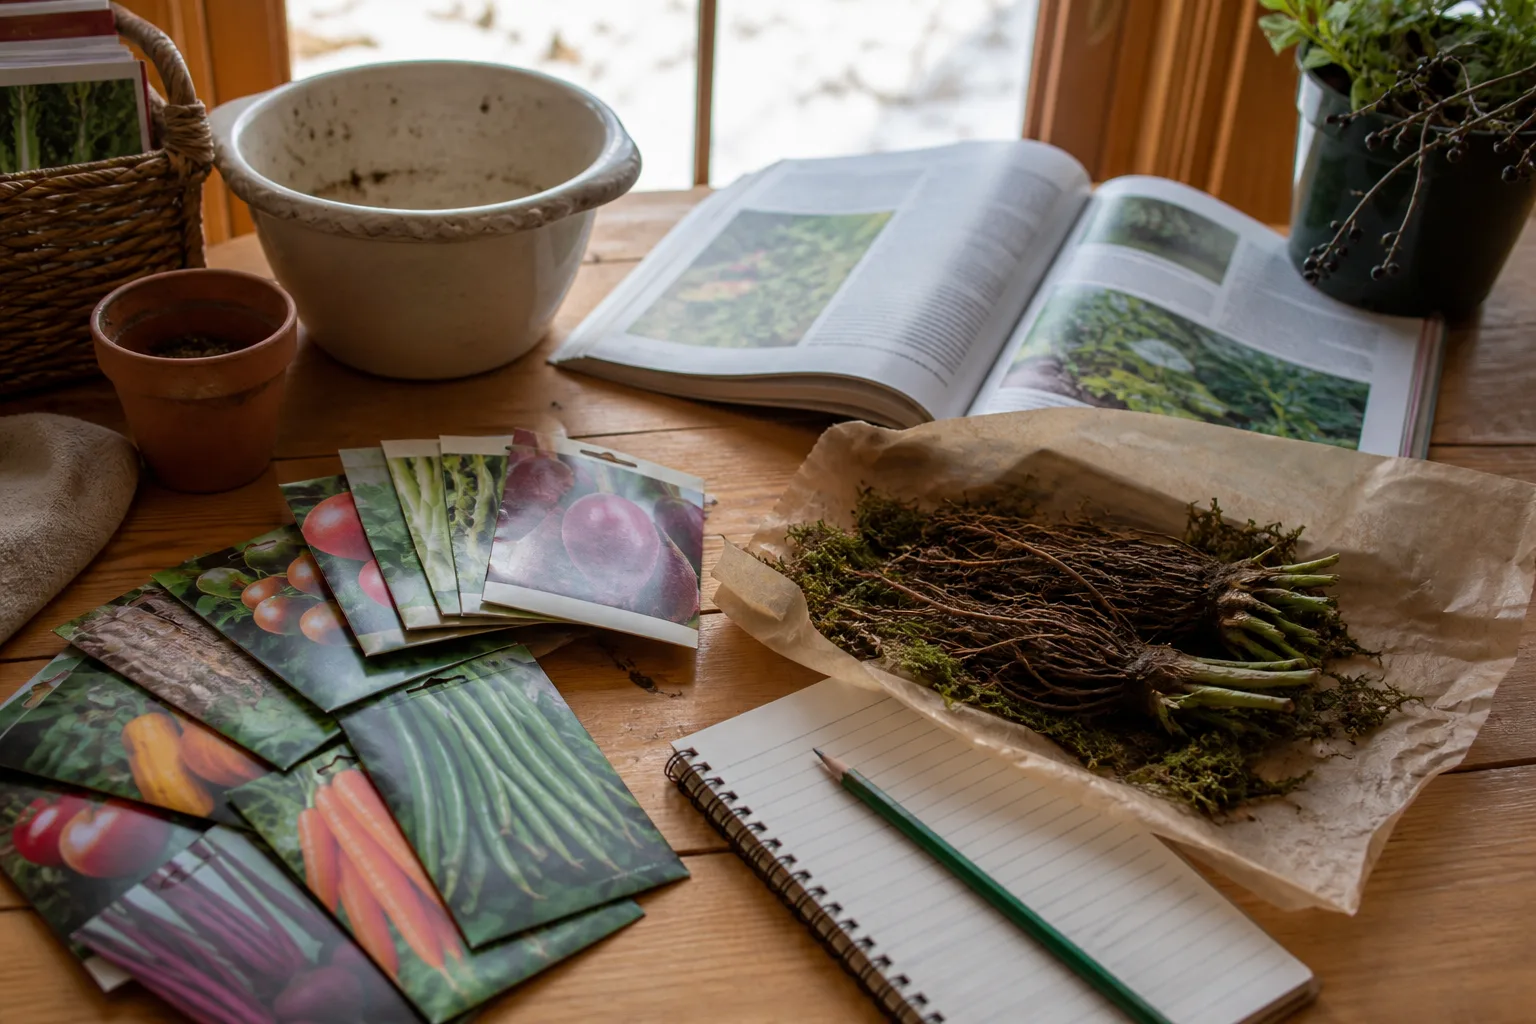
Open the package as soon as it arrives. Do not leave a bare-root rose sealed in a warm garage or in full sun while you wait for the weekend. Check that the packing material is slightly moist, the canes are firm, and the roots are flexible rather than brittle.
Store a dormant rose for a short delay
If planting is delayed for a day or two, keep the roots cool, shaded, and barely moist. A damp towel or the original moist packing around the roots can work for a brief period, but do not seal wet roots in an airtight plastic bag for long. The goal is to prevent desiccation without creating a stagnant, oxygen-poor package.
Most gardeners soak bare roots before planting to rehydrate them. A several-hour soak, often overnight, is a practical preparation; it is not a permanent storage method. Fine Gardening’s account of a weather-delayed shipment makes the important point that even a long soak must end before the roots are deprived of air. If you cannot plant after soaking, drain the rose and use a proper temporary storage method instead.
When to heel a rose into temporary soil
If the ground is frozen, waterlogged, or buried in snow, heel in the rose. Dig a temporary trench in a cool, shaded, well-drained spot, lay the rose at a slight angle if needed, cover the roots and much of the lower canes with loose soil or damp compost, and water just enough to eliminate air pockets. This is temporary protection, not the final planting position.
If the trench cannot be dug, use a large container with drainage holes and cover the roots with damp, loose material. Check it every few days. The contents should not dry out, but the rose should never sit in a tub of standing water. Plant as soon as the garden is workable, because pulling a rose from temporary soil after it has made tender new roots can cause avoidable damage.
Do not place a dormant rose in a heated room to “keep it alive.” Warmth can force growth before outdoor conditions are ready, and a sunny window can dry the canes while you are trying to protect the roots. Cool, dark, and slightly moist is closer to the condition the plant was in at the nursery.
Choose and prepare the planting site
The hole cannot compensate for a poor location. Give a rose a site with at least several hours of direct sun, good air movement, and soil that drains rather than holding a puddle after rain. Morning sun is especially useful in humid climates because it dries foliage early, while afternoon shade can help in very hot regions; University of Nevada, Reno Extension uses morning sun, afternoon shade, and at least six hours of light as a desert-Southwest strategy.
Check sun, drainage, and previous rose beds
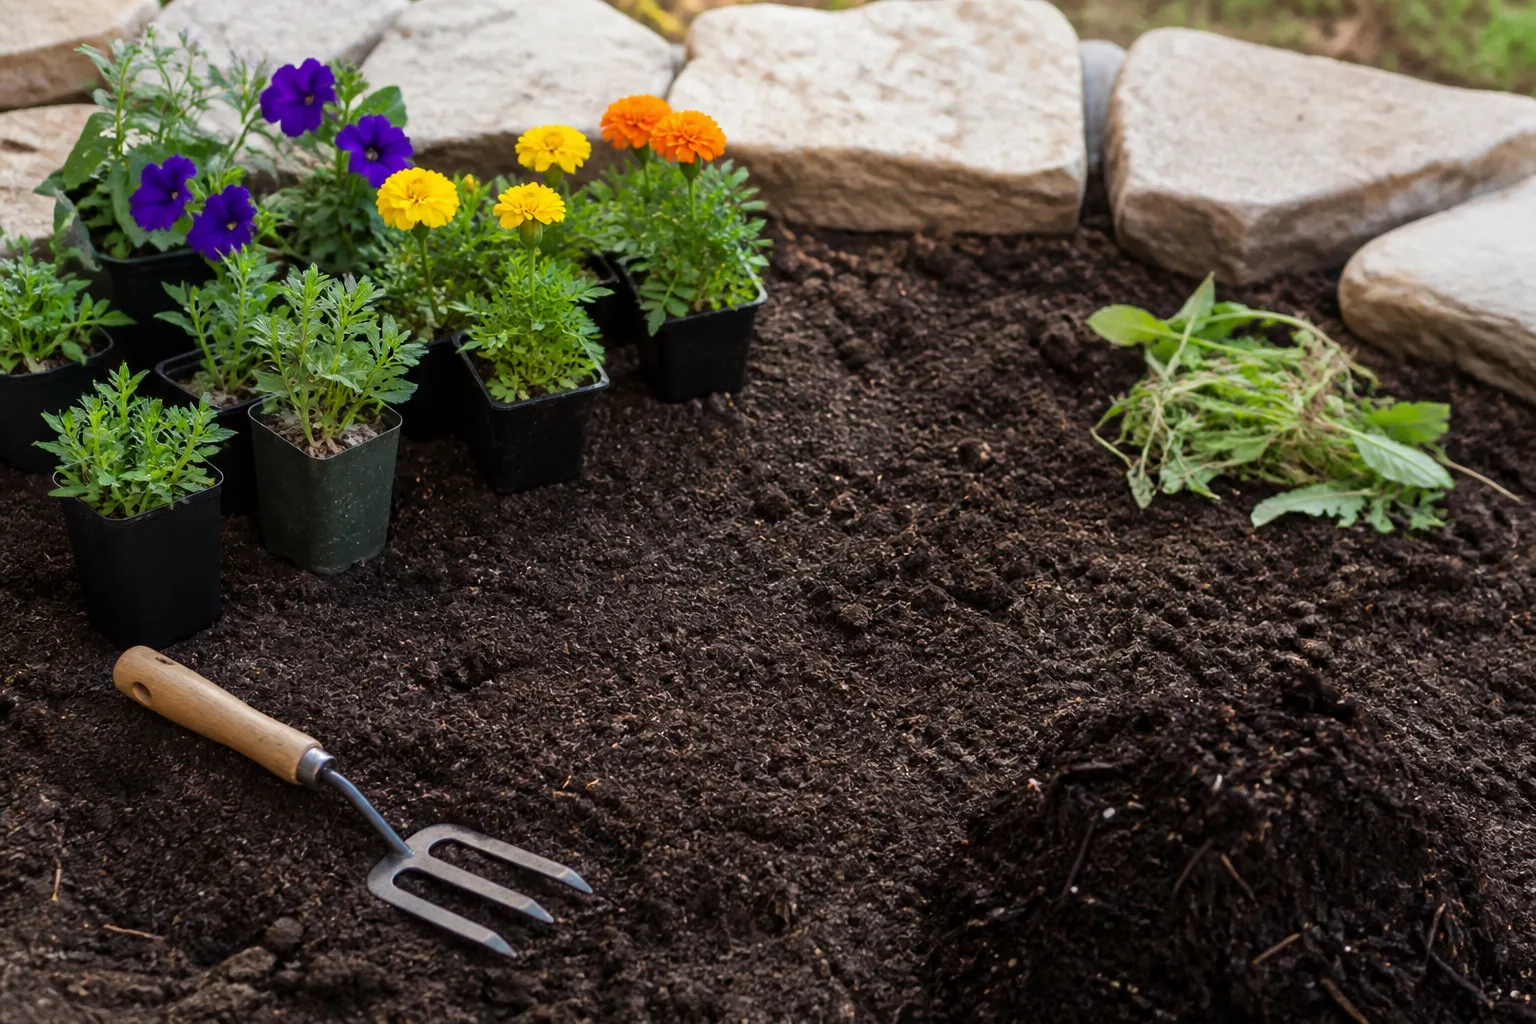
Watch the site for a full day if possible. A location that looks sunny at 9 a.m. may be shaded by a house or tree by noon. Leave enough room for the mature width of the cultivar, not just the small bundle of canes in the shipping box. Crowding a rose against a wall or another shrub can reduce airflow and turn routine black-spot or mildew management into a recurring battle.
Test drainage before you invest in the plant. Dig a hole roughly the depth of the root system, fill it with water, and observe whether the water disappears at a reasonable rate. If the hole remains saturated, redirect runoff, loosen a broader planting area, raise the bed, or choose a better location. Do not solve a drainage problem by putting gravel in the bottom of a narrow hole; that can leave the roots sitting in a perched wet layer.
Improve the whole planting area, not only a small pocket around the roots. A hole filled with dramatically richer, lighter soil than the surrounding ground can act like a pot: roots stay in the comfortable pocket, while the boundary beyond it becomes difficult to penetrate. Fine Gardening’s practical planting guidance recommends backfilling with native soil rather than creating an isolated compost-rich cavity. If your native soil needs organic matter, blend finished compost across the bed or planting area and work it into the surface layer according to the needs of your soil.
If you are replacing a rose in the same spot, take extra care. Rose replant disease, sometimes called soil sickness, is not a reason to abandon the garden, but it is a reason to remove old roots and exchange or substantially improve the tired soil. The RHS advises replacing soil from a generous area when replanting roses. A soil test can reveal whether the real issue is pH, salinity, nutrient imbalance, or poor structure before you add products by guesswork.
How to plant a bare-root rose step by step
Planting is easiest when the hole, water, mulch, pruners, and backfill are ready before the rose comes out of its soak. The exact depth depends on whether the plant is grafted or grown on its own roots, and on the climate advice from the nursery that supplied it.
Inspect and rehydrate the roots
Rinse away loose packing material and inspect every major root. Cut off roots that are broken, crushed, black and mushy, or clearly dead with clean, sharp pruners. Keep healthy roots as long as possible; aggressive trimming is not a shortcut to faster establishment.
Soak the roots in clean water for several hours before planting, usually long enough to make them pliable and hydrated. Do not add fertilizer, bleach, dish soap, or a homemade cocktail to the bucket. If the nursery specifies a labeled product or mycorrhizal treatment, follow that product’s directions; otherwise, clean water and careful planting are enough.
Dig a broad hole, roughly twice the spread of the roots, and deep enough that the roots can lie down without curling upward. In heavy soil, loosen the sides and bottom without turning the hole into a smooth, glazed bowl. Set some soil aside, then shape a low cone or mound in the center so the roots can radiate naturally around it.
Set the depth and spread the roots
Find the graft union, the swollen junction where the named rose joins its rootstock. In colder gardens, burying the union can protect it from winter injury; in milder climates, it is commonly set at or just above soil level. Nursery instructions and local extension recommendations take priority because the best depth depends on the cultivar, rootstock, winter severity, and exposure.
Own-root roses have no graft union. Set their crown—the point where roots and canes meet—at the depth recommended for that plant, generally close to the finished soil level rather than deeply burying the canes. If you cannot identify the union or crown, pause and ask the nursery before backfilling; an inch or two of uncertainty is worth resolving before the plant is fixed in place.
Place the rose on the soil cone and spread each root outward and slightly downward. Do not fold long roots into a tight circle, pack them into one side of the hole, or leave an air pocket underneath the crown. Add backfill in stages, working it between the roots with your fingers and gently firming it as you go.
Build a shallow basin around the planting area and water slowly until the soil settles. If the rose sinks, lift it to the correct level before the soil firms. Finish with a 1- to 2-inch layer of organic mulch over the root zone, leaving a clear gap around the canes. Mulch touching the stems keeps the base damp and can encourage rot or pest problems.
Water, mulch, and protect after planting
The first goal is not constant wetness; it is a consistently moist root zone with oxygen still available. Water deeply enough to settle the planting soil, then check the soil with a finger or small trowel rather than watering by habit. Sandy soil, drying wind, a sunny slope, and a newly leafed-out rose may need water more often than a cool clay bed after rain.
Build a simple first-month routine
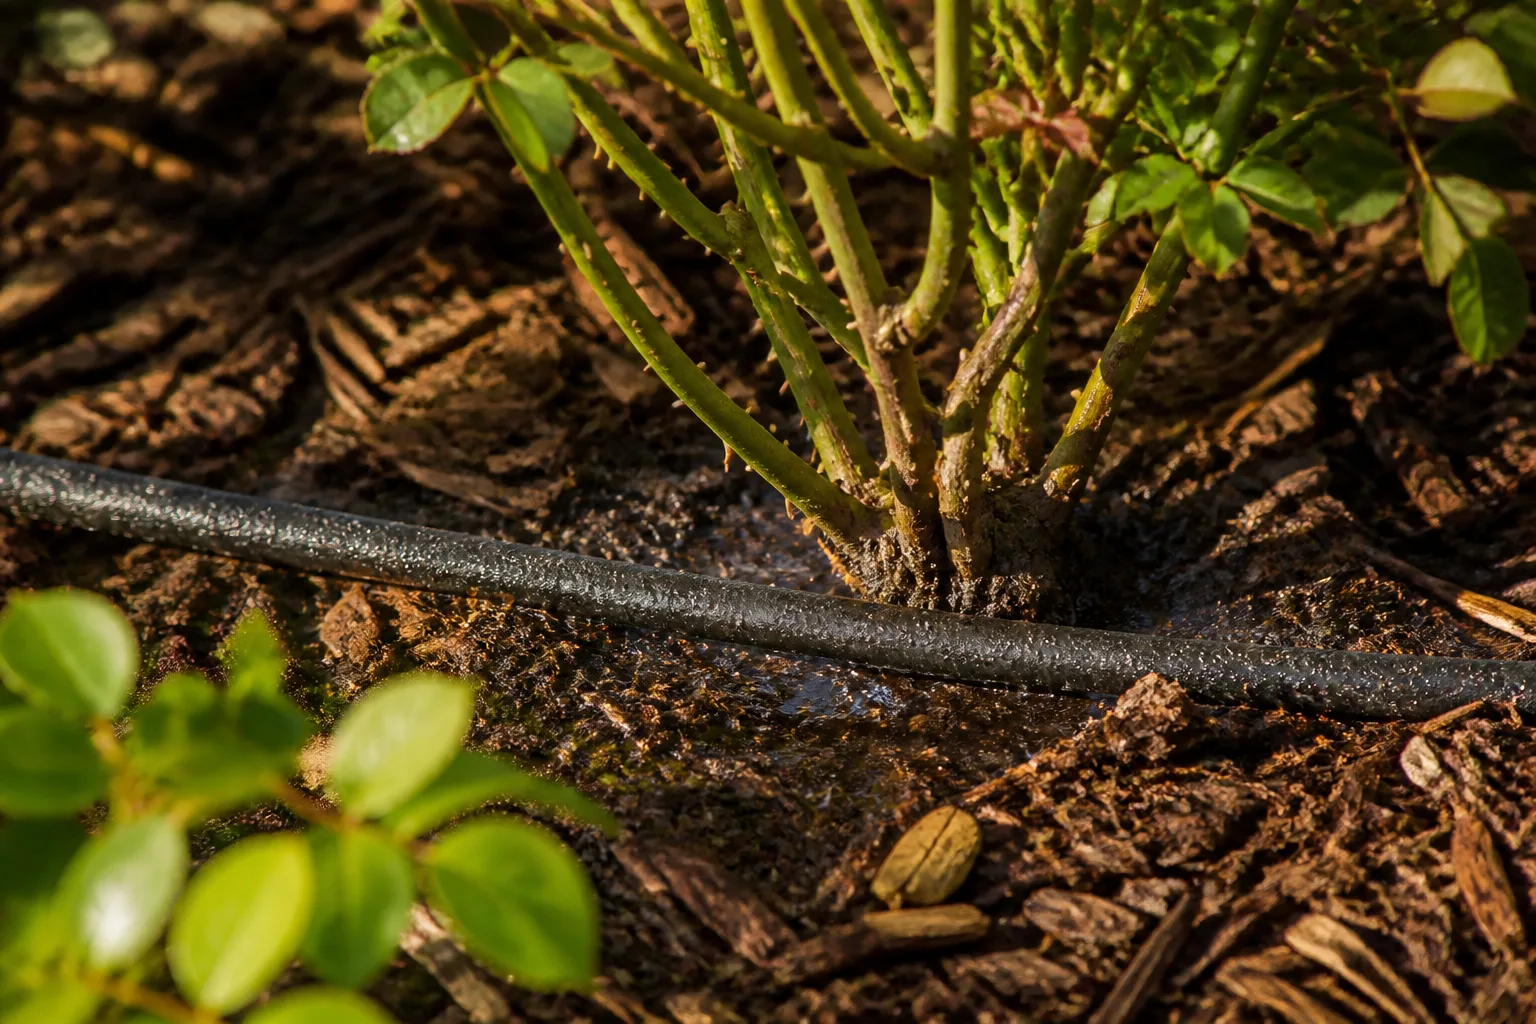
For the first two to three weeks, inspect the soil daily. Water when the upper layer begins to dry, applying the water slowly at the base so it moves down rather than running off. As roots extend, lengthen the interval while maintaining a deep, even soak. The RHS growing guide recommends regular watering for new roses during their first few years, with extra attention during dry spells; established roses generally need less frequent help than new transplants.
Keep irrigation off the foliage when practical, especially in the evening. Drip or soaker irrigation is useful, but a watering can applied to the soil works just as well for one rose. A newly planted rose does not need a permanently wet saucer or a daily splash that only wets the surface. Those habits can encourage shallow roots and crown problems.
Protect a newly planted rose from a hard freeze according to local conditions. A breathable frost cloth supported so it does not press on tender shoots is a better choice than sealing wet foliage under plastic. In windy sites, a temporary screen can reduce cane desiccation. Remove protection when the weather moderates so the plant does not overheat or stay damp.
Expect the first season to look modest. Some roses leaf out quickly; others pause while roots establish. A rose that makes a few healthy shoots and limited flowers is not necessarily failing. Pinching off a small number of early buds can sometimes redirect energy to establishment, but do not strip every flower automatically—your cultivar, climate, and plant vigor should guide that choice.
Fertilizer and pruning: what to delay
Do not pour fertilizer into the planting hole or apply a strong nitrogen feed to a rose that has not rooted. The fresh roots are vulnerable to concentrated salts, and early lush shoots can be more vulnerable to frost, wind, and drought than slower growth. Wait until the rose is actively growing and follow a soil test or the rose-fertilizer label rather than assuming more food means more flowers.
The same restraint applies to pruning. Remove dead, broken, or diseased wood at planting, and shorten a damaged cane back to healthy tissue if necessary. Do not reshape a healthy climbing or shrub rose into a hard, symmetrical ball just because the canes look long in the package.
Pruning style depends on the rose group. The RHS rose guidance recommends more substantial dormant pruning for hybrid teas and floribundas, lighter treatment for climbers and ramblers, and little or no routine shortening for many shrub and species roses. A newly planted rose may receive nursery-specific trimming, so keep the label and cultivar information. The goal in spring is to remove true damage and let the root system catch up, not to impose one pruning rule on every rose.
Troubleshoot slow growth, dieback, and odd shoots
The most useful question is not “Does it have leaves yet?” but “Are the canes and roots still alive, and are conditions improving?” Check moisture, light, planting depth, drainage, and weather in that order. A rose can remain dormant after its neighbors leaf out, especially if it arrived deeply dormant or sits in a colder pocket of the yard.

When the rose is simply dormant
Scratch a tiny spot on a cane with a clean fingernail. Green tissue under the bark suggests the cane is alive; dry brown tissue alone does not prove the entire plant is dead. Wait and protect the root zone from drying while checking whether buds swell over the next couple of weeks.
One rose in a row may wake later than the others because cultivar, root type, storage history, and microclimate differ. A small bare-root plant is not automatically the wrong grade, and first-year blooms are often smaller than catalog photographs. Menagerie Farm & Flower’s practical troubleshooting guide likewise notes that different bare-root roses can progress at different rates and that young plants commonly produce smaller first-year flowers.
If new shoots are white, red, or unusually pale at first, they may simply be emerging growth that will color up as they harden. Do not rub or cut them off just because they look unfamiliar. Give them light, steady moisture, and protection from a sharp freeze.
When to remove or replace a plant
Brown or black cane tips can result from drying, frost, shipping injury, or planting stress. Trim gradually down to firm, green tissue and watch whether the discoloration continues. If the crown is mushy, the roots are broadly rotten, or every cane is dry to the base after a reasonable establishment period, contact the nursery before discarding the plant; a replacement guarantee may require photos or a specific waiting period.
Do not confuse ordinary black spot with a problem that existed before planting. Black spot appears as dark lesions, often with yellowing, on leaves as the season becomes warm and humid. Improve airflow, water at the soil, remove fallen infected leaves, and use only products labeled for roses and permitted in your area if treatment becomes necessary. A newly planted rose should not be sprayed simply because one leaf looks imperfect.
Watch for a different warning sign: clusters of distorted, crowded, reddish shoots with abnormal thorniness. That pattern can indicate rose rosette disease, a serious viral disease rather than transplant shock. Isolate the plant, avoid moving pruners between roses, and contact a local extension office or plant-disease diagnostic service for confirmation and removal guidance.
Conclusion
The best time to plant a bare-root rose is the first suitable stretch of late winter or spring when the plant is dormant, the ground is workable and well drained, and the weather will not immediately force it through a freeze or heat wave. In cold zones that may mean April; in mild or desert climates it may be much earlier. Your zone is a starting point, not a planting appointment.
Prepare the site before the rose arrives, keep delayed plants cool and barely moist, hydrate the roots without drowning them, set the graft union or crown at the correct depth, and water the whole root zone consistently during its first season. If growth is slow, inspect the conditions before assuming failure. A bare-root rose may look unremarkable on planting day, but a careful spring start gives it the time and soil contact it needs to become a stronger flowering plant.



