Xeriscape Landscaping: A Practical Design Guide
Plan xeriscape landscaping around your climate, soil, slope, and daily use. Learn how to zone plants, reduce turf, choose mulch, and water new beds wisely.
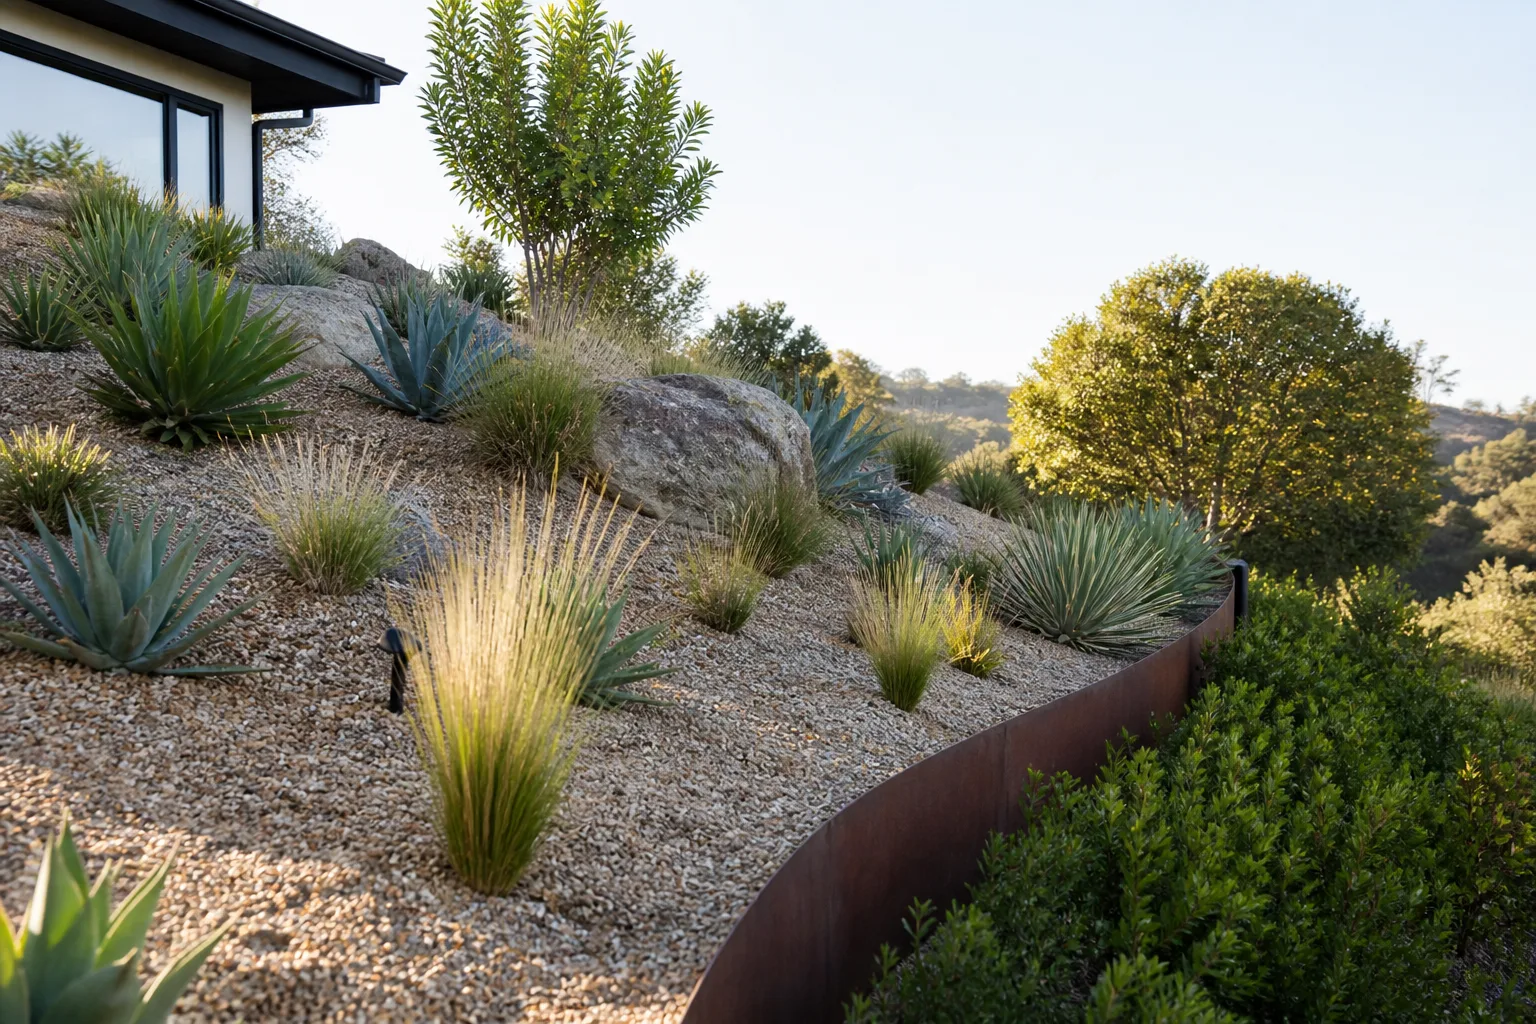
Xeriscape landscaping is a way to design a yard around its climate, soil, and water supply so plants need less supplemental irrigation once established. It is not a gravel-only makeover, a ban on lawns, or a promise that a landscape will never need water. The practical goal is to direct water to the places and plants that benefit from it, then avoid spending it on areas that do not need it.
The reason is more than a dry-weather concern. The U.S. Environmental Protection Agency estimates that U.S. residential outdoor water use is nearly 8 billion gallons per day, much of it for landscape irrigation (EPA WaterSense). A well-planned landscape can reduce avoidable demand, but the amount depends on local rainfall, existing turf, irrigation equipment, plant choices, and how much of the yard you convert.
A useful xeriscape begins with a site plan, not a shopping list. Map how you use the yard, identify the places that dry out or stay wet, group plants by water needs, and convert one section at a time. That sequence makes a water-wise garden more attractive and easier to maintain than simply replacing green lawn with a blanket of stone.
What xeriscaping actually means
The word xeriscape combines the idea of dry conditions with landscape design. In practice, xeriscape landscaping applies ordinary horticultural principles—right plant, right place; efficient irrigation; soil and mulch choices; and deliberate lawn area—to reduce unnecessary watering. Utah State University Extension describes xeriscape as an attractive, sustainable landscape that conserves water and relies on sound horticultural practices (USU Extension).
The prefix does not mean “zero.” Plants still need water from rain or irrigation, and new plants need special attention while roots spread into surrounding soil. A plant sold as drought-tolerant may survive dry spells after establishment yet struggle if planted during heat and left to dry out in its first weeks. Think of xeriscaping as lowering the yard’s long-term water demand, not removing water from the care plan.
The style is flexible. One property might use native prairie plants, a modest strip of turf, and a shaded patio; another might use Mediterranean herbs, raised beds, and a gravel path. In a humid region, the same design logic can reduce runoff and overwatering even if drought-adapted desert plants would be poor choices. Xeriscaping is about matching landscape decisions to local conditions, not copying a visual template.
What a xeriscape can save—and what it cannot
A xeriscape can reduce water spent on oversized lawns, leaky or poorly aimed irrigation, thirsty plants in exposed locations, and beds watered on a schedule that ignores rain. It may also mean less mowing and fewer routine inputs when you reduce turf and choose plants that fit the site. But these results are not automatic: a new bed can require frequent establishment watering, and a landscape built with too many high-maintenance plants can still demand substantial work.
Upfront conversion also has costs. Removing sod, correcting compaction, installing edging or drip lines, buying plants, and moving soil can take more labor and money than maintaining the existing yard for one season. The payback—if there is one—depends on local water rates, rebates, how much turf is removed, and whether the design reduces actual irrigation. Ask your water utility about current rebate rules before budgeting; programs vary and may require approved plants, photos, or a pre-installation inspection.
There is no rule that every lawn should disappear. Utah State University Extension advises keeping lawn areas limited because they can use more summer water than other plantings, while still recognizing functional areas for play or other uses. The better question is: Which parts of the yard need a resilient walking or play surface, and which parts are mostly being watered out of habit? That keeps the conversion focused on low-value turf instead of removing useful green space by default.
Start with a site and water audit
Before you order plants, spend a few days observing your property. Walk it in the morning, around midday, and late afternoon; notice which walls, fences, paved areas, and slopes receive direct or reflected heat. Look at where roof runoff lands, where sprinklers overshoot, and where water puddles or flows off instead of soaking in.
Also list how each area is used. A sunny strip beside a driveway may need heat-tolerant plants and careful irrigation; the lawn near a playset may need to remain durable; a narrow side yard might be a good place for a path and low-water planting. This quick inventory protects you from designing a beautiful bed that blocks a route, hides a utility access point, or cannot be watered conveniently.
Map sun, slope, runoff, and use
Make a simple sketch and divide it into broad conditions rather than drawing every plant. Mark full-sun and shaded areas, steep and level ground, hot reflected surfaces, downspouts, existing trees, utilities, and places where people walk or gather. Pay attention to seasonal shade: a deciduous tree can produce a sunny site in spring and deep shade in summer, while a south- or west-facing wall may intensify heat.
Map where water moves during a heavy storm. Water flowing toward a house, pooling beside a foundation, or cutting a channel through a slope is a drainage issue to solve before planting, not a cue to scatter gravel. If grading or a new basin could affect a foundation, neighboring property, retaining wall, or utility line, get qualified local advice before moving soil. Xeriscape planting can make runoff easier to manage, but it does not replace drainage design.
Check soil before changing it
Soil affects how quickly irrigation reaches roots and how long it stays available. Compacted clay may shed water at the surface; coarse or shallow soil may dry fast; a low spot can stay saturated. Check more than the surface: dig in several representative spots, feel the soil at root depth after watering or rain, and note whether it is crumbly, hard, sticky, or wet for an unusually long time.
A local soil test can help with pH and nutrient questions, but plant tags and regional extension guidance matter just as much. UC IPM recommends choosing species adapted to local climate and soil, considering extremes of heat, cold, and sunlight, and grouping plants with similar irrigation needs (UC IPM plant-selection guidance). Do not assume that every bed needs compost or that drainage must be made faster: some native plants thrive in lean soil, while others need more moisture-holding organic matter.
Build water-use zones before choosing plants
A hydrozone is an area where plants share similar water needs and can be irrigated together. It is more useful than grouping plants only by color or height, because a single sprinkler schedule cannot suit a thirsty vegetable bed and a dry slope equally well. Draw your water zones on the site map before deciding where individual plants go.
A simple yard might have three zones: a low-water bed on the sunny slope; a moderate-water area near the patio where people want fuller seasonal color; and a higher-water vegetable or container area close to a hose. Existing trees may need their own care, especially if they are mature and cannot tolerate abrupt changes to the soil or watering pattern. The zones do not have to be permanent engineering divisions, but separate irrigation controls make them easier to manage.
Set the driest zone where it can actually stay dry after establishment. Do not place a “low-water” bed under a roof edge that dumps heavy runoff, beside a frequently watered lawn, or where a neighbor’s sprinkler reaches it. Likewise, avoid putting moisture-loving plants at the top of a hot slope and then trying to compensate with constant watering. The layout should do part of the work before the irrigation system turns on.
Select plants for your region, not a generic list
“Drought-tolerant” describes performance in a particular climate and site; it is not a universal guarantee. A species that handles summer heat in a humid region may fail in a high desert winter, while a plant adapted to dry western summers may rot in heavy, wet soil farther east. Start with local extension plant lists or a regional native-plant database, then filter choices by your mapped sun, soil, mature size, and available water.
Native plants can be excellent candidates because many are adapted to local rainfall patterns and wildlife, but native status alone does not make a plant suitable for every yard. A wetland native may be the wrong fit for a dry slope, and a locally native shrub may need more water during establishment than an older, rooted specimen. Non-native plants can sometimes fit a water-wise landscape too, provided they are noninvasive and suited to the conditions; verify local invasive-plant guidance before buying.
The USDA hardiness zone helps estimate winter minimums, but it does not tell you how much summer water a plant needs, how it tolerates humidity, or whether your soil drains well. Combine zone information with local rainfall, summer heat, soil, and exposure. The water-wise plant guide can help you build a shortlist, but confirm species and cultivars against local recommendations.
Use a small, repeatable plant palette
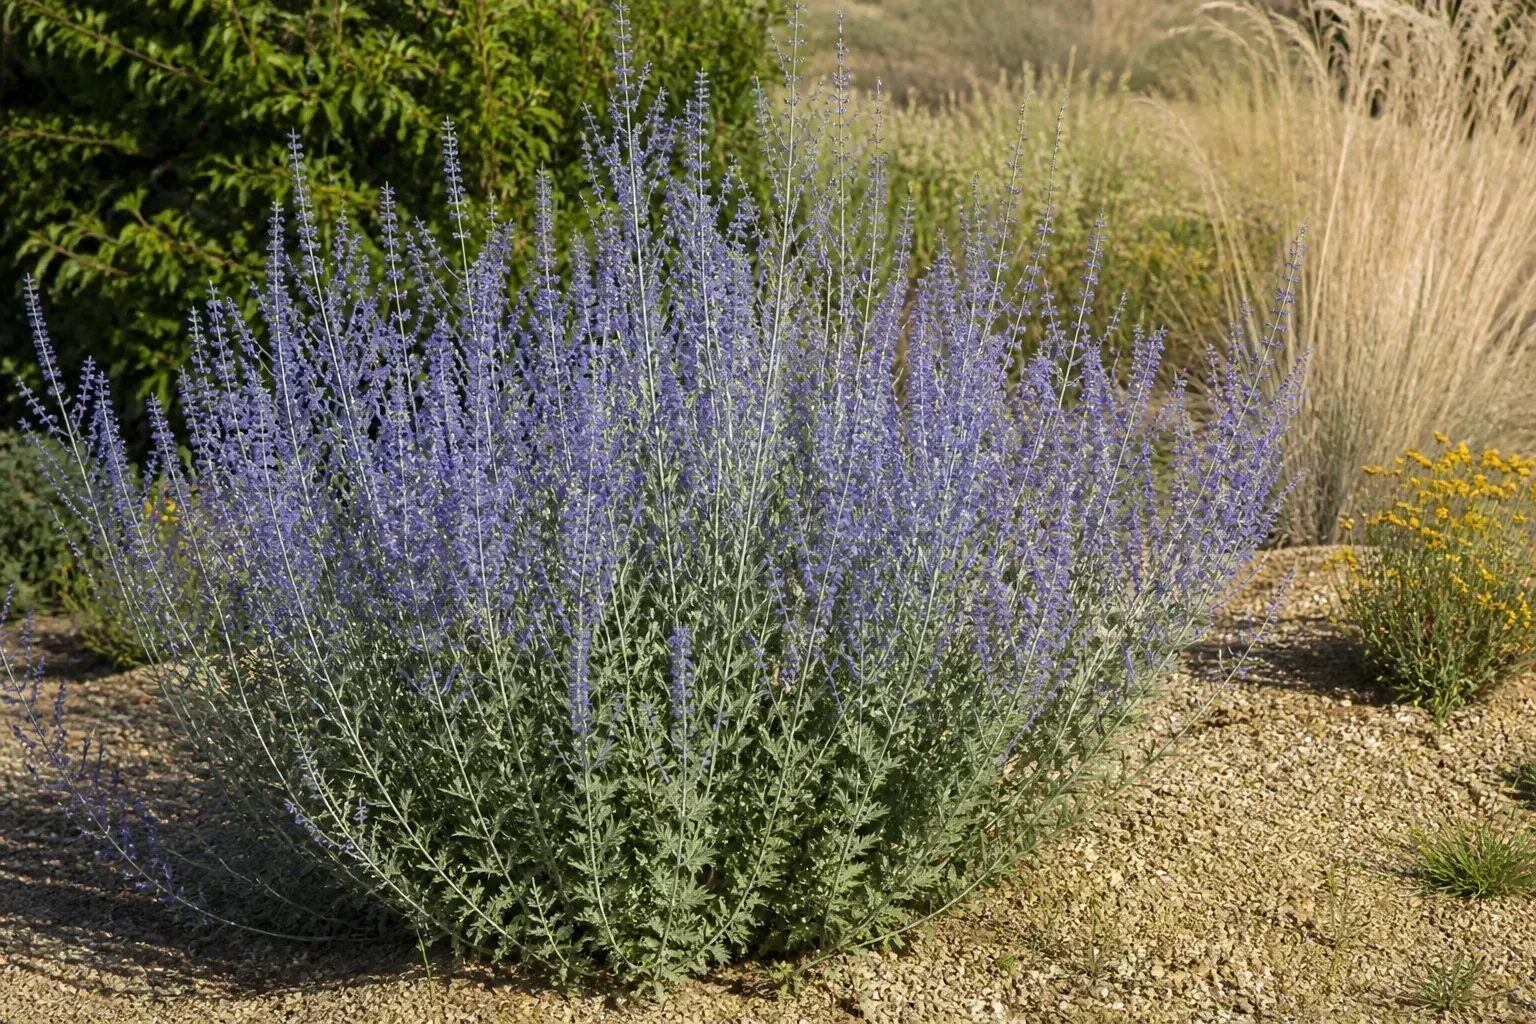
A coherent garden does not need dozens of species. Choose a few structural plants—such as region-appropriate shrubs or grasses—then repeat flowering perennials and ground covers in groups. Repetition looks intentional, makes irrigation easier to tune, and lets you see quickly if a plant is struggling across several parts of the bed.
Vary plant height, leaf shape, bloom time, and texture within the same water zone. A dry bed can combine ornamental grasses with long-blooming perennials and compact ground covers, while a shaded zone can use woodland plants that tolerate the local dry-season pattern. Keep taller plants clear of windows and paths, leave mature shrubs enough room, and use plant labels with botanical names so you can distinguish look-alike species with different water needs.
Drought adaptation is also not the same as “pollinator-friendly” or “wildlife-friendly.” If habitat matters to you, include flowering plants with staggered bloom times, seed heads, and suitable host plants, but check that those plants fit your site. A single mass planting of one showy but poorly matched species can be less resilient than a diverse palette with overlapping seasons and root depths.
Keep lawn where it earns its place
A small lawn can be the right surface for children, pets, games, or a comfortable outdoor seating area. Keep it where it gets real use, shape the boundary so mowing stays practical, and reduce lawn in narrow strips or steep places that are difficult to irrigate efficiently. Utah State University Extension recommends keeping turf areas to a minimum in water-wise landscapes, not eliminating every patch of grass.
If you want a more drought-resilient lawn, identify the grass type first and ask a local extension service whether it can go dormant safely during dry weather. Dormancy can look brown without meaning the lawn is dead, but a long drought, shallow roots, heat, or traffic can still kill turf. Do not keep watering an unused lawn just to preserve a uniform green color if local restrictions or water supply concerns make that unreasonable.
Lawn removal is not a one-step project. A cleared area left bare can quickly grow weeds, erode, or become a muddy route. Plan the replacement before removing turf: mark the path, planting beds, lawn that stays, irrigation route, and finished edges. Savvy Gardening describes a gradual lawn reduction—adding paths and beds in manageable sections—as a practical way to keep the yard usable while the design changes (Savvy Gardening’s water-wise garden advice).
Improve soil selectively
The phrase “improve the soil” can cause problems when it turns into a blanket instruction to enrich every bed. If you are planting prairie or desert-adapted species that prefer lean, fast-draining conditions, heavy compost amendment can make the planting less suitable. For vegetables or moisture-loving plants, organic matter may be helpful; for a dry-climate bed, the correct answer depends on the plant palette and native soil.
First fix compaction and drainage problems that conflict with the plants you plan to grow. Loosen compacted soil without pulverizing it, and avoid working wet clay, which can smear and compact further. If the soil is very poor or contaminated, or you are planning major grading, consult a local extension office or qualified landscape professional before mixing in amendments. Improving a small planting area is easier to control than changing the entire yard’s soil profile.
Do not add a thin layer of rich soil over compacted ground and expect roots to ignore the boundary. Roots follow air, moisture, and nutrients; abrupt layers can lead to uneven water movement. Match the planting method to the site: use raised beds for crops if drainage and soil quality demand them, while preserving native soil conditions in a bed of plants adapted to that soil.
Choose mulch for the plant and climate
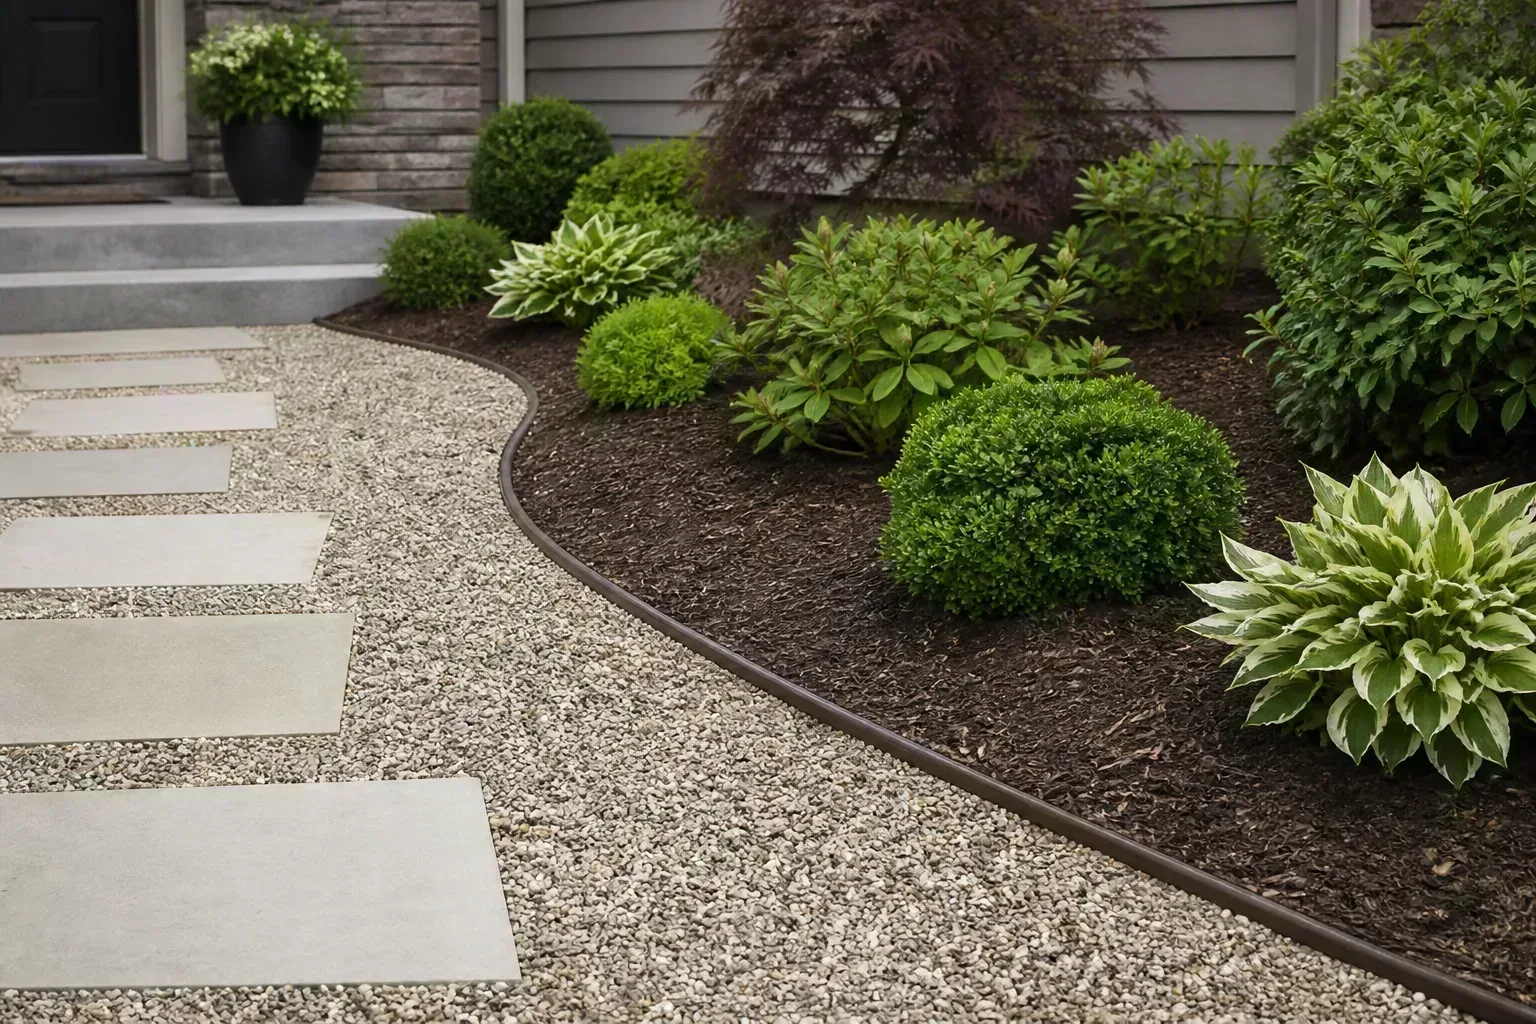
Mulch slows surface evaporation, moderates soil temperature, and reduces the open ground where weeds compete for water. Organic materials such as bark, shredded leaves, or composted mulch can also break down and contribute organic matter. In most ornamental xeriscape beds, a breathable organic mulch is a sensible starting point, especially where summers are hot and the chosen plants tolerate it.
Rock and gravel are useful for paths, drainage features, or plants that naturally grow in mineral soil. They are not a universal water-saving layer: stone can absorb and radiate heat, complicate future planting, and still allow weeds to emerge from dust and debris. Gardening Know How cautions against equating xeriscaping with a yard of gravel and cacti, noting that excessive gravel can increase heat around plants (Gardening Know How on xeriscape misconceptions). Use mineral mulch where it suits the plants and climate, not as a substitute for choosing the right plants.
Match mulch depth to the material and keep it away from trunks, crowns, and plant stems. A deep, compacted layer can hold excess moisture against a crown or shed water before it reaches the soil; a sparse layer may do little to suppress weeds. Avoid placing landscape fabric under every bed as a shortcut: organic matter and soil move, weeds can root in the layer above, and the fabric makes future division or replanting harder.
Design irrigation for establishment and drought
Watering needs change as plants move from nursery pots into the ground. During establishment, roots have not yet explored the surrounding soil, so the plant may need regular checks and supplemental water even if it is labeled drought-tolerant. The right frequency depends on plant size, weather, soil texture, rainfall, and planting season; a fixed weekly schedule can overwater clay or underwater sandy soil.
Water slowly enough for the root zone to absorb it, then check the soil instead of judging only by the surface. A wet mulch layer can hide dry soil underneath, and a brief sprinkler run can leave the top damp while roots remain dry. Adjust after heat waves and storms. When established plants tolerate dry conditions, lengthen the interval gradually rather than abruptly stopping irrigation across the whole yard.
Use a hose-end meter, rain gauge, or smart controller as a tool—not as a replacement for observation. Test sprinkler coverage with small containers placed around the zone; uneven coverage often explains why one corner wilts while another stays wet. Repair leaks and redirect heads away from pavement before buying more drought-tolerant plants.
Keep drip systems inside the right zone
Drip irrigation can deliver water near roots with less spray onto paths, but it is only efficient when installed and maintained correctly. Group emitters and line layouts by plant size and water need, include a filter and pressure regulator where the system requires them, and keep access points visible so you can check for clogs or leaks. New shrubs may need a different emitter arrangement as they grow.
Do not attach one drip line to every bed and run it on the same timer. A vegetable bed, newly planted shrubs, and an established dry slope have different needs even if they sit only a few feet apart. If one valve must serve several types of plants, redesign the zones or use an adjustable system rather than repeatedly compensating with hand watering. See the drip irrigation systems guide for more on choosing and checking a setup.
Capture rainfall without creating drainage problems
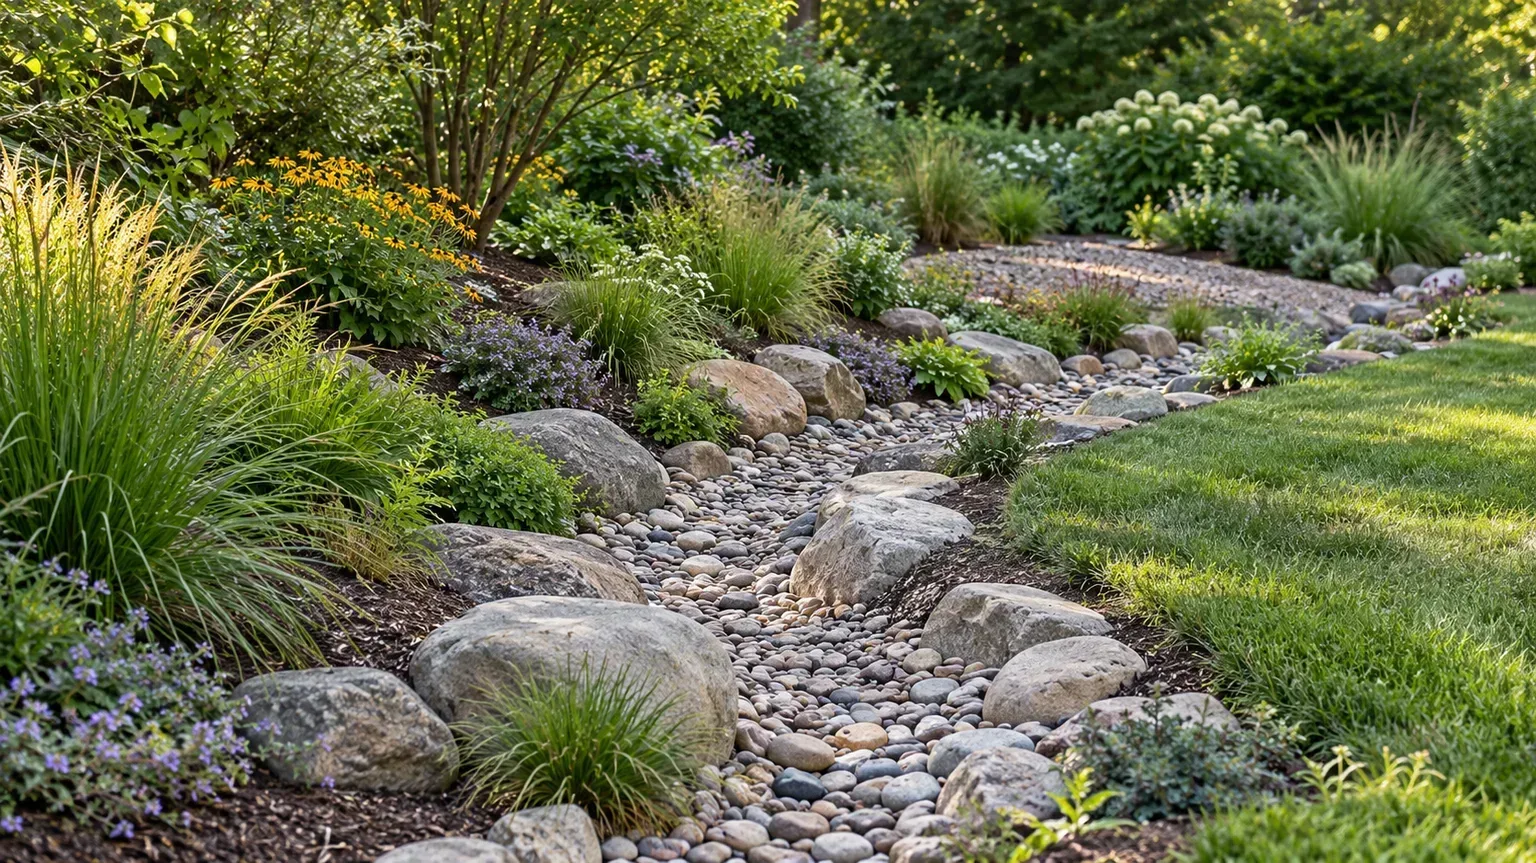
Rain barrels, downspout extensions, permeable surfaces, and rain gardens can make water use more intentional, but they solve different problems. A barrel stores a limited amount for later use; a rain garden is a designed depression that temporarily receives and infiltrates runoff; a dry creek bed can guide water through a yard when designed for the flow. None should direct water toward a home’s foundation or onto a neighbor’s property.
Observe where roof and paved-surface runoff goes before adding a basin. A place that stays wet may need a drainage solution and moisture-tolerant planting, not more gravel or a dry-climate plant palette. Conversely, a dry slope can benefit from slowing runoff so water has time to soak in, provided the design is stable and does not cause erosion.
Savvy Gardening’s rain-garden guidance describes using a planted basin to capture runoff and stresses that it should drain rather than remain a permanent pond (Savvy Gardening rain garden guide). In a yard with foundation leaks, steep slopes, poor drainage, or major stormwater flows, ask a qualified local professional before changing grade. Rainwater rules also vary by location, so check local guidance before installing a collection system.
Convert the yard in manageable phases
A phased conversion protects your budget and gives you a chance to learn how your site behaves. Start with one high-value section—perhaps a hot foundation bed, a difficult-to-mow slope, or a patch of lawn that rarely gets used. Keep notes on irrigation time, plant survival, weeds, and maintenance for a full growing season before repeating the design elsewhere.
A practical sequence is:
- Mark utilities, paths, views, play areas, and drainage flows.
- Decide which lawn remains and where each water-use zone belongs.
- Identify soil problems and choose plants that fit the site.
- Remove or smother turf only after you have a planting and edging plan.
- Install irrigation lines and hardscape before planting and mulching.
- Plant in the season that gives roots time to establish in your region.
- Track soil moisture and adjust watering as the plants grow.
If the project is a large lawn conversion, compare the cost and timeline of sod removal, sheet mulching, or staged bed expansion. Sheet mulching can reduce digging, but it takes time and can create a temporary untidy area; mechanical removal is faster but heavier and may disturb soil. Keep a clean edge next to the remaining lawn, sidewalk, or neighbor’s property while plants fill in.
A test bed also exposes local constraints early. Check homeowner association rules, municipal landscape ordinances, fire-safe planting requirements where relevant, and rebate conditions before making a large change. A xeriscape does not have to look unfinished: clear borders, repeated plants, maintained paths, and a small intentional lawn can make the transition read as design rather than neglect.
Common xeriscape mistakes and their fixes
| Mistake | Why it fails | Better approach |
|---|---|---|
| Buying plants labeled “drought-tolerant” without checking region or soil | The label does not guarantee fit for local winter, humidity, or drainage | Verify botanical names and local recommendations before purchase |
| Converting the whole lawn at once | The yard may become bare, weedy, or difficult to use before plantings establish | Pilot one section and keep useful routes and play areas intact |
| Using gravel as the default ground cover | Stone may heat the site and does not prevent all weeds | Reserve rock for paths, mineral-soil plants, and specific design jobs |
| Treating new plants like established plants | Shallow new roots dry faster than roots of mature plants | Monitor soil at root depth and taper irrigation as roots expand |
| Grouping plants only by appearance | A single watering schedule can be too much for one plant and too little for another | Create hydrozones first, then choose colors and shapes within each |
| Ignoring runoff | A dry garden can still flood, erode, or send water toward a structure | Map storm flows and solve grading or drainage before planting |
| Over-amending every bed | Rich, moisture-retentive soil may not suit plants adapted to lean conditions | Amend only for the selected plants and the measured soil problem |
Maintain the landscape as it matures
A water-wise garden needs less intervention only when the design and plant choices fit the site. During the first season, check newly planted root zones regularly, remove weeds before they seed, and adjust emitters when plants grow. Water less often as plants establish, but do not use a calendar alone; hot wind, unusually low rainfall, sandy soil, and newly planted shrubs can all change the schedule.
After establishment, inspect the irrigation system at the start of the growing season and after any repair or digging. Watch for plants leaning, losing leaves at the wrong time, or showing repeated stress in the same zone. A single wilted afternoon is not always a signal to water immediately, particularly in heat; check soil moisture and the plant’s normal seasonal behavior first.
Replenish mulch only where it has thinned, keep it clear of woody stems, and remove invasive weeds before they set seed. Prune for plant health and space rather than shearing everything into a shape that demands frequent growth. If a plant needs constant rescue watering, move it to a more suitable zone or replace it with a better match instead of turning the whole landscape into a higher-water system.
Conclusion
The most reliable xeriscape starts with the way your yard already behaves. Map sun, soil, slopes, runoff, and daily use; keep the lawn that serves a real purpose; group plants by water need; and use irrigation during establishment rather than assuming drought tolerance means no water. Choose mulch and soil amendments for the plants and site, and solve drainage before redirecting rainfall.
Start with one manageable bed or slope, observe it through a season, and adjust before expanding. A successful xeriscape is not defined by gravel or a particular style; it is a landscape where plants fit local conditions and every watered area has a clear reason to be there.