Parijat Soil Mix: Drainage, Compost and pH
Parijat Soil Mix: Drainage, Compost and pH
Parijat Soil Mix: Drainage, Compost and pH
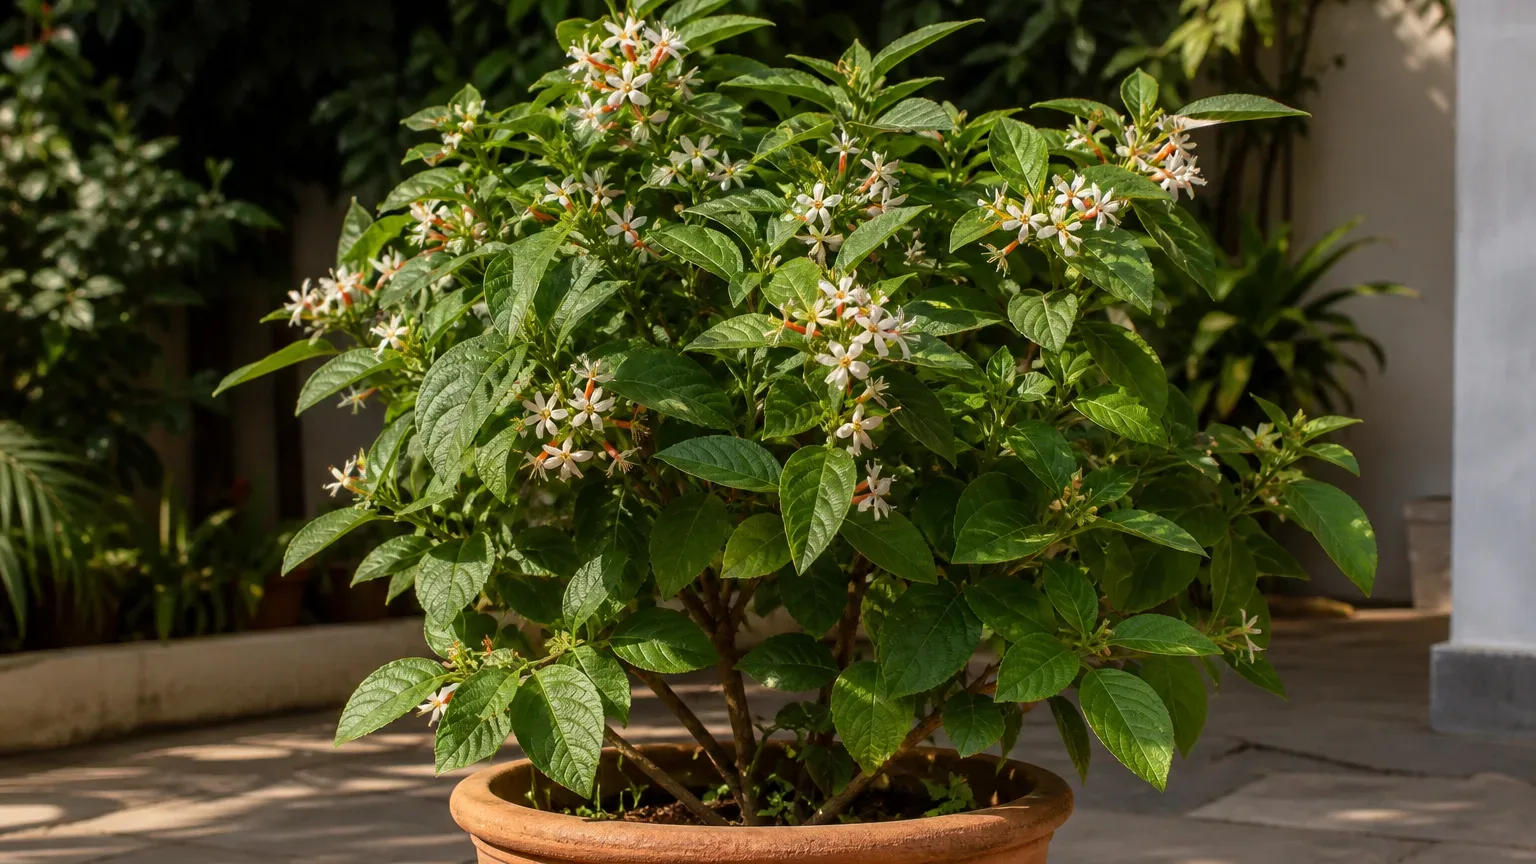
Nyctanthes arbor-tristis is the accepted botanical identity behind Parijat, Harsingar, and night-flowering jasmine, as recorded by Kew’s Plants of the World Online. It is a woody shrub or small tree, not a delicate true-jasmine vine; its root zone therefore needs enough structure to support years of growth while still releasing monsoon water promptly. The useful target is fertile, loose soil that holds some moisture but never remains saturated.
For a container, start with loam or quality potting soil, mature compost, and a coarse drainage component. For open ground, improve the planting area broadly rather than filling a small hole with a radically different mix. If you remember one test, make it this: after a deep watering, excess water should leave the pot freely and the upper 3–5 cm should begin drying rather than staying cold, dark, and sticky for days.
What soil does Parijat need?
Parijat performs best in a crumbly, aerated root medium with both mineral structure and organic matter. The plant needs moisture during active growth and flowering, but that does not mean permanently wet soil. Water occupies the same pore spaces roots use for air; when those spaces remain flooded, root function declines even though the canopy may look thirsty.
A slightly acidic to neutral mix, roughly pH 6.0–7.0, is a practical target rather than a reason to micromanage every decimal. Texture and drainage usually deserve attention before pH. The species is formally recognized as Nyctanthes arbor-tristis in the NCBI Taxonomy database, which helps avoid confusing it with unrelated plants also called night jasmine.
The best Parijat soil mix at a glance
For most balcony and terrace containers in India, use this starting blend by volume:
- 40% good-quality potting soil or screened loam for body and water retention
- 30% mature compost for organic matter and gradual nutrient supply
- 30% coarse material, such as perlite, fine pine bark, pumice, or washed coarse sand, for durable air spaces
This is a starting ratio, not a universal formula. In humid coastal weather or a glazed plastic pot, increase the coarse fraction slightly if the blend stays wet too long. In an unglazed terracotta pot exposed to hot, dry wind, retain a little more loam or compost so roots do not swing from saturated to bone-dry in a day.
A reliable DIY Parijat potting mix
Measure ingredients with the same scoop, combine them on a clean sheet, and break apart compost clumps before potting. The finished mix should feel springy and granular, not like sticky garden mud. Moisten a handful, squeeze once, then open your palm: it may hold loosely, but should crumble when touched rather than forming a polished, dense ball.
Use mature, earthy-smelling compost only. The University of Minnesota explains that compost contributes stable organic matter, but more is not automatically better in a pot. A container filled mostly with fine compost can shrink, settle, retain too much water, and lose air space as it ages.
Why each ingredient is there
Potting soil or loam anchors the woody plant and buffers water between irrigations. Compost supports structure and biological activity, while coarse particles preserve larger pores through which water drains and air returns. Virginia Cooperative Extension’s guidance on growing media for containers emphasizes that container media must balance water retention with aeration and drainage because roots cannot escape the pot.
Coarse sand must genuinely be coarse and washed; fine construction sand can pack between particles and make the blend denser. Perlite is light and useful on balconies, bark adds resilient structure, and pumice is stable but heavy. Choose one or combine them according to what is locally available rather than chasing a branded recipe.
Can you use ready-made potting soil?
Yes, but inspect it first. A bag labeled “potting mix” may be suitable as the 40% base, while dense red garden soil or fine black soil should not fill a Parijat container by itself. Wet a sample in a pot with drainage holes: if water ponds for more than a minute, the mass slumps, or the sample remains sticky for several days, amend it before using it around the whole root ball.
A ready-made mix containing bark, coco coir, and perlite may need only compost. A very fine peat- or coir-heavy mix often needs extra bark, pumice, or perlite to resist collapse. Avoid adding gravel as a “drainage layer” at the bottom; improve the medium throughout and keep drainage holes open instead.
If cocopeat is the main locally available ingredient, treat it as the moisture-retentive base rather than the drainage fraction. Blend in coarse bark, pumice, or perlite, then wet-test the finished mix before planting.
Drainage starts with the container
Even an excellent mix fails inside a pot with no outlet. Use multiple unobstructed holes and keep the container slightly raised if it sits on a flat terrace. Empty the saucer or decorative outer pot after watering, because runoff held against the base can wick back into the root zone.
Pot size matters too. Moving a small root ball into a huge tub surrounds it with wet, unused mix and slows drying. Move up one practical size when roots fill the existing pot, then follow the Parijat repotting guide for timing and root handling. If the medium remains saturated, the mechanism described in the University of Wisconsin’s overwatering guidance applies: oxygen becomes limited and roots lose function.
Preparing garden soil for Parijat
In open ground, Parijat has a larger moisture buffer than it does in a pot, but standing water remains a poor fit. Choose a site where rain disperses instead of collecting at a wall footing or the lowest point of a courtyard. Observe the site during a heavy shower; real drainage behavior tells you more than dry-season appearance.
Loosen a broad area around the future root zone and mix moderate compost into the native topsoil. Do not create a small, compost-rich “bathtub” inside compacted clay, because water can collect at the interface. Where the site is seasonally wet, a slightly raised mound or bed is often more reliable than trying to transform deep clay with a narrow planting hole.
How to handle heavy clay
Clay is not inherently infertile, but compaction and poor structure can slow infiltration. The RHS recommends adding well-rotted organic matter and avoiding work when clay is very wet, when footsteps and tools smear its pores shut. Improve a wide zone over time rather than adding a pocket of loose mix around the trunk.
Do not try to fix clay by stirring in a token handful of sand. Small amounts can make the texture more concrete-like rather than open. Add compost to the surface, protect the soil from repeated trampling, and use elevation where monsoon water naturally accumulates.
Soil pH for Nyctanthes arbor-tristis
Aim for approximately pH 6.0–7.0. This range is compatible with a fertile loam-based mix and avoids the extremes at which nutrient availability can become distorted. Test only when growth remains poor despite suitable sun, watering, drainage, and feeding, or when local soil is known to be strongly alkaline or acidic.
Use a laboratory or reputable soil-testing service before applying lime or sulfur in open ground. The RHS overview of soil types and pH explains why texture, organic matter, and acidity need to be considered together. In pots, replacing a failing mix is often safer than repeatedly dosing it to chase a meter reading.
How to test whether the mix drains well
Before planting, fill the intended pot, water slowly across the surface, and watch the base. Water should enter the mix rather than sit on top, then emerge through the holes in a steady stream. After drainage stops, the medium should be evenly moist but not release water when gently squeezed.
After planting, track two or three wet-to-dry cycles. If the top dries while a wooden skewer pushed deeper comes out coated with wet paste, the lower mix is too retentive or the pot is oversized. The University of Minnesota notes that soil drainage reflects how water moves through soil; checking below the surface prevents a dry crust from hiding a saturated root zone.
Signs the soil mix is wrong
Mix that stays too wet: yellowing lower leaves, wilt despite moist soil, a sour smell, fungus gnats, soft dark roots, or water that remains pooled on the surface. These overlap with watering problems, so check the root zone before adding more water. Use the Parijat watering guide to separate a timing error from a structural soil problem.
Mix that dries too fast: water races down the pot wall without wetting the root ball, the medium pulls from the rim, shoots droop soon after watering, or fine feeder roots die at the edge. This can happen in a root-bound pot or old coir/peat that has become difficult to re-wet. Compacted mix: the surface hardens, water ponds, and a skewer meets uniform resistance rather than passing through a crumbly medium.
How to repair Parijat soil without guessing
If only the surface has crusted, remove the upper few centimetres without damaging roots and replace it with fresh mix. If water channels around a dry root ball, soak the nursery pot briefly, let it drain, and then return to normal deep watering. Do not keep the pot standing in water as a permanent solution.
If the entire mix smells sour or stays wet for many days, unpot the plant, inspect roots, remove only clearly soft or dead tissue with clean tools, and repot into fresh airy medium. Delay fertilizer until the plant resumes growth. Root symptoms warrant the Parijat overview for whole-plant context and the Parijat propagation guide only if healthy material must be preserved.
Seasonal soil management in India
During hot pre-monsoon weather, containers may dry rapidly, so mulch the surface lightly and check moisture below it. Do not respond by replacing the mix with dense clay. During the monsoon, move portable pots out of relentless rain, clear blocked holes, remove saucers, and pause irrigation until the upper layer dries.
In cool or dry winter weather, Parijat uses water more slowly and may shed some leaves. A mix that worked in May can remain wet much longer in December. Keep the physical recipe stable, but adjust watering frequency through the Parijat watering guide rather than repotting a healthy plant every season.
When to use this page vs other Parijat guides
Use this page when water ponds, the mix compacts, roots lack air, or you need a recipe for a new pot or planting site. Use the Parijat watering guide when the medium itself drains correctly but you need help deciding when and how deeply to water. Use the Parijat fertilizer guide for feeding after the root zone is healthy, and the Parijat repotting guide when roots have filled the container.
For weak growth with sound roots, check the Parijat light guide before changing the soil again. Soil cannot compensate for a dim indoor position, and making several changes at once makes the original problem harder to identify.
Related Parijat guides
- Parijat overview — whole-plant identity and care priorities
- Parijat watering — moisture checks and seasonal frequency
- Parijat fertilizer — feeding a healthy root system
- Parijat repotting — pot size, timing, and root handling
- Parijat propagation — starting replacement plants
- Parijat light — placement and flowering light
Conclusion
The best Parijat soil is not the richest or fastest-draining mix in isolation. It is a stable balance: enough loam and mature compost to hold useful moisture, plus enough coarse structure and open drainage to restore air after every watering. A 40:30:30 blend of potting soil or loam, compost, and coarse amendment is a practical container starting point, adjusted for pot material and climate.
Prioritize drainage before pH correction or fertilizer. Watch how the root zone behaves through summer heat and monsoon rain, and repair the specific failure—compaction, saturation, channeling, or an oversized pot—rather than adding random ingredients. Healthy Parijat roots should sit in moist, earthy-smelling, crumbly soil that begins to dry between deep waterings.