Pomegranate Propagation: Cuttings, Layering & Seed
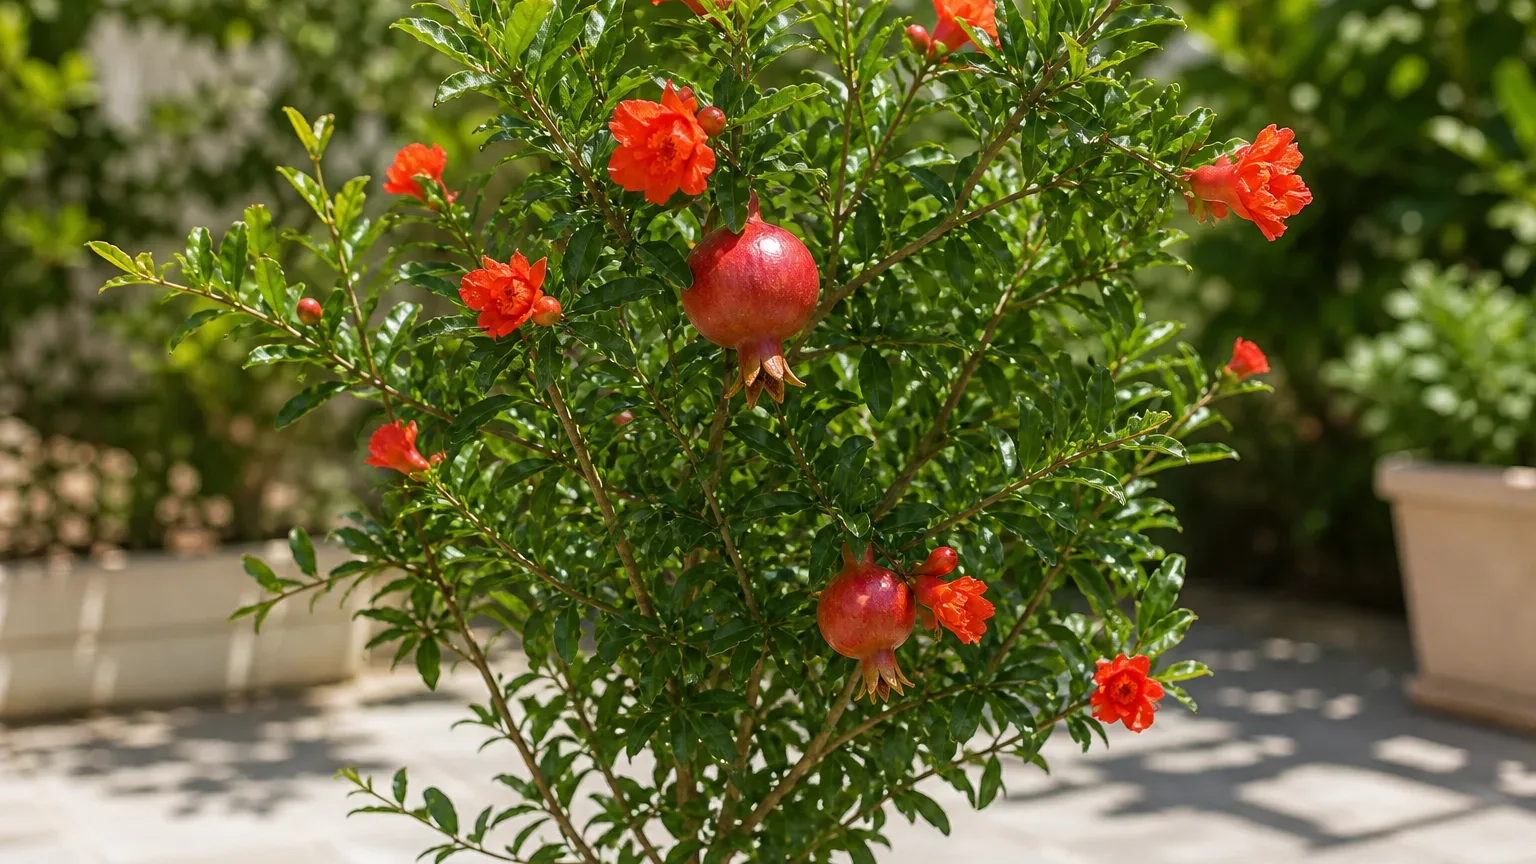
Pomegranate Propagation: Cuttings, Layering & Seed
Pomegranate Propagation: Cuttings, Layering & Seed
Pomegranate propagation starts with one decision: do you want a new Punica granatum, or a genetic copy of a tree whose fruit you already like? Hardwood cuttings and layering keep the parent cultivar. Seed is easy and inexpensive, but seedlings reshuffle traits and will not reliably match the fruit you planted from.
Pomegranate is a woody, deciduous shrub or small tree in the henna family (Lythraceae), native from northeast Turkey through Afghanistan and long cultivated across the Mediterranean and warmer dry regions (NC State Extension Plant Toolbox). In India it is often called Anar. The plant belongs outdoors in full sun on a terrace, courtyard, or garden bed—not in a dim indoor corner. Propagation succeeds when you match the method to your goal, time wood correctly, and keep the rooting zone moist but never stagnant.
Choose the method by your goal
If you want the same fruit quality, flower colour, and growth habit as a named cultivar, use a vegetative method: hardwood cuttings, softwood cuttings under controlled humidity, or layering. Utah State University Extension states that plants may be raised from seed but will not be “true to type,” and that vegetative propagation with one-year-old cuttings is the practical clonal route (Utah State University Extension).
Choose hardwood cuttings when you can take dormant one-year wood and leave it undisturbed for a full season of rooting. Choose layering when a flexible shoot can be bent to soil—or wrapped for air layering—and you prefer roots to form while the shoot still draws water from the parent. Choose seed only when you accept genetic variation, want many plants cheaply, or are selecting seedlings for interest rather than duplicating a known fruit type.
Buying a labelled nursery plant that was cut or layered from a known cultivar is often faster than learning on your only productive tree. Propagation is for multiplying a plant you already trust, not for guessing what an aril will become.
Why seed-grown Pomegranate varies
A pomegranate seed is the product of sexual reproduction. Even when flowers self-pollinate, genetic recombination and occasional cross-pollination mean seedlings are not clones of the fruit parent. UF/IFAS Extension is direct: seed-propagated plants do not come true-to-type, although seeds can germinate in about 45–60 days (UF/IFAS Extension). Utah State University Extension makes the same point for home and orchard culture (Utah State University Extension).
Variation can show up in fruit size, sweetness, seed hardness, rind colour, flowering time, thorniness, and plant vigour. A seedling from excellent fruit can still become a worthwhile tree, but the parent arils are not a warranty. Do not label or sell a seedling under the mother plant’s cultivar name.
When growing from seed still makes sense
Seed suits growers who want many plants at low cost, enjoy selecting seedlings, or need rootstocks and experimental material. Clean ripe arils, rinse pulp thoroughly, sow fresh seed into a free-draining mix, and keep the surface evenly moist—not waterlogged—until seedlings emerge. UF/IFAS’s 45–60 day germination window is a useful planning range, not a stopwatch; cooler soil slows emergence (UF/IFAS Extension).
Sow thinly so seedlings do not crowd. Thick stands and constantly wet media invite damping-off, a fungal collapse of germinating seed and young stems at the soil line (NC State Extension). Use clean trays, airy mix, and bright light as soon as shoots appear. Move strong seedlings into individual pots only after they hold several true leaves and the root ball holds together.
Hardwood cuttings: the main clonal method
For most home growers who want a true-to-type plant, hardwood cuttings taken in late winter are the method extension sources emphasise. Utah State University Extension recommends one-year-old cuttings about 10–12 inches (25–30 cm) long and ¼–½ inch (6–13 mm) in diameter, taken in late winter, with leaves removed and the base treated with rooting hormone (Utah State University Extension). UF/IFAS describes winter hardwood cuttings 6–8 inches (15–20 cm) long and pencil size or larger, set vertically with the top 2–4 nodes exposed (UF/IFAS Extension).
Those length ranges overlap in practice. Use healthy, disease-free one-year wood from a productive parent—neither soft tip growth nor old exhausted trunks. Mark polarity carefully: plant with the buds pointing up. A pencil-thick cutting has enough stored reserves to push roots and new shoots; skinny tips dry out, and thick old wood roots more slowly.
When to take cuttings
Time hardwood cuttings for dormancy or the very end of dormancy, before strong new growth. In Florida, UF/IFAS suggests January or February (UF/IFAS Extension). In much of India, that maps to late winter into early spring—after cool-season leaf drop and before the surge of monsoon-season growth—when wood is mature and the rooting medium can warm. Avoid taking wood from a drought-stressed or heavily flowering branch if better material is available.
Utah State University Extension notes that cuttings may also be placed outside in early spring once soil has begun to warm, and that plants are usually left undisturbed for a full season while rooting takes place (Utah State University Extension). Patience is part of the method. Do not dig weekly to “check roots.”
How to root hardwood cuttings
Make a clean basal cut just below a node. Remove any remaining leaves. Dip the basal end in a rooting product labelled for woody cuttings, then insert the bottom third into warm, free-draining rooting media (Utah State University Extension). Leave several buds above the surface. Space cuttings so foliage and new shoots will not stay wet against each other.
Keep the medium lightly moist. Soggy peat that never dries at the base invites stem rot. Bright light with protection from harsh midday sun and drying wind helps leaves that form after budbreak. UF/IFAS notes cuttings may remain in nursery rows for one to two years before field or container planting (UF/IFAS Extension). For a terrace grower, that means potting up only after a solid root system fills a starter container—then stepping up gradually using the mix and drainage rules in the Pomegranate soil guide.
Softwood cuttings during active growth
Softwood or semi-hardwood tip cuttings can work during active growth when you can supply high humidity, warm roots, and clean media. They are more fragile than dormant hardwood pieces: soft tissue wilts fast, and constant mist without drainage quickly turns into rot. Use this route only if you can maintain a humidity enclosure or mist setup and accept higher losses than with winter hardwood wood.
Take recently matured green wood with a few leaves, shorten large leaf blades, and stick cuttings into sterile coarse mix. Keep humidity high without leaving the stem base sitting in free water. Once roots hold the mix and new shoots harden, move plants toward outdoor light gradually using the goals in the Pomegranate light guide. Softwood is a useful backup when you miss the hardwood window; it is not the first method most extension guides lead with for orchard or home clonal production.
Layering for a rooted plant still attached to the parent
UF/IFAS reports that layering is successful on Pomegranate but more labor-intensive than hardwood cuttings (UF/IFAS Extension). The advantage is simple: the shoot keeps receiving water and sugars from the parent while roots form, so the new plant is less likely to desiccate than a detached cutting. The Royal Horticultural Society describes layering as encouraging roots on a shoot that remains attached to the parent—especially useful when cuttings are unreliable (RHS layering).
Simple ground layering
Choose a low, flexible, healthy shoot that can reach soil without splitting. Wound a short section of stem on the underside, optionally dust the wound with rooting compound, then peg the wounded section into a shallow trench of moist, free-draining soil and cover that section while leaving the tip upright (RHS layering). Keep the buried zone from drying out during hot, dry spells.
RHS guidance notes that roots on layered shoots may take many months—often within a year—before a good root system allows you to sever the layer and transplant (RHS layering). Wait for a fibrous root mass, not a single stub of white root. Then cut below the rooted section, pot or plant carefully, and harden the new plant in bright shade before full sun.
Air layering on upright stems
When stems cannot bend to the ground, air layering wraps a wounded section of stem with damp moss or similar medium while the shoot stays upright. Wound a ring of bark on a pencil-to-finger-thick shoot of matured wood, wrap damp—not dripping—moss around the wound, enclose it in clear plastic sealed at both ends, and shade the wrap if intense sun cooks the moisture. Check that the medium stays moist without becoming anaerobic.
Detach only after multiple roots have branched through the wrap. Pot into a compact starter container with free drainage, reduce top growth if the canopy is large, and avoid a giant wet pot that holds water around a tiny new root system. The Pomegranate repotting guide covers when to move up later; do not rush size.
Aftercare for new Pomegranate plants
A rooted cutting or layer is still a juvenile plant. Give it full sun only after it holds leaves and pushes firm new growth. Follow the soak-and-check rhythm in the Pomegranate watering guide: wet the mix thoroughly when the top few centimetres dry, then drain freely. Constantly wet media kill young roots faster than a short dry spell.
Do not fertilise heavily until the plant is established and growing. Mild feeding after active growth resumes is enough; salt burn on a tiny root system is a common setback. Train early structure according to whether you want a multi-stemmed shrub or a single trunk, and remove unwanted basal suckers only with that plan in mind—details belong in the Pomegranate pruning guide. Expect fruit years later than an established orchard tree; first seasons are for roots and framework.
Common propagation failures
Cuttings that blacken from the base usually sat in cold, soggy media or were taken from weak wood. Discard rotten pieces, refresh the mix, and stick fewer cuttings with better airflow. Leaves that wilt and stay limp mean the cutting lost water faster than roots could replace it—shorten foliage, raise humidity briefly, and reduce direct sun. Seedlings that collapse at the soil line point to damping-off; thin the stand, dry the surface between waterings, and improve light and air movement (NC State Extension).
Seedlings that look healthy but disappoint at fruiting are not a care failure if you planted seed expecting a clone. That outcome is genetic variability, which is why named fruit cultivars are sold as cuttings or layers. If a new plant stalls after potting up, check drainage and root health before adding fertiliser—see the Pomegranate overview for the full care system around a young tree.
When to use this page vs other Pomegranate guides
Use this page when you are multiplying plants: choosing cuttings, layering, or seed, and nursing new starts through rooting. Switch to watering when an established plant needs a moisture rhythm for flowering and fruit. Use soil when drainage or mix composition is the bottleneck. Use light when a terrace plant is shaded and failing to harden or flower. Use repotting when a container plant is root-bound after propagation. Use fertilizer only after roots are established. Use pruning once framework and fruiting wood matter more than rooting survival.
Related Pomegranate guides
- Pomegranate care overview — habit, climate fit, and how care topics fit together
- Pomegranate watering — moisture checks for young and fruiting plants
- Pomegranate soil — free-draining mixes for cuttings and containers
- Pomegranate light — full-sun placement after hardening
- Pomegranate repotting — stepping rooted plants into larger pots
- Pomegranate fertilizer — when to feed after establishment
- Pomegranate pruning — structure after the plant is rooted and growing
- Pomegranate plant hub — species profile and cluster entry point
Conclusion
Propagate Pomegranate by matching method to purpose. Hardwood cuttings in late winter are the most practical clonal path for home growers, with layering as a reliable but more hands-on alternative while the shoot stays attached to the parent. Seed germinates, yet seedlings will not reliably recreate the parent fruit—use vegetative wood when cultivar quality matters. Keep media warm and free-draining, leave cuttings undisturbed while roots form, and harden new plants into full sun only after growth is firm. Once roots and shoots are established, follow the watering, soil, light, and pruning guides so the new Anar plant can grow into a productive shrub rather than stall in a wet pot.