How to Grow Bells of Ireland: Seeds, Care & Harvest
Grow bells of Ireland from seed with clear timing for direct sowing or indoor starts, practical watering and support advice, and harvest tips for arrangements.
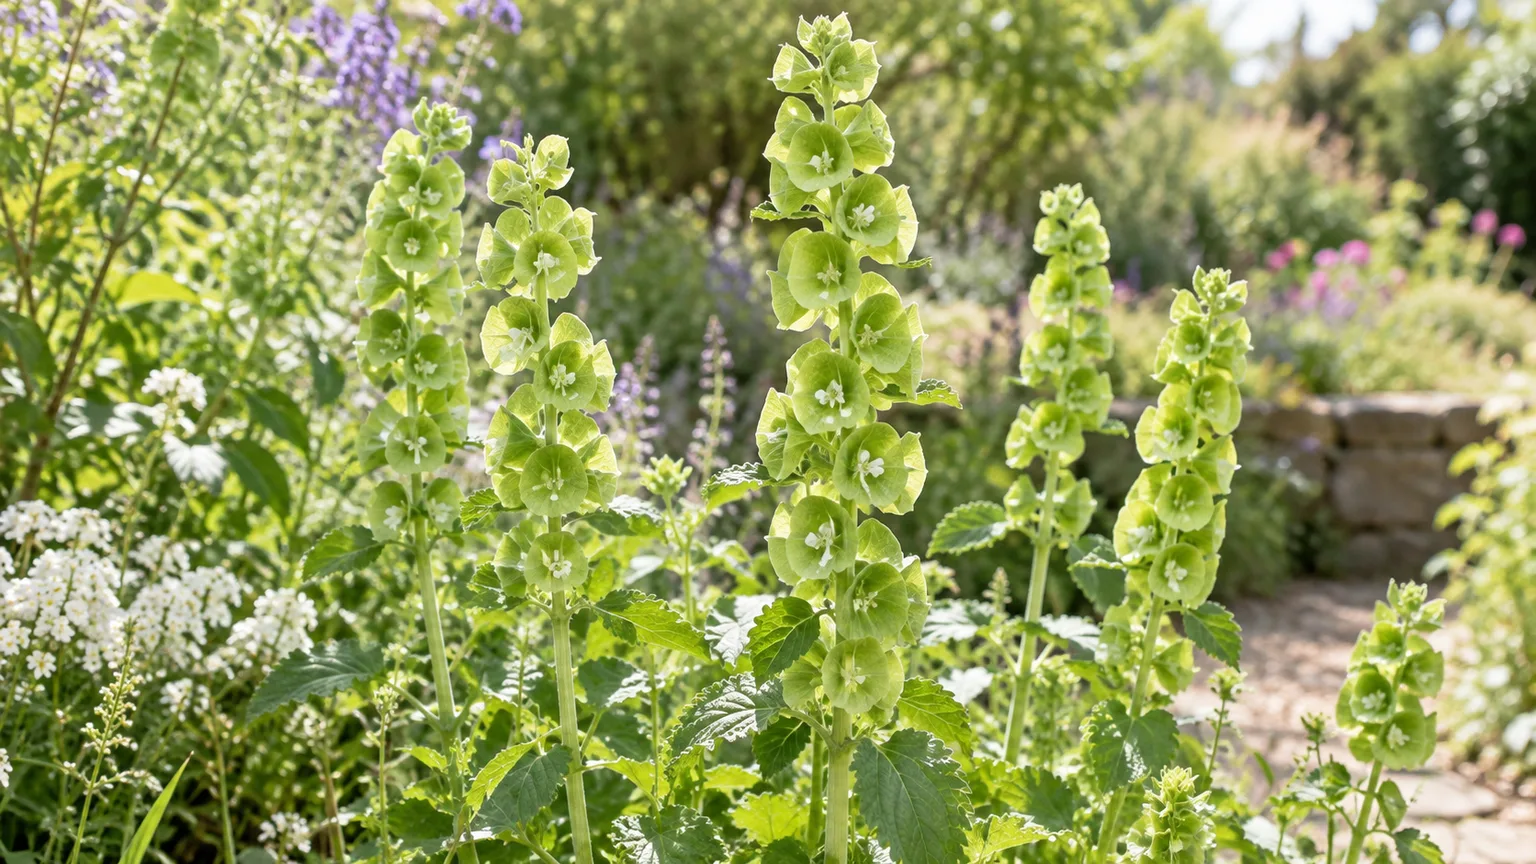
Bells of Ireland is an annual worth planning around its seedling stage. Mature plants are relatively undemanding, but germination can be uneven and a taproot makes oversized seedlings reluctant transplants. The easiest route is usually to sow where the plants will grow, then thin the stand and keep it evenly moist while the weather is cool.
The calendar matters more than a hardiness-zone label. In a mild-winter region, sow in fall; where winters are severe, sow as soon as soil can be worked in spring. Either way, aim for a cool growing window that lets the plants build roots and flower before prolonged heat and humidity arrive.
What the “bells” are—and what the name hides
Bells of Ireland (Moluccella laevis) is a member of the mint family, Lamiaceae, native to western Asia—not Ireland. Kew’s Plants of the World Online profile lists its native range from western Asia to Turkmenistan. The plant is grown for its straight, branching green spires, which often reach roughly 2 to 3 feet in a garden.
The conspicuous green cups are calyces, the structures that enclose and support each flower. The actual flowers are small, pale, two-lipped blooms tucked inside those cups. That distinction helps explain why the spires remain decorative after the tiny flowers fade: the green calyces are the main show, and they gradually turn tan as seed matures and the season ends. The RHS plant profile describes an upright annual with late-summer spikes and notes that the stems are useful in dried arrangements.
Although it is an annual, bells of Ireland can reseed itself when mature seed drops into suitable soil. That does not make it a dependable perennial: winter conditions, moisture, and the next spring’s temperature all affect whether seedlings return. Treat volunteer plants as a bonus, not as the only plan for next year’s display.
Choose a sowing window that fits your climate
Choose the sowing method by asking two questions: can your garden provide a cool stretch for young growth, and do you want to avoid transplanting? Direct sowing is simplest when the bed can be prepared early. Indoor sowing can buy time in a short season, but it adds a root-handling step that this plant does not appreciate.
In mild-winter areas, fall sowing lets the seeds experience natural seasonal conditions and emerge as the weather cools. In colder regions, sow outdoors in early spring once the soil can be worked; Johnny’s Selected Seeds recommends early spring sowing when soil is about 50–60°F. If spring turns hot quickly where you garden, start earlier under cover or try a fall sowing in a protected bed rather than waiting until warm weather is established.
Direct sow for the least root disturbance
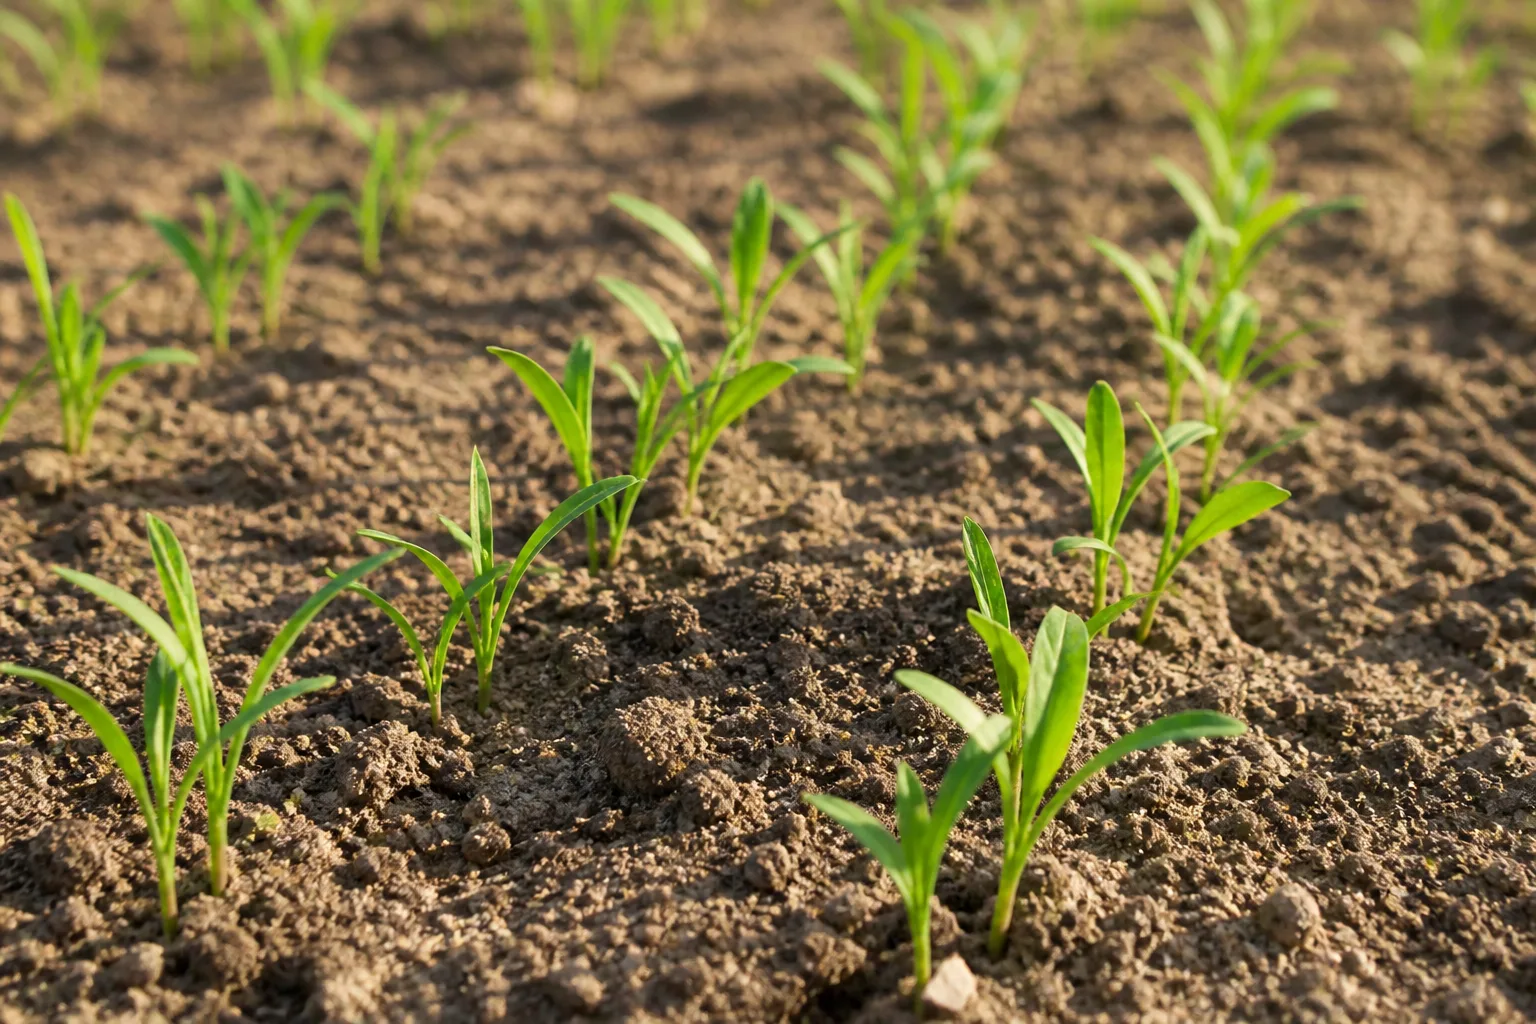
Prepare a weed-free, raked bed and water it before sowing if the soil is dry. Scatter seed thinly or sow a few seeds at each final station, then press them against the surface. Bells of Ireland seed needs light to germinate, so do not bury it under a normal seed-depth layer; at most, use a very thin dusting of fine mix or vermiculite to keep seed from washing or blowing away.
Keep the surface consistently damp—not puddled—until seedlings appear. A gentle watering can, fine rose, or mist setting helps keep seeds in place; a hard spray can wash them into clumps or bury them. Johnny’s Selected Seeds reports germination commonly taking about 12 to 21 days under suitable conditions, though cooler or variable conditions can extend the wait. Mark the row and keep it moist rather than resowing after only a few days.
Once seedlings are large enough to identify, thin them to roughly 10 to 12 inches apart, a spacing Johnny’s lists for its crop guidance. If you sowed three seeds per station, keep the strongest seedling and snip extras at soil level instead of pulling them up beside the roots you want to preserve. The plants need air around their lower foliage, and crowded stems are harder to support and inspect.
Start indoors only when the season calls for it
For a short spring, start seed indoors about 6 to 8 weeks before you expect to plant outside; some growers begin 8 to 10 weeks ahead when the local season is especially brief. Because recommendations vary, use your seed packet as the final guide and avoid starting so early that roots fill the container before outdoor conditions are ready. Johnny’s notes germination at 65–68°F and suggests chilling seed for 1 to 2 weeks at 35–40°F before sowing.
Cold conditioning is a useful way to improve consistency, not a reason to freeze seed or leave it wet for weeks. One practical approach is to place seed between barely moist paper towels in a closed bag in the refrigerator for about 1 to 2 weeks, then sow promptly. Sow Right Seeds describes a similar moist chill and emphasizes the sequence of cool conditioning followed by light and warmth. Sources vary slightly on the duration, so a short, refrigerated chill is a reasonable starting point rather than a guarantee of germination.
Use deep individual cells or small biodegradable pots so a developing taproot has room and can be moved with minimal disturbance. Press seed onto the surface of a sterile seed-starting mix and keep it evenly moist. If you cover the tray, remove the cover once seedlings emerge; then give seedlings bright light and gentle air movement so they do not stretch thinly toward a window.
Move seedlings outside while they are still small, ideally after they have a couple of true leaves and before their roots circle the pot. Harden them off over several days by increasing time outdoors and shielding them from harsh wind at first. Transplant the intact root ball at the same depth it grew indoors, water it in, and do not tease or shake soil from the taproot. If you have a suitable outdoor bed, direct sowing avoids this risk entirely.
Prepare a bed with room for a deep root
Choose a place with loose, well-drained soil rather than a compacted hollow where water sits after rain. The RHS recommends moist but well-drained soil and full sun; in practice, bells of Ireland need moisture while they establish but do not benefit from a constantly saturated root zone. A raised bed or a gently sloping border can solve drainage problems more reliably than adding a small amount of sand to heavy clay.
Loosen the soil across the planting area so roots can travel downward, remove persistent weeds, and mix in a modest layer of mature compost if the soil is poor or depleted. Do not over-enrich the bed with fresh manure or a heavy dose of high-nitrogen fertilizer: abundant soft growth is more likely to lean, and fertility cannot compensate for heat or poor drainage. A neutral pH is convenient, but an exact pH adjustment is rarely the first fix if ordinary garden soil grows other annual flowers well.
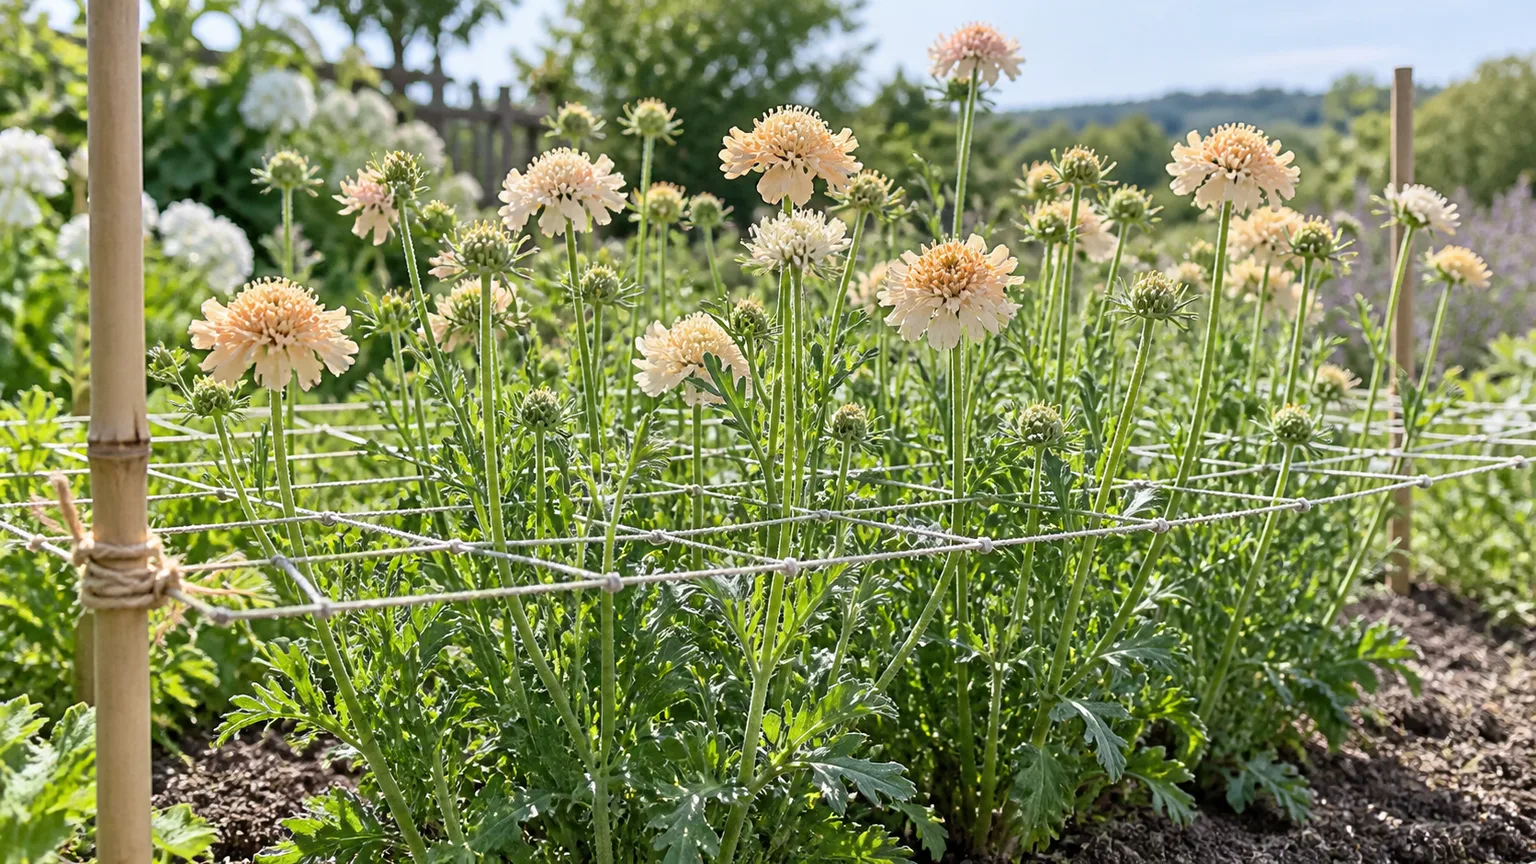
Plan the bed as a cut-flower row or a back-of-border accent, not a tiny foreground mound. At 10 to 12 inches apart, plants have room for their lower leaves and are close enough to support together with horizontal netting. Put them where you can reach the stems for cutting without stepping into the bed, and avoid the most exposed corner of a windy yard.

Balance sun, heat, and airflow
In a cool spring, give bells of Ireland a sunny site; full sun encourages sturdy stems and a more upright habit. The RHS lists full sun as its preferred position, while practical growers note that morning sun with light afternoon shade can help in regions where late-day heat is intense. That is a climate adjustment, not an invitation to plant them in deep shade: weak light produces longer, less stable stems.
Heat and humidity are the bigger limitations than winter hardiness for many gardeners. Epic Gardening’s guide also notes that performance can vary in warmer regions and that afternoon shade can help. Kew classifies the species as an annual, and seed-grown plants may grow across a broad range of regions, but a hot, humid summer can shorten the useful season or prevent the tall spires from developing well. Where summers turn hot early, sow for an earlier flowering window and use afternoon shade; do not expect extra fertilizer or daily watering to make a heat-stressed plant behave like a cool-season crop.
Good airflow is useful without exposing the plants to a wind tunnel. Space seedlings correctly, water the soil rather than wetting foliage late in the day, and leave enough room for air to pass between plants. These simple choices reduce the damp, crowded conditions that encourage leaf spots and make it easier to tie in stems before storms.
Water steadily; fertilize only when needed
Water seedlings more frequently than established plants because the seed zone and small root systems dry quickly. Once plants are growing, check the top inch of soil and water deeply when it has begun to dry; in hot, breezy weather that may mean more often than during a cool, cloudy week. An inch of rain per week is a useful starting point from garden guidance, not a fixed prescription for every soil or container.
Aim water at the base of the plant with drip irrigation, a soaker hose, or a slow pour. Wet leaves that remain damp overnight are more likely to develop spotting, while shallow daily sprinkles encourage roots to stay near the surface. A light mulch can slow evaporation after seedlings are established, but keep it away from the stems and never use it to cover newly sown seeds that need light.
Feed only if the bed is genuinely poor or plants show weak growth after light, water, and drainage are corrected. A little compost worked in before sowing is usually enough in average soil. In containers, use a balanced potting mix and follow its label before adding liquid feed; excess nitrogen may produce lush growth at the expense of sturdy, usable spikes.
Support flower spikes before weather bends them
Bells of Ireland can become tall enough to lean when stems are stretched by shade, hit by rain, or pushed by wind. Set a discreet stake or horizontal flower netting while plants are still short, before the stems are heavy. Netting stretched across a row lets multiple plants grow through the openings and is often less conspicuous than tying every stalk individually.
If a mature stem has already bent sharply, do not try to force it straight; the stem can kink or split. Cut the usable portion for a vase, and leave the rest if it remains healthy. For the next planting, improve morning light, reduce overcrowding, and install support earlier. A sheltered site and sensible support solve different parts of the problem, so use both where weather is rough.
Grow bells of Ireland in a container with realistic expectations
A pot works when it is deep enough for the taproot and heavy enough to resist tipping once stems rise above the rim. Choose a container with several drainage holes and a quality potting mix that drains freely but does not dry instantly. A shallow decorative pot may keep seedlings alive briefly yet restrict the root system before the plant reaches its full height.
Sow directly into the final container if possible, then thin seedlings rather than transplanting them later. A nursery-started seedling can be moved, but choose a small one and keep its root ball intact. Containers warm and dry faster than garden soil, so check moisture more often; in a hot climate, move the pot to bright morning light and afternoon shade rather than letting the root zone bake against a wall or paved surface.
Keep container arrangements simple enough that you can see the base of the plant and water it evenly. Trailing companions may soften the rim, but vigorous neighboring plants can compete for water and shade the young stems. If a container-grown plant stays short or flowers poorly during a heat wave, that may reflect the season rather than a missing fertilizer dose.
Read the bloom cycle and harvest at the right stage
Bells of Ireland flowers when the plant has built enough growth during favorable weather; the calendar varies with sowing date and climate. Spring-sown plants in cool regions may flower from late spring into summer, while other sites see later spikes. The RHS describes late-summer flowering, which is a helpful reminder that a single month cannot predict bloom everywhere. Watch the individual spire: the tiny flowers open gradually from the lower portion upward inside the green calyces.
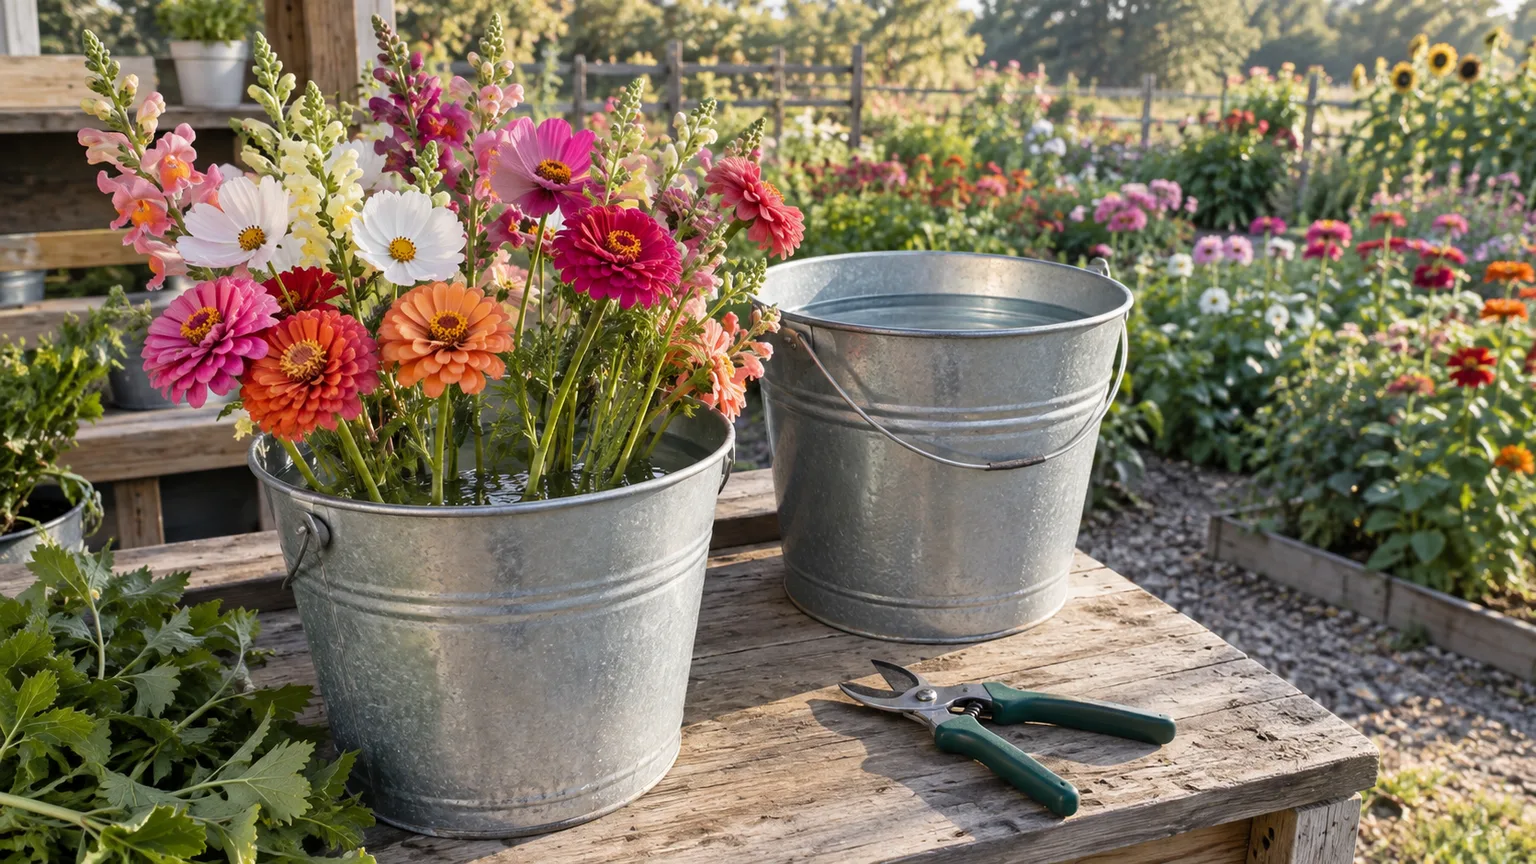
Cutting is also a way to use the crop before heat or late-season rain damages the stems. Use clean, sharp snips and wear gloves because small prickly structures can irritate hands. Cut in the cool part of the day, remove lower leaves that would sit in vase water, and place stems in water promptly. Regular harvesting may encourage side shoots, but it does not turn this annual into a reliable cut-and-come-again crop; the main stem’s flowering sequence is finite.
Cut fresh stems or dry them for arrangements
For a fresh vase, cut when a good portion of the bells has opened and the spire still looks green and firm. Johnny’s Selected Seeds recommends harvesting fresh stems when flowers are about half open; this stage balances a long display with enough mature calyces to look full. Choose stems at the height you want in the arrangement, since cutting too low can leave gaps in the border and cutting too early can produce a sparse-looking spike.
For dried stems, wait until the calyces feel firm and the small flowers have opened more fully. Strip leaves from the lower stem, make small bunches rather than dense bundles, and hang them upside down in a dry, shaded place with moving air. As the stems dry, their bright green color fades toward tan; drying preserves the sculptural shape better than the original color. A warm, humid room can slow drying and increase the chance of mold, so choose a ventilated space rather than a closed cupboard.
Save seed—or prevent unwanted self-sowing
If you want volunteers next year, leave a few of the best spikes in place until the calyces dry and seed ripens. Collect them on a dry day, or let them shed in the bed if you are comfortable with seedlings appearing nearby. Seeds can be stored dry in a labeled paper envelope in a cool, dark cupboard, then sown the following season. Germination may vary, so save more than you need and thin the stand later.
If you do not want the plant to return, harvest or remove the spikes before seed is released. Deadheading the entire plant early sacrifices the green spires you may want for arrangements, so decide which stems are for the vase, which are for seed, and which should be removed. A small, intentional seed patch is easier to manage than letting every plant set seed along a narrow border.
Troubleshoot germination, wilt, and floppy growth
Start diagnosis with the growing stage and recent conditions. A seed that has not emerged has a different problem from a mature stem that leans after a storm. Check moisture at the seed depth or root zone, note whether the soil is cold or hot, and inspect the stem base before adding water or fertilizer.
Seedlings fail to emerge or collapse after transplanting
If a row stays bare, first check whether seed was buried too deeply or the surface dried during the germination window. Bells of Ireland seeds need light, and repeated drying can stop the process even if the bed looks damp below the surface. Keep the top layer lightly moist, wait the full two to three weeks suggested by growers before judging the sowing, and consider a short cold-moist treatment for the next batch if germination remains patchy.
If seedlings emerge but disappear, look for slug damage, washout after heavy watering, or a crusted soil surface. Resow into a finely raked bed, water gently, and protect the row from runoff. If indoor seedlings collapse after planting out, transplant shock from root disturbance is a likely cause; next time move them younger in an intact deep plug or direct sow. Do not dig up a struggling plant to inspect its taproot unless you are prepared to lose it.
Leaves spot, yellow, or wilt; mature stems lean
Small brown leaf spots with yellow margins can develop during long wet spells or when foliage stays wet and crowded; Gardening Channel’s Bells of Ireland guidance flags this pattern as a possible leaf-blight symptom. Remove badly affected leaves, clear fallen plant debris, water at soil level, and give the remaining plants space and airflow. If spots spread rapidly or the whole plant declines, remove that plant from the bed rather than repeatedly treating foliage without confirming a cause.
Yellowing or wilting is not a diagnosis by itself. Feel the soil several inches down: dry soil points toward missed watering, while wet soil plus a soft or dark stem base suggests poor drainage or crown damage. Correct the cause before changing fertilizer. For a leaning plant, check light, spacing, and wind exposure; install support before the next storm and cut damaged spikes cleanly instead of trying to bend them back upright.
Conclusion
Grow bells of Ireland as a cool-season annual: choose fall sowing in mild-winter areas or early spring sowing where winter is severe, and keep the seed exposed to light. Direct sowing avoids the taproot disturbance that can set indoor-grown seedlings back; if you need to start indoors, use a deep individual cell and transplant while seedlings are small.
Once established, give the plants sun in cool weather, some afternoon relief in hot regions, evenly moist but well-drained soil, and early support if the site is windy. The best harvest decisions are simple: cut fresh spires while green and partly open, or wait until the bells feel firm for drying. Leave only the seed heads you want, and the plants can reward a well-timed start with distinctive green stems for the garden and vase.



