5 Garden Tools and Containers to Clean Before Spring
Clean garden tools before spring with a practical five-part checklist for soil, sap, rust, pruning blades, wooden handles, trellises, and pots.
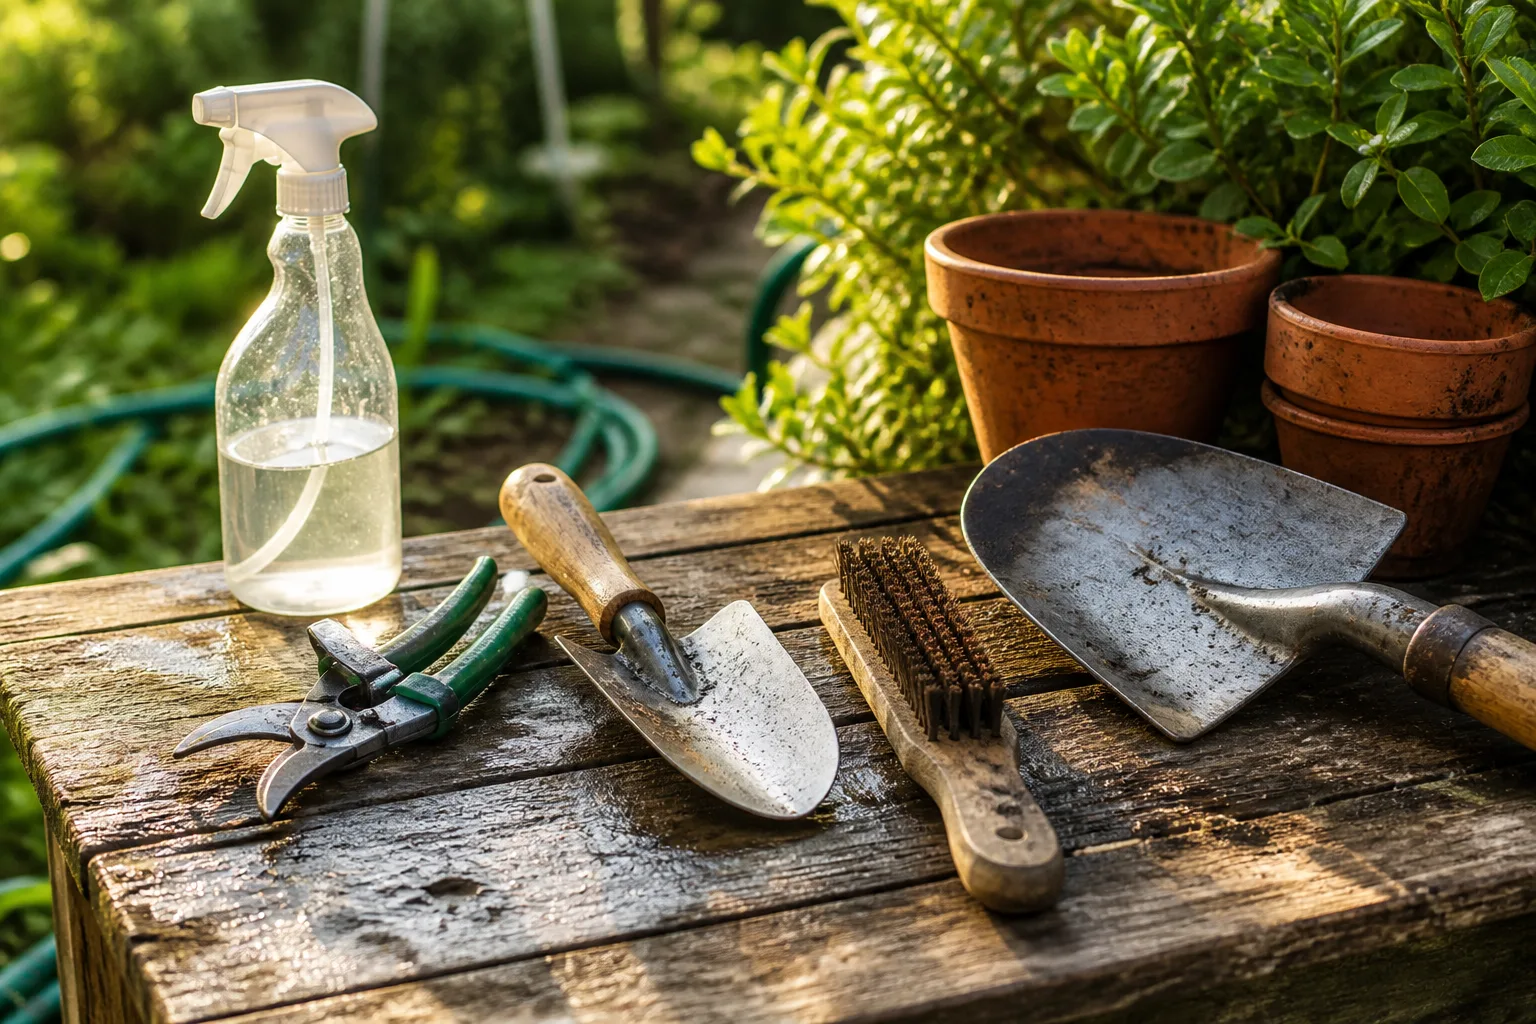
Before the first seed packet is opened or the first shrub is pruned, make a quick pass through the gear that touches soil, stems, pots, and support structures. Winter storage leaves behind more than mud: dried sap, rust, old potting mix, mineral scale, loose fasteners, and sometimes plant pathogens that are invisible to the eye.
The most useful order is clean first, disinfect when the risk justifies it, repair second, and protect everything before storage. A soapy wash removes the dirt that can shield a pathogen or prevent a disinfectant from reaching the surface; disinfection is a separate step, not a stronger version of washing. UW–Madison Extension also ties clean, lubricated, sharpened tools to easier and more efficient garden work.
You do not need to treat every rusty trowel like a hazardous object or soak every tool in bleach. Sort the pile by material and by what happened during the last season, then start with the least aggressive method that solves the problem.
Start with the right cleaning sequence
Set up outdoors or in a well-ventilated utility area with a bucket, hose or clean water, dish detergent, stiff and soft brushes, a scraper, old towels, gloves, and a place where cleaned items can air-dry. Keep a separate small container for 70% isopropyl alcohol if you prune several plants, and keep bleach away from vinegar, ammonia, alcohol, and other cleaners.
Work in batches, but do not put dissimilar materials in the same long soak. A metal shovel can tolerate a wet scrub that would swell a wood handle, while a powered hedge trimmer needs to be disconnected and wiped rather than submerged.
Clean, disinfect, protect
Use this four-part decision rule for almost everything in the shed:
- Clean: Remove soil, dried leaves, sap, algae, and mineral residue with dry brushing, water, detergent, or a material-appropriate descaler.
- Disinfect: Do this for pruning tools that touched diseased material, tools shared between garden sites, reused seed-starting containers, or items with a known pest or disease history. Routine disinfection is not a substitute for washing.
- Repair: Tighten fasteners, replace missing bolts, smooth splinters, sharpen a sound edge, and lubricate clean moving parts.
- Protect: Dry completely, apply a suitable rust inhibitor to clean metal, condition wood according to its product label, and store tools off damp floors.
If you are unsure whether a product is a cleaner or a disinfectant, read its label instead of assuming that “antibacterial,” “natural,” or “degreasing” means it has been tested for plant pathogens. Better Homes & Gardens specifically cautions that vinegar and baking soda should not be treated as dependable disinfectants for pruning tools; vinegar is much more useful here for loosening rust or mineral deposits.
1. Digging tools: shovels, spades, trowels, and hoes
Digging tools carry the largest visible load of soil, but they are often the easiest to restore. Clean the metal blade, the neck where the blade meets the shaft, the handle, and the underside of the grip; soil trapped in that joint holds moisture and can conceal a crack or loose connection.
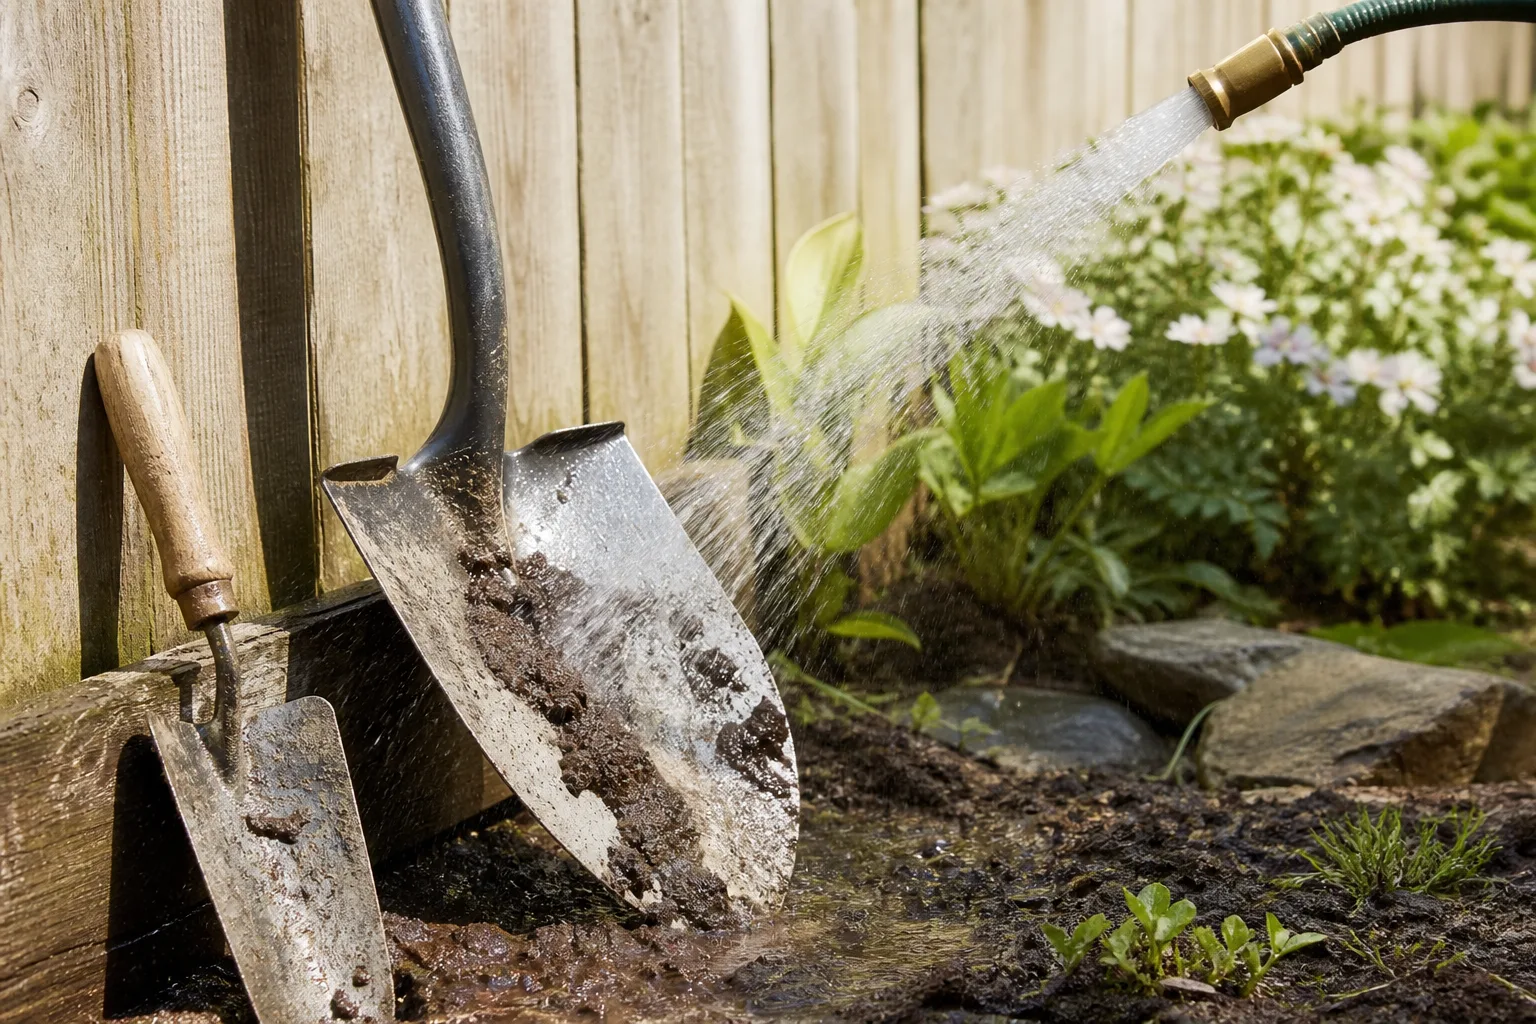
Remove soil before soaking
Start with a dry tool if possible. Knock off clods with a wooden or plastic scraper, then use a stiff-bristle brush to clean around the socket, foot plate, rivets, and corners. A hose is useful for what remains, but a blast of water should not be your only step because it leaves compacted soil in seams and sends contaminated runoff everywhere.
For a heavily dirty metal tool, wash it in warm water with a small amount of dish detergent. Scrub the blade and shaft, rinse with clean water, and dry immediately with a towel; Epic Gardening recommends making drying and oiling part of the same maintenance habit because lingering water is what turns a clean tool into a rusty one.
Do not leave a wood-handled shovel standing in a bucket. Water can enter the wood grain and the metal socket, encouraging swelling, looseness, or hidden corrosion. Wipe the handle separately and let the complete tool dry in a warm, airy place before you inspect it.
Decide whether rust is repairable
Light orange surface rust is usually a maintenance job. Apply a small amount of oil or rust penetrant, work the affected area with coarse steel wool or a wire brush, wipe away the residue, and wash and dry the tool before applying a final thin protective coat. Abrasives can scratch metal, so use only enough pressure to remove the oxidation rather than grinding the entire surface bright.
Deep pits, a hole, a bent blade, a split socket, or a head that moves on the shaft is a safety decision, not a cosmetic one. Replace the tool or have it professionally repaired if the damage could make the blade break, twist, or detach while you are pushing against hard soil. A cheap replacement is preferable to an accident caused by a weakened tool.
While the blade is sound, test its edge. A shovel or hoe that skids over soil often benefits from a mill file held at its original bevel; UW–Madison Extension notes that stamped tools may need a new edge, commonly around 30 degrees, but the original geometry should guide the repair. Wear eye protection and gloves, secure the tool, and file away from your body.
2. Pruning and clipping tools
Pruners, loppers, snips, hedge shears, and pruning saws deserve the most deliberate cleaning because their blades make wounds. Sap also glues moving parts together, and a dull or misaligned blade can crush a stem instead of making a clean cut.
Open bypass pruners carefully and brush away dried plant material from the blade, pivot, spring, lock, and anvil. Wash with warm water and detergent, use a small brush for the hinge, rinse off all soap, and dry the tool fully. For stubborn sap, use a tool-safe sap remover or a small amount of an appropriate solvent on a cloth, then wash the surface again so residue does not remain on the blade.
Match sanitation to disease risk
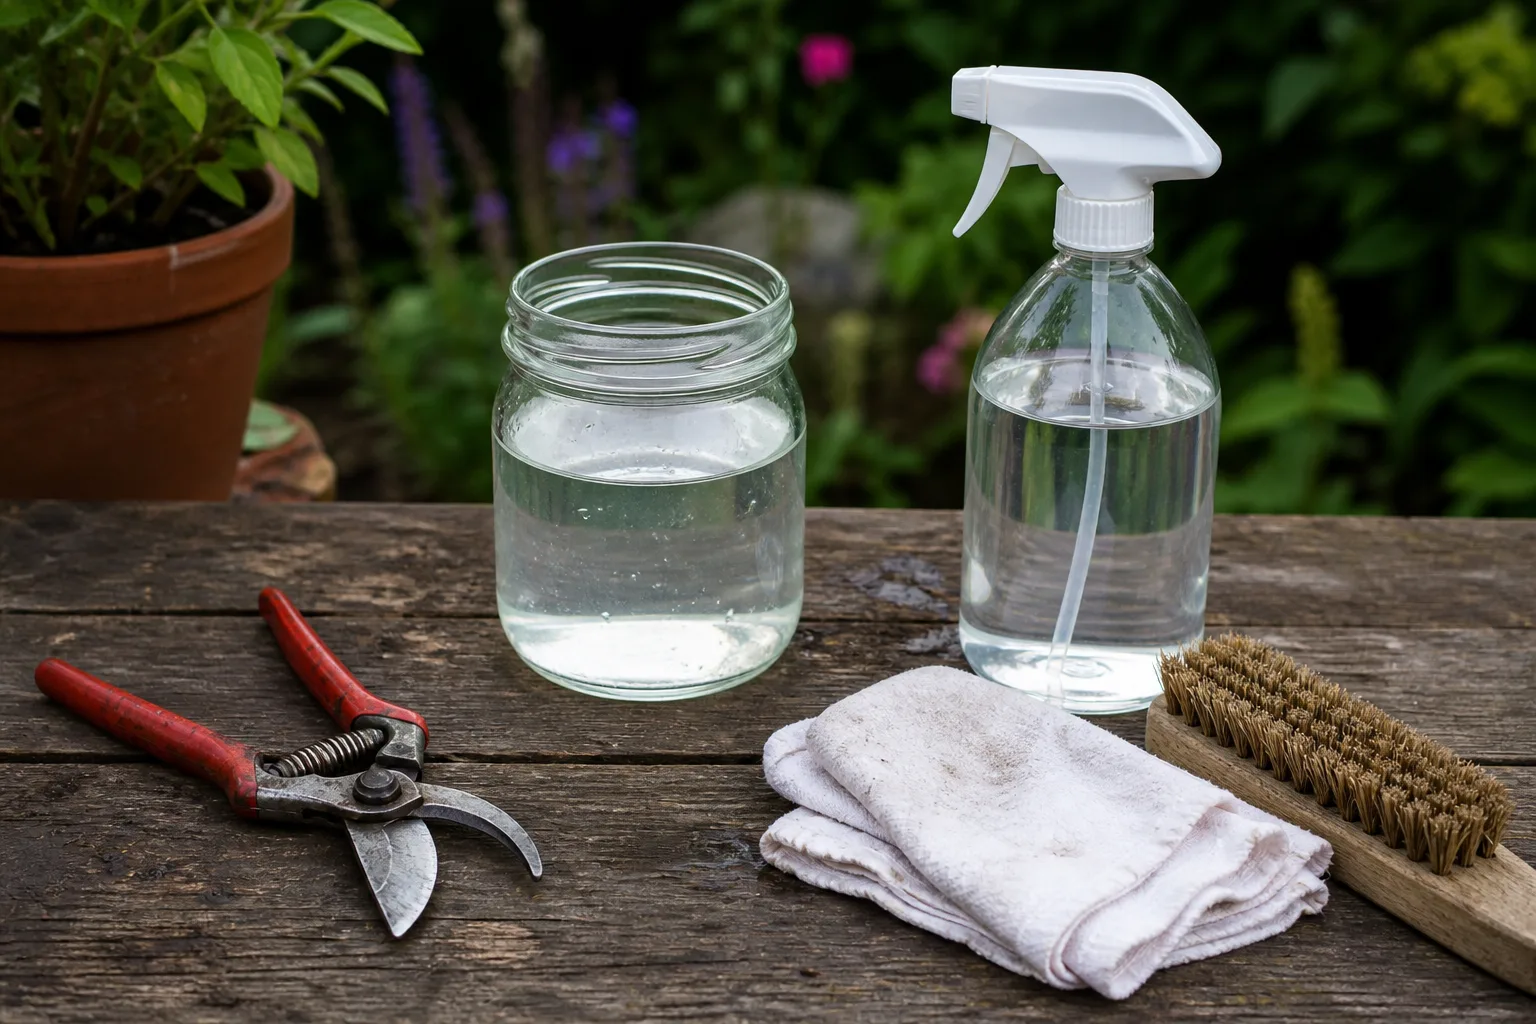
There are three different jobs that are often confused:
| Situation | Practical response |
|---|---|
| Soil or ordinary plant residue | Wash, rinse, dry, and oil the tool as needed. |
| Moving from one healthy plant to another | A quick wipe with 70% isopropyl alcohol is a sensible routine precaution, especially for close pruning. |
| Known disease, suspicious tissue, or a tool used at another garden site | Clean first, then disinfect before touching the next plant; if an active disease is present, sanitize between plants and consider between cuts. |
For routine sanitation, use 70% isopropyl alcohol on a fully cleaned blade. Wipe or dip the cutting surfaces so they are covered and keep them wet for about 30 seconds, then allow the tool to dry. Real Simple’s interview with Iowa State Extension specialist Aaron Steil says pruners should be disinfected between plants at minimum and, when plant disease is present, ideally between each cut.
Alcohol is convenient because it acts quickly and is less corrosive than a prolonged bleach soak. It is still flammable: work away from flames, do not smoke, and let the tool dry before it returns to the shed. If the blade has visible dirt, alcohol is not a shortcut; clean the dirt off first.
For batches of hard, nonporous items such as seed trays or several trowels, a 1:9 solution of household chlorine bleach to water is a commonly described option. Use a plastic container, wear gloves, follow the bleach label, keep surfaces wet for the label’s full contact time, and never mix bleach with vinegar, ammonia, alcohol, or any other cleaner. Real Simple describes at least 10 minutes for a 10% solution, while other product and extension directions may specify a different time; the label and the pathogen-control guidance you are following take priority.
After bleach treatment, rinse metal tools with clean water and dry them promptly to reduce corrosion. Do not use a bleach bucket as an all-day communal bath: organic debris weakens the solution, and a used solution is not a reliable disinfectant simply because it still smells like chlorine.
Sharpen only after the blades are clean
Cleaning comes before sharpening because sap and grit interfere with a file or stone and can create an uneven edge. Secure the tool, wear eye protection and sturdy gloves, keep the edge pointed away from your body, and follow the existing bevel rather than inventing a new angle.
On bypass pruners, sharpen the beveled cutting blade and keep the flat back essentially flat. On anvil pruners, sharpen the cutting blade and inspect the anvil for damage; filing both surfaces can change how the pieces meet. If the blades do not close evenly, the pivot is badly worn, or a blade is bent, sharpening alone will not restore safe cutting.
Finish by removing the tiny burr from the back of the cutting edge with a light stroke, then add a drop of tool oil to the pivot and wipe away the excess. UW–Madison Extension recommends keeping the original cutting geometry and using safety glasses, gloves, and a vise when appropriate. If you are not comfortable sharpening a valuable or heavily damaged pruner, a local sharpening service is the safer choice.
3. Wooden handles, sockets, and joints
Wood is comfortable in the hand but unforgiving of neglect. Look for splinters, cracks, dark soft spots, a handle that turns inside the socket, and a head that can be wiggled by hand. Those defects can become a sudden break when the tool is under load.
Brush dirt from the handle and wipe it with a damp, soapy cloth rather than immersing it. Let it dry completely, sand only the rough or splintered area with medium-grit paper, and wipe away all dust before applying a wood-conditioning product. A small amount of boiled linseed oil can help protect a dry wooden handle, but follow the product label and use ventilation.
Oil-soaked rags are a fire risk. UW–Madison Extension warns that linseed-oil-soaked material can spontaneously ignite if handled incorrectly, so never leave a crumpled rag in a pile or a closed bin. Follow the label’s disposal directions—typically laying the rag flat to dry safely or storing it in the method the manufacturer specifies.
Tighten screws, bolts, wedges, or rivets only when the tool’s construction allows it. If the head is loose because the wood is split or the socket is cracked, do not “fix” it with tape or extra oil; replace the handle or the tool before the first digging job.
4. Trellises, cages, stakes, and other supports
Supports are easy to forget because they are not cutting tools, but they sit against leaves and stems for months. Old soil, algae, sap, and overwintering insects can move from a used support into a new planting, especially when the support is stored beside diseased vines or damp plant debris.
Take apart adjustable structures if the design allows it and brush off dry material before washing. Clean the feet, joints, ties, clips, and lower sections that were buried or pressed into soil; those hidden parts usually need more attention than the visible top.
Clean each support by material
| Material | Spring-cleaning approach | Watch-out |
|---|---|---|
| Powder-coated or bare metal | Wash with detergent and a soft or stiff brush, rinse, dry, and treat surface rust before it spreads. | Do not trap moisture in hollow tubing or leave bleach residue on metal. |
| Hard plastic | Wash and rinse thoroughly; disinfect if it touched diseased plants or is being reused for seedlings. | Avoid boiling water or heat that can warp plastic. |
| Wood or bamboo | Brush and wipe rather than soak; let it dry in moving air and check for rot, cracks, or splinters. | Porous material is harder to disinfect reliably; replace it if it remains soft, moldy, or heavily contaminated. |
For a tomato cage or trellis that supported a visibly diseased plant, clean off all organic matter first, then use a suitable labeled disinfectant or the bleach process appropriate for that material. Rinse any product residue that could contact tender stems, and let the support dry before installation. Disinfection lowers the chance of carrying problems forward; it does not make a rotting wooden stake structurally sound.
Inspect ties and clips at the same time. Brittle plastic ties, rusty wire, and sharp broken ends can girdle stems or cut into new growth, so discard or replace them before the support goes into the bed.
5. Pots, planters, trays, and containers
Reusable pots and seed trays hold old soil in rims, drainage holes, saucers, and ridges that a quick rinse misses. That residue can harbor disease organisms, algae, fungus-gnat debris, or excess fertilizer salts, and it can block drainage when the container is refilled.
The basic sequence is empty, dry-brush, wash, rinse, descale if needed, disinfect when justified, rinse again, and air-dry. Northwest Edible Life emphasizes washing away soil before a bleach soak because organic matter can use up the disinfectant’s effectiveness; the same logic applies to any sanitizer.
Start by dumping old mix into the appropriate waste or compost stream for your garden, not onto a clean work surface. Scrape stubborn clumps from the inside and outside, then scrub the rim and every drainage hole with a stiff brush or old toothbrush. Wash with warm water and a small amount of dish detergent, rinse until no soap remains, and place pots upside down so water can escape.
Descale mineral buildup without damaging the pot
White crust on terra-cotta and plastic is usually a mineral or fertilizer deposit, not a sign that the pot itself is diseased. Soak the affected area in a mild white-vinegar solution—one part vinegar to four parts water is a useful starting point—then scrub while the residue is soft and rinse thoroughly with fresh water.
Do not treat vinegar as your disinfectant. Its job in this sequence is to loosen scale and some rust; it should not replace a product labeled or recommended for sanitizing plant containers. Avoid acidic solutions on sensitive natural stone and test an inconspicuous area if the container has a decorative finish.
Terra-cotta needs extra drying time because it is porous. If the pot still smells sour, feels slimy, or shows embedded organic growth after washing, repeat the scrub and rinse rather than sealing the residue under fresh mix. A plastic pot that is cracked around the drainage hole is also a replacement candidate because it may fail when lifted.
Disinfect containers before refilling them
For ordinary reused pots with no disease history, a thorough wash and complete drying may be a reasonable level of care. Prioritize disinfection for seed-starting trays, pots that held sick plants, containers borrowed from another gardener, or anything that will hold tender seedlings.
Use 70% isopropyl alcohol for small hard surfaces when you can cover the entire item, or use a properly prepared, labeled disinfectant suitable for plastic and terra-cotta. For a bleach batch, use the product directions; when a 1:9 household bleach-to-water solution is appropriate, keep the clean containers wet for the required contact time, then rinse well and air-dry. Do not fill a pot with new soil while it still has bleach, vinegar, detergent, or solvent residue.
Seed trays deserve a closer inspection than a decorative planter. Run a brush through each cell, clear every drainage opening, and check that trays sit level so water does not pool unevenly under seedlings. If a tray is too brittle to wash without cracking or has deep scratches packed with old debris, replacing it may be more dependable than trying to make it sterile.
What to skip, repair, or replace
Spring cleaning is not a contest to make every old item usable. Skip aggressive restoration when it would damage a surface or create a new hazard:
- Do not immerse powered tools. Unplug them or remove the battery first, then follow the manufacturer’s cleaning instructions and use a damp cloth or soft brush. Real Simple specifically recommends disconnecting power before cleaning powered garden equipment.
- Do not mix chemicals. Bleach and vinegar can create dangerous fumes, and alcohol should never be added to a bleach bucket. Use one product at a time, with ventilation and label directions.
- Do not disinfect through dirt. Soil, sap, and plant tissue can block contact, so wash and rinse before applying sanitizer.
- Do not sharpen a tool that cannot be secured. A cracked blade, badly bent pruner, loose head, or broken lock is a replacement or professional-repair problem.
- Do not save contaminated porous materials by wishful thinking. Replace soft, moldy, split, or deeply embedded wood and any fabric container whose care label does not support the treatment you need.
The goal is not to remove every microorganism from the garden. It is to remove avoidable debris, lower the chance of moving a known problem, and keep equipment sound enough to use without forcing a weak handle or dull blade.
Make clean gear stay clean
The best spring cleaning is the reset that changes what happens after each use. Epic Gardening suggests cleaning after every use when practical and at least weekly when the garden is busy; make disease sanitation immediate even if the rest of the gear waits.
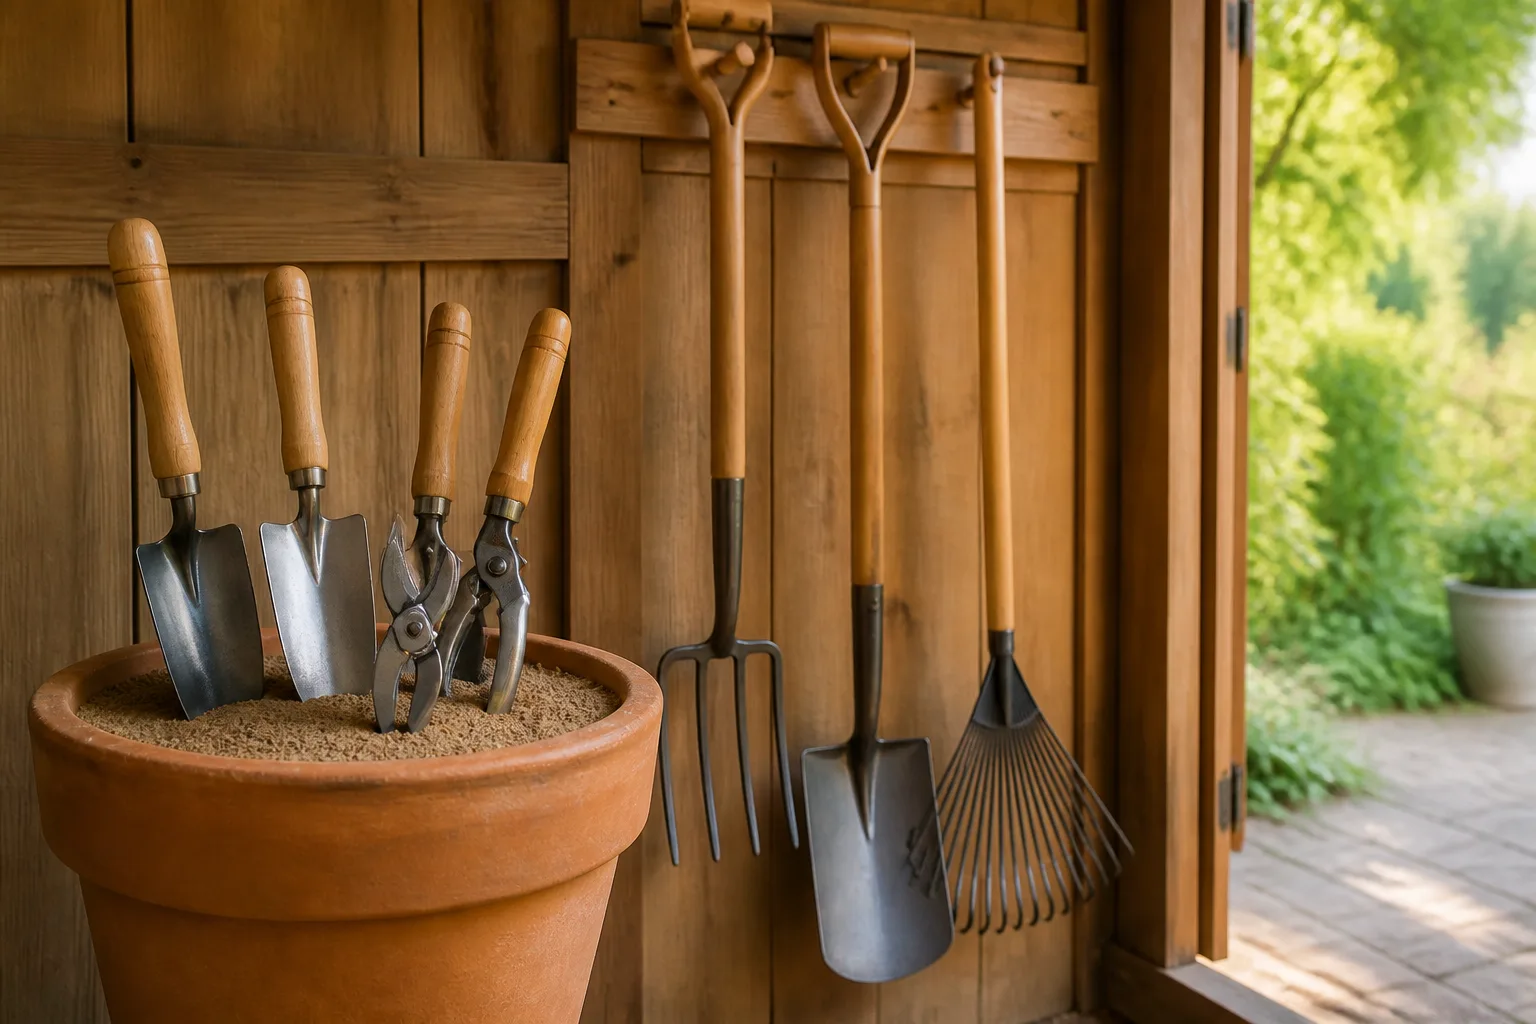
Keep a small brush, scraper, towel, and bottle of 70% isopropyl alcohol near the garden entrance rather than hidden at the back of the shed. Brush soil off before it dries hard, wipe pruners after a plant with suspicious symptoms, and never return wet tools to a closed box.
Hang tools or store them with blades and heads off the floor. A dry, ventilated shed is better than a damp corner, and a thin film of the correct oil on clean metal helps slow corrosion. Wipe away excess oil before a tool goes back into soil or touches a plant so it does not collect grit or transfer residue.
Once a season, check the system rather than only the tools: Is the hose leaking? Is the brush itself moldy? Are the bleach and alcohol labels readable? Are spare ties, gloves, and sharpening supplies still usable? A two-minute supply check keeps the next cleaning from being postponed because one small item is missing.
A 30-minute spring reset checklist
If the garden is waking up and you have only one short session, prioritize in this order:
- Sort for risk: Put pruning tools, reused seed trays, and anything that touched diseased plants in one group. Put ordinary digging tools, supports, and clean pots in another.
- Dry-brush everything: Remove loose soil and plant debris before adding water. Check handles, tool heads, pivots, drainage holes, and support joints as you go.
- Wash the high-use tools: Clean the shovel, trowel, hoe, pruners, and loppers with detergent and water. Rinse and dry them immediately.
- Disinfect the priority group: Use 70% alcohol for quick pruner sanitation or a labeled batch method for suitable hard containers and supports. Respect contact time.
- Repair only sound items: Sharpen clean edges, oil pivots, remove light rust, tighten fasteners, and smooth minor splinters. Set unsafe items aside for replacement.
- Finish the containers: Wash and rinse pots and trays, descale white buildup if needed, then disinfect the ones destined for seedlings or plants with a disease history.
- Store dry: Hang tools, leave pots and trays open to air, and keep supports off wet ground. Write down any replacement or repair you still need before the first busy planting weekend.
If time runs out, leave the clean items drying in a single layer and finish the protective oil or sharpening later. The dangerous shortcut is putting wet, dirty, or chemically coated gear straight back into storage and assuming winter will solve the problem.
Conclusion
The five spring-cleaning priorities are digging tools, pruning tools, wooden handles and joints, garden supports, and pots or trays. They do not all need the same treatment: brush and wash soil, disinfect when disease or reuse makes it worthwhile, repair only structurally sound equipment, and dry every material before it goes back to work.
Start with the tools you will use first, then make the routine repeatable after each session. A clean shovel is easier to use, a sharp pruner makes a better cut, a sound trellis protects new growth, and a clean container gives seedlings a better starting point—small gains that add up before the garden is fully awake.



