Crown of Thorns Care: Euphorbia milii Guide
Learn crown of thorns care from light and watering to pruning, propagation, bloom support, winter moves, and latex safety for people and pets.
What Crown of Thorns Is and How It Grows
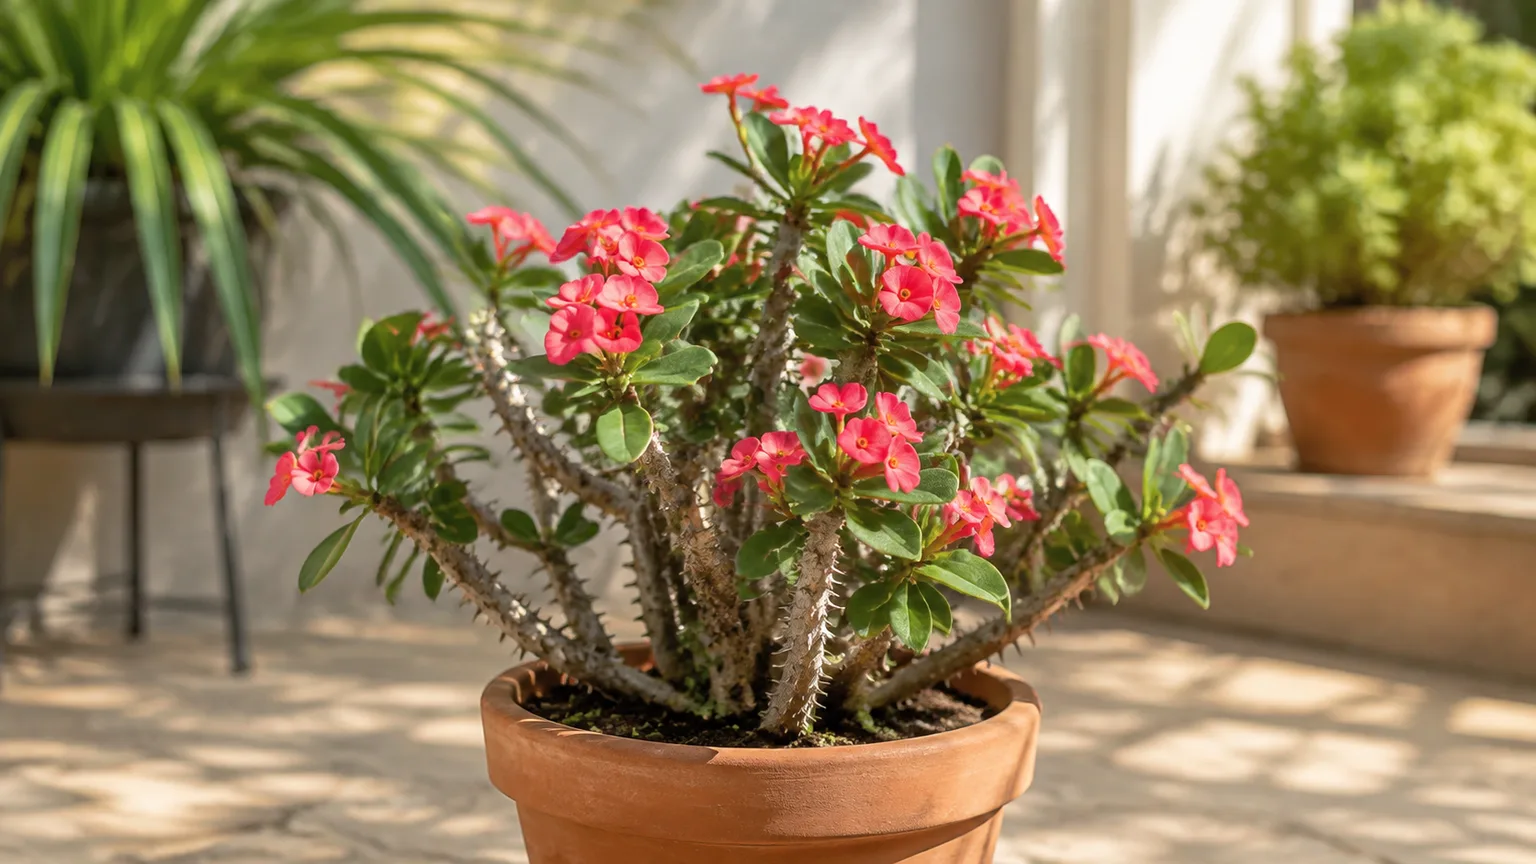
Crown of thorns, or Euphorbia milii, is a slow-growing, thorny succulent shrub from Madagascar. Its thick stems store some water, while its leaves appear mostly on newer growth near the tips. That growth habit explains why an older plant can look bare and architectural without being unhealthy. The species and its hybrids vary widely: some stay compact and leafy, while others develop long, arching stems.
The colorful “petals” are actually bracts around a small, less conspicuous flower structure called a cyathium. Bracts may be red, pink, orange, yellow, cream, or white, and they are produced on actively growing stems. Wisconsin Horticulture describes the species as a tough plant that can handle a range of conditions, but toughness is not the same as immunity: cold, prolonged wetness, low light, and careless handling can still cause a rapid decline.
Treat this plant as a bright-light succulent with a seasonal growth rhythm. The most reliable routine is simple: give it strong light, let excess water leave quickly, allow the mix to dry before watering again, and make every pruning or repotting decision with the sap and spines in mind. Wisconsin Horticulture likewise emphasizes drainage, seasonal light, and the wide differences among species, hybrids, and cultivars.
Choose a Cultivar and Growing Location
Start by deciding whether you want a houseplant, a summer container plant, or a permanent outdoor shrub. In warm climates, crown of thorns can grow outdoors as a perennial in a sheltered, well-drained spot. In colder climates it is a container plant that spends the warm season outside only after acclimation and comes back in before chilly nights.
Cultivar matters more than many care labels suggest. Dwarf hybrids such as ‘Short and Sweet’ and ‘Mini-Bell’ suit a sunny windowsill or small patio pot, while larger hybrids and E. milii var. splendens need room for branching stems. A plant that is naturally tall and sparse will not become a dense mound simply because you water it more. Choose a compact, well-branched plant if you want a fuller display, and inspect the pot for pests before bringing it home.
For indoor placement, choose the brightest stable location you have, with enough room that a thorny branch cannot catch clothing or brush a child’s or pet’s path. A sunny south- or west-facing window is a useful starting point, but the glass, season, and latitude change how much usable light reaches the leaves. Outdoors, a raised or sloping position is safer than a low pocket where rainwater collects.
Give It Enough Light to Bloom
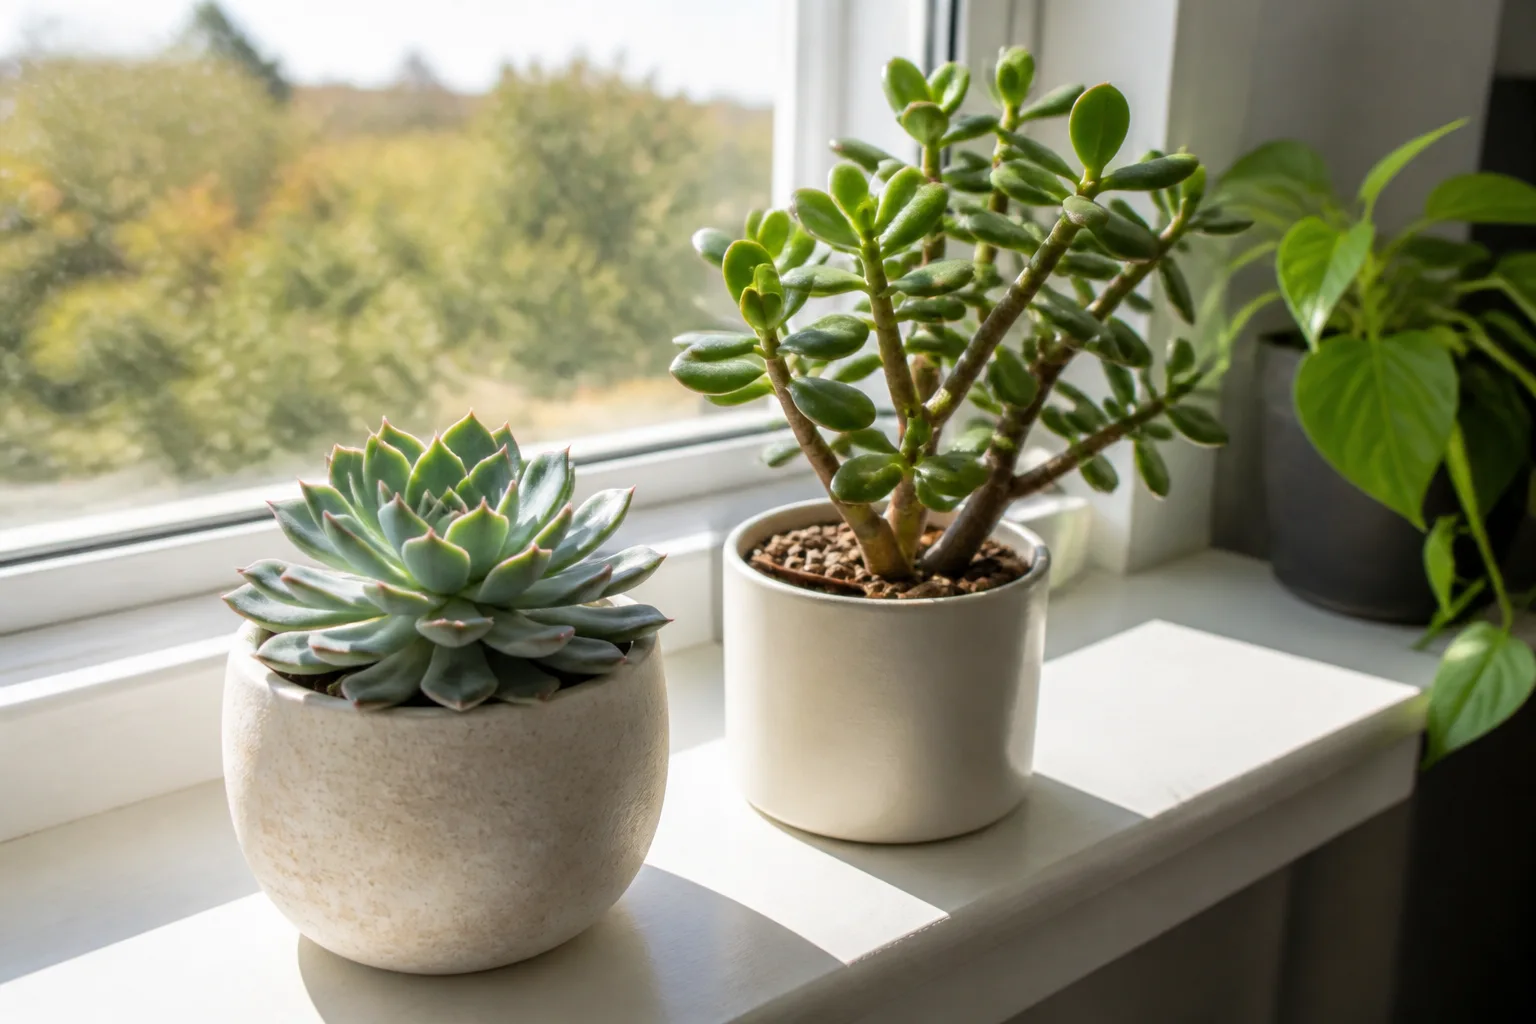
Light is the main lever for flowering. The New York Botanical Garden recommends strong, extended exposure and notes that plants in the northeastern United States often need the sunniest possible place indoors, sometimes six to eight hours of direct sun. A plant can survive with less light, but survival and abundant flowering are different outcomes: low light commonly produces longer bare sections, fewer leaves, and little or no bloom.
Increase exposure gradually when moving a plant from a dim shop, a shaded porch, or a winter window to intense outdoor sun. Start with bright shade or gentle morning sun, then extend direct exposure over about one to two weeks. Sudden noon sun can scorch leaves and dehydrate a plant before it has rebuilt its protective capacity. Turn an indoor pot a quarter turn weekly so growth does not lean permanently toward the glass.
Use the plant’s response rather than a fixed window direction as your final test. New stems should stay firm and produce leaves near their tips. If growth stretches, the gaps between leaves widen, and flowering stops, increase light before increasing fertilizer. If leaves develop crisp bleached patches after a move, reduce the intensity temporarily and acclimate again; adding water alone will not reverse sunburn.
Build Fast-Draining Soil and a Safe Pot
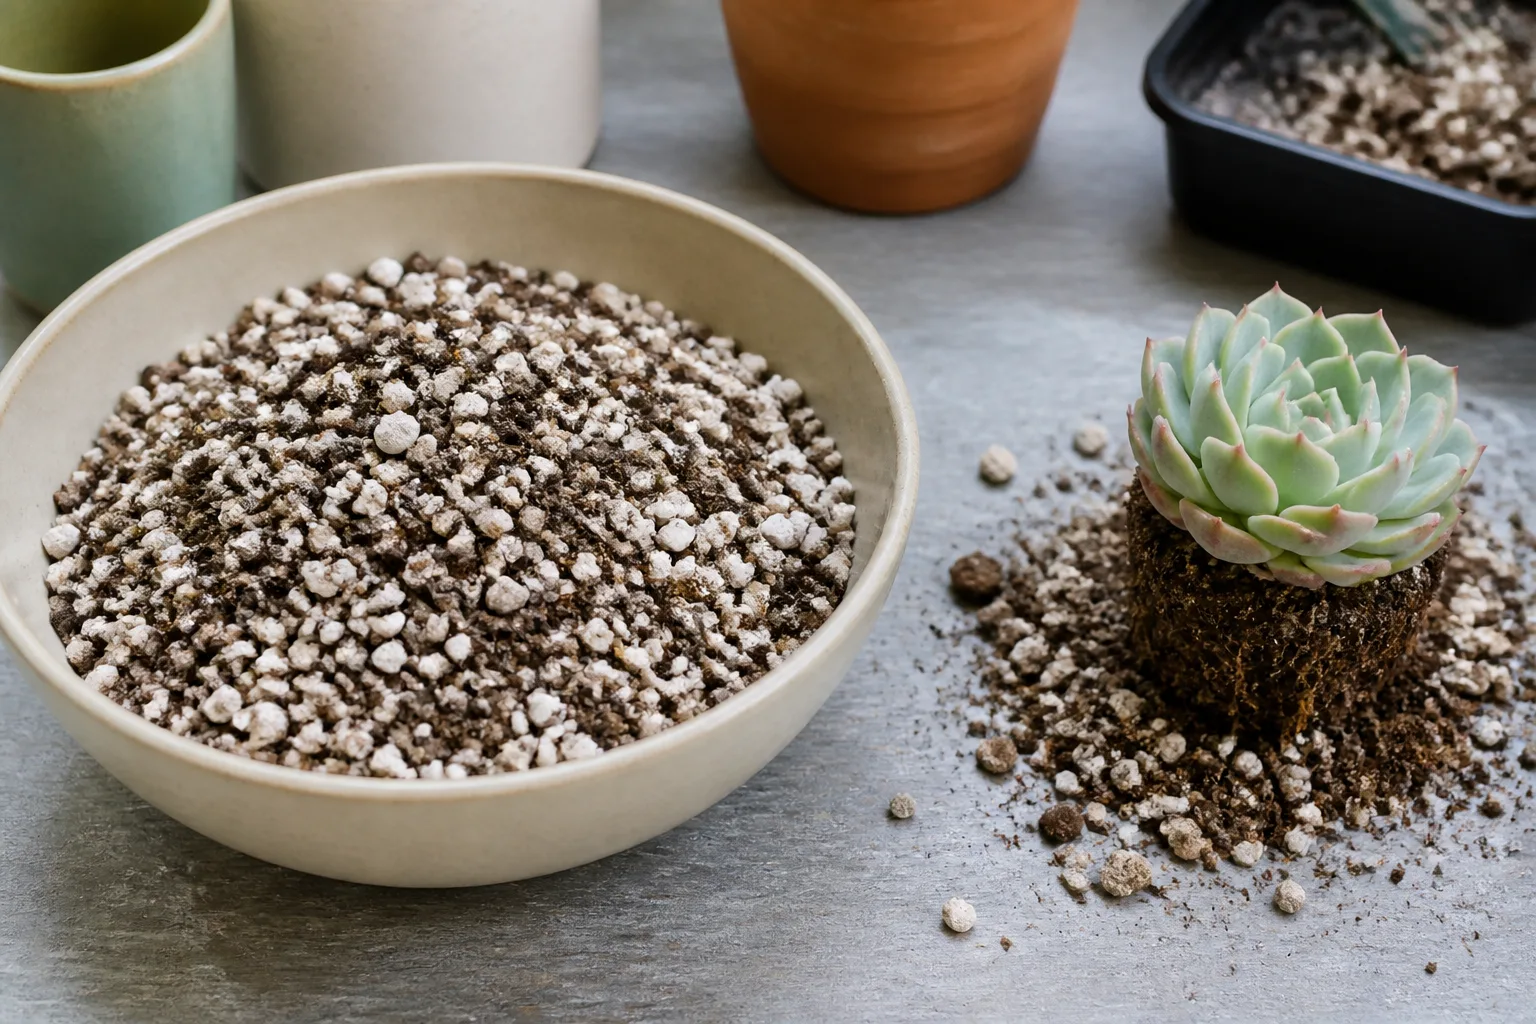
The ideal mix becomes thoroughly moist when watered, then releases excess water quickly enough that roots have access to air. A commercial cactus-and-succulent mix is a reasonable base, but a mix that stays wet for many days is still a poor match. New York Botanical Garden suggests combining two parts unfertilized organic potting soil with one part perlite; a heavier mix may need additional pumice or coarse mineral material.
Use a pot with an unobstructed drainage hole. A decorative cachepot is fine only when the plant remains in a draining nursery pot that can be lifted out for watering. Do not place gravel in the bottom as a substitute for a drainage hole; it does not create a dry lower layer in a waterlogged pot. Keep the root ball modestly snug, because a large volume of damp soil dries slowly around a small plant. The New York Botanical Garden’s care notes also recommend excellent drainage and a pot only slightly larger when repotting.
Outdoor soil needs the same test. If a planting hole remains muddy after rain or irrigation, crown of thorns is a poor candidate for that exact spot unless you improve drainage with a raised bed, a mound, or a different location. In a hot, dry climate, a little afternoon protection can prevent heat stress, but shade must not become a dark, stagnant site.
Water by Soil Dryness, Not a Calendar
Water when the mix has dried through most of the root zone, then water deeply enough to moisten the mix evenly and let the pot drain completely. Do not stop after a few spoonfuls because the surface looks dark. Equally, do not leave the pot standing in a saucer of runoff. Empty the saucer after drainage finishes, and use the pot’s weight and a finger check to learn how quickly your particular container dries.
The right interval changes with light, pot size, temperature, root mass, and season. A small pot in direct summer sun may need water much sooner than a large pot in a cool, dim room. “Weekly” is therefore a starting observation, not a rule. If the top feels dry but the lower mix remains cool and damp, wait; if the plant is in strong light and the root ball is dry, water rather than following a winter timetable. This “drenches between droughts” approach is also the practical guidance used by UK Houseplants, with frequency adjusted for the plant’s conditions.
During slower winter growth, water less often but do not force the roots to remain bone-dry for an extended period. A plant that is too dry may shed leaves, shrivel at the stems, or develop crisp edges. A plant that is too wet may look similarly yellow at first, which is why the moisture of the mix and the firmness of the stem are more useful than leaf color alone. Avoid routine misting: this plant prefers low humidity, and wet foliage or trapped debris can increase disease risk without solving a dry root ball. For a second practical reference on the dry-side routine and disease warning signs, see Plant Care Today’s crown-of-thorns guide.
Match Temperature and Humidity to the Season
Warm, dry household conditions suit crown of thorns better than a cold, damp windowsill. New York Botanical Garden advises keeping plants above 60°F indoors, while Wisconsin Horticulture notes that established plants can tolerate brief temperatures down to roughly 35°F but should be moved indoors well before frost. Those statements describe different limits, not a target: use 60°F or warmer for dependable indoor growth, and treat lower temperatures as stress rather than a care goal.
Keep the pot away from a cold draft, a frequently opened exterior door, and a heating or cooling vent. A small seasonal drop in temperature and watering can give the plant a rest, but a sudden move from hot outdoor sun to a cold, dark room can trigger leaf drop. Humidity does not need to be boosted for this species. Good airflow and dry foliage are more helpful than a pebble tray or daily spraying.
Fertilize Lightly for Flowers
Feed only when the plant is actively growing and the mix is not bone-dry. A balanced houseplant fertilizer diluted according to its label, applied occasionally in spring and summer, is enough for most container plants. Wisconsin Horticulture specifically cautions against overfertilizing and notes that some E. milii hybrids are sensitive to boron. A high-nitrogen program can create soft leafy growth while reducing the flowering display you wanted.
Do not increase the dose to compensate for low light, root damage, or a plant that has just been moved. Fertilizer cannot create energy where light is missing, and salts can accumulate when a pot is watered lightly over and over. If the label calls for feeding every two weeks, a half-strength application at a slower interval may be more forgiving for a small, slow-growing specimen; always follow the product label and local directions.
Stop feeding while the plant is resting, newly repotted, severely stressed, or showing signs of root rot. Resume only after firm new growth appears. This order matters: stabilize light, temperature, and drainage first, then feed the plant that is capable of using the nutrients.
Prune Safely and Shape New Growth
Prune in spring or another period of active growth when you can see healthy buds and the plant has enough leaves to recover. Remove dead, damaged, or diseased stems first. To shorten a live branch, cut just above a healthy leaf node or axillary bud, choosing the direction in which you want new growth to travel. Shortening every branch at once can remove too much leaf area and leave a slow-growing plant with little energy.
Wear waterproof gloves, long sleeves, and eye protection. The latex is sticky and irritating, and Wisconsin Horticulture warns that enough sap in the eyes can cause temporary blindness. A clean, sharp knife is often easier to clean than fine pruning shears because the sap can gum up cutting tools. Keep a container of water nearby to rinse a fresh cut on the plant and wipe tools afterward; avoid touching your face, phone, or door handles while wearing contaminated gloves.
Do not grab a stem simply because it looks bare. Older leaves naturally drop as stems mature, and a leafy tip can be the normal appearance of the species. If a branch is healthy but awkward, prune for the plant’s size and your safety clearance, not to force an artificial shape overnight.
Repot Without Creating a Wet Pot
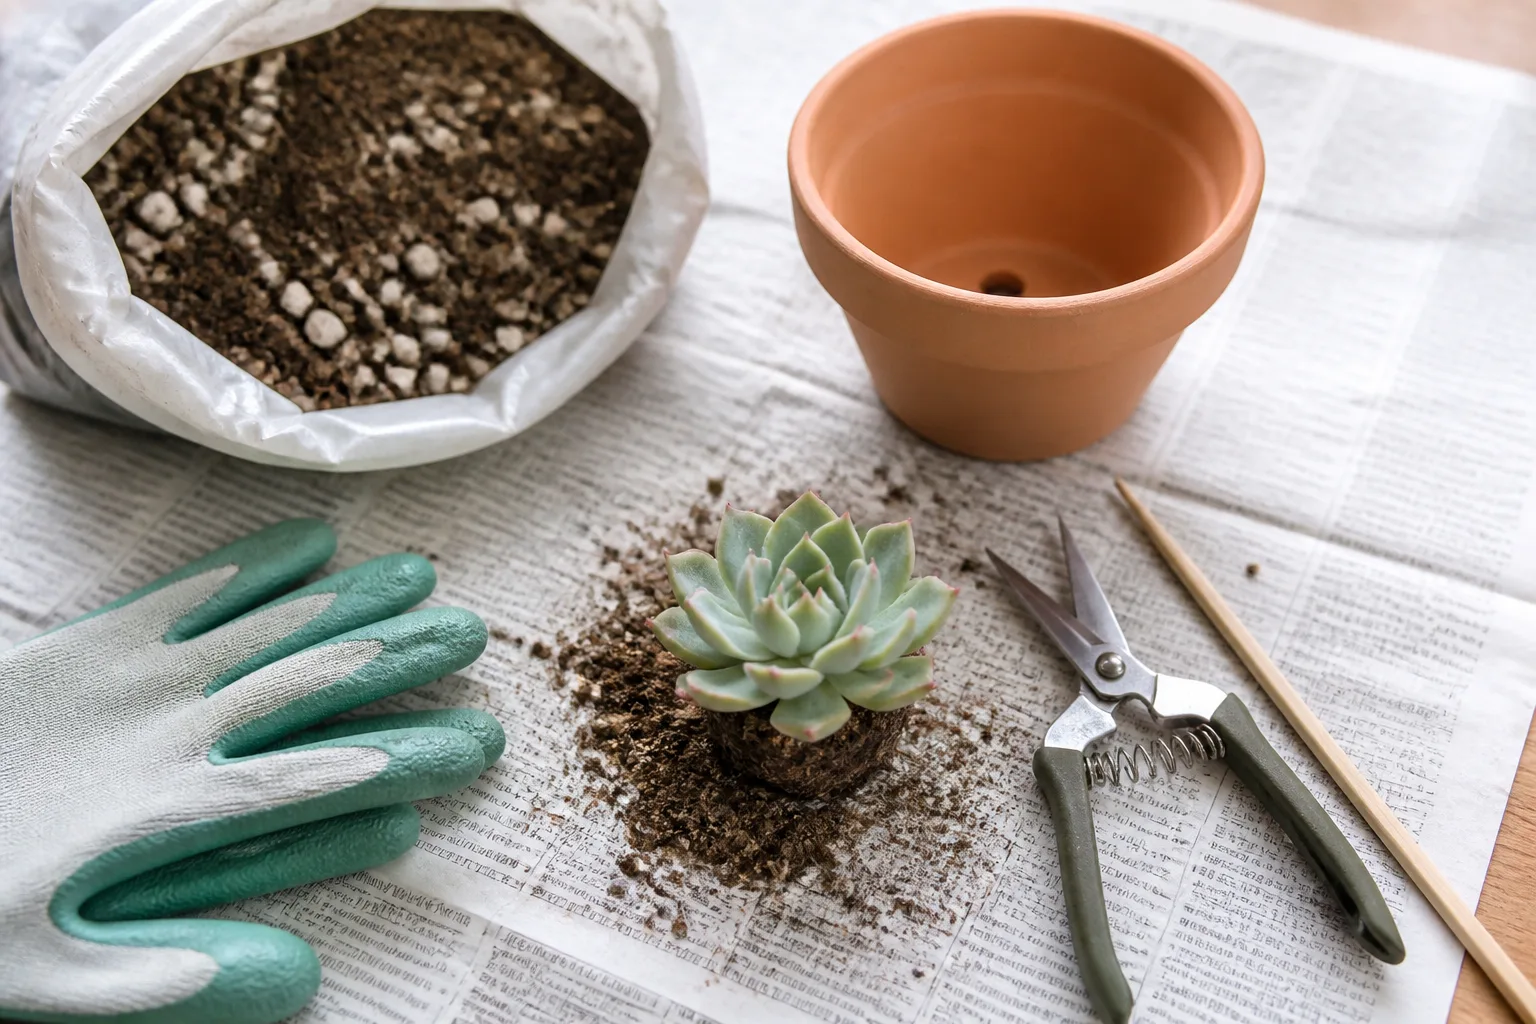
Repot when roots circle densely, the mix has broken down and stays wet, the plant is top-heavy, or the plant has clearly outgrown its container. Otherwise, leaving a healthy crown of thorns slightly root-bound can be an advantage because the smaller soil volume dries more predictably. Spring or early summer is the least disruptive window.
Choose a clean pot only one size larger, with drainage. Wear the same protective equipment used for pruning, and plan the move before lifting the plant. Loosen the root ball gently, remove obviously collapsed old mix, and inspect the roots without tearing healthy tissue. Firm pale or tan roots are a better sign than dark, mushy roots, but do not diagnose from color alone; texture and odor matter too.
Set the plant at the same depth unless you have a specific reason to adjust it, then fill around the roots with fresh, fast-draining mix. Water once to settle the mix and let all runoff escape. Keep the repotted plant in bright, protected light for a short recovery period, then return it to its full-light routine. A larger decorative pot filled with damp soil is not an upgrade if the plant cannot use that moisture.
Propagate From Stem Cuttings
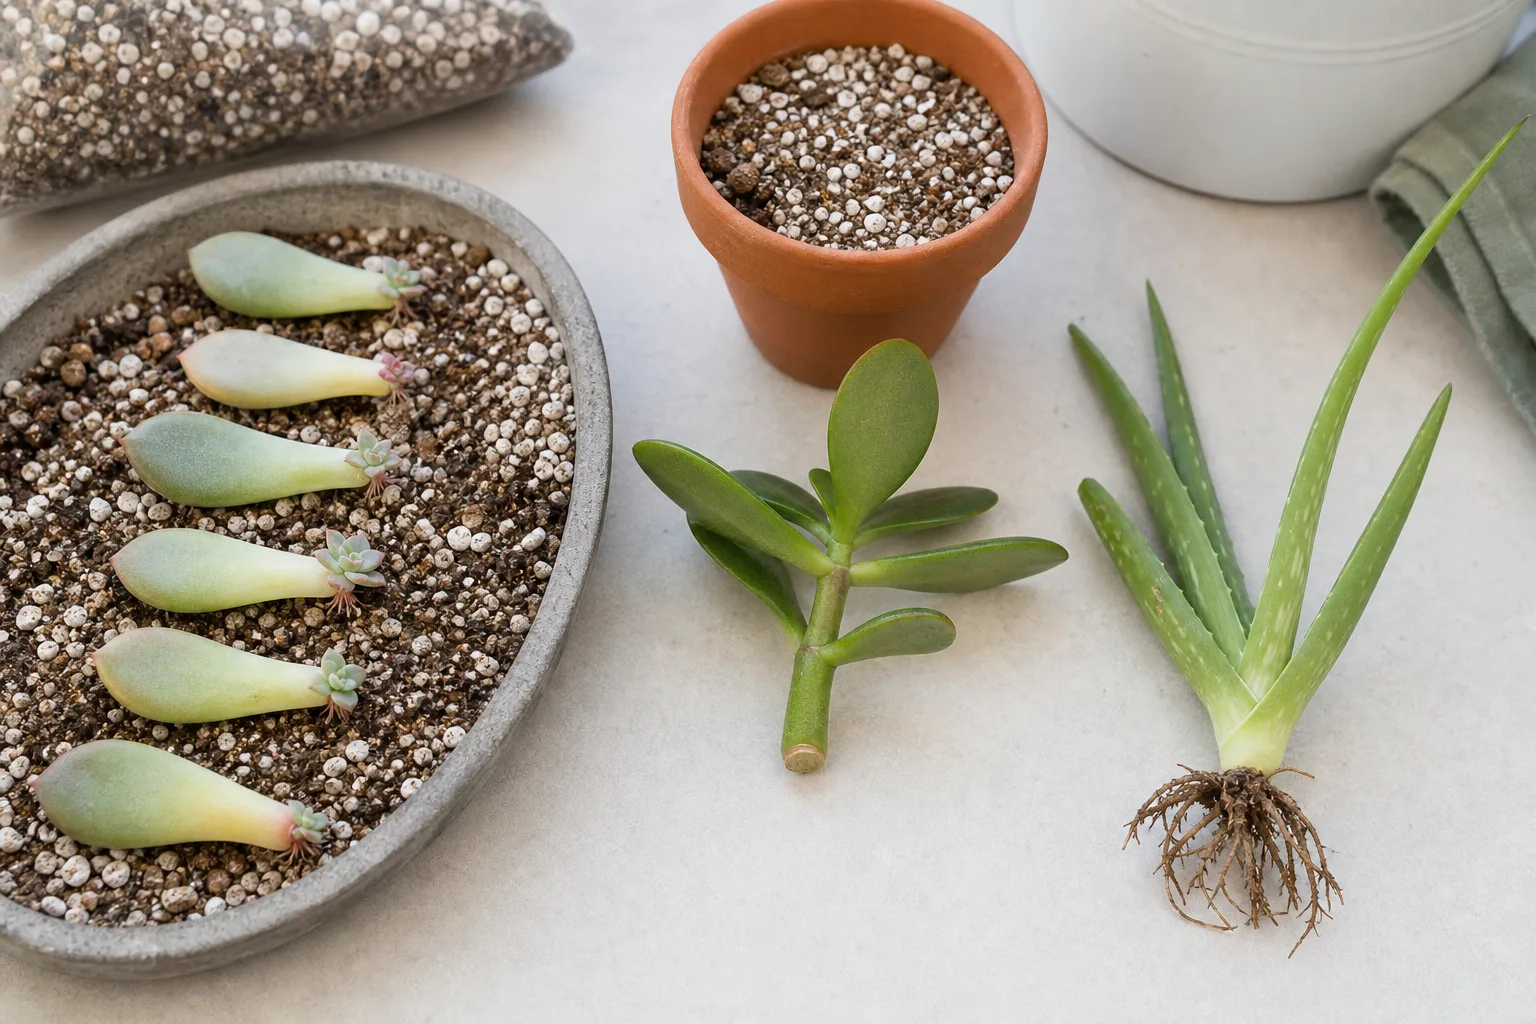
Stem cuttings are the practical way to reproduce a favorite crown of thorns, especially a named hybrid that will not come true from seed. Take them in spring or summer from a healthy, actively growing tip. New York Botanical Garden recommends a young, leafy section about 3 to 4 inches long; older, woody sections are less likely to produce vigorous new leaves. Gardens Illustrated’s propagation guidance for Euphorbia similarly emphasizes young shoots, protection from sap, and a gritty rooting medium.
Prepare the workspace before making the cut. Put on gloves and eye protection, use a sterile sharp blade, protect the table from sap, and keep pets and children away. Cut the tip, rinse the wound briefly with cool water to limit the latex flow, and set the cutting on a clean paper towel in bright shade for two or three days so the wound can callus.
Plant the callused cutting about an inch to an inch and a half deep in a barely damp, fast-draining mix. Bright indirect light is safer at first than intense direct sun. Keep the mix only slightly moist, never wet, because an unrooted cutting cannot use much water. New York Botanical Garden notes that new growth signals establishment; rooting can take several weeks, and Wisconsin Horticulture gives a warm-condition range of roughly five to eight weeks.
Once the cutting resists a gentle tug and begins producing new leaves, move it gradually into stronger light and begin the mature watering pattern. Do not keep checking by pulling it up. That breaks new roots and turns a patient propagation project into a repeated injury.
Move It Outdoors and Back Indoors
An outdoor summer can improve light and flowering, but moving a houseplant outside is a process, not a single afternoon errand. Wait until frost danger has passed and nights are reliably warm. Set the pot in bright shade or gentle morning sun for several days, then increase direct exposure in stages. Keep it out of a spot where a downpour can saturate the pot for days.
Before bringing it back inside, inspect the undersides of leaves, stem joints, the pot rim, and drainage holes for mealybugs, scale, spider mites, and ants tending honeydew-producing pests. Clean the outside of the pot and isolate the plant from your indoor collection for observation. Bring it in before cold nights, and do not place it immediately in a dark room; the sudden light reduction is an avoidable stress.
Outdoor plants in warm zones still need a site that drains quickly and gives people a safe path around the spines. If you live outside a warm climate, treat the plant as a container perennial rather than planting it into soil that will freeze. The exact hardiness of a particular hybrid is not guaranteed by the name alone, so use local temperatures, shelter, and the plant’s condition as your decision points.
Get More Flowers Without Overfeeding
To encourage flowers, work in this order: increase usable light, stabilize warmth, correct the dry-down cycle, and feed lightly only during active growth. Flowers form on growing tips, so a plant with long bare stems and no fresh growth is unlikely to bloom just because a bloom fertilizer was added. Move it toward stronger light before changing its nutrition.
Crown of thorns may flower for long periods in excellent conditions, but “year-round” is not a promise for every plant, cultivar, or home. The New York Botanical Garden notes that a very happy plant can extend flowering from late winter through fall, while Wisconsin Horticulture explains that too much light at night can interfere with flowering. In practice, keep the plant away from bright lamps or a grow light that runs through the night, while still providing any supplemental light it needs during the day.
Deadhead spent bracts only if they are easy to reach safely. Never sacrifice a stable branch or take risks around the thorns for cosmetic cleanup. A modest, naturally timed rest with less water in a cooler season can be useful, but a cold, dark, bone-dry corner is not a flowering strategy.
Diagnose Yellow Leaves and Leaf Drop
Begin with the root zone and recent changes rather than guessing from a single yellow leaf. A few older leaves dropping from mature bare stems can be normal. Widespread yellowing after frequent watering points toward poor drainage or root stress; yellowing after a missed watering, heat wave, or move into intense light points toward drought or environmental stress.
Check four clues together: how damp the mix is below the surface, whether stems are firm or soft, whether roots smell healthy or sour, and whether the plant recently changed location. If the mix is dry and stems are slightly shriveled, water thoroughly and improve the routine. If the mix is wet and stems feel soft, stop watering and investigate roots before adding anything else. If the plant was moved outdoors, consider sun scorch or transplant shock before assuming a nutrient deficiency.
Low light can also cause leaf drop because the plant cannot support as much foliage. Give it brighter light, but acclimate any sudden increase. Do not strip every yellow leaf while the cause is active; remove tissue only when it is fully dead or diseased, and fix the condition that is creating new symptoms.
Diagnose Brown Stems, Rot, and Scorch
Brown, crispy patches on exposed leaves after a sudden move into harsh sun are different from a brown, soft stem at the soil line. Scorch is dry and localized. Rot is often soft, darkening, collapsing, or foul-smelling, and it can spread through a stem when wet conditions continue. Prolonged moisture in the soil or on trapped plant debris is the common thread behind many crown-of-thorns disease problems.
If only a leaf edge is scorched, move the plant to bright filtered light and improve acclimation; damaged tissue will not turn green again. If a stem is soft or brown, isolate the plant, stop watering, and examine the base and roots. Cut away rotten tissue with a sterile blade only if healthy firm tissue remains beyond the damage, and handle every cut as a latex exposure risk. If rot reaches the main crown or there is little healthy tissue, preserve a healthy tip cutting only if you can do so safely; otherwise, discard the plant in a sealed bag rather than spreading contaminated debris.
Avoid the tempting rescue cycle of watering a collapsing plant “to help it recover.” A failing root system cannot use a saturated pot. Light, warmth, airflow, and a dry-down period are more useful after the source of rot is removed.
Manage Pests and Fungal Problems
Crown of thorns has a useful defensive structure, but it is not pest-proof. Mealybugs and scale can hide in thorny stem joints, while spider mites and thrips may appear when plants are stressed or moved between indoors and outdoors. Inspect weekly during active growth, especially after an outdoor stay.
For a small infestation, isolate the plant and physically remove visible pests with a targeted wipe or rinse while protecting your skin and eyes from sap. Do not blindly coat a stressed plant with a homemade pesticide. If you use an insecticidal product, confirm that it is labeled for the intended plant and pest, follow the label exactly, and test cautiously because sun, heat, and oils can injure foliage.
Fungal problems are best prevented by drainage, airflow, and removing dead leaves or flowers from the soil surface. Diagnose before treating: a pest problem, sun scorch, drought, and root rot can overlap in appearance. If symptoms continue after moisture and light are corrected, contact a local extension service or qualified horticulturist rather than escalating chemicals without a diagnosis.
Keep Latex and Spines Away From People and Pets
This plant is not pet-safe and should not be presented as harmless to people. Its stems, leaves, roots, and other damaged tissues can release milky latex that irritates skin and eyes; the spines add a physical injury risk. Pet Poison Helpline reports that ingestion can cause mild oral and gastrointestinal irritation in pets, including drooling, loss of appetite, vomiting, or diarrhea, but the severity depends on the animal, the amount, and the exposure. ASPCA Poison Control likewise cautions that its plant database is not all-inclusive and advises contacting a veterinarian or poison-control service if an animal may have ingested a plant.
Place the plant where a curious child, dog, cat, or guest cannot reach it, and remember that fallen leaves and pruning debris still need safe disposal. Wear gloves, long sleeves, and eye protection for pruning, repotting, and propagation. Wash exposed skin promptly with soap and water, rinse eyes with clean running water if sap enters them, and seek urgent medical or veterinary advice for significant eye exposure, persistent symptoms, or ingestion. Do not wait for a severe reaction before asking for help, and do not assume a small bite is automatically safe.
What to Expect From a Healthy Mature Plant
A healthy crown of thorns may have firm gray-brown, five- to seven-sided stems, leaves concentrated near the tips, and flowers or bracts on new growth. Some leaf loss is part of its normal appearance, especially as older stems mature. The plant should still show firm tissue, stable new leaves, and a root zone that dries between deep waterings.
Use this short monthly check: is the brightest safe location still bright, does water drain freely, is the mix drying at a sensible pace, are stems firm, and can you see pests in the stem joints? If the answer is yes, leave the plant alone rather than constantly repotting, feeding, or moving it. Crown of thorns rewards consistency more than fussing.
Conclusion
Crown of thorns is a good match for a sunny home or warm, dry garden when you respect what makes it different from a soft-leaved houseplant. Give it strong light, a fast-draining pot, deep watering followed by a real dry-down, and only modest fertilizer during active growth. Expect older stems to become bare, and use new leafy growth—not a promise of perpetual flowers—as the clearest sign that care is working.
The non-negotiable part is safety. Plan every move around the irritating latex and sharp spines, keep the plant and fallen debris away from children and pets, and get professional help after meaningful exposure. With those boundaries in place, Euphorbia milii can provide a long season of colorful bracts without demanding constant attention.



