6 Container Gardening Mistakes to Avoid
Container gardening mistakes are often easy to prevent. Use this practical guide to fix pot size, drainage, plant pairings, watering, soil, and fertilizer.
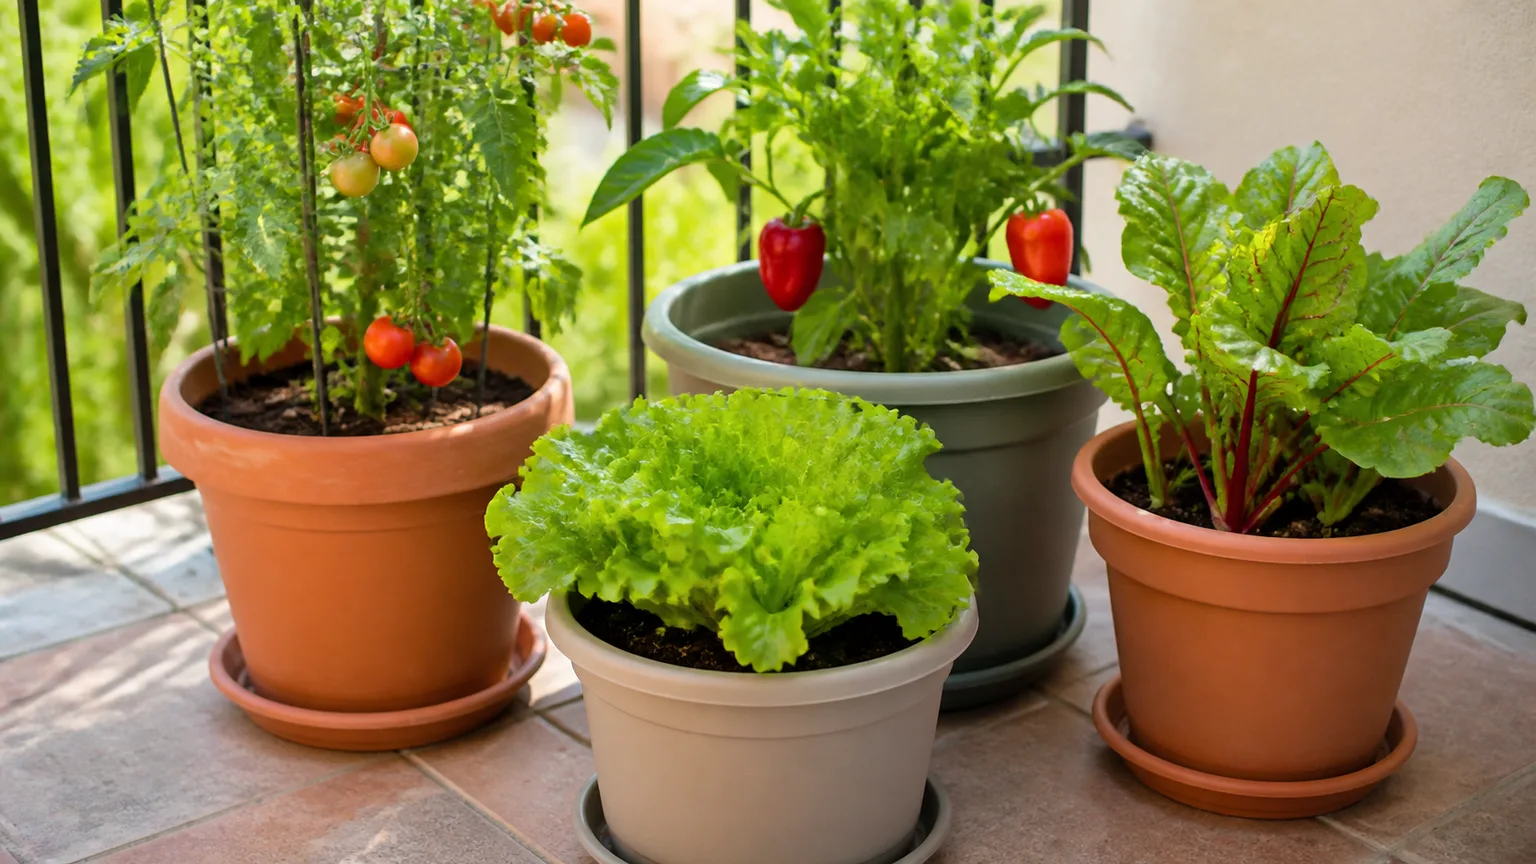
Container gardening gives you control over soil, light, and placement, but it also removes the large buffer that exists in the ground. A pot has a limited root zone, a limited water reserve, and a small store of nutrients. That means a choice that would be harmless in a garden bed—using dense soil, placing a plant in a puddle, or adding one more seedling—can become the reason a container fails.
The good news is that most container gardening mistakes are visible and reversible when you know what to check. Use the six warnings below as a system: choose the container and site first, build a breathable root zone, pair plants by needs, leave room for growth, and let moisture and the fertilizer label—not habit—set your schedule.
Before you buy a pot or tuck in a transplant, answer four questions: How big will the plant become? How much direct sun and wind does the spot receive? Does the container have a real drainage path? And will the plants in the same pot want the same moisture and feeding pattern? These questions are more useful than choosing a pot because it matches the patio furniture or planting three nursery-grown plants because the combination looks full on day one.
Containers also change quickly. A dark pot on a hot balcony can dry much faster than a pale pot in a sheltered courtyard, while a small pot can move from damp to bone-dry in a single windy afternoon. The Royal Horticultural Society’s container-growing guidance makes the broader point clearly: plants in containers have restricted root space, so they need more regular attention than plants in open ground.
1. Choosing a pot by appearance instead of root space
The first mistake is buying the decorative container before considering the plant. A pot that is too small restricts roots, dries quickly, and may leave a tall plant top-heavy; a pot that is dramatically too large holds a large volume of unused mix that can stay wet around a small rootball. Neither extreme is solved by watering more carefully.
Match the pot to the rootball, material, and location
For a single transplant, start with the rootball. Choose a container only modestly wider and deeper than the existing root mass, with enough room for the plant’s expected growth until the next repot. The exact amount varies by species and growth rate, but “slightly larger than the rootball” is a safer starting point than jumping several sizes because a large pot seems more generous. The RHS also cautions against overpotting because excess damp compost can leave roots sitting in conditions they cannot use.
Then account for the setting. Unglazed terracotta is porous and loses moisture through its sides, which can be helpful for a plant that dislikes staying wet and inconvenient for a thirsty vegetable in full sun. Plastic and glazed containers usually hold moisture longer, but they still need drainage holes and may require a more careful hot-weather check. Metal can heat rapidly in sunshine, while tall, narrow pots are more likely to blow over when a plant becomes leafy.
Treat the container as part of the watering plan. A shallow pot, terracotta, south-facing wall, reflected heat, and steady wind all increase drying; a large, deep pot in shade does the opposite. If you cannot change the site, change the plant or container rather than trying to force a mismatched combination with a rigid watering schedule.
There is also a practical distinction between a growing pot and a cachepot. A nursery pot with drainage holes can sit inside a decorative cover pot, but the inner pot must be easy to lift out. After watering, empty water collected in the cover pot; otherwise the attractive outer container becomes a hidden reservoir around the drainage holes.
2. Treating drainage as a gravel layer
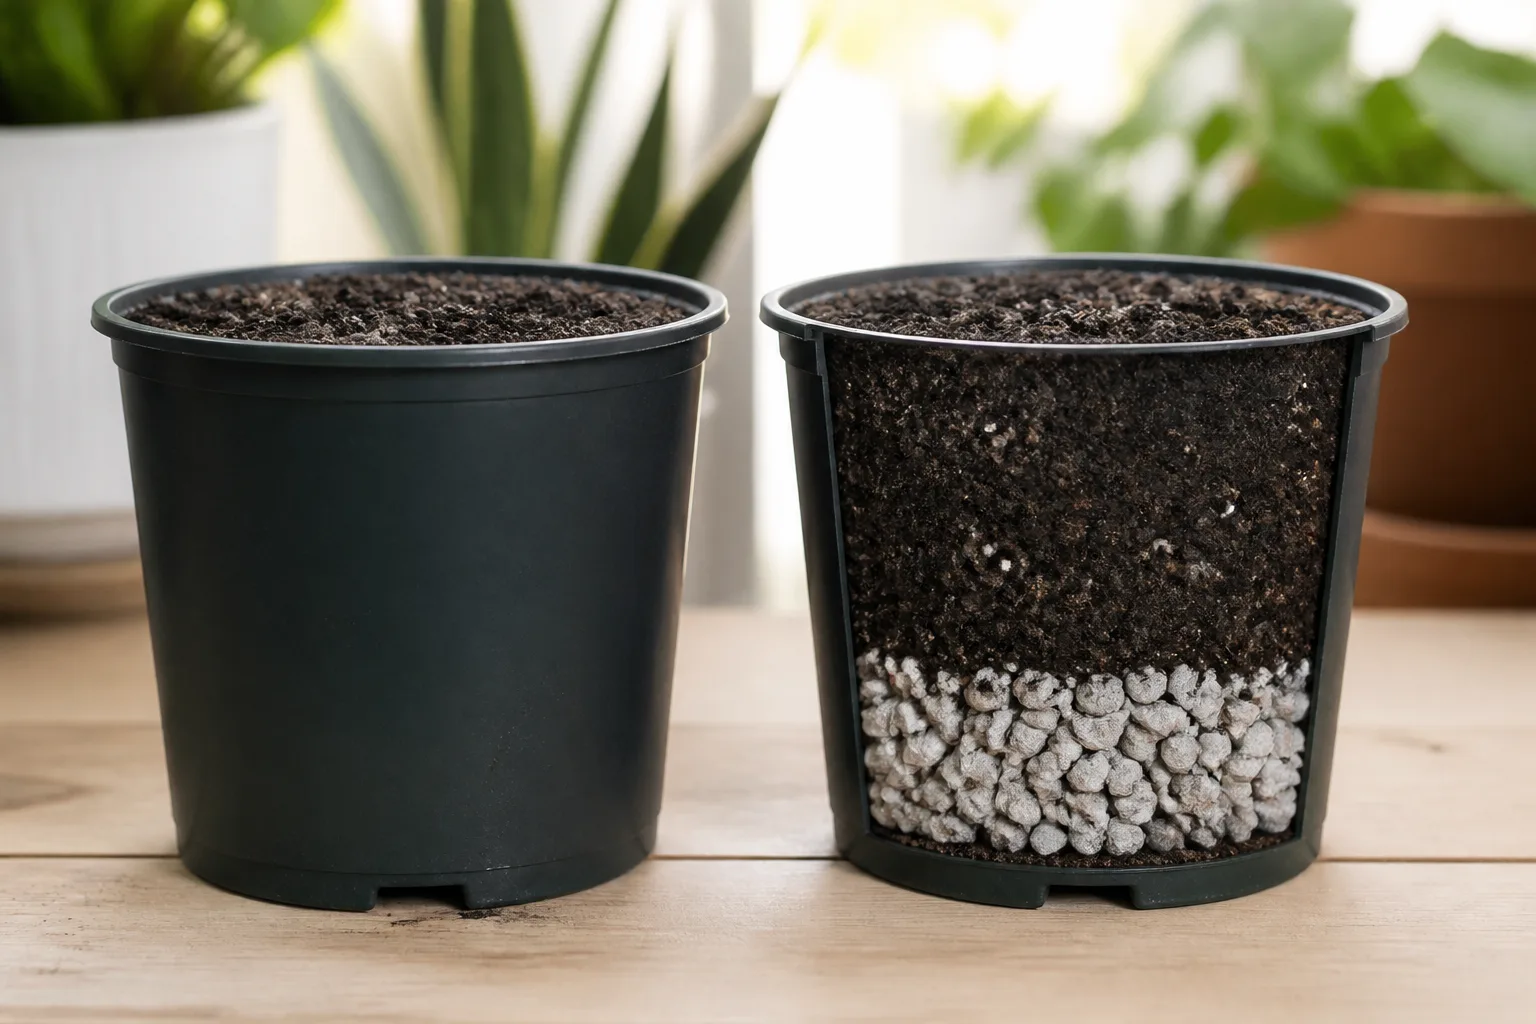
“Add rocks to the bottom” sounds like a simple drainage fix, but it confuses two separate jobs. Drainage means excess water can leave the container; aeration means the mix still contains air-filled pore space after watering. A layer of stones does not compensate for a blocked hole, a saucer full of standing water, or a dense mix that collapses around roots.
Give water a clear exit, then let the mix do its job
Start with at least one unobstructed drainage hole, and keep the pot raised slightly if its base sits flush against a patio or tray. A mesh screen over a large hole can keep mix in without sealing the opening. If a decorative pot has no hole, use it as a cover pot or drill it only if the material and tool are appropriate; do not treat a sealed container as a normal growing pot.
The rock-layer question is more nuanced than a slogan. A recent PLOS ONE study of drainage layers in container potting media found that outcomes varied with the potting medium and the layer material. In several soilless mixes, the drainage layer reduced the total water held by the container, but the study did not grow plants in those test pots, and its small experimental containers do not justify a universal “gravel always helps” or “gravel always harms” rule.
For home gardeners, the reliable default is simpler: use a container with a hole and fill the root zone with one well-structured mix rather than sacrificing a chunk of root space to random stones, shards, or packing material. In a very large planter, inert material may sometimes be used for stability or to reduce the amount of mix, but that is a structural design decision. It should not create a perched wet zone beneath the roots, block the outlet, or leave the plant in a smaller effective root volume than planned.
3. Filling a container with garden soil
Garden soil works in a garden because it is supported by the surrounding ground and because its structure interacts with a much larger volume of soil. In a pot, the same soil can compact, drain slowly, weigh far more than expected, and carry weed seeds or disease organisms. Topsoil, bagged garden soil, and unfinished compost are not interchangeable with a formulated potting mix.
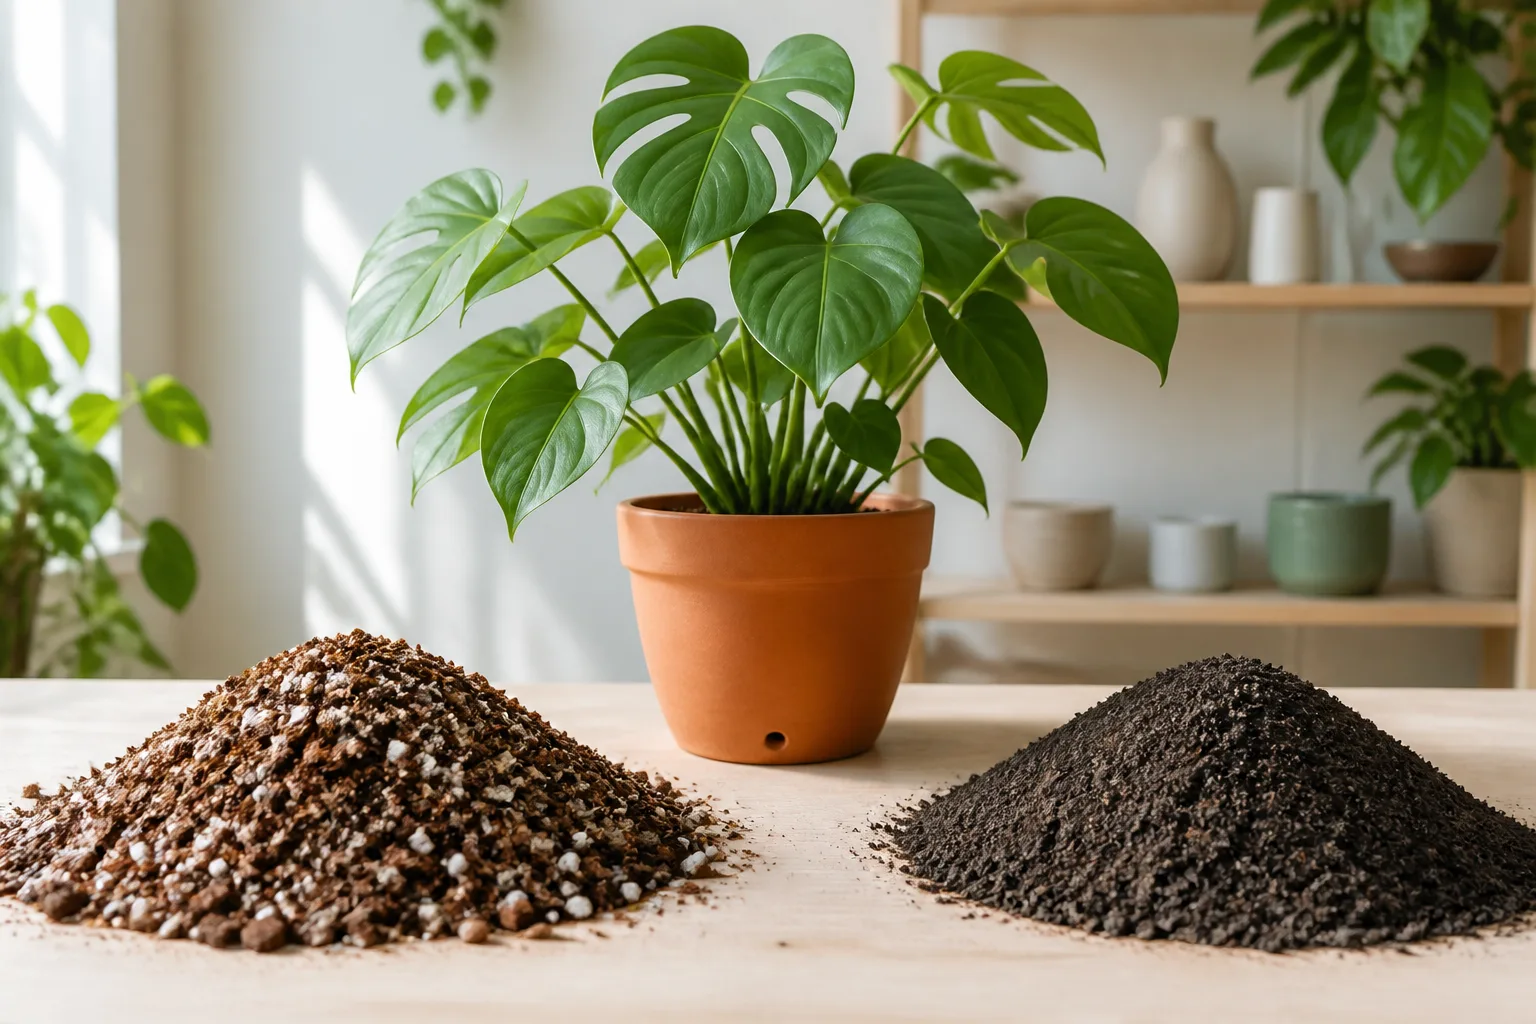
A good container medium must hold a plant upright while balancing water retention, air exchange, drainage, and nutrient availability. University of Vermont Extension’s potting-mix guidance notes that soilless mixes commonly use a base such as peat or coir along with materials such as perlite, vermiculite, or coarse sand to adjust air space and water-holding capacity. The UF/IFAS homemade potting-mix guide likewise frames a mix around the root’s needs for air, water, nutrients, and support.
For most beginners, a quality container mix labelled for the crop is the lower-risk choice. Choose a mix suited to the job: a general mix for seasonal flowers and many vegetables, a sharper-draining mix for plants that resent wet roots, or an acid-loving formulation when the plant truly requires a lower pH. If you make your own, work from a tested small batch and use mature, finished compost rather than compost that is still heating, sour-smelling, or full of recognizable scraps.
Do not fix a heavy mix by watering less and hoping it will improve. Watering less may leave the top looking acceptable while the lower root zone remains saturated. If a container has already collapsed into a dense mass, repotting into fresh mix and checking the roots is usually a clearer repair than adding a handful of perlite to the surface.
4. Pairing plants by color instead of care
A mixed container is a small ecosystem, not a bouquet. Red flowers, silver foliage, and a trailing plant may look perfect together while one needs frequent moisture, one needs a dry-down, and one needs several hours of strong sun. The plant with the narrowest tolerance usually determines whether the combination succeeds.
Use a same-needs test before planting a combination
Compare four requirements before putting plants in one pot: light, moisture, root-zone texture, and mature size. Plants do not need identical care in every detail, but they should overlap enough that one watering decision does not repeatedly rescue one plant while stressing another. A sun-loving tomato and a shade-loving fern are not a workable partnership just because both are green; a drought-tolerant herb and a moisture-loving annual will also fight the container’s moisture cycle.
For edible containers, compare harvest timing and feeding needs as well. Lettuce and basil can share a sunny planter in some climates if the container is large enough and both are checked for water, but a woody Mediterranean herb may prefer a leaner, faster-drying mix than a leafy crop. For ornamental combinations, match plants by the conditions at the pot—not by the label on the nursery bench.
Before planting, set the nursery pots on the empty container and observe the arrangement for a day. If one pot would sit in the brightest, hottest edge and another in deep shade, the final planting may reproduce that imbalance. Keep unlike plants in separate pots when you want the look of a group but not a shared root zone; you can still move or water each plant according to its needs.
5. Packing the planter for instant fullness
A newly planted container often looks sparse because the plants are young and the mix is still visible. Filling every gap can create a lush photograph on planting day and a crowded root zone a month later. Overcrowding forces plants to compete for light, water, nutrients, and air movement, while dense foliage keeps leaves wet longer after rain or overhead watering.
Use the mature dimensions on the plant tag or seed packet, not the size of the transplant in your hand. Seedlings that look tiny at the garden center can become vigorous plants, especially in fertile mix and warm weather. Thin direct-sown crops to their recommended spacing even when the empty spaces feel wasteful; the remaining plants often grow faster and stay easier to inspect.
Plan for mature size and support
Crowding is also a structural mistake. Tomatoes, cucumbers, peppers, eggplants, climbing flowers, and other fruiting plants can become heavy or sprawling in containers. Install a cage, stake, trellis, or other suitable support when you plant, while the root zone is still easy to work around. The practical Epic Gardening guide to vegetable container mistakes emphasizes that adding support on planting day is easier on both the plant and the gardener than trying to push a support into a root-filled pot once fruit is forming.
Leave room to see the soil surface and reach the pot’s edge. That gap lets you check moisture, direct water to the root zone, remove fallen leaves, and notice pests before a dense canopy hides them. If you want immediate fullness, use a larger container with a compatible group, add a temporary seasonal plant that can be removed later, or group separate pots rather than forcing too many roots into one volume.
6. Watering and fertilizing on autopilot
Watering and feeding are related because both are affected by root-zone volume, weather, and growth rate, but they are not interchangeable. A plant that looks wilted does not automatically need water, and a yellow leaf does not automatically need fertilizer. Roots damaged by saturation can produce the same above-ground distress as roots that are too dry.
Check moisture before watering
There is no universal container watering calendar. Check the mix at a meaningful depth—about one-third of the way down for many pots—rather than judging only the dusty surface. Lift the pot when possible, compare it with a recently watered pot of the same size, and pay attention to wind, heat, recent rain, pot material, plant size, and whether roots have filled the container. A moisture meter can be a second opinion, but it is not a substitute for learning how the mix feels.
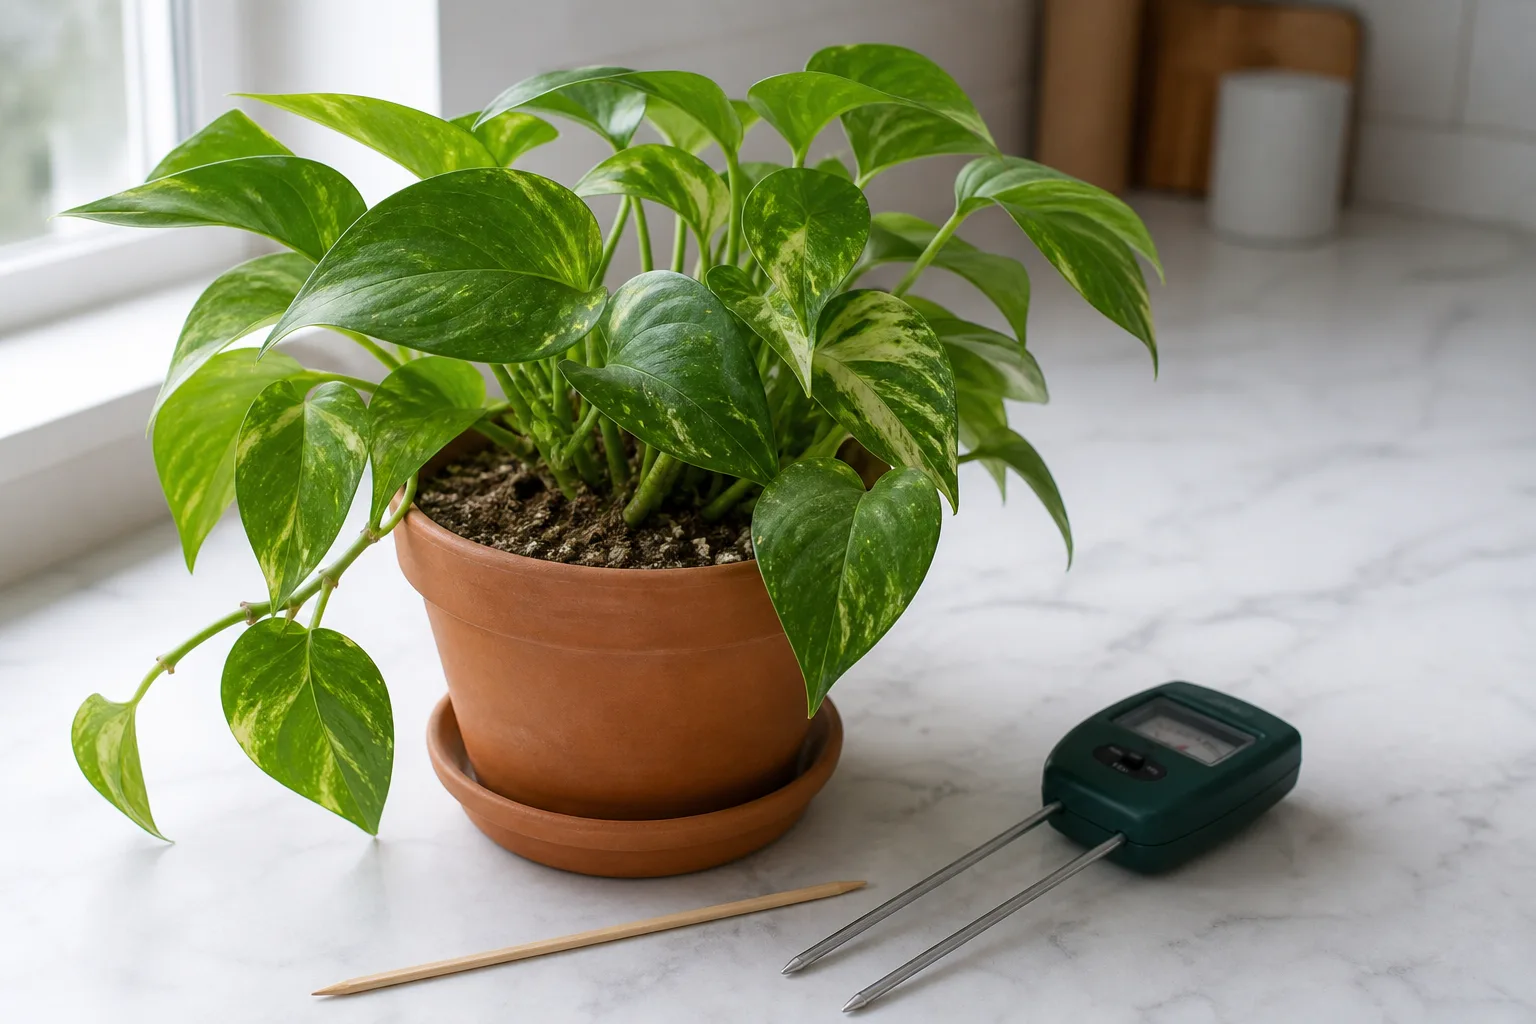
When the root zone needs water, apply it slowly over the surface so the mix has time to absorb it. Avoid a quick splash that runs down a gap along the pot wall while the center stays dry. Water the mix rather than repeatedly wetting the foliage, and check that excess water can leave the container. The RHS container-watering guide recommends checking each container, watering thoroughly when needed, and adapting timing to weather and pot conditions rather than following a fixed schedule.
Do not leave a summer saucer full of water for days. A tray can catch runoff on a hot patio, but empty it after the container has finished draining. In cool, rainy weather, remove saucers or elevate pots so the drainage hole is not sitting in standing water. Newly planted containers and small pots may need frequent checks; a large, established pot in a mild, cloudy spell may need far less.
If potting mix has become so dry that it pulls from the sides and repels water, repeated surface splashes will not rehydrate it evenly. Move a small pot into a basin of water long enough for the mix to absorb moisture from below, then remove it and let excess water drain. This is a rescue measure, not a reason to keep the pot permanently submerged.
Feed the plant, not your anxiety
Container plants eventually exhaust nutrients because their roots cannot explore new soil, and frequent watering can move soluble nutrients through the pot. That does not mean more fertilizer is better. Read the product label, find out whether the mix already contains a starter charge or slow-release feed, and match the product to the crop and growth stage.
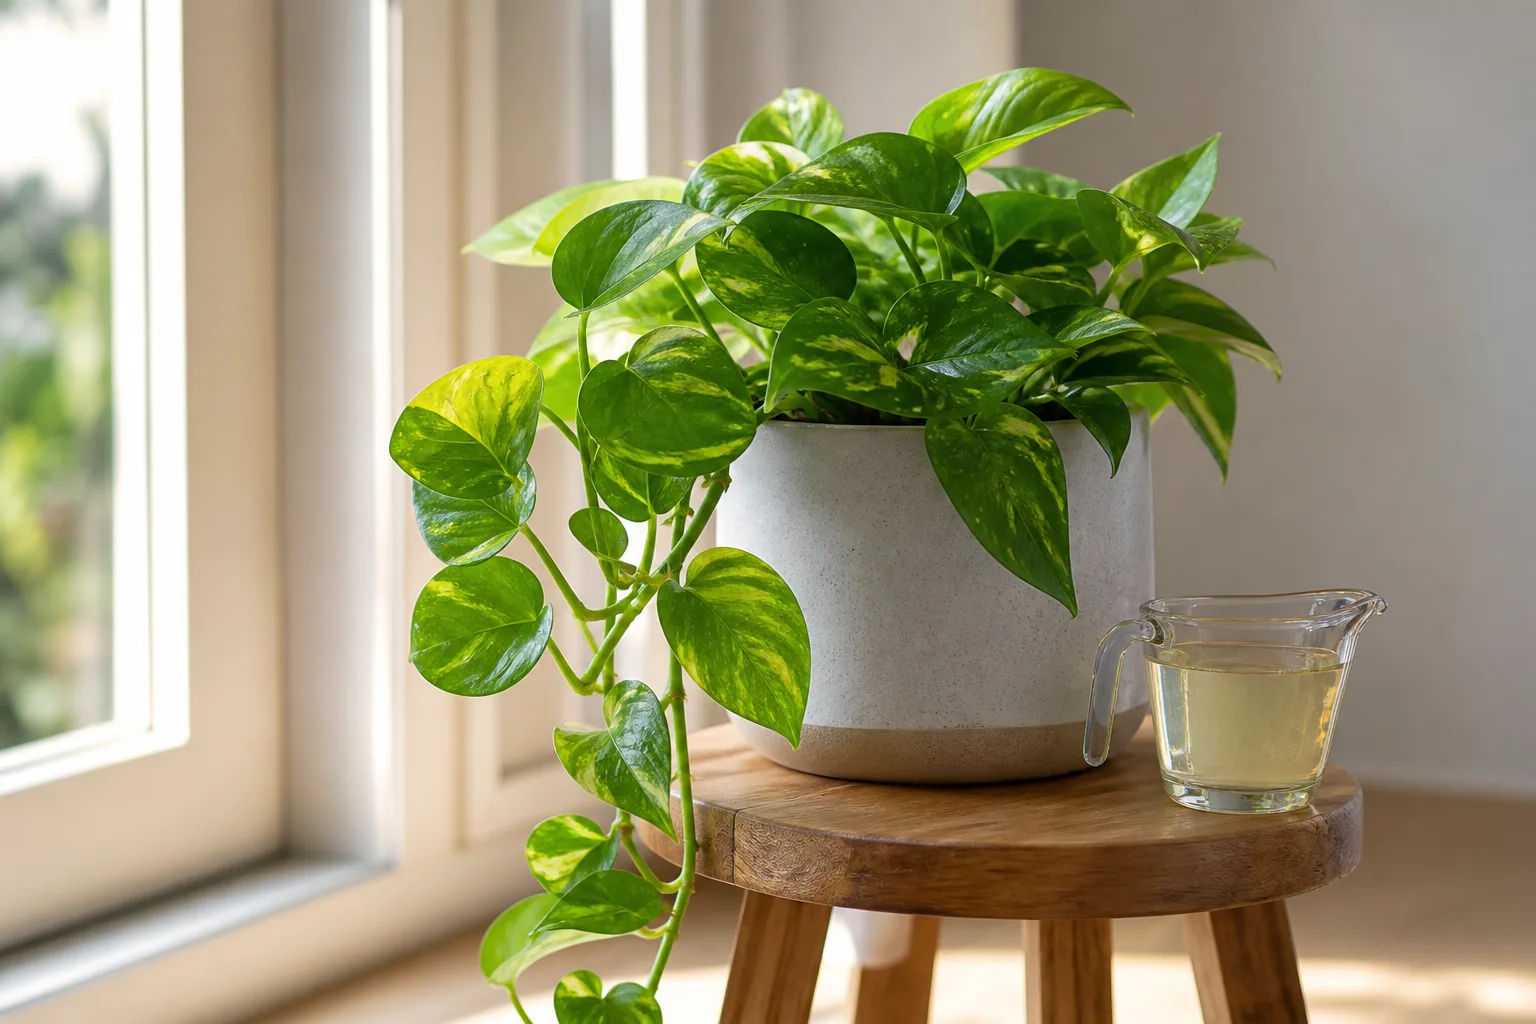
A cautious routine is to let a newly planted transplant settle, follow the label’s rate, and avoid stacking several products that provide the same nutrients. Apply fertilizer to a watered root zone rather than bone-dry mix, keep granules off foliage and stems, and reduce or stop feeding when growth slows in cool, dark weather. Plants under heat, drought, root damage, or severe water stress need the underlying problem addressed before extra nutrients.
Mistake-proofing outdoor containers in fall and winter
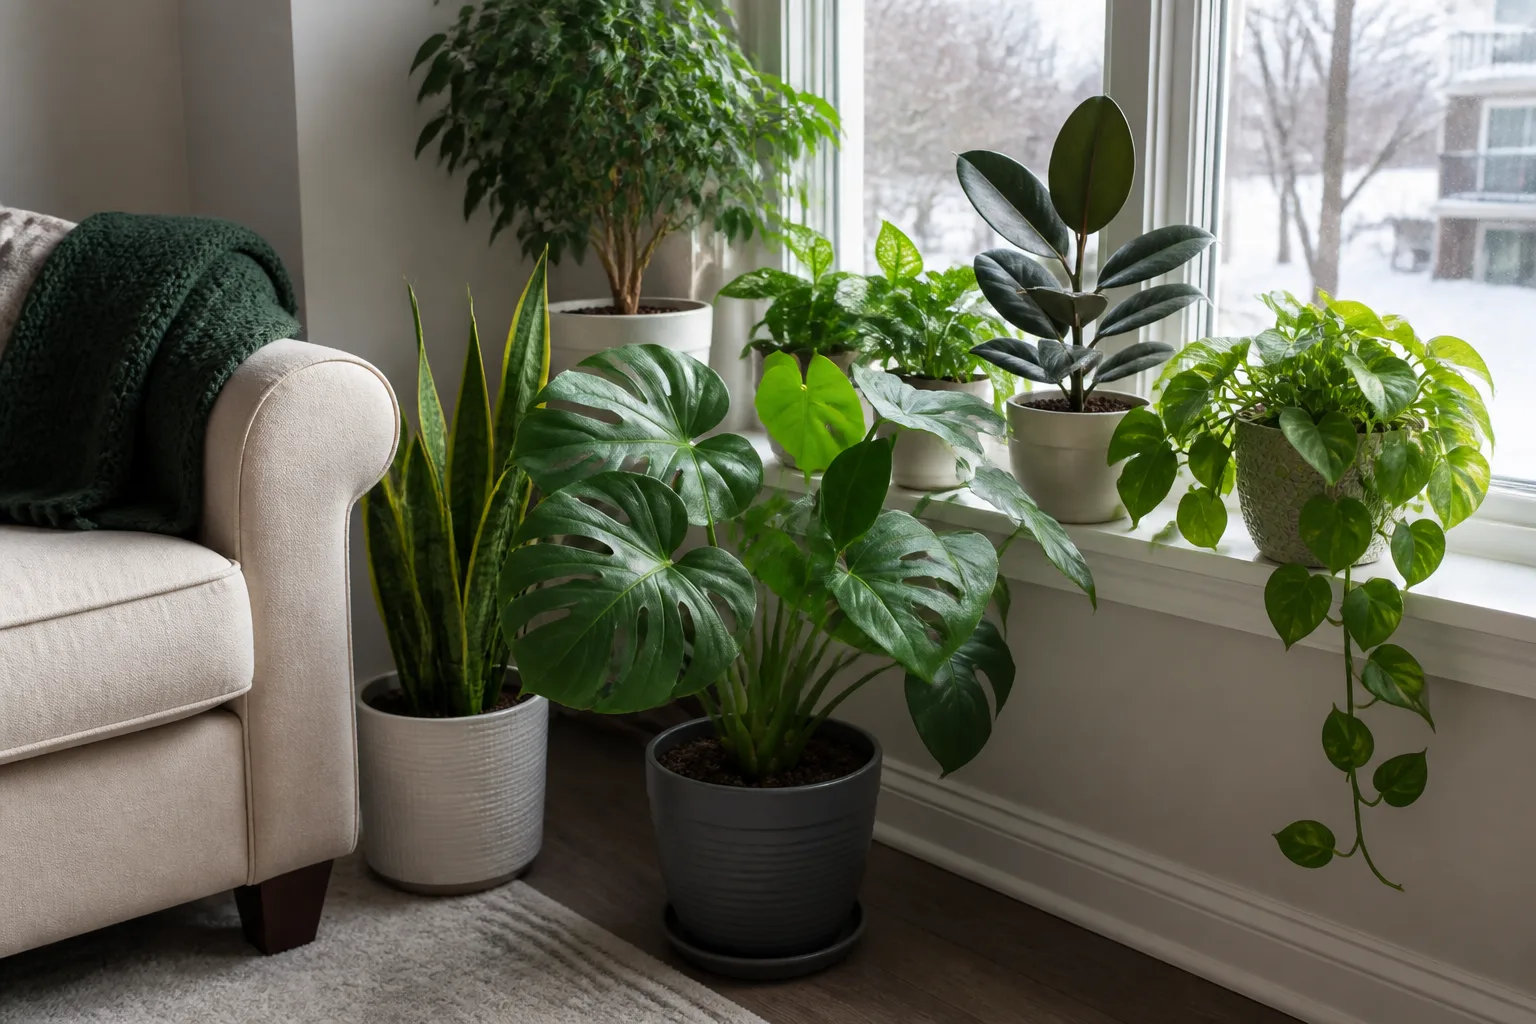
Seasonal containers often fail because gardeners treat autumn as a simple switch from “water often” to “never water.” Rain, cooler temperatures, shorter days, and lower evaporation can leave a pot wet for much longer, while exposed roots can still dry out during a sunny, windy spell. A container on a roof, balcony, or doorstep is more exposed to temperature swings than a plant rooted in the ground.
Protect roots without trapping water
Move vulnerable pots out of direct wind, away from roof runoff, and into a sheltered position when the plant and climate require it. Grouping pots can reduce exposure, but do not pack them so tightly that air cannot move or that one leaking pot keeps another permanently wet. Use frost-safe containers for plants that remain outdoors, and remember that some terracotta can crack when wet and frozen.
Keep drainage holes clear and raise outdoor pots on feet or spacers when the surface below stays wet. A layer of mulch on top can reduce temperature swings and moisture loss, but it should not cover the stem crown or turn the pot into a sealed, soggy bucket. Homes & Gardens’ winter container guidance is useful on this seasonal point: drainage, shelter, and keeping waterlogged mix from freezing around roots matter as much as frost protection itself.
Check evergreen plants during a dry winter spell, but do not water frozen mix or water just before a hard freeze. Deciduous plants that have gone dormant usually need less attention. The correct question is not “Is it winter?” but “Is this particular root zone damp, frozen, or genuinely dry, and can excess water escape?”
How to diagnose a struggling container
Start with the root zone, not the leaves. Look for the pattern across several days: soil moisture, pot weight, drainage, weather, recent feeding, and whether new growth is improving or declining. Symptoms overlap, so a single yellow leaf or one wilted afternoon is not enough to diagnose a cause.
Wet soil and wilting
If the plant is wilted while the mix is wet, stop watering and check the drainage hole, saucer, and lower mix. A saturated root zone contains less air, and roots that are damaged or oxygen-starved cannot reliably move water to the leaves. Move the pot to a bright, sheltered spot with airflow, empty standing water, and wait for the mix to move toward the plant’s normal moisture range.
If the pot remains wet for many days, slide the rootball out if the plant can tolerate inspection. Healthy roots are generally firm; mushy, dark, foul-smelling roots point to a more serious root problem. Trim only clearly dead tissue with clean tools and repot into a container and mix that fit the remaining root mass. Do not jump to a much larger pot during the rescue.
Dry soil, crispy leaves, or white crust
If the mix is dry well below the surface, the pot is unusually light, and leaves perk up after a thorough drink, underwatering is more likely. Check whether the container is too small, the plant has outgrown the root zone, the potting mix has become hydrophobic, or wind and reflected heat have increased evaporation. The solution may be a larger or more suitable pot, a better placement, or a temporary shade break—not simply more frequent shallow watering.
Crispy edges can also follow salt accumulation from repeated fertilizer applications or hard irrigation water. A white crust on the mix or pot rim is a clue, not a complete diagnosis. Pause fertilizer, confirm the product rate, and if the plant and mix are otherwise healthy, use the next appropriate watering to move clean water through the root zone while ensuring the drainage water can escape. If the problem keeps returning, replace exhausted mix or have it tested rather than guessing at supplements.
A 10-minute preplant checklist
Use this before planting a new container or rebuilding one that has failed:
- Measure the plant’s mature size. Check height, spread, root depth, and whether it will need a trellis or cage.
- Inspect the container. Confirm drainage holes are open, the pot is stable, and the material suits the site’s heat, wind, and cold.
- Choose the mix for the plant. Use a formulated potting mix; if making one, use a small, consistent batch with mature ingredients.
- Plan the water path. Decide where runoff will go, whether a saucer is temporary, and how you will check moisture below the surface.
- Compare plant needs. Group only plants with compatible light, moisture, root-zone, and feeding requirements.
- Leave inspection space. Do not bury the stem crown, fill the pot to the brim, or block access to the soil.
- Prepare support early. Add stakes, cages, or trellises before roots and stems make the job awkward.
- Read the fertilizer label. Note whether the mix is already fed and record the first application date instead of dosing from memory.
This checklist takes less time than repotting a waterlogged container, replacing a dead seasonal display, or trying to support a fruit-heavy plant after it has flopped. It also turns container gardening into a manageable set of observations rather than a test of perfect instincts.
Conclusion
The best container gardens are not built around a magic pot, a universal soil recipe, or a perfect watering number. They work because the container, mix, plant, site, and maintenance rhythm agree with one another. Choose the pot from the rootball and mature size, provide a real exit for excess water, use a breathable container medium, pair plants by care needs, leave space for growth, and treat watering and fertilizer as observations rather than rituals.
When a plant struggles, return to the same order: inspect moisture, drainage, roots, light, and recent feeding. Correct the first mismatch you can prove, give the plant time to respond, and keep separate pots when one shared container forces incompatible care. That approach prevents the common mistakes before they become expensive ones.



