How to Grow and Care for Aloe Vera
Grow healthy aloe vera indoors or outside: light, soak-and-dry watering, gritty soil, pup propagation, gel harvest limits, pests, and pet safety.
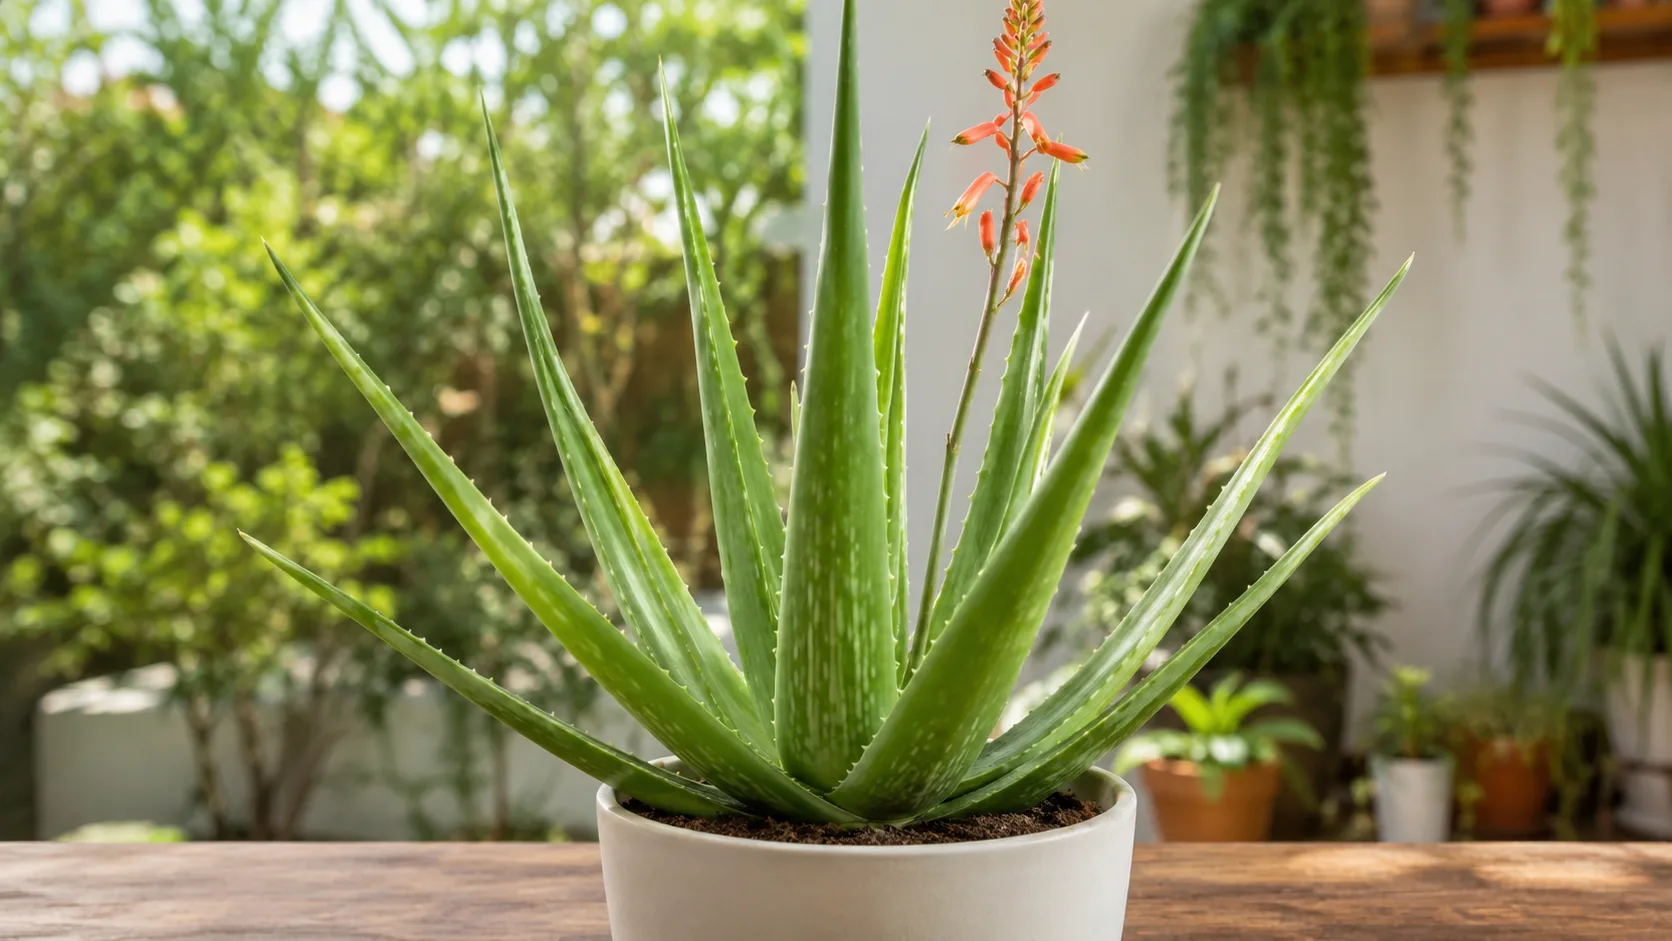
Aloe vera care is mostly a drainage-and-light problem dressed up as a low-maintenance houseplant. Aloe vera stores water in thick leaves and expects long dry spells between deep drinks. Give it a bright window, a pot that drains freely, and a cactus-style mix—and resist watering on autopilot. Native to dry regions of the Arabian Peninsula and widely cultivated worldwide, this rosette succulent is grown for ornamental value and for the clear gel inside mature leaves. For species-specific hub pages, see our Aloe vera plant profile and dedicated guides on watering and overwatering.
Quick care checklist for healthy aloe vera
For a healthy aloe vera indoors, place it where it receives bright light for most of the day—ideally several hours of direct sun after acclimation, or the strongest indirect light you can offer. Use a pot with a drainage hole and a gritty succulent mix, then water thoroughly only when the soil is dry well below the surface.
Keep the plant in a stable, frost-free room between roughly 55°F and 85°F (13°C and 29°C). Skip misting and pebble trays; normal household humidity is fine. Feed lightly at most once during spring growth, propagate from offsets rather than leaf cuttings, and keep the plant away from pets and curious children because both the gel and especially the latex-rich skin can cause harm if ingested (ASPCA, MedlinePlus).
The first week after you bring a plant home: check for pests at the leaf bases, confirm the pot drains, place it in bright but not suddenly harsh sun, and wait to water until you have tested the mix. Nursery aloes are often grown under shade; moving straight into hot afternoon glass can scorch leaves even when the long-term goal is a sunny sill.
Aloe vera at a glance
| Feature | Detail |
|---|---|
| Common names | Aloe vera, medicinal aloe, burn plant, Barbados aloe |
| Botanical name | Aloe vera (syn. Aloe barbadensis) |
| Family | Asphodelaceae |
| Mature size | 1–3 ft tall and wide indoors; often smaller in pots |
| Light | Full sun to bright indirect; blooms need strong light |
| Soil | Very well-drained cactus or succulent mix |
| Water | Soak when dry throughout; minimal in winter dormancy |
| Hardiness | USDA Zones 10–12 outdoors; frost-intolerant |
| Propagation | Offsets (pups); seed on mature outdoor plants |
| Toxicity | Toxic to cats and dogs; latex and skin irritant for people |
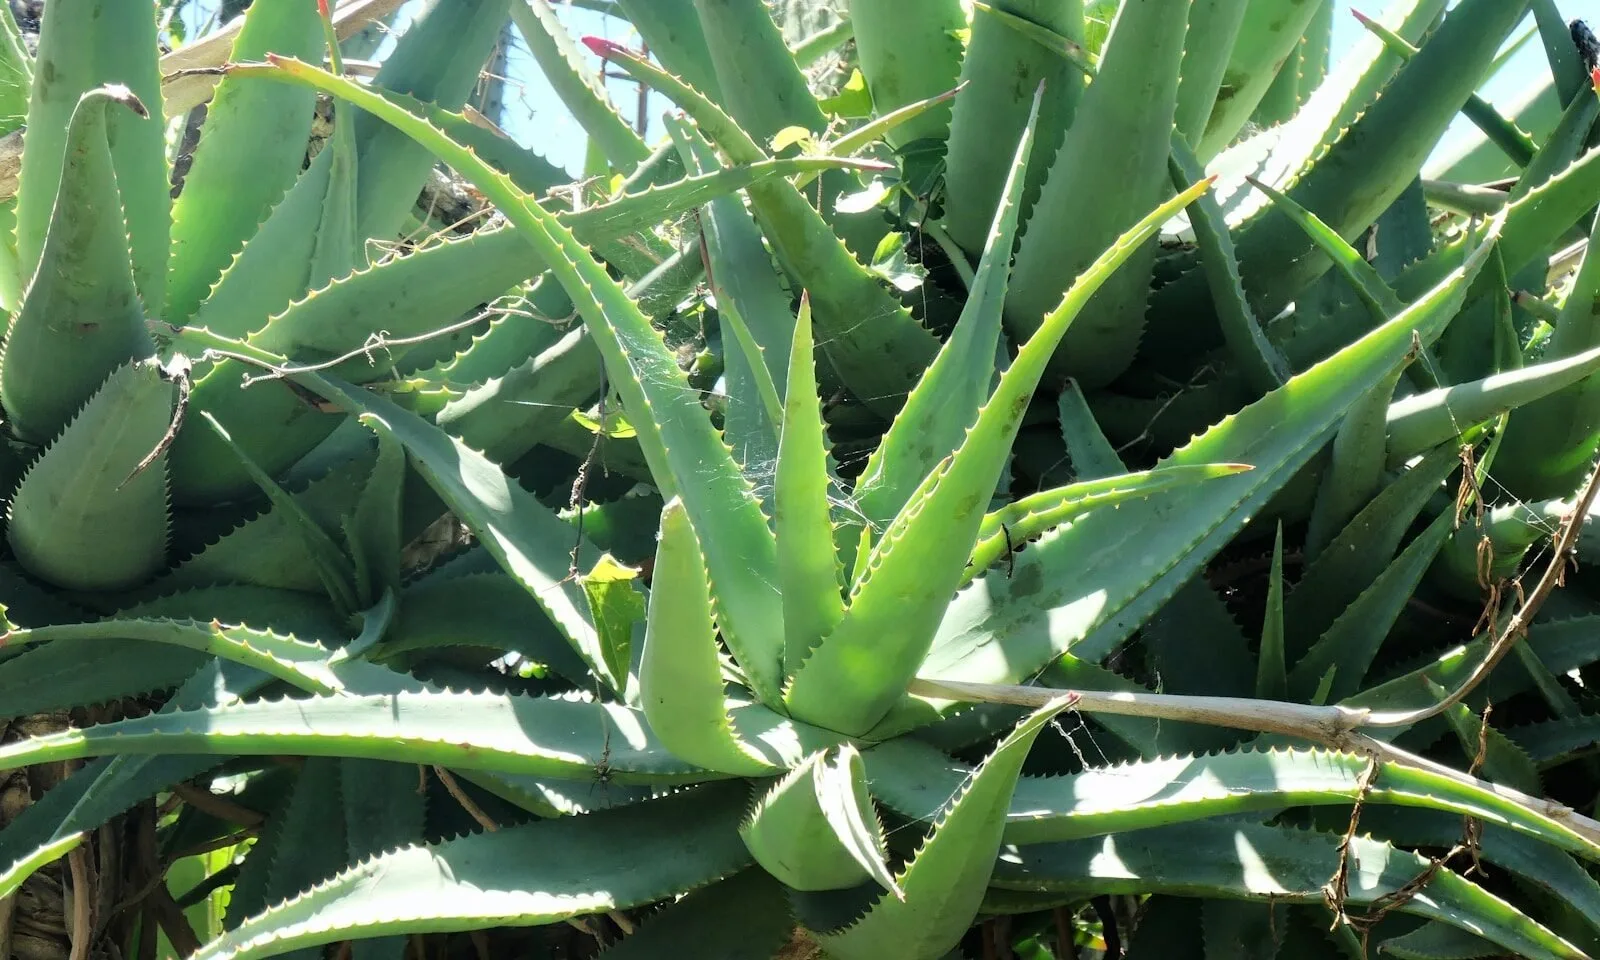
Penn State Extension notes that aloes have been cultivated for thousands of years and that over 400 species exist, though Aloe vera is the one most people recognize. The Missouri Botanical Garden describes it as stoloniferous and stemless, with lance-shaped gray-green leaves armed with soft marginal teeth and yellow flowers on mature specimens in optimum conditions.
Choose the right light indoors and out
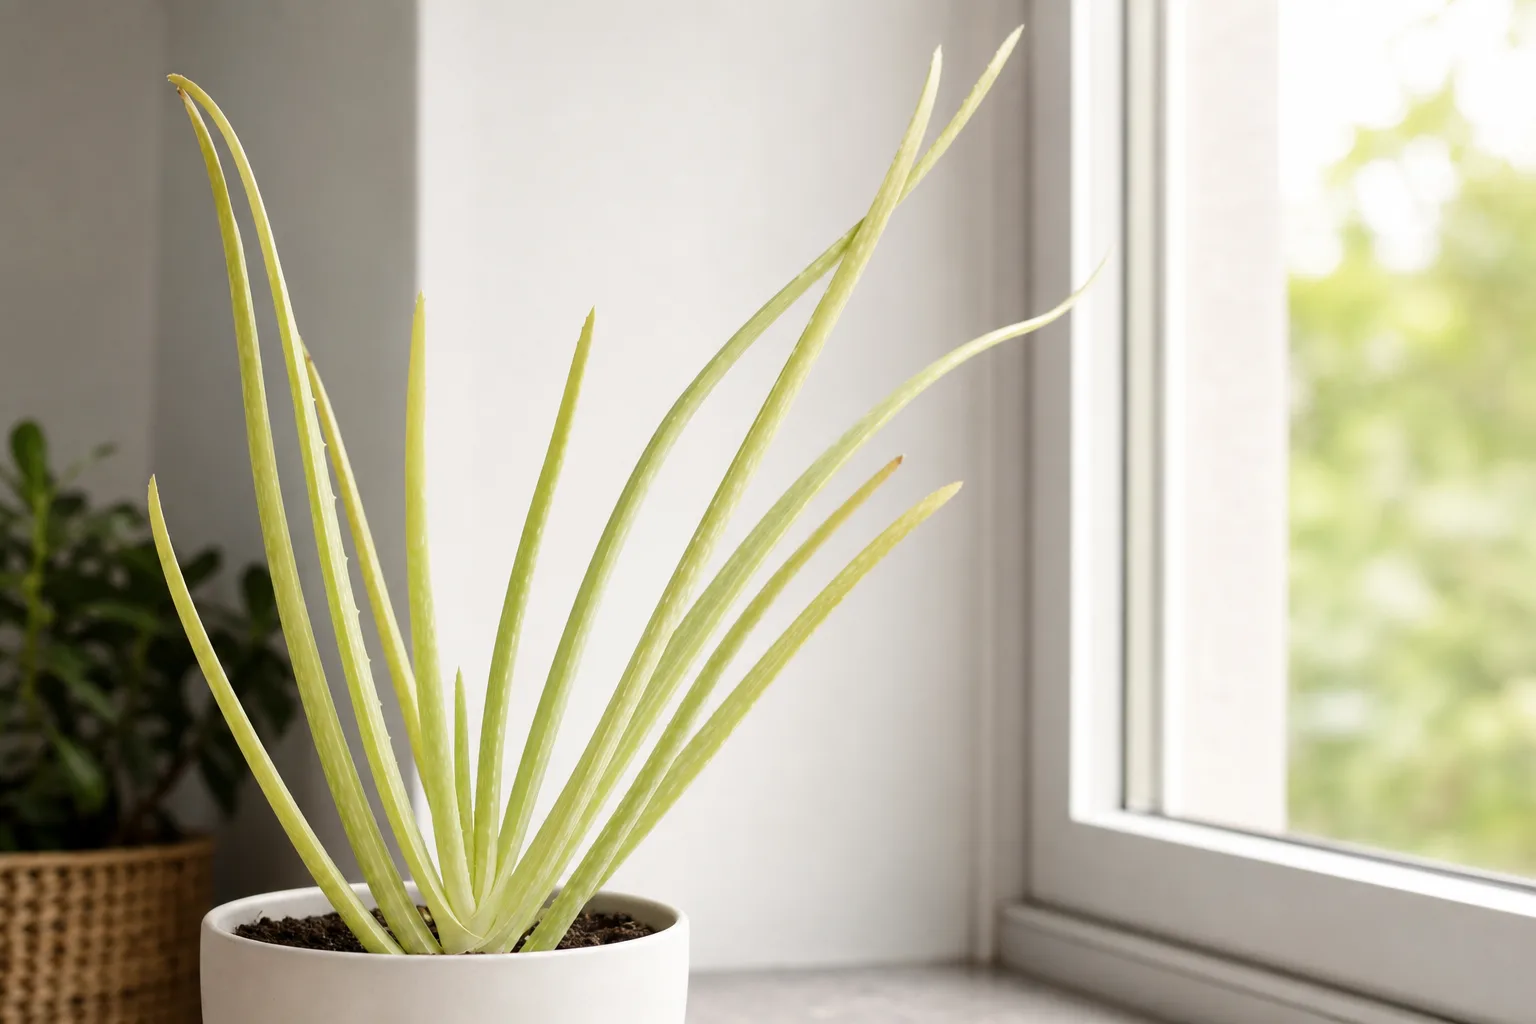
Aloe vera grows best with strong light. Indoors, a south- or west-facing window that delivers several hours of direct sun is ideal in the Northern Hemisphere; an east window gives gentler morning rays. Bright indirect light can keep a plant alive, but growth often becomes looser, leaves thinner, and the rosette may lean toward the glass—a sign it wants more intensity (leggy growth on Aloe vera).
Outdoors in Zones 10–12, NC State Extension recommends full sun to partial shade in very well-drained soil. In hot desert summers, a little afternoon shade can prevent sunburn on plants that have not acclimated. Container aloes on patios need the same drainage discipline as indoor pots, with extra attention during rainy spells.
Acclimate aloe before stronger sun
When moving aloe from a shop, dim room, or winter windowsill into direct sun, increase exposure gradually over one to two weeks. Start with bright indirect light or morning sun, then add stronger rays in small steps while watching for bleached patches, tan crispy spots, or sudden widespread shriveling. The same rule applies before placing a houseplant outside for summer: a covered patio or east exposure is a safer first stop than a south wall that radiates heat.
If your home lacks a bright window, a grow light is more useful than repeatedly shuffling the pot. Keep a consistent daily photoperiod and judge success by firm new growth in the center of the rosette, not by the color of one older leaf.
Use fast-draining soil and the right pot
Aloe evolved on slopes and sandy soils where water moves away quickly. Use a commercial cactus or succulent mix, or blend standard potting soil with perlite, pumice, or coarse horticultural grit until the mix feels open and crumbly when wet. RHS guidance recommends peat-free cactus compost or loam-based mix with added grit for container growing.
The pot must have at least one open drainage hole. Terracotta dries faster than plastic—helpful in cool or dim rooms, but still no substitute for checking the soil. Aloe roots spread shallow and wide rather than deep; when you repot, choose a wider container instead of a much deeper one so the root zone does not stay wet at the bottom while the top looks dry.
Do not rely on a gravel layer in the bottom of a pot without a drainage hole. That raises the saturated zone inside the container rather than creating magically drier roots. Keep the soil line just below the crown where leaves fan out, and never bury the lower leaves in wet mix.
Water only when the mix is dry throughout
Water aloe vera when the potting mix has dried through most of the root zone—not when the surface merely looks dusty. Push a finger or dry wooden skewer two inches into the mix near the pot wall; if it comes out with damp crumbs, wait. When it is clean and dry at depth, soak evenly until water runs from the drainage hole, then empty the saucer.
There is no universal calendar. A small aloe in terracotta on a warm, bright sill may need water every two to three weeks in summer; the same plant in a dim room and plastic pot may go four to six weeks or longer in winter. NC State Extension is explicit: allow soil to completely dry between waterings, then water well. Penn State Extension adds the seasonal split—thorough watering when the surface is dry during active growth from early spring to early fall, then reduce in dormancy so the mix stays barely moist and leaves do not shrivel.
For a deeper frequency breakdown, see our how often to water aloe vera guide. The method here is the same: soak, drain, wait until dry throughout, repeat.
Seasonal watering adjustments
In spring and summer, brighter light and active growth shorten the dry-down interval. In fall and winter, shorter days and cooler rooms slow water use, so the same pour can linger dangerously long in the root zone. Do not water on a winter schedule just because a month passed; check the skewer and pot weight instead.
Aloe is drought-tolerant because leaves store water. A firm mid-leaf squeeze means reserves are adequate; slightly thin and flexible leaves often signal thirst. Soft, mushy, or translucent leaves usually mean excess water or failing roots—inspect before adding more (overwatering). Avoid misting; wet foliage in a cool room adds little benefit and can encourage spotting.
Temperature, humidity, and airflow
Normal indoor humidity between about 30% and 50% suits aloe well. It does not need a humidifier, pebble tray, or bathroom steam. Stable temperatures matter more: aim for roughly 55°F to 85°F (13°C to 29°C) and keep the plant away from radiators, forced-air vents, and doors that blast cold drafts.
Freezing is a hard stop. Missouri Botanical Garden notes minimum winter temperatures around 40°F (4°C) for container plants and recommends bringing outdoor specimens indoors before nights dip toward 50°F (10°C) if you want to avoid stress. Cool, wet, low-light combinations are especially risky because the plant uses water slowly while roots stay damp.
Fertilizer needs for potted aloe
Aloe adapted to lean desert soils and does not need heavy feeding. Outdoors in the ground within its hardiness range, many plants never receive fertilizer and still grow well. Potted aloes may benefit from one light application in spring—a balanced or low-nitrogen liquid houseplant food diluted to half strength—or you can skip feeding entirely if growth looks steady and leaves stay firm.
RHS cultivation notes suggest monthly liquid feed from May through August for container plants in active growth. That is a reasonable upper bound for a vigorously growing specimen in bright light; in a average home windowsill, once in spring is usually enough. Over-fertilizing produces soft, overly lush growth that is more vulnerable to rot and pests. Never feed a stressed, recently repotted, or waterlogged plant.
Prune damaged leaves and harvest gel safely
Prune aloe only when leaves are dead, badly damaged, or you are harvesting gel from mature outer leaves. Use clean, sharp scissors or a knife. Trim brown dry tips if the rest of the leaf is healthy, or remove the entire leaf at the base where it meets the stem—never slice through the center of a living leaf.
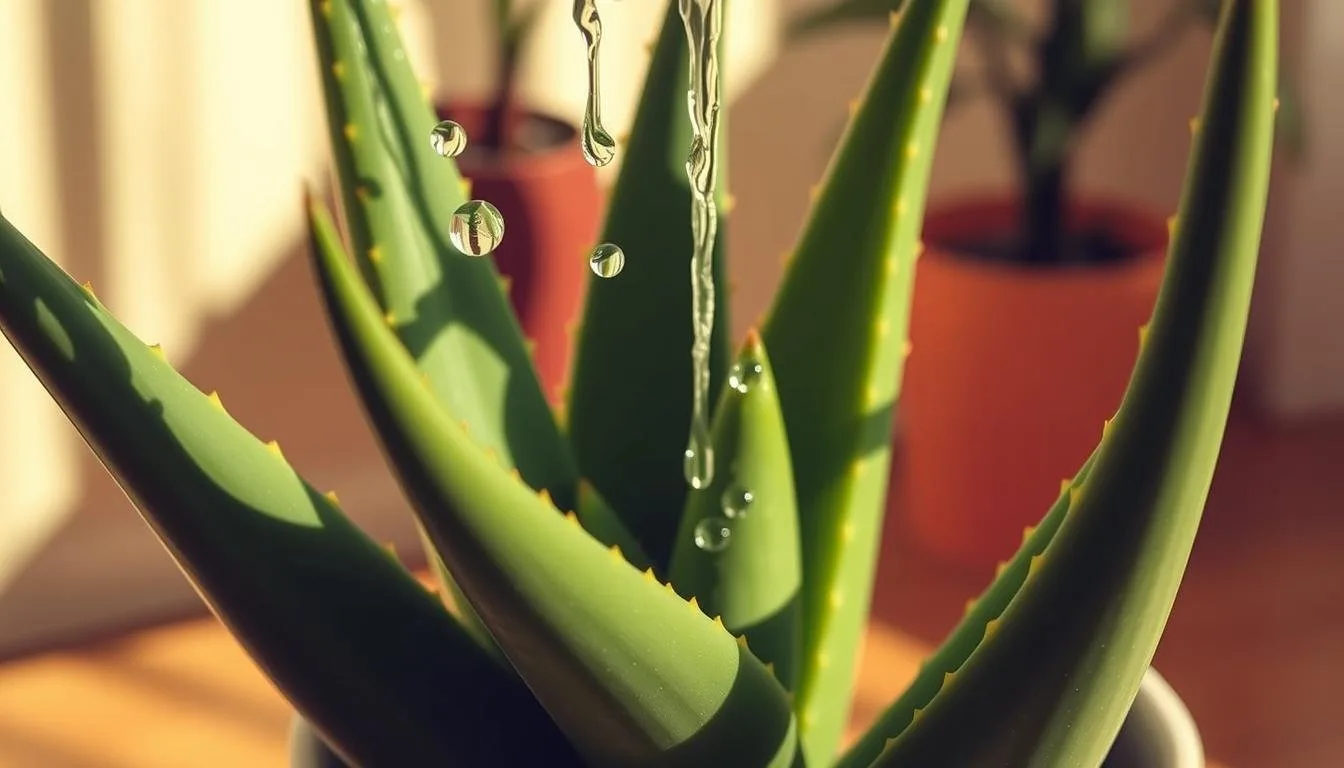
To harvest gel, choose thick outer leaves on a mature plant with at least seven or eight leaves remaining after the cut. Young plants with six or fewer leaves recover slowly and are more likely to collapse at the base if over-harvested. Slice the leaf lengthwise, scoop the clear inner gel, and discard the yellow latex-rich skin layer; latex can irritate skin and is part of what makes the plant toxic when swallowed (MedlinePlus).
Topical gel from a home-grown leaf is not the same as a tested commercial product. If you have sensitive skin, latex allergy, or a deep burn, use appropriate medical care rather than assuming kitchen aloe replaces pharmacy-grade treatment.
Propagate aloe vera from pups step by step
Aloe vera propagates reliably from offsets (pups) at the base of the mother plant. Leaf cuttings are unreliable for this species; division is the beginner-friendly method NC State Extension and RHS both recommend.
- Wait until a pup is several inches tall with its own small root nubs or roots.
- Slide the plant from its pot or brush soil away from the base.
- Gently twist or cut the pup free, keeping as many roots as possible.
- Let the wound dry in bright indirect light for two to five days until the cut surface calluses.
- Plant in dry cactus mix, burying only the base—do not water for five to seven days.
- After the waiting period, give a light soak and place in bright light; roots develop over several weeks.
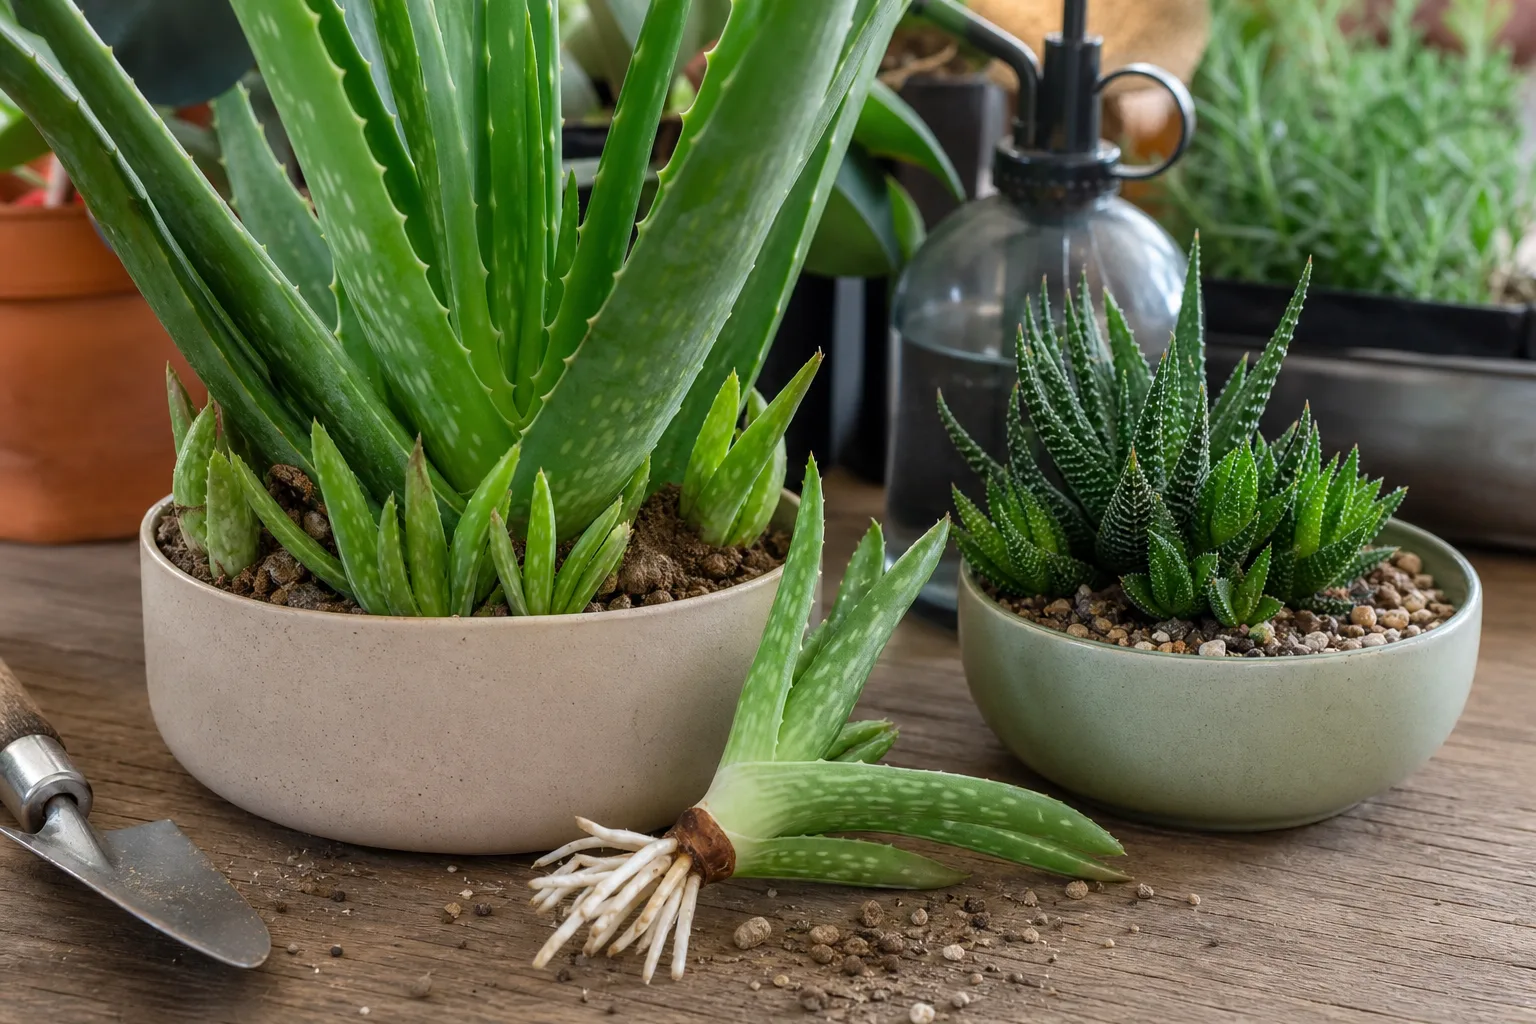
Leave tiny pups attached until they have more size; removing them too early slows both mother and offspring. For more aloe species and looks, see types of aloe plants.
Repot on a shallow, wide schedule
Repot aloe every two to three years, or when roots circle the pot, offsets crowd the surface, or water runs straight through dry mix without absorbing. Spring is the best season. Choose a pot only one size wider—about one to one-and-a-half inches beyond the root ball—and shallow rather than deep.
Unpot carefully to avoid tearing fleshy leaves. Knock off old, compacted soil, trim any black or mushy roots with sterile tools, and let severe cuts callus for a day if needed. Set the rosette so leaf bases sit just above the fresh mix line, backfill with gritty soil, and wait five to seven days before the first soak. Penn State Extension suggests leaving an inch or so between the root ball and pot edge—tight but not swimming in empty soil.
Grow aloe outdoors in warm zones
In USDA Zones 10–12, aloe vera can live outdoors year-round in sandy, fast-draining beds or containers. Plant on a slope or raised area so rain does not pool. Blend it with other drought-tolerant succulents that share the same water philosophy rather than mixing it with thirsty tropicals.
In cooler zones, treat aloe as a summer patio plant. Move it outside after frost danger passes and nights stay above about 50°F (10°C). Acclimate to sun gradually, protect from heavy rain that keeps pots soggy, and bring plants indoors before frost. Unexpected cold snaps call for covering in-ground plants with frost cloth overnight—aloe has no tolerance for hard freeze.
Can you get aloe vera to bloom indoors?
Aloe vera can produce a tall spike of yellow to orange tubular flowers on mature plants—often three years or older—with excellent light. Indoor specimens bloom infrequently; even outdoor container plants may skip years, especially if leaves are harvested often or light is marginal.
Bloom requirements boil down to bright light, warm temperatures, and moderate watering with a true dry period—conditions that mimic arid seasonal rhythm. A summer outdoors in full sun after acclimation gives the best odds, but blooming is a bonus, not a baseline expectation. Do not withhold all water for months hoping to force flowers; that stresses roots and invites rot.
Pests, diseases, and prevention
Healthy, dry-rooted aloe resists most problems. Watch the crown and leaf axils for mealybugs (white cottony clusters) and scale (flat tan or brown disks). Wipe mealybugs with a damp cloth after dislodging them with a gentle water spray; scale may need repeated applications of insecticidal soap per label directions, always testing on one leaf first.
Aloe rust shows as yellow spots that brown with age, often in cool, humid conditions; it is usually self-limiting if you improve airflow and avoid wetting leaves. Bacterial soft rot from overwatering is fatal—prevention through dry-down watering is the only reliable strategy. NC State Extension also lists aphids, leaf spot, and sooty mold as occasional issues tied to stress or pest honeydew.
Mites that cause warty galls are rare indoors but serious; remove affected tissue and isolate the plant. When in doubt, photograph the symptom and compare with our Aloe vera problem guides before reaching for chemicals.
Troubleshoot common aloe problems
When aloe looks wrong, check light and soil moisture before fertilizing, repotting, and pruning all at once. Changing three variables makes it impossible to know what helped.
Overwatering and mushy leaves
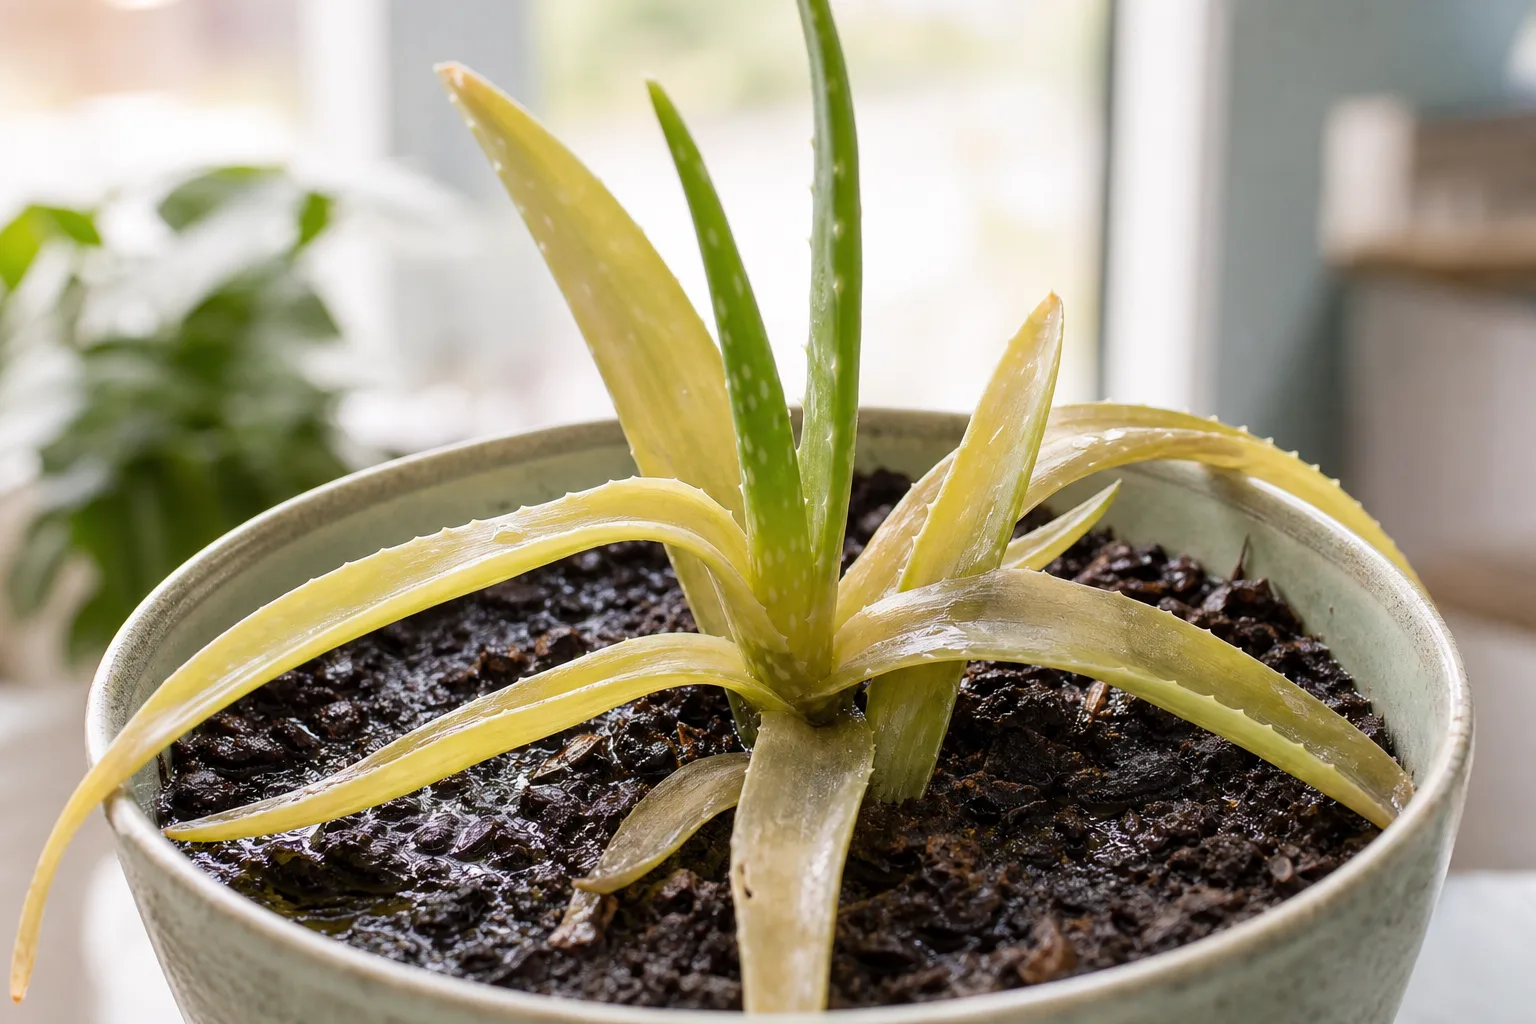
The most common killer is wet soil. Lower leaves turn yellow, soft, or translucent while the mix stays damp for days and may smell sour. Stop watering, confirm dryness with a skewer at depth, and inspect roots if the base feels mushy. Trim black rotted tissue, let cuts callus, repot in fresh gritty mix, and wait five to seven days before a cautious soak. If the crown collapses, salvage healthy pups and discard the rotted parent.
Leggy growth and weak stems
Leaves that stretch, bend, or crease usually need more light—not more water. Move the plant closer to the window, add a grow light, or rotate the pot weekly so growth stays upright. Recovery takes months of better light on new center leaves; older stretched leaves will not shorten in place.
Toxicity for pets and people
ASPCA lists aloe vera as toxic to dogs and cats, with saponins and related compounds that can cause vomiting, lethargy, and diarrhea if ingested. Keep plants and trimmed leaves off floors and windowsills pets can reach.
For people, the clear gel is widely used topically, but eating aloe leaves is not safe for general use. MedlinePlus notes that whole-leaf aloe taken by mouth has been linked to abdominal pain, diarrhea, and more serious effects at higher doses. Latex just beneath the skin irritates many people—wear gloves when harvesting. This page is general information, not medical or veterinary advice; contact a clinician or poison control if someone or a pet swallows plant material.
Conclusion
Aloe vera rewards a simple contract: bright light, fast drainage, and patience between waterings. Master the dry-down test, repot wide instead of deep, propagate pups with a callus pause, and harvest gel conservatively from mature plants. Expect easy years and occasional setbacks from overwatering or dim windows—but rarely both if you read the leaves and the soil before you act. For watering depth and symptom-specific fixes, keep our Aloe vera hub bookmarked as your next stop when something still looks off.



