How to Grow and Care for Prickly Pear Cactus
Get practical prickly pear cactus care tips for sun, containers, water, cold weather, pests, and propagation, with advice that accounts for species differences.
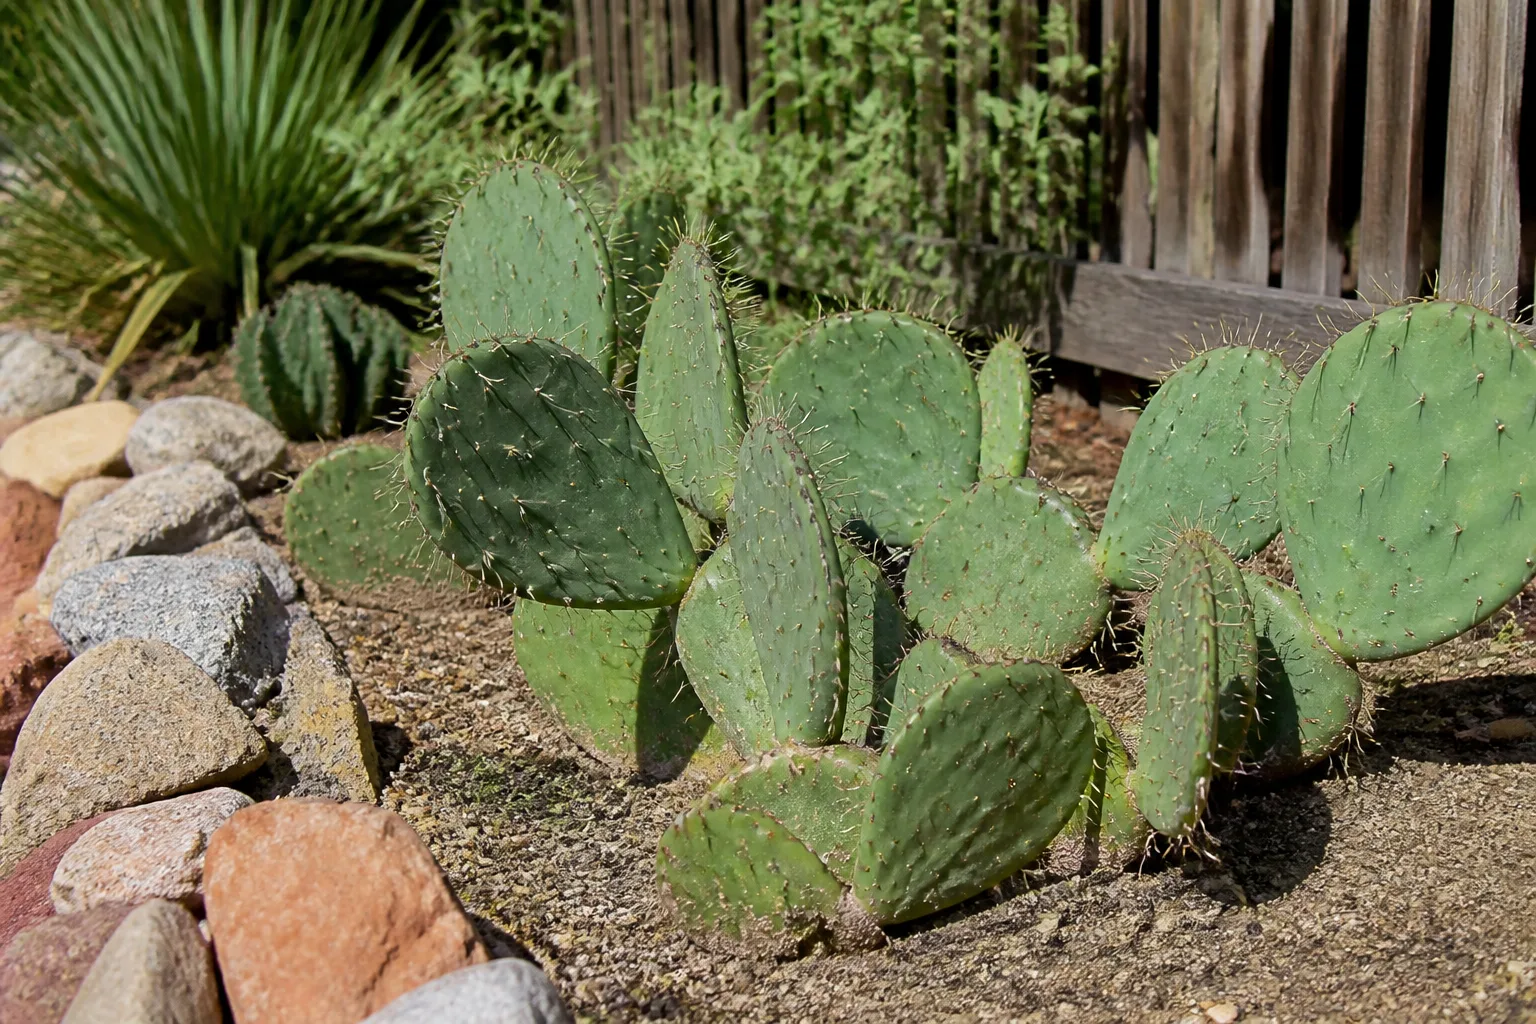
Prickly pear cactus is a sun-loving, drought-tolerant plant, but “prickly pear” covers a large group of Opuntia species with different sizes and cold tolerances. The care that suits a hardy Eastern prickly pear in a rock garden may not suit a tropical species in a pot. Start with the plant’s label if you have one, then give it strong light, fast-draining soil, a container with an open drain hole, and water only after the mix has dried. In winter, keep the roots drier and use the plant’s actual species—not the word “cactus”—to decide whether it can stay outdoors.
Start with the right prickly pear for your space
Opuntia is a genus of cacti recognized by its flattened, jointed stems, often called pads or cladodes. These pads are green and fleshy, so they may look like leaves, but they are modified stems. New pads, flowers, and spines emerge from small cushions on the surface called areoles. Many Opuntia have long spines; even varieties that appear nearly spineless can have tiny barbed bristles called glochids. North Carolina State Extension describes both kinds of defenses and notes that glochids can irritate skin and tender membranes, so treat every pad as a prickly one.
Identify the species before assuming its hardiness
“Prickly pear” is not one plant with one set of climate limits. The genus includes low, ground-hugging natives such as Eastern prickly pear (O. humifusa), compact types such as bunny ears (O. microdasys), and large-growing species cultivated for their edible pads or fruit. NC State describes O. humifusa as a small native of dry, sandy, or rocky areas in the eastern United States and Mexico. Its profile says it grows about 6 to 12 inches tall, while other species can become much larger or have very different spines and habits. A horticultural profile from Gardenia offers another species-specific reference for this Eastern native; use a local source for regional performance.
Check the botanical name on the nursery tag, sales page, or original pot before deciding where to plant it. A regional extension or botanical garden profile can help you confirm the plant’s mature size and local hardiness. If the label only says “prickly pear,” ask the seller what species or cultivar it is and what winter temperatures it has been grown to tolerate. That one detail prevents the most expensive mistake: planting a frost-sensitive cactus in a permanent outdoor bed because a different Opuntia survives freezing weather.
Decide whether indoor or outdoor growing fits
Outdoors is usually the easier choice where the species is hardy, the site receives abundant sun, and the soil sheds rain quickly. A rock garden, raised bed, slope, or gravelly border can give a cold-hardy species the drainage and open exposure it prefers. Choose a spot away from paths, play areas, and narrow gates; pads spread and the spines can snag clothing or injure anyone who brushes against them.
You can grow a prickly pear indoors if you can provide the brightest available window or a strong grow light and enough room for its expanding pads. A south- or west-facing window is a practical starting point in the Northern Hemisphere; in the Southern Hemisphere, use the sunniest orientation for your location. Rotate the pot a quarter-turn occasionally if growth leans toward the glass. Indoors, watch for slow drying: weak light, cool rooms, a large pot, and moisture-retentive mix can keep roots wet long after the surface looks dry. A cactus can tolerate a missed drink more easily than roots sitting in damp soil.
Give it bright, direct light without a sudden shock
Most prickly pears grow best with full sun. NC State’s Opuntia genus profile defines full sun as six or more hours of direct sunlight daily, and its Eastern prickly pear profile says that species needs full sun and does poorly in shade. Outdoors, choose the sunniest suitable site you can manage. In extremely hot climates, brief afternoon shade may reduce scorching on a plant that has not acclimated, but permanent deep shade usually produces weaker, less compact growth and fewer flowers.
Inside, the brightest window you have is the best start. If the pads stretch, narrow, or lean strongly toward the glass, the plant is not receiving enough usable light. Move it gradually closer to the window, clean dust from the glass, or add a horticultural grow light positioned according to its instructions. A dim room with a small grow bulb several feet away is not equivalent to direct sun; if the plant keeps stretching, consider an outdoor summer location or a brighter room.
Acclimate a nursery plant gradually
Do not take a cactus that has spent weeks under greenhouse shade and put it straight into all-day outdoor sun. A sudden change can bleach or scorch exposed pads, particularly during hot weather. Start it in bright open shade or a spot that receives gentle morning sun. Over roughly one to two weeks, increase direct exposure every few days, checking the sunny side of the pads for pale, tan, or corky patches. Slow down if damage appears. The aim is to let the plant adjust, not to prove how much sun it can tolerate in one afternoon.
Use the same gradual transition in reverse when bringing an outdoor plant inside for winter. It will receive less light indoors, so reduce watering as growth slows and inspect for pests before setting it near other houseplants. A brighter indoor position reduces stretching, but it cannot provide the intensity of a full-sun garden.
Use a fast-draining mix and a pot that can empty
Drainage is the nonnegotiable part of prickly pear soil. NC State notes that Opuntia prefers well-drained sandy or loamy ground and that Eastern prickly pear does not tolerate wet, poorly drained soil. A commercial cactus-and-succulent mix can work, but test it rather than trusting the bag name: wet a handful, then see whether it drains and dries instead of staying dense and soggy. If it holds water for too long, blend in coarse mineral material such as pumice, perlite, or horticultural grit. Coarse particles create air spaces; fine sand can pack tightly and make a heavy mix drain worse.
For an outdoor planting site with clay soil, do not simply bury a small pocket of cactus mix in a deep hole. The surrounding soil can trap water around that pocket like a basin. Choose a naturally gravelly slope, build a raised mound or bed with a mineral-rich mix, or use a container instead. Keep the plant’s base at the same height as the surrounding grade rather than burying the lower pads. The Eastern prickly pear’s shallow fibrous roots spread near the surface, so a broad area that drains well is more useful than a deep, water-holding hole.
Choose container depth and material for your conditions
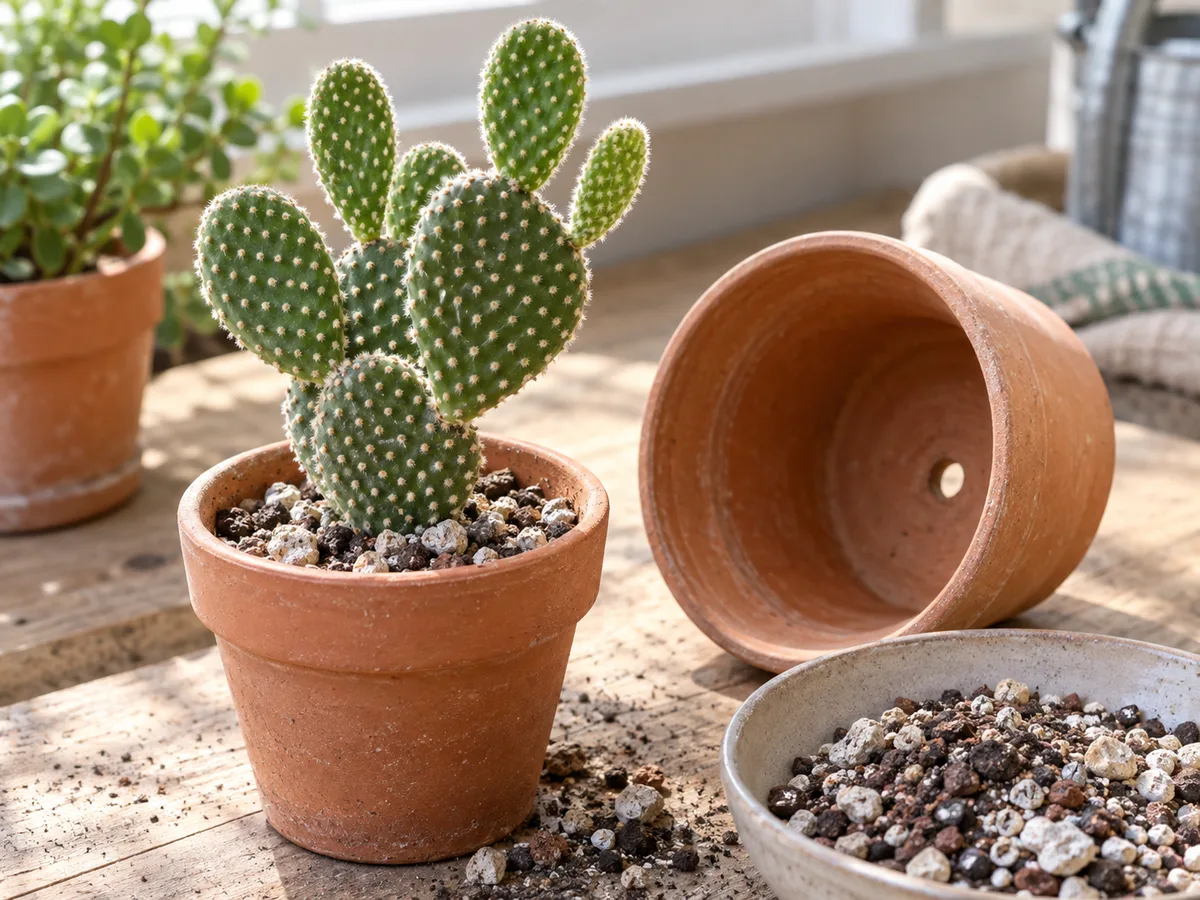
Use a pot with an unobstructed drainage hole. A low, wide, heavy container is often more stable as the pads branch outward, while a narrow pot can tip when the plant grows tall or leans. Select a container only modestly wider than the root mass; a very large volume of soil dries slowly and can stay wet around a small plant. Unglazed terracotta dries faster than glazed ceramic or plastic, which can help in a cool or humid home. In a hot, dry spot, terracotta may mean you need to check soil more often. The right pot is the one that stays stable and lets the mix dry at a pace that matches your room.
Do not set the nursery pot inside a decorative cachepot full of water, and empty the saucer after drainage. Stones at the bottom do not fix a mix that is too dense or a pot without a hole. If water remains in the pot after a thorough drink, improve the drainage path rather than trying to compensate with a longer watering interval.
Water deeply, then let the root zone dry
Water is where many prickly pears fail. Water thoroughly enough to moisten the root ball, let the excess run out, and wait until the growing medium has dried through before watering again. Do not use a fixed “every two weeks” timer: a small terracotta pot in hot sun may dry quickly, while a large plastic pot in a cool room can stay damp much longer. Seasonal temperature, light, humidity, soil texture, pot size, and rain exposure all change the interval.
For an established outdoor plant, rainfall may provide most or all of the water it needs. During a long, hot dry spell, check the soil near the roots before adding water. If it is dry and the pads are losing firmness during active growth, water the root zone and let it drain. Do not keep the soil constantly moist just because new pads are appearing. If the site gets frequent rain, drainage matters more than trying to shelter the plant from every shower.
For a potted plant, water over the surface until you see water leave the drainage hole. Let the pot finish draining before returning it to a saucer or shelf. Then leave it alone until the mix has dried. A wooden skewer inserted near the root zone can help you check moisture in a deep pot: if it comes out cool or with damp soil clinging to it, wait. Do not water from a calendar reminder when the soil is still wet.
Adjust care for established plants and new pads
Rooted plants can dry between drinks. A recently cut pad is different because it has not yet built roots to take up water. After the cut end has callused and the pad is planted in dry, porous mix, keep it warm and bright while it roots; do not soak the mix to encourage growth. A rotting base is not a sign that the pad needs more water. Once new growth or gentle resistance indicates roots have formed, move into the normal dry-between-waterings routine. Mountain Crest Gardens’ Opuntia care guide likewise emphasizes drying between watering and keeping newly set pads fairly dry while roots develop.
In winter, reduce water as growth slows, especially indoors in a cool, bright room. Hardy outdoor prickly pears may wrinkle or change color as temperatures fall; that can be a seasonal response rather than an urgent thirst signal. Watering a cold plant to make winter pads look plump can leave its roots wet during the period when it is least able to use that moisture.
Match winter care to the species, not the genus name
Some prickly pears are remarkably cold-tolerant, while others need frost protection. NC State’s genus profile lists a very broad range of hardiness for Opuntia, but that does not mean every species can survive the coldest temperature in that range. Its profile for Eastern prickly pear describes a small native species adapted to dry, rocky conditions; a warm-climate edible species or tender nursery cultivar is a different case. Confirm the name and local hardiness of your plant before leaving it outside through winter.
Winter wet is as important as winter cold. A hardy cactus may tolerate freezing temperatures when its roots and pads are relatively dry, but soggy soil can promote rot even in a mild winter. Keep container plants under a bright, sheltered overhang if repeated rain will soak their mix, and do not bring a cold-hardy plant into a heated, dim room unless you have to. A cool, bright, dry resting spot is usually better for a hardy potted specimen than a warm corner where it keeps stretching. The specialist care notes at Mountain Crest Gardens also distinguish frost-hardy selections from small plants that need winter shelter.
For a tender type, move the pot indoors before frost threatens. Check underneath pads and around the soil line for pests first, then give the plant a bright window and reduce watering. Do not expect it to keep producing summer growth in a dim winter room. If you lack a sufficiently bright location, a suitable grow light can help maintain compact growth; otherwise, some stretching may occur and can be corrected when spring light returns.
Fertilize sparingly during active growth
Prickly pear is not a heavy feeder, and an outdoor plant in suitable soil often needs no routine fertilizer. In a container, nutrients gradually leave with drainage water, so a light feeding during active spring or summer growth may help if the plant has been in the same mix for a long time. Use a cactus fertilizer at the label’s conservative rate, or a balanced fertilizer diluted according to its instructions. Avoid frequent high-nitrogen feeding: it can push soft, oversized growth that is less sturdy and does not solve a light or root problem.
Do not fertilize a dormant plant, a recently repotted plant, or a pad that has not rooted. First rule out low light, waterlogged mix, pests, or a pot that is too large. Fertilizer cannot compensate for those conditions, and adding it to already stressed roots can make recovery harder. If the cactus is growing steadily and its pads have healthy color, skipping a feeding is safer than feeding out of habit.
Plant and repot with a handling plan
Make the work area ready before lifting the cactus. Put on protective clothing, set out long-handled tongs, and clear a place for the plant and its new pot. Thick rubberized gloves can add protection, but gloves alone are not a reliable way to grip a pad covered with glochids; tiny barbed bristles can detach and lodge in skin. NC State cautions that the barbs can irritate skin and tender membranes, while Mountain Crest Gardens recommends tongs or a folded-paper barrier for handling Opuntia. Keep children and pets away from the work area, and do not rub an itchy spot because that can drive bristles deeper.
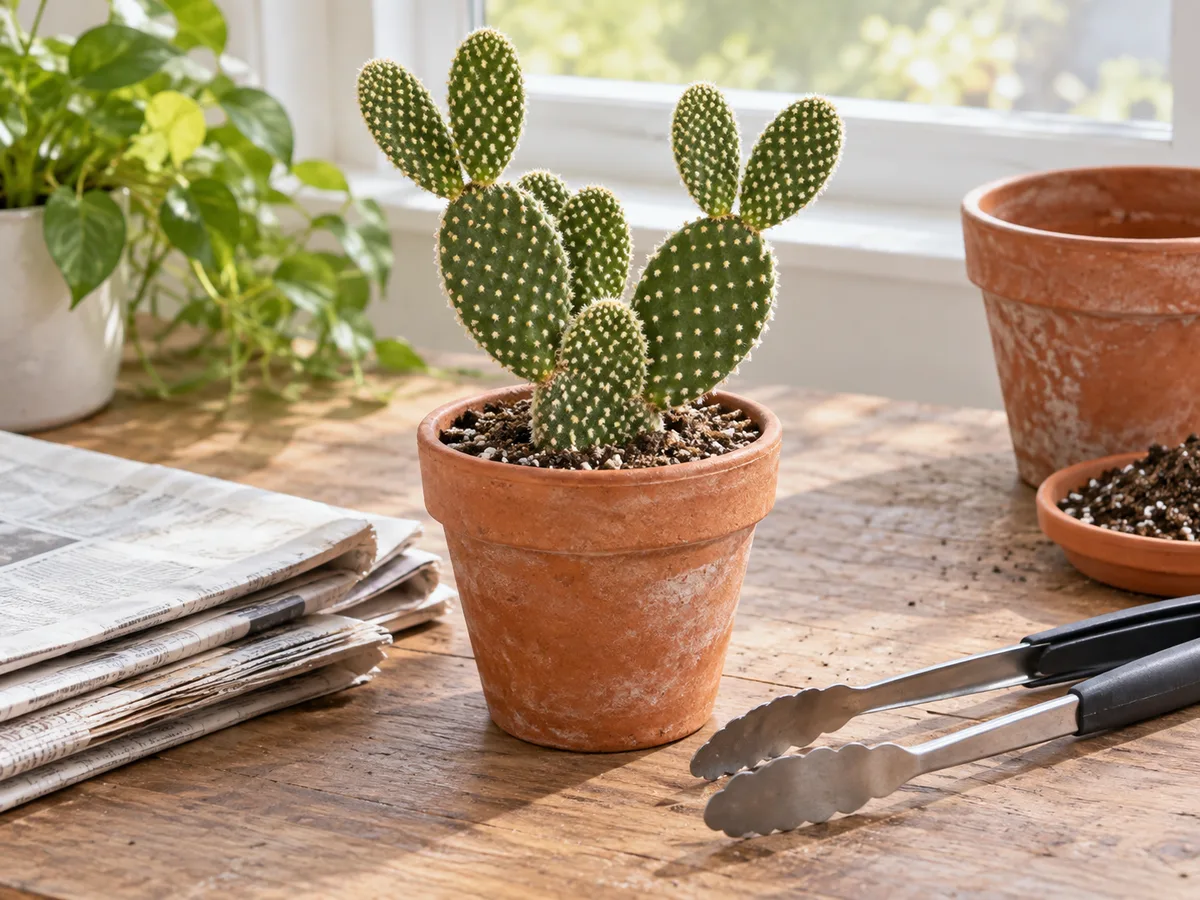
To repot, wait until the mix is dry. Wrap the plant loosely with several layers of newspaper or use a piece of folded corrugated cardboard as a shield. Lift the root ball rather than pulling on the pads. Set it into a pot with fresh, porous mix, keeping the root crown at its previous depth. Backfill without packing the soil into a solid mass. Let damaged roots settle before watering, and do not rush to feed it.
Pruning is optional and usually for size, damaged growth, or access to a crowded plant. Use clean, long-handled pruners to cut at a joint instead of twisting or snapping pads against the parent plant. Grip the section with tongs or a barrier, plan where it will fall, and move the cutting directly into a safe tray. Wear eye protection if you are cutting above waist height. Removed healthy pads can become cuttings; badly rotted tissue should be bagged and discarded rather than propagated.
Propagate prickly pear from pads
Pad cuttings are the quickest home method and usually preserve the parent plant’s visible traits. Work during active growth when possible, and choose a firm, unblemished pad. With tongs holding it securely, cut at the narrow joint between pads using a clean blade. If the pad falls naturally, you can also use it, but make sure it is free of rot and insect damage. Keep the cut surface out of soil until it has dried and formed a callus; planting a fresh wet cut into damp mix invites decay.
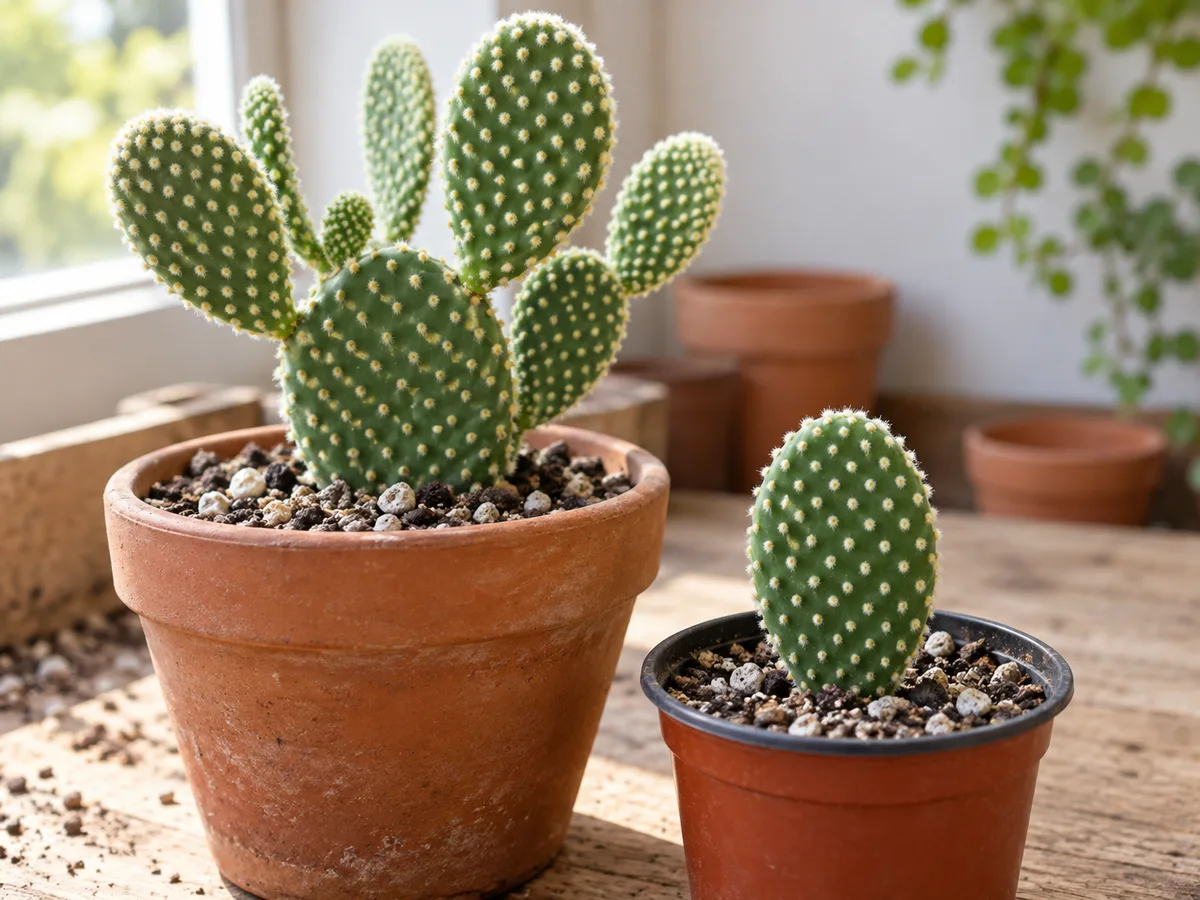
Use a small pot with drainage and dry cactus mix. Set the callused end into the mix just deeply enough to keep the pad upright, or brace the pad with coarse stones so it does not wobble. The pad should not be buried. Place it in bright light with warmth, away from harsh midday sun until it begins to root. Avoid watering it repeatedly. The pad already stores water; excess wetness around the cut is the bigger threat.
Let the cut end callus before rooting
Give the cutting several days to dry, or longer if the pad is thick, the air is humid, or the wound is still soft. The goal is a dry, sealed surface rather than a particular number of days. Once potted, wait for signs of rooting—new pad growth or gentle resistance when you tug very lightly. Do not yank to test it; a fresh root system is easy to damage. After it anchors, water thoroughly and let the mix dry again before the next drink. Keep the young plant out of cold, saturated soil until it is established.
Seed propagation is possible but slower and less predictable. Seedlings vary genetically and take longer to reach flowering size; germination can also be uneven. If you want a plant identical to a particular parent, use a pad cutting. If you want to grow a species from seed, use ripe, cleaned seed from a known source, sow it in a sterile, well-draining medium, and keep it lightly moist—not waterlogged—until germination. Plant Care Today’s propagation notes describe the slow, patient pace of seed-started Opuntia. Label the species and date, and expect patience rather than quick landscape growth.
Recognize normal growth, flowers, and fruit
New pads grow from areoles along older pads, often at the upper edge. Their surfaces can look thinner or brighter green at first and gradually firm up as they mature. A small plant may spend a season establishing roots before making visible new pads. Growth speed depends on species, light, warmth, and container space, so a healthy cactus does not need to produce a new paddle every month.
Flowers appear on mature plants when light and seasonal conditions suit the species. NC State notes that O. humifusa flowers from early spring into early summer, while Opuntia species vary in bloom color and timing. High light and a cooler, drier winter rest can support flowering in some species; a plant that spends the year in dim warmth may keep growing weakly without setting buds. A missed bloom is not proof that the plant needs more fertilizer. Improve light, drainage, and seasonal rhythm first.
After pollination, some species form fleshy fruit. NC State notes that O. humifusa fruit can be edible, but both pads and fruit may carry glochids. This is a care guide, not a food-preparation guide: do not taste ornamental fruit or handle it barehanded. Confirm the species and use a reliable food-safety source for any harvesting or preparation steps. Birds and other wildlife may also use fruit, so consider that before placing a plant near a patio or door.
Troubleshoot wrinkled pads, soft tissue, and pests
Look at the whole plant and the soil before changing care. Prickly pear pads naturally store water, and a slight seasonal change in firmness or color may be normal. The same wrinkle can also result from dry roots, damaged roots, or rot that prevents water uptake. Check temperature, recent rainfall, soil moisture below the surface, and the base of the plant before adding water.
Separate winter wrinkling from watering stress
If the plant is outdoors and the weather has turned cold, modest wrinkling or purple coloring can be part of its winter response. Keep the soil on the dry side and watch for firm pads and an intact base. Do not try to restore a winter cactus to summer plumpness with repeated watering. Mountain Crest Gardens describes cold-hardy Opuntia pads wrinkling or turning purple as they lose water before freezing conditions; species and exposure still determine how much cold a particular plant can take.
If pads wrinkle during warm active growth, check the root zone. Bone-dry mix, a root ball that has shrunk away from the pot, or a plant recently moved into intense sun may explain the change. Give a dry, rooted plant one thorough drink, let it drain, and then reassess over several days. If the mix is damp but the plant keeps softening, stop watering and inspect the base and roots; waterlogged roots can no longer supply the pads. Do not respond to uncertainty by giving small drinks every few days, which keeps the surface wet without correcting the underlying issue.
Respond to rot, sun injury, or insects
Soft, translucent, dark, or collapsing tissue is more urgent than mild wrinkles. If the base is mushy and the mix is wet, unpot the plant and inspect roots. Healthy roots are firm; black, slimy, or foul-smelling roots indicate rot. Remove affected tissue with a clean tool, let sound cuts dry, and replant salvageable pads in fresh, dry, porous mix. If rot has reached the entire base, a healthy upper pad may be saved as a cutting, but discard the diseased material and sanitize tools before using them again. NC State lists root rot as a risk in poorly drained soil.
Pale tan patches on the sun-facing side may indicate sun injury after a sudden move into direct exposure. Return the plant to bright shade, then acclimate it more gradually; old scorch marks will not turn green again. If patches spread despite stable light and dry soil, check for insects or lesions rather than assuming sunburn. Inspect areoles and joints for scale, mealybugs, or the white, cottony-looking cochineal insects noted in NC State’s genus profile. Isolate an indoor plant, remove a small infestation with a careful tool, and use only a treatment labeled for cacti and the setting you have. Avoid drenching the whole plant or spraying during intense sun.
Conclusion
For a healthy prickly pear, get the identity right first, then provide strong light and a root zone that drains completely. Water a rooted plant thoroughly after its mix dries; reduce watering when growth slows and the weather turns cold. Do not use one hardiness zone or calendar schedule for every Opuntia, and never handle its pads as if they were harmless just because long spines are hard to see. With the right species in the right place, careful sun acclimation, and dry winter roots, prickly pear is a durable, low-fuss cactus that rewards patience with sculptural pads and, when conditions suit it, flowers and fruit.



