Amaryllis Care Year-Round: Grow, Rest, and Rebloom
Keep holiday amaryllis blooming for years with a clear indoor and outdoor care calendar, correct watering, dormancy timing, and troubleshooting.
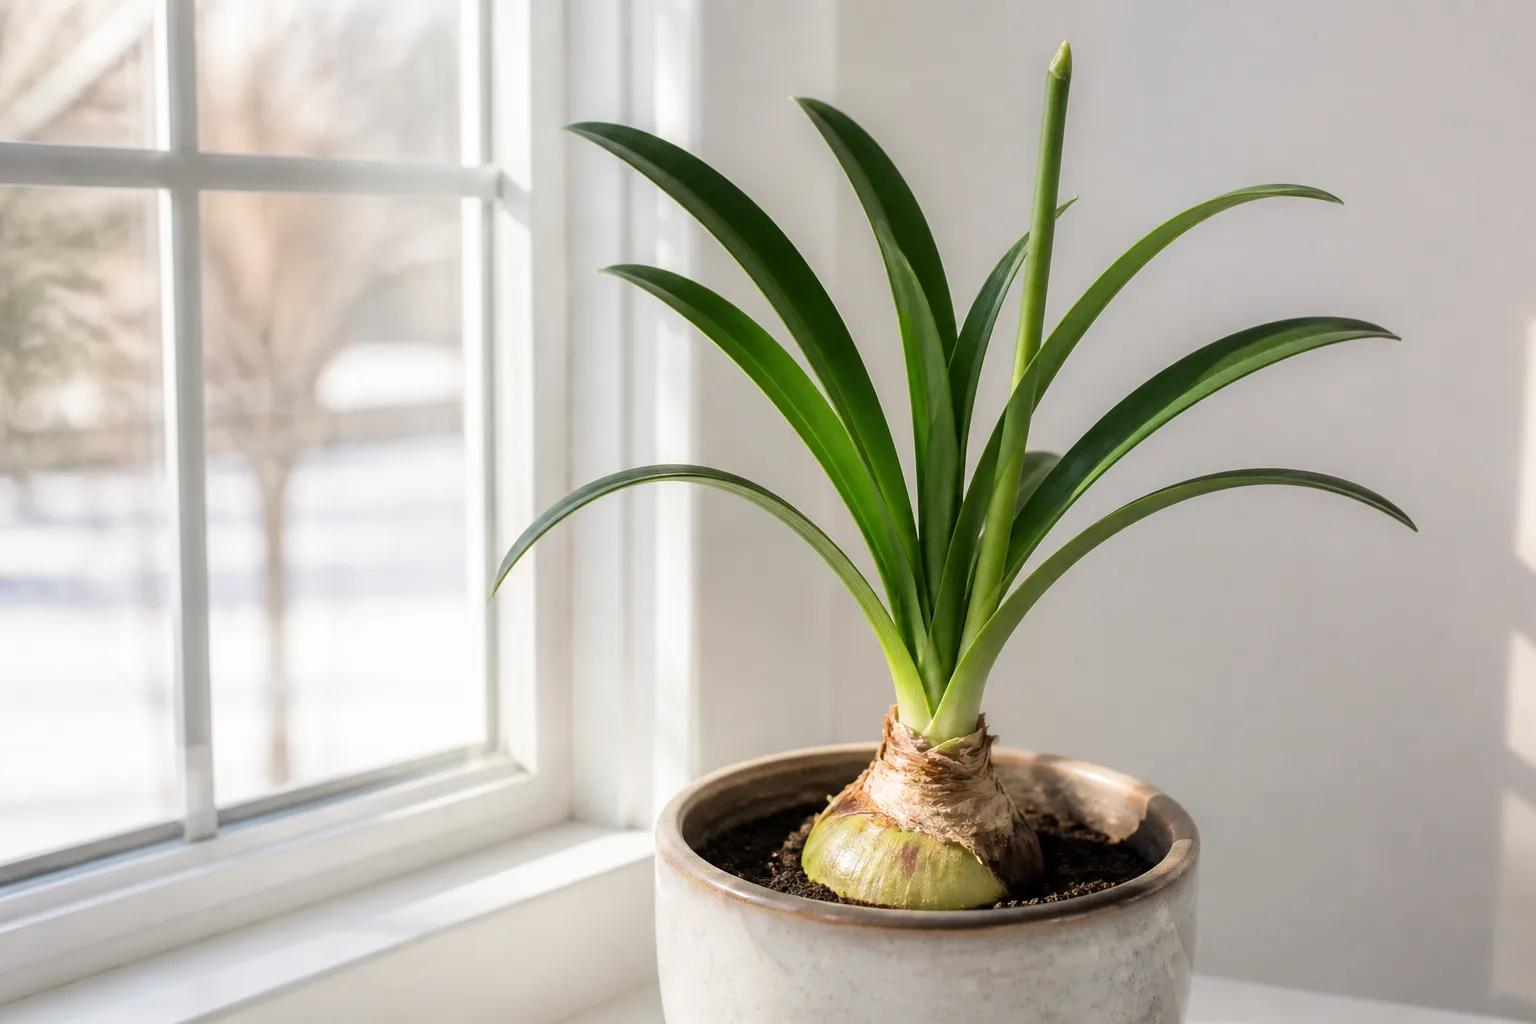
An amaryllis bulb is not a one-season decoration. The flowers may be the reason you bought it, but the leaves that follow are what power the next show. Give the bulb a bright growing season, let it rest at the right time, and restart it carefully, and a holiday gift can become a long-lived container plant.
One naming detail prevents a lot of confusion: the large bulbs sold as “amaryllis” are usually Hippeastrum hybrids, not the smaller true Amaryllis genus from South Africa. The care in this guide is for the commonly sold Hippeastrum types. They are perennial bulbs from tropical and subtropical parts of the Americas, so they can spend warm months outdoors but need protection from frost. University of Wisconsin–Madison Division of Extension and the North Carolina Extension Gardener Plant Toolbox both distinguish the familiar florist bulb from true Amaryllis.
Understand the annual growth cycle
Year-round amaryllis care becomes simple when you stop treating every month alike. The bulb moves through a repeating sequence: it grows a flower stalk and blooms, produces leaves that replenish its stored energy, enters a dry rest, and then resumes growth. Your job is to match water, light, food, and temperature to the phase the plant is actually in.
The bloom phase is visually dramatic but not the phase that builds next year’s flowers. The leaf phase is the savings account. Each healthy leaf captures light and sends energy back to the bulb, which is why cutting green leaves off early can leave a perfectly healthy-looking bulb without enough reserves to flower again. A University of Maryland Extension answer to a reblooming question makes the same point: healthy leaves should remain so they can photosynthesize and feed the bulb.
Dormancy is a tool for timing, not a punishment. Commercial bulbs can sometimes remain evergreen and still bloom, but an 8–10-week rest gives many growers more control over a winter or holiday display. The Wisconsin Extension guide notes that dormancy can be used to initiate flower buds, while the University of Arkansas Division of Agriculture describes the same cycle from post-bloom leaf growth through rest and restart.
Choose indoor or outdoor growing
Choose the growing strategy before you choose a calendar date. Indoor-only culture is the safest option in a cold climate, for a pet-accessible home, or for anyone who wants a low-risk potted plant. Summer outdoor culture usually gives the leaves stronger light, but it adds acclimation, pests, heavy rain, and frost deadlines. In-ground culture makes sense only where winters are mild enough and the soil drains quickly.
In USDA Zones 9–11, and in some protected parts of Zones 8 and 9, Hippeastrum can be grown outdoors as a landscape bulb with winter protection suited to the local climate. In colder regions, the bulb can still live for years, but it should stay in a container that comes inside before frost. The N.C. Extension Plant Toolbox reports that plants are injured below about 35°F and describes mulch protection for some Zones 7–8 situations; that is a useful boundary, not a promise that every cultivar or wet garden bed will survive.
If you are unsure, keep the pot. A container lets you move the plant away from freezing temperatures, bring it under cover during prolonged rain, and inspect the bulb without digging through brittle roots. The trade-off is that a pot dries faster in summer and may need a heavier, wider saucer or stake to stay stable when the hollow flower scape rises.
Pot a bulb for healthy roots
Start with a firm, dry bulb without soft patches, deep bruises, or active mold. A larger bulb generally has more stored energy and is more likely to make multiple scapes, but size cannot rescue a bulb that has been kept wet or damaged. If the bulb came in wax, treat it as a special case: it may flower once without soil, but removing the wax and potting it in a draining mix gives it a better chance of making roots and rebuilding for the future.
Use a pot with a drainage hole that is only about 1 inch wider than the bulb. Amaryllis usually performs well when slightly snug; an oversized pot holds more wet mix than the roots can use and makes the bulb harder to anchor. Fill with a loose, well-draining indoor potting mix, leaving enough space below the rim to water without washing mix out.
Set the bulb with the neck and at least the upper third, often closer to the upper half, above the mix. The roots and basal plate belong below the surface; burying the bulb deep invites rot and makes it harder to inspect. Water once to settle the mix, let the excess drain fully, and never leave the pot standing in a filled saucer. The planting depth and snug-pot guidance are consistent with Wisconsin Horticulture and Gardenia’s amaryllis care guide.
Place a stake beside the bulb at planting if the cultivar has a tall scape or the pot is light. Inserting support later can stab roots or the bulb. A soft tie should hold the scape near—not squeeze—the stem, and rotating the pot every few days helps prevent the whole display from leaning toward one window.
Get light and temperature right
During active growth, give amaryllis the brightest light your home offers without baking the pot against hot glass. A south- or west-facing window may work in winter; sheer-curtained light or a small grow light can help when daylight is weak. If the scape stretches and the leaves flop toward one side, the plant is telling you that light is insufficient or the room is too warm for the available light.
Room temperatures around 65–70°F suit the initial growth period. Once flowers open, slightly cooler conditions and protection from heat vents can extend the display. Avoid placing the plant over a radiator, beside a drafty door, or against cold glass at night. Warmth speeds growth, but very warm, dim conditions often produce a tall, unstable scape rather than a compact one.
Outdoor light is different from window light. Even a bright indoor plant can scorch when moved directly into midday sun. Start it in bright shade or gentle morning sun, then increase exposure over roughly a week or two. Watch the leaves, not the calendar: pale bleached patches or crispy sections mean the transition was too fast, while long, weak growth usually means the plant needs more light.
Water by soil moisture
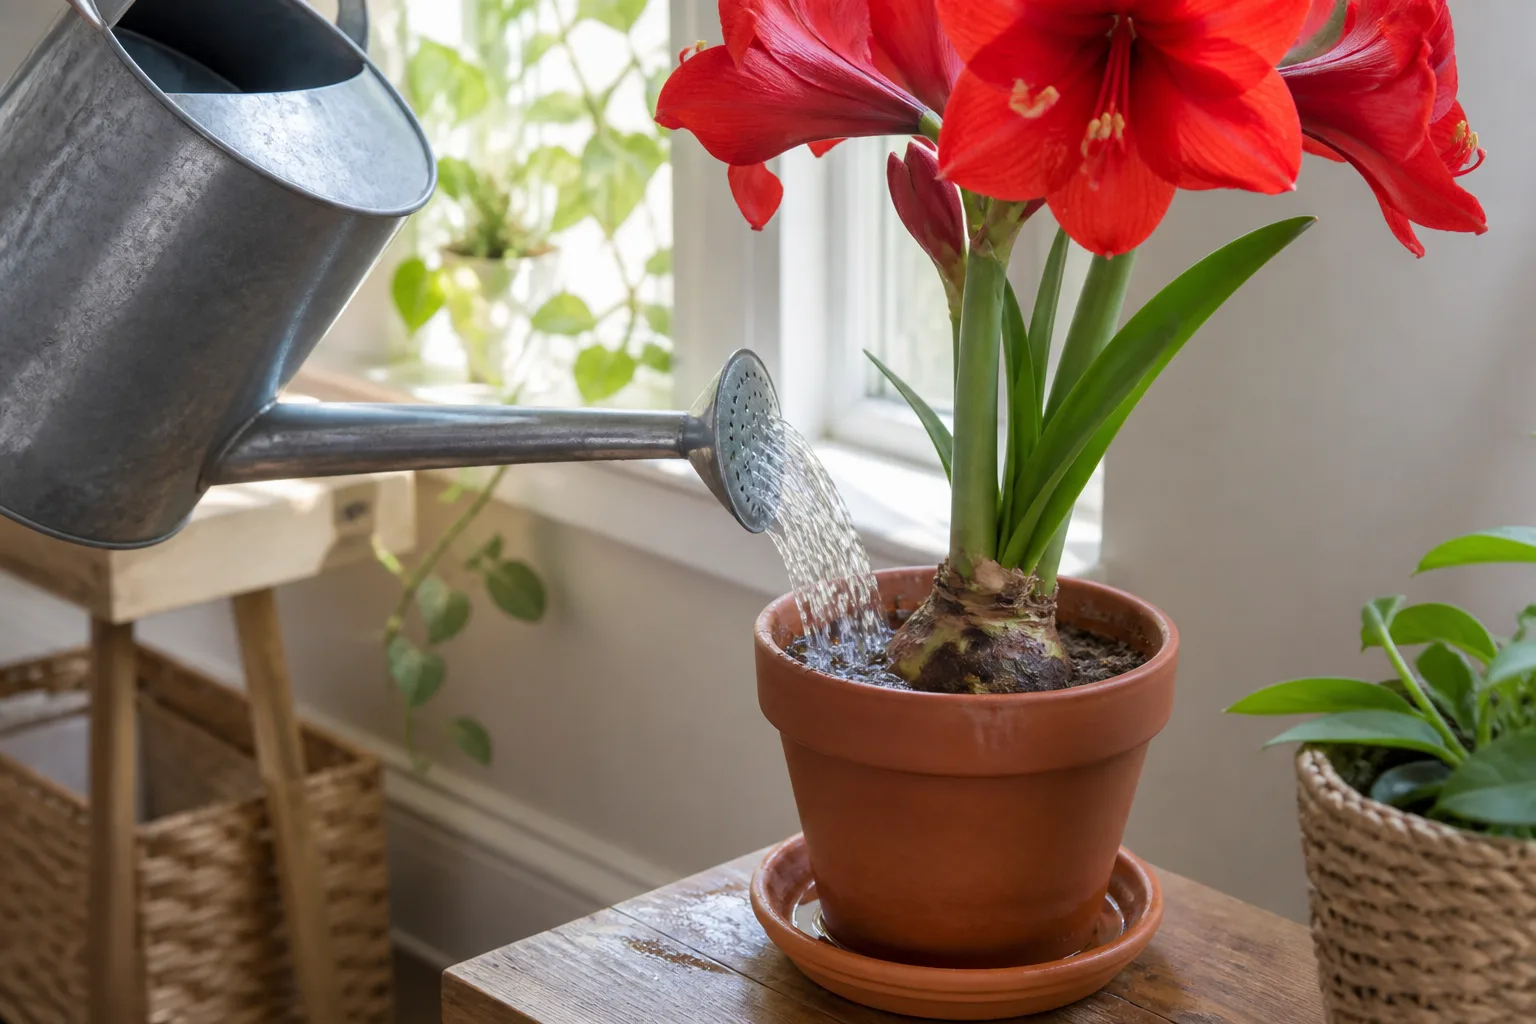
Watering is a soil-and-stage decision, not a fixed weekly appointment. Before a dormant bulb shows new growth, keep the mix nearly dry and avoid repeatedly wetting the top around the neck. Once a stalk or leaves begin to emerge, water thoroughly enough to moisten the root zone, then wait until the upper inch or two feels dry before watering again.
During active leaf growth, aim for evenly moist but never waterlogged mix. Run water through the pot, allow it to drain, and empty the saucer. In a warm, bright room the plant may need water more often than in a cool, dim room; a terracotta pot may dry faster than a glazed one. Lift the pot when it is freshly watered so you learn its weight, then use the finger test and the plant’s growth stage to decide.
Reduce frequency when the leaves naturally yellow and the bulb approaches dormancy. Once the plant is resting in a cool, dark place, it generally needs no water. A splash “just in case” can keep roots wet for weeks and turn a normal rest into bulb rot. Conversely, do not force a dormant bulb into growth by soaking it repeatedly; restart it with one modest watering and increase moisture only after new growth appears.
Water at the soil line rather than pouring into the bulb’s neck or trapping water between leaves. There is no horticultural advantage to ice-cube watering. Warm-climate bulbs respond better to a complete, room-temperature wetting of the mix followed by drainage than to a cold drip in one small spot.
Feed during leaf growth
Fertilizer matters most after flowering, when the leaves are rebuilding the bulb. Once active leaves are present, use a complete balanced fertilizer at the label rate for container plants, commonly every two to four weeks while the plant is actively growing. If you prefer a slower routine, a controlled-release product can work when used exactly as labeled.
More fertilizer is not more energy. Strong solutions can leave salts in the mix and damage roots, especially in a small pot that dries slowly. Water thoroughly from time to time so salts can move through the drainage hole, but do not fertilize a bone-dry root ball. Stop feeding as the plant is being prepared for dormancy; feeding a resting bulb does not replace the light and leaf growth it needed earlier.
For an outdoor plant, the same principle applies: feed while leaves are green and producing energy, then taper as growth slows. Do not chase a yellowing leaf with fertilizer until you have checked the soil and the season. Yellowing at the natural end of the leaf phase is different from yellowing in wet soil during active growth.
Care for open flowers
When the scape opens, move the plant where you can enjoy it while keeping it bright and moderately cool. Rotate the pot every few days so the scape does not permanently bow toward the window. If the flowers are top-heavy, use the stake rather than moving the plant into a dark corner simply to keep it upright.
As individual flowers fade, remove the spent bloom and the swollen base behind it if you want to prevent seed formation. Do not cut the whole scape while it is still green and supporting unopened buds. Wait until the entire stalk turns yellow or brown, then cut it a few inches above the bulb with clean pruners. This distinction saves the plant’s energy without sacrificing flowers that have not opened yet.
Keep water off the flowers and use a saucer that does not allow the pot to sit in runoff. A bloom can last several weeks, but its duration depends on cultivar and room conditions. Expect the display to vary; a short show does not automatically mean the bulb is unhealthy.
After bloom, keep the leaves
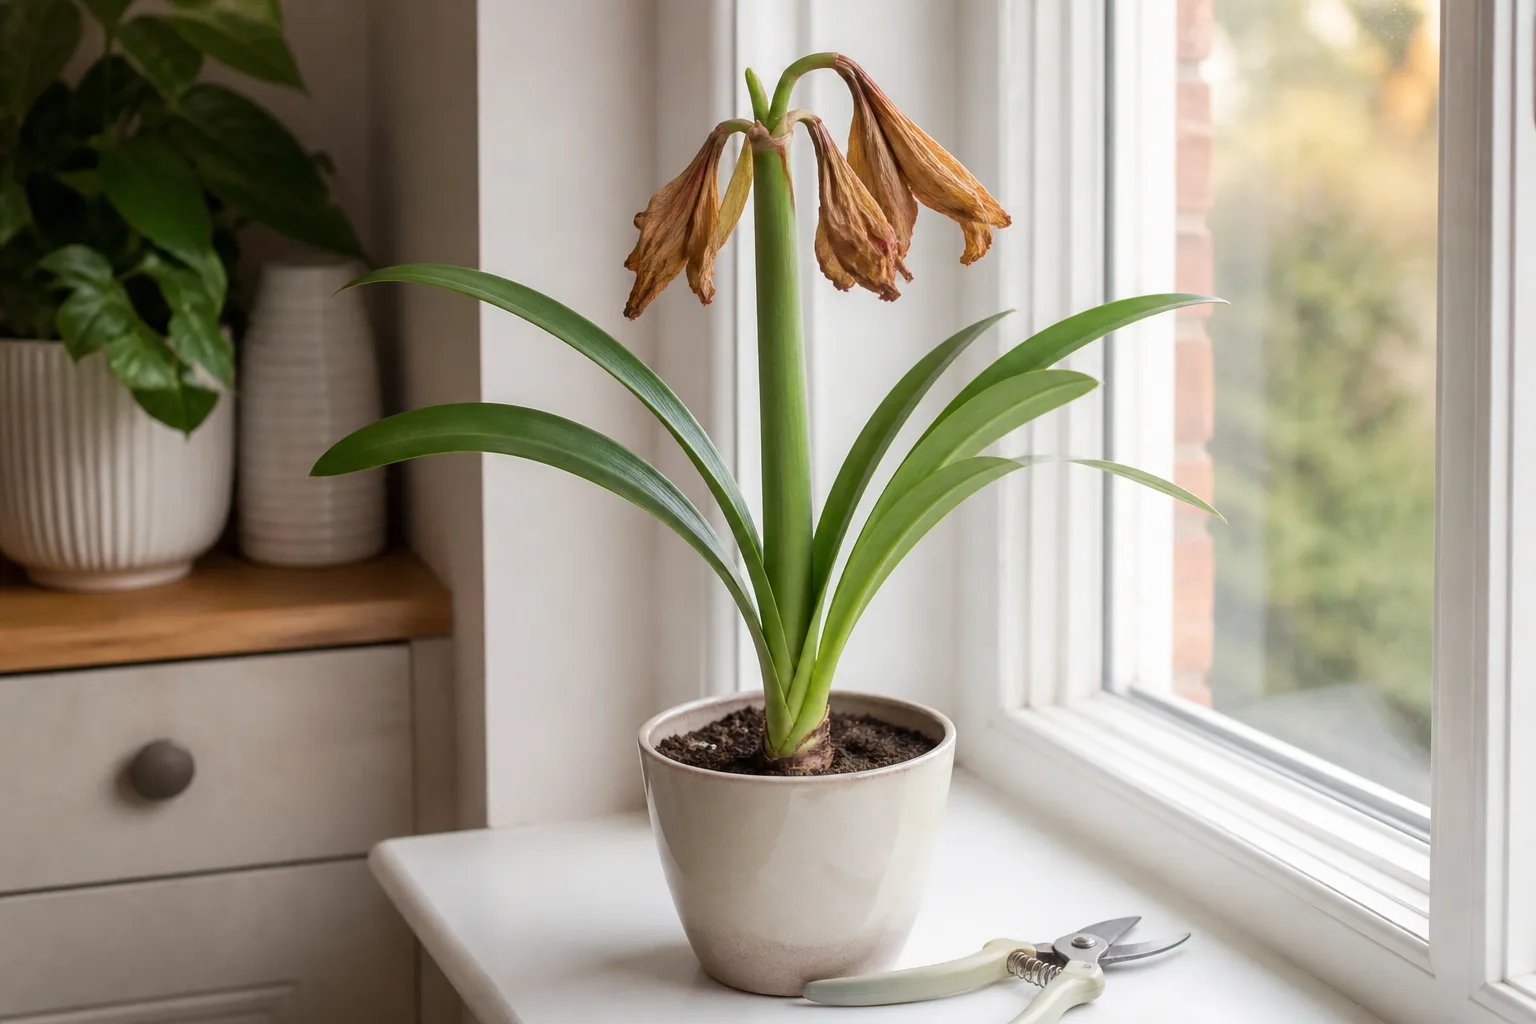
The day after the last flower fades is not the day to put the plant in a closet. Cut the spent scape, then move the leafy plant to the brightest practical location and continue watering as the mix dries. The leaves may look ordinary compared with the flowers, but they are the part that turns light into stored bulb energy.
This is the phase most often skipped by gift-bulb owners. If a plant is moved to a dim room or its green leaves are cut off immediately, it may survive yet fail to produce a strong scape next season. Leave the leaves intact until they naturally yellow or become fully dry. Remove only dead material, and do not braid, tie, or fold leaves tightly because damaged leaf tissue contributes less to the bulb.
You can keep the plant indoors through summer, but a bright outdoor position often makes leaf growth easier. The University of Arkansas guidance recommends keeping foliage, providing light and water, and moving the plant outdoors after spring weather settles. That sequence—not the bloom itself—is the foundation of reblooming.
Summer care: move outdoors safely
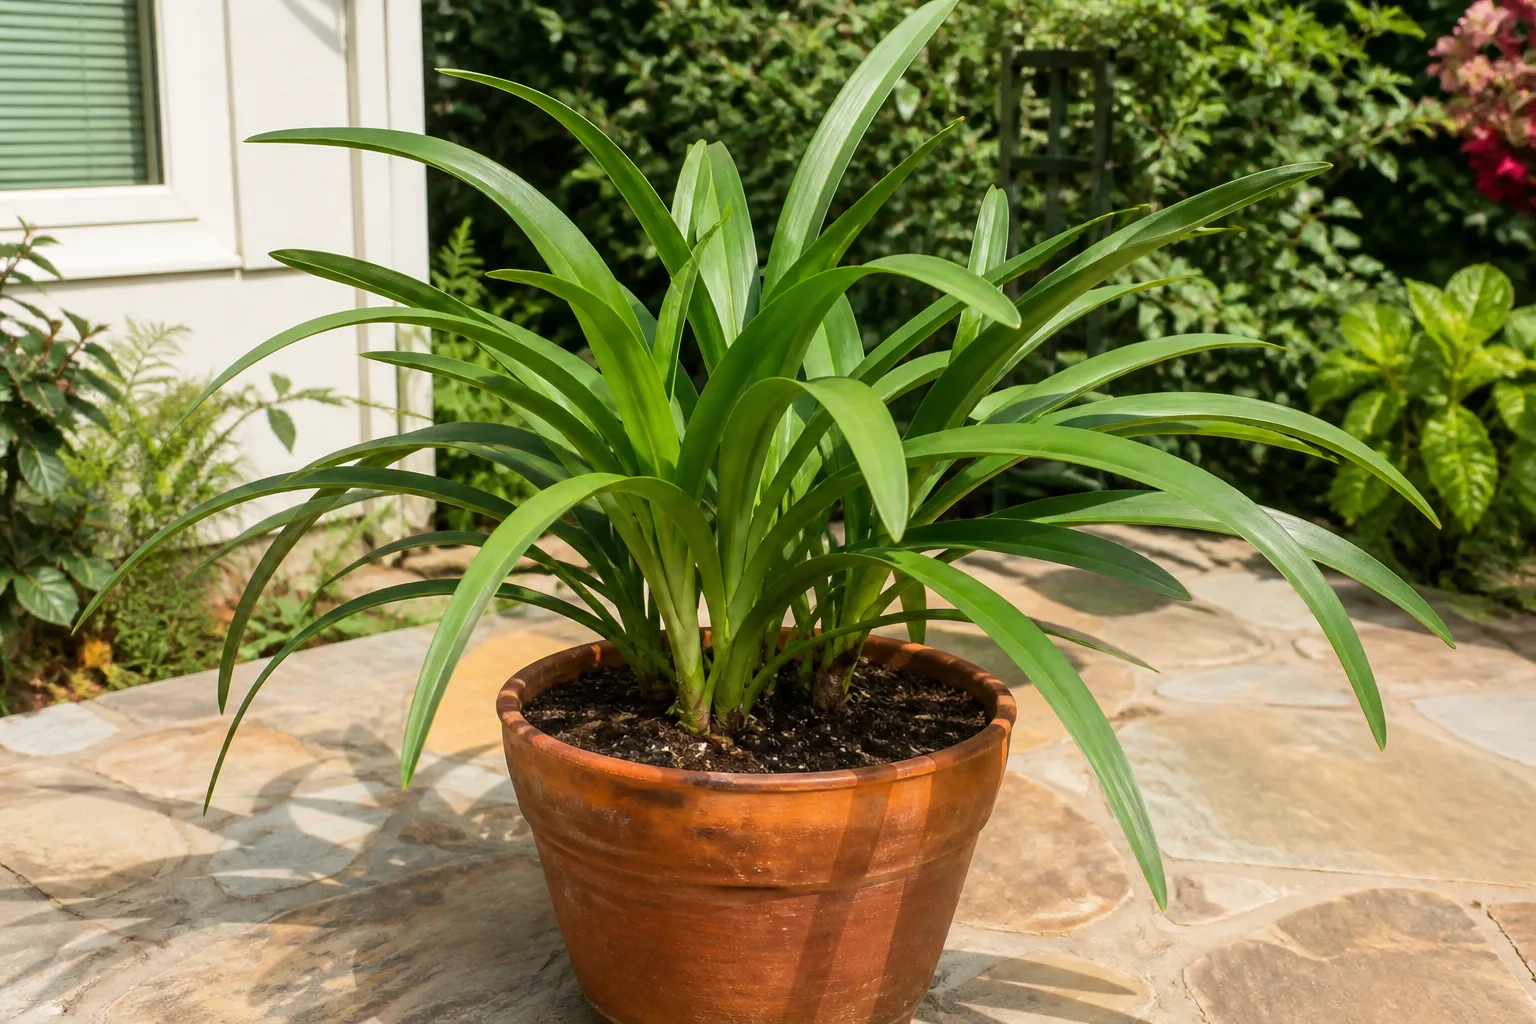
Move a potted amaryllis outside only after frost danger has passed and nights are reliably mild. A practical transition is: two or three days in bright shade, several more days with gentle morning sun, then gradually more direct light if the leaves remain firm and green. A plant that has spent winter behind glass can sunburn in one afternoon, so acclimation is part of care, not an optional extra.
Choose a spot with morning sun or filtered light and shelter from the hottest reflected heat. In humid or rainy climates, drainage matters more than a perfectly sunny position. Set the pot on feet or a hard surface where the drainage hole stays open, and move it under cover during long periods of rain if the mix refuses to dry.
Check the plant weekly for mealybugs, scale, leaf damage, slugs, and snails. Outdoor air does not make pests impossible; it simply changes which ones find the plant. Start with physical removal and improved conditions. If a treatment is needed, follow the product label for the crop and pest, keep people and pets away as directed, and do not spray a stressed plant in hot sun.
Continue watering when the upper mix dries and feed during active leaf growth. By late summer, stop treating new leaves as a sign to keep pushing growth forever. The bulb needs a managed transition into rest, which begins with less water and no fertilizer.
Fall dormancy: the rebloom trigger
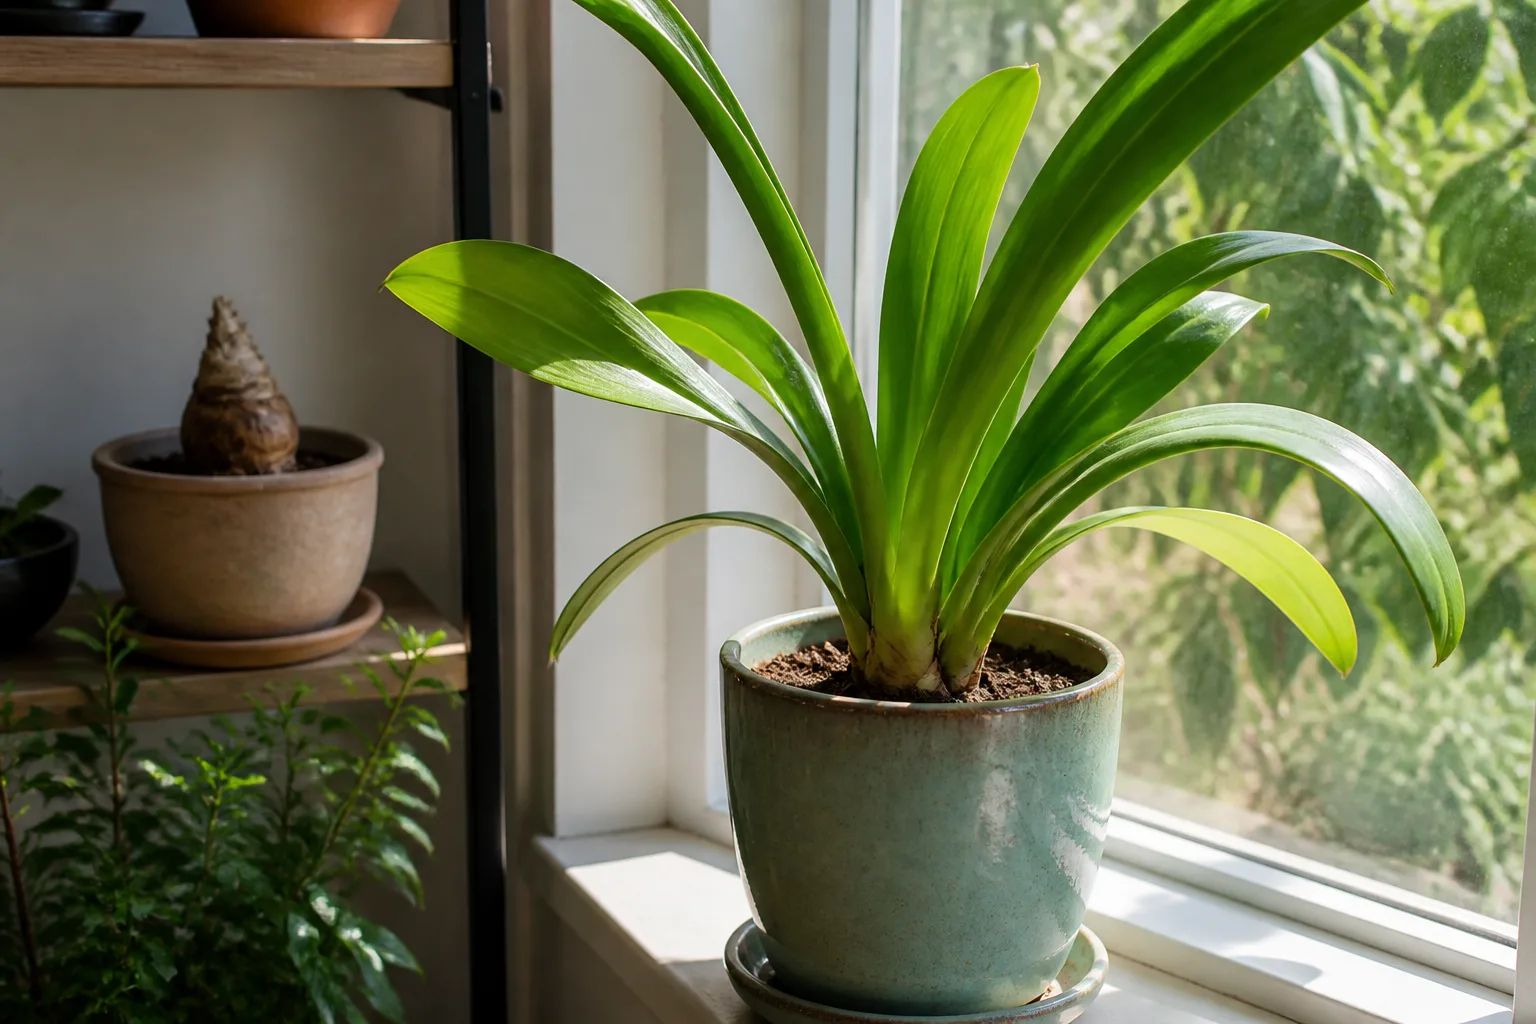
Begin dormancy when the plant has had a substantial leaf-growing season and you need to schedule its next display. For a holiday target, many growers work backward about 10–12 weeks: allow roughly 8–10 weeks of cool, dry rest, then allow another 4–8 weeks for the bulb to restart and develop a scape. Cultivar, bulb size, temperature, and whether a flower bud was already initiated can shift that timing.
Gradually reduce watering as days shorten or leaves begin to yellow. When the leaves are fully yellow, brown, or dry, cut them back close to the bulb with clean tools. Do not put a still-green, actively growing plant into deep storage just because the calendar says it is time. It may flower later, but you will be discarding the leaf-building opportunity that supports a stronger bulb.
For a potted bulb, keep the pot in a cool, dark, dry, well-ventilated location around 50–55°F when possible. A basement or closet can work if it is not damp, freezing, or filled with fruit that attracts pests. If you lift the bulb from the soil, brush it clean without scraping the basal plate, let surface moisture dry, and use a breathable paper bag rather than sealed plastic. Inspect it every few weeks; a soft spot or sour smell means the storage conditions need attention.
The rest should be dry, but not a refrigerator project. Chilling is not a universal requirement for the tender florist types, and a household refrigerator may be too cold or too humid. Keep the bulb away from freezing temperatures, direct sun, and condensation.
Restart the bulb for winter flowers
After the rest, inspect the bulb before planting. It should feel firm, with no spreading soft rot. Repot if the mix is compacted, the drainage is poor, the bulb has outgrown its snug pot, or you want to divide offsets. Otherwise, replacing the top layer of mix may be enough; disturbing healthy roots every year is unnecessary.
Set the bulb high in fresh, draining mix, place it in bright light, and water lightly once. Keep the pot warm enough for growth, around 65–75°F, but do not keep the mix saturated while you wait. As a scape or leaves emerge, increase watering gradually and return to the upper-soil test rather than following a rigid schedule.
If you are forcing a holiday display, start the restart early enough to allow variation. A large bulb may send up a scape quickly, while a smaller or energy-depleted bulb may make leaves first or bloom later. Once growth begins, turn the pot every few days and stake early. The Growing in the Garden year-round guide describes the practical sequence of 8–10 weeks of rest followed by a warm, bright restart and notes that bloom timing is not identical for every bulb.
If the bulb produces leaves but no scape, do not keep it wet or move it into darkness again immediately. Give it light, let the leaves rebuild energy, and use the next dormant cycle to improve timing. One missed bloom is information about the prior season, not proof that the bulb is dead.
Outdoor year-round growing in warm climates
In a frost-free garden, plant Hippeastrum in soil that drains quickly and receives full morning sun or partial shade. Keep the neck above the soil line, and avoid a low pocket where rainwater collects around the bulb. Water deeply after planting, then water according to rainfall and soil texture rather than keeping the bed constantly wet.
In borderline climates, a thick mulch layer can buffer cold, but mulch is not a substitute for drainage. Wet mulch packed against the neck can increase rot. If a hard freeze is forecast, cover the foliage as locally appropriate or move a container indoors; never assume a protected corner will save an in-ground bulb in frozen soil.
Outdoor plants may bloom on a natural spring schedule instead of a December schedule. That is not a care failure. In-ground bulbs also multiply more freely, but digging them every year can tear brittle roots. If winter survival is uncertain, a pot sunk into the garden for summer can give you outdoor light while keeping the bulb portable.
Propagate by offsets
Established bulbs may produce small offsets beside the parent bulb. Let offsets grow attached if you want a fuller clump and do not need immediate individual plants. If you separate them, wait until the parent has finished blooming and the plant is dormant, then lift or unpot it carefully.
Choose offsets that are large enough to handle and have a firm connection point. Twist or separate them gently while keeping roots attached; do not harvest every tiny bulbil or carve deeply into the basal plate. Pot each offset in draining mix with its upper portion exposed, then give it the same bright, moderate-moisture care as a parent bulb.
Young offsets may need several growing seasons before they are large enough to flower. That delay is normal. Feeding them steadily while they make leaves is more useful than trying to force a bloom before the bulb has the size and reserves to support one.
Troubleshoot leaves, rot, and pests
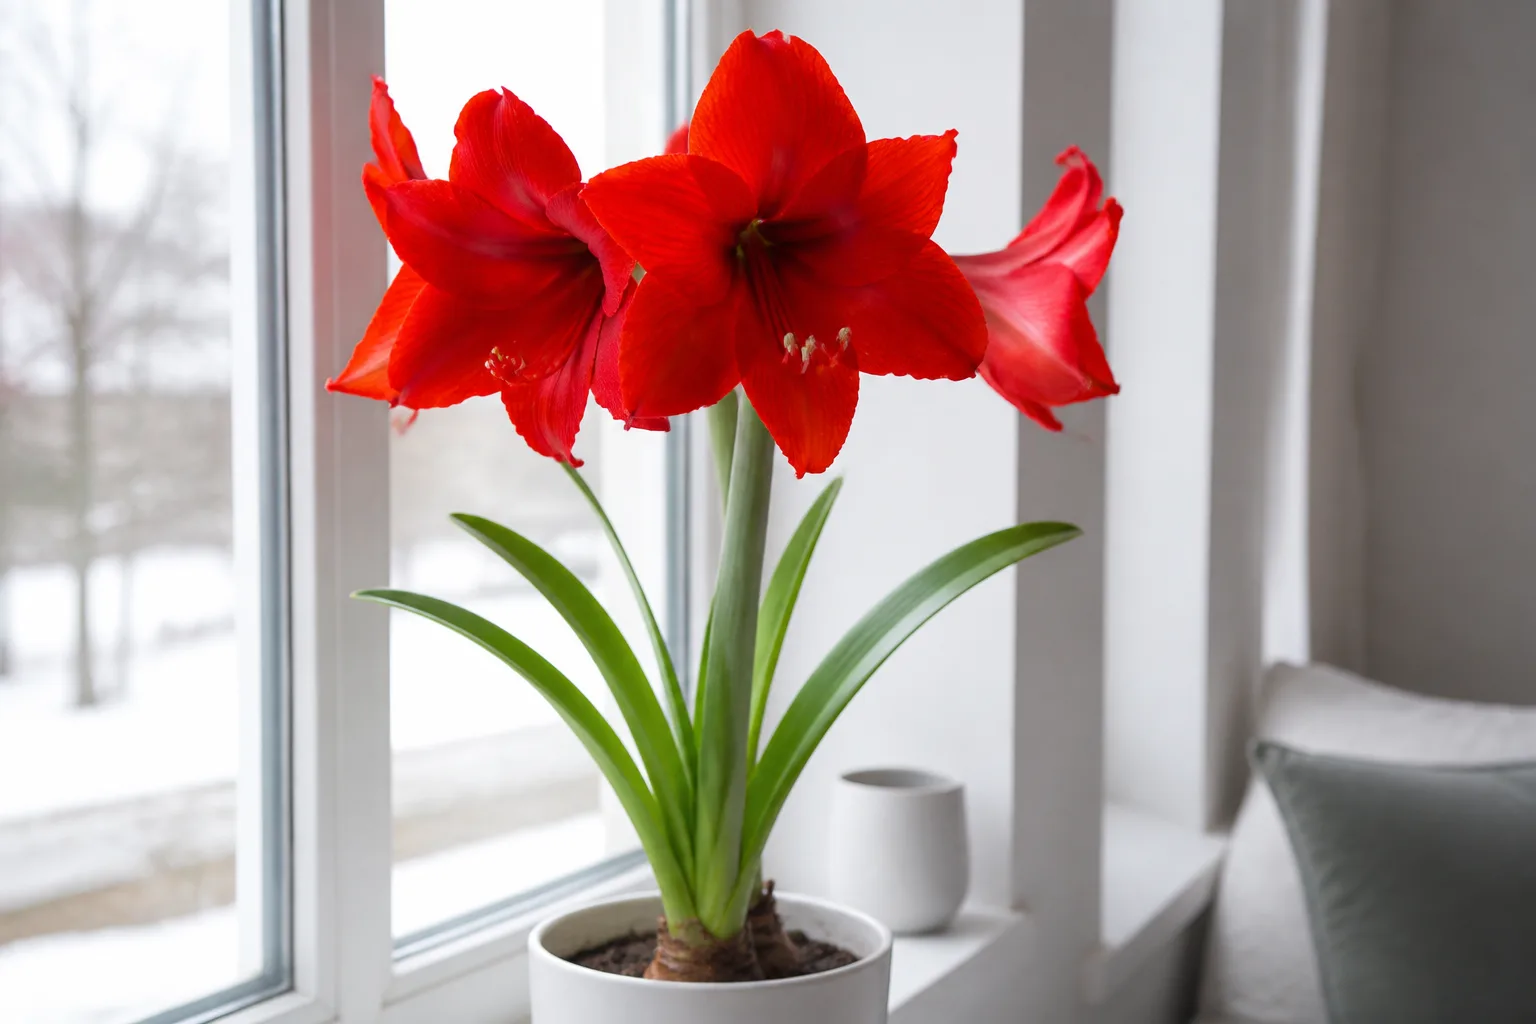
Leaves but no flowers: Start with the previous year, not today’s leaf color. The bulb may have had too little bright light, too short a leaf-growing season, no true rest when timing was needed, or not enough stored energy. Check for premature leaf removal, an oversized wet pot, and a bulb that has become soft. Give the current leaves light and reasonable moisture, then correct the next dormancy cycle.
Yellow leaves at the wrong time: Yellowing during late-season rest can be normal. Yellowing while the mix is soggy, the bulb is soft, or new growth is collapsing points more toward overwatering or rot. Move the pot out of standing water, inspect the bulb, and remove only tissue that is clearly dead. Do not hide a wet root zone with fertilizer.
A soft or rotting bulb: Stop watering and unpot it. If rot is limited and the basal plate and remaining tissue are firm, remove damaged material with a sterile blade, let the wound surface dry, and repot into fresh, barely moist mix; recovery is not guaranteed. If the bulb is broadly soft or foul-smelling, discard it in household waste and clean the pot rather than spreading contaminated mix to other bulbs.
A leaning or fallen scape: Use a stake early, rotate the pot, and improve light. If the scape breaks, cut it cleanly and use the flowers as a cut display; the bulb can still continue growing leaves. A heavier outer pot or a layer of gravel beneath—not above—the pot can improve stability, but do not bury the bulb deeper to stop it falling.
Mealybugs, scale, slugs, and snails: Inspect leaf bases and the bulb neck when watering. Remove small infestations by hand or with a suitable labeled treatment, isolate indoor plants, and repeat inspections because eggs and hidden insects are easy to miss. Outdoors, look under the pot and around mulch for slugs and snails. Red, elongated lesions on emerging leaves or the scape can indicate red blotch; badly affected plants may have distorted growth or fragile scapes. Keep suspect bulbs separate and avoid sharing tools or potting mix.
Amaryllis safety around children and pets
Treat every part of a florist amaryllis as a plant that should not be eaten, with the bulb the highest-risk part. Extension references identify alkaloids such as lycorine and report gastrointestinal signs after ingestion; larger exposures can be more serious. The N.C. Extension Plant Toolbox classifies Hippeastrum as having medium poison severity and specifically flags problems for cats, dogs, horses, and people.
Place the pot where a child, cat, or dog cannot chew the bulb, leaves, or fallen flower parts. Wear gloves if handling the bulb is irritating to you, wash hands after potting, and do not put trimmings in a pet-accessible compost pile. If a person or pet eats any part, do not wait for symptoms or try to induce vomiting; contact a medical professional, veterinarian, or appropriate poison-control resource with the plant name and the part consumed.
Use a month-by-month care calendar
Use the calendar as a flexible sequence, then adjust for your climate and the plant’s signals.
- January–February: Keep a blooming or newly restarted bulb in bright light, water when the upper mix dries, rotate the pot, and support tall scapes. Remove individual spent flowers without cutting a green scape.
- March–April: After the display finishes, cut the old scape and keep all green leaves. Continue light, water, and balanced feeding so the bulb can rebuild.
- May–June: Once nights are mild and frost has passed, acclimate the pot outdoors from shade toward morning sun. Check drainage and inspect for pests after every move.
- July–August: Maintain active leaf growth with moisture and fertilizer as needed. In warm climates, enjoy natural outdoor growth; in hot reflected locations, protect leaves from harsh afternoon heat.
- September–October: Stop fertilizer and taper water as leaves yellow. Bring containers inside before frost, let foliage finish drying, and begin a cool, dark rest.
- November–December: After roughly 8–10 weeks of rest, repot or refresh the mix, return the bulb to warmth and bright light, and restart watering lightly. Stagger several bulbs by a week or two if you want a longer succession of blooms.
The calendar is a framework, not a command to cut healthy leaves on a certain date. Light, indoor temperature, bulb size, cultivar, and local frost timing all change the pace. When the plant’s condition conflicts with the calendar, protect the bulb first: keep growing leaves growing, keep dormant bulbs dry, and keep frost away.
Conclusion
The reliable way to care for amaryllis year-round is to think in phases. Give the bulb a high, airy planting position and bright light; water only as the mix dries; support and deadhead the flowers without cutting a green scape; then keep every healthy leaf working after bloom. Summer light and feeding rebuild the bulb, while a cool, dry 8–10-week rest helps you control the next bloom.
Keep the pot portable if your winters are cold, use acclimation before outdoor sun, and treat the bulb as toxic around pets and children. If a bloom does not appear on schedule, diagnose the previous growing season instead of flooding or discarding the plant. With that rhythm, the holiday bulb becomes a repeat performer rather than a throwaway centerpiece.



