How to Grow Geraniums From Seed Step by Step
Start geraniums from seed with the right sowing window, 70–75°F germination, grow lights, pot-up timing, and a week-by-week plan from seed to spring blooms.
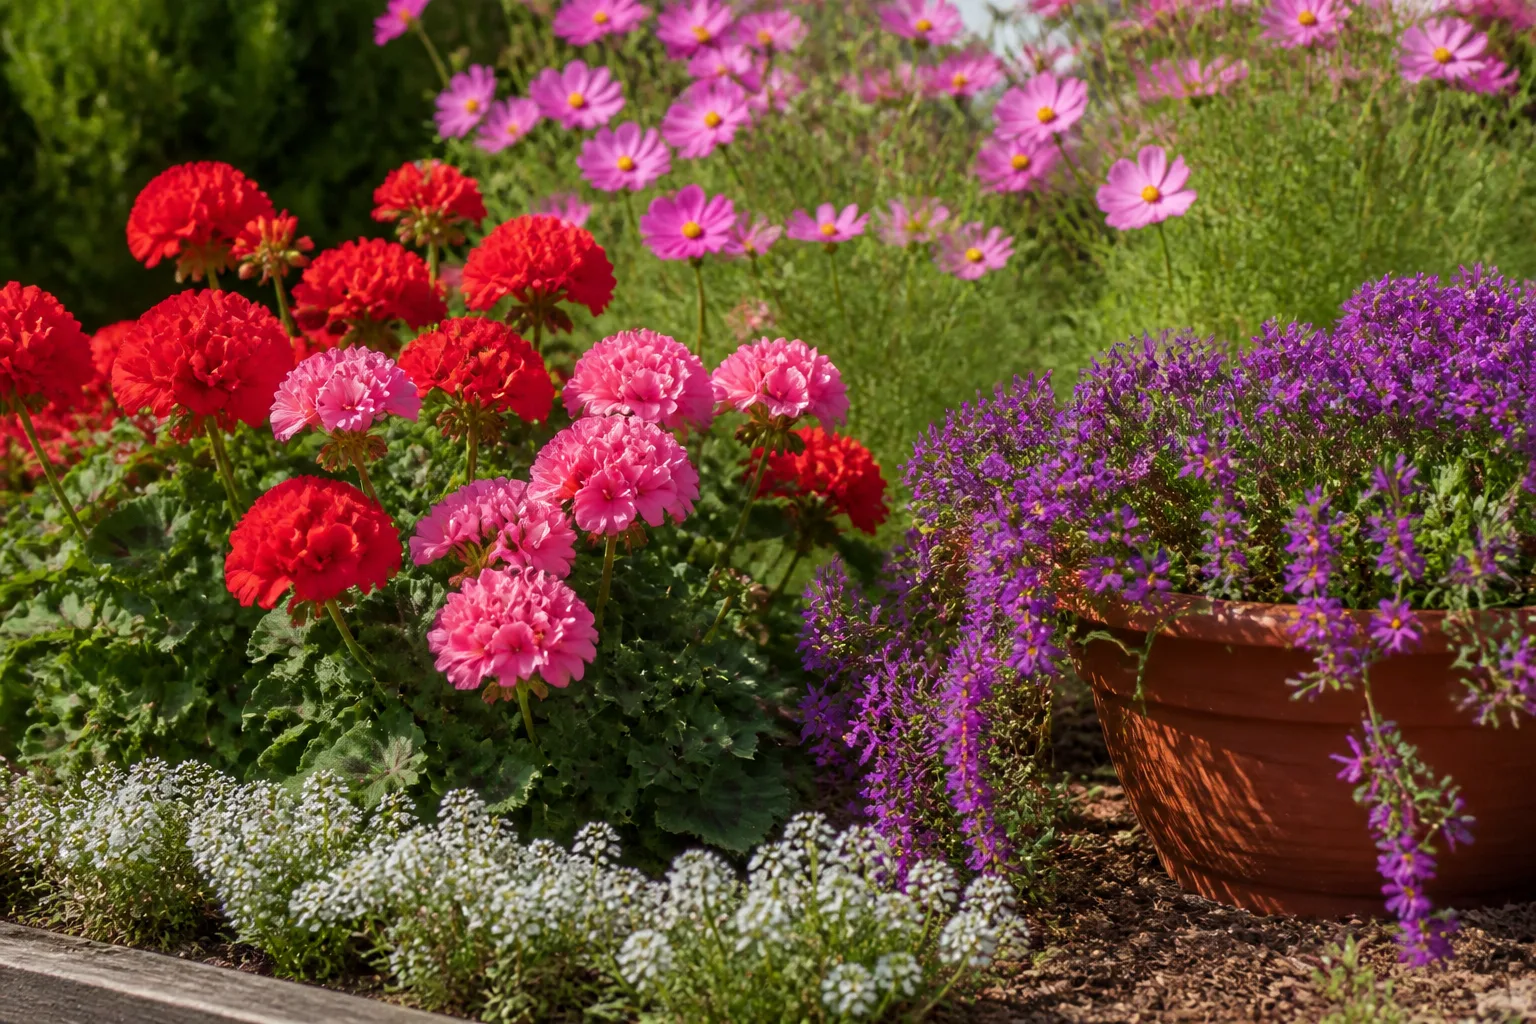
The colorful “geraniums” sold for summer pots and window boxes are almost always Pelargonium—tender perennials from South Africa that gardeners treat as annuals in cold climates. True hardy geraniums (Geranium species, often called cranesbills) are a different genus with different seed biology. Before you open a seed packet, confirm you are starting bedding Pelargonium seed, not hardy Geranium seed meant for permanent borders.
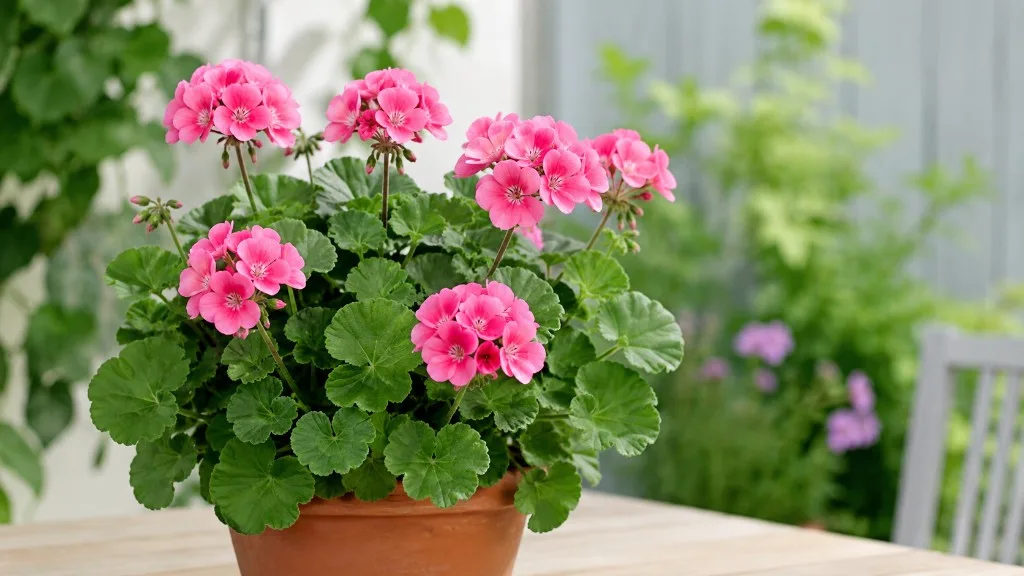
Once that distinction is clear, growing geraniums from seed is straightforward. It is not fast. Most seedlings need 10 to 16 weeks from sowing to outdoor-ready plants, and 12 to 16 weeks to first open blooms. What seed starting offers is choice: scarlet, coral, white, lavender, and bicolor flowers; upright zonal types for pots; and trailing ivy-leaved types for baskets—often for less money than a spring nursery run, if you already own lights and trays.
Know what you’re actually growing from seed
Garden centers label Pelargoniums “geraniums,” and the Royal Horticultural Society’s pelargonium guide treats them as sun-loving, frost-tender plants that need free-draining soil and protection before cold weather. Zonal types have rounded leaves, often with a darker band, and upright flower clusters. Ivy-leaved types trail from baskets. Regal and angel groups have showier flowers and can be less forgiving in rough handling.
Hardy Geranium perennials stay outdoors year-round in many climates and are not what this guide describes. If your packet says Pelargonium or “zonal geranium,” you are on the right track. If it lists Geranium macrorrhizum or Geranium sylvaticum, you are growing a woodland perennial with a completely different sowing calendar—usually fall or early spring outdoors, not a heated January tray.
Pelargoniums cannot survive hard frost on the stem or crown. Seedlings started indoors must stay inside until you harden them off after your last frost. That frost sensitivity is why timing matters more than enthusiasm: a tray sown in October will sit under lights for months; a tray sown in March may bloom late but still beat a frost-killed outdoor sowing.
Why start geraniums from seed instead of buying plants
Nursery geraniums in April are convenient, but seed gives you variety control and volume at a lower per-plant cost when you already own seed-starting gear. F1 hybrid zonal mixes deliver uniform color in mass plantings. Named singles let you match a basket scheme without hunting every greenhouse in town.
Seed is slower than buying plugs and slower than rooting cuttings from a plant you already own. Cuttings clone a favorite cultivar exactly; seed from hybrids will not breed true. For a rare color you must preserve, overwinter the parent or take cuttings in fall—see our guide on overwintering geraniums for frost protection options. For a dozen matching scarlet zonals, seed wins on economy.
Gardener’s Supply geranium seed-starting guidance notes that experienced growers expect 12 to 16 weeks to flowering plants and often see germination in as few as three days—or as long as four weeks under the same tray. Patience and stable conditions matter more than a secret technique.
When to sow geranium seeds indoors
Slow Pelargonium seedlings need a long indoor runway. Sow 10 to 12 weeks before your average last frost date as a practical target; many cold-climate gardeners sow in late January through February so plants are sturdy by mid-spring. In the UK, the RHS recommends sowing zonal F1/F2 bedding types and some species in late winter under protection such as a heated greenhouse.
Count backward from your last frost date
Find your local last frost date from a regional extension calendar or a long-running local weather record—not a generic national map if you garden in a microclimate. Count back 10 weeks for fast-blooming F1 varieties listed on the packet; count 12 to 14 weeks for standard mixes or if your spring is cool and cloudy.
Example: last frost around May 10 → sow around February 10 for a 12-week run. Last frost around April 1 → sow mid-January. If you miss the window, you can still sow in March, but expect smaller plants at planting time and later first blooms—not failure, just a shifted calendar.
Typical January and February sowing windows
Northern U.S. and UK gardeners often use the coldest indoor weeks as a psychological and horticultural start point: short days outside, but a warm tray under lights inside. December sowing is possible if you have strong grow lights and space to pot up repeatedly; it adds weeks of indoor care without much gain unless you need exhibition-size plants.
Do not sow outdoors while frost still threatens. Pelargonium seed wants warm soil, not a chilly windowsill above a drafty frame. A tray on top of a refrigerator or on a heat mat set to 70–75°F beats a pretty but cold east window for germination.
Supplies that make germination reliable
You do not need a greenhouse, but a few items raise success rates sharply.
Seed-starting mix — Use sterile, fine, peat-free or peat-based seed compost, not heavy garden soil. Mix with a little perlite for drainage if your blend feels dense. Pre-moisten until evenly damp like a wrung-out sponge.
Trays or cells — Multi-cell trays with 2-inch (5 cm) cells work well. Small modules keep seedlings from drowning in excess wet mix; you will pot up later. A clear humidity dome or loose plastic wrap holds moisture during germination.
Heat — Target 70–75°F (21–24°C) for germination. A thermostat heat mat is the most reliable method. Temperatures above about 78°F (26°C) can stall or stop Pelargonium germination, so avoid overheated closed propagators on sunny days.
Light — After sprouts appear, seedlings need bright light for 12 to 16 hours daily. A south window can work in a bright room, but grow lights 4 to 6 inches above leaf tips prevent leggy, weak stems. Adjust height as plants grow.
Watering tools — A spray bottle for gentle surface misting during germination; a shallow tray for bottom watering once seedlings have roots, which reduces damp-off risk on fragile stems.
Fertilizer — Dilute water-soluble houseplant fertilizer at quarter strength for young seedlings; move to label strength after potting up into larger containers.
Choose seed varieties that match your garden plan
Read the packet for days to bloom, height, and habit before you sow ten identical trays.
Zonal, ivy-leaved, and specialty types
Zonal Pelargoniums — Upright bedding plants for pots, window boxes, and formal edges. F1 mixes (often labeled “hybrid”) germinate uniformly and bloom on a predictable schedule. Best first choice for beginners.
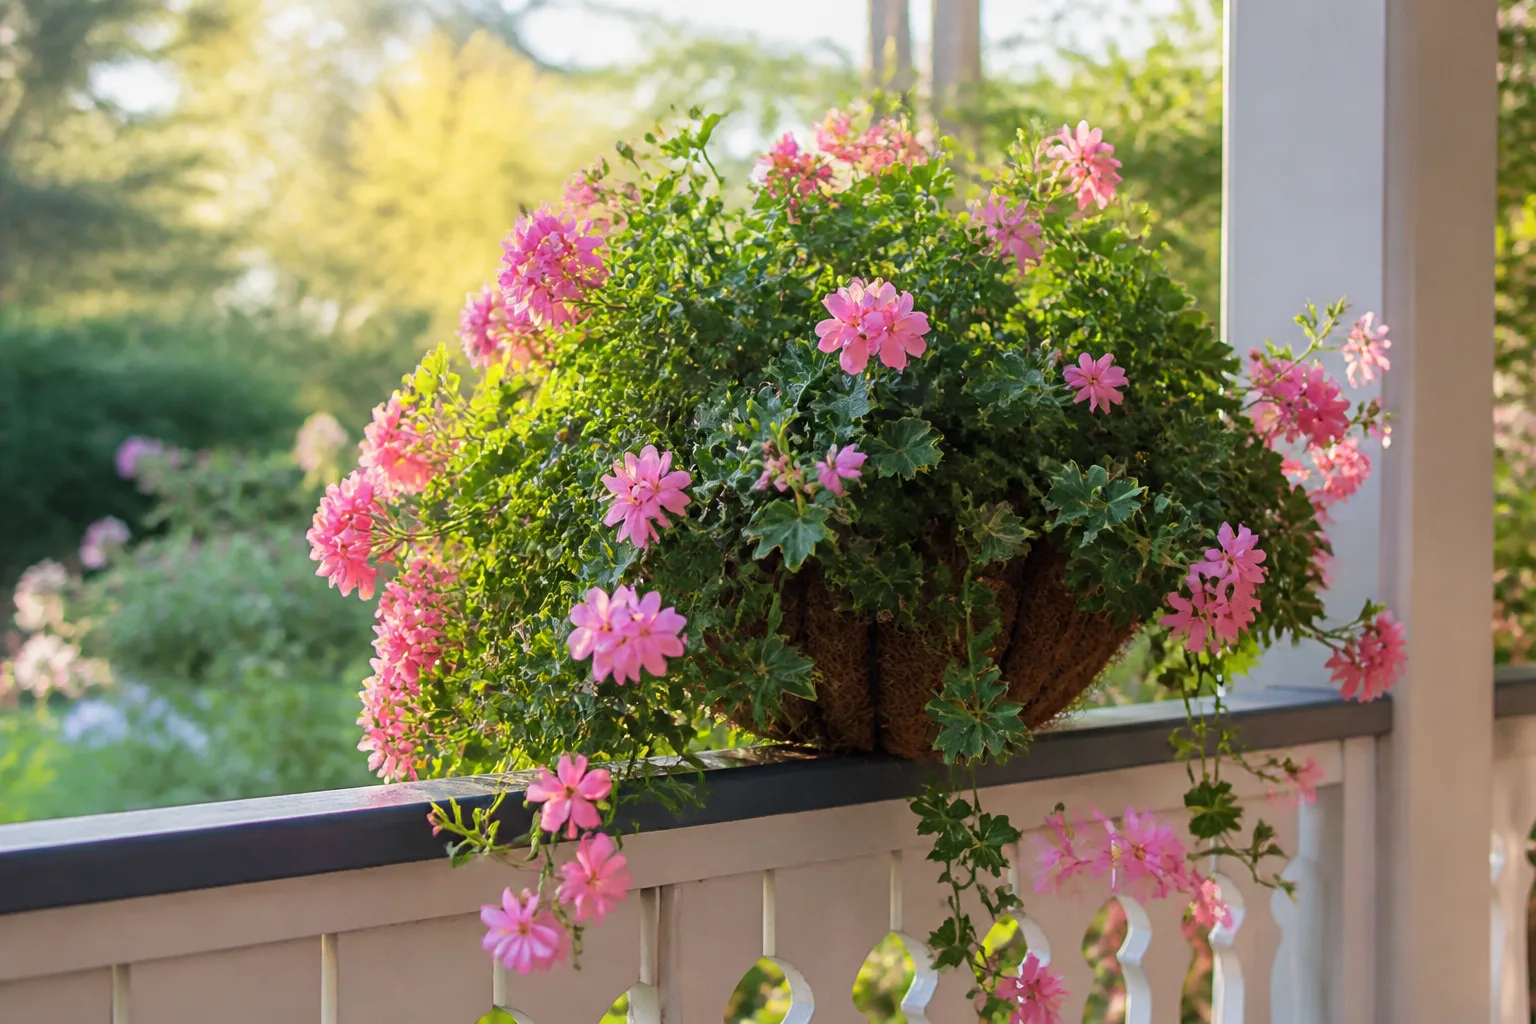
Ivy-leaved types — Trailing habit for hanging baskets and tall planters. Seed is available; verify the packet says ivy or trailing. Mature plants can also be propagated from cuttings if you already own a basket you love.
Species and scented-leaf types — Some species, such as Pelargonium odoratissimum, can be grown from seed according to RHS propagation notes, but they may be slower and less uniform than zonal F1 lines. Scented-leaf plants are grown more for fragrance than massive flower heads.
Match variety to container size. A vigorous zonal in a 6-inch pot can dominate a small table arrangement; ivy types need vertical drop space. For mixed containers, our geranium companion plants guide covers spacing and watering logic with neighbors that share sun and drainage needs.
Step-by-step: sow geranium seeds
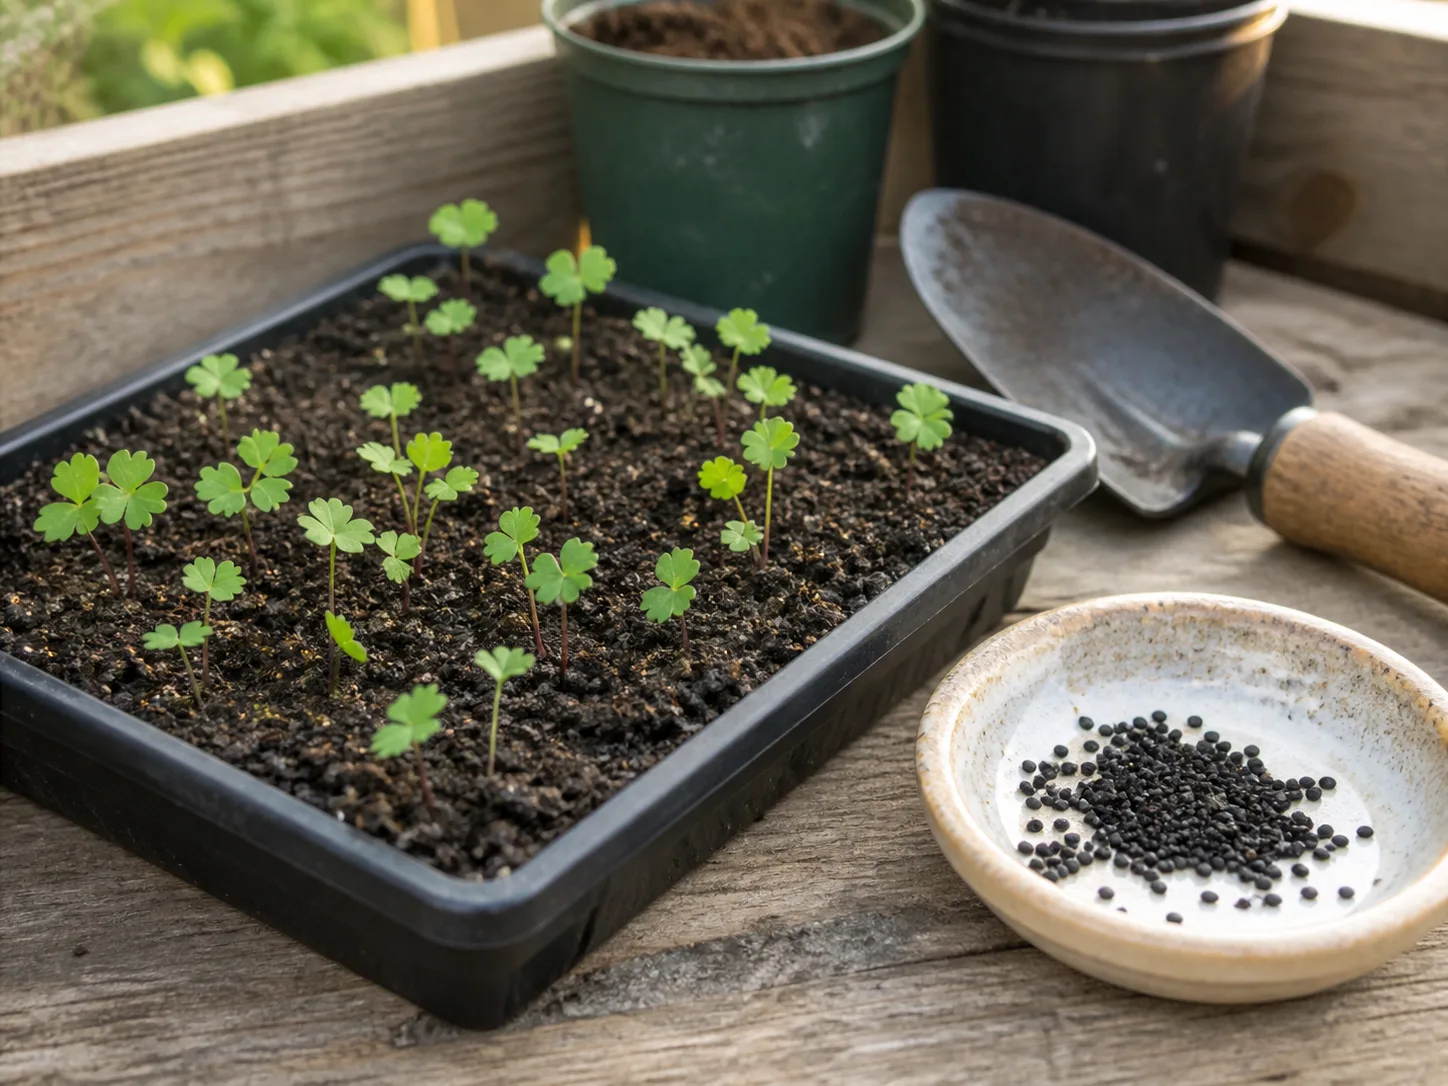
The sequence below assumes indoor sowing in late winter. Adjust dates using your frost countdown.
Prepare trays and moisten the mix
Fill cells with pre-moistened mix. Leave a few millimeters below the rim so water does not spill when you mist. Tap trays gently to settle mix without packing it rock-hard. Sterile fresh mix reduces fungus gnats and mold compared with reused patio soil.
Sow one seed per cell with a light cover
Place one seed per cell. Pelargonium seeds are large enough to handle individually—doubling up creates competition and makes thinning harder.
Sowing depth is shallow. Press each seed into the surface so it contacts moist mix, then cover with a thin layer of mix or vermiculite—roughly ⅛ inch (3 mm). Morris Hankinson of Hopes Grove Nurseries, quoted in Ideal Home’s geranium seed guide, advises surface contact without burying deep; heavy cover blocks the light and air some lines need to sprout.
Mist the surface with fine spray until damp, not flooded.
Lock in warmth and humidity until sprouts show
Cover the tray with a clear dome or plastic wrap. Set the tray on a heat mat or another warm spot targeting 70–75°F. Lift the cover briefly each day for air exchange—trapped condensation can invite mold.
Germination is not on a fixed clock. Experienced growers report sprouts in 3 to 14 days under ideal heat and moisture, but some batches need up to four weeks. Keep the surface from drying to dust; mist lightly if the top looks pale and dry while you wait.
The moment you see green—cotyledons, not weeds—remove the cover and move the tray to your brightest grow-light setup. Leaving the dome on after sprouting invites damping-off and leggy stretch.
Light and temperature after germination
Post-sprout Pelargoniums want bright light and moderate warmth: roughly 70°F days and not below about 60°F (16°C) at night. Run grow lights 12 to 16 hours; keep bulbs within 6 inches of tops, raising fixtures as seedlings grow.
Without enough light, stems elongate and leaves pale within a week—you are growing fuel for compost, not garden plants. If windows are your only option, rotate trays daily and accept that you may need to pot up later into deeper light.
Air movement helps once covers are off. A gentle fan in the room reduces stagnant humidity around stems. Do not blast seedlings with a cold draft from an exterior door.
Thin, pot up, and feed young seedlings
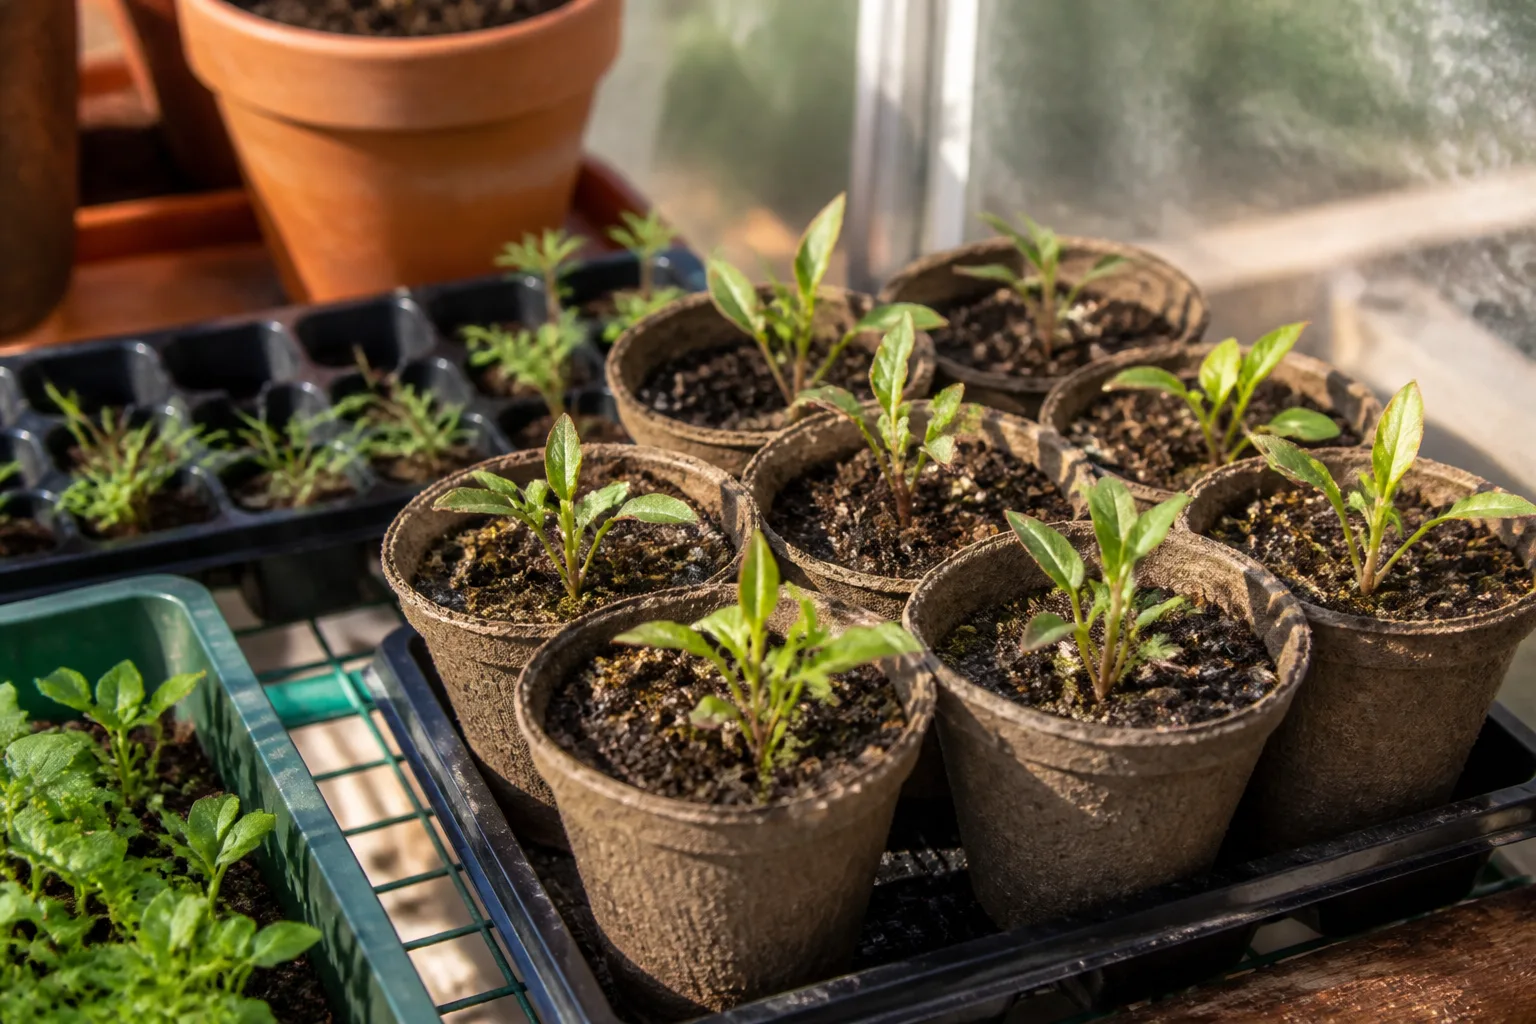
When seedlings show two sets of true leaves—the textured Pelargonium foliage, not the first simple cotyledons—they are ready for more root room.
If you accidentally sowed multiple seeds per cell, snip extra seedlings at the soil line rather than pulling, which disturbs the keeper’s roots. Keep the sturdiest plant per cell.
Pot up into 3- to 4-inch (8–10 cm) pots with fresh, free-draining potting mix. Gardener’s Supply recommends this step when roots fill the starter cell and before plants crowd each other—crowded leaves slow airflow and invite disease.
Water from the bottom: set pots in a tray of water for 10–20 minutes, then drain completely. Wet foliage on dense trays encourages fungal issues on stems.
Feed weekly with houseplant fertilizer at quarter strength while plants are small. After potting up into larger containers, switch to full label strength at the recommended dilution. Over-fertilizing weak seedlings burns tender roots; under-fertilizing in dim light produces yellow, stalled growth.
By late spring, a well-grown seedling should have a short, stocky stem, several leaf pairs, and visible root development at the pot edge—not a tall floppy whip with two leaves.
Troubleshoot slow or failed germination
If nothing emerges after three weeks at proper temperature, diagnose before re-sowing.
Heat too high or too low — Confirm mat thermostat with a probe thermometer. Above 78°F, some Pelargonium seed goes dormant. Below 65°F, germination crawls or stops.
Dry surface — Humidity domes help, but seeds on the surface die if the top layer dries daily. Mist lightly; do not drown the tray.
Old or poorly stored seed — Pelargonium seed loses viability faster than many tomatoes. Use dated packets; store leftovers cool and dry. If a fresh sowing fails, buy new seed rather than waiting another month on the same packet.
Sown too deep — Seeds buried under heavy mix may never reach light. Re-sow a test cell at shallow depth.
Weak light after sprout — Sometimes seeds germinate but collapse from damp off in dim, wet conditions. Remove cover promptly; improve light and airflow.
Weed confusion — First leaves on Pelargonium are rounded; true leaves show the banded zonal pattern or ivy shape. Random grass-like sprouts are weeds.
If half a tray germinates and half fails, uneven temperature across the mat is a common culprit—rotate tray positions or use a single larger heat zone.
Cold stratification: when it helps and when to skip it
Online FAQs often claim geranium seeds need cold stratification—weeks of moist chilling to break dormancy. That advice applies mainly to hardy Geranium species seeds, not typical zonal bedding Pelargonium packets.
RHS propagation guidance for Pelargonium describes late-winter sowing under warmth, not a 60-day fridge pretreatment. Standard zonal F1 and F2 lines are bred for straightforward indoor germination at 70–75°F.
If your packet explicitly says stratify, or you are sowing a wild Geranium species for perennial borders, follow that packet’s chill period—usually moist cold for several weeks, then warmth. For common summer bedding Pelargoniums, skip the fridge unless the supplier requires it. Mixing genera is the main reason stratification advice fails in practice.
Harden off seedlings before planting outdoors
Pelargoniums started indoors are soft: perfect light, no wind, steady moisture. Outdoor spring is brighter, windier, and colder at night. Hardening off bridges that gap.
Wait until all danger of frost has passed in your area and night lows stay above about 50°F (10°C) for planting out. The RHS advises moving tender Pelargoniums outdoors only after frosts have passed—in much of the UK that is late May or even early June; in warmer U.S. zones it may be March or April.
Begin hardening 7 to 10 days before your target planting date. On day one, place trays in shade or part shade outdoors for 2–3 hours, then bring inside. Gradually increase time, sun exposure, and wind each day. Avoid leaving trays out on the first 40°F night “to toughen them up”—that kills Pelargoniums.
Plant into containers or beds with fast-draining mix and a drainage hole. Space according to mature size—zonals often need 8 to 12 inches between centers in beds, more in large pots. Water in gently; hold fertilizer until active new growth resumes after transplant shock.
For ongoing summer care—sun, feeding, and pruning—see our geranium overview hub for species-specific habits.
Timeline from seed to first bloom
Use this table as a planning guide; your packet’s “days to bloom” line is the sharper forecast for a given variety.
| Stage | Typical timing | What you should see |
|---|---|---|
| Sow indoors | 10–12 weeks before last frost | Seeds pressed shallow, dome on, 70–75°F |
| Germination | 3 days to 4 weeks after sow | Cotyledons; remove dome at first green |
| True leaves | 2–4 weeks after germination | Rounded or lobed Pelargonium foliage |
| Pot up | When 2 true leaf sets and roots fill cell | 3–4 inch pots, bottom watering |
| Feed regularly | From first true leaves through pot-up | Quarter strength → full strength |
| Harden off | 7–10 days before planting out | Gradual sun and wind exposure |
| Plant outdoors | After last frost + hardening | Stocky plants, no frost risk |
| First blooms | ~12–16 weeks from sowing | Color on mature buds in warm weather |
Most gardeners see the first open flowers in mid-spring to early summer, with steady bloom through warm months if plants are deadheaded and fed lightly. A January sowing with a May frost date usually hits that bloom window; a March sowing blooms later but still colors the season.
Conclusion
Growing geraniums from seed is easier than the long timeline suggests because each step is small: shallow sow, steady warmth, bright light after sprout, timely pot-up, and a patient harden-off. Confirm you are sowing Pelargonium bedding seed, count backward from your last frost, and keep germination at 70–75°F without overheating the tray.
When germination stalls, fix heat, moisture, and depth before buying new seed. Skip cold stratification for standard zonal mixes unless the packet demands it. If you protect plants through winter, seed-started favorites can return year after year—link your spring sowing plan with fall overwintering so one good tray becomes a permanent part of your garden.



