How to Harvest Thyme Without Stunting New Growth
Learn when and how to harvest thyme, how much to cut, where to make each snip, and how to store or dry sprigs without weakening the plant.
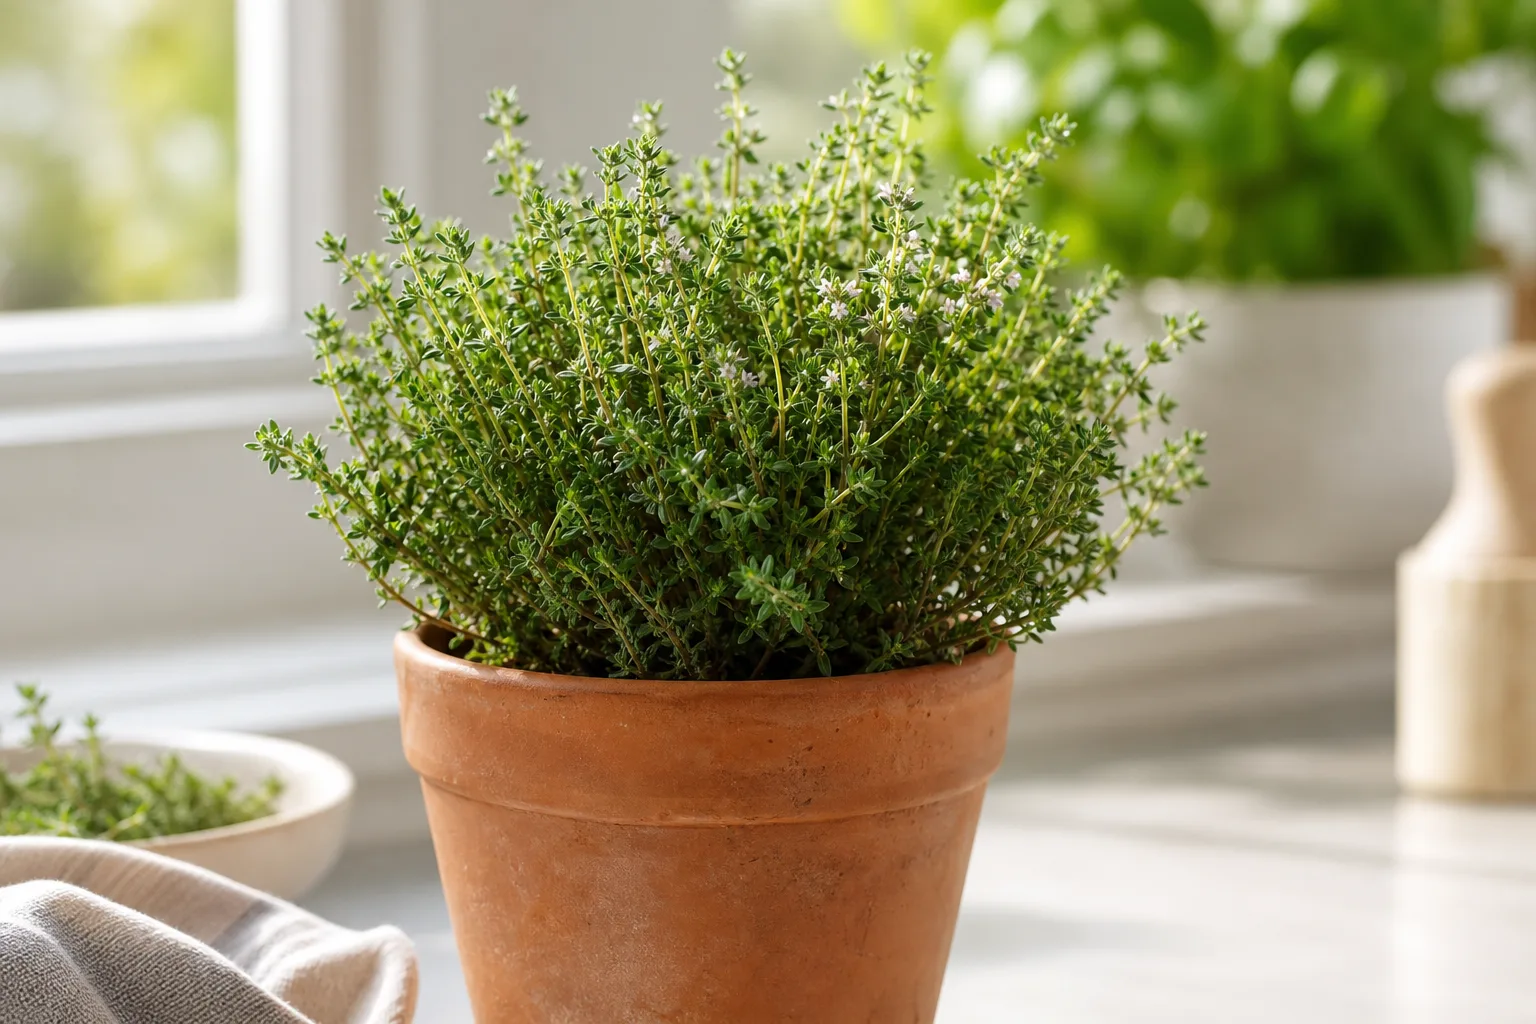
The safest way to harvest thyme is to treat it like a small woody shrub, not a lettuce plant. Take the tender, leafy tips you need, keep the bare woody framework intact, and leave enough green growth for the plant to keep making energy after the cut.
For a few sprigs, you can pick throughout the growing season. A large harvest for drying needs more planning: wait for vigorous growth, cut before or around the beginning of flowering, take no more than half of an established plant at once, and stop heavy harvesting early enough for new growth to toughen before cold weather. The same rules work for common thyme and most shrubby culinary types, with adjustments for the plant’s age, stress level, and local climate.
When to Harvest Thyme for the Best Flavor
Thyme is evergreen in mild climates, so there is no single day when harvesting starts or ends. The most useful target is late spring through early summer, when the plant has produced plenty of soft new shoots but has not finished flowering. The Royal Horticultural Society notes that thyme can be picked year-round, while the soft growth in late spring and summer usually has the best flavor.
For the cleanest, most aromatic harvest, choose a dry morning after the dew has evaporated and before strong heat arrives. This keeps surface moisture from slowing drying and follows the general herb-harvesting guidance from NC State Extension. If rain has just passed, wait until the foliage is dry rather than sealing damp sprigs in a bag or bunching them for storage.
The best harvest moment also depends on the job you are asking the herb to do. You can snip a small amount for dinner whenever the plant is actively growing, but a drying harvest is worth timing more carefully because you will remove much more foliage in one session.
Fresh Sprigs and Large Drying Harvests Need Different Timing
For fresh use, cut only what the recipe needs. A few sprigs taken from different parts of a healthy plant have little effect on its energy balance, and regular light harvesting can keep the plant compact. If the stems are green and flexible, you have a forgiving target: cut a sprig several inches long and the plant can usually branch from the remaining growth.
For drying, aim for the strongest flush of leafy growth before full bloom. The NC State Extension thyme profile recommends harvesting just before flowering, when the leaves’ essential oil content is at its peak, and leaving the woody stems and about five inches of growth. A second sizeable harvest can be made later in the season if the plant is healthy and your frost date leaves time for recovery.
Do not turn that guidance into a rigid two-cut calendar. In a hot, long-season climate, a well-established plant may provide several moderate harvests. In a short or wet season, one spring harvest and occasional cooking snips may be the better plan. The plant’s amount of green growth and speed of regrowth tell you more than the number of weeks since the last cut.
What to Do If the Plant Is Flowering
Flowering is a preference point, not an emergency. Thyme leaves and flowers remain usable after bloom, and the tiny flowers can garnish salads or savory dishes. The flavor and texture of the soft leafy shoots are often preferred before full flowering, though, so a plant just beginning to open flowers is a good moment for a larger culinary harvest.
If pollinators are visiting, consider leaving some flowers rather than stripping the entire plant. Common thyme is valued in part because its small blooms provide nectar for bees and other insects. Harvest one section for the kitchen, leave another section to flower, and trim the spent stems lightly after bloom if the plant needs shaping.
Once flowers have gone to seed and the plant is slowing down for the season, a heavy haircut becomes less attractive. You would be removing growth when the plant has less time and light to replace it. Take a few sprigs if needed, but wait for the next active flush for a major harvest.
Signs Thyme Is Ready to Cut
Look at the stems rather than the calendar. A harvest-ready thyme plant has multiple leafy shoots, firm color, and enough height or spread that removing a few tips will not expose its center. The new growth should bend rather than snap, and the plant should not be wilting from drought, sitting in wet soil, or recovering from a recent move.
Common thyme is a low, mounded woody perennial. Its base naturally becomes brown and firm with age; that is the plant’s framework, not wasted material that must be removed. A healthy cut line usually sits in green, leafy growth above a pair of leaves or a visible node. If the only place you can cut is bare, gray-brown wood, postpone a hard harvest and improve the plant’s growing conditions first.
Green tips versus woody stems. Green stems are easy to recognize: they are pliable, carry small leaves close together, and often have a brighter color than the base. They are the best choice for fresh cooking and most drying bundles. On a woody stem, find a node—the point where leaves or a side shoot join the stem—and cut just above it rather than leaving a long dead stub.
The difference matters because old woody stems do not always produce new shoots after a severe cut. RHS guidance cautions that hard pruning into old wood may not reshoot reliably. Keeping the woody base while shortening leafy shoots gives the plant structure and retains places where new growth can emerge.
How to Harvest Thyme Step by Step
Start with the amount you actually expect to use. A small bowl or a loose basket is better than a tightly packed bag because bruising and trapped moisture shorten the life of fresh herbs. If you are harvesting for drying, have your drying area ready before you cut so the sprigs do not sit wet or compressed in the kitchen.
Use Clean, Sharp Shears and Cut Above Live Growth
Use sharp herb scissors or bypass pruners that make a clean cut rather than crushing the stem. Wipe soil and plant residue from the blades, then disinfect them if you have been working on a diseased plant or moving between different plants. Clean tools are especially important when you make many cuts because every cut is a small wound.
Choose a leafy shoot and follow it down until you reach the length you need. Make the cut just above a pair of leaves or a side shoot, leaving several inches of green growth below it. With a very green, flexible stem, you can cut lower; with a woody stem, stay above a node and avoid cutting into the bare base.
Cut with one deliberate motion. Tearing a stem or stripping leaves by pulling can leave ragged tissue and crush the aromatic foliage. Hold the sprig by the stem, not by the leaves, and put it in the basket immediately so it does not lie in sun or heat.
Spread Cuts Across the Plant to Protect Regrowth
Do not harvest every sprig from the most convenient side. Work around the plant, taking a few stems from the front, back, and sides so the remaining foliage is balanced and no one section is suddenly bare. This keeps the plant looking compact and gives several areas a chance to branch.
For a larger harvest, step back every few cuts. You should still see a green, leafy mound with the woody framework hidden beneath it. If you can see large patches of bare wood or the plant looks lopsided, stop and save the rest for a later session.
The practical guidance from Savvy Gardening makes the same useful distinction between pliable green stems and woodier stems: the former are forgiving, while the latter benefit from a cut above a node. That small adjustment is more helpful than trying to memorize one exact cutting height for every thyme plant.
How Much Thyme to Take at One Time
For routine cooking, take a few sprigs and leave the rest. For an established, vigorous plant, a large harvest should generally remove no more than one-third to one-half of the visible plant at once, and the remaining growth should include green leaves. NC State’s broader herb guidance allows heavier harvesting when a plant has enough foliage to maintain growth, but a home gardener gains little by pushing a small thyme plant to that limit.
The better rule is visual: after cutting, thyme should still be able to photosynthesize without relying only on old wood. If the plant is sparse, recently dry, newly planted, or damaged, the safe amount is much smaller. If it is a dense, mature mound in full sun and sharply drained soil, it can handle a more generous seasonal harvest.
Young, Stressed, and Recently Transplanted Plants
Give a new thyme plant time to establish before taking a drying harvest. A plant that has been grown from seed may need a full season to build enough roots and shoots, and one that was recently transplanted may pause even if it looks green. The RHS notes that seed-grown thyme can take about a year to become established enough for leaf harvesting.
Wait if the plant is wilted, yellowing from saturated soil, or recovering from heat, cold, root damage, or a move. Water a dry plant according to its normal care, correct drainage problems, and let it resume active growth. Cutting a stressed plant may remove the very leaves it needs to recover.
An established thyme that has become almost entirely woody is a different case. Do not solve it with one deep cut into old wood. Take soft tips where they exist, root healthy cuttings if you want replacements, and consider replacing the plant after several years rather than forcing unreliable regrowth from a bare framework.
Harvesting Thyme in Pots and Containers
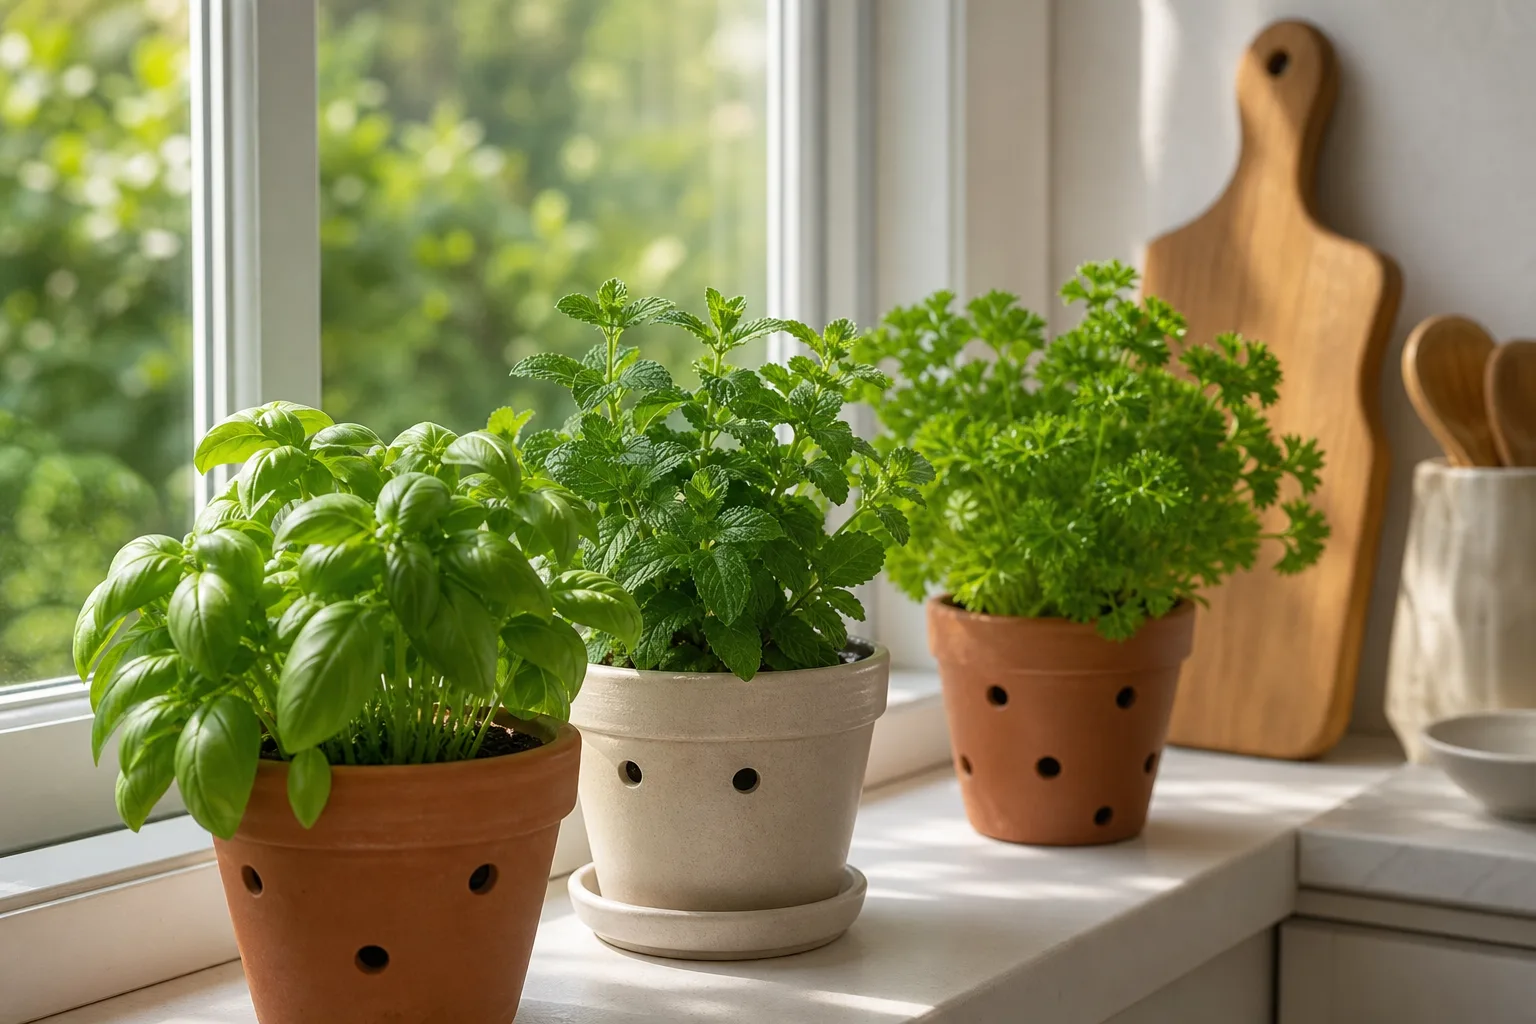
Container-grown thyme often grows quickly in a sunny window, balcony, or patio, but the pot also dries faster and gives the roots less room for error. Check the plant before cutting: if the potting mix is bone dry and the leaves are limp, harvest only a minimal amount or wait until it has recovered. If the container stays wet, improve drainage before taking a large harvest because waterlogged roots can weaken the plant even when the stems look green.
Use the same green-growth rule in a pot, but expect the plant to need more frequent light shaping. Turn the container as it grows so the sunny side does not become the only side you cut. A small potted thyme can supply kitchen sprigs, but it may not have enough leaf mass for a half-plant drying harvest until it has filled out.
If you bring thyme indoors for winter, keep it in the brightest available light and give it good air movement. Indoor plants may grow more slowly, so shorten the stems lightly instead of assuming the container can support the same harvest schedule as an outdoor plant in midsummer.
Late-Season Harvesting Before Winter
Late-season timing is where many otherwise careful gardeners overcut. A major harvest or hard trim can stimulate soft new shoots that have not had time to toughen before frost. NC State Extension advises stopping perennial-herb harvesting about a month before the local frost date; its broader publication also cautions against late pruning that encourages tender growth.
Use your local first-frost estimate as a planning marker, not a guarantee. In a warm climate, thyme may keep producing new growth later. In a cool or wet climate, stop earlier, especially if the plant is in a container exposed to freezing roots or in soil that stays damp through winter.
After the main harvest window, take only occasional sprigs and leave the plant’s shape intact. Do not pile wet mulch against the crown, and do not compensate for a late cut with heavy fertilizer. Thyme is adapted to lean, well-drained conditions; the best winter protection is a healthy plant with hardened growth and a dry root zone.
Harvesting Versus Pruning Thyme
Harvesting and pruning overlap, but their goals are different. Harvesting prioritizes usable, flavorful shoots and usually happens while the plant is actively producing soft growth. Pruning prioritizes shape, air flow, and longevity, and may happen after flowering or as part of seasonal cleanup.
That difference changes how much you should care about the cut material. Before flowering, keep the young leafy tips because they are useful in the kitchen. After flowering, you may trim spent stems to keep the plant compact, but still avoid cutting far into old, bare wood. The RHS recommends light trimming after flowering and warns that hard cuts into old wood may fail to reshoot.
Do not use “pruning” as a reason to remove the entire top of a small thyme plant. A plant that needs renewal may be better replaced or propagated from healthy cuttings than subjected to a drastic cut with no green tissue left below it.
How to Store Fresh Thyme
Use thyme immediately when you can; its fresh aroma is clearest right after cutting. If you need to hold it for several days, keep the leaves attached to the stems and avoid washing it until you are ready to cook. Washing is fine when soil or grit must be removed, but surface water is the enemy of a tightly packed refrigerated bundle.
Refrigerator and counter options. For refrigerator storage, wrap the unwashed sprigs loosely in a slightly damp paper towel and place them in a bag or container that is not packed airtight against wet foliage. The goal is gentle humidity without condensation. Epic Gardening’s thyme guidance uses this method for keeping sprigs fresh for up to about two weeks.
For a short holding period, stand the cut ends in a small glass with a little water, much as you would hold cut flowers. Keep the leaves above the water and change the water regularly. This can keep sprigs perky, but it is not a way to make harvested thyme keep growing; it is simply a temporary hydration method.
Before cooking, rinse only what you need and pat it dry. Strip leaves by running your fingers down the stem in the opposite direction of growth, or leave tender stems attached for a slow-cooked dish. Mature woody stems are tougher, so remove them when the texture would be unpleasant.
How to Dry or Freeze Thyme
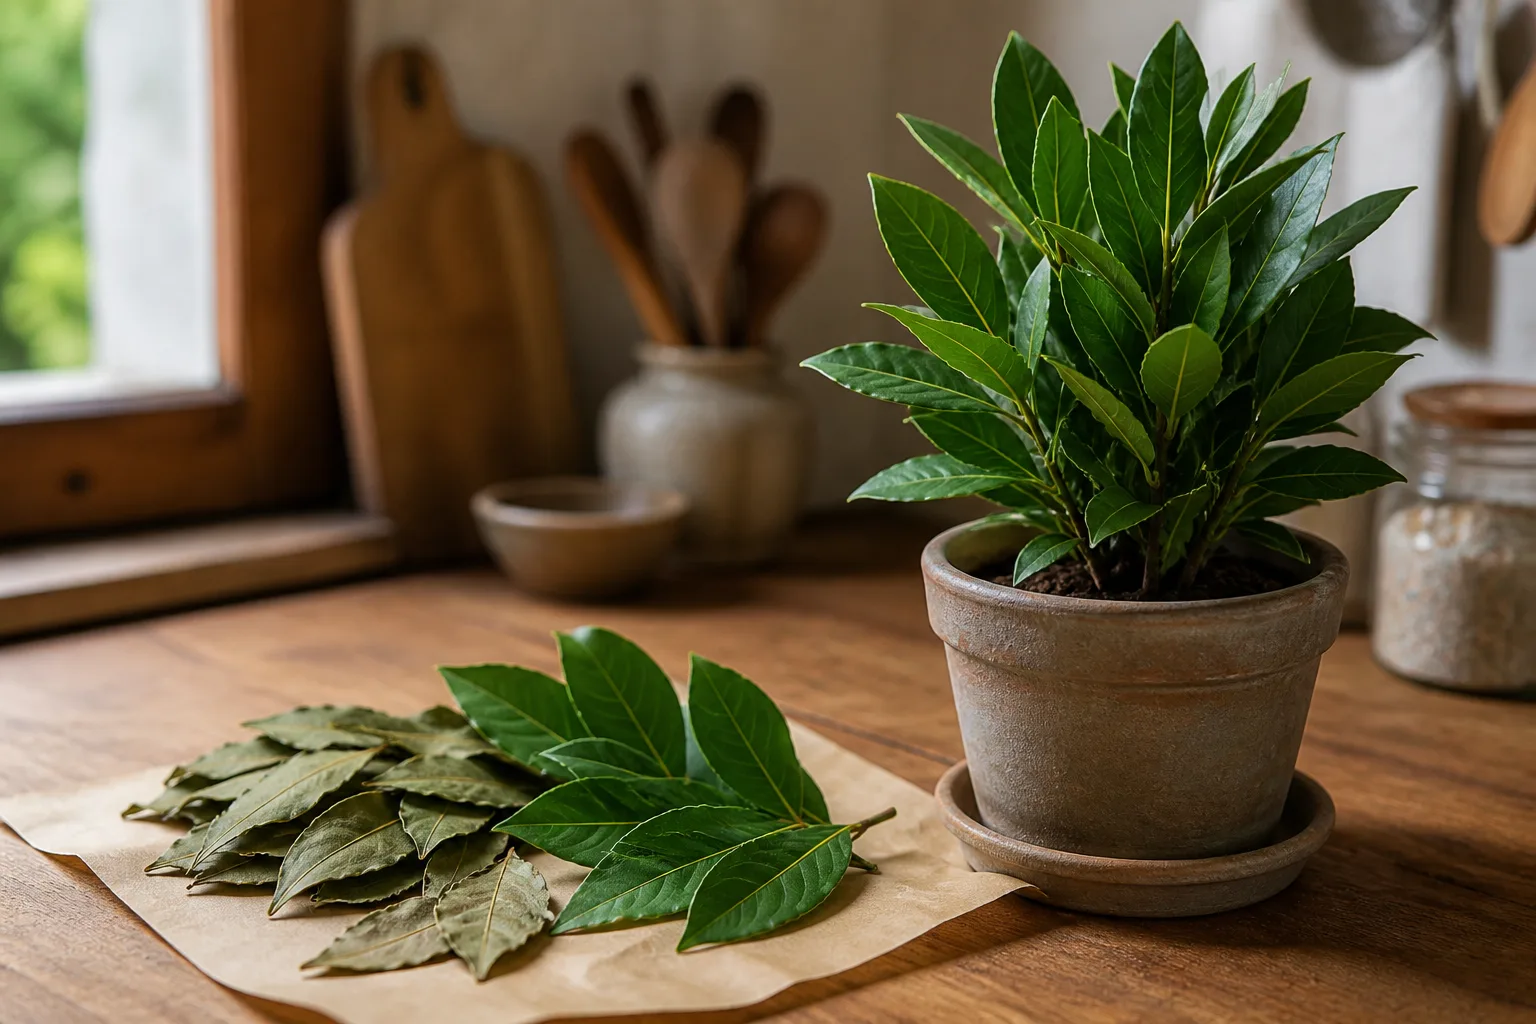
Choose the preservation method based on how you will use the herb. Dried thyme is compact and strong in soups, sauces, beans, and long-cooked dishes. Frozen thyme keeps a fresher aroma but softens when thawed, so it is best added directly to cooking rather than used as a garnish.
Air-Drying Thyme
Air-drying works well when the sprigs are clean and the room is warm, dry, dark, and well ventilated. Do not rinse clean herbs just because you are about to dry them. If they are dusty, rinse quickly, shake off excess water, and spread them out until the surface is completely dry before making bundles.
Tie only small, loose bundles so air can reach the center. Hang them out of direct sun; strong light and heat can dull color and reduce quality. NC State Extension recommends small bundles in a warm, dry, airy place and says herbs are ready when they are brittle and crumble easily.
When the leaves are fully dry, strip them from the stems or keep the sprigs whole. Store the dried leaves in a clean, dry, tightly closed container in a cool, dark cupboard. Leave the leaves whole until you need them because crushing releases aroma faster. If a jar develops condensation, the thyme was not dry enough; spread it out and dry it again rather than sealing in moisture that can encourage mold.
Oven, Dehydrator, and Freezer Options
An oven or food dehydrator is faster and easier to monitor than hanging bundles. Use the lowest practical setting, keep the sprigs or leaves in a single layer, and check often. The exact time varies with the thickness of the stems, the amount of moisture in the leaves, and the appliance; brittleness is a better finish test than a clock.
If you use a dehydrator, leave small leaves on the stems so they do not fall through the trays. Once cool and crisp, strip the leaves and store them airtight. If you use an oven, avoid high heat that can toast the leaves and drive off the volatile oils you are trying to preserve.
For freezing, place whole dry sprigs in a freezer bag, or strip the leaves and freeze them in a small amount of water in an ice cube tray. Frozen thyme is excellent for soups and sauces, but the thawed leaves will not have the firm texture of fresh thyme. NC State Extension’s preservation publication also recommends using frozen herbs in cooked dishes rather than expecting them to work as a fresh garnish.
How to Help Thyme Grow Back After Cutting
Regrowth begins with what you leave behind. Put the plant back in the conditions that made it grow: strong light, free-draining soil, restrained watering, and enough air movement that the foliage dries quickly. Common thyme prefers dry, sandy or rocky soil and full sun; NC State Extension lists poor drainage and wet soil as a poor fit for this Mediterranean herb.
Do not feed heavily to force a rebound. Excess fertility can push soft, weak growth that does not suit thyme’s naturally compact habit. Instead, watch for new shoots at nodes and tips over the next few weeks. If the plant stays bare, wilted, or brown, inspect the roots and drainage rather than cutting again.
Light harvests can help a healthy plant stay bushy, but harvesting is not a cure for every sparse plant. A woody, declining plant may be at the end of its productive life, or it may have been grown in shade, wet soil, or a container that no longer drains well. Propagate a healthy cutting or replace the plant when the framework no longer supports reliable green growth.
Common Thyme Harvesting Mistakes
- Cutting into bare wood: Leave the woody base and choose leafy stems or nodes. Old wood may not reshoot after a hard cut.
- Removing half of a tiny plant: The half-plant rule is for a healthy, established mound, not a recently purchased transplant or a sparse pot.
- Harvesting wet foliage for drying: Moisture trapped in bundles or bags can cause discoloration and mold. Wait for dew to dry and surface water to evaporate.
- Taking every sprig from one side: Spread cuts around the plant so it stays balanced and can branch evenly.
- Using one schedule for every climate: Stop heavy harvesting early enough before frost for new growth to harden; the right date depends on where you garden.
- Treating flowers as a failure: Blooming changes the flavor preference, but thyme flowers are useful and edible. Leave some for pollinators or use them as a garnish.
- Overwatering after the harvest: Thyme is drought tolerant once established, and saturated soil can do more harm than a few missing sprigs. Water the root zone only when conditions require it.
- Crushing leaves before storage: Keep fresh leaves on their stems and dried leaves whole until use so their aroma lasts longer.
Conclusion
Harvest thyme by reading the plant, not by following a rigid calendar. Take a few leafy sprigs whenever you need them, plan larger cuts for active growth before or around early flowering, make clean cuts above live growth, and leave a green, leafy mound over the woody base.
Young, stressed, recently transplanted, and late-season plants need a lighter touch. Established thyme can handle a larger harvest, but no more than about half at once is a sensible upper boundary for most home gardens, and late cuts should leave enough time before frost for new growth to harden.
Preserve extra sprigs according to the meal ahead: refrigerate a small amount, air-dry or dehydrate a surplus for a shelf-stable pantry herb, and freeze thyme for soups and sauces. With good drainage, strong light, clean tools, and cuts spread across the plant, one thyme mound can keep supplying the kitchen without sacrificing its next flush of growth.



