How Often Should You Replace Mulch? A Practical Guide
Find out how often to replace mulch based on material, depth, and condition, plus safe ways to refresh beds without smothering plants or trunks.
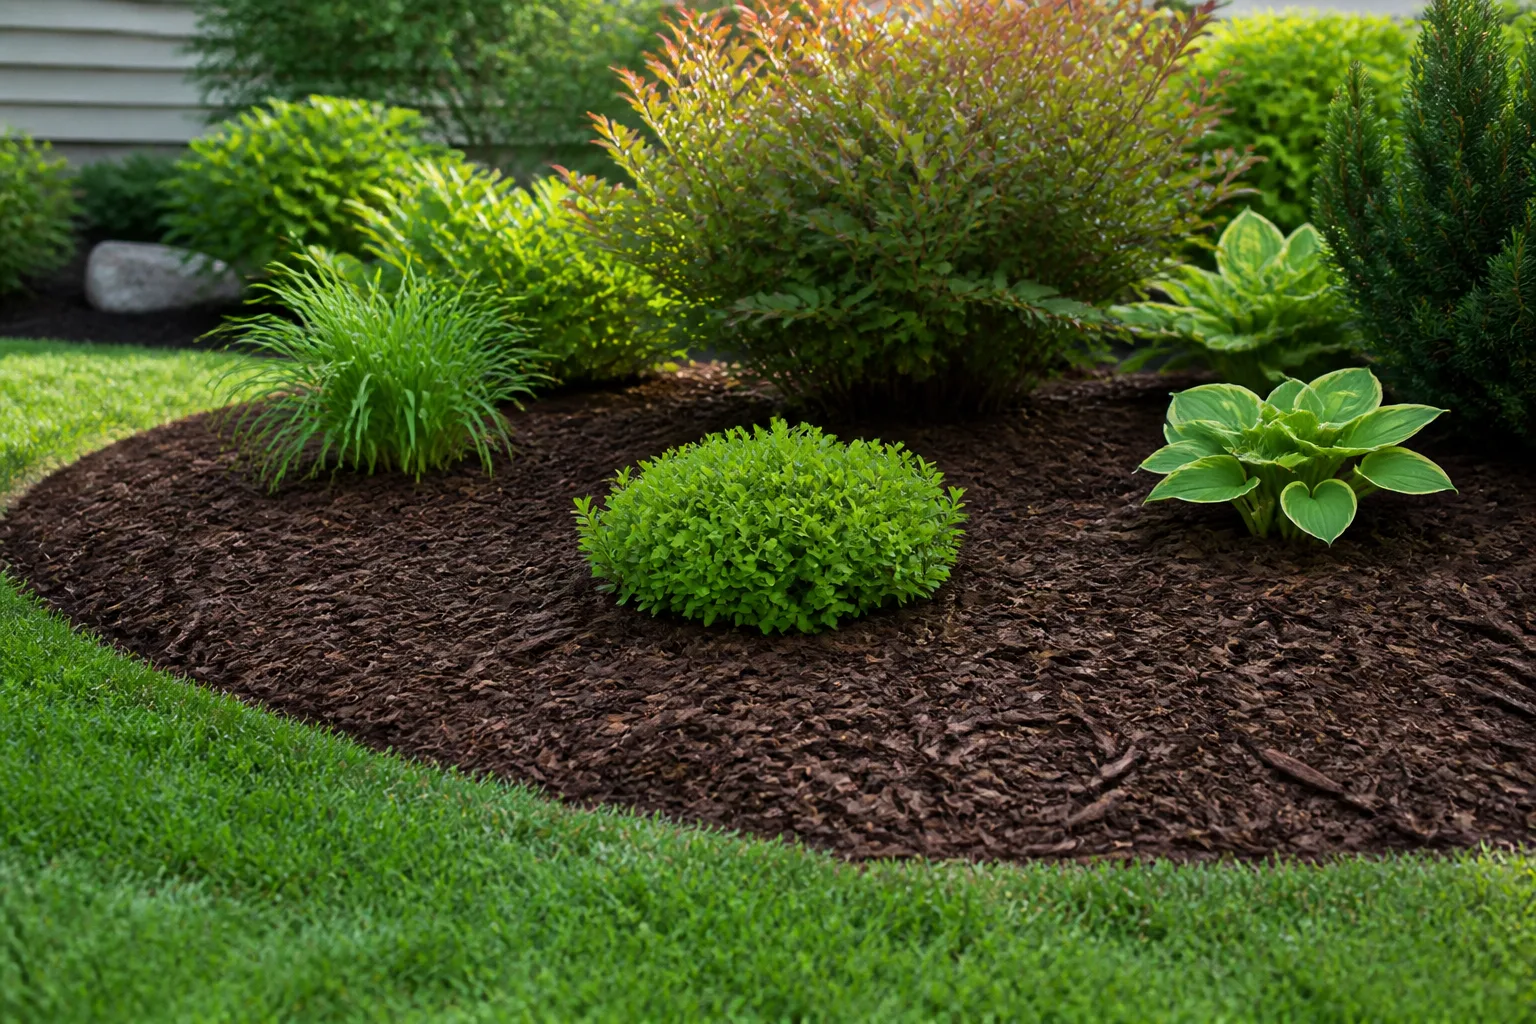
Most garden mulch does not need to be completely replaced on a fixed annual schedule. Inspect it at least once a year, then decide whether the bed needs a quick rake, a small top-up, redistribution, or a full removal based on its depth, condition, material, and the plants underneath it.
For many beds, the right answer is to replenish organic mulch when it has settled below about 2 inches or stopped suppressing weeds—not to strip away every old chip. A clean, decomposing layer is doing useful work as it becomes part of the soil. Full removal makes sense when mulch is matted, sour-smelling, contaminated, badly misplaced, repeatedly waterlogged, or already too deep.
That distinction can save money, time, and soil life. It also prevents the common cycle of piling new mulch on top of old mulch until tree trunks disappear and water struggles to reach the root zone.
The short answer: inspect yearly, replace by condition
Treat “once a year” as an inspection habit, not a shopping appointment. Walk each bed in spring or early summer, when plants are easy to see and the soil is workable, and check it again after the season that brings your heaviest rain, wind, heat, or snow. A bed beneath a roof edge may lose mulch to runoff, while a sheltered perennial border may keep a useful layer for several seasons.
Organic materials such as wood chips, bark, leaves, compost, and pine straw gradually decompose. Their short-term loss is also one of their benefits: decomposers and soil organisms incorporate some of that material into the surface soil. The replacement signal is not simply that the color has faded. It is that the layer is too thin, too compacted, too displaced, or too unreliable to do its job.
Non-biodegradable materials such as gravel and decorative stone usually do not need annual replacement. They may need weeding, raking, edging, or occasional replenishment after erosion, but the material itself can remain for years. The RHS groups these materials separately because they suppress weeds and slow evaporation without adding the soil-building organic matter that biodegradable mulches provide. (RHS guidance on mulches and mulching explains the difference between biodegradable and non-biodegradable layers.)
Top up or remove? Make the decision before you buy
Before loading a wheelbarrow, lift the existing mulch in a few places with a hand trowel. Look at the soil surface, not just the color of the top layer. You are trying to answer two questions: is the material still clean and functional, and will adding more push the total depth beyond what the plants can handle?
When a rake and a thin top-up are enough
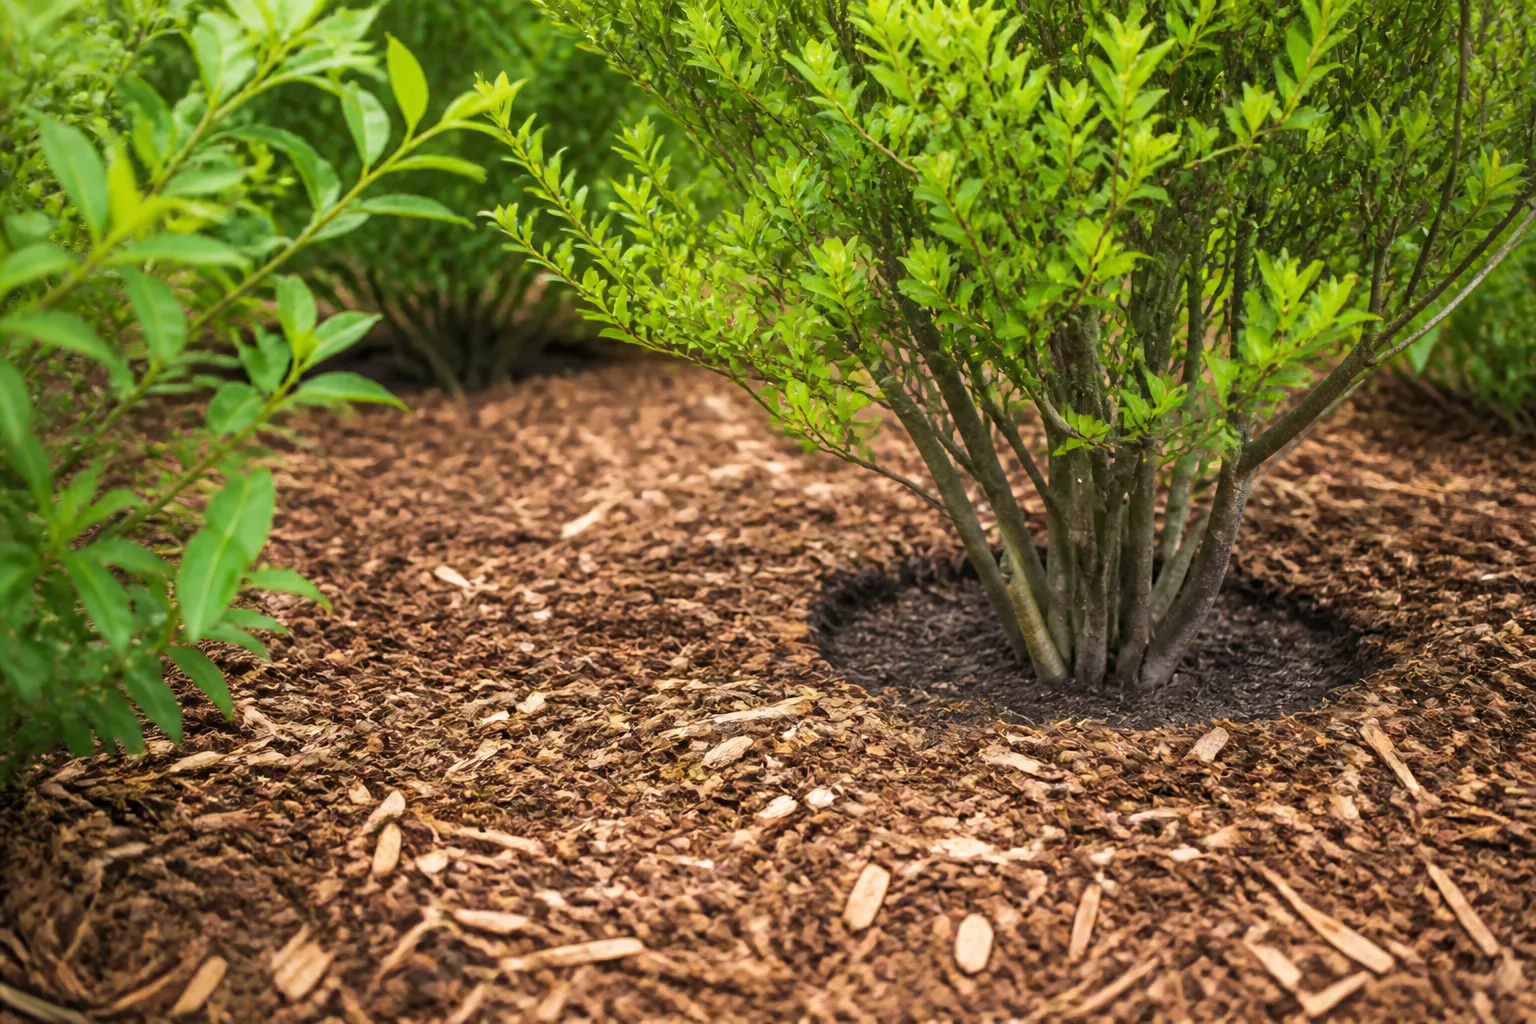
Leave the old layer in place when it is loose, earthy-smelling, and reasonably even. If it has settled to 1 inch in some areas, pull material from thick spots into thin spots first. Then add only enough new mulch to reach a useful, even depth. This is topping up, not replacing, and it is usually the least disruptive option.
Raking can also restore a tired-looking bed without any new material. Break up a crust on the surface, remove leaves that have formed a wet mat, and redistribute chips that have gathered against an edge. Penn State Extension specifically recommends checking depth before replenishing and notes that raking can reinvigorate old mulch; some old material may need to be removed first, but not every bed needs a reset. (Penn State Extension’s guidance on mulching landscape trees makes this top-up-versus-removal distinction useful for woody plantings.)
If weeds are scattered through otherwise healthy mulch, pull or dig the perennial weeds first and refresh the layer afterward. A few annual seedlings do not automatically mean the entire bed is ruined. New weed seeds can land on the mulch surface, so replacing it cannot create a permanent weed-free bed by itself.
When full removal is the better choice
Remove old mulch when it has formed a dense, water-shedding mat that stays wet underneath, smells sour or fermented, contains trash or unknown treated material, or is harboring a serious pest or disease problem. Also remove enough material when the bed has become so deep that the new top layer would sit well above the target depth.
Full removal is appropriate when you are changing the bed’s design, repairing drainage, installing or removing landscape fabric, correcting a buried root flare, or switching from one material to another for a specific reason. It is also sensible after a flood or runoff event that deposited sediment, road salt, petroleum residue, or other unknown contaminants.
Do not mistake decomposition for contamination. A white web of fungal mycelium in an organic mulch can be harmless saprotrophic growth, and the RHS says it generally does not require digging out. The better test is the whole layer: does water enter, does the material smell normal, is the depth reasonable, and are the plants growing as expected? (The RHS organic-matter mulching guide covers normal decomposition, preparation, and application.)
How mulch material changes the schedule
The same weather does not age every mulch at the same speed. Particle size, moisture, nitrogen content, slope, foot traffic, irrigation, and exposure to sun all change how quickly a layer settles or disappears. Use the ranges below as planning clues, then let the bed inspection make the final call.
Organic mulch breaks down into soil-building matter
Fine shredded leaves, grass clippings, and thin compost layers disappear fastest, especially when they stay wet. They may need attention more than once a year in an exposed bed, although shredded leaves can last longer when they are dry and coarse. Use grass clippings only in thin, dried layers; a thick fresh mat can exclude air and heat up.
Shredded bark and small wood chips often need a top-up about every one to two years, while chunky arborist chips and bark nuggets can remain effective for two or three years or longer in a calm, sheltered bed. These are not promises. A steep slope, a windy corner, a humid climate, frequent raking, or a downspout discharging across the bed can shorten the interval dramatically.
Compost, leaf mold, and well-rotted manure are useful when the goal includes improving soil, but they settle faster than chunky chips. Apply them as a measured layer rather than assuming that “more organic matter” is always better. BBC Gardeners’ World recommends mature or well-rotted materials and notes that fresh manure can scorch plants or temporarily tie up nutrients as it breaks down. (Its guide to five organic mulches compares leaf mold, manure, wood chips, compost, and mushroom compost.)
Freshly chipped wood should stay on the surface, not be mixed into the root zone. Microorganisms decomposing carbon-rich material can temporarily use soil nitrogen, a concern that is greater for shallow-rooted annuals and seedlings than for established trees and shrubs. The RHS and Tennessee’s mulch guidance both flag this carbon-to-nitrogen issue; if chips are very fresh, coarse, green, or warm from the chipper, let them age or use a finished product, and never till a thick layer of them into soil around living plants. (Tennessee’s mulch guidance explains the initial nitrogen imbalance.)
Rock, rubber, and sheet mulch wear differently
Gravel, river rock, slate, and other mineral mulches do not decompose, so “replacement” usually means removing accumulated weeds, sweeping stones back into place, or adding a small amount to areas lost downhill. They can be a good fit for a dry, sharply drained planting, but they do not add organic matter. Soil and leaf litter eventually collect between stones, giving weeds a new growing medium, so a rock bed is not maintenance-free.
Rubber mulch also persists, but persistence is not the same as a soil benefit. Colorado State University Extension lists odor, drainage, heat, fire risk in some settings, and possible material leaching among the trade-offs to consider. Use it only after thinking about the site, not because a long replacement interval makes it automatically better. (Colorado State University Extension’s tree-and-shrub mulching guide compares organic, rock, and rubber options.)
Permeable landscape fabric and sheet materials can reduce weed emergence in a new bed, but they are not a substitute for checking water movement or plant expansion. If a sheet becomes exposed, torn, clogged, or difficult to plant through, remove or repair it rather than burying the problem under more mulch. The RHS recommends permeable sheets so rain and irrigation can reach roots without creating runoff elsewhere.
Use depth as your first inspection
Depth is more useful than the date on the calendar. Check at least three spots in every bed: near the edge, in the middle, and near a plant. Push a ruler or your finger through the mulch until it meets soil, taking care not to jab shallow roots. Record the thinnest and thickest points before you decide how much to buy.
For most ornamental beds, aim for about 2 to 3 inches of loose mulch. Penn State Extension gives established landscape trees a cautious 2- to 4-inch range, with less for finely textured mulch or poorly drained soil. Fine particles pack more tightly than chunky chips, so a nominal 3-inch layer of double-shredded material can restrict air and water more than the same measurement of coarse chips. (Penn State’s tree-mulching recommendations explain why texture and drainage change the safe depth.)
More is not a better version of mulch. A thick layer can shed light rain, keep the soil waterlogged, starve roots of oxygen, encourage rodents, and create a warm, wet pocket against stems. If one section measures 5 inches because material has blown into it, move that mulch to thin areas instead of buying more. If the soil is poorly drained, use a shallower layer and solve the drainage issue rather than trying to fix it with extra mulch.
Signs that it’s time to refresh the bed
No single sign is decisive. Use several signals together, and remember that a faded color is mainly a cosmetic cue. Healthy old mulch can be gray, brown, or partially broken down and still conserve moisture, reduce erosion, and protect the soil surface.
Thin, washed-away, or weed-filled mulch
Top up when most of the bed has settled below about 2 inches, bare soil is showing in broad patches, or wind and rain have moved material into the lawn or against a wall. On a slope, the better solution may be smaller, heavier particles, an edge that slows runoff, or a change in how water enters the bed. Replacing the same lightweight mulch every few months will not fix a drainage or erosion pattern.
Weed breakthrough is another useful warning, but diagnose it before you dump a new layer. If weeds are rooted in the soil, remove them before refreshing. If roots are concentrated in the mulch itself, the material may be too thin or decomposed enough to support seedlings. Large perennial weeds with crowns or rhizomes need removal, not burial; spreading fresh mulch over them can make the next weeding job harder.
Matted, sour-smelling, or suspect mulch
Break up a shallow crust with a rake if water still passes through and the material smells earthy. Remove the layer when it is slimy, persistently sour-smelling, black and airless underneath, or so tightly woven that rain runs off instead of soaking in. This condition is more likely where fine organic material was spread too thickly or stayed saturated.
Inspect the source if a new load contains plastic, construction debris, painted or pressure-treated wood, excessive trash, or an unfamiliar chemical odor. Municipal arborist chips can be economical and useful, but their composition varies. Family Handyman notes that free chips may contain leaves, pine needles, or debris; inspect any free load and ask what was chipped before spreading it around edible crops or prized plants. (Family Handyman’s mulch replacement guidance also supports replenishing organic mulch rather than automatically removing it.)
Pick timing that fits the bed and the weather
The best day is when the soil is workable, the plants can be seen, and the material will not be immediately washed or blown away. Do not spread mulch over frozen, squelchy, or bone-dry soil. If the soil is dry, water deeply first and let the surface drain; mulch should conserve moisture already in the root zone, not hide a lack of it.
Spring and early summer
Spring is often the most convenient window for a general refresh because winter damage, displaced mulch, and emerging weeds are visible. Wait until the soil has thawed and is no longer saturated. Clear perennial weeds, prune away dead plant material if appropriate, and spread mulch after the bed is watered.
In cool climates, very early heavy mulching can slow soil warming. In warm climates, the same layer can protect roots from rapid heat and evaporation. Use the actual soil and weather conditions rather than a universal date. RHS recommends late winter to early spring for many organic-matter applications, while BBC Gardeners’ World highlights spring and autumn as the broad seasonal windows for mulching. (BBC Gardeners’ World’s mulch overview gives the practical spring-and-autumn timing rule.)
New plantings can be mulched whenever moisture retention and weed suppression are needed, but keep the material shallow enough that the root ball is not isolated from rainfall. In particular, avoid creating a deep bowl of mulch directly over a newly planted root ball; extend a broad, modest layer across the surrounding soil instead.
Fall, winter, and unsettled weather
Fall is useful after annual beds are cleaned up and before winter rain or cold arrives, especially where mulch helps reduce erosion. In cold regions, delay a thick protective layer around some plants until after the ground has begun to freeze if early shelter would attract rodents. In fire-prone areas, do not place loose combustible organic mulch against structures; follow local fire-safety guidance and choose defensible-space materials where required.
Avoid using fall as an excuse to cover every plant base. Mediterranean herbs, succulents, crowns that need air circulation, and plants already sitting in wet soil may be harmed by a damp collar of mulch. The RHS specifically cautions that some ground-covering Mediterranean plants are best left unmulched because excess moisture around stems and foliage can create problems.
If a major storm has just passed, wait until water levels recede and the soil can carry foot traffic without compacting. A calm, dry day lets you see whether the mulch truly needs replacement or only needs to be pulled back uphill and redistributed.
Refresh mulch in a sequence that protects the soil
Refreshing a bed is simple when you treat it as a small soil-management job rather than a color change. Work from the back of the bed toward the path, and keep a small pile on a tarp if you need to inspect or sort material.
Prep and inspect before spreading
Start by measuring depth and finding the cause of any bare spots. Redirect a downspout, repair a failing edge, or reduce foot traffic before buying more mulch. Pull visible perennial weeds by the crown or dig them out, but avoid aggressive hoeing around shallow-rooted plants. Remove trash, large sticks, diseased plant debris, and any material you have decided is unsuitable.
If the old mulch is clean but crusted, rake it loose. If it is piled against stems or trunks, pull it back first and expose the soil or root flare. If the surface is compacted below the mulch, do not automatically rototill a planted bed; check drainage and loosen only where you can avoid damaging roots.
Estimate the volume with this formula: bed area in square feet × desired depth in feet = cubic feet of mulch. Divide by 27 for cubic yards. For a 100-square-foot bed adding 2 inches, multiply 100 by 0.167 to get about 16.7 cubic feet, or roughly 0.62 cubic yards. Buy a little extra for uneven edges, but do not round up so aggressively that you are tempted to pile the leftovers too deep.
Spread evenly and finish the edges
Place small piles across the bed, then rake them into a continuous layer. Measure again in a few spots; mulch compresses as you move it. Keep the layer open around plant crowns and low foliage so air can circulate and new stems can emerge.
Water the soil before or immediately after mulching when it is dry, and check a day later that water is entering rather than beading and running away. Do not mix fresh wood chips into the soil to make the bed look tidy. Let surface organisms process them gradually, and use mature compost or another finished amendment when the soil itself needs improvement.
Finish by restoring the bed edge, sweeping mulch off paving, and leaving pathways clear. A clean edge is not just decorative: it reveals future erosion and makes it easier to see whether the next top-up is truly necessary.
Protect tree trunks, shrub stems, and special plantings
Mulch should form a broad, shallow donut—not a volcano. Keep it off the trunk of a tree and away from the woody base of a shrub so the root flare or stem remains visible. A bare gap of at least several inches is a sensible starting point, and larger mature trunks need more room; the exact ring should leave the trunk dry and never bury the flare.
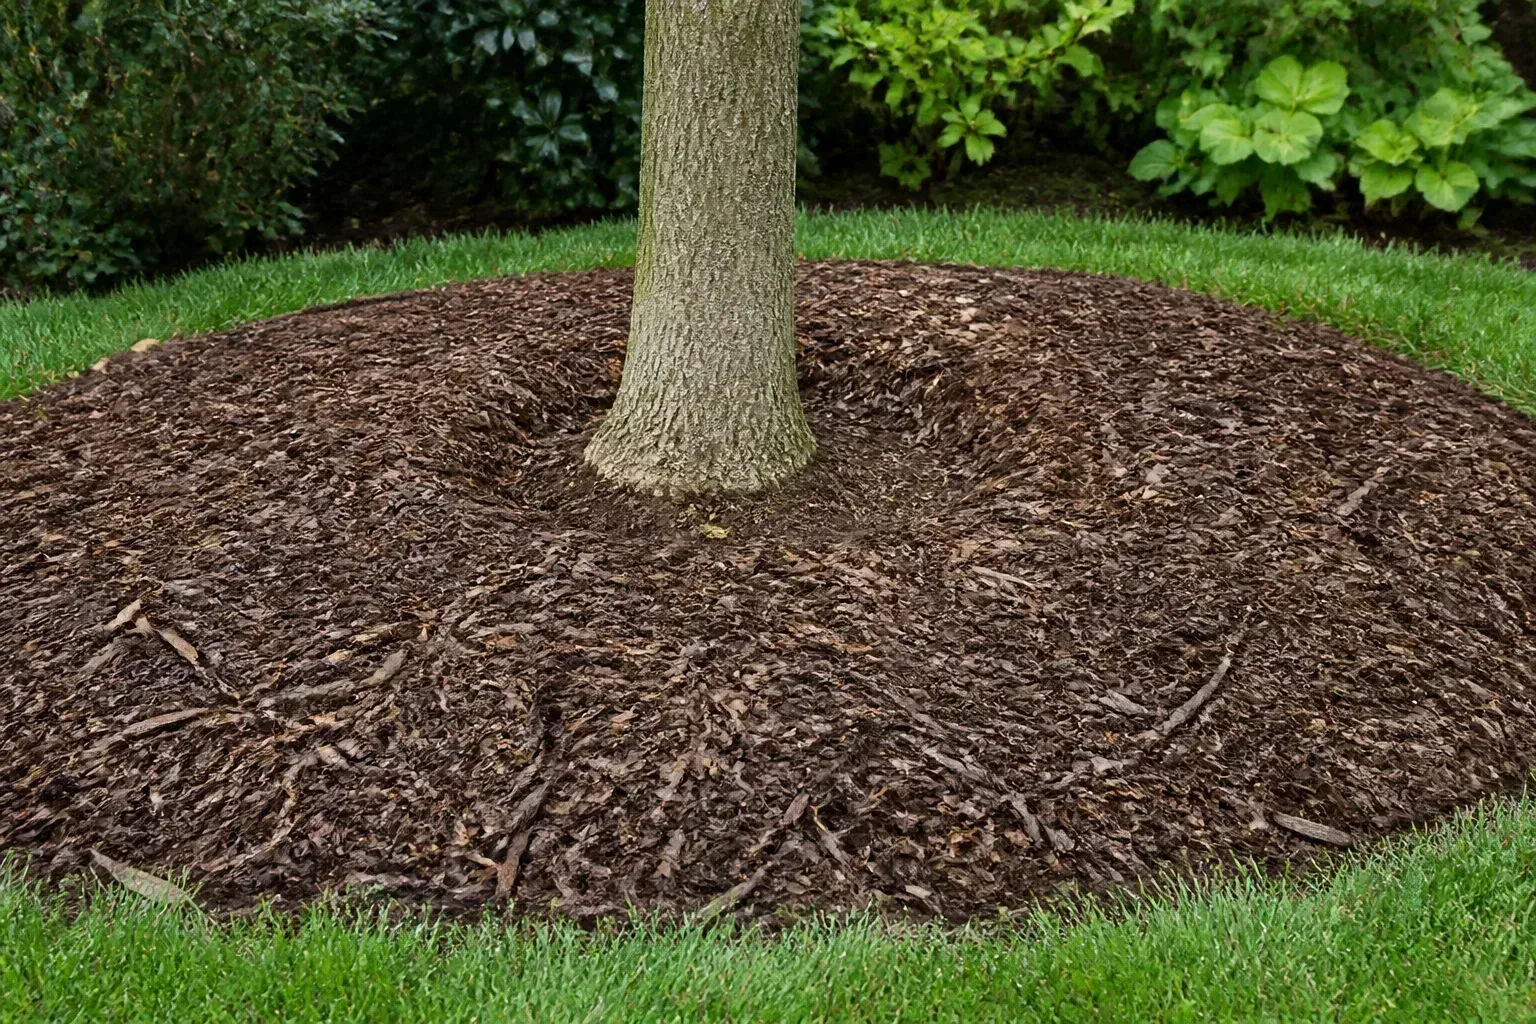
Penn State Extension warns that deep or trunk-piled mulch can reduce oxygen, keep inner bark constantly wet, encourage disease and insects, and provide cover for rodents. If you inherit a mulch volcano, pull it back gently with your hands or a hand tool; do not scrape aggressively into the bark or dig into roots. If the root flare is buried under soil rather than mulch, stop and consult a certified arborist before excavating. (Penn State’s overmulching guidance shows how to redistribute excess mulch rather than automatically haul it away.)
Shrubs and perennials need the same principle at a smaller scale. Do not pack mulch into a hydrangea crown, smother groundcover crowns, or cover the growing points of bulbs. In an edible bed, keep coarse woody material away from tender stems and use clean, mature products suited to food-growing areas.
Material choice should follow the job. Organic chips and bark are usually the best general-purpose choice around established trees and shrubs because they protect the surface and eventually add organic matter. Leaf mold and compost are useful where soil improvement is the priority. Straw can protect certain crops such as strawberries, while gravel can suit a dry, mineral-style bed. No material is universally best; the right layer is the one that fits the plant, soil drainage, slope, climate, and maintenance you can realistically provide.
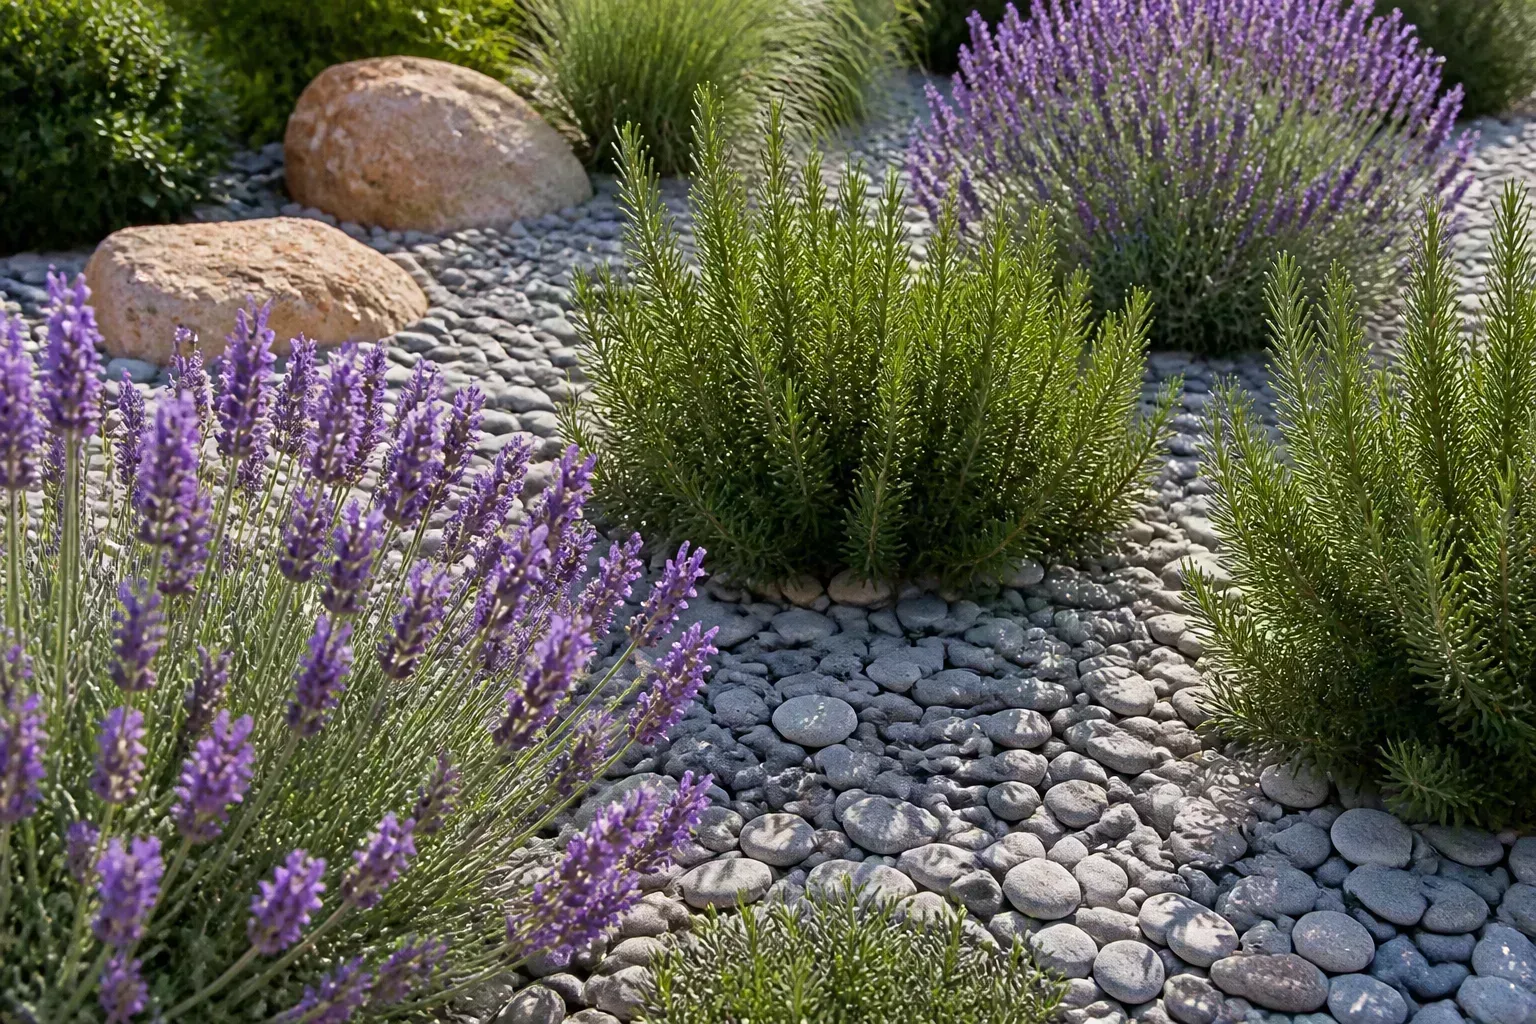
If you use rock, inspect the soil beneath the stones every so often. Remove weeds while they are small, rake out leaf litter, and add organic matter elsewhere if the bed’s soil is declining. If you use organic mulch, plan for gradual replenishment rather than treating decomposition as failure.
Conclusion: buy less, inspect better, and keep the layer working
The most useful answer to “how often should you replace mulch?” is: inspect it yearly, but replace it only when the layer is no longer doing its job or when the material is unsafe for that bed. A loose, clean 2- to 3-inch layer in an ornamental bed may need only a rake or a small top-up. A fine, fast-decomposing material may need attention sooner, while rock may need years of weeding and redistribution before it needs replacing.
Before you buy, check depth, water movement, weeds, odor, matting, migration, and the space around every trunk and stem. Top up thin areas, remove genuine problem material, and fix the cause of runoff or erosion so the next layer lasts. Good mulching is not a yearly color ritual; it is a shallow, breathable cover that protects soil while leaving plants room to breathe and grow.