How to Grow Cherry Trees From Seed at Home
Learn how to grow cherry trees from seed at home, including pit preparation, cold stratification, indoor care, transplanting, pollination, and fruiting time.
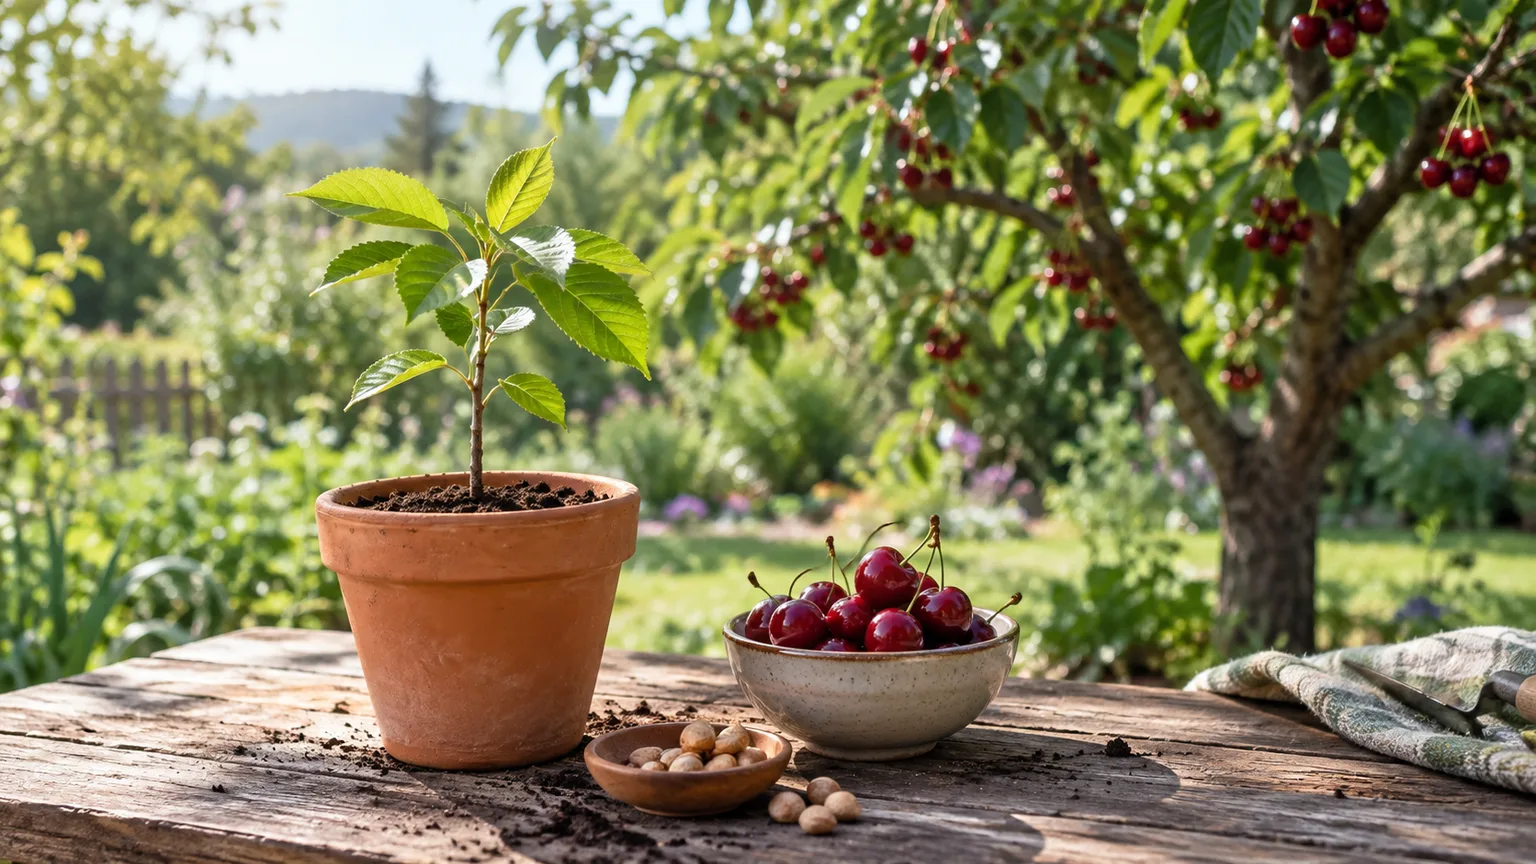
Yes, you can grow a cherry tree from a pit at home, but the project has two very different outcomes. You may raise a satisfying seedling to plant in the garden, or you may eventually get a full-size tree with fruit that is different from the cherry you ate. If your goal is a guaranteed variety and an early harvest, buy a grafted tree. If your goal is to experiment, preserve a favorite local cherry, or watch a tree develop from a seed, growing from a pit is rewarding.
The practical recipe is straightforward: save several healthy pits from ripe fruit, clean them thoroughly, give them a long period of moist cold, then plant them in a loose mix and provide strong light. After the seedlings have a good root system, harden them off and plant them outdoors after the danger of hard frost has passed. The parts that require patience are seed dormancy, uneven germination, an unpredictable adult tree, and a juvenile period that can last many years.
Decide What You Want From a Seed-Grown Cherry
Start by choosing the outcome before you choose the pit. A seed-grown cherry is an experiment in genetics as well as a propagation project. It may become a handsome shade or wildlife tree even if its fruit is sparse, late, small, soft, tart, or unlike the parent fruit.
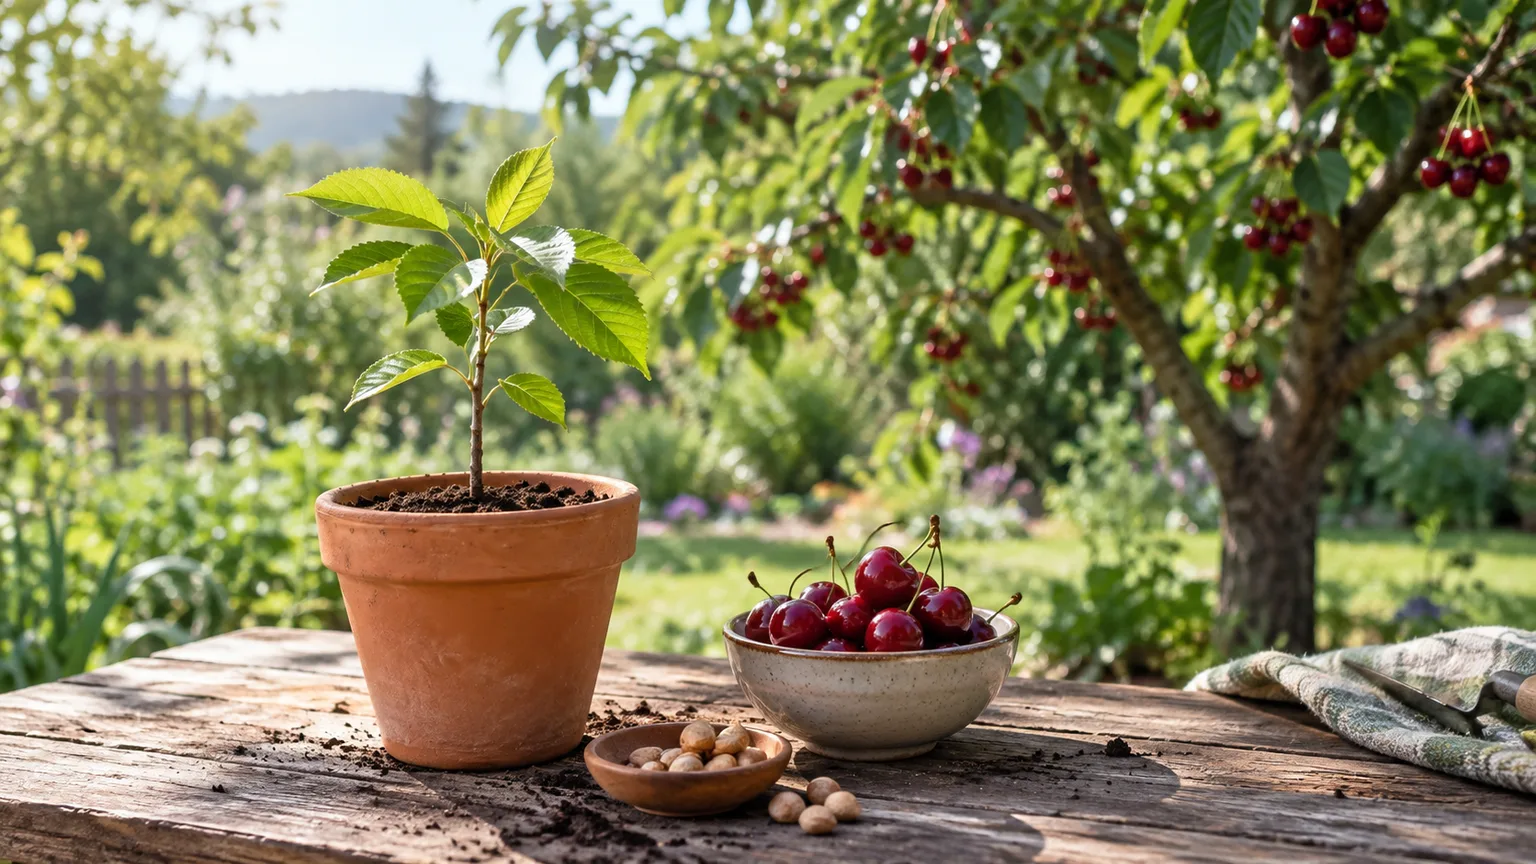
For a child’s project or a first gardening experiment, that uncertainty is part of the appeal. For a small garden where every tree must earn its space, it is a serious consideration. Commercial and nursery cherries are commonly grafted because the rootstock helps control size and the scion preserves known fruiting qualities. A seedling does not come with those guarantees; it can also grow much larger than the tree that supplied the pit.
Why Seedlings Are Unpredictable
The seed inside a cherry is the result of sexual reproduction. It carries a new genetic combination, so the seedling can differ from its parent in vigor, mature height, bloom time, disease response, cold tolerance, and fruit quality. Even a pit from an excellent cherry does not make a clone of that tree. A useful discussion of fruit propagation from Oklahoma State University Extension explains why seed is often used for rootstocks or breeding, while budding and grafting are used when a grower needs predictable quality.
This also means that the label “sweet” or “sour” is helpful but not absolute. A seedling from a sour cherry may be a sensible starting point for a cold climate, yet its fruit and growth habit can still vary. Save several pits and grow more than one seedling if you have room. Cull weak plants later rather than relying on a single pit to perform perfectly.
Sweet or Sour: Which Is the Better Starting Point?
Sweet cherry is commonly associated with Prunus avium. These trees can become large, often need a compatible sweet-cherry pollinizer, and are less forgiving of cold, wet sites. Sour or tart cherry is commonly associated with Prunus cerasus. It is generally more cold-hardy and self-pollinating, which makes it a friendlier choice for a backyard experiment. NC State Extension’s sweet-cherry profile and sour-cherry profile give useful comparisons of habit, light, drainage, and pollination.
If you want the best odds of a manageable home project, use pits from a known edible sour cherry when one grows well in your area. That still does not guarantee that the seedling will reproduce the parent. A sweet cherry pit is worth trying when you have space and a suitable climate, especially if you are willing to plant multiple seedlings or later graft a preferred variety onto one.
Do not assume every pink-flowering cherry produces edible fruit. Many ornamental cherries are grown for flowers rather than fruit, and their pits are a poor choice for a food-tree project. If you cannot identify the source tree, treat the resulting plant as an ornamental experiment until it proves otherwise.
Check Your Climate Before You Save a Pit
Cherry trees need more than a sunny window. They need a suitable outdoor site, a winter rest period, and weather that lets flowers and fruit develop. A hardiness zone is only a screening tool because slope, wind, spring frost, summer heat, soil drainage, and the exact cherry type can change the result.
As a broad guide, tart cherries are often grown in colder regions than sweet cherries. Penn State Extension describes tart cherries as generally hardy through zones 4–8 and sweet cherries through zones 5–9, while the NC State plant profiles emphasize full sun, drainage, and the greater cold sensitivity of sweet cherry. Use your local extension service or a nearby reputable nursery to confirm what actually fruits in your area.
Sun, Soil, Space, and Pollination
Choose a permanent site before the seedling goes into the ground. Aim for at least six hours of direct sun, with eight hours even better, and soil that drains freely after rain. Avoid a low pocket where cold air settles, a wet area near a downspout, or compacted lawn that stays saturated around the roots. A warm, sheltered position is especially valuable for sweet cherry.
Plan for a large tree unless you have a strong reason to expect otherwise. RHS guidance on growing cherries notes that ungrafted trees can become large, while grafted trees use rootstocks to control size. A seedling may eventually need more room than a patio or narrow border can provide, and moving it after the trunk thickens is difficult.
Pollination is a future planning issue rather than a reason to abandon the project. Tart cherries are usually self-fruitful. Many sweet cherries need a compatible flowering partner, although some modern sweet cultivars are self-fertile. A seedling’s eventual pollination behavior is not always obvious from the fruit that supplied its pit, so leave room for a second compatible tree or plan to graft a known cultivar later.
Gather and Prepare Fresh Cherry Pits
Use ripe, sound cherries from a healthy tree. Fruit that was fully colored and flavorful usually contains a more developed pit than fruit picked very early. Local fruit is useful because it has already grown in a climate closer to yours, though it still does not guarantee that the seedling will match the parent or thrive in your garden.
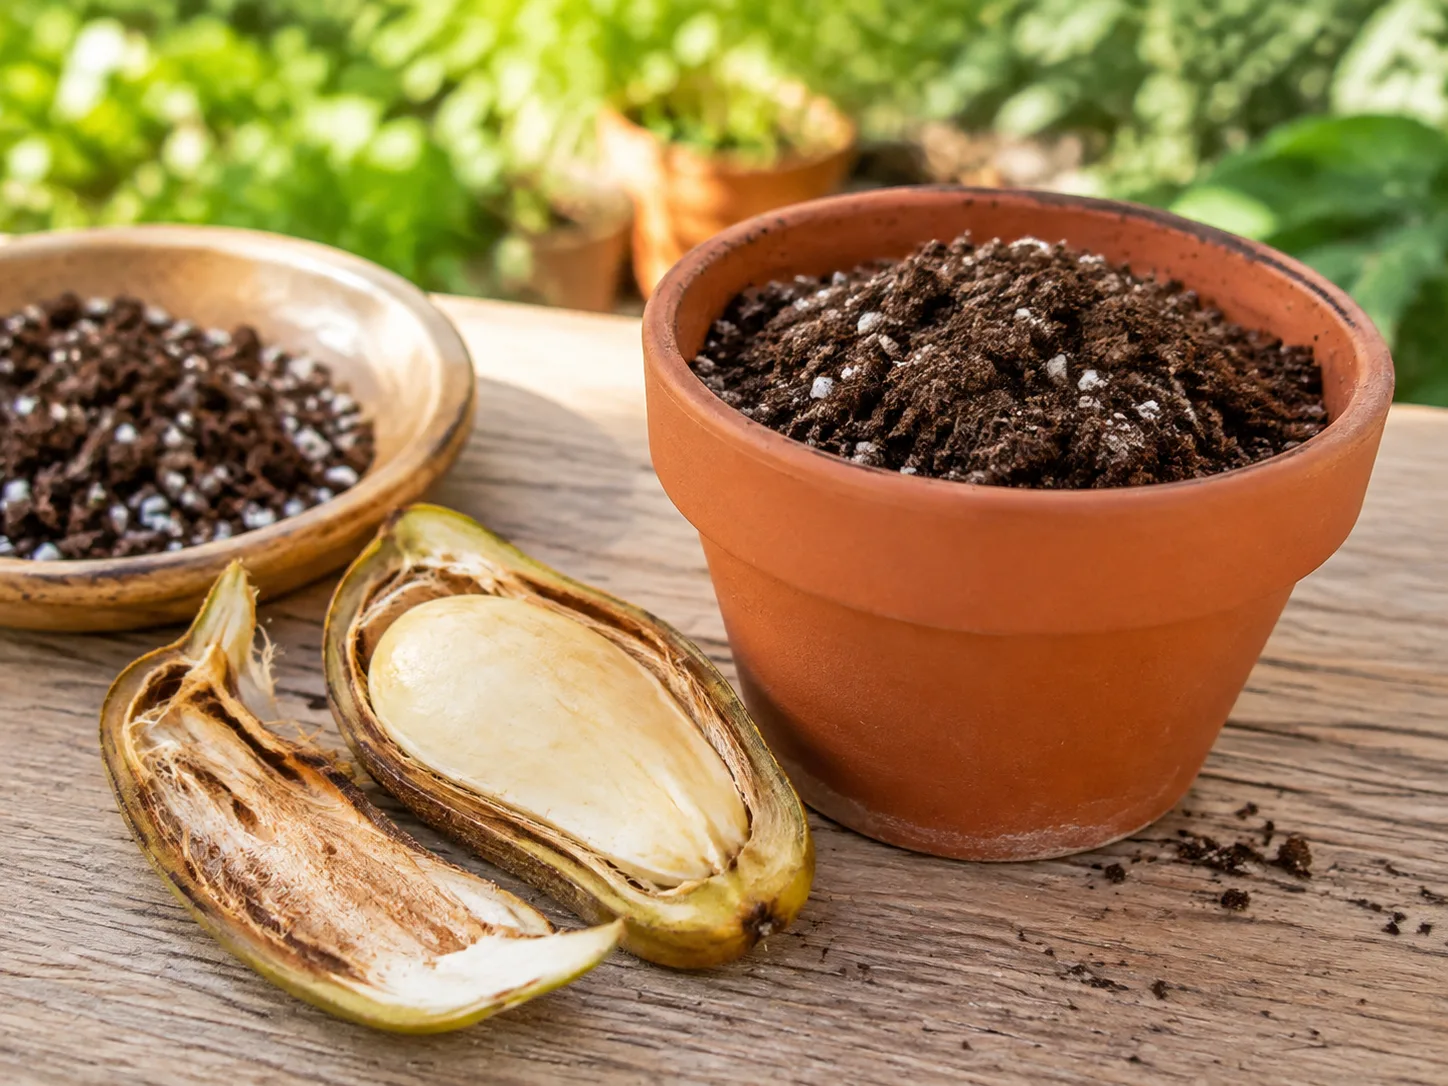
Eat or remove the flesh, then wash every trace of fruit from the pit under clean running water. Residual sugar and pulp encourage mold during the long cold treatment. Do not crack the hard shell with a nutcracker or hammer; the embryo inside can be damaged, and cracking is not necessary for germination.
Spread the clean pits on a labeled plate or paper towel in a cool, shaded, ventilated place for two to five days. The surface should no longer feel slimy, but do not bake the pits in direct sun or try to dry them until they are brittle. Label the source, cherry type if known, and date. Discard pits that are split, soft, hollow, or visibly moldy.
Handle pits with the same care you would give any seed that may be accessible to children or pets. Cherry seeds, stems, and leaves contain cyanogenic compounds, and chewing or crushing the hard seed increases the risk. ASPCA’s cherry safety information lists serious signs that can follow pet exposure. The ripe flesh is the part people eat; keep the pits and plant debris out of reach, and never blend whole cherries with their pits.
Cold-Stratify Cherry Seeds in the Refrigerator
Fresh cherry pits usually have embryo dormancy. In nature, a pit falls in autumn, stays moist through winter, and receives a cold period before spring warmth triggers growth. Refrigerator stratification recreates that sequence in a controlled space. Simply placing a dry pit in warm potting soil often leads to a long wait or no visible sprout.
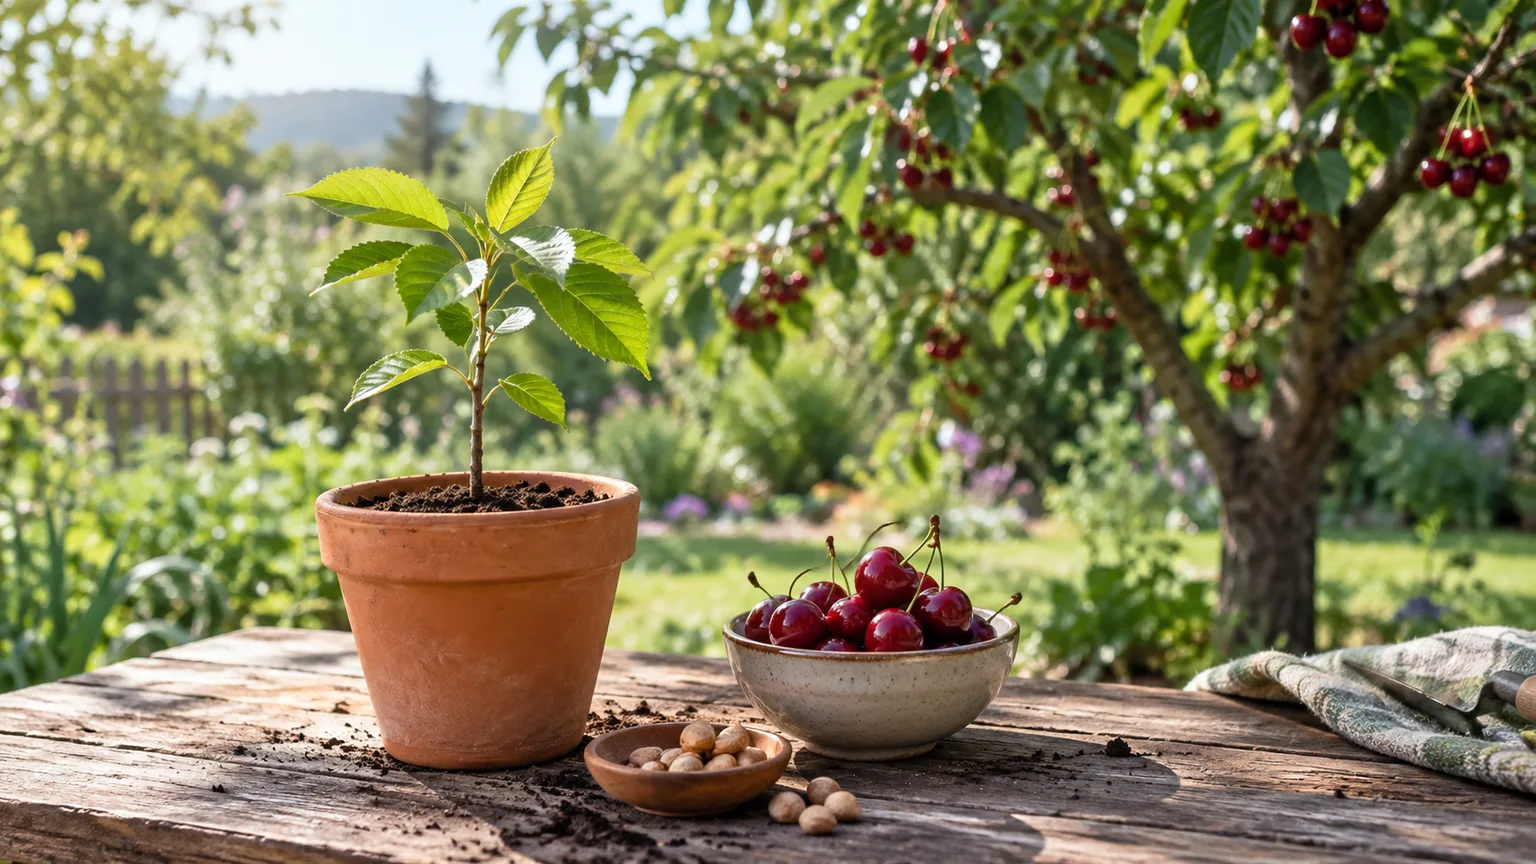
A Simple Moist-Chill Setup
Use a small food-safe container or resealable bag, a label, and a little sterile, moisture-holding medium such as vermiculite, clean sand, or a suitable seed-starting material. Moisten the medium so it feels barely damp rather than wet enough to drip. Pack it loosely around the pits so there is some air space, and do not seal a waterlogged bundle.
Place the container in the refrigerator at roughly 33–41°F, or 1–5°C. Do not put the pits in the freezer. Begin with about 10–12 weeks of moist cold, but treat that as a working range rather than a promise. Requirements vary by species and seed lot; Oklahoma State University Extension notes that cherry dormancy requirements can range from about four weeks to more than fourteen weeks, with sour cherry sometimes listed at 90–150 days around 33–41°F.
Check the container every week or two. The medium should remain barely moist, not dry and not soupy. If it has dried, add only a few drops of water and mix gently. If condensation is excessive, open the container briefly in a clean area and reduce moisture the next time. Labeling the start date prevents the common mistake of forgetting how long the pits have been chilling.
A loose, barely moist medium gives cherry pits cold and moisture without leaving them submerged.
What to Do When a Pit Cracks or Molds
A split in the outer shell can be a good sign if a firm white root is emerging. Do not wait for every pit in the batch to sprout. Lift the cracked pit carefully, avoid touching the root tip, and plant it promptly. The root should point downward, but a slight sideways position is less damaging than handling it repeatedly.
Mold is different. A small surface spot can sometimes be wiped away from an otherwise firm pit, but a soft, foul-smelling, or heavily coated pit should be discarded. Mold usually points to leftover fruit, too much water, warm storage, or inadequate air exchange. Remove the affected pit and any visibly contaminated medium so the problem does not spread.
If a pit cracks unusually early, do not keep it in the refrigerator indefinitely just to match a calendar. Plant it when you can provide a warm, bright growing setup. Conversely, if the scheduled time has passed and nothing has happened, give the batch a little more time within the species-appropriate range rather than throwing it out immediately. Dormancy is variable, and several pits may wake at different times.
Plant the Chilled Seeds in Pots
Prepare pots before the first root appears. Use clean containers about three to four inches wide with drainage holes and a fresh, loose seed-starting mix. A mix that drains well but holds a little moisture is safer than garden soil, which can compact around the fragile root and introduce soil-borne problems.
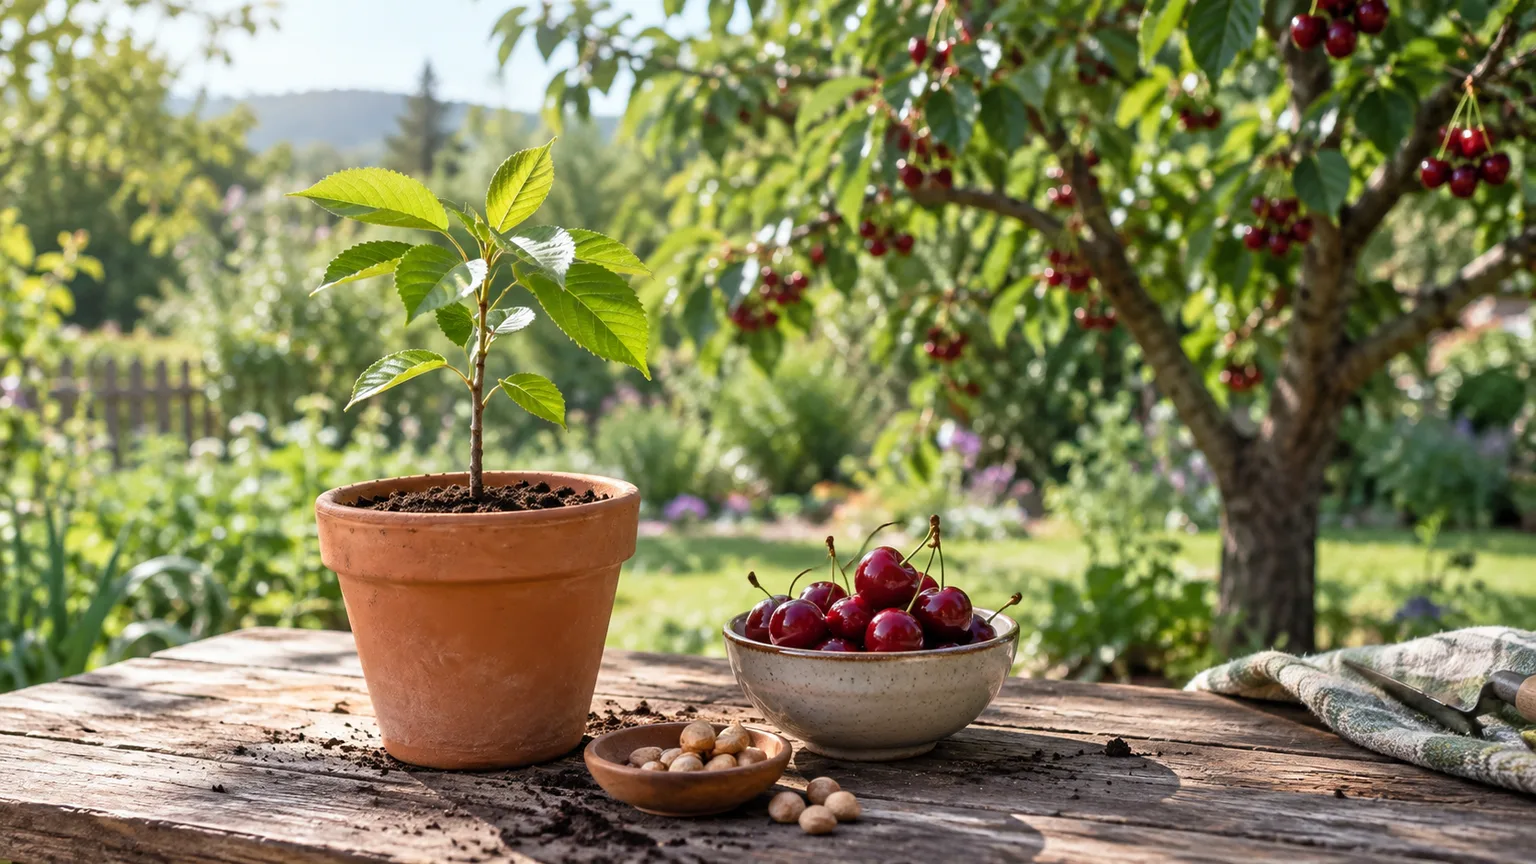
Plant one pit per pot when possible. A single container makes it easier to separate roots later and lets you keep the strongest seedlings. Set a pit about one inch deep, cover it gently, and water until the mix is evenly damp. If the root is visible, point it down and avoid bending it into a tight curve. Mark each pot with the source and planting date.
Place the pots somewhere warm with strong light. A bright window can work if it does not become cold at night, while a grow light gives more consistent light on short winter days. Keep the mix moist enough that the new root does not dry out, but never leave the pot standing in water. Emergence may take about two weeks after planting, or longer if the seed is still completing dormancy.
Do not dig up an apparently inactive pit every few days. That breaks new roots and turns a slow germination problem into a damaged-seed problem. Check for growth by looking at the surface and drainage hole, and give the pot time unless it is clearly moldy or waterlogged.
Raise Strong Cherry Seedlings Indoors
The first green shoot is only the start. Indoor seedlings often look healthy for a few days and then become pale, thin, or unstable because the light is too weak. Your goal is compact new growth, a straight stem, and a root system that fills the pot without circling tightly.
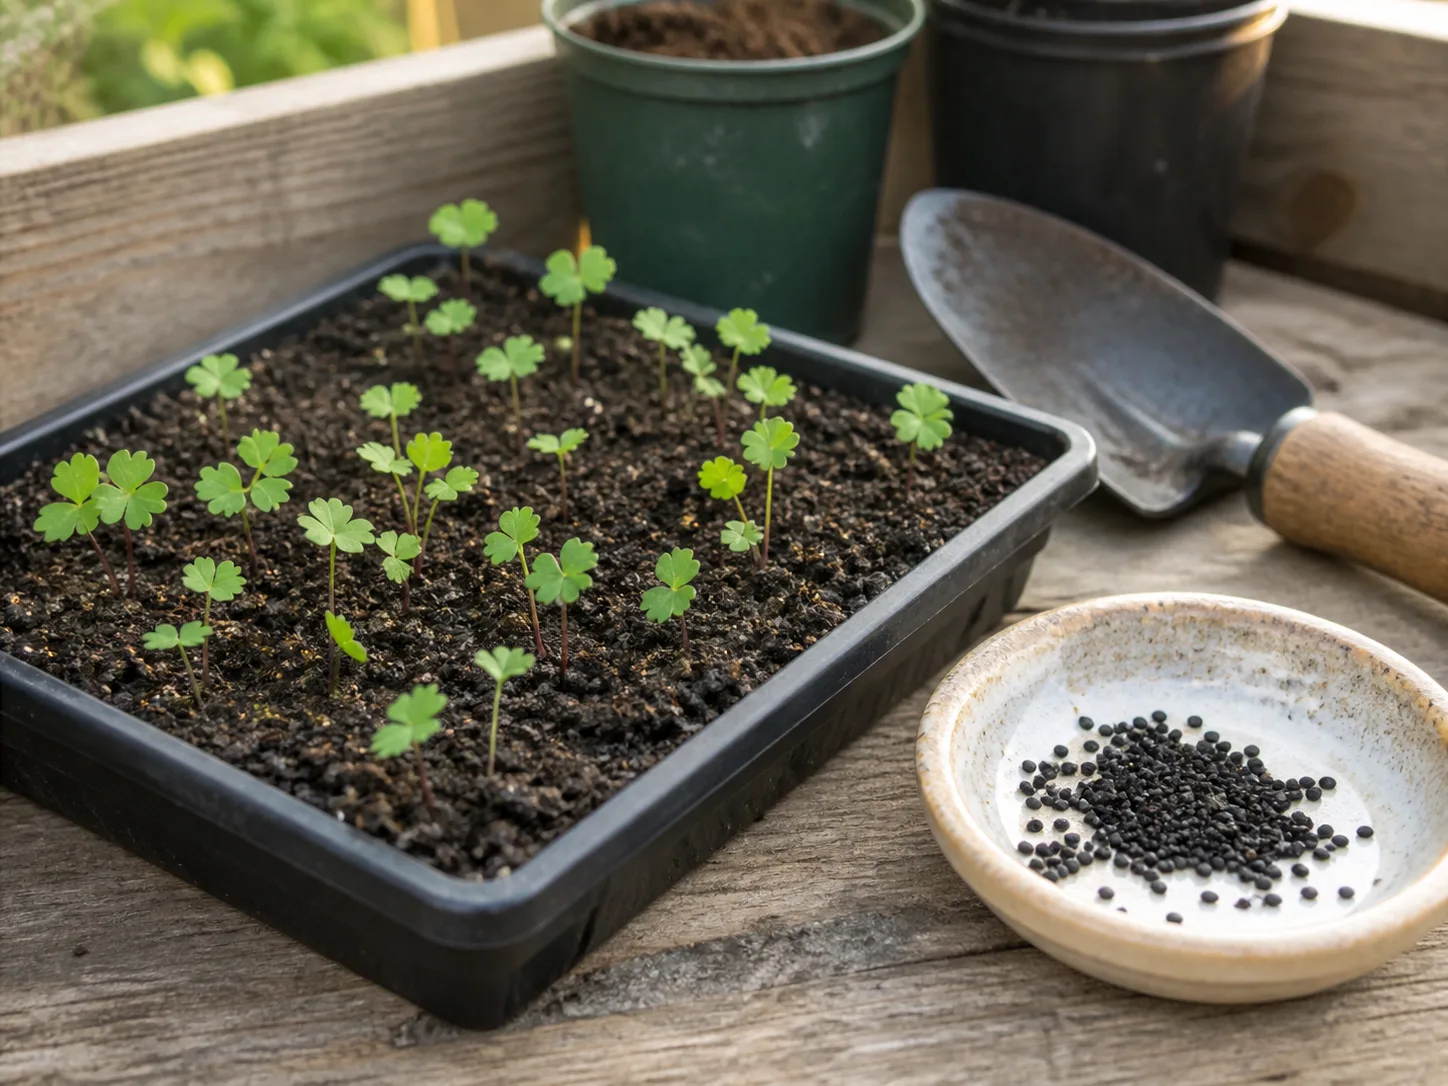
Individual pots and strong overhead light make it easier to keep young cherry seedlings upright and evenly watered.
Watering, Light, and Potting Up
Give the seedlings the brightest practical light while protecting them from a hot pane of glass. Turn the pots a little every few days if light comes from one side. Good air movement helps stems strengthen and reduces the damp, stagnant conditions associated with seedling disease, but do not aim a harsh fan directly at tender leaves.
Water slowly when the upper surface begins to dry, then let excess drain completely. The roots need oxygen as well as moisture. A constantly wet mix can cause damping-off or root damage, while a pot that becomes bone-dry can kill a young root even if the leaves have not wilted yet. Learn the weight and feel of the pot rather than following a rigid calendar.
Do not rush fertilizer. The seed supplies early nutrition, and a weak or waterlogged seedling will not be rescued by extra feed. Once a plant has several healthy true leaves and is actively growing, a very dilute, balanced fertilizer used according to its label can be considered. Stop if the tips burn or the seedling becomes unusually soft and stretched.
Pot up when roots reach the sides or drainage holes, or when the seedling has several sets of leaves and the original container dries unusually fast. Move it into a deeper pot with fresh mix, handling the root ball rather than pulling the stem. Keep the new pot only modestly larger; a huge volume of wet soil around a small root system is an easy way to create rot.
Harden Off and Move Seedlings Outdoors
A seedling raised in stable indoor light is not ready for a sudden day in full sun and wind. About one to two weeks before planting, take it outside on a mild day for a short period in bright shade. Increase the time outdoors gradually, then introduce gentle morning sun before exposing it to stronger afternoon light.
Bring the pot in during frost, severe wind, heavy rain, or an unexpectedly hot spell. Hardened leaves may still scorch if the plant moves from a windowsill to a reflective patio all at once. By planting time, the stem should feel firm, the leaves should hold their color, and the plant should remain comfortable outside for most of the day.
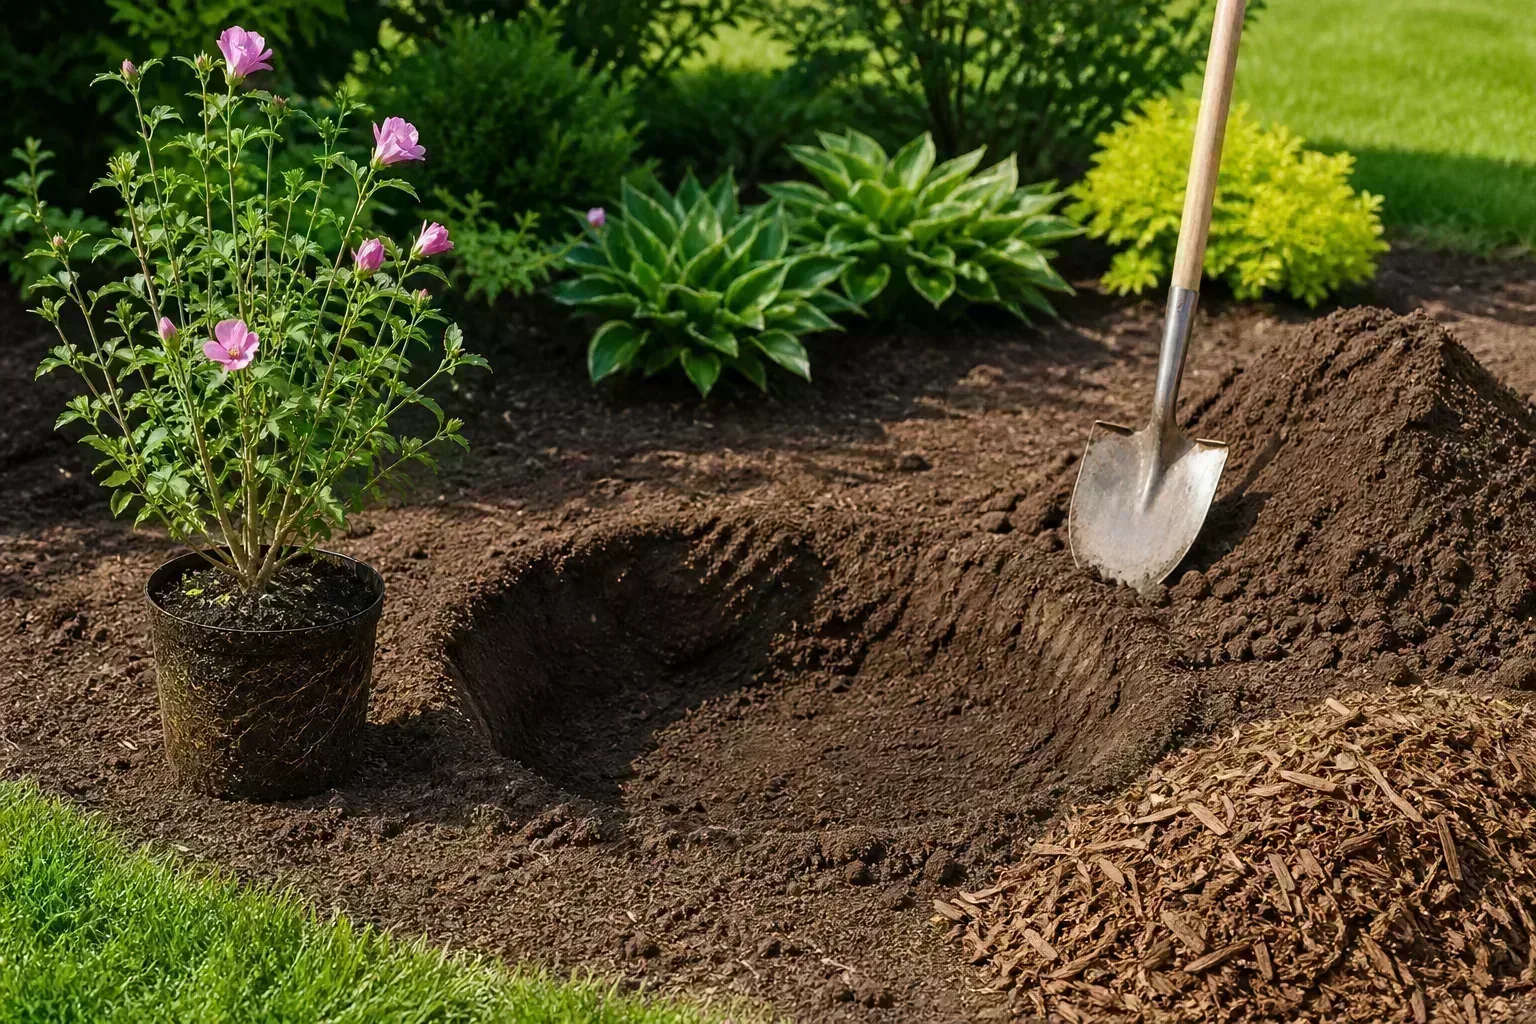
Transplant after the local frost risk has passed and the soil is workable. Choose a calm, cloudy day if possible. Water the pot first, slide out the root ball without loosening every root, and set the seedling at the same depth it grew in the container. Firm soil gently around it, water deeply, and add a shallow mulch ring that does not touch the stem.
A small mulch ring and breathable wire guard help a new outdoor seedling survive its first vulnerable season.
Direct-Sow Cherry Pits in Fall
Fall sowing is the simplest route in a climate where cherries are hardy and winter reliably supplies a cold, moist period. Clean the pits as described above, then plant several about one inch deep in a prepared nursery bed or permanent site while the soil is still workable. Sow more than you need because rodents, rot, and uneven viability can reduce the spring count.
Mark the spots clearly so spring weeds do not look like failures. The soil should stay lightly moist through autumn, but it should not remain saturated. A low tunnel of wire mesh or a small protective cage can prevent squirrels, mice, and birds from removing the pits. Do not use an airtight cover that traps wet leaves against the soil.
The best fall date depends on your region. Plant early enough for the pits to settle into moist soil, but not so early that a warm spell encourages a shoot that will be frozen. In a mild climate without reliable winter chill, refrigerator stratification gives you more control. In a cold climate, direct sowing may produce sturdier seedlings with less transplant shock, provided the bed is protected from wildlife.
Establish the Young Tree for Its First Years
The first outdoor season is about roots and structure, not fruit. Keep the planting area free of competing grass and weeds, and water deeply enough to moisten the developing root zone whenever the soil begins to dry. Adjust to rainfall and soil type; a fixed schedule can overwater clay or underwater fast-draining soil.
A young tree needs consistent moisture while it establishes, but cherry roots dislike standing water. Check below the mulch with a finger or trowel, especially during hot weather, and water at the base rather than wetting the foliage every evening. A slow soak is more useful than frequent splashes that wet only the surface.
Apply two to three inches of organic mulch over the root area, leaving a gap of several inches around the trunk. Mulch conserves moisture and moderates soil temperature, but a wet mulch volcano against the stem invites decay and hides rodents. Keep the trunk visible and inspect it after storms, mowing, and winter weather.
Do not push rapid growth with heavy nitrogen fertilizer. A soil test can tell you whether an actual deficiency exists, and a thin surface application of finished compost is safer than packing rich material into the planting hole. Excess soft growth can be more vulnerable to winter injury, pests, and disease.
Protect the Trunk, Roots, and New Leaves
Wildlife may be a larger threat than the weather. Birds and mammals eat cherries, and rodents can girdle a young trunk when food is scarce. Penn State Extension notes the attractiveness of cherries to birds and mammals, while Grow Organic’s seed-growing guidance recommends guarding young trees and reducing competition around them.
Use a breathable wire-mesh cylinder around a small tree, wide enough that leaves and bark do not touch it. Bury or secure the bottom so an animal cannot push underneath, and check the guard as the trunk expands. Remove tall grass and weeds around the base, protect the tree from mower and string-trimmer damage, and stake only when wind or an unstable root ball genuinely requires it.
Know When to Prune, Pollinate, and Expect Fruit
Let the seedling establish before making major cuts. In its early years, remove dead, broken, crossing, or badly placed growth and encourage a balanced framework with clean branch angles. Use sharp, clean tools and avoid tearing the bark. For mature cherries, pruning timing is region- and disease-dependent; RHS recommends pruning established cherries after harvest on a dry day, while your local extension service may recommend a different window.
Expect a long juvenile period. A grafted cherry may fruit in roughly three to seven years depending on variety and rootstock, while a seed-grown tree commonly takes about seven to ten years or more. Better Homes & Gardens gives a similar warning about the long wait for seed-grown cherries. Some seedlings take longer, produce little of value, or never justify their space.
Flowering is not the same as fruiting. A sour seedling will often be self-fruitful, but a sweet seedling may need a compatible sweet cherry flowering at the same time. Sweet and tart cherries are not interchangeable pollinizers. Even a self-fruitful tree can set a larger crop with a compatible partner, good bee activity, and weather that allows flowers to remain open.
If the seedling is vigorous but the fruit is disappointing, grafting can change the top of the tree while preserving the established root system. That is an advanced project requiring compatible scion wood, timing, and clean technique. If reliable fruit is the priority, replacing the experiment with a grafted named tree is often the most efficient choice.
When fruit finally ripens, pick it fully colored and ready to eat because cherries do not continue to ripen after harvest. Handle fruiting spurs gently, and plan bird protection before the crop colors. Netting must be installed and managed carefully so birds and other wildlife do not become trapped.
Troubleshoot Slow or Failed Germination
No sprout after the first few weeks is not automatically a failure. Cherry pits can remain dormant, and different pits from the same fruit batch can respond at different times. Use the symptoms below to decide whether to wait, adjust the setup, or start another batch.
- No change after 10–12 weeks: confirm that the pits were moist, cold, and not frozen. If the batch remains firm and clean, continue within the appropriate stratification range for the cherry type. Start a second batch rather than relying on one delayed container.
- Pits that mold: discard soft or foul-smelling pits, remove fruit residue, and reduce moisture. The medium should be barely damp, with loose packing and some air exchange.
- A root appears but the shoot stalls: plant the pit promptly, keep the root downward, and provide warmth and strong light. Avoid digging it up to inspect progress.
- A tall, pale seedling: light is too weak or too far away. Move it toward stronger light gradually, rotate the pot, and provide gentle airflow.
- A seedling collapses at the soil line: suspect damping-off or an overly wet mix. Improve drainage, reduce watering, remove affected plants, and sanitize reused containers.
- Leaves scorch after outdoor planting: the transition was too abrupt, the site is windy, or the root ball dried. Harden off more slowly, shade during the harshest hours for a few days, and check moisture.
- A healthy tree has no fruit: it may still be juvenile, flowering may have been lost to frost, or a sweet tree may lack a compatible pollinizer. Give it time, verify pollination needs, and do not judge a seedling by the first few growing seasons.
The most dependable troubleshooting strategy is redundancy. Start six to ten clean pits, label them, keep the best seedlings, and accept that a percentage may never germinate. That approach costs little and protects the project from one bad seed, one mold outbreak, or one accident during transplanting.
Conclusion
Growing a cherry tree from seed at home is best treated as a long-term gardening experiment. Clean several pits from ripe fruit, dry them briefly, cold-stratify them in a barely moist medium for roughly 10–12 weeks while allowing for longer dormancy, and plant each viable pit in its own draining pot. Strong light, careful watering, gradual hardening off, and protection from wildlife matter more than forcing fast growth.
Choose sour cherry when self-fruitfulness and cold tolerance fit your garden, or try sweet cherry when you have space and a plan for pollination. The seedling may not resemble its parent, may become a large tree, and may wait seven to ten years or more before fruiting. If those limits fit the project, the first leaves, sturdy trunk, and eventual blossoms make the wait worthwhile; if predictable fruit is the priority, begin with a grafted tree instead.



