How to Grow Rose Cuttings in Potatoes: A Careful Guide
Trying the potato rose-cutting hack? Follow a careful setup, learn why it can fail, and compare it with the simpler direct-to-soil method.
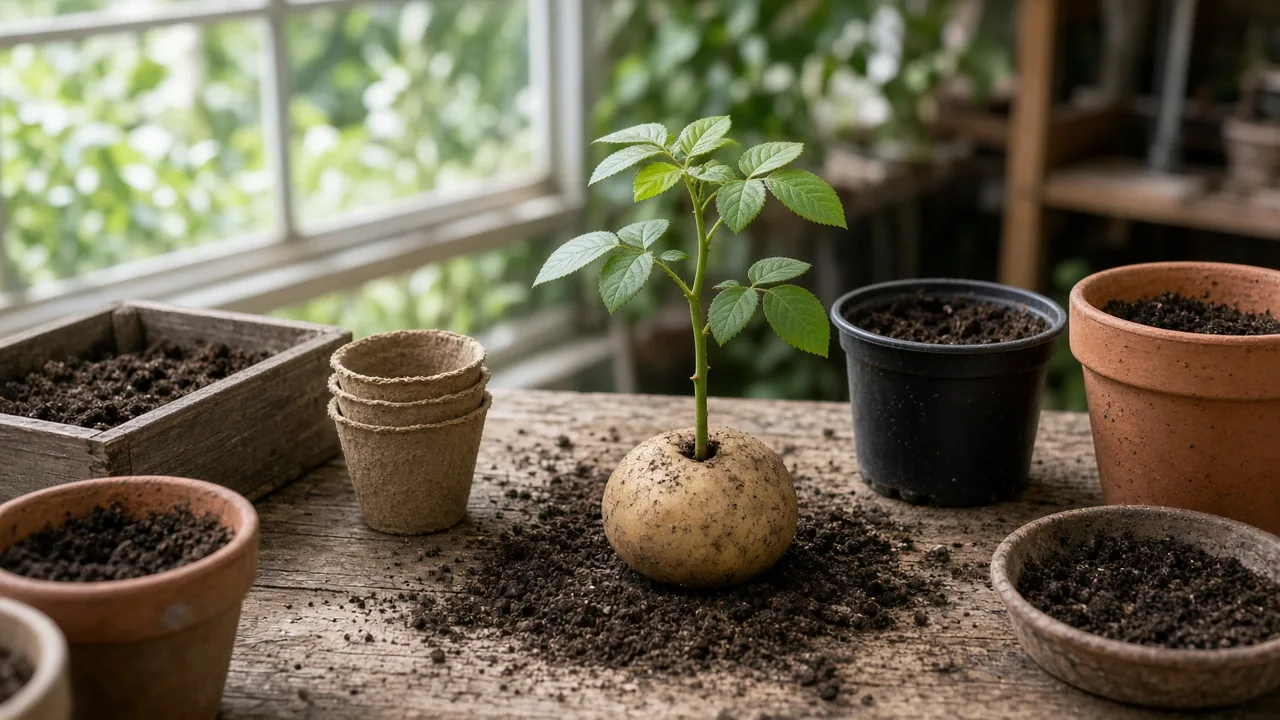
The potato method is easy to try, but the potato is not a proven rooting accelerator. Treat it as a small gardening experiment: a rose stem still has to form roots in a clean, airy, consistently moist growing environment, and a raw potato can just as easily become a source of excess moisture and decay.
If you want the best odds for a favorite rose, root several cuttings directly in a breathable medium and use one or two potato setups as a comparison. That approach gives you the fun of testing the hack without putting every cutting—and every chance of preserving the mother plant—into one unverified method.
Quick verdict: potato is optional, not magic
You can insert a prepared rose cutting into a raw potato and plant the assembly in a pot. But there is no good reason to assume the potato feeds the cutting, protects it from disease, or makes it root faster than a well-drained propagation mix. Epic Gardening’s review of the potato-cutting trend makes the same useful distinction: the viral method is appealing, but conventional propagation gives the cutting the porous, oxygenated root zone it actually needs.
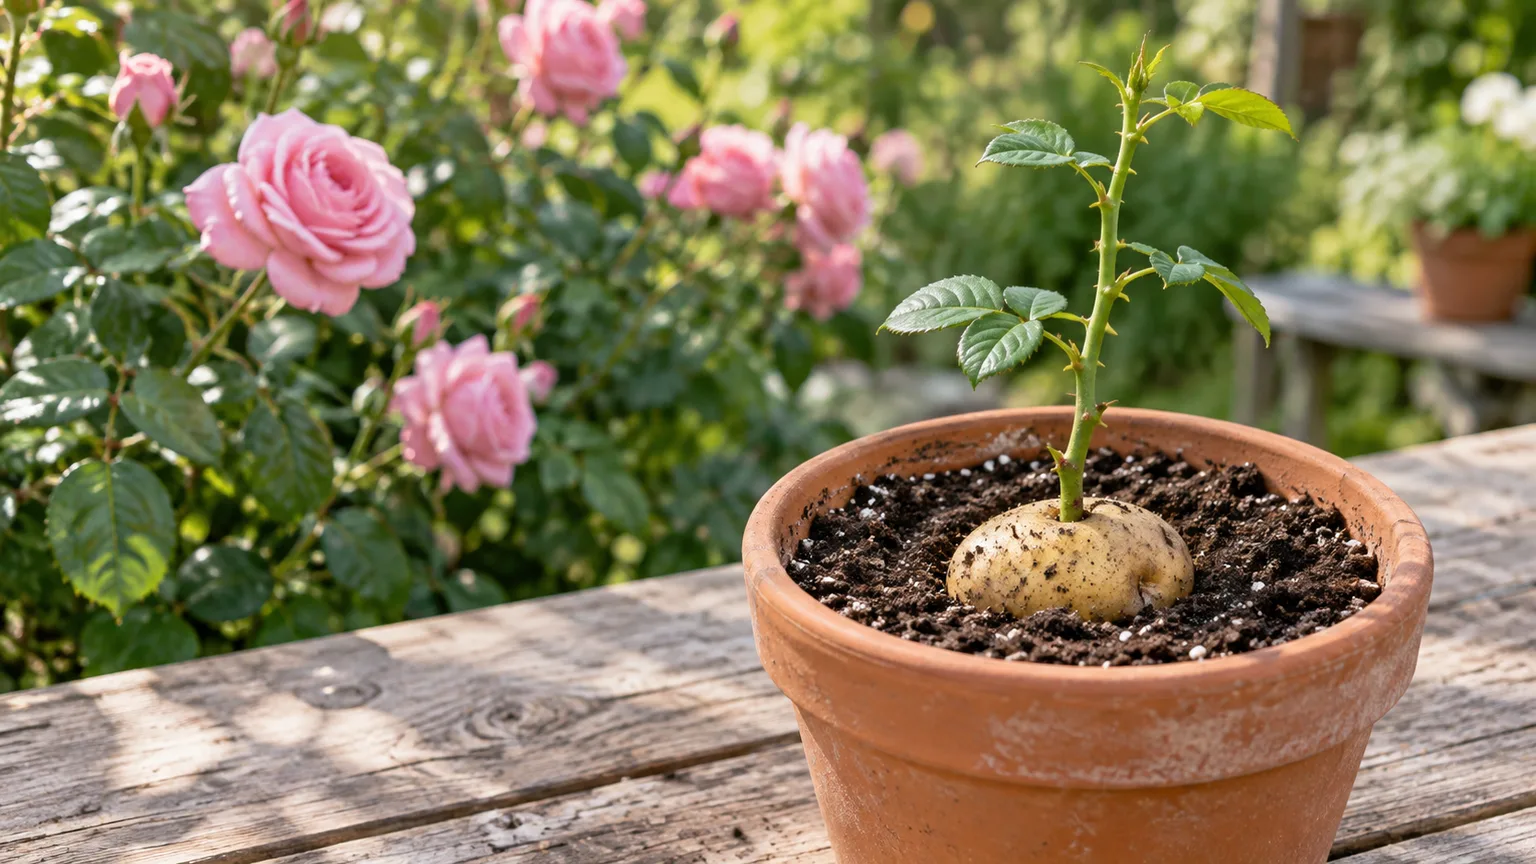
The potato’s plausible benefit is physical rather than magical. Its flesh can keep the base from drying for a while and can hold the stem steady. Its liabilities are just as real: the flesh is dense, the drilled cavity stays wet, and the potato can soften before the rose has made roots. Once the potato starts decomposing, the setup is no longer a moisture aid; it is a wet organic pocket around a wounded stem.
So the honest answer to “does it work?” is sometimes, possibly—but not reliably enough to call it superior. If you try it, use a firm, unblemished potato, clean tools, a fast-draining medium, a pot with a drainage hole, and several backup cuttings. If the cutting turns soft or black, discard the potato setup promptly rather than trying to rescue a rotting food crop and a rose stem at the same time.
What a rose cutting needs to root
A cutting has no roots to replace the water it loses through its leaves. Until new roots form, it survives on stored water and carbohydrates in the stem while the wounded base begins producing root tissue. The basic balancing act is therefore simple to state but easy to get wrong: keep the stem from drying out while leaving enough air around the base for living cells to respire.
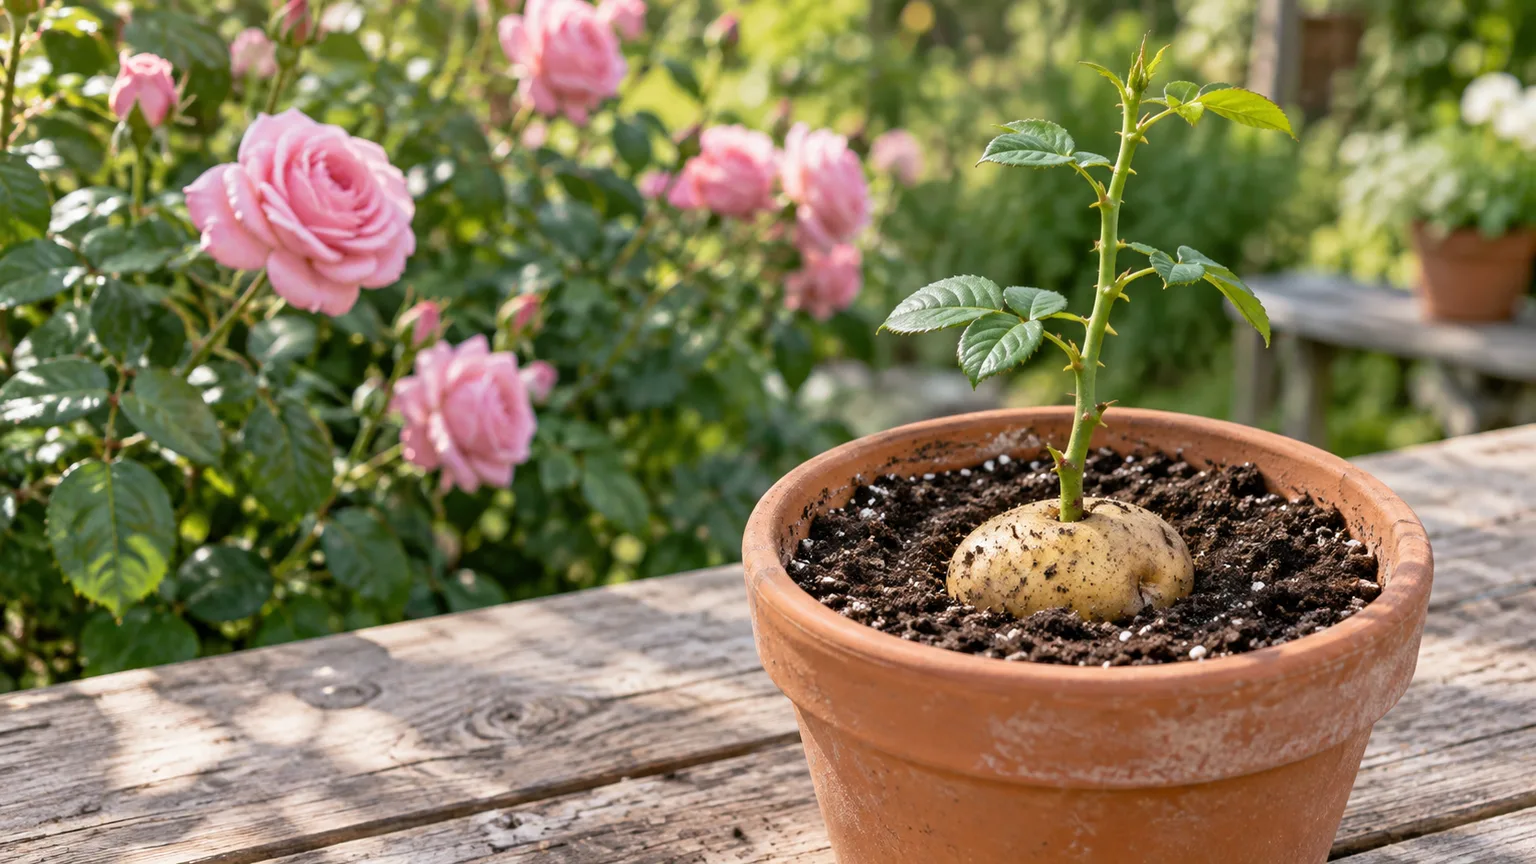
Virginia Cooperative Extension’s propagation guide describes a useful rooting medium as porous enough for aeration and drainage, yet able to retain moisture. It also recommends clean, low-fertility media because excess fertilizer can damage or inhibit young roots. That is why a potato should never replace the medium around the cutting; at best, it is an optional insert inside a root zone that still needs to drain.
Choose the right rose stem and season
Roses can be propagated from softwood, semi-hardwood, or hardwood cuttings, and NC State Extension’s propagation guidance lists Rosa among plants that may root from all three stages. For a home experiment, the easiest material to handle is usually a healthy, pencil-thick lateral shoot from the current season that is firm but not brittle. Avoid a stem carrying an open flower, rose hip, or several flower buds: the cutting needs its stored energy for roots, not seed production or bloom maintenance.
In cool or temperate climates, try softwood cuttings in late spring or early summer after a flush of growth, semi-hardwood cuttings in late summer, or dormant hardwood cuttings during the resting season. In hot climates, avoid taking a cutting during the most punishing part of the day or leaving an unrooted setup on a heat-reflecting patio. Early morning is a good harvest time because the parent plant is well hydrated. NC State also advises keeping cuttings cool and moist if there is any delay before they are stuck.
The exact calendar matters less than the condition of the stem and the conditions you can provide afterward. A healthy cutting taken at the right stage but allowed to dry in a car or on a sunny windowsill is already at a disadvantage before it reaches the potato.
Know the weak link: cultivar and rootstock
Some roses root much more readily than others. The University of Washington’s Elisabeth C. Miller Library notes that ramblers, Rosa rugosa, some climbing roses, and some large-flowered roses are easier candidates, while many roses are grown commercially on a hardier rootstock because own-root performance varies. UC Davis Foundation Plant Services likewise warns that rooting success depends on the variety and that a rooted cutting may take months to become landscape-ready.
There is another identity check that matters more than the potato. If your mother plant is grafted, find the swollen graft union near the base and take the cutting from a healthy flowering cane above it. A vigorous shoot emerging from below the union may be rootstock, sometimes called a sucker. Rooting that shoot can produce a perfectly healthy rose that is not the rose you intended to duplicate.
Gather materials and set up for cleanliness
You need a clean, sharp pair of pruners, a firm raw potato, a small pot with a drainage hole, and a low-fertility rooting medium. A blend of perlite and vermiculite, or coarse sand with a little peat-free propagation mix, gives the cutting more air than heavy garden soil. Add a pencil or dibble for making holes, a clear bag or propagation dome, a rubber band, and a plant label if you are testing more than one cultivar.
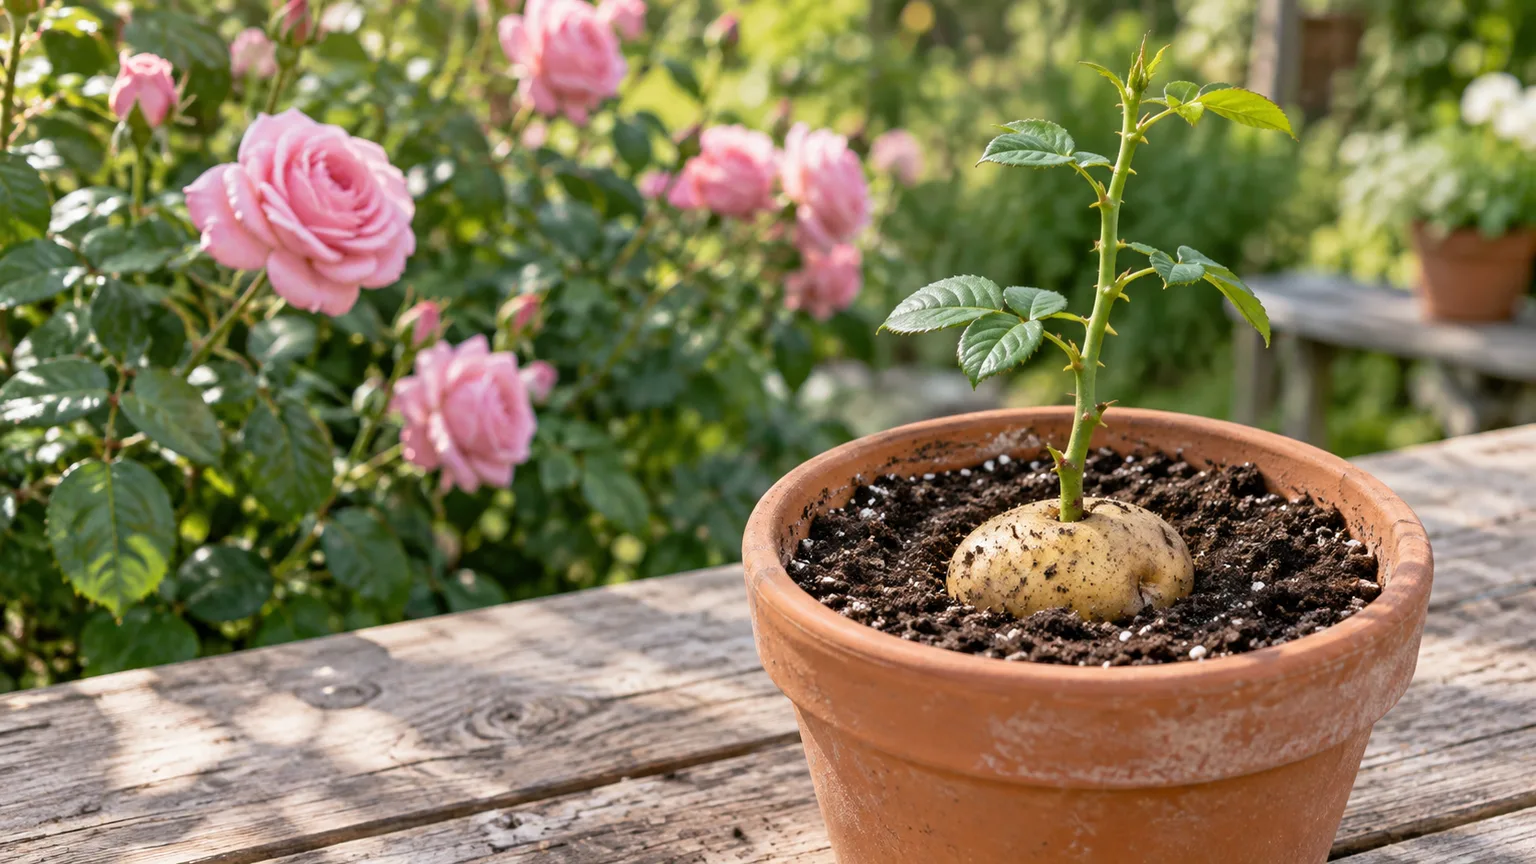
Rooting hormone is optional. If you use it, choose a product labeled for cuttings and follow its label rather than guessing a concentration. Put a small amount in a separate dish so the original container is not contaminated by repeated contact with wet stems. Sterilize or wash the pot and tools, and do not reuse a potato that has been cut, stored warm, or allowed to become soft.
The first setup decision is more important than the gadget list: prepare the medium before you cut the rose. Saturate it, let excess water drain, and make sure the container is not sitting in a saucer of water. UC Davis’s rose-cutting instructions use a draining pot and either potting soil or a one-to-one perlite-and-vermiculite mixture, then keep the planted cutting humid but not wet. That is a much safer foundation than trying to correct a waterlogged pot after the stem is already inserted. A practical Ideal Home walkthrough uses the same broad sequence—prepared cutting, snug potato hole, buried assembly, and bright light away from direct sun—but also acknowledges that the potato is not shown to outperform direct soil.
Step 1: Take and prepare the cutting
Take a 6- to 8-inch section from healthy growth, cutting just below a node at the base. A node is the point where a leaf and bud join the stem; it is a useful landmark because many woody plants form roots more readily near nodal tissue. Make the top cut just above a node, ideally at a slight angle so you can keep track of which end is up.
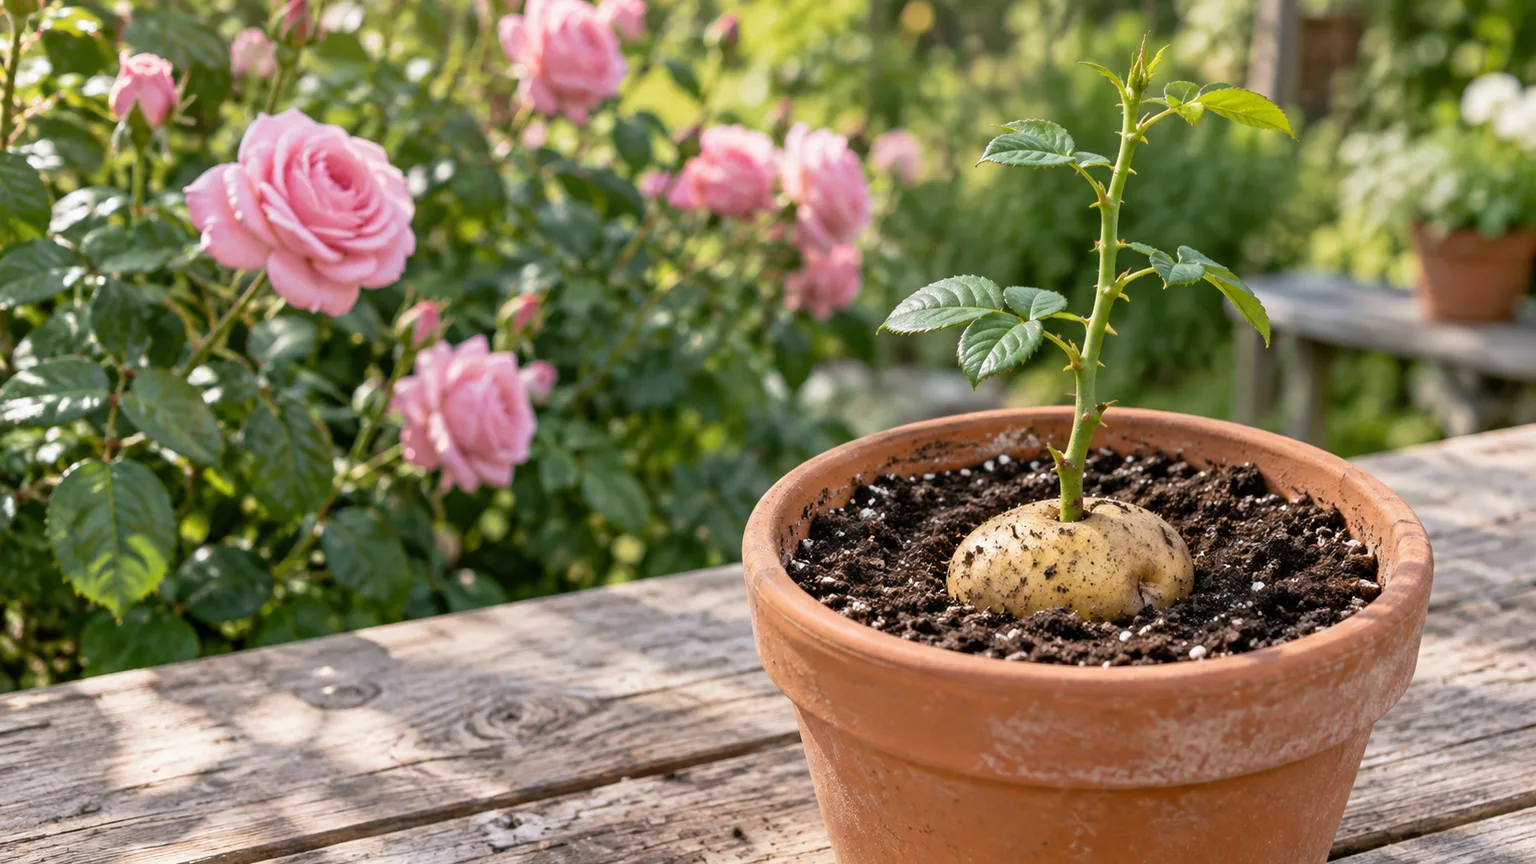
Remove the flower, hip, and flower buds. Strip leaves from the lower half or lower two-thirds, depending on how many nodes you need to bury. Leave one or two small leaf sets at the top. If the remaining leaves are large, trim part of each leaf rather than removing all foliage; reducing leaf area lowers transpiration while leaving some tissue to make energy.
Do not scrape the entire base or make deep cuts just because a video shows a dramatic wound. A fresh, clean basal cut is enough for a first attempt. If the cutting cannot be planted immediately, wrap it in a damp paper towel inside a bag and keep it cool for a short period. Do not let it sit in standing water, and do not keep it in a warm car.
If you are preserving a special cultivar, make three to six cuttings from the same mother plant. Label them before planting. A single success does not tell you whether the potato helped, because rose variety, stem age, humidity, temperature, and ordinary chance all affect rooting.
Step 2: Prepare the potato without trapping water
Choose a fresh, firm potato without green patches, sprouts, soft spots, leaking eyes, or visible mold. Rinse and dry it. Use a clean screwdriver, corkscrew, or narrow drill bit to make a hole that is just deep enough to hold the basal inch or two of the cutting. The hole should be snug enough to support the stem, but not so narrow that it scrapes the bark or crushes the base when you insert it.
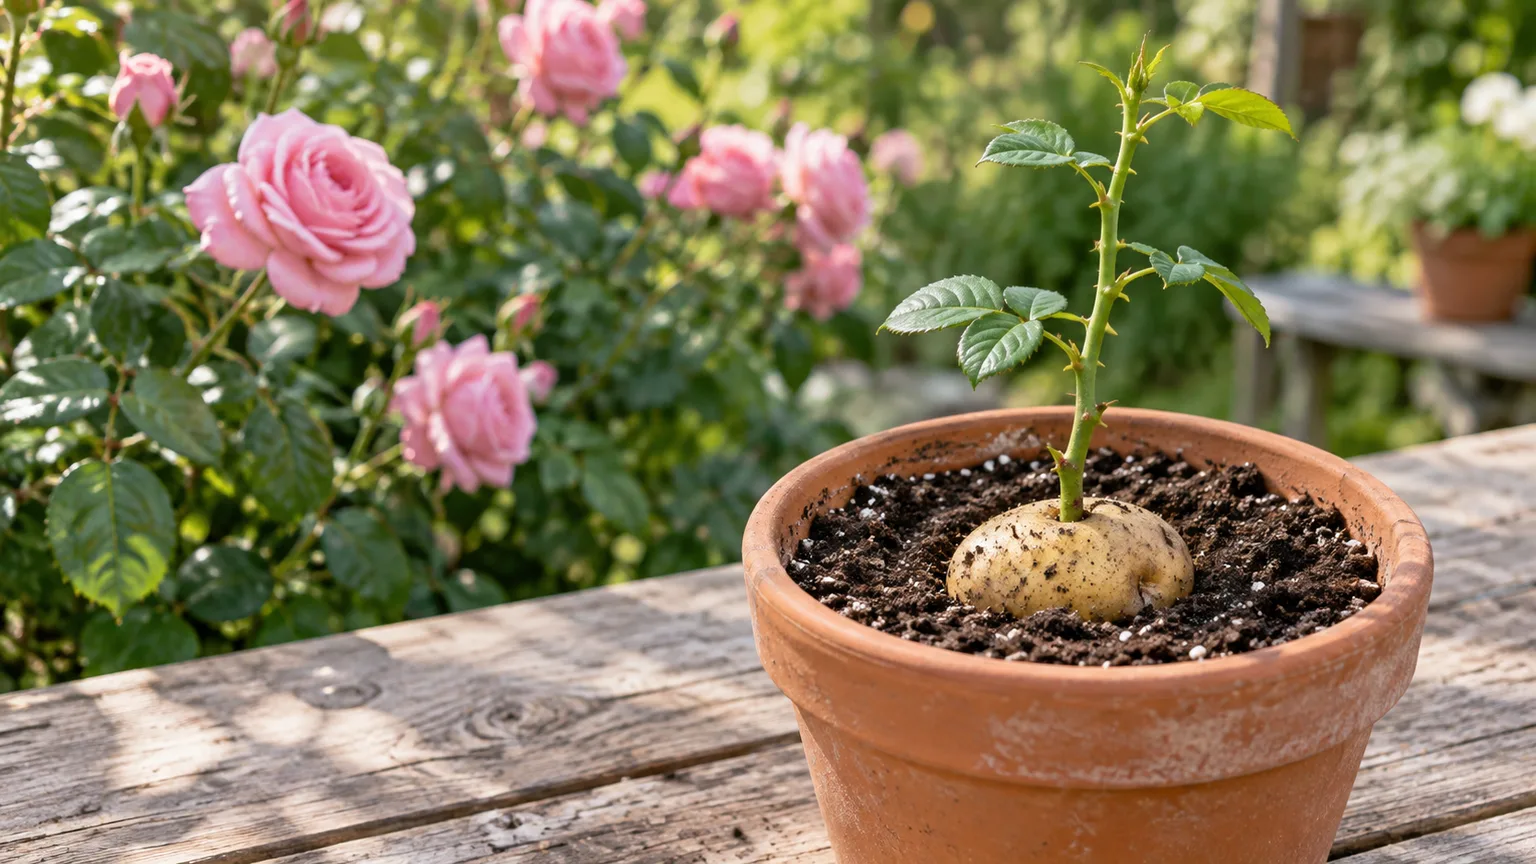
Do not drill all the way through. A tunnel through the potato gives water a path to collect against the stem and leaves the cutting less stable. The goal is a close fit, not a bucket around the wounded tissue.
The potato should be a temporary support, not the entire root environment. Place it in a pot large enough to surround it with fast-draining medium, and leave room for the cutting to sit at the correct depth. If the potato already smells sweet, sour, or fermented, throw it out. Starting with a questionable potato is not frugal; it simply moves the failure earlier in the process.
Step 3: Insert the cutting and plant the assembly
If using rooting hormone, moisten only the basal end as directed, coat it lightly, and tap away excess powder. Do not pack a thick layer of hormone into the potato hole. Excess product can cake around the stem, while the snug potato fit already creates plenty of contact.
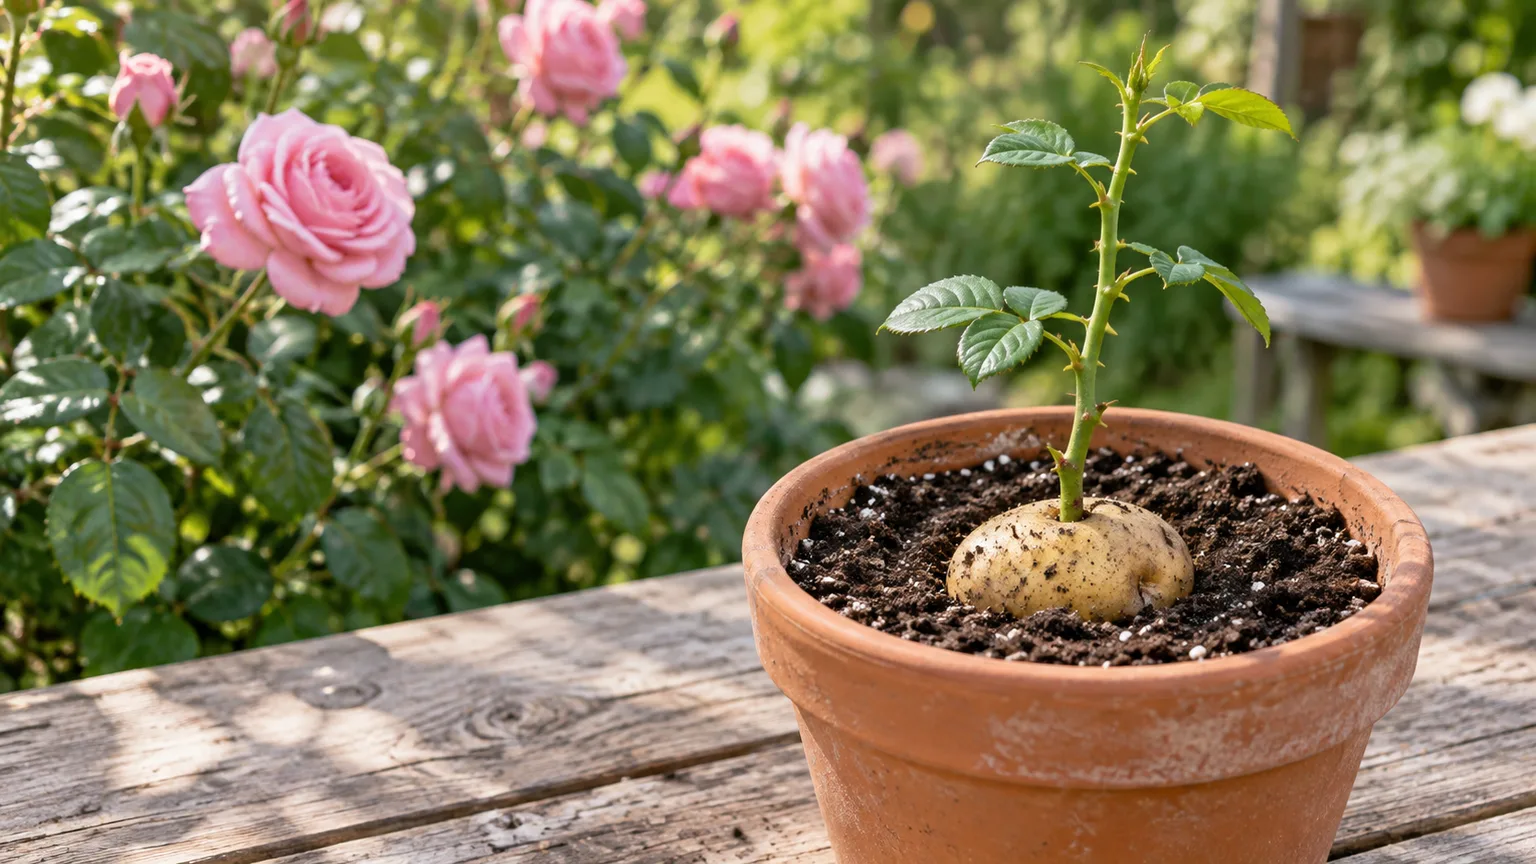
Insert the treated base gently until it is held upright. Then bury the potato in the pre-moistened medium so the potato is surrounded on all sides and the lower half of the rose cutting is below the medium line. Keep the remaining leaves above the surface. Firm the mix just enough to remove large air gaps; do not compress it into a dense plug.
Water once around the outside of the potato until a little drains from the pot. That settles the medium. From this point forward, the pot should not be treated like a thirsty seedling tray. The cutting has no roots to use a constant supply of water, and the potato itself already adds a wet organic object to the container.
If the stem rocks when you touch the pot, add a small stake rather than making the potato hole tighter. A stable stem can callus without being repeatedly torn loose. The base must remain in contact with the medium, but it also must remain surrounded by air-filled pores.
Step 4: Cover, position, and monitor
Cover the pot with a clear bag or dome, keeping plastic from touching the leaves. A couple of clean sticks can prop up a bag. The cover slows water loss from the leaves while the cutting has no roots, but it does not replace ventilation. Open or lift the cover briefly each day, especially when condensation is running down the sides or the weather is warm.
Place the setup in bright indirect light. Direct midday sun can turn a covered pot into a small greenhouse and cook the cutting, while a dark corner leaves it with too little energy. A warm, stable room or sheltered outdoor position is better than a fluctuating windowsill above a radiator or a windy balcony.
Virginia Cooperative Extension gives roughly 70–75°F as a useful rooting range for many cuttings and recommends bright light without direct sun. Bottom warmth can speed rooting in some situations, but it is optional and should be paired with a thermometer and good drainage. Warmth does not make an airless, waterlogged potato safe.
How to water without making the potato rot
Check the medium with a finger or wooden skewer rather than following a fixed daily schedule. The top may dry slightly while the lower medium remains damp. If the pot feels light and the medium is drying several inches down, add a small amount of water around the edge. If it is cool, dark, and wet, do nothing and increase ventilation.
Never leave the pot in a tray of runoff. Empty the saucer after watering, and do not mist the leaves repeatedly when the cover is already maintaining high humidity. The target is a cutting that stays hydrated, not a wet surface at every moment. A sour smell, slimy potato, gray mold, or blackening at the soil line is a signal to act, not a normal stage of propagation.
For a useful test, run the potato method beside a direct-soil control. Use cuttings from the same plant, the same pot size, the same light, and the same cover. Keep a simple note of the date, watering, firmness, and any root or rot signs. That little control is more informative than a dramatic before-and-after clip because it shows whether the potato changed anything in your conditions.
Should you use rooting hormone, honey, or neither?
Rooting hormone is a tool, not a guarantee. NC State Extension explains that root-promoting compounds can improve the percentage, speed, uniformity, and number of roots in woody cuttings, particularly for difficult-to-root plants. Virginia Tech advises following the product directions, removing excess powder, and avoiding contamination of the whole container.
Use hormone if you already have a labeled product and want to improve the odds, especially with a rose that has been difficult to propagate. Skip it if you do not have any; healthy cuttings can root without it. The cleaner, more important improvements are a viable stem, a breathable medium, controlled humidity, and a temperature that does not swing from cold to scorching.
I would not substitute kitchen honey, sugar water, cinnamon, or an onion-and-potato soak for a labeled rooting product. Those ingredients may appear in gardening videos, but they do not solve the cutting’s need for oxygen and drainage, and sugary or decomposing materials can complicate cleanliness. A plain, carefully managed setup is easier to diagnose than a recipe with several untested ingredients.
The more reliable baseline: root cuttings straight in medium
Direct-to-soil propagation removes the potato’s biggest uncertainty while keeping the useful parts of the method: a prepared cutting, high local humidity, indirect light, and evenly moist medium. UC Davis recommends planting green rose cuttings about three inches deep in potting soil or a one-to-one perlite-and-vermiculite mixture, leaving only the top two leaves, and covering the pot with a clear plastic bag. The university notes that early roots may take about four weeks, that variety matters, and that a cutting may need roughly six months before it is ready for the landscape.
Virginia Tech and NC State both emphasize the same root-zone logic: clean, low-fertility, well-drained material that holds enough moisture without becoming airless. Make a hole in the medium with a pencil, insert the hormone-treated base without scraping it, and firm the mix around the stem. Several cuttings can share a larger container if their leaves do not touch, but individual small pots make watering and later transplanting easier.
The direct method is also the better choice when the cutting is irreplaceable. If you have one stem from a rose with sentimental value, use two or more small pots if possible, and choose the setup with the least rot risk. If you have plenty of prunings, the potato can be a harmless experiment alongside the conventional pots.
| Decision | Potato setup | Direct rooting medium |
|---|---|---|
| Main advantage | Cheap support and temporary moisture around the base | Predictable aeration and easier moisture control |
| Main risk | Potato decay, excess wetness, and limited air at the wound | Drying out if the cover or watering is neglected |
| Best use | A small side-by-side experiment | The main batch or a valuable cultivar |
| What proves success | Roots, not a green shoot alone | Roots, stable growth, and successful hardening |
How to tell rooting from temporary leaf growth
New leaves are encouraging but not conclusive. A cutting can push a leaf from stored energy before it has a functioning root system, then wilt when that reserve is exhausted. A cutting that stays firm, holds its leaves, and shows gradual new growth is more promising, but even that combination is not proof.
Timing depends on the wood stage, rose variety, temperature, and humidity. Check after about four weeks at the earliest, and expect some cuttings to need six to eight weeks or longer. Do not tug every few days. Repeated movement can tear new roots or shift the basal tissue in the potato.
When the waiting period has passed, gently test for resistance once. If the stem holds in the medium, roots may be anchoring it. The most dependable check is to lift the cutting carefully with a pencil or small tool, not to pull on the stem. Look for several firm, pale roots and a base that is not slimy or dark. If you have a batch, inspect one weaker cutting and leave the best-looking ones undisturbed.
The potato makes this harder because you cannot see the base. That opacity is one reason direct propagation is easier to manage. A clear pot or a transparent-sided propagation cell can show roots, but do not expose them just for curiosity; roots need darkness and protection once they begin developing.
Troubleshoot black stems, mold, wilting, and no roots
Most failed cuttings do not need a more elaborate recipe. They need a diagnosis of water, air, temperature, stem quality, or timing. Read the base first, then adjust one variable at a time.
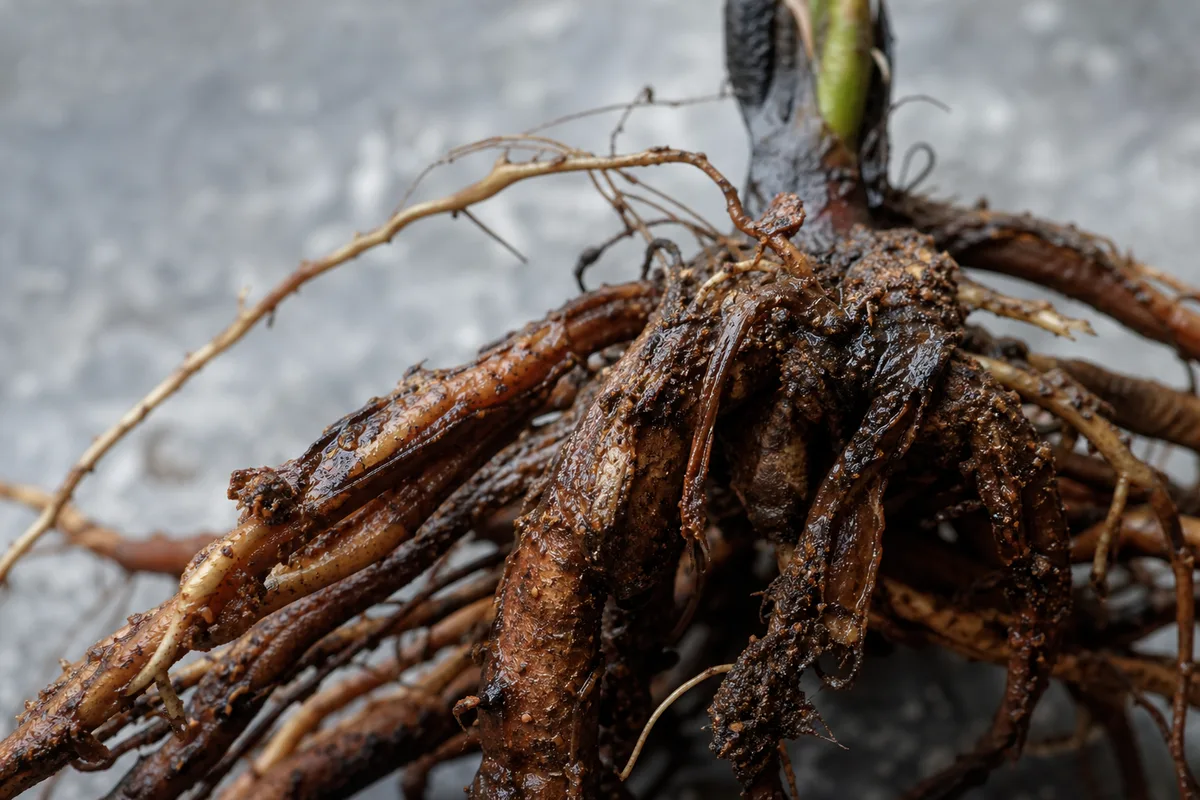
If the base turns black or soft
A black, soft, or foul-smelling base points to rot or severe tissue damage, not a healthy callus. Remove the cover, lift the assembly, and discard the soft potato. If the discoloration is limited to the very bottom and the upper stem is firm, cut back to clean tissue with a sterilized blade and re-root the fresh section in new, airy medium without another potato.
If the blackening is moving upward, the stem collapses when pinched, or the remaining cane is discolored throughout, discard it. Clean the pot and tool before using them again. Do not add fungicide, fertilizer, or cinnamon as a last-minute layer over a rotting stem; the correction is sanitation, less water, more airflow, and a fresh cutting when possible.
If leaves wilt or new leaves appear
Immediate wilting usually means the leaves are losing water faster than the stem can replace it. Check for a dry medium, a loose cover, hot direct light, wind, or too much leaf area. Move the pot to bright shade, restore a loose humidity cover, and remove only damaged or excess foliage. If the medium is saturated, do not respond to wilt by adding more water; roots cannot use water from an airless, flooded pocket.
New leaves followed by collapse often mean the stem spent stored energy before roots formed. Check the base rather than celebrating the shoot. Keep the cutting humid and undisturbed if the base is firm; start backup cuttings if it is not. Do not fertilize a rootless cutting. It cannot use a regular feeding program, and salts in the medium can make a wounded base less forgiving.
If there are no roots after eight to ten weeks, inspect one representative cutting. A firm green stem may simply be slow because of variety or cool conditions; refresh the medium and continue only if the setup is clean. A dry, shriveled, black, or soft base is a failed cutting, not a request for more patience.
Transplant a rooted cutting without setting it back
Do not move a cutting outdoors merely because it has one new leaf. First wait for a small, functioning root system and growth that remains firm after the cover is vented. Reduce humidity gradually over several days: open the bag a little farther, leave it off for longer periods, and replace it if the leaves begin to wilt. This is hardening, and it prevents a sudden change from still air to dry wind.
When the plant holds itself without the cover, lift it with the root zone intact. If roots have grown into the potato, do not yank the stem through the flesh. Break away loose potato pieces gently and cut away only what can be removed without tearing the roots. A decomposing potato is not a useful fertilizer plan for a new rose; the rooted cutting deserves a clean, stable medium of its own.
Pot the cutting in a small container with drainage and a standard rose-friendly potting mix, or place it in prepared garden soil once local conditions are mild. Keep it shaded from the harshest sun for the first few days, then increase morning light gradually. Water when the upper mix begins to dry, but do not keep the young root ball saturated.
For an outdoor planting, choose a position with good drainage and enough light for the mature rose. Protect a newly hardened plant from hard frost, strong wind, and sudden heat. UC Davis’s estimate of roughly six months before a rose cutting is ready for the landscape is a useful reminder: rooting is only the first milestone. A cutting that survives the first transplant still needs time to build a sturdy root system and several canes.
When to skip the potato method
Skip the potato when you have only one valuable cutting, when your climate is hot enough to overheat a covered pot, or when the weather is cool and wet enough that the potato will stay saturated. Skip it if you cannot check the setup most days. The method does not reduce the need for monitoring; it adds an extra organic object whose condition you must watch.
Use direct propagation when you want to compare results cleanly, when you need to see the root zone, or when you are trying a rose that is already known to be slow from cuttings. Use layering instead when a flexible cane can stay attached to the mother plant; an attached stem has access to the parent’s water and carbohydrate supply while roots form, which can make the process more forgiving.
The best reason to try a potato is curiosity and a ready supply of spare cuttings. The best reason to leave it out is reliability. In either case, the winning conditions are the same: choose the right cane above the graft union, cut while it is hydrated, keep only modest foliage, use a clean airy medium, hold humidity without trapping heat, and wait for roots rather than trusting a quick flush of leaves.
Conclusion
Growing rose cuttings in potatoes is possible enough to test, but the potato should be treated as a temporary support—not as a proven rooting hormone, fertilizer, or disease shield. Its moisture may help a stem avoid drying, yet its dense, decomposing flesh can also reduce airflow and invite rot.
For the strongest chance of success, take several healthy cuttings at the right wood stage, root most of them directly in a clean, well-drained medium, and use one potato assembly as a controlled comparison. Keep the base moist but oxygenated, cover the leaves without overheating them, inspect for rot, and wait for real roots before transplanting. That turns a viral garden trick into a sensible experiment while keeping the fundamentals of rose propagation in charge.



