How to Harvest Strawberries the Right Way
Harvest strawberries at peak flavor with variety-specific timing, a damage-free picking motion, weather tips, and simple storage guidance.
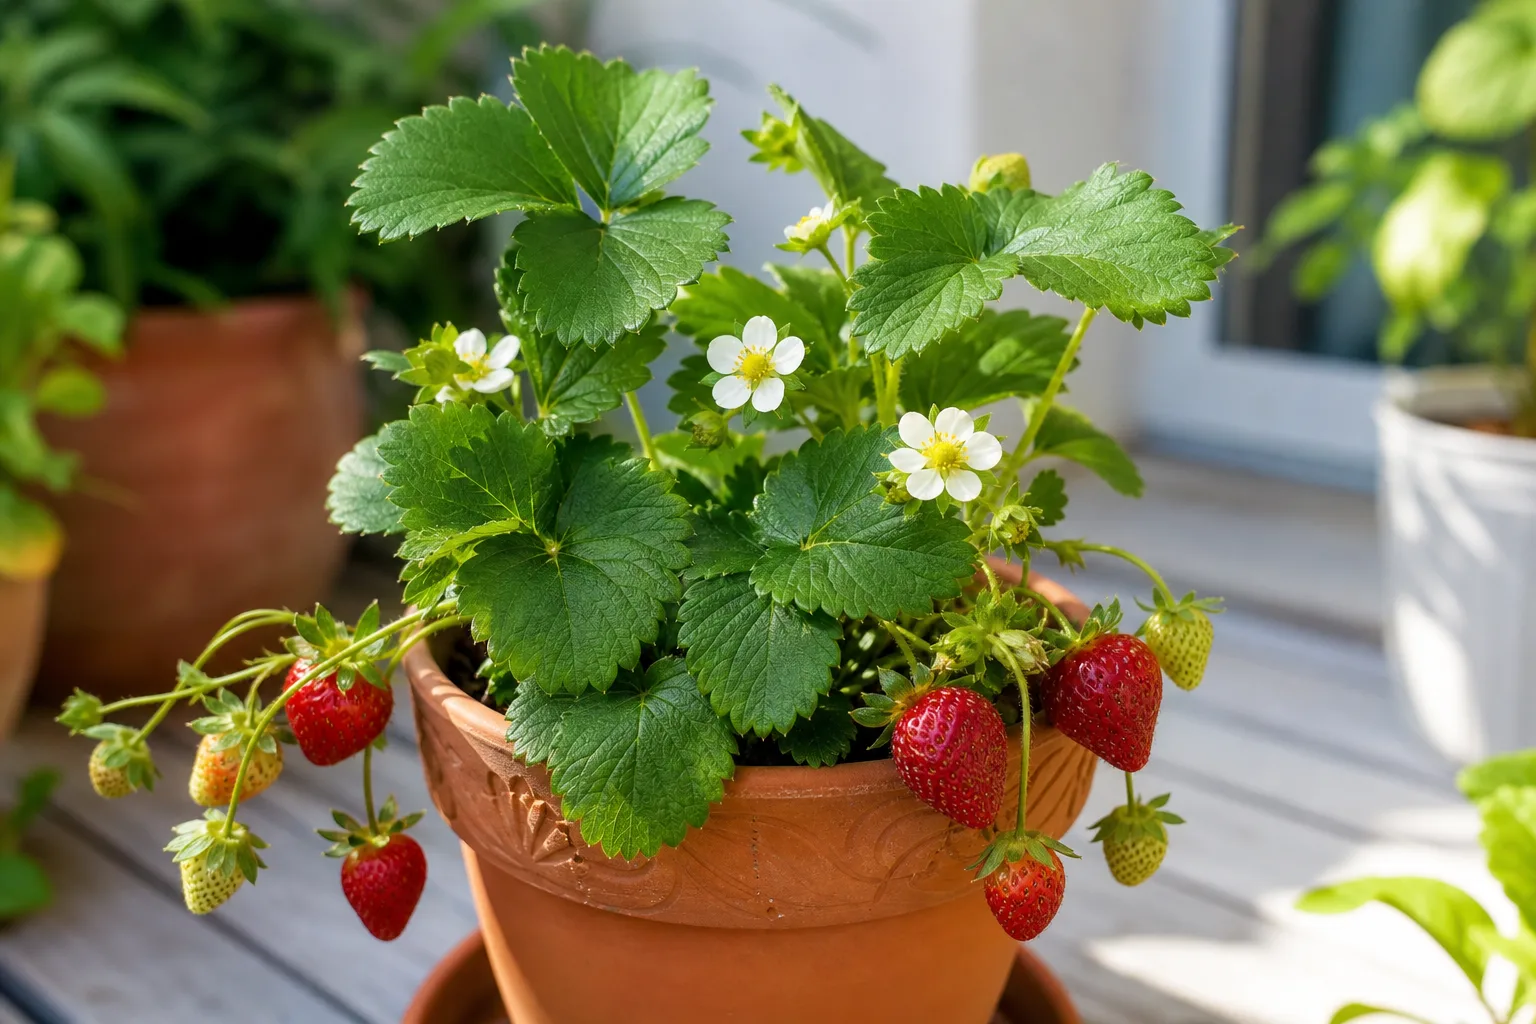
The best strawberry is usually the one you almost left behind: fully colored, still firm, and picked before heat, rain, or a slug gets to it. Harvesting well is not just a matter of pulling red fruit. The way you judge ripeness, support the stem, handle the berries, and maintain the mother plant determines how much of the crop reaches the kitchen—and whether the plant has the strength to fruit again.
This guide gives you a repeatable way to harvest garden strawberries, whether yours are in a bed, raised planter, container, or hanging basket. If you are growing the plant itself, the strawberry profile can fill in broader growing details; this page stays focused on the decisions that happen when fruit begins to color.
The quick harvest rule
Pick a strawberry when it is fully colored for its variety, including the shoulder nearest the calyx and the pointed tip. The fruit should look plump and glossy, smell pleasantly sweet, and yield slightly when touched—but it should not feel soft, leaking, or sunken. Size is a poor maturity test: a small berry can be ready while a larger berry on the same plant is still pale.
Harvest with a short piece of stem attached rather than pulling on the berry or tearing away the green cap. Place each berry in a shallow, ventilated container, keep it out of direct sun, and inspect the patch again in two or three days. That simple loop protects the plant and keeps ripe fruit from becoming a mold source for the berries still developing.
Know what type of strawberry you grow
The variety label gives you a useful expectation for when fruit will arrive, but it does not replace looking at each berry. The RHS groups garden strawberries into summer-fruiting, perpetual, and alpine types; North American labels commonly use June-bearing, everbearing, and day-neutral for the first three crop patterns. The names overlap imperfectly, so trust the plant tag first and the actual flowering pattern second.
June-bearing, everbearing, and day-neutral crops
June-bearing or summer-fruiting strawberries make one concentrated crop, often over roughly two or three weeks. Early, midseason, and late cultivars can shift that window, as can latitude, planting date, winter temperatures, and spring weather. Once the first berries color, walk the row frequently because a flush can move from green to overripe surprisingly quickly.
Everbearing or perpetual strawberries produce separate flushes rather than one large harvest. You may see an early-summer crop and another later in the season, with smaller numbers of berries between flushes when conditions suit the variety. After the first flush fades, keep inspecting instead of assuming the season is over.
Day-neutral strawberries can flower and fruit through much of the growing season when temperatures stay within the plant’s comfort zone. Their harvest is more of a rolling queue: ripe, nearly ripe, flowering, and newly set fruit may all appear together. This is why a day-neutral bed benefits from short, frequent inspections instead of a single “harvest week.”
Alpine and wild strawberries
Alpine strawberries, including Fragaria vesca, make smaller berries with a concentrated aroma and can fruit intermittently through summer. Some have red fruit; others have pale or yellow fruit, so “fully red” is not universal. Use the cultivar’s mature color, a sweet fragrance, and a gentle firmness check rather than forcing an alpine berry to match the appearance of a supermarket strawberry.
Wild or alpine plants also tend to produce fruit in lower numbers, often hidden under foliage or close to the soil. Their berries are delicate and do not travel well, which makes them excellent candidates for eating immediately after picking. If a wild strawberry is clean and ripe, move it directly from plant to mouth; if it needs to travel, handle it even more gently than a large-fruited cultivar.
Judge ripeness by color, calyx, and taste
Color is the first test, but “red” by itself is too vague. Look at the whole berry from several angles, especially the shoulder under the green calyx and the tip. A pale band, green shoulder, or white point usually means the berry needs more time. A darkened, dull, wet-looking patch or collapsed surface points in the opposite direction: it is already declining.
The green calyx—the leafy cap—should look fresh rather than dried and brown. The berry should be full-shaped and slightly springy, not hard and fibrous or so soft that your finger leaves a dent. Some cultivars mature to a deep red, while others are a lighter scarlet, so compare berries with the same variety rather than judging one plant against another.
The most useful tie-breaker is flavor. Pick one representative berry from a cluster and taste it. Strawberries are non-climacteric fruit, meaning they do not keep building sugar after harvest; a berry that is merely blushing when it leaves the plant will not become garden-sweet on the counter. Research and extension explanations of ripening behavior list strawberries among fruits that must be harvested at the right stage, and the RHS likewise advises choosing fruit that is fully ripe because it will not ripen further once picked (University of Minnesota Extension, RHS).
Flowering-to-fruit timing is a useful cross-check, not a command. In good conditions, berries often reach harvest around a month after blossoms are pollinated, but a cold snap, shade, heat, or a cultivar difference can move that date. Start watching when the first flowers open, then let color, texture, and taste make the final call.
Pick in a cool, dry weather window
Early morning is often a good time because the berries have not spent the day heating in the sun. If the foliage and fruit are wet with dew, wait until the surface dries; picking damp berries and packing them together increases the chance of soft rot. If morning is wet, late morning or early evening can be better than forcing a harvest while the fruit is dripping.
Rain changes the decision. If a storm is approaching and several berries are fully ripe, pick the ripe fruit before the rain rather than leaving it to split, soften, or sit against wet mulch. Do not strip every pale berry from the plant just because weather is coming; reserve early picks for fruit that has already reached its mature color, and leave the rest for the next inspection.
Hot weather narrows the window between “ready” and “soft.” On a hot spell, check daily and move a harvest into the coolest part of the day. Keep the basket shaded while you work, and do not stack berries deeply in a warm bucket where the bottom fruit will bruise under the weight of the top layer.
How to harvest without wrecking the crown
The crown is the short central stem from which the leaves, flowers, roots, and runners grow. It is not a vine to tug on. Pulling a berry straight away from the plant can tear the calyx, bruise the fruit, or yank a flower truss and nearby developing berries along with it.
Use a four-step picking motion
- Inspect the whole plant. Lift leaves gently and check both the front and back of each fruit cluster. Identify ripe, nearly ripe, damaged, and moldy berries before you start cutting so you do not repeatedly handle the plant.
- Support the fruiting stem. Hold the stem or pedicel—the stalk connecting the berry to the plant—rather than squeezing the berry itself. Keep your fingers off the soft shoulders and tip.
- Pinch, twist, or snip above the calyx. For a berry you will eat immediately, a gentle pinch-and-twist can work. For fruit headed to the kitchen, use clean scissors or snips and leave a short piece of stem attached above the green cap. Gardener’s Path recommends cutting above the calyx, while Gardening Know How also advises leaving part of the stem to reduce bruising and speed of spoilage (Gardener’s Path, Gardening Know How).
- Lower the berry into the container. Do not drop it into a deep pail or rub it against other fruit. A shallow basket or reused vented berry punnet lets you keep a single layer and spot damaged fruit quickly.
You do not need to sterilize pruning shears between every berry, but start with clean blades and wipe away plant residue if the tool becomes dirty. If one plant has obvious rot, harvest healthy fruit from other plants first, then remove the affected material and clean the blades before moving on.
Sort berries before you leave the patch
Harvesting is also a quick quality-control pass. Put sound, ripe berries in one part of the basket, berries that are slightly soft or destined for immediate eating in another, and any moldy or badly damaged fruit in a separate discard container. Do not place a leaking berry against firm fruit; one wet spot can turn a good handful into a sticky, moldy clump.
If a berry is ripe but has a small surface blemish, use it the same day after cutting away the damaged area. If it is visibly moldy, collapsed, contaminated with animal feces, or has deep pest damage, discard it rather than trying to rescue it with a rinse. Food-safety guidance from University of Minnesota Extension emphasizes starting with clean, potable water and not treating washing as a way to remove contamination that has already adhered to produce (Extension food-safety guidance).
Keep fruit clean with mulch and cover
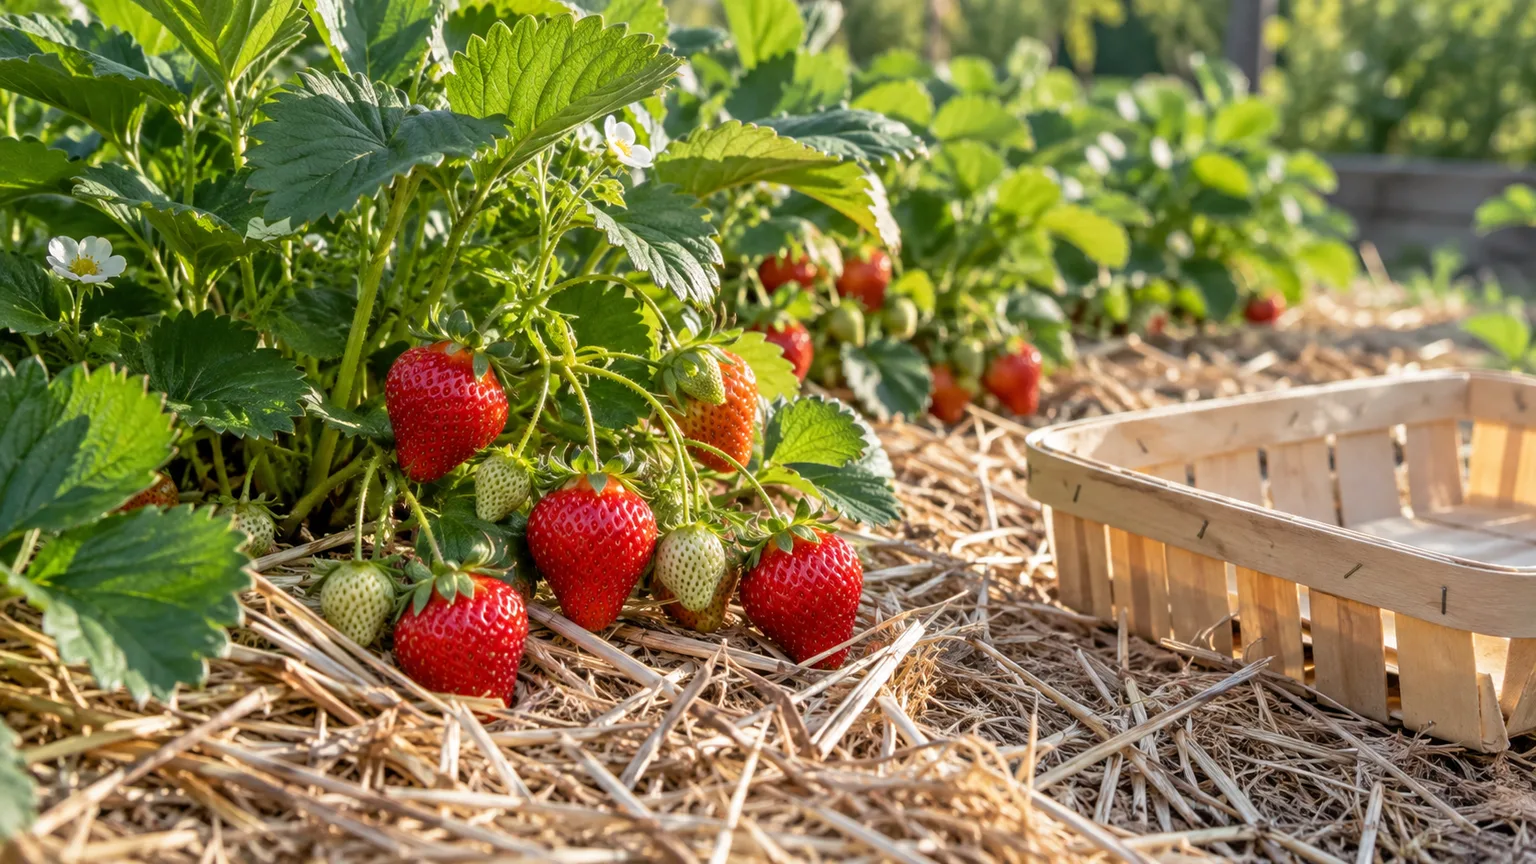
Strawberries that rest on damp soil are more likely to pick up grit, stay wet after rain, and develop gray mold. A clean layer of straw, a purpose-made strawberry collar, or a well-secured mulch fabric lifts the fruit away from the soil and improves airflow around the underside. Apply or refresh mulch before the fruit becomes heavy enough to sag into the ground, not after every berry is already dirty.
Mulch should support drainage, not create a permanently soggy mat. If the layer stays wet for days, pull it back from the crown and thin it around crowded fruit. The RHS recommends straw or similar dry organic material beneath developing berries to keep them clean and dry, while also warning that damp material can shelter slugs and disease when left in place indefinitely (RHS strawberry growing guidance).
Birds and squirrels often begin sampling fruit just as the first berries color. Put netting over a simple frame before the patch is full of red fruit, keep the mesh taut, and secure the edges so wildlife cannot become entangled. Slugs are more likely where fruit touches wet ground or where mulch remains damp and dense, so the first fix is to lift the fruit and improve access for inspection—not to spray the entire bed.
Water and feed for the next harvest
Harvest quality is largely decided before picking day. Strawberries have shallow roots and need consistent moisture while flowering and fruit is swelling, but repeated wetting of the fruit and crown raises disease pressure. Water the root zone, preferably in the morning, and adjust to soil, container size, rainfall, and heat rather than following a rigid calendar.
Too much nitrogen can make a plant look lush while diverting attention from fruiting, and drought can leave berries small, seedy, or bland. Once the main flush has finished, restore the plant with sensible ongoing care rather than a heavy emergency feeding. The RHS notes that fertile, regularly mulched soil may need little extra feed, while container plants generally need more regular nutrition during active growth.
If a harvest suddenly drops, check the fundamentals in order: was the bed shaded, did flowers suffer frost, were blossoms pollinated, did the soil dry out, and are birds or slugs taking the fruit? The strawberry fruiting troubleshooting guide is useful when the problem is a lack of berries rather than a picking mistake.
Manage runners after fruiting
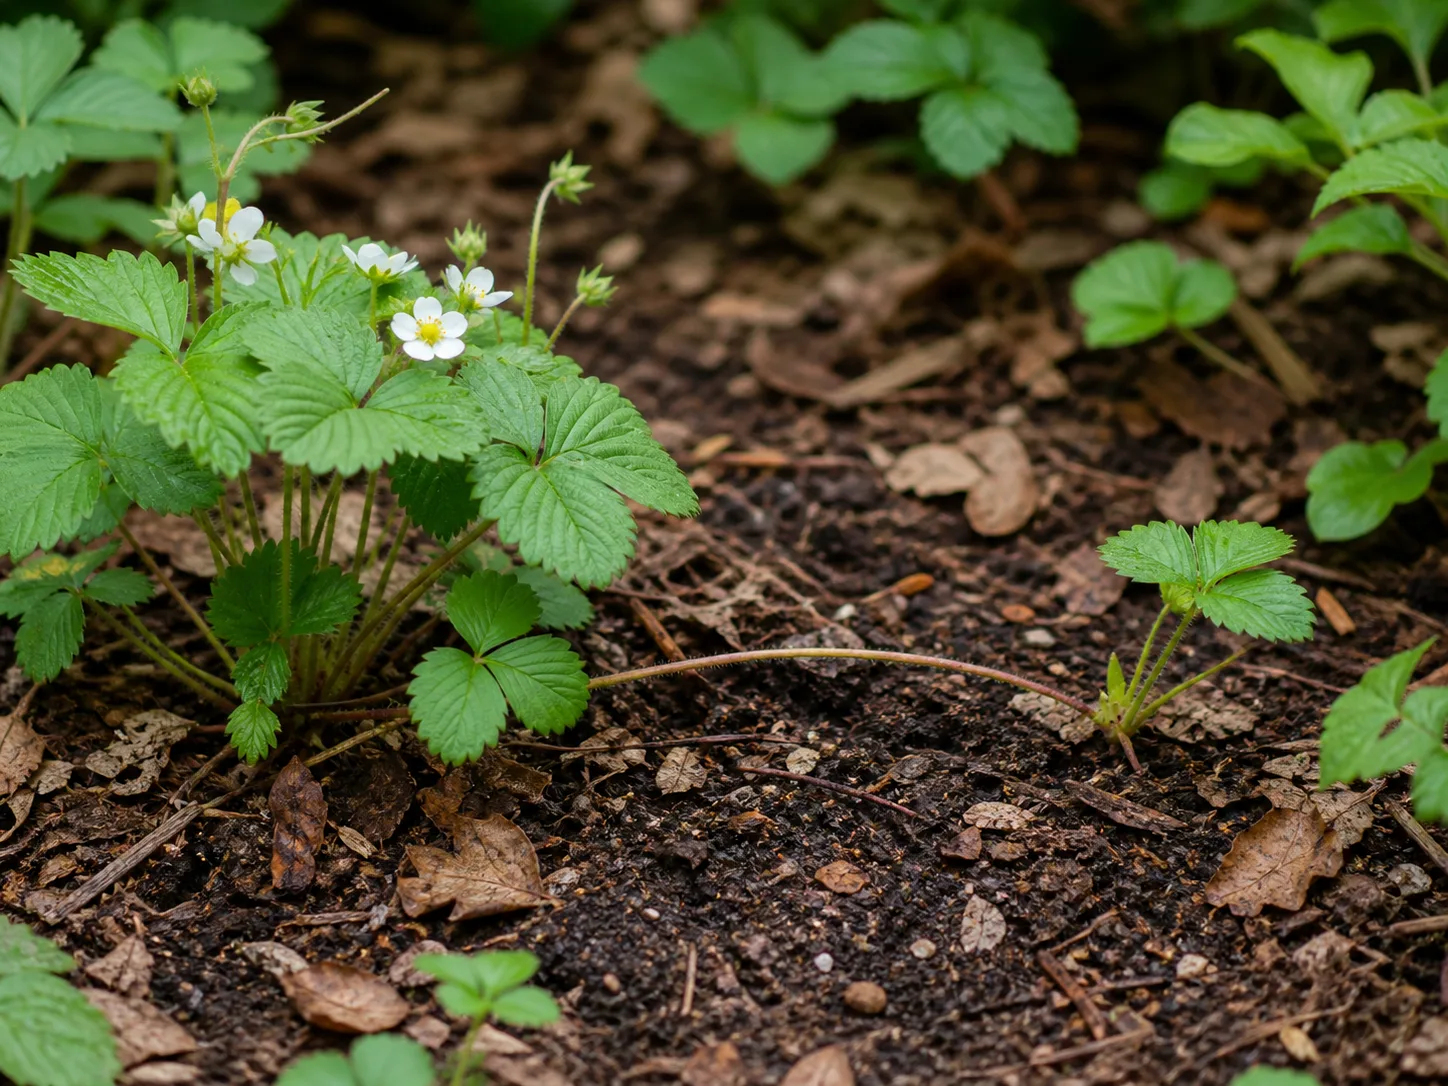
Runners are not failed fruit stems. They are long, flexible stems that carry small daughter plants, allowing the strawberry to spread and replace older plants. They are valuable when you need new plants, but a bed covered in runners can become crowded, shaded, and difficult to harvest.
After the main crop, decide what the bed is for. Keep a few strong runners from your healthiest plants if you want replacements; remove the rest while they are young. To root one, set the daughter plant on the soil surface or into a small pot of mix while it is still attached to the mother plant, keep it moist, and sever the connecting runner after the new plant has rooted and begun making fresh growth.
This selective approach preserves the mother plant’s leaves and crown while giving you a controlled number of replacements. The RHS identifies late summer as a good time to propagate from runners and notes that perpetual types often produce fewer runners; if your plant is already weak or diseased, do not use its runners as your nursery stock.
Chill, store, and use fresh strawberries
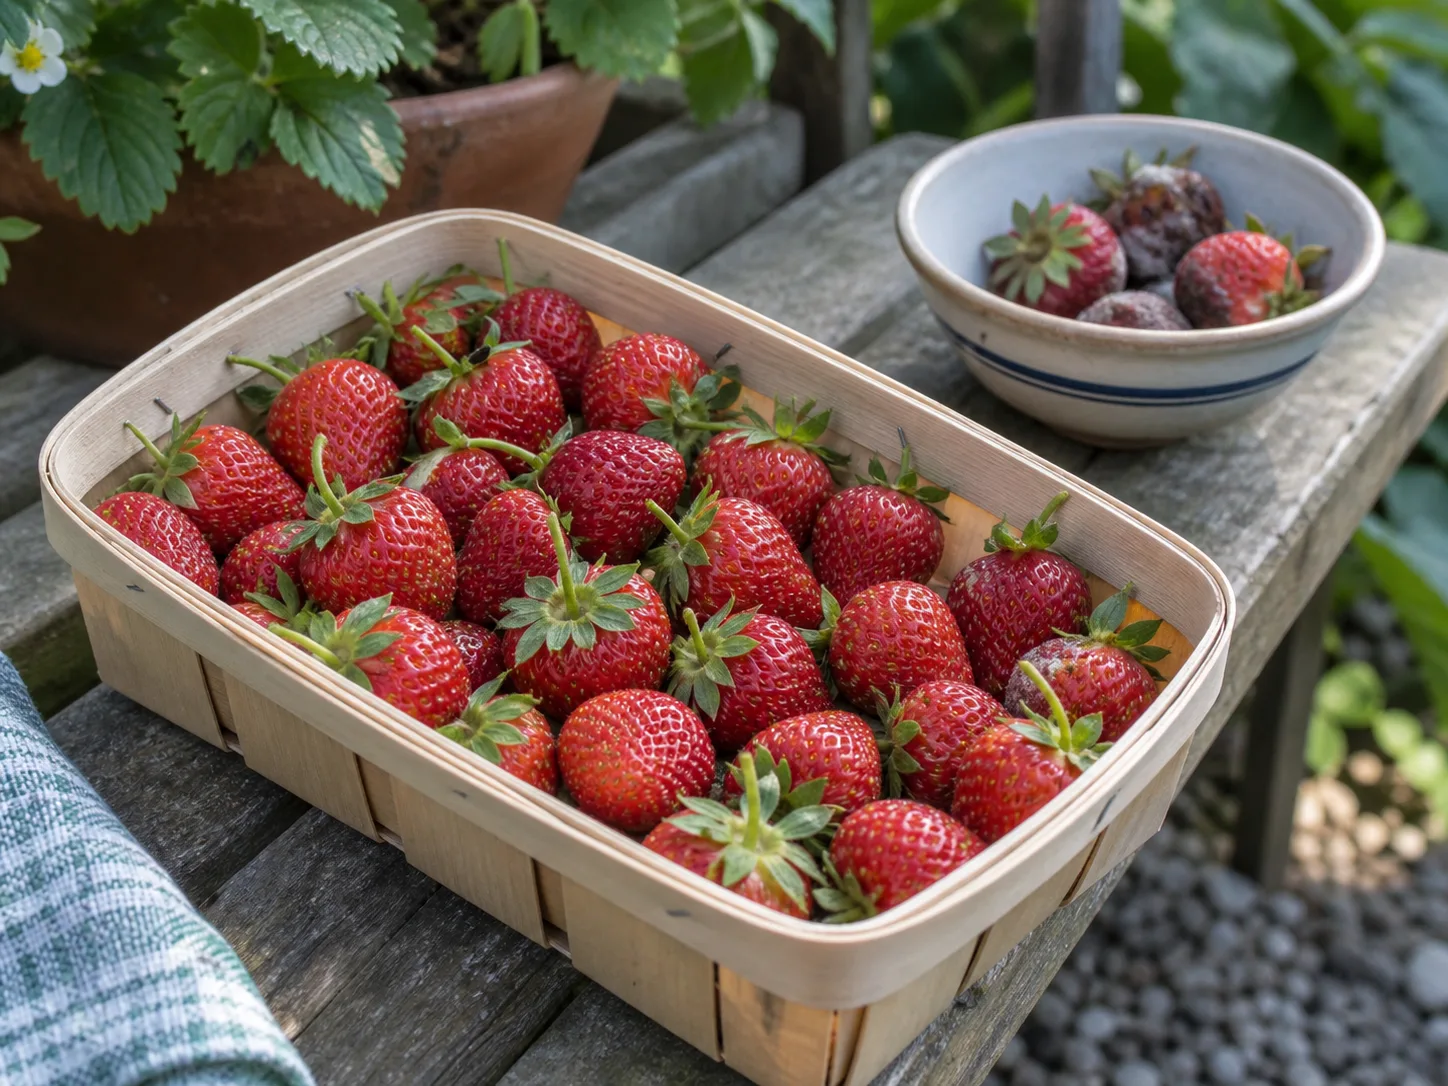
Strawberries are fragile because the ripe fruit has a soft surface and high water content. Bring the basket out of direct sun promptly, remove any crushed or moldy berries, and refrigerate the sound fruit in a shallow, ventilated container. Avoid sealing warm, damp berries in an airtight bag; trapped moisture is a faster route to soft spots than a little air movement.
Keep the green caps and short stems attached until you are ready to prepare the fruit. They help limit exposed surface area and make the berries easier to handle. A single layer is ideal, but if the harvest is larger, separate layers with a clean paper towel and do not compress the container.
Use the softest berries first and expect garden fruit to have a short refrigerator life. Gardening Know How recommends eating strawberries the same day when possible and gives about three days in the refrigerator as a practical expectation. For a glut, freeze firm ripe berries after removing the caps; they may lose their fresh shape on thawing, but remain useful in smoothies, sauces, baking, and jam.
Build a repeatable picking routine
During a June-bearing flush, walk the patch every two or three days; in hot weather, check daily. For everbearing and day-neutral plants, make the same short inspection part of your normal garden round. The point is not to pick every berry on every visit. It is to catch each fruit during its narrow period of full color and firmness.
Use the same path through the bed each time so hidden fruit is less likely to be missed. Start with the cleanest, healthiest plants, then handle damaged areas last. Check under leaves, along the soil-facing side of the plant, and inside containers where berries can ripen out of sight.
Keep a simple note of when a flower cluster first produced ripe fruit, how quickly berries followed, and which plants gave the best flavor. That record becomes more useful than a generic harvest calendar next year because it reflects your cultivar, exposure, container or bed, and local weather.
Troubleshoot a disappointing harvest
When berries disappoint, do not immediately assume the plant needs more fertilizer. Compare the fruit’s color, texture, watering history, light, position, and contact with soil. One clue rarely gives the answer, but the combination usually narrows it quickly.
Red berries that taste watery or bland
If a berry is fully colored but flavorless, first consider harvest conditions. Fruit picked after prolonged rain can taste diluted, and fruit from a shaded or overcrowded plant may color more slowly and develop less sweetness. Let the next berries mature in place, improve light and airflow where possible, and avoid flooding the bed immediately before picking.
A berry that is red but unusually soft may also be overripe rather than underfed. Pick the next batch earlier in its fully colored stage, harvest more often, and separate soft fruit so it does not damage firm berries. If the problem affects the whole plant or bed, inspect roots, drainage, pollination, and nutrition rather than trying to correct taste with a last-minute feed.
White-tipped or unevenly colored berries
White or green shoulders mean the berry is not finished, even if the sunny side is bright red. Leave it attached and check again after a day or two. If the same side repeatedly stays pale, look for dense foliage, a fruit resting against wet mulch, or a plant position that receives less light.
Do not use size as a reason to pick early. A large berry with a white tip is still less sweet than a smaller berry that has colored completely. If you are unsure of the mature color because the variety is unfamiliar, taste one fully colored example and use it as the reference for the rest of that plant.
Fruit that molds before it ripens
Start at the fruit, not the spray bottle. Remove moldy berries from the bed, lift developing fruit off bare soil, thin excessive mulch, and water at the base in the morning. Then check for dense foliage, poor airflow, rain-splashed fruit, and berries touching one another.
Pick ripe fruit promptly during wet weather and harvest more frequently while conditions stay humid. If gray mold continues across many plants, photograph the symptoms and consult a local extension service before applying a fungicide; product labels, preharvest intervals, and permitted crops vary by location. The guide to winterizing strawberry plants can help with end-of-season cleanup, but do not cut or renovate a productive bed in the middle of its harvest just because one berry molded.
Conclusion
Harvest strawberries by the whole-fruit test: mature color from shoulder to tip, a fresh calyx, slight spring, and good flavor. Pick in a dry, cool window, leave a short stem attached, lower the berries into a shallow container, and remove damaged fruit before it contaminates the rest.
Then keep the plant productive. Water the root zone, keep berries off wet soil, protect them from wildlife, and choose only a few healthy runners for replacements. Once you make the same inspection every two or three days, harvesting stops being a race against the patch and becomes a small, reliable routine that gives you better fruit and a stronger plant.