Saving Vegetable Seeds: When to Let Crops Ripen
Keep harvesting most of your garden while reserving a few open-pollinated plants for seed. Get crop-specific readiness signs, cleaning, drying, and storage steps.
Should you leave garden produce hanging on the plant until it gets huge? Only if you have a reason to let that particular fruit or seed pod mature. A gardener saving seeds may need to wait well past the stage when a crop tastes best, but that does not mean leaving every cucumber, bean, or tomato unpicked will make next year’s harvest bigger.
The useful rule is to harvest most of the crop for eating and reserve a small, clearly marked portion for seed. Choose healthy plants of a variety that can reproduce reliably, then wait for the crop-specific signs of seed maturity. As the University of Maine Cooperative Extension explains in its home seed-saving bulletin, saved seed reflects the genetics of its parent plants; the calendar and color alone cannot tell you whether the seed will come true to type.
The short answer: leave a few, not the whole crop
Leave produce on the plant when you are deliberately saving seed and the seed has not matured yet. Pick produce at its normal eating stage when your priority is flavor, tenderness, storage, or continued harvest. These are two different jobs, and the best stage for one is often the wrong stage for the other.
For a first seed-saving experiment, set aside one or a few plants rather than sacrificing the whole bed. Pick the rest of your green beans while the pods are tender, for example, and let selected pods dry on the vine. You can enjoy the current crop while learning what a mature seed looks like; the seeds you save are planting material for a later season, not a way to improve this year’s yield.
There is no universal “leave it longer” instruction. A tomato chosen for seed should ripen fully, while beans and peas need to dry in their pods. Carrots and beets are different again: they are biennials, so a plant grown for its edible root usually must survive winter and flower in a second season before it produces seed. The right choice depends on the crop and on how much space, time, and food you are willing to trade for seed.
Why eating maturity and seed maturity differ
Eating maturity is the stage when a crop has the texture, size, and flavor people want at the table. Seed maturity is when the embryo has developed enough to be viable for germination and the surrounding seed structure is ready to be harvested or dried. Those stages can coincide, but for many vegetables they do not.
Green beans and snap peas are commonly eaten while their pods are still tender and the seeds inside are immature. To save those seeds, you must let selected pods grow past the edible stage until they turn dry and brittle. Cucumbers are usually picked firm and green for food, but seed savers let selected fruits age longer so the seeds can finish developing. The fruit may become large, yellowish, or softer; it is no longer a crisp salad cucumber, but that change is part of the seed crop’s life cycle.
Some plants need a longer calendar, not just a riper fruit. Carrots, beets, cabbage, and other biennials devote their first growing season to leaves, roots, or heads; in the following season, after winter conditions or another flowering cue, they send up flowers and set seed. In cold climates, that can mean lifting and protecting a root or head over winter, then replanting it. The Maine bulletin gives this as a planning issue for crops such as beets and cabbage, and notes that annuals are simpler for new seed savers (University of Maine Cooperative Extension).
This distinction explains why “wait until it is overripe” is a poor blanket rule. You need the seeds to mature, but fruit that stays too long can split, rot, attract pests, or become harder to collect before weather or animals scatter the seed. Watch the actual seed structure rather than waiting for a fruit to look dramatically old.
Choose the right variety before saving seed
Before you set aside a plant, look at the seed packet, plant label, or variety name. This check can save months of work. If the packet says F1 hybrid, its seeds may germinate, but the plants that grow from them can vary from the parent instead of repeating the same fruit size, color, shape, or flavor.
Open-pollinated varieties and F1 hybrids
An open-pollinated variety can produce offspring that remain close to the parent when it receives compatible pollen from the same variety. Many heirlooms are open-pollinated, but the terms are not interchangeable: “heirloom” usually refers to a variety with a history of being maintained over time, while “open-pollinated” describes how it reproduces. Seed Savers Exchange’s seed-saving guide and University of Maine Cooperative Extension both distinguish these stable varieties from F1 hybrids, whose next generation can show a wider mix of traits.
Saving hybrid seed is not automatically a germination failure. It is an experiment with less predictable results. If you are curious and have room, you can grow the offspring and select plants over several generations; if you want next year’s crop to match the packet, purchase the same hybrid again or begin with an open-pollinated variety.
Seed saving is also a form of selection. The Maine bulletin recommends judging parent plants across traits such as health, maturity, yield, and fruit quality, rather than treating size as the only goal (University of Maine Cooperative Extension). If the best-tasting, earliest tomato is medium-sized, saving its seed may better serve your garden than choosing one unusually large fruit from a plant that otherwise struggled.
Cross-pollination and two-year crops
Open-pollinated does not mean protected from pollen from another variety. Bees and wind can move pollen between compatible plants, and the resulting cross usually becomes visible in the next generation, not in the fruit you are eating this year. Squashes and cucumbers are especially important to plan around because related varieties can cross; peppers, eggplant, corn, carrots, brassicas, and other crops also have pollination requirements that vary by species.
Beans and peas are often easier for beginners because their flowers commonly self-pollinate, although no garden has a guarantee of zero crossing. Tomatoes often self-pollinate too, but the University of Maine bulletin cautions that some heirloom tomatoes cross at higher rates than gardeners expect (University of Maine Cooperative Extension). For crops that cross readily, saving only one variety of that species, using proper isolation, or hand-pollinating and protecting a flower before it opens can improve the odds of true-to-type seed.
Distance requirements depend on the crop, pollinator, and garden layout, so one spacing number will not work for every seed. If you cannot isolate the varieties and need a predictable result, buying seed is a reasonable choice. If you accept variation, label the saved seed as a possible cross instead of promising yourself that it will be identical to the parent.
Which crops make practical first seed projects?
Start with a crop whose seed is easy to recognize and whose life cycle fits your season. Dry beans and peas are satisfying beginner choices: mark a few plants, stop picking their pods, and wait until the pods and seeds are fully dry. Savvy Gardening uses the same practical cue: the pods should be brown, shriveled, and brittle, with hard seeds inside.
Tomatoes are another common first project if you can confirm the variety is open-pollinated. You need ripe, healthy fruit, a short cleaning step, and a few days for the seeds to dry. Peppers are similarly manageable, but the seeds should come from a fruit that has reached its mature color; a green bell pepper may be edible while its seeds are not ready for saving. Peppers are also more prone to crossing between varieties than beans, so seed purity takes extra attention.
Lettuce can work well when you are willing to let a plant bolt and form fluffy seed heads instead of pulling it when the leaves become bitter. Radishes also form dry pods after flowering, but those pods need to dry before collection. These seed lots take less fruit processing than tomatoes and cucumbers, though wind, rain, and birds can remove ripe seed heads if you leave them standing too long.
Save squash, cucumber, melon, corn, carrots, or beets when you have room to manage isolation, longer maturation, or a second-year crop. They are not impossible crops, but they need more advance planning than a row of dry beans. Harvest to Table also recommends selecting healthy, productive plants and tracking each variety, which matters even more when several related crops flower in the same garden.
Signs a crop is ready for seed
Seed packets and cultivar descriptions can help you identify the variety, but they rarely replace watching the plant. Use these field cues as a starting point, then check instructions for the specific crop and climate. The table separates the usual edible stage from the seed stage so you can decide what to leave.
| Crop | Typical eating stage | Practical seed-maturity cue |
|---|---|---|
| Snap beans and peas | Tender, green pods | Pods turn brown, dry, and brittle; seeds are hard |
| Tomatoes | Fully colored and firm-ripe | Choose healthy, fully ripe fruit; extract seeds from the gel |
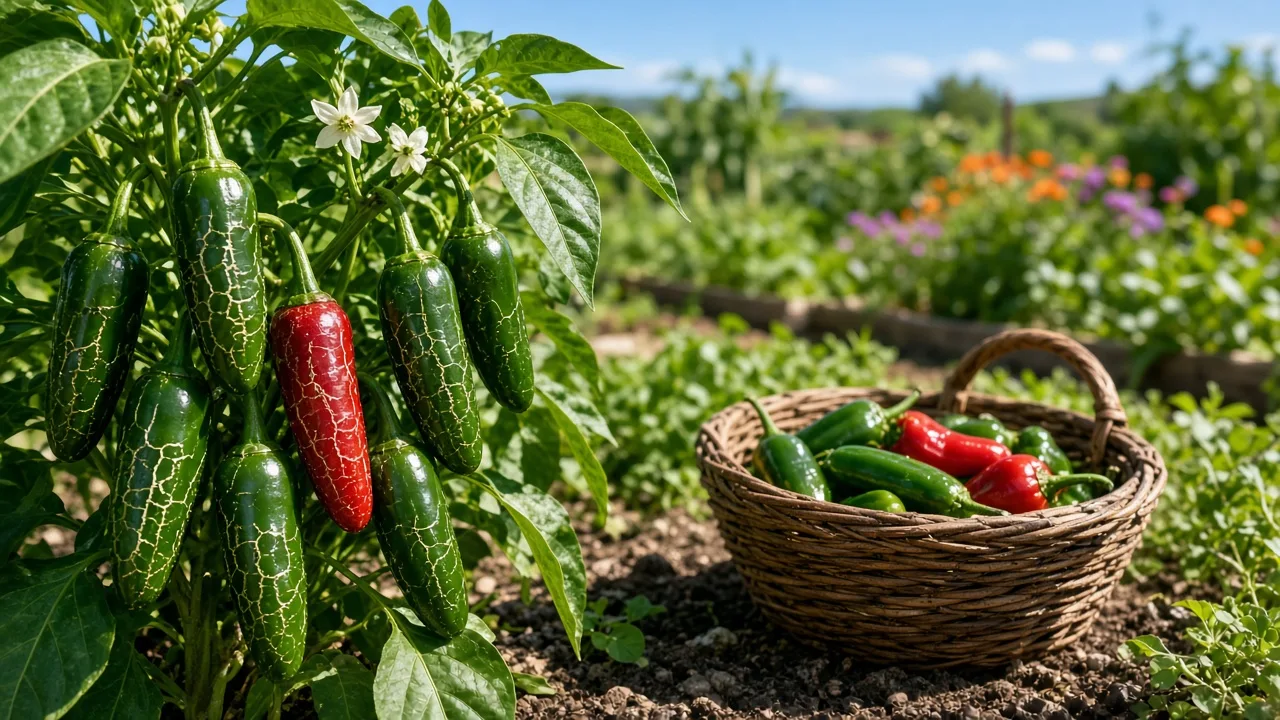
| Peppers | Green or colored, depending on use | Let fruit reach its mature cultivar color before removing seed |
| Cucumbers and melons | Firm or ripe enough to eat | Allow the fruit to reach seed maturity; often a color or firmness change |
| Lettuce | Young leaves before bolting | Let flowers fade and seeds form; collect before they disperse |
| Carrots and beets | Roots in the first year | Keep selected plants through winter and save seed after second-year flowering |
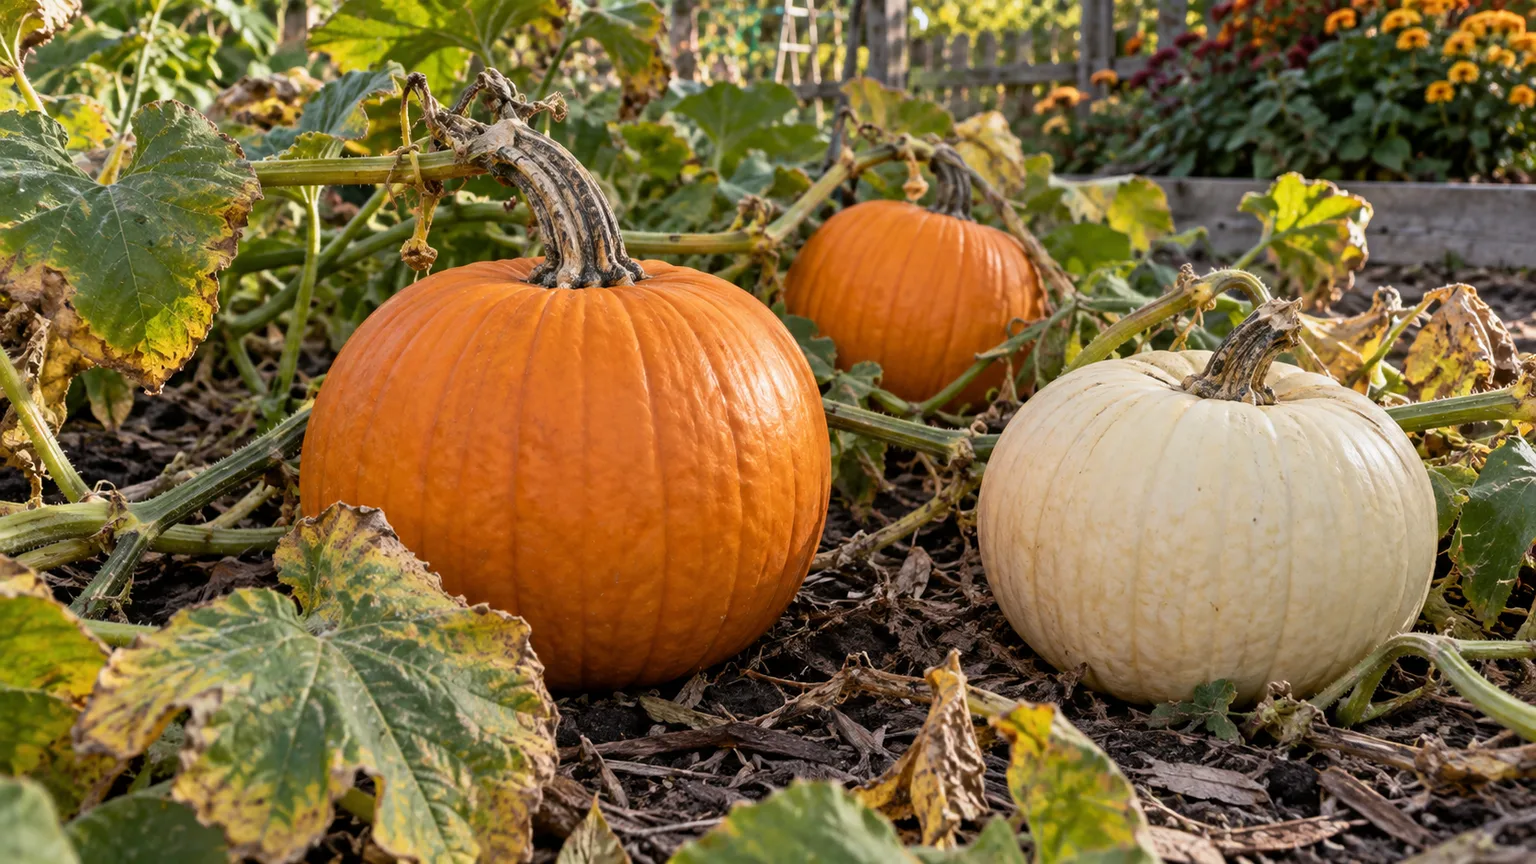
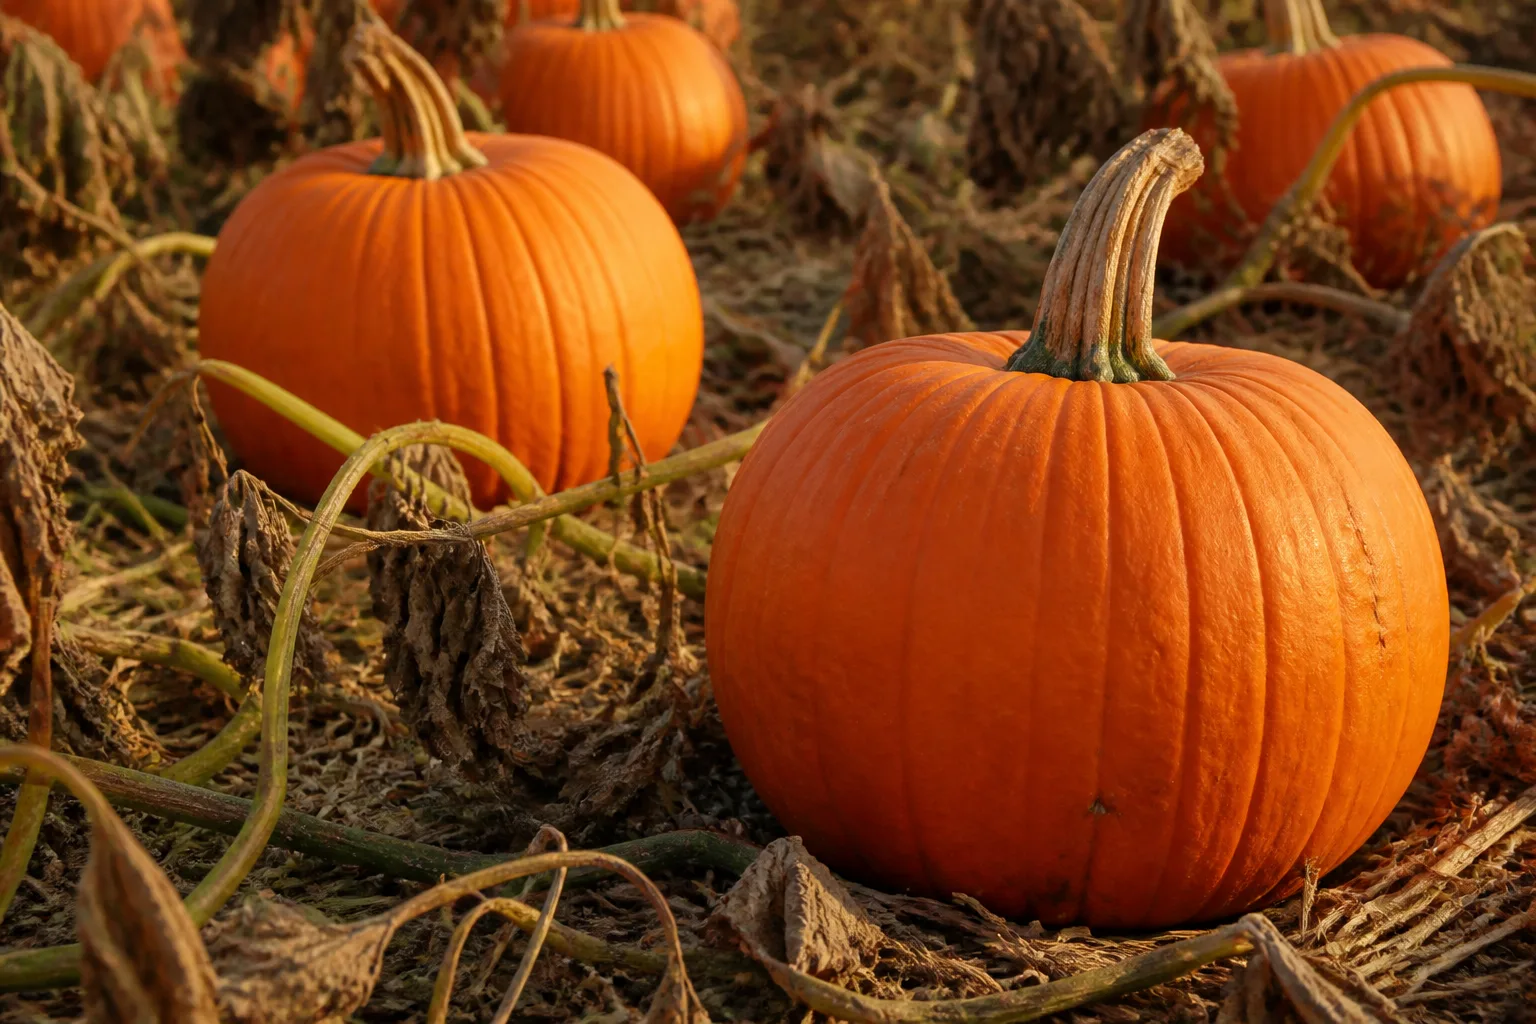
| Squash and pumpkins | Tender or fully mature fruit, by type | Allow fruit to mature fully; hard skin is one useful sign for winter squash |
Seed Savers Exchange notes that many crops reach market maturity before their seeds do, and gives beans, peas, cucumbers, summer squash, and carrots among the examples (Seed Savers Exchange). Do not interpret a cue such as “fully ripe” as “leave it until it rots.” Harvest the seed crop once the species’ seeds are mature, then clean and dry them promptly.
Wet-fruited crops
Tomatoes, cucumbers, squash, and melons hold seed inside fleshy fruit. For tomato and pepper, watch for the variety’s mature color and select fruit from healthy plants. With cucumbers and many squashes, the seed fruit needs more time than the crisp fruit picked for eating; some cucumber varieties become yellow or brown as seed maturity approaches, while winter squash develops a hard rind.
Those signals are not identical across cultivars. A green-fruited tomato may be ripe while a red-fruited tomato is not, and squash species have different harvest and storage behavior. Check the variety description when a crop’s color is ambiguous, and use multiple signs—firmness, color, and ease of separation from the vine—rather than waiting a set number of days alone.
Dry-fruited crops
Beans, peas, lettuce, radishes, and many brassicas produce seeds in pods or flower heads that dry on the plant. The pod or head should be dry enough that the seeds inside are hard, not soft and green. For lettuce and other plants with staggered flowering, seed may ripen unevenly; collect mature heads in stages or cut a branch when most seed is dry and finish drying it indoors before it sheds.
The goal is mature seed, not maximum time outdoors. If a wet spell, early frost, or wind threatens a nearly mature dry crop, you can cut plants or branches and hang them in a dry, airy place to finish. University of Maine Cooperative Extension recommends allowing pods or heads to dry and then threshing and winnowing them, while Seed Savers Exchange likewise emphasizes complete drying before storage (University of Maine Cooperative Extension; Seed Savers Exchange).
Save seed without giving up the main harvest
Treat the seed crop like a small project inside the larger food garden. Choose plants early enough that you can identify the best performers over the season, then mark them with a stake or bright tag. Continue picking from the unmarked plants on your normal schedule so you do not lose the tender stage of beans, cucumbers, or other crops you planned to eat.
Mark parent plants and protect the seed lot
Select vigorous plants that match the variety and have produced good-quality, healthy fruit. Avoid seed from plants with significant disease, poor growth, or damaged fruit; extension guidance specifically recommends healthy, disease-free parent plants for saving (University of Maine Cooperative Extension). If flavor matters, taste fruit before saving its seed. If you want earlier harvest, mark the earliest healthy plant that produced fruit true to the variety, not simply the first stressed plant to bolt.
For a cross-pollinated crop, protection has to happen at flowering, before pollen reaches the blossom. Covering a cucumber or squash fruit after it has already set cannot undo a cross. Home gardeners who want a controlled cross can bag an unopened female flower, transfer pollen from the chosen male flower, close or re-cover the blossom, and label the fruit; otherwise, grow only one compatible variety or accept that the seed may be mixed (University of Maine Cooperative Extension).
Keep an eye on weather, pests, and fruit condition while the seed matures. A seed fruit can split after rain, and dry pods can shatter or be carried away if you ignore them until every pod is brittle. On a rainy fall or before frost, bring mature dry seed pods indoors to finish drying. Do not bring diseased material into storage as if drying will cure the problem; discard questionable seed lots and use fresh seed if the crop is important.
Harvest and clean seeds the right way
Harvest on a dry day when possible, and keep every variety separate from the moment it leaves the plant. Put each fruit or seed head into a labeled bowl, paper bag, or tray before you start processing. A paper label next to an anonymous pile of seed is easy to lose; write the crop, variety, parent plant, and collection date immediately.
Wet seeds: tomatoes, cucumbers, and squash
Cut a ripe tomato across the middle and squeeze its seed gel into a clean jar. Add a little water if the mixture is too thick, loosely cover the jar, and leave it in a warm place out of direct sun for roughly one to three days, stirring occasionally. Fermentation breaks down the gel that surrounds tomato seed; it is not a step for every vegetable.
When the tomato mixture loosens and the seeds separate from the pulp, add water and pour off the floating debris. Rinse the heavier seeds through a fine strainer and spread them in one layer on a nonstick surface such as a coffee filter or screen. Dry them with airflow, away from direct sun and high heat. University of Maine Cooperative Extension describes fermentation and rinsing for fleshy-fruit crops, but specifies that pepper seeds do not need fermentation (University of Maine Cooperative Extension).
For cucumber, melon, and squash seeds, scoop the seed mass into a bowl, separate it from the flesh, rinse it, and allow it to dry fully. Some cucurbits benefit from a brief soak that loosens pulp, but follow a crop-specific method rather than treating every wet seed as a tomato. Float tests can help remove lightweight debris, but they do not replace checking that seeds are mature and dry.
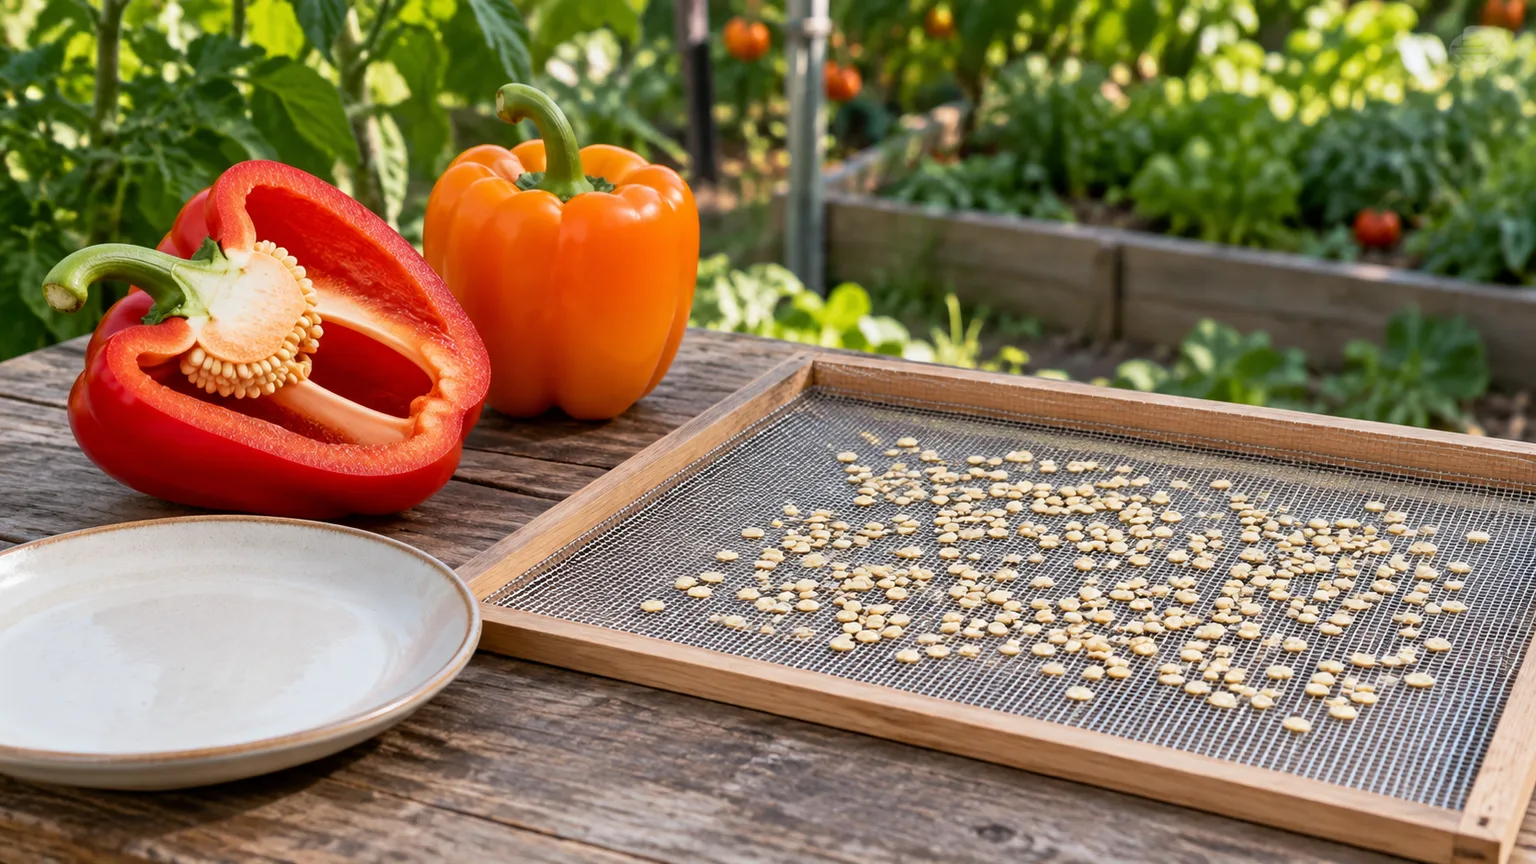
Pepper seed is simpler: scrape mature-colored fruit seed onto a labeled plate or screen and dry it without a fermentation jar. If you save hot peppers, use gloves when handling cut fruit and wash the knife and work surface afterward. Keep wet-seed processing tools clean, and do not store seeds while they still feel soft or tacky.
Dry seeds: beans, peas, lettuce, and pods
Let dry-fruited pods stay on the plant until they are brown and brittle, then collect them before they split open or scatter. If only a portion of the plant is ready, pick those pods separately and return later for the rest. Place the harvest in an open paper bag in a dry room with airflow so any remaining moisture can escape.
Once the pods are crisp, shell them by hand or rub them gently to release the seed. Remove pieces of stem and pod, then winnow the lighter chaff away outdoors or over a large tray. Do this with the fan on low and the seeds close to the catch surface; a gust can blow good seed away along with the debris. Avoid crushing the seed while threshing, because cracks can invite rot and reduce germination.
Lettuce and radish seed can mature at different times on a single plant. Cut the stalk when most seed is dry, turn it upside down in a paper bag, and shake or rub out the seed after it finishes drying. This catches seed that would otherwise fall, while allowing late pods to complete their drying indoors. Discard the chaff and keep the labeled seed lot separate from other crops.
Dry, label, and store seeds for next season
Good storage begins before the jar closes. Spread cleaned seeds in a single layer and give them enough time to dry in a cool, shaded place with good airflow. If a bean seed dents easily under a fingernail or a seed bends instead of breaking, it may still contain too much moisture. Damp seed sealed in an airtight jar can mold even when it looked clean on harvest day.
Once completely dry, put seeds in a paper envelope or another clearly labeled packet, then store packets inside an airtight container in a cool, dark, dry place. A refrigerator can work if the seed was dry before sealing and the container stays closed; let the sealed container warm to room temperature before opening it, so condensation does not form on cold seed. Seed Savers Exchange recommends dark, cool, dry storage and stresses labeling the crop and variety (Seed Savers Exchange).
Label more than the common crop name. Include the variety, collection year, source plant or bed, and any note about isolation or a possible cross. If you selected seed from a particularly early, flavorful, or productive plant, note that too. A record lets you compare offspring next year instead of relying on memory and mistaking an accidental cross for the original variety.
Before you commit a bed to old seed, run a small germination test. Place a sample on a moist paper towel at a temperature suited to that crop, keep it damp rather than waterlogged, and count how many seeds sprout within the normal germination window listed for that crop. If only half of ten seeds germinate, sow more thickly or use fresh seed; if none germinate, you have time to replace the packet before planting day.
Common mistakes and trade-offs
Leaving every fruit on the plant is the first avoidable mistake. It reduces what you can eat at the best stage and creates more overripe fruit to monitor. Reserve a seed lot proportionate to your garden and future planting plans: a few plants of beans can supply plenty of seed, while a crop that needs isolation or multiple parent plants takes more room and a longer commitment.
Saving seed from the largest fruit only confuses size with overall quality. Fruit size is influenced by variety, pollination, water, weather, and the plant’s growing conditions. Choose parent plants for the traits you want to repeat—healthy growth, flavor, reliable set, maturity timing, and a representative fruit—and keep more than one parent when maintaining genetic diversity matters.
Assuming open-pollinated means “no cross” can produce surprising seedlings. Label plants and check which varieties of the same species are blooming nearby. Tomatoes may look self-pollinating, but some varieties cross more readily; squash and corn can cross through insect or wind pollination. If a true-to-type crop matters more than experimentation, use known isolation or buy seed from a reliable source.
Other common failures happen after harvest: collecting seeds too green, confusing a hybrid for a stable variety, losing dry seed heads to wind, skipping the drying step, or storing an unlabeled jar. The cure is a sequence, not a product: choose the variety, mark the plant, wait for the right maturity cue, process the seed by crop type, dry it completely, and label it before it leaves your work surface.
Does leaving fruit longer make next year’s harvest bigger?
No single fruit-size trick guarantees a larger or more abundant harvest next year. Fully mature seeds are necessary for many seed-saving projects, but seed maturity is not the same as genetic superiority. The seed’s potential comes from the parent plant and its pollination; storing an immature seed will not improve it, and leaving an unusually large fruit on the vine does not automatically create a more vigorous seedling.
You can select for a trait deliberately over time. If you repeatedly save seed from healthy, open-pollinated plants that produce the flavor, timing, or yield you want—and keep the variety from unwanted pollen—you may gradually favor those traits in your own garden. That is a small breeding project, not a guaranteed harvest boost from letting one vegetable get oversized. University of Maine Cooperative Extension frames seed saving as selection based on chosen plant characteristics, while the parent plant’s genetics remain central (University of Maine Cooperative Extension).
For most gardeners, the most reliable way to keep next year’s harvest on track is to save only a manageable amount, check the variety, and store seed well. If your garden has limited space, a short season, cross-pollination you cannot control, or a crop you depend on, purchase fresh seed and keep harvesting the current crop at its best stage. Seed saving should add options and continuity, not turn dinner into a sacrifice.
Conclusion
You do not need to stop picking your fruits and vegetables. Pick most crops when they taste best, then let a small, marked group mature only when you are saving seed. Beans and peas need dry pods; tomatoes and many fleshy crops need fully developed seed that you clean and dry; biennials need the next season to flower.
Choose open-pollinated varieties when you want predictable offspring, account for cross-pollination before flowers open, and select healthy parent plants for the traits you actually value. Bigger fruit by itself does not promise a bigger harvest next year. The practical win is having a fresh crop for the table now and a correctly matured, labeled, dry seed lot ready for the garden later.