When to Harvest Oregano for the Best Flavor
Harvest oregano at the right growth stage for stronger flavor. Follow clear steps for fresh sprigs, drying, storage, regrowth, and hot-weather timing.
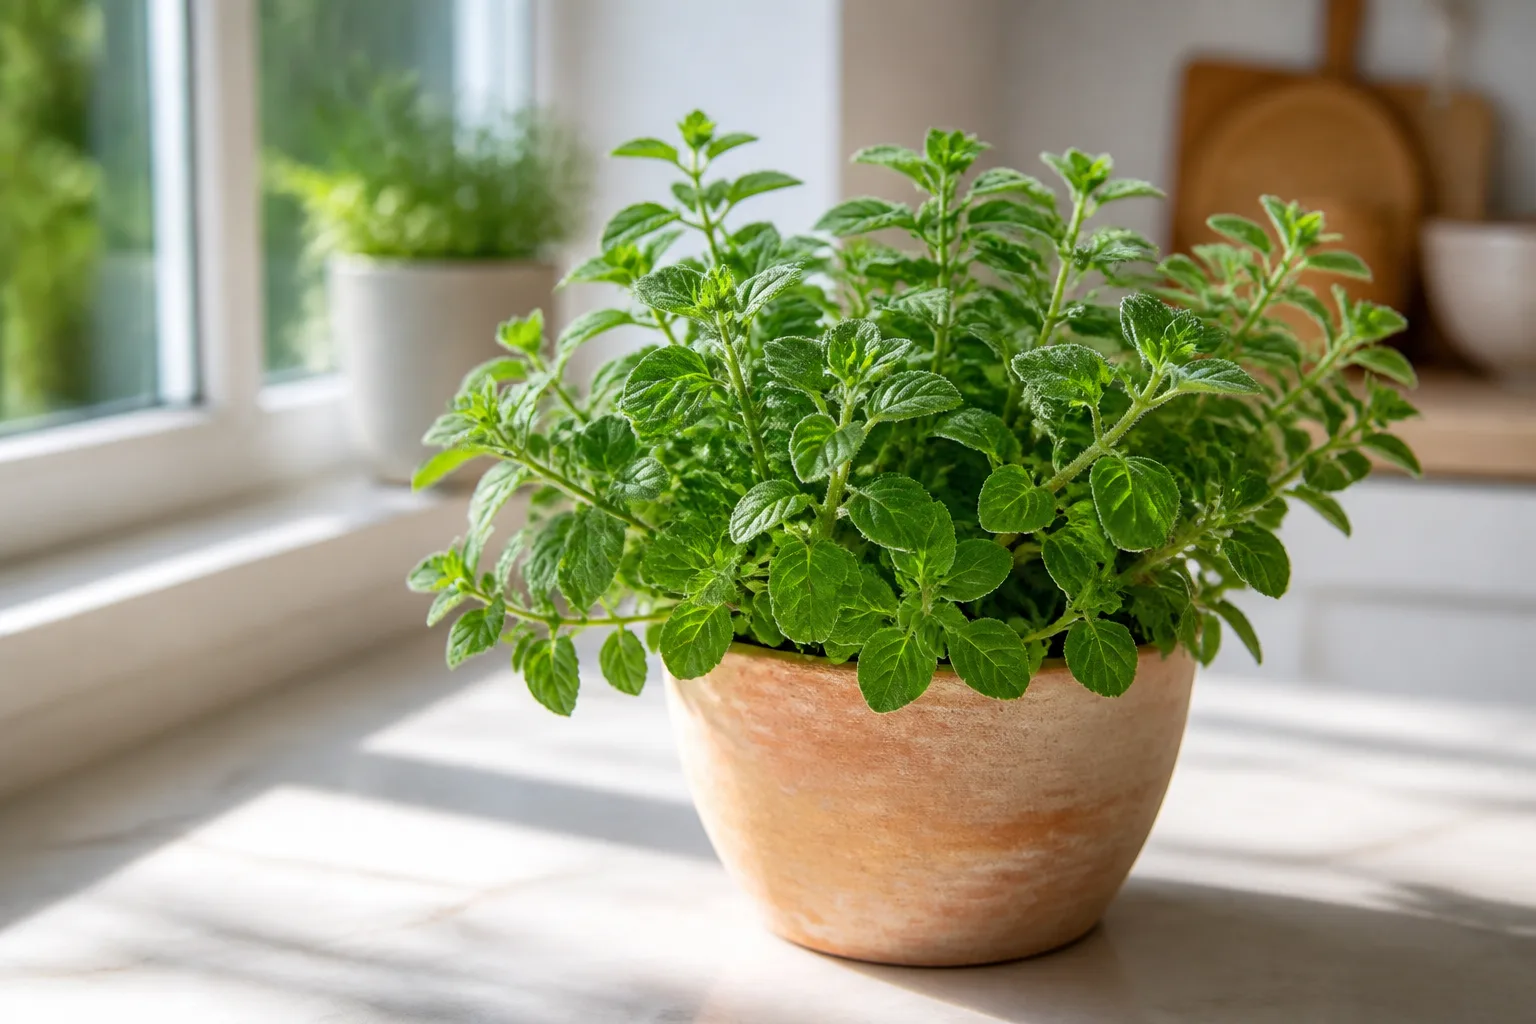
The short answer: harvest by plant stage and intended use
For the strongest all-purpose flavor, harvest oregano in the morning after surface moisture has dried, when the stems are leafy and firm and flower buds are just beginning to form. Cut the stems cleanly just above a leaf pair or growth node. That gives you tender leaves now and a branching point for the next flush. The RHS oregano guide confirms that oregano can be harvested regularly through the growing season; the key is matching the size of the cut to the plant’s condition.
Use a small tip harvest for tonight’s dinner and a larger, longer-stem harvest when you want to dry oregano. For routine picking, remove no more than about one-third of the plant’s leafy growth at a time, and take that amount from several stems rather than stripping one stem bare. A vigorous, established plant can tolerate a harder seasonal cut in active growth, but that is a reset—not the default way to keep a young pot producing.
The most useful rule is simple: harvest lightly and often while the plant is building foliage; harvest more heavily just before the main flowering flush if you are preserving oregano. If the plant is wilted, recently transplanted, pest-ridden, waterlogged, or facing a heat wave, wait. Flavor and regrowth are both better when you cut a plant that is actively growing rather than one already spending its reserves on survival.
Read the plant before you cut
Calendar dates are less reliable than the plant in front of you. In a cool garden, oregano may offer its first useful tips weeks after the last frost; in a mild or subtropical climate it may grow through much of the year. The NC State Extension plant profile describes oregano as a full-sun herb for well-drained to dry soil, which explains why a plant with bright light and airy roots usually gives a better harvest rhythm than one kept constantly wet.
Start by tracing a few stems from the base upward. You are looking for several healthy leaf pairs, flexible green growth, and a strong herbal smell when a leaf is gently rubbed. A stem that bends slightly without snapping is a better fresh-use candidate than a gray, stiff, woody section. Also inspect the undersides of leaves for aphids, stippling, webbing, or thrips before putting anything in the kitchen; UF/IFAS Extension lists those pests among the problems oregano can still encounter even though the herb is generally resilient.
Fresh, flexible growth is ready; stressed growth is not
Young stems are the easiest to cut and usually give the cleanest texture for fresh use. The tips should look upright, not collapsed from midday heat, and the leaves should be free of dust, spray residue, mildew, and chewing damage. If you squeeze the potting mix and it is saturated, solve the drainage problem before making a large harvest; wet roots do not become healthier because you remove more foliage.
A plant that is temporarily thirsty can recover before you cut it. Water the root zone thoroughly if it is genuinely dry, let excess drain, and wait until the stems have regained their normal firmness. Do not harvest immediately after overhead watering or rain if you plan to dry the stems. Surface water trapped in a bundle is an invitation to mold, especially in a humid kitchen or monsoon climate.
Flower buds are a timing signal, not a hard deadline
The best flavor window is often just before flowers open, when the plant has made a full canopy but has not shifted its most visible effort into bloom. Look for tight clusters of developing buds at stem tips. This is the moment to take a larger batch for drying, while still leaving enough green growth to rebuild.
That cue is not a switch that makes oregano unusable the day a flower opens. Taste a leaf from an older flowering stem before deciding. The flavor may be sharper, less sweet, or more bitter, but it can still be excellent in a cooked sauce. The RHS herbs-growing guidance treats regular picking before flowering as a way to promote bushy growth, while Homes & Gardens recommends harvesting just before flowering for the most concentrated foliage flavor. Use both ideas together: pre-flower is the quality target, not a discard date.
Choose the right harvest window for your climate
For many temperate gardens, the first substantial harvest arrives in late spring or early summer, after new shoots are clearly underway. Oregano can then be harvested in cycles: small tip cuts for cooking, followed by a larger pre-flower cut for drying, followed by another round of tip harvests while warm weather lasts. The Savvy Gardening harvest guide describes a first cut several weeks after the last frost and another about six weeks later as a practical rhythm, not a rule that every garden must copy.
The plant’s best schedule changes with the way it grows in your location. A short season may give you one main preservation cut. A mild coastal garden may supply leaves from spring into autumn. In a subtropical garden, oregano may grow most vigorously during cooler months and struggle in high humidity or intense summer heat. Watch new growth and soil conditions rather than forcing a northern calendar onto a southern plant.
Cool-season, hot-summer, and frost-prone calendars
In a frost-prone area, wait until the plant has pushed several inches of fresh growth after winter or transplanting. Take a modest tip harvest first, then schedule the larger drying harvest before the plant slows in autumn. Stop making hard cuts when cold weather is close; fresh regrowth needs time to mature, and a bare crown is less buffered against a sudden freeze.
In hot, dry weather, harvest during the cooler morning window and provide afternoon shade if the plant is visibly wilting in full exposure. UF/IFAS recommends roughly six to eight hours of light while acknowledging that intense Florida heat can justify some afternoon protection. In humid climates, prioritize spacing and airflow, harvest only when foliage is dry, and choose a smaller bundle for drying.
In a mild climate, you can continue taking small cuts as long as the plant keeps making firm new stems. In a monsoon or rainy season, the important date is often the next dry morning, not the month on the calendar. If the plant is flowering heavily but healthy, preserve only the cleanest stems and leave some blooms for bees and butterflies; NC State notes that oregano flowers attract both.
Gather tools and decide how much to take
Sharp kitchen scissors, herb snips, or bypass pruners are enough for oregano. The tool should slice rather than crush the stem. Clean it before you start, especially if you are moving between pots or cutting tissue with spots or mildew. A clean harvest basket, a jar, a tray, paper towels, and labels are more useful than elaborate equipment.
Decide your end use before cutting. For fresh oregano, estimate what you will use today or tomorrow and take the top two to three inches of several tender stems. For drying, choose longer, upright stems that can be gathered into a small loose bundle or laid in a single layer. For freezing, harvest enough leaves for measured portions and dry surface moisture before packing.
Use a plant-based limit instead of a basket-based limit: routine harvest should remove no more than one-third of the live leafy growth, and less from a small or stressed plant. Leave several healthy leaf sets below each cut. This distributes the work across the plant and gives multiple nodes a chance to push side shoots. If the harvest seems too small, wait for the next flush rather than trying to make one young plant behave like a mature clump.
How to harvest oregano without slowing regrowth
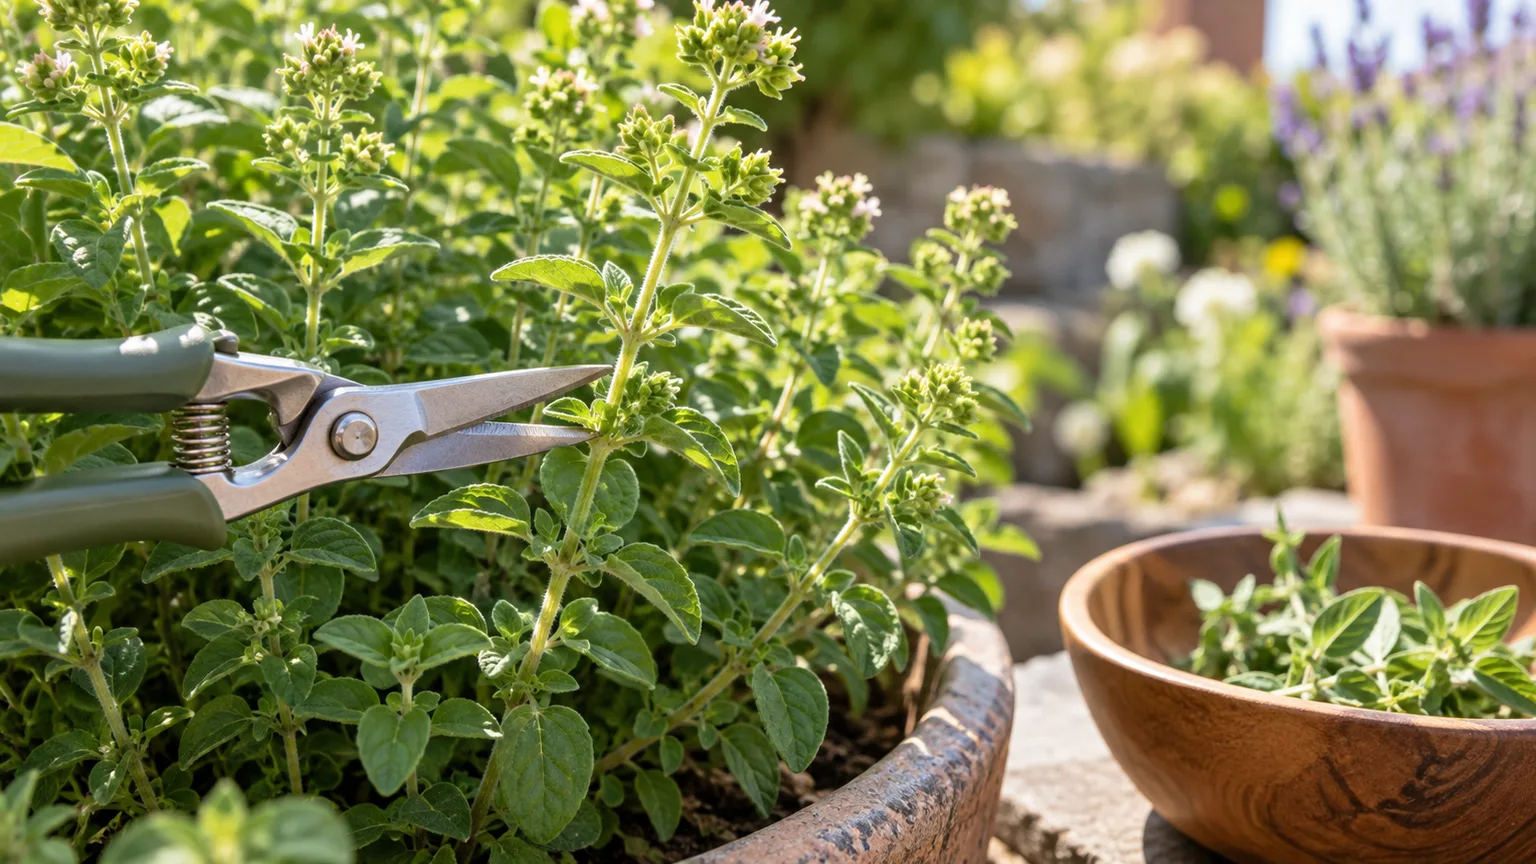
Choose a dry morning, hold the stem steady without bending it, and make one clean cut just above a pair of leaves or a visible node. The node is where leaves and new side growth emerge; cutting above it leaves a living launch point instead of a long bare stub. Then rotate around the plant and repeat on other stems so the remaining canopy stays balanced.
Do not yank leaves off a living plant if you want repeated harvests. Pulling can tear the stem and leave a ragged wound, while a snip lets you control both the amount removed and the height of the next branch. Gardening Know How also recommends cutting above a growth node so the plant can branch from the cut area.
Fresh-use cut: take tender tips
For a meal, take only the newest two to three inches from each of several stems. Strip the leaves from the lower part at the kitchen, or use the tender tips whole if the stems are still soft. This gives you a concentrated little harvest without leaving the plant with long, leafless shoots.
Fresh oregano is usually more subtle than dried oregano, so it is easy to cut too much and then leave a wet pile in the refrigerator. Harvest a small handful, smell it, and add more only if the recipe needs it. When a plant has both soft tips and woody bases, keep the woody lower stems out of a raw garnish; save usable leaves from them for a cooked dish or the drying tray.
If you want the plant to keep branching, make each cut a few millimeters above a healthy leaf pair that points outward. The new shoot then has room to grow away from the crowded center. Avoid cutting every stem to the same height, which can create a flat, weak canopy that catches moisture.
Drying cut: collect longer stems in batches
For dried oregano, select several sturdy stems with plenty of leaves and tight buds. Cut each one roughly through its lower two-thirds, leaving a leafy base on the plant and enough length to handle. Gather small bundles—about 10 to 15 stems is a manageable range—rather than compressing a large armful into a damp knot.
This is where intended use changes the technique. A fresh-use cut is short because you want tender tips. A drying cut is longer because stems make a convenient handle and can be removed after the leaves are crisp. If you are harvesting from a young container plant, take fewer stems and leave more canopy than you would from a broad, established bed.
An established plant can recover from a more aggressive cut in warm active growth, and experienced gardeners sometimes cut an entire spring flush for drying. That can delay flowering and temporarily remove the plant’s photosynthetic surface. Treat it as an optional renovation for a healthy, well-rooted plant—not a promise that every oregano, especially a stressed pot or a tender marjoram, will rebound on the same schedule.
Should you harvest oregano after it flowers?
Yes, but decide what you value. Open flowers do not make the leaves dangerous or automatically useless; they signal that the plant’s flavor and texture may be changing. Taste before taking a large batch. If the leaves are still aromatic, cut the cleanest tips and use them in cooked food. If they are tough or bitter, remove only the flowered tops and wait for fresh side growth.
Flowering also has a garden benefit. Oregano is a valuable late-season nectar plant, and NC State Extension records bees and butterflies among its visitors. You do not have to choose between cooking and pollinators: harvest half the stems before bloom and leave the rest to flower, or cut only the flowered stems after the main display if you want to keep a compact crown.
After flowering, a light trim can remove spent clusters and encourage fresh foliage. A hard cutback can be useful on an overgrown, woody, established plant while it is still actively growing, but do not combine it with drought, root rot, extreme heat, or an approaching freeze. If your goal is a steady supply, a staged cut—one-third now, another section after regrowth—is safer than taking the whole crown at once.
Also check the label on your plant. Sweet marjoram is a close relative with a milder flavor and less cold tolerance than common oregano, while Mexican oregano is a different species altogether. Their harvest method can overlap, but their winter calendars and flavor cues should not be assumed identical.
Fresh oregano: wash, chill, and use quickly
Bring fresh-cut stems indoors and inspect them before washing. If the leaves are clean, a quick shake is enough. If they carry soil, mulch, or visible dust, rinse briefly in cool water and dry them thoroughly. Never seal wet oregano in a bag; condensation turns a good harvest slimy faster than a slightly dry one.
For the next meal, stand the stems in a jar with a little water, keeping the leaves above the water line. Loosely cover the bunch and refrigerate it if your kitchen is warm, or keep it in a cool spot for very short storage. Change the water daily and use the herb promptly. Epic Gardening describes this jar method as a way to keep stems vibrant for a few days.
For a day or two of storage, wrap the dry or well-drained stems loosely in a barely damp paper towel and place them in a breathable bag or the refrigerator crisper. The towel should feel damp, not wet. A sealed container full of uncooled, freshly rinsed leaves is the worst of both worlds: high humidity, no airflow, and a short path to mold.
If you cannot use the harvest within a few days, freeze or dry it instead of asking the refrigerator to do long-term preservation. Freeze whole leaves in a thin layer first, then transfer them to an airtight freezer bag, or portion chopped leaves into ice cubes with a little water or broth for cooked dishes. Frozen oregano keeps its green, fresh character better than dried oregano but is usually best in sauces, soups, and stews rather than as a dry garnish.
The best ways to dry oregano
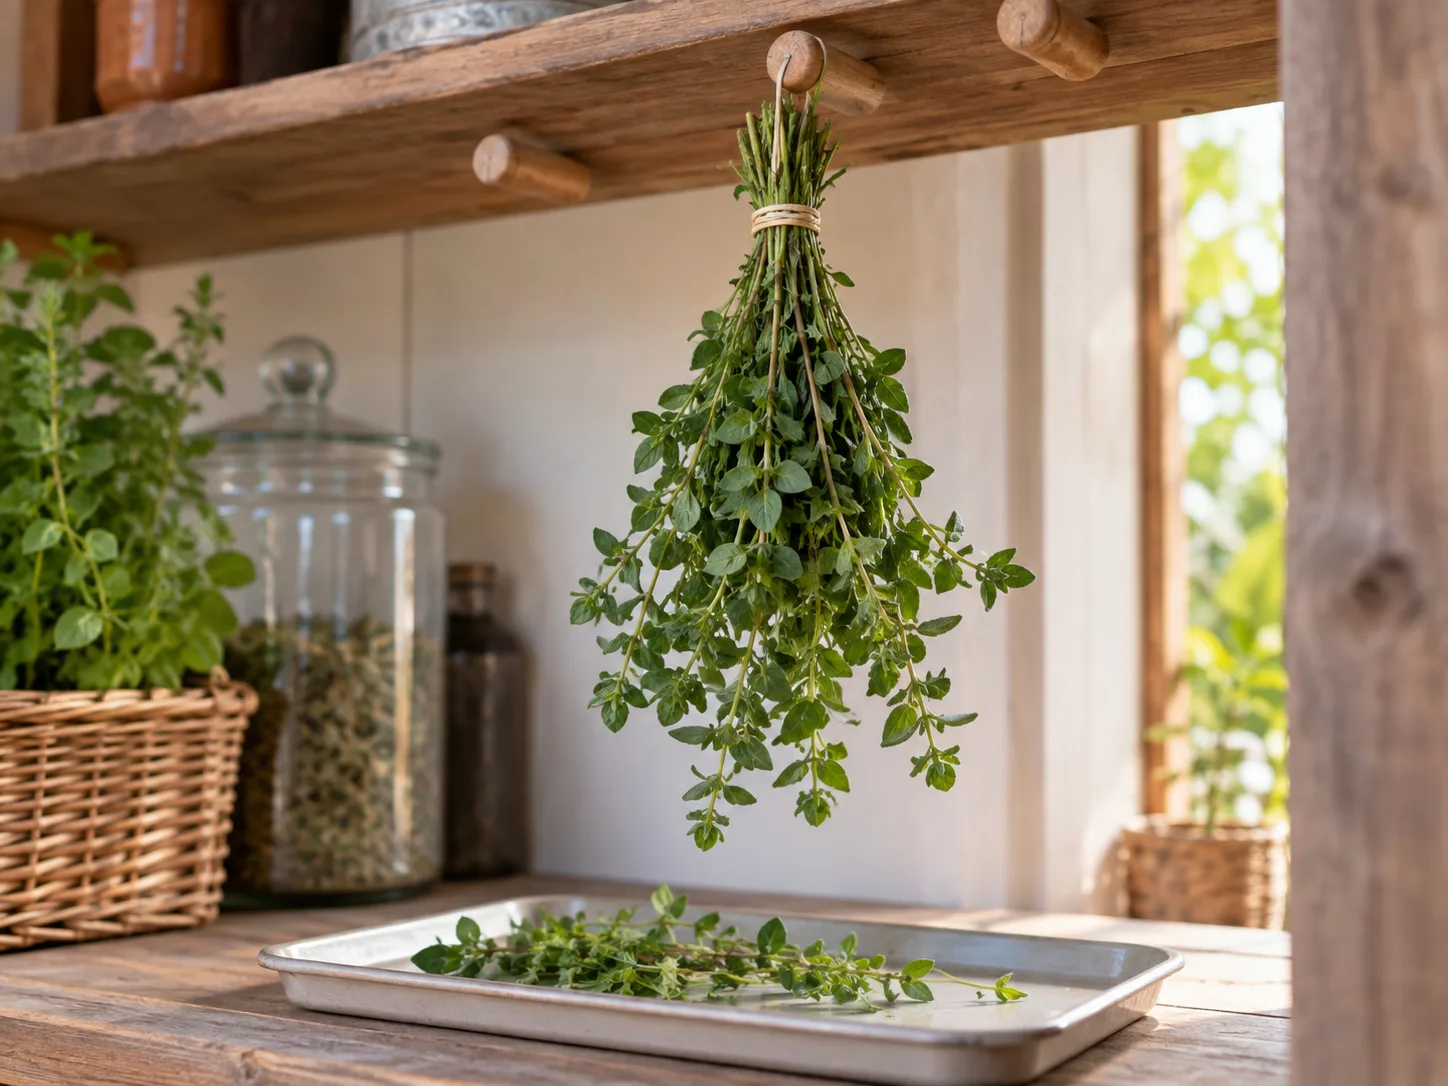
Drying is ideal when the plant gives you more than you can cook fresh. The goal is not merely to remove water; it is to remove moisture slowly enough that the leaves keep their aroma and quickly enough that mold cannot establish. The best method depends on your humidity, available airflow, and how much attention you can give the batch.
Before drying, sort out yellow, spotted, insect-damaged, or mildewed leaves. If the stems are clean, do not wash them. If they need rinsing, shake and blot them, then spread them out until the surface is completely dry before bundling. That conditional approach reconciles two common instructions: Savvy Gardening favors starting with unwashed clean stems, while Gardening Know How recommends a light rinse when dust or mulch is present.
Air-drying for the fullest flavor
Make small loose bundles and secure them near the cut ends with twine or a rubber band. Hang them upside down in a dark or shaded, warm, dry place with good air circulation. A paper bag with ventilation holes can catch falling leaves and reduce dust, but it must not press tightly around the bundle. Leave space between bundles so air can move on all sides.
Ignore the calendar if the texture has not changed. The oregano is ready when the leaves crumble easily between your fingers and the stems feel dry and brittle rather than cool or bendable. If the center of a bundle is still pliable, separate it and continue drying. A large damp bundle can look finished outside while holding enough moisture inside to spoil in a jar.
Once crisp, strip the leaves from the stems by pinching the stem and pulling upward. Remove woody pieces and any chaff, then let the leaves cool fully before sealing them. If the room is humid, a single layer on a mesh rack or tray is often safer than hanging; turn the stems periodically so one side does not stay damp.
Dehydrator or oven when humidity is high
A dehydrator gives you more control in a humid home. Spread stems or leaves in a single layer without overlapping, use the appliance’s herb or low-temperature setting, and check often. High heat can flatten the aroma, so the texture test matters more than a fixed timer. Epic Gardening specifically cautions that high heat can reduce flavor and identifies low- or no-heat drying as the better choice for robust seasoning.
If you use an oven, choose the lowest practical setting, spread the stems in one layer, and check frequently. Do not leave a hot oven unattended. Savvy Gardening reports a low oven around 200°F for roughly 40 minutes to an hour and a dehydrator around 100°F for two to four hours, but those are appliance- and batch-dependent starting points, not guarantees. Stop when the leaves crumble and the stems snap.
When humidity is extreme and you have neither a dehydrator nor a reliable low oven, use a fan-assisted room and a tray with generous spacing. It is better to dry a smaller batch thoroughly than to force a thick bundle that develops a musty smell. Discard any batch that smells sour, feels tacky, or shows fuzzy growth; do not try to hide spoilage by adding more heat or crushing the leaves.
Strip, store, and label dried leaves
Keep dried oregano whole until you need it. Crushing exposes more surface area to air and light, so whole leaves usually hold their aroma longer. Rub or crumble a small amount between your palms just before cooking, then return the rest to its container.
Use a clean, completely dry glass jar or airtight container. Store it in a dark cupboard away from the stove, dishwasher steam, sink splashes, and sunny windows. Label the jar with the herb, cultivar if known, and harvest date. That small note tells you whether a weak smell comes from poor drying, old storage, or a naturally milder variety.
For peak flavor, plan to use the best of the dried harvest within about six months. Gardening Know How gives six months as a best-flavor window, while Epic Gardening describes dried oregano as usable for up to a year with flavor loss afterward. Treat one year as a quality ceiling rather than a target. If the leaves have no aroma, have absorbed moisture, or smell stale, replace them instead of compensating by adding a large, dusty spoonful to food.
The after-harvest reset: water, light, and restraint
Oregano does not need pampering after every cut. Put the plant back in the brightest suitable position and let the surface of its well-drained mix dry somewhat between thorough waterings. NC State lists full sun and good drainage as core conditions, while UF/IFAS emphasizes that oregano struggles in standing water and may need afternoon protection in intense heat. The plant’s recovery is usually limited by light, roots, temperature, or moisture—not by a lack of fertilizer.
Do not automatically feed a healthy plant after harvesting. Oregano’s Mediterranean habit favors leaner, free-draining conditions, and excess fertilizer can produce soft, lush growth that is less aromatic and more attractive to pests. If growth is pale, weak, or repeatedly slow, test the growing conditions first. UF/IFAS recommends using a soil test to guide amendments rather than guessing at fertilizer.
Expect a pause after a substantial cut. An established plant may show new side shoots in a few weeks when warmth, light, and root health are good; a pot in low light, cold soil, or saturated mix will take longer. Keep the plant evenly supported by light and moisture, remove only clearly dead or diseased tissue, and wait for new growth before taking another large harvest.
Troubleshooting a disappointing harvest
The leaves taste bitter even though you harvested before flowering. Taste is affected by cultivar, heat, drought, plant age, and how much woody tissue made it into the batch. Take a small sample from a fresh side shoot, check that the roots are not waterlogged, and improve light and watering consistency before blaming the harvest date. If the whole plant is mature and woody, use the new tips for fresh food and schedule a staged renewal cut during active growth.
The plant is not regrowing. First check whether you removed all usable leaf area, cut into the crown, or harvested while the plant was already stressed. Then inspect the roots and soil: constantly wet mix, poor drainage, low light, cold, and heat stress can all stall new shoots. Stop cutting, correct the limiting condition, and give the plant time; another harvest made before recovery only compounds the delay.
The drying bundle smells musty or feels soft. The bundle was too large, too wet, too tightly tied, or placed where air could not move. Separate the stems immediately and inspect every leaf. Discard anything with fuzzy growth, sour odor, or persistent tackiness; do not jar the batch while it is still cool or flexible inside.
There are aphids, mites, or thrips on the crop. Do not harvest visibly infested leaves for the table. Isolate the plant if it is potted, inspect leaf undersides, and use only a control labeled for edible herbs, following that product’s label and harvest interval. UF/IFAS identifies aphids, spider mites, and thrips as oregano pests; the practical first step is careful inspection, not a blanket spray of an unknown kitchen product.
The plant flowered early. Early flowering is not necessarily failure. Leave some flowers if you want pollinator value, cut clean unflowered tips for cooking, and remove spent flowered stems after the display if you want fresh foliage. In hot or dry conditions, review water, root space, and afternoon exposure; in a small pot, repeated tip harvests are often better than one severe cut.
Conclusion
Harvest oregano when the plant is actively making firm leafy stems, ideally in a dry morning just before the main flower flush. Cut above a leaf node, spread routine harvests across the plant, and keep the conservative one-third rule for young or stressed plants. Take tender tips for immediate cooking and longer stems for drying, but do not treat flowering as a hard cutoff: taste the leaves, decide whether pollinators matter in that part of the plant, and adjust the cut to the job.
The best long-term supply comes from pairing a good cut with good conditions. Give oregano sun, free-draining soil, sensible moisture, and enough recovery time. Dry only clean, fully dry stems; store crisp leaves in the dark; and let texture and aroma—not a guessed calendar date—tell you when the harvest is ready for the jar.