6 Reasons Houseplants Aren’t Thriving in Summer
Houseplants struggling in summer? Learn how to tell heat stress from watering, pests, low humidity, fertilizer buildup, and root problems—and what to fix first.
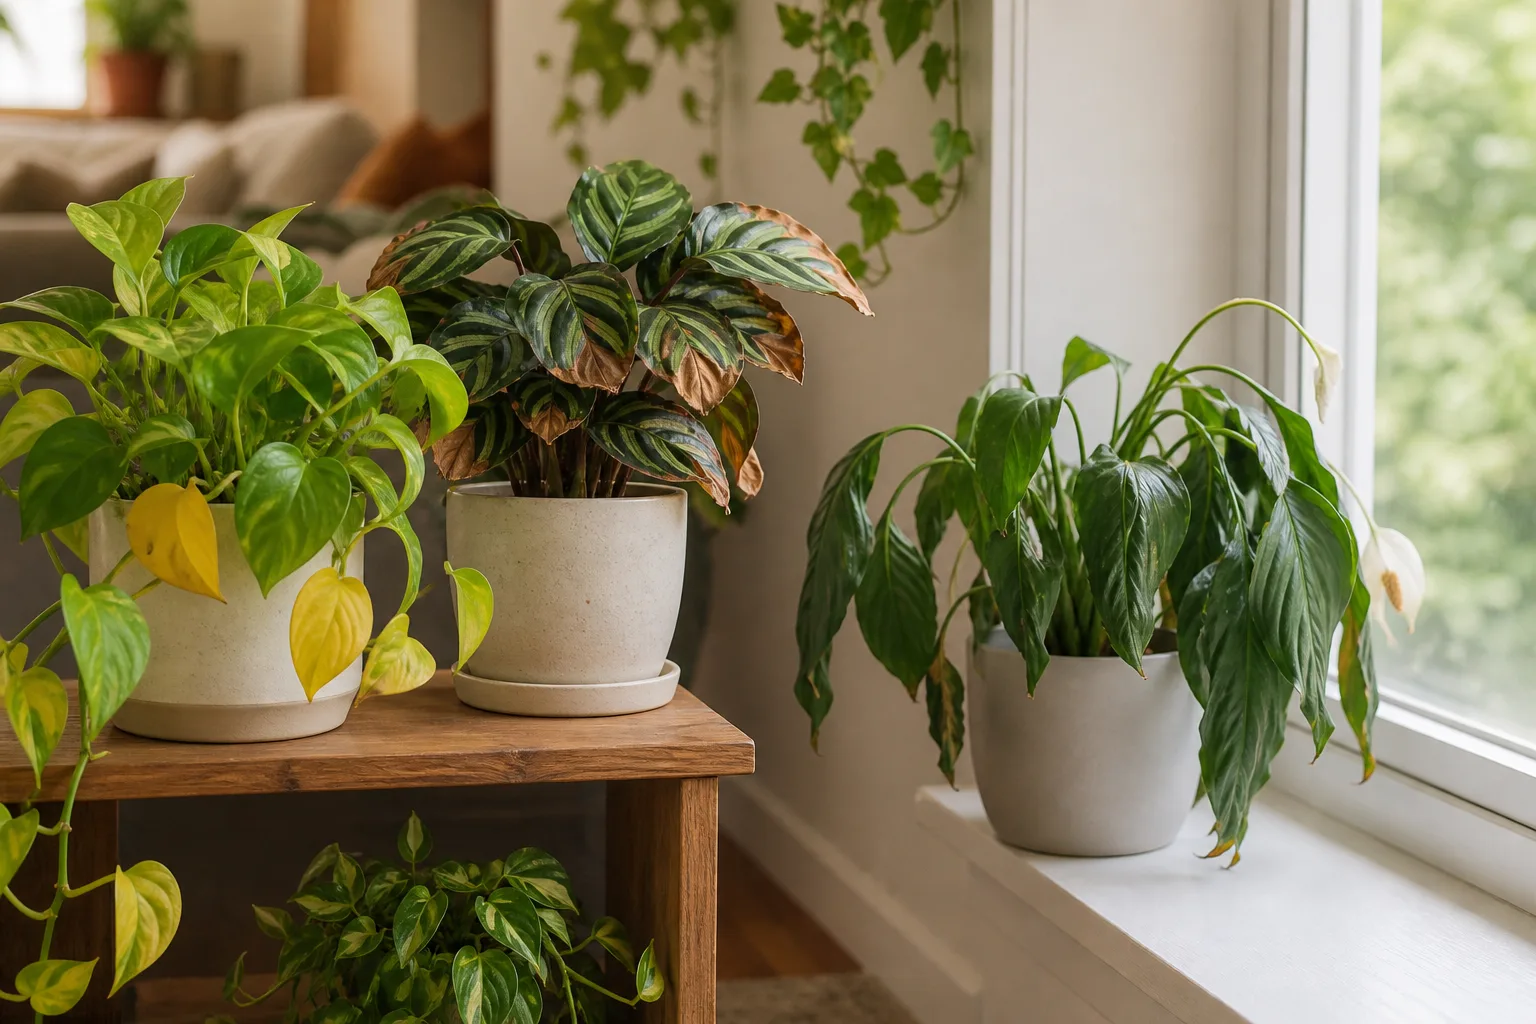
Summer can make a houseplant look thirsty, scorched, starved, or diseased within the same week. Longer days, hot window glass, faster growth, air-conditioning drafts, open windows, and changed watering habits all alter the plant’s environment at once.
The fastest way to help is to diagnose the pattern, not to treat the most dramatic leaf. A wilted plant in dry soil needs a different response from a wilted plant sitting in a cool, soggy pot; a brown tip beside an AC vent points somewhere different from a bleached patch on the window-facing side. Use the six causes below as a decision path, and make one meaningful change at a time.
Start with a five-minute summer triage
Before you water, fertilize, prune, or repot, record four things: when the symptoms started, what changed in the room, how the soil feels below the surface, and whether new damage is still appearing. Also look at the newest leaves, the undersides of older leaves, the stems, the pot’s drainage holes, and the saucer.
Read the pattern before changing care
Sudden damage that appears during a heat wave or after a plant is moved is usually an environmental event: hot glass, direct sun, an AC blast, a missed watering, or outdoor exposure. Slow decline over several weeks is more often a routine or root-zone problem, such as inconsistent watering, compacted mix, pests, salt buildup, or insufficient light.
The distribution of damage is useful. Bleached or papery patches on the side facing a window suggest scorch; fine stippling and webbing suggest spider mites; sticky leaves or clusters around new growth suggest sap-feeding pests; uniform lower-leaf yellowing with wet soil points more toward root stress than a sudden shortage of fertilizer. None of these clues is a diagnosis by itself, but the pattern tells you what to inspect next.
Do not stack fixes on top of one another
Avoid the common rescue spiral: water a wilted plant, add fertilizer because it is not growing, mist the leaves because the tips are brown, and repot because the first three changes did not work. Each extra intervention can hide the original signal or add another stressor, especially when the roots are already short of oxygen.
Instead, choose the smallest correction that matches the evidence. If the soil is dry, water thoroughly and observe; if it is wet, improve airflow and drainage before adding more water; if the plant is in hot sun, reduce light intensity before changing the pot. Give the plant several days to show whether new damage has slowed.
1. Watering changed, but the root zone did not
Summer often increases water use, but it does not turn every houseplant into a daily-watering plant. A small terracotta pot in a bright window may dry quickly, while a large plastic pot in a dim, air-conditioned room can stay wet for weeks. UF/IFAS recommends letting the upper inch of mix dry for many common houseplants, then watering thoroughly until excess runs from the drainage hole; the exact dry point still depends on the species and potting mix (UF/IFAS houseplant care).
The summer mistake is treating the calendar as a watering tool. Heat can make leaves lose water faster than roots can replace it, so a plant may droop while the pot remains moist. The opposite can also happen: faster evaporation from a shallow pot leaves the root ball genuinely dry, and a light splash wets only the top while the inner roots remain thirsty.
Distinguish dry soil from suffocated roots
Check below the surface with a finger, wooden skewer, or moisture meter, and compare the result with the plant’s normal watering threshold. Do not rely on a dry-looking crust alone. A pot can be dry at the top and wet around the lower roots, particularly when the mix has compacted or the container is much larger than the root ball.
| Clue | More consistent with underwatering | More consistent with overwatering or root trouble |
|---|---|---|
| Soil | Dry through much of the pot; may pull away from the edge | Wet for many days, sour-smelling, or slow to drain |
| Leaves | Limp, thin, curled, crispy, or wrinkled | Soft, yellowing, unusually heavy, or drooping despite wet mix |
| Timeline | Improves after a thorough drink | Does not improve, or declines after repeated watering |
| Roots | Pale and firm when visible | Brown or black, soft, slimy, or sparse |
These signs overlap. Heat, root damage, and pests can all cause drooping, so inspect the root zone only when the watering evidence points there or the plant is failing to improve. Do not pull a plant apart just because one leaf is yellow.
Fix the watering loop, not just the next watering
When the mix is truly dry, water slowly over the entire surface until a steady trickle exits the drainage holes. Let the pot drain fully, empty the saucer, and return it to a spot where the container will not sit in runoff. A thorough drink rehydrates the root ball more reliably than several small splashes.
That seasonal adjustment should still be based on observation, not a fixed “every few days” rule. Homes & Gardens makes the same practical point in its summer houseplant guidance: warmer, brighter conditions can increase watering needs, but containers should be checked for dryness and never left standing in water (Homes & Gardens summer houseplant care).
When the mix is wet, pause watering and identify why it is staying wet. Check for a blocked drainage hole, a decorative pot with no inner nursery pot, a saucer that never gets emptied, dense garden soil, or a pot that is oversized for the roots. UF/IFAS specifically warns that plants should not stand in water and notes that a liner pot with drainage inside a decorative container is a workable setup.
If the plant wilts in the hottest part of the day but the soil is moist, move it away from hot glass and direct afternoon sun first. Reducing leaf water loss may solve the apparent thirst without turning a temporary heat response into root rot.
2. Summer light is hotter than your old window
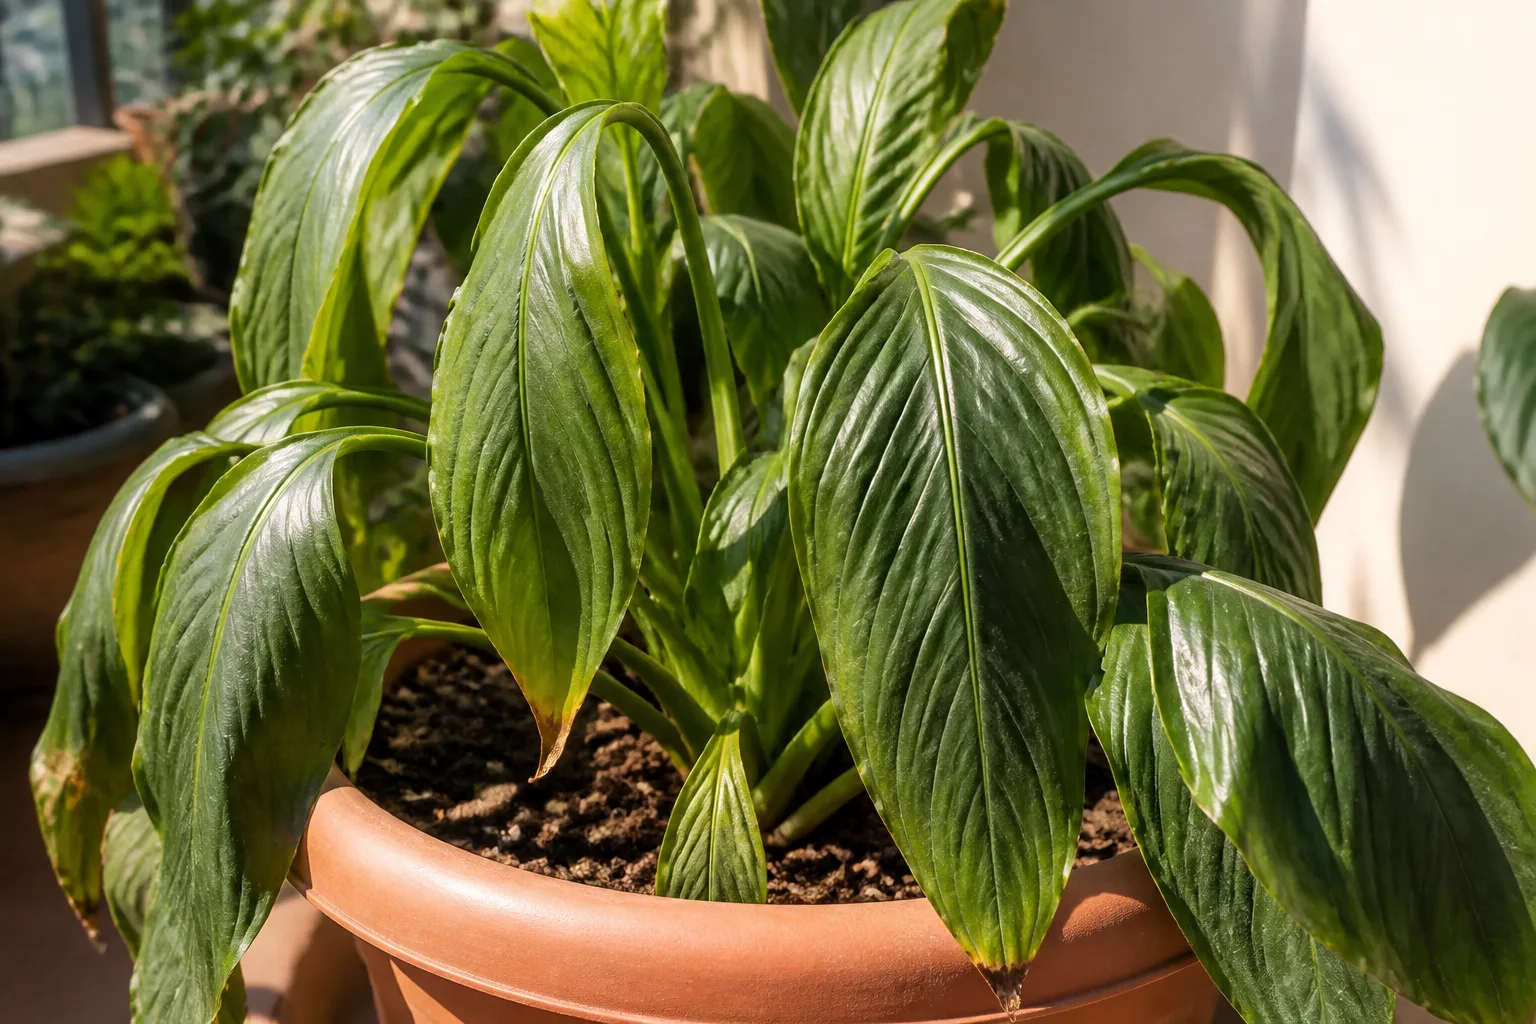
The sun’s position and intensity change through the season, and a plant that tolerated a bright winter window can scorch when stronger rays hit its leaves for longer. Window glass can also heat the foliage and pot, creating a hot pocket even when the room thermostat seems comfortable. Purdue Extension advises that most houseplants moved outdoors do best with no more than a half-day of morning sun because strong afternoon light can burn tender leaves (Purdue Extension summer houseplant care).
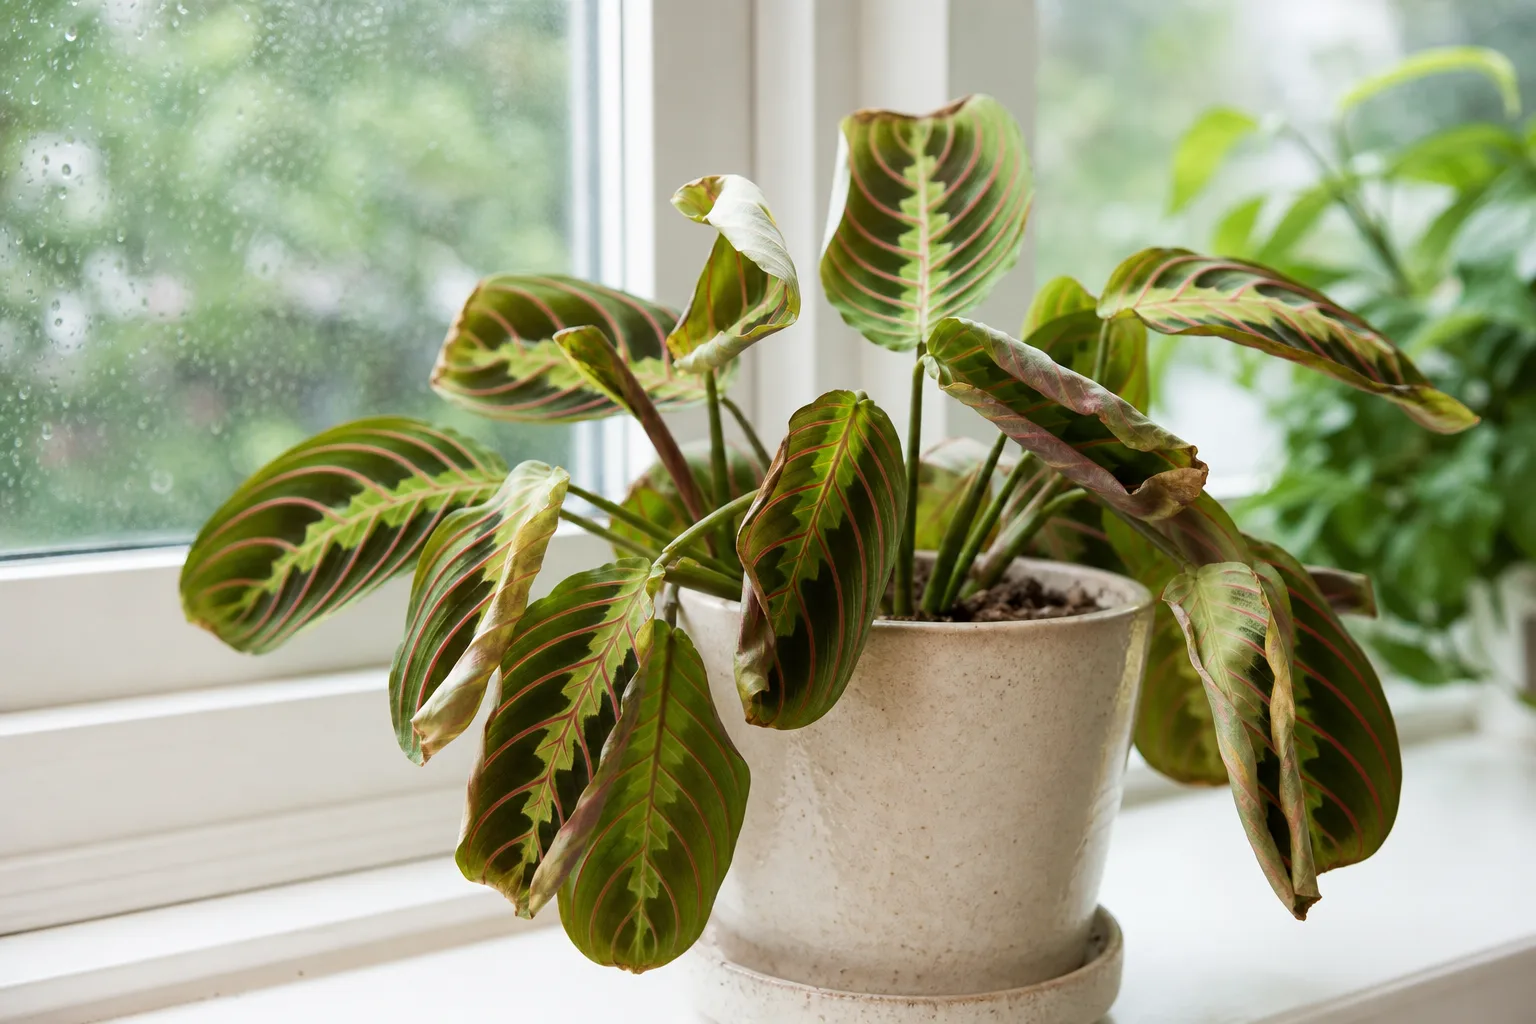
Scorch is not the same as “too much light” in the abstract. It is a mismatch between leaf tissue and the intensity, duration, or suddenness of the light it receives. Thin, soft leaves on calatheas, marantas, ferns, and peace lilies are often less forgiving than thick, leathery foliage, but even a snake plant or succulent can scorch when moved abruptly from indoor shade to outdoor sun.
Tell leaf scorch from low-light stress
Sun scorch usually appears as pale, bleached, tan, or crisp patches on the window-facing surface. The boundary may follow the angle of the light, and the damage often arrives quickly after a move, a curtain change, or an unusually hot bright spell. Those patches will not turn green again, so the goal is to protect new leaves.
Low-light stress tends to be slower. Stems stretch toward the window, new leaves are smaller or paler, spacing between leaves increases, and the potting mix stays wet longer because the plant is using less water. Moving that plant farther from the window to solve scorch would make the underlying energy shortage worse.
Use a sheer curtain, move the plant a few feet back from the glass, or shift it to bright indirect light during the harshest part of the day. Rotate the pot periodically, but do not rotate a severely stressed plant into a completely different exposure in one move. Damaged leaves can stay in place while they remain mostly green; remove them later if they are mostly brown or obstruct new growth.
3. Air conditioning and low humidity are stressing the leaves
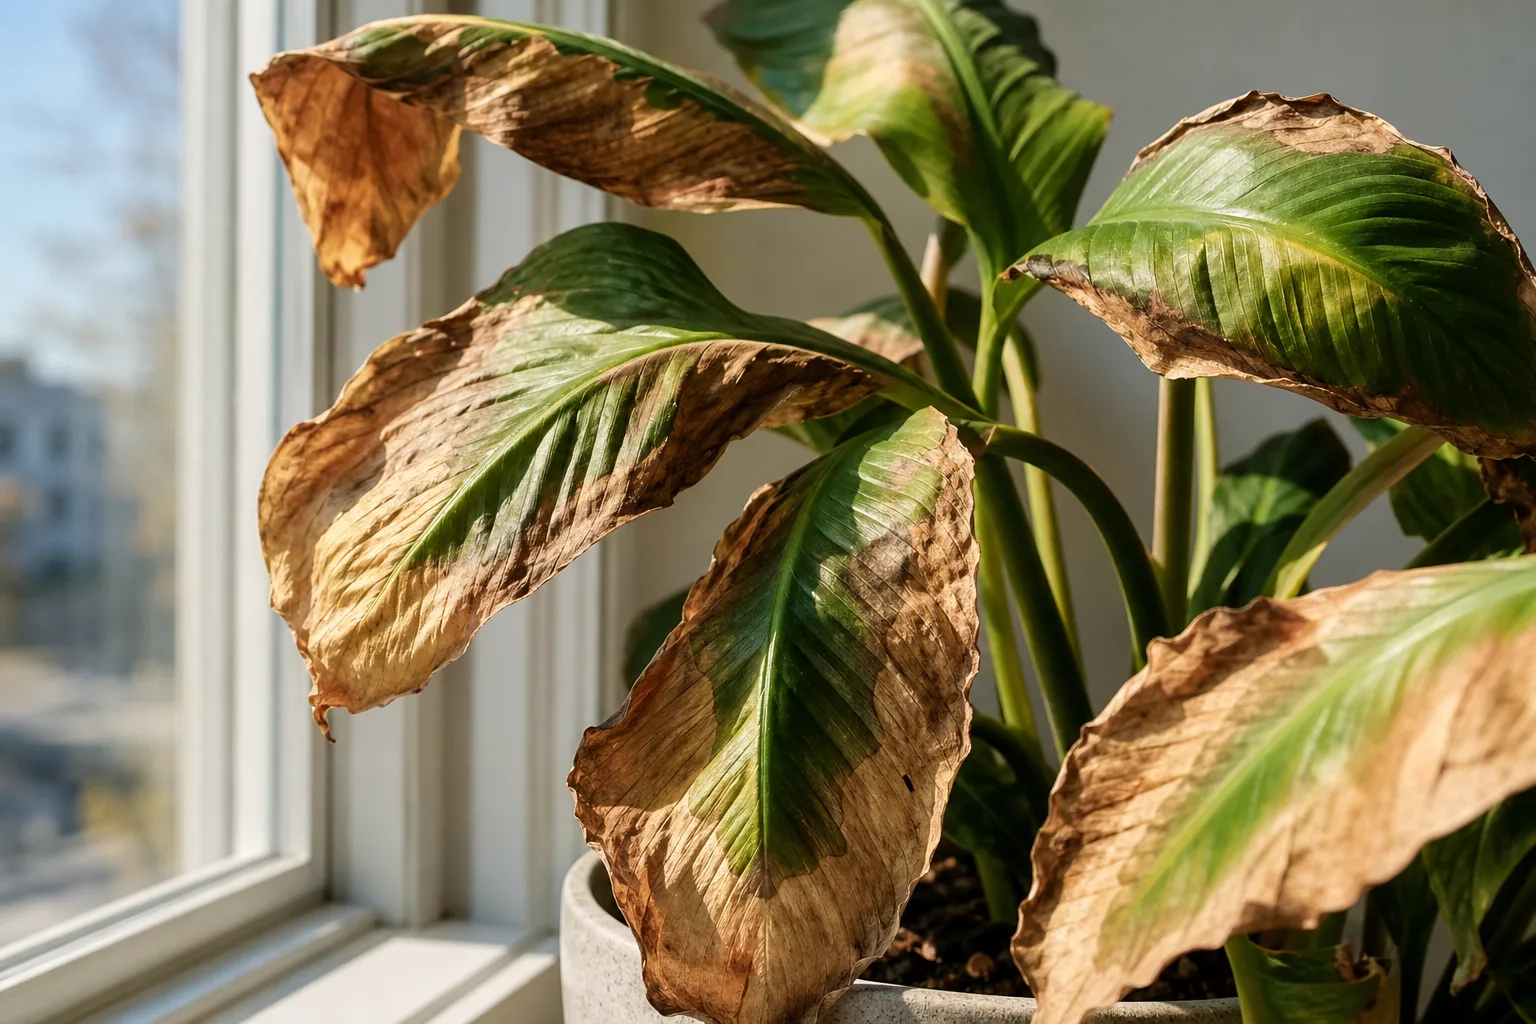
Air conditioning creates two separate problems: a direct stream of cool, dry air and a room that may have lower relative humidity overall. Thin leaves can lose moisture quickly in a vent’s path, while temperature swings make the plant repeatedly adjust its water balance. UF/IFAS recommends keeping houseplants away from hot or cold spots such as heating and cooling vents, and its commercial guidance for dracaena also cautions that drafts and high heat can produce physiological damage (UF/IFAS indoor-plant guidance; UF/IFAS dracaena guidelines).
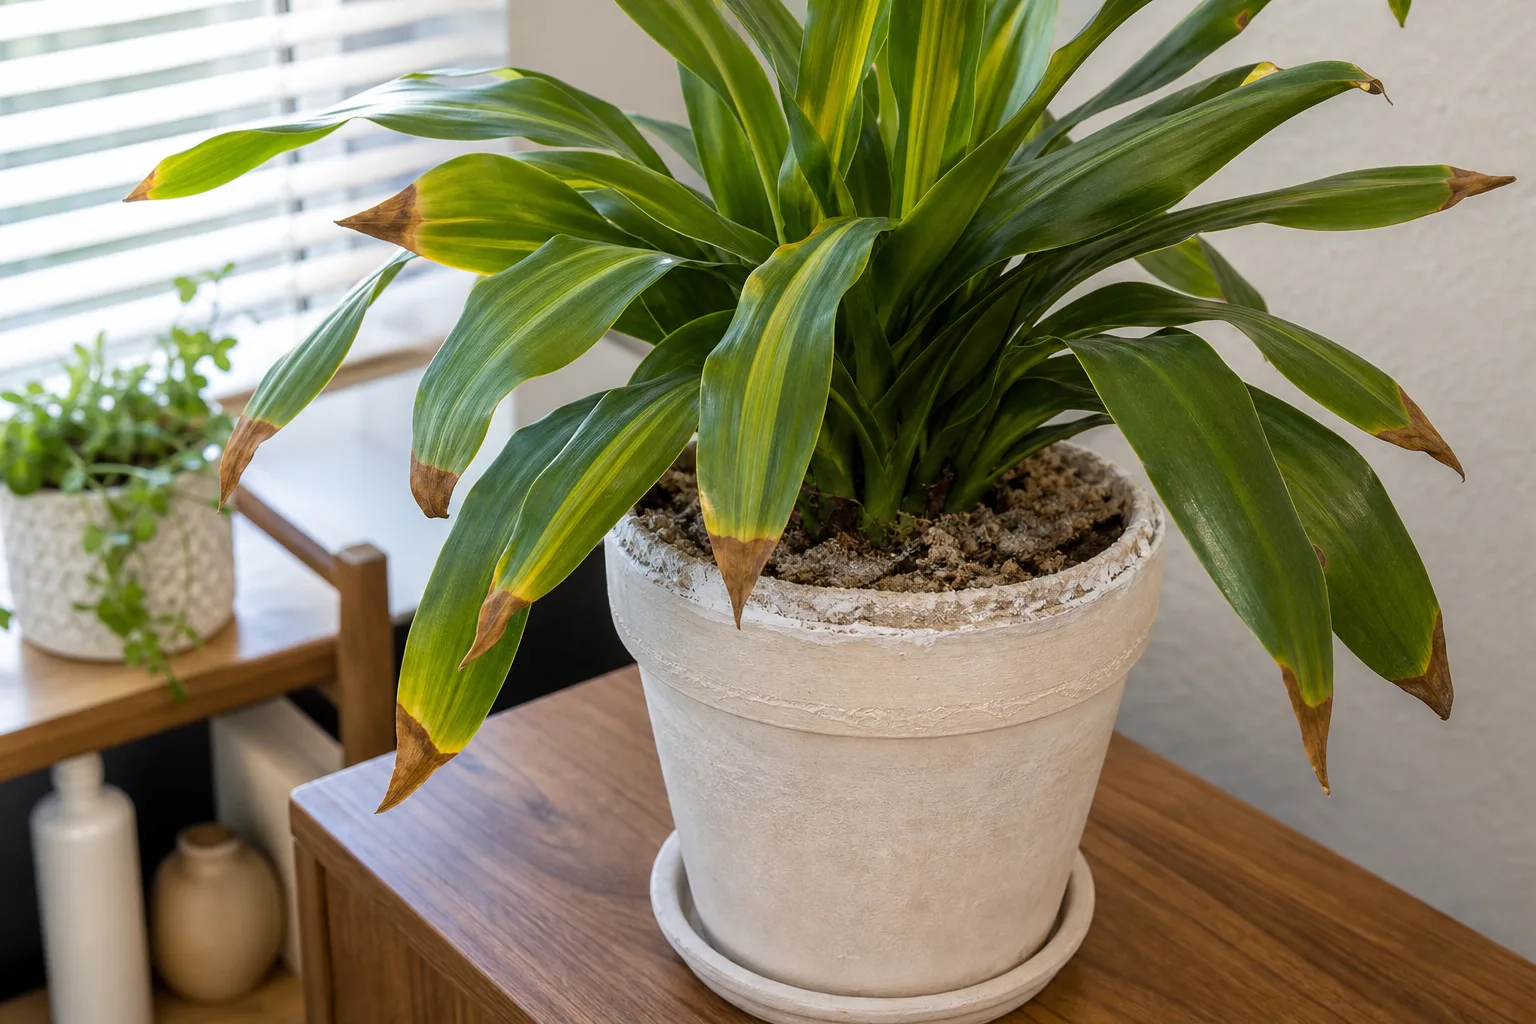
Brown tips are a clue, not a verdict. Low humidity, inconsistent watering, fertilizer salts, root damage, and intense light can all brown leaf edges. If several plants develop crisp margins after the AC starts running, look at the room and the airflow; if one plant has brown tips plus a white crust on the mix, inspect water quality and fertilizer history too.
Move away from the blast, not away from all airflow
Do not put a heat-stressed plant directly in front of a fan to “cool it down.” Fast moving air across already-dry leaves can increase water loss, while stagnant crowded foliage can encourage fungal and bacterial problems. The useful middle ground is gentle circulation that does not make the leaves flap and a stable location outside the vent’s direct path.
If a plant sits beside a sunny window and an AC vent, solve the two forces together. Pull it back from the glass, keep it out of the air stream, and maintain bright indirect light. A hallway or interior shelf may be too dark for long-term recovery, so use a nearby bright room rather than an abrupt move into a dim corner.
Raise humidity without keeping leaves and soil wet
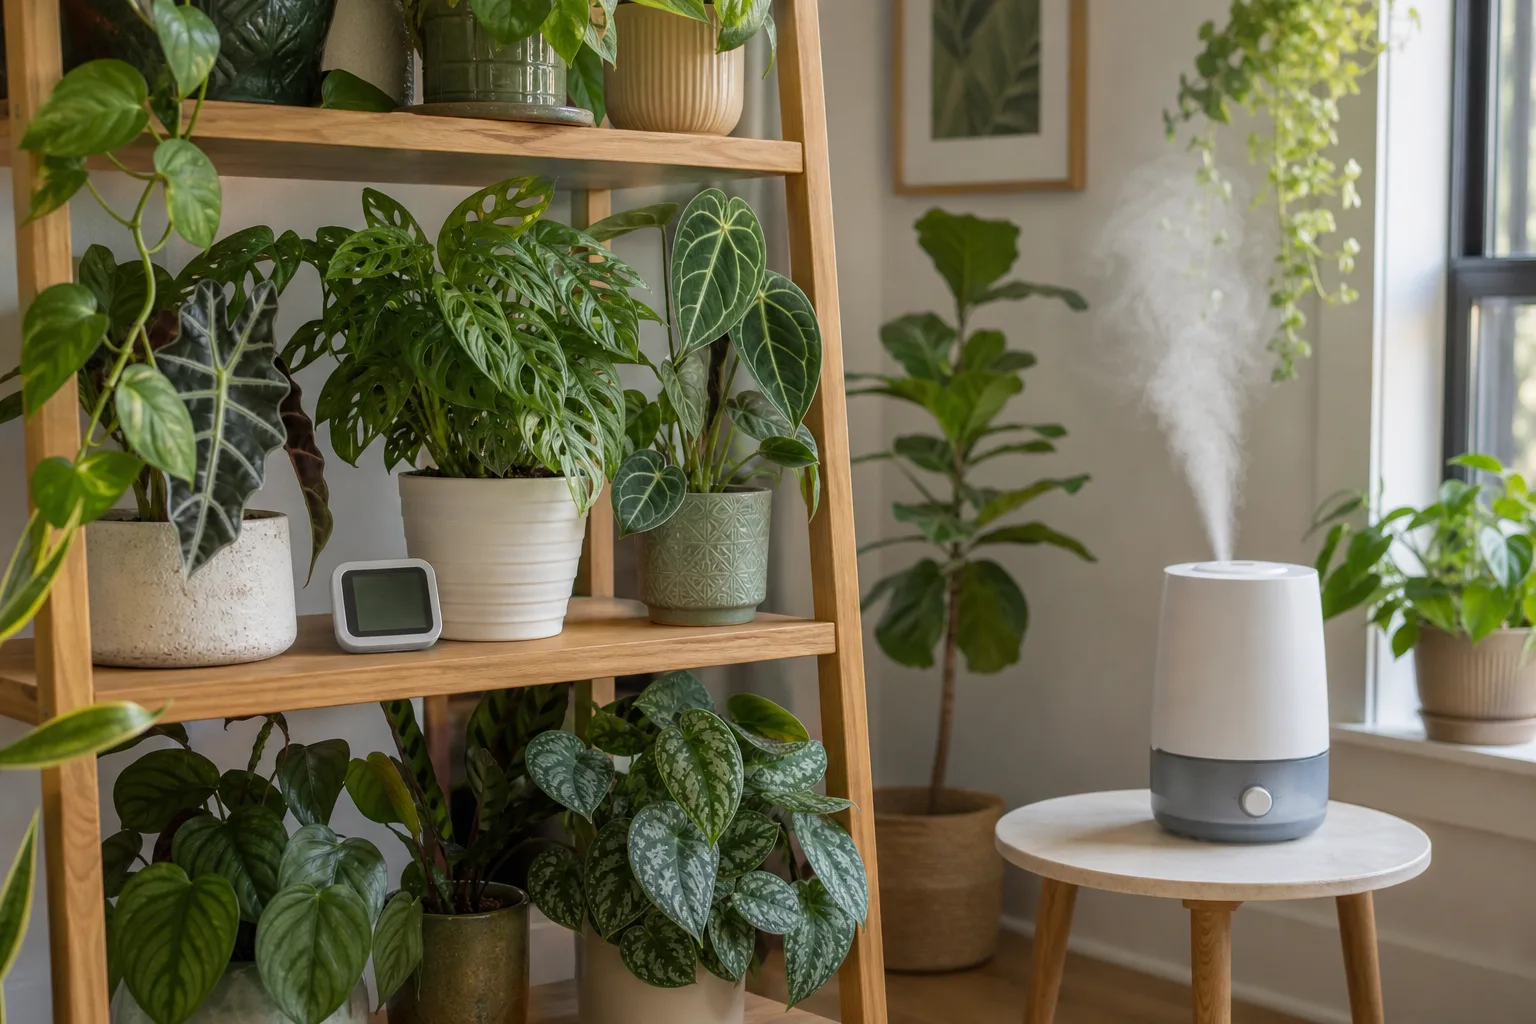
Start with a hygrometer so you know whether the air is actually dry instead of guessing from a leaf tip. A room humidifier is the most controllable option for a group of humidity-loving plants; place it near, not inside, the direct path of the AC and clean it according to its instructions. Grouping plants can soften local dryness, but leave enough space for air to move around the foliage.
A pebble tray can provide a small local moisture source when the pot sits above the waterline on the stones. It cannot compensate for a dry room or a waterlogged pot, and it should never turn the drainage holes into a standing-water reservoir. Misting may make leaves look fresh for a few minutes, but it is not a dependable way to raise room humidity, and wet foliage in low airflow can create a different problem.
4. Pests arrived with open windows or outdoor trips
Summer opens the door to pests in two ways: insects can enter through windows, and plants placed on a porch or patio can pick up pests that were not present indoors. Spider mites, aphids, thrips, mealybugs, scale, and fungus gnats leave different clues, but early infestations are easy to miss when you only inspect the top of the leaves.
Look under leaves, along petioles and stems, in new growth, and around the soil line. Fine stippling or webbing is more useful than “the plant looks pale” for spotting mites; sticky honeydew may point to aphids, scale, or whiteflies; small black flies emerging when you disturb damp mix suggest fungus gnats. A symptom that spreads from plant to plant deserves a pest inspection before you change fertilizer.
Scout, isolate, rinse, then repeat
Move a suspect plant away from the collection immediately, even before you know the exact pest. A simple weekly inspection is more valuable than a once-a-month rescue: turn the pot, check both leaf surfaces, inspect new growth, and look for fresh damage. UF/IFAS recommends examining plants before purchase, isolating new plants for at least a month, and using a strong room-temperature water stream on suitable foliage to dislodge insects (UF/IFAS houseplant care).
Rinse sturdy, smooth-leaved plants in a sink or shower, directing water at the undersides without blasting delicate leaves or saturating a plant that is already in wet soil. Remove heavily damaged leaves with clean snips, then identify the pest before selecting a control. If you use insecticidal soap or another pesticide, choose one labeled for the specific plant and pest, follow the label, and test a small area first; an improvised dish-soap mix can burn foliage.
One treatment rarely ends an infestation because eggs, protected adults, and newly hatched insects may not be exposed at the same time. Repeat inspections and applications according to the product label and the pest’s lifecycle, and keep the plant isolated until you see no new signs. Do not use a sticky trap as proof that there are no pests on the leaves; it only catches the flying stage of some insects.
5. Fertilizer or salt buildup is masquerading as hunger
Summer growth can use nutrients, but fertilizer is not a general-purpose cure for a struggling plant. If growth has slowed because the plant is too hot, too dark, root-damaged, pest-ridden, or under-watered, added fertilizer can increase the load on roots that are not ready to use it.
Salt buildup is especially easy to confuse with hunger. White or gray crust on the mix or pot rim, browning tips, and decline soon after feeding can point to soluble salts from fertilizer, hard water, or chemically softened water. UF/IFAS notes that salts can accumulate in potting soil, injure roots, and brown leaf tips; it recommends periodic thorough drenching to help leach salts or replacing the mix when needed (UF/IFAS houseplant care).
Feed only a growing, hydrated plant
Feed when the plant is actively producing healthy growth, the root zone is functioning, and the potting mix is already evenly moist. Never apply a concentrated fertilizer to bone-dry roots. Water first according to the plant’s normal routine, then use a complete houseplant fertilizer at the label rate; do not combine several products because summer growth looks exciting.
If a plant is heat-stressed, freshly moved, newly repotted, pest-ridden, or declining for an unknown reason, pause feeding while you correct the environment. A plant can survive a short fertilizer pause; it may not recover from another dose applied while the roots are damaged. Once new growth resumes and the soil is cycling normally, restart conservatively rather than trying to make up for missed feedings.
For mild surface crust and a pot with good drainage, a thorough flush with suitable water can reduce some soluble salts, but the runoff must be allowed to leave the container. If the soil is compacted, the pot has poor drainage, or the plant remains symptomatic after flushing, the root and mix section below matters more than another dose of fertilizer.
6. Roots are outgrowing the pot or sitting in stale mix
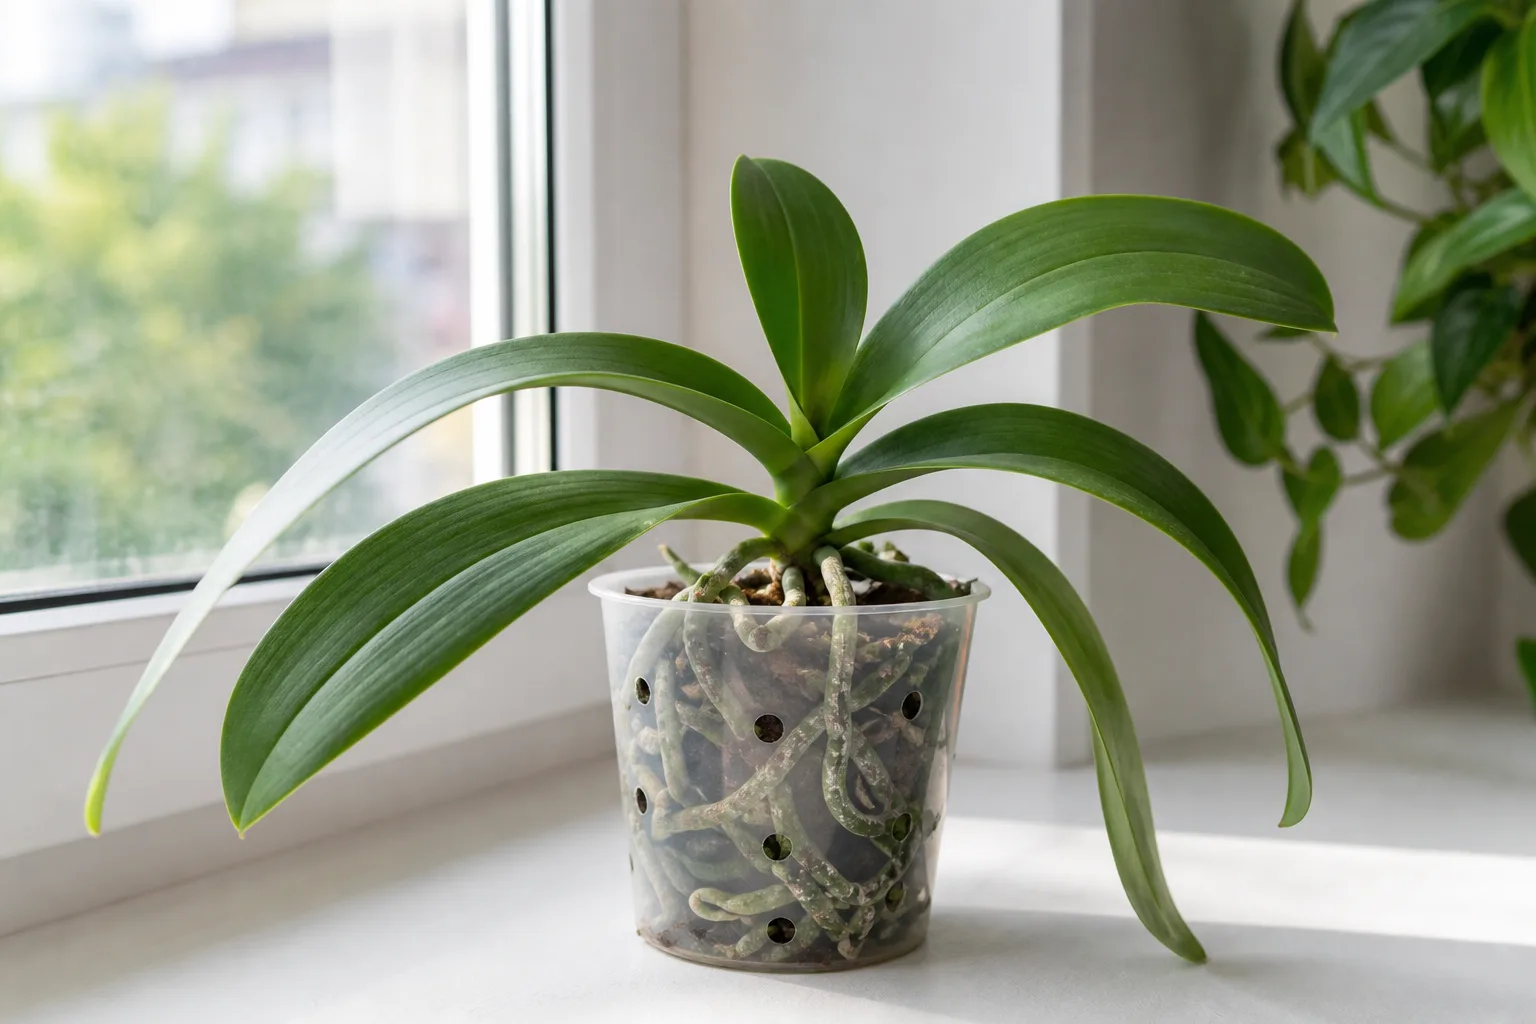
Roots are the plant’s water and nutrient interface, so a healthy-looking watering routine can fail when the root system has no usable air space. A rootbound plant may dry out unusually fast, wilt soon after watering, show roots circling the pot wall or emerging from drainage holes, or produce little new growth despite adequate light. The opposite problem is an oversized container: excess mix stays wet around a small root ball and can keep oxygen levels low.
Old mix can also collapse, repel water, or drain poorly. A nursery pot hidden inside a decorative cachepot makes it easier to inspect drainage, while a sealed container with no drainage hole turns every summer watering mistake into a root-zone risk. Repotting is a tool for fixing that bottleneck, not a ritual that every stressed plant needs.
Decide whether to repot now or wait
Repot now when the pot is clearly failing the plant: roots form a dense circling mat, water runs straight through a hydrophobic root ball, the mix remains saturated for an abnormal length of time, or the container has no practical drainage. Choose a pot only modestly larger than the root ball, use fresh indoor potting mix with air space, and keep the plant at the same soil depth.
Wait when the main problem is a hot window, direct AC, a recent move, or a one-off missed watering and the root zone otherwise behaves normally. Repotting disturbs fine roots at the moment the plant is already using energy to cope with environmental stress. If you can correct the location and moisture cycle first, the plant may stabilize without the added shock.
When you do unpot, inspect rather than assuming. Healthy roots are generally firm and light-colored for the species; rotted roots are soft, dark, and may smell sour. Trim only clearly dead material with clean tools, use a clean pot with drainage, and do not jump to a dramatically larger container. UF/IFAS advises loosening tangled roots, refreshing the mix, and watering thoroughly after repotting; it also notes that actively growing plants are the best candidates for the job.

Should you move houseplants outdoors for summer?
Outdoor summering can produce vigorous growth, but it is not a rescue shortcut. The light is stronger, wind increases water loss, rain can oversaturate pots, and insects have easier access. Purdue Extension says most indoor plants are sensitive below about 55°F and should be moved out only when temperatures are dependably warm; it also recommends gradually acclimating plants and beginning with shade or limited morning sun.
Start in a sheltered, bright-shade location for a few hours, then extend the time over several days. Keep the plant out of harsh afternoon sun and strong wind while it hardens off. Even a plant described as “high light” indoors may be receiving much less light than full outdoor sun, so judge the transition by the leaves rather than the label.
Once outside, check the mix more often but still water by soil condition. A windy patio can dry a pot quickly; a covered porch may not receive enough rain to count as watering; a saucer can hold runoff after a storm. Support tall plants so they do not topple, keep them away from pesticide drift, and inspect every leaf surface before bringing them back indoors.
Bloomscape’s summer-care guidance similarly treats outdoor placement as a gradual process, with more water required in heat and wind, limited direct sun for most houseplants, and a careful pest check before re-entry (Bloomscape summer care). Bring plants back before nights become too cool for the species, and expect some leaf drop when the indoor light level changes; that response does not automatically mean the plant is dying.
Conclusion
When houseplants struggle in summer, start with the environment and the root zone before reaching for fertilizer. Check whether the soil is actually dry, compare the leaf damage with the direction of light and airflow, inspect for pests, and look for salt crust or circling roots only when the clues point there.
The most reliable summer routine is simple: keep light bright but filtered when the window is harsh, water deeply when the plant reaches its normal dry point, empty saucers, keep plants out of direct AC, measure humidity before chasing it, scout pests weekly, and feed only healthy plants that are actively growing. If heat or a sudden move caused the damage, protect the plant from another shock and give it time; new growth, not repaired old leaves, is the clearest sign that your correction worked.