How to Grow Chia Seeds: Planting, Care & Harvest
Learn how to grow chia seeds indoors or outdoors, time sowing after frost, handle mucilaginous seeds, space plants, and tell whether your climate can produce seed.
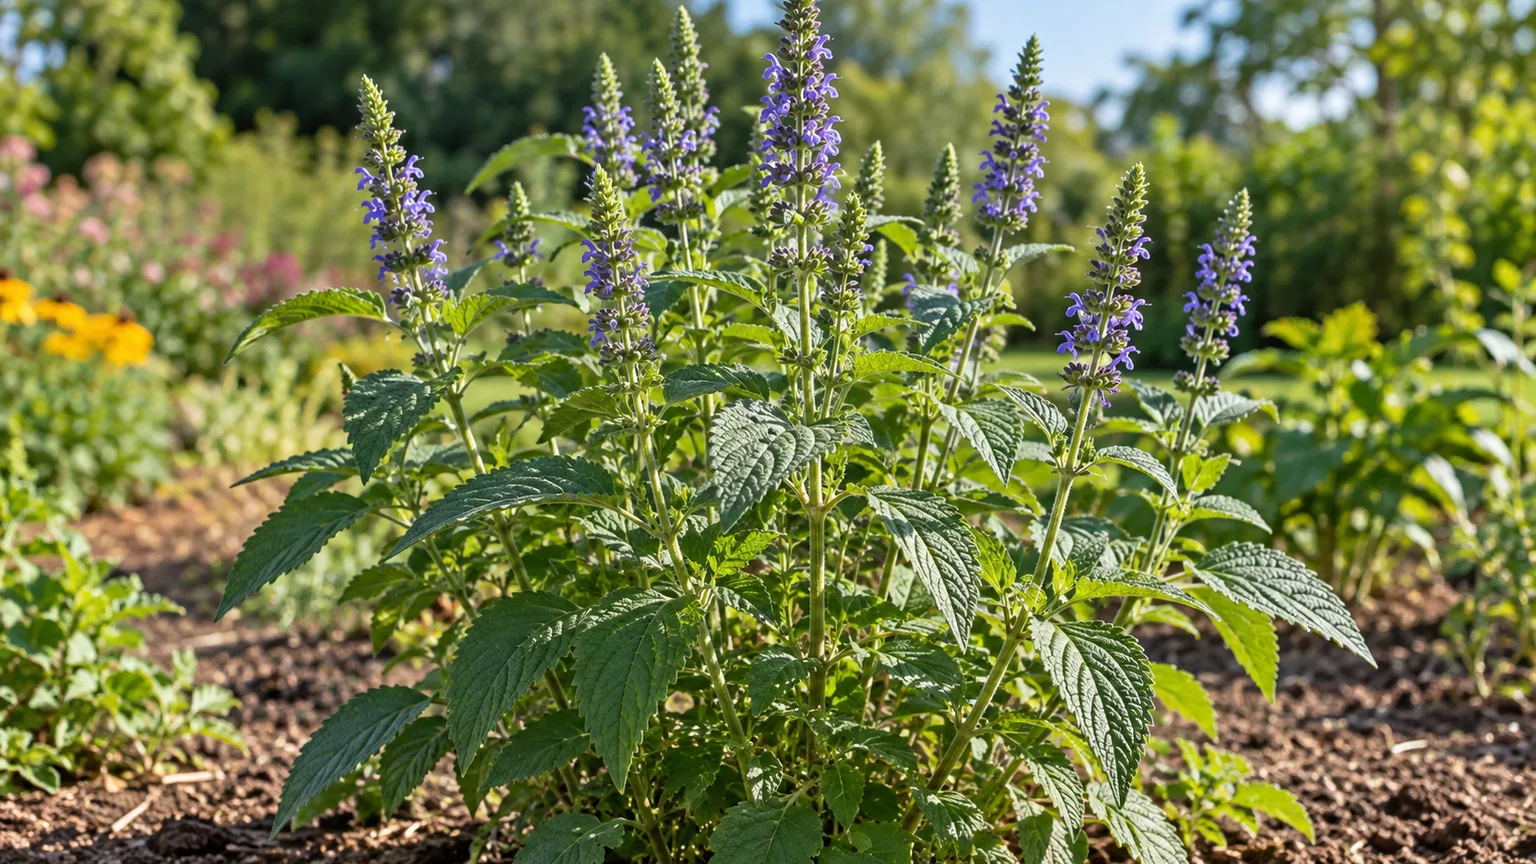
Chia (Salvia hispanica) is a warm-season annual that can grow into a tall, leafy plant with blue-violet flower spikes and small edible seeds. Starting it is simple; getting a mature seed harvest is less predictable because the plant needs enough warm weather to flower and finish its seed heads before frost. Decide first whether you want a windowsill sprout, an ornamental plant, or a seed crop, because those goals call for different setups and timelines.
The directions below focus on growing the actual plant, not making a chia pet or preparing chia gel. They also separate what you can control—seed freshness, moisture, light, and root space—from the local flowering schedule, which can be a real limit in cooler regions.
Can Chia Finish a Seed Crop in Your Growing Season?
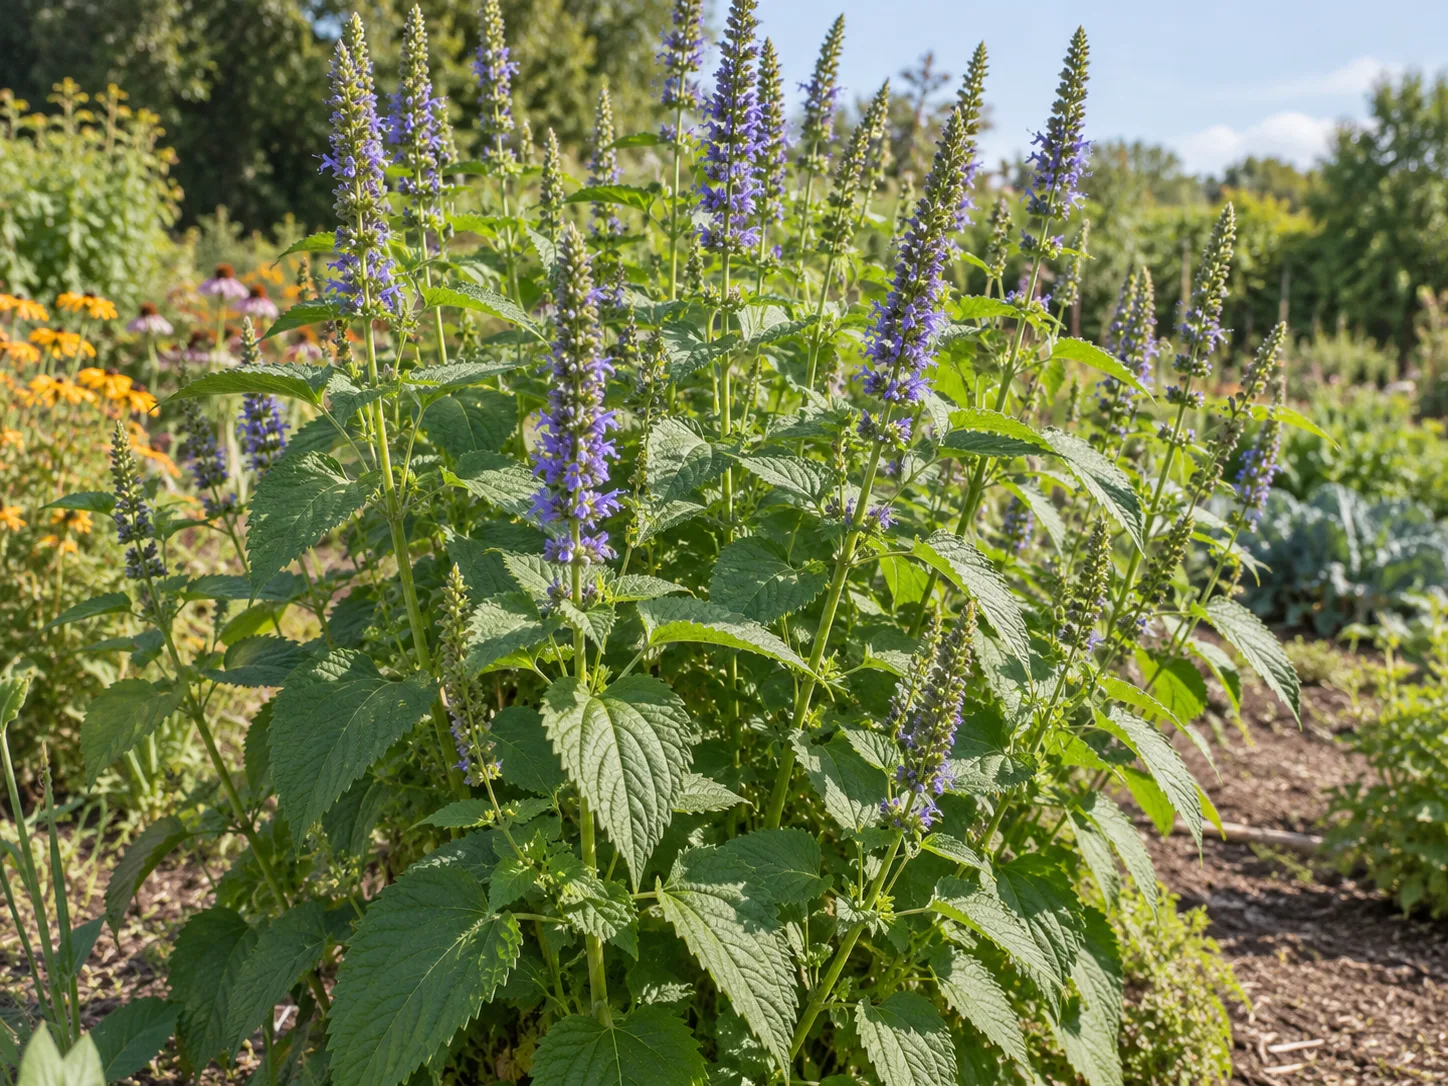
Chia is botanically an annual herb in the mint family. It is native to Mexico and Guatemala, and its flowers form along upright spikes above opposite, toothed leaves. A plant may grow several feet tall in a favorable spot, so leave room for its eventual size instead of treating it like a small herb that can be tucked among crowded vegetables.
Why a hardiness zone does not guarantee seed
A hardiness-zone label estimates winter minimum temperatures; it does not tell you whether a plant can flower and ripen seed within one local summer. Chia may thrive vegetatively in a cooler region while its seed heads develop too late to mature before autumn cold arrives. That distinction matters if your goal is a jar of homegrown seed rather than attractive foliage.
A USDA Agricultural Research Service trial in Maryland found that chia grew vigorously at higher latitudes but did not bloom until very late in the season—October—regardless of when it was planted. That local trial does not predict every backyard or cultivar, but it is a useful warning against assuming that an early sowing alone will solve a short-season problem. If your area has an early first frost, grow chia for foliage and flowers first, and treat seed harvest as a bonus rather than a sure result. (USDA Agricultural Research Service)
The practical question is not only “Will chia grow here?” but “Will it flower early enough here to make mature seed?” A protected, sunny site can help the plant accumulate growth, and a pot can be moved away from a cold snap, but neither changes the plant’s response to seasonal day length. If you need a dependable seed crop in a short summer, choose a locally tested crop with a more predictable finish date.
Choose the chia species you actually want
Most packaged food chia is Salvia hispanica, the tall, broad-leaved species grown for seed. A related species, desert chia (Salvia columbariae), is a different annual native to the arid Southwest. It has a lower, different growth habit and is adapted to drier conditions; do not assume that advice for one species applies to the other simply because both are called chia.
For the familiar kitchen seed crop, look for Salvia hispanica on a seed packet. The scientific name is useful when browsing online because common names can be inconsistent. If a listing identifies only “chia,” ask the seller which species it is before you plan the bed or container around its mature size.
Choose a Seed Source and Test It
A packet labeled for planting is the most reliable starting point because it identifies the species and is sold for propagation. Raw grocery-store chia seeds may germinate, but food packages are not necessarily tested for garden germination, and age, storage, processing, and the seed lot can all affect results. “Edible” is not the same promise as “high germination rate.”
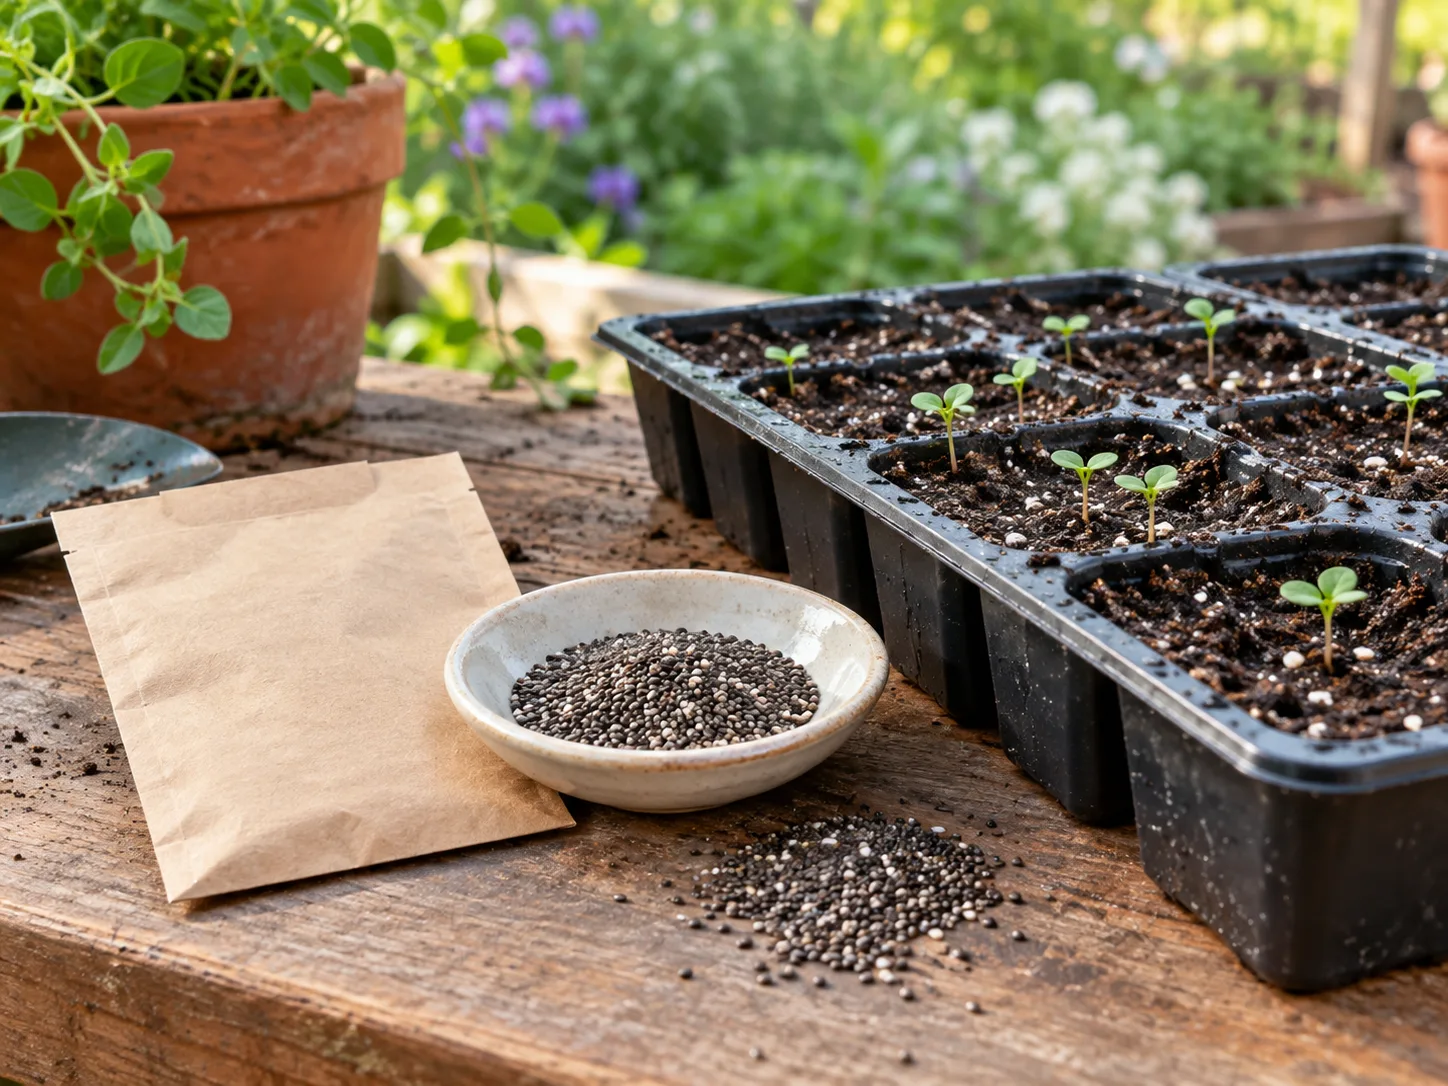
If you want to use pantry seeds, sow a small sample before committing a whole bed. Put a few seeds in a shallow tray of moist seed-starting mix and watch for seedlings over the next few weeks; a small trial gives you a clearer answer than guessing from the package.
Chia seeds produce a slippery mucilage when they absorb water, so dry seeds are easier to distribute evenly than seeds soaked in a bowl. Research on chia germination describes this mucilage as a characteristic that changes how the seed hydrates, so avoid turning a simple sowing job into a sticky separation problem. (Springer review)
Keep the remaining seeds sealed and dry until sowing. If you save seed from your own plants, label the container with the species and harvest year, and test a few seeds the following season. Seed viability depends on how fully the seeds dried and how they were stored; appearance alone cannot confirm that a seed will sprout.
Decide Whether to Sow Outdoors or Start Indoors
Chia resents cold conditions, and seedlings are more vulnerable than established plants. In a mild, long-season climate, direct sowing is straightforward. In a colder climate, starting indoors can protect the first weeks of growth, but indoor starts only help if you can transplant them gently and still have enough warm growing time afterward.
Direct sow after frost danger
Wait until frost danger has passed and the soil has warmed for warm-season planting. Choose a sunny, well-drained bed and water it before sowing so the upper soil is already damp. A light mist is easier to manage than a heavy hose stream, which can carry tiny seeds into a clump or wash them into a low spot.
Direct sowing avoids disturbing the young root system and is often best where the growing season is long enough. Scatter seed thinly across the prepared surface, lightly press it into contact with the soil, and cover it with no more than a very fine layer of mix. GardenGuides recommends surface sowing with a thin cover and keeping the bed lightly moist while seedlings emerge. (GardenGuides)
Start indoors only when the season needs a head start
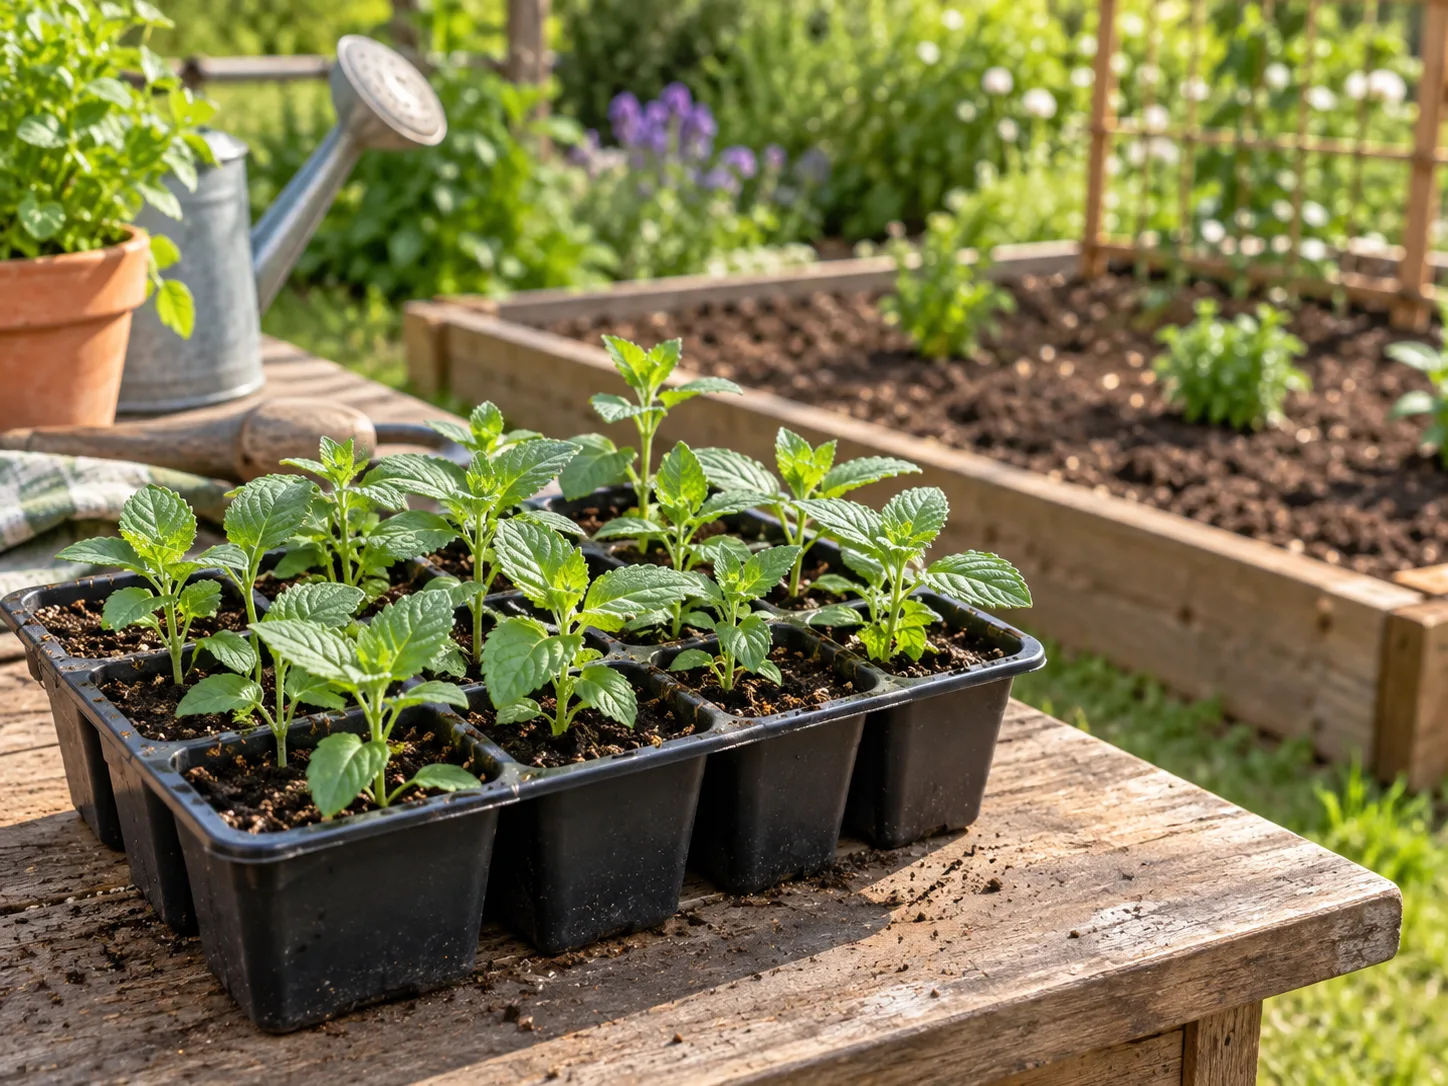
If spring stays cold for a long time, start chia indoors in individual cells or small, deep pots. GardenGuides suggests sowing eight to ten weeks before the last expected spring frost, while Epic Gardening describes transplanting seedlings at about three inches tall. Use those as practical reference points rather than a rigid calendar: the right date depends on your local frost pattern, available light, and how quickly you can move the seedlings outside. (GardenGuides; Epic Gardening)
Use a fine seed-starting mix and pre-moisten it so water will not displace the seed after sowing. Place one or two dry seeds per cell, press them onto the surface, and dust them lightly with mix.
Keep the tray warm and bright. A clear cover can slow drying before germination, but remove it when seedlings appear so the surface does not stay stagnant and damp.
Chia seeds may germinate quickly under favorable conditions, but timing varies by seed lot and temperature. GardenGuides gives a range of two to six weeks and notes that some seeds take longer; check moisture and warmth before deciding a batch has failed. (GardenGuides) If nothing emerges, sow a fresh sample rather than increasing fertilizer or soaking the entire tray.
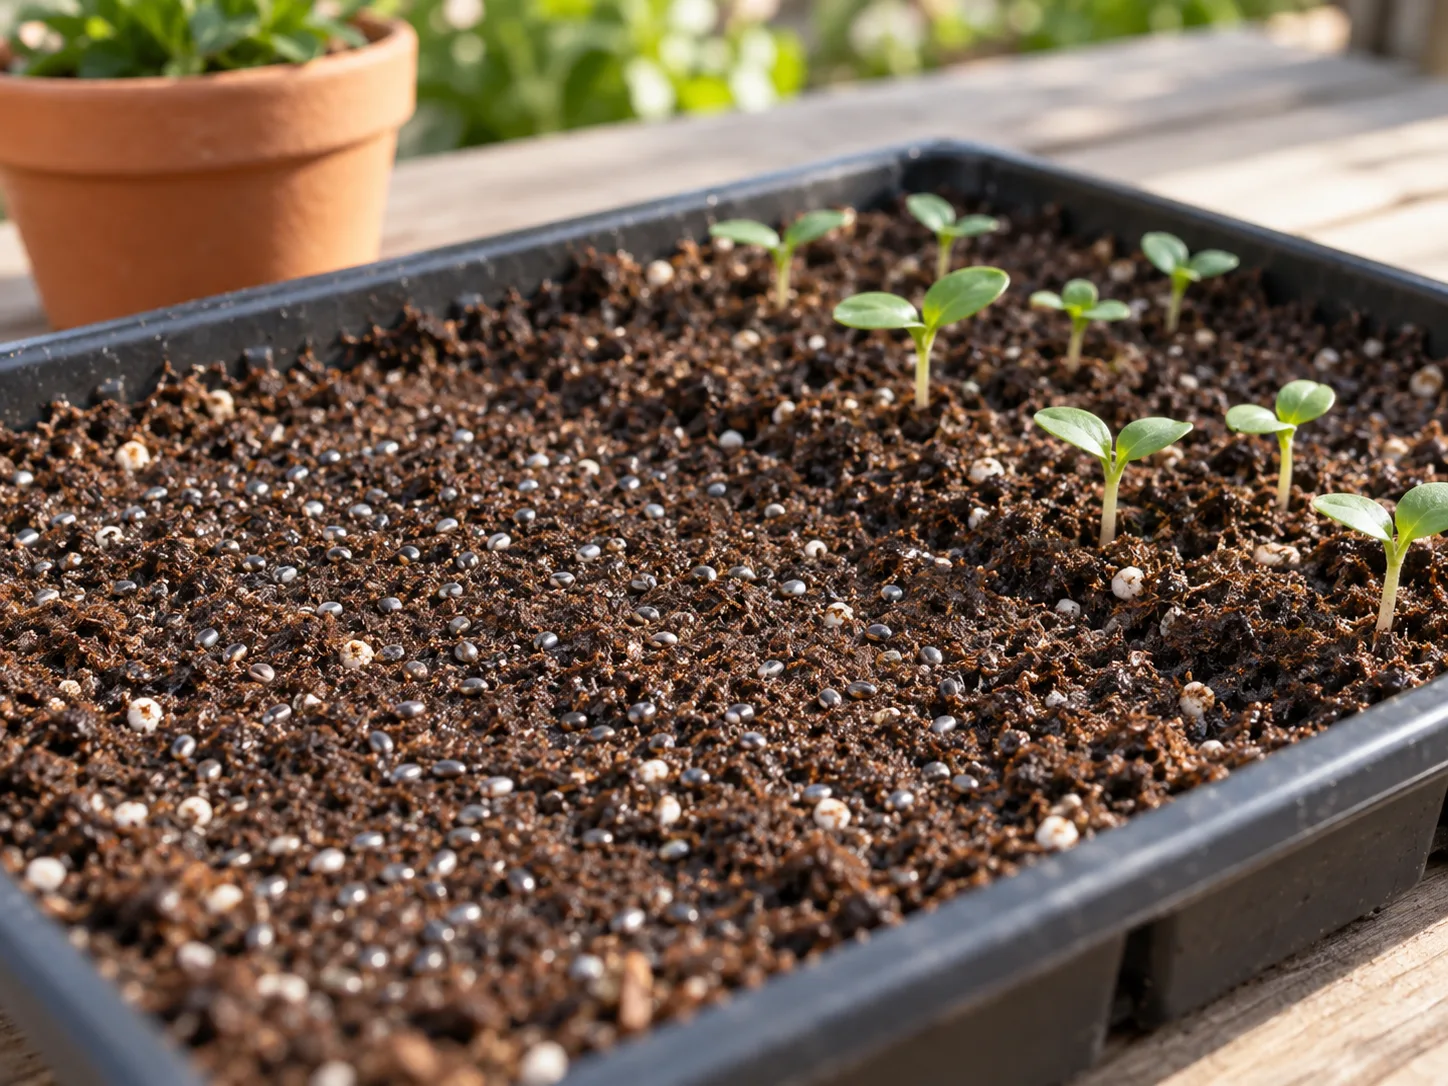
Prepare a Bed or Container Before Sowing
Chia tolerates a range of soils as long as excess water drains away. A sunny patch with average garden soil is usually better than a rich, soggy bed amended heavily with manure. If water stands after rain or the surface stays slick for days, improve drainage or choose a raised bed; adding more water to “help” seedlings in that situation can invite root problems.
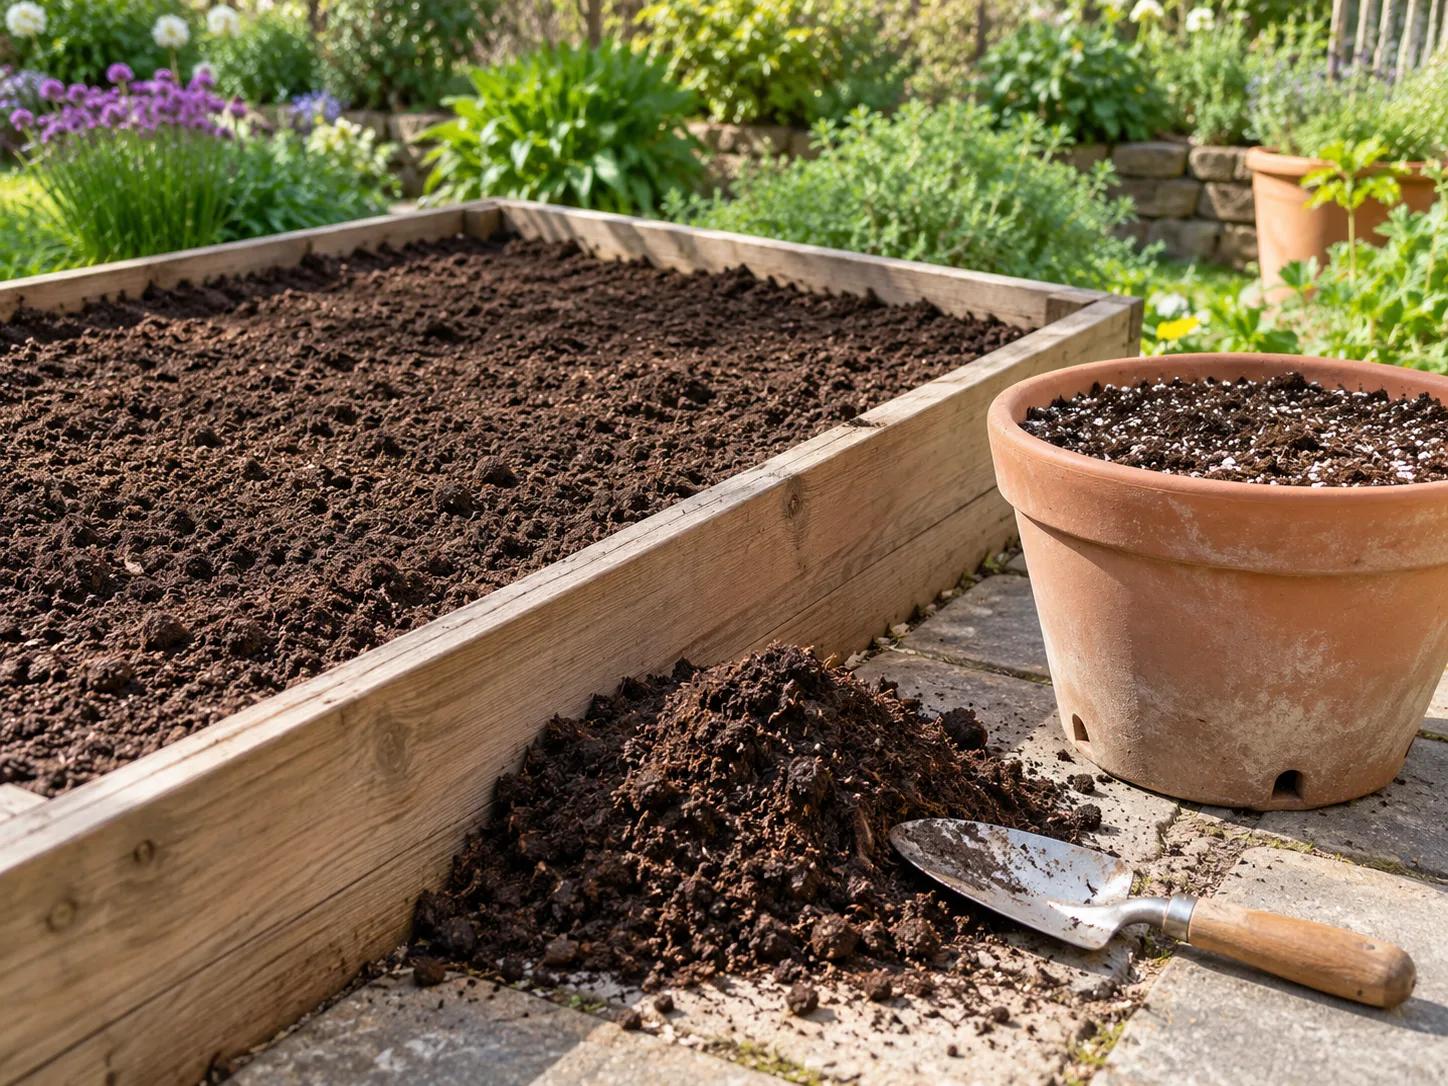
Remove weeds and break up only the upper layer so seedlings have a fine, level surface. A modest amount of mature compost can improve poor soil, but do not create a deep pocket of rich material in an otherwise compact bed. The aim is a loose, stable seedbed that retains enough surface moisture for germination while letting roots breathe once plants are established.
For a container, choose a pot with several drainage holes and enough volume for a tall plant. A container around three gallons or larger gives one chia plant more room than a small herb pot, and a wide base is less likely to tip when the stems get tall. Use a quality potting mix rather than heavy garden soil, and set the pot where it can receive several hours of direct sun.
Sow Tiny Chia Seeds Without Washing Them Away
Chia seeds are small, so even spacing at sowing saves work later. To make the distribution easier, mix dry seeds with a pinch of fine, dry sand or sow a small line from folded paper.
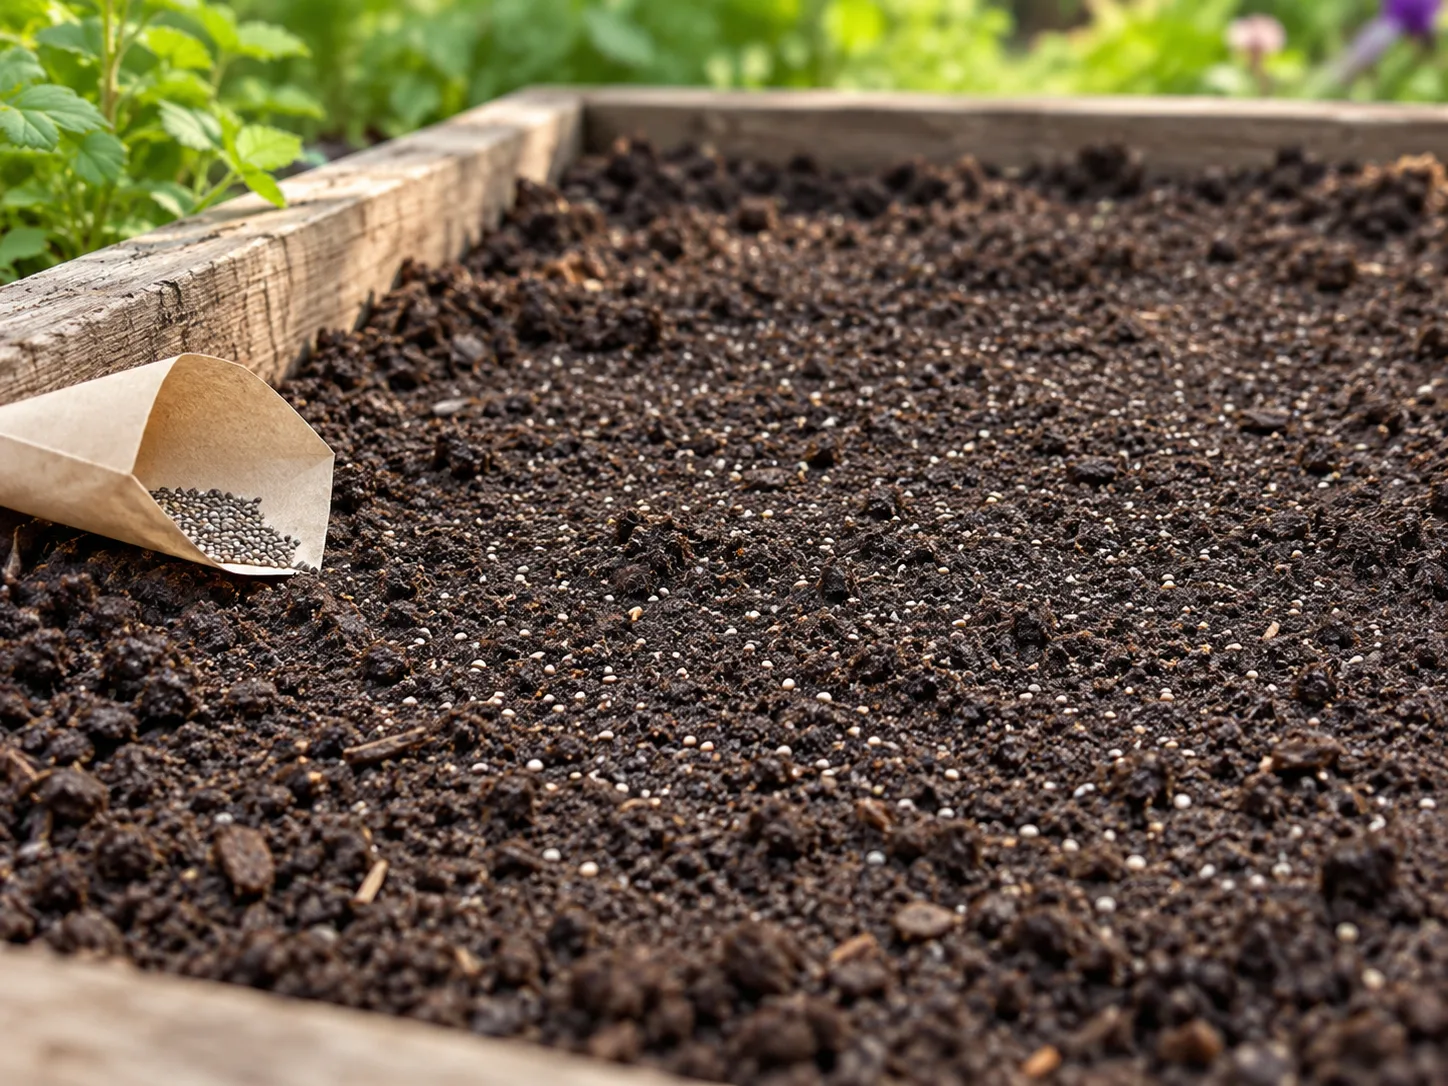
Avoid pre-soaking the whole batch: once the seeds swell and form mucilage, they stick together and become harder to spread. The seed’s gel coat is normal, but it is not a reason to flood the bed.
After scattering, press seeds gently against the surface. A very thin cover helps maintain contact, but burying them deeply can delay emergence or prevent seedlings from reaching light.
Water with a fine mist or a gentle rose on a watering can, then check the surface daily until sprouts appear. Keep it evenly damp, not waterlogged; if the top is still cool and moist, skip the next watering.
Once seedlings emerge, switch from frequent surface misting to deeper, less frequent watering that moistens the root zone. This encourages roots to move down rather than remain in the shallow, constantly wet surface layer. If the seedlings are outside and rain is expected, protect a freshly sown patch with light shade or a temporary cover that does not trap heat, then remove it once seedlings are established.
Thin Seedlings and Transplant While They Are Small
When direct-sown seedlings have a few true leaves and are large enough to handle, thin them so air and light reach each plant. GardenGuides suggests spacing plants about 12 to 18 inches apart once they are a couple of inches tall. In a crowded clump, keep the strongest seedlings and snip extras at soil level instead of pulling them up beside roots you want to preserve. (GardenGuides)
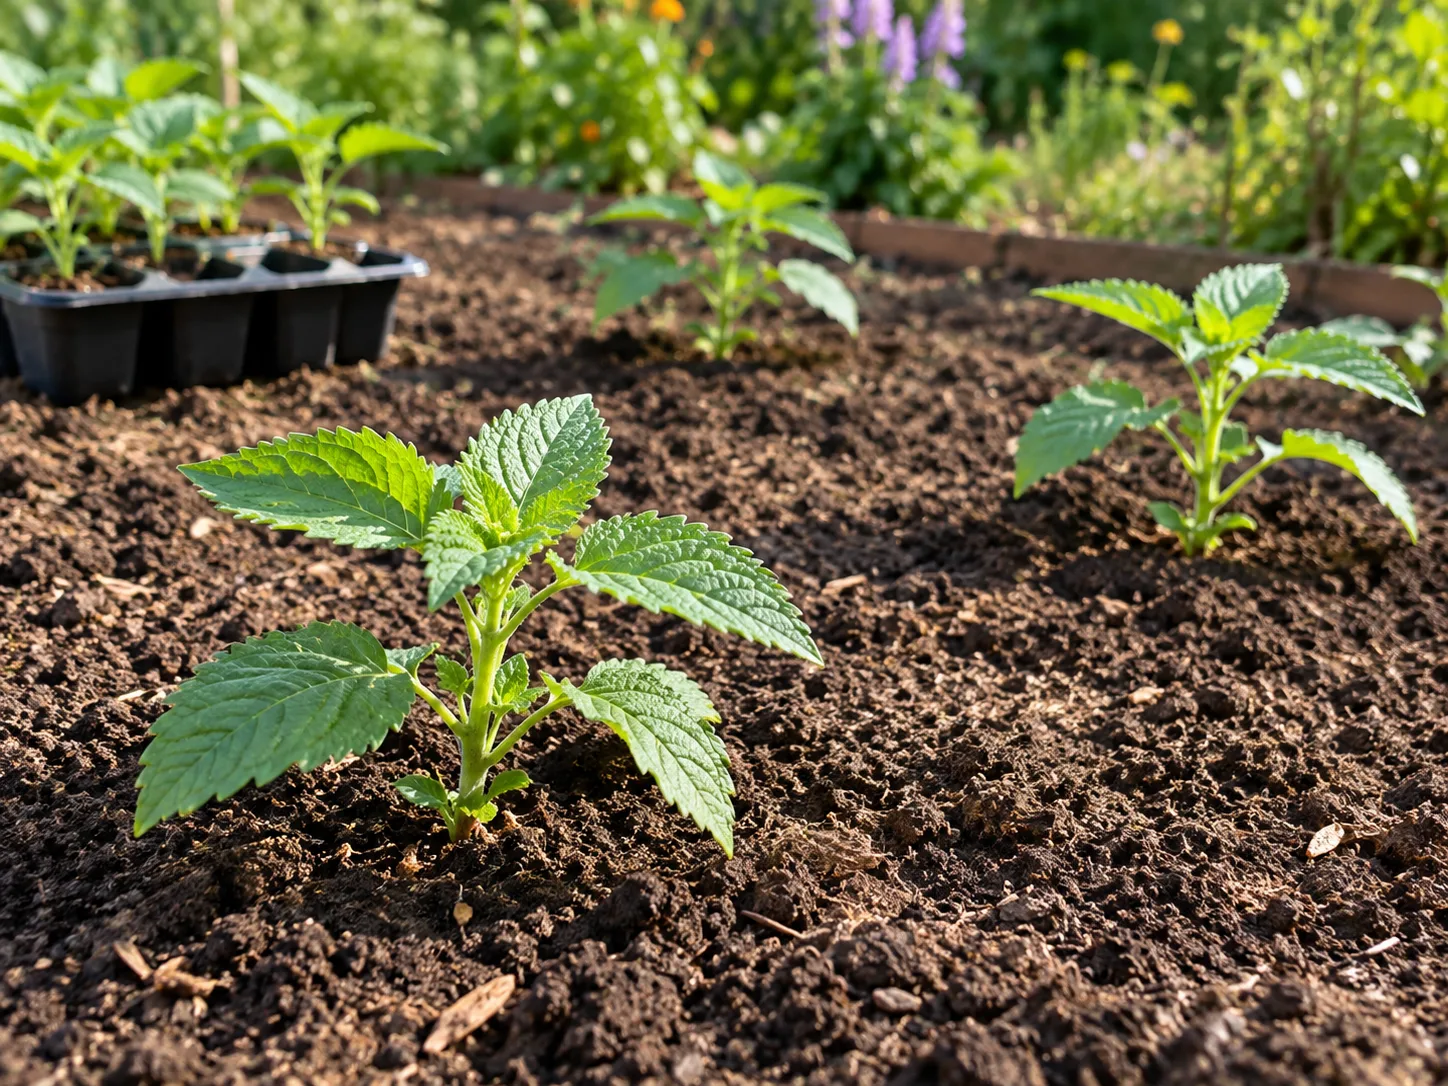
If you started seeds indoors, transplant while the seedlings are still small, with the root ball intact. Water the cell first, tip the plug out gently, and set it at the same depth it was growing; avoid tugging on the stem or teasing roots apart.
Epic Gardening recommends moving young plants at roughly three inches tall, while GardenGuides advises potting up before final planting. The useful principle is to move them before a dense root mat forms, not to hit an exact height on a particular date. (Epic Gardening; GardenGuides)
Space one plant per large container. In a garden bed, leave about a foot or more between plants, with extra room if you want easy access to harvest the flower spikes. Close spacing can make a fuller display, but dense growth dries slowly after rain and makes it harder to see whether seed heads are mature.
Care for Chia from Establishment to Flowering
Once established, chia asks for less attention than a leafy vegetable crop. It needs strong light, a free-draining root zone, and enough water to avoid prolonged stress while stems and flower spikes develop. Resist the urge to push growth with repeated fertilizer; lush leaves do not guarantee that a short season will produce mature seed.
Keep young roots evenly moist, then water by conditions
During germination and early growth, keep the upper soil lightly and consistently moist. Tiny seedlings have little root depth, so a dry surface can stop them before they establish; at the same time, saturated soil excludes air and can damage roots. Check the bed with a finger rather than watering by the calendar.
After the plants begin putting on steady growth, let the top layer dry slightly between deep waterings. Mature chia tolerates dry conditions better than seedlings do, but drought during hot weather or flowering can still slow growth and reduce the chance of a good seed set. Container plants dry faster than in-ground plants, so check a pot more often, especially on a hot or windy patio.
Balance sun, drainage, heat, and fertility
Give chia a sunny site, ideally with at least six hours of direct light. Epic Gardening recommends full sun and notes that severe heat can scorch leaves or slow flowering; in a very hot location, morning sun with some afternoon relief may be kinder than reflected heat against a wall. (Epic Gardening) If stems stretch and lean, light is a more likely issue than a need for extra fertilizer.
Well-drained soil matters more than a precise pH target for most home growers. Chia can adapt to different garden soils, but persistently wet roots increase the risk of rot. Water at the base where practical, and avoid leaving containers sitting in water after rain.
A small amount of compost mixed into poor soil is usually enough. If the plant is green and growing, skip supplemental feeding. Heavy nitrogen can push soft leafy growth at the expense of sturdy stems and may delay the transition toward flowers, while fertilizer cannot correct cold soil, poor drainage, or a flowering schedule that is too late for your climate.
Grow Chia in a Pot with Enough Root Room
A pot is useful if your outdoor season is short, your soil drains poorly, or you want to move the plant under cover during a cold snap. It does not guarantee seed production: the plant still needs suitable light and enough time for its flowers and seed heads to mature. A container is a way to manage the root zone and placement, not a way to change the plant’s seasonal biology.
Choose a sturdy container of at least three gallons for one plant, with drainage holes and a light potting mix. Larger pots buffer moisture swings, but they also take longer to dry, so check the mix before watering. A smaller decorative pot may keep a seedling alive for a while, then become root-bound or tip as the mature stems get tall.
Keep the container outdoors in full sun after frost danger has passed, and rotate it occasionally if growth leans toward light. If moving indoors, use the brightest available window or a grow light; a dim room will produce a stretched plant with fewer flower spikes. Bring the pot inside before cold nights, but remember that warmth indoors may keep foliage alive without providing the conditions needed for a timely seed crop.
Troubleshoot Poor Germination and Missing Flower Spikes
When a tray stays empty, first check the seed rather than adding plant food. Grocery-store seeds may be old or poorly suited to germination, and cold mix, buried seeds, a crusted surface, or drying during the first days can all delay emergence. Sow a second small batch with fresh seed in a warm, bright spot and keep the mix consistently moist; compare the two batches before changing several conditions at once.
If seedlings emerge in a tight mat, thin them while small. Crowded plants compete for light, remain damp after rain, and become difficult to transplant without root damage. If stems are pale and stretched, move the tray closer to strong light or add a grow light before the seedlings flop; do not try to fix weak growth with more water.
If a mature plant grows leaves but no flowers, compare the calendar with the local season. The Maryland USDA trial is a clear example of vigorous chia growth followed by very late bloom, so a lack of flowers does not always mean you watered or fertilized incorrectly. If fall is near, continue steady care but do not count on seed ripening before frost; for next year, choose an earlier, locally suited seed source or grow chia for foliage and pollinator interest instead. (USDA Agricultural Research Service)
Yellowing with soft stems or persistently wet soil points toward excess moisture or poor drainage. Let the root zone dry appropriately, confirm that pots drain freely, and remove badly rotted plants rather than repeatedly soaking them. Brown, crisp leaf edges during a heat wave can reflect intense heat and dry roots; check moisture first, then provide temporary afternoon shade if the site is baking.
Harvest Chia Seed Heads When They Are Dry
Harvest only after the flower petals have fallen and the seed heads have dried on the plant. Mature heads look papery and feel dry rather than soft or green; when shaken, they may release or rattle loose seed. A calendar estimate such as “four months from sowing” can be a rough planning guide, but flowering time and seed maturity shift with location, seed lot, and weather, so use the seed heads themselves as the final signal.
Cut the spikes on a dry day and place them in a paper bag or on a clean tray. Leave the bag open or the tray in a warm, dry, airy spot away from rain and damp basements. Do not seal freshly cut heads in plastic while they still contain moisture, because trapped humidity can encourage mold before the seeds finish drying. (GardenGuides; Epic Gardening)
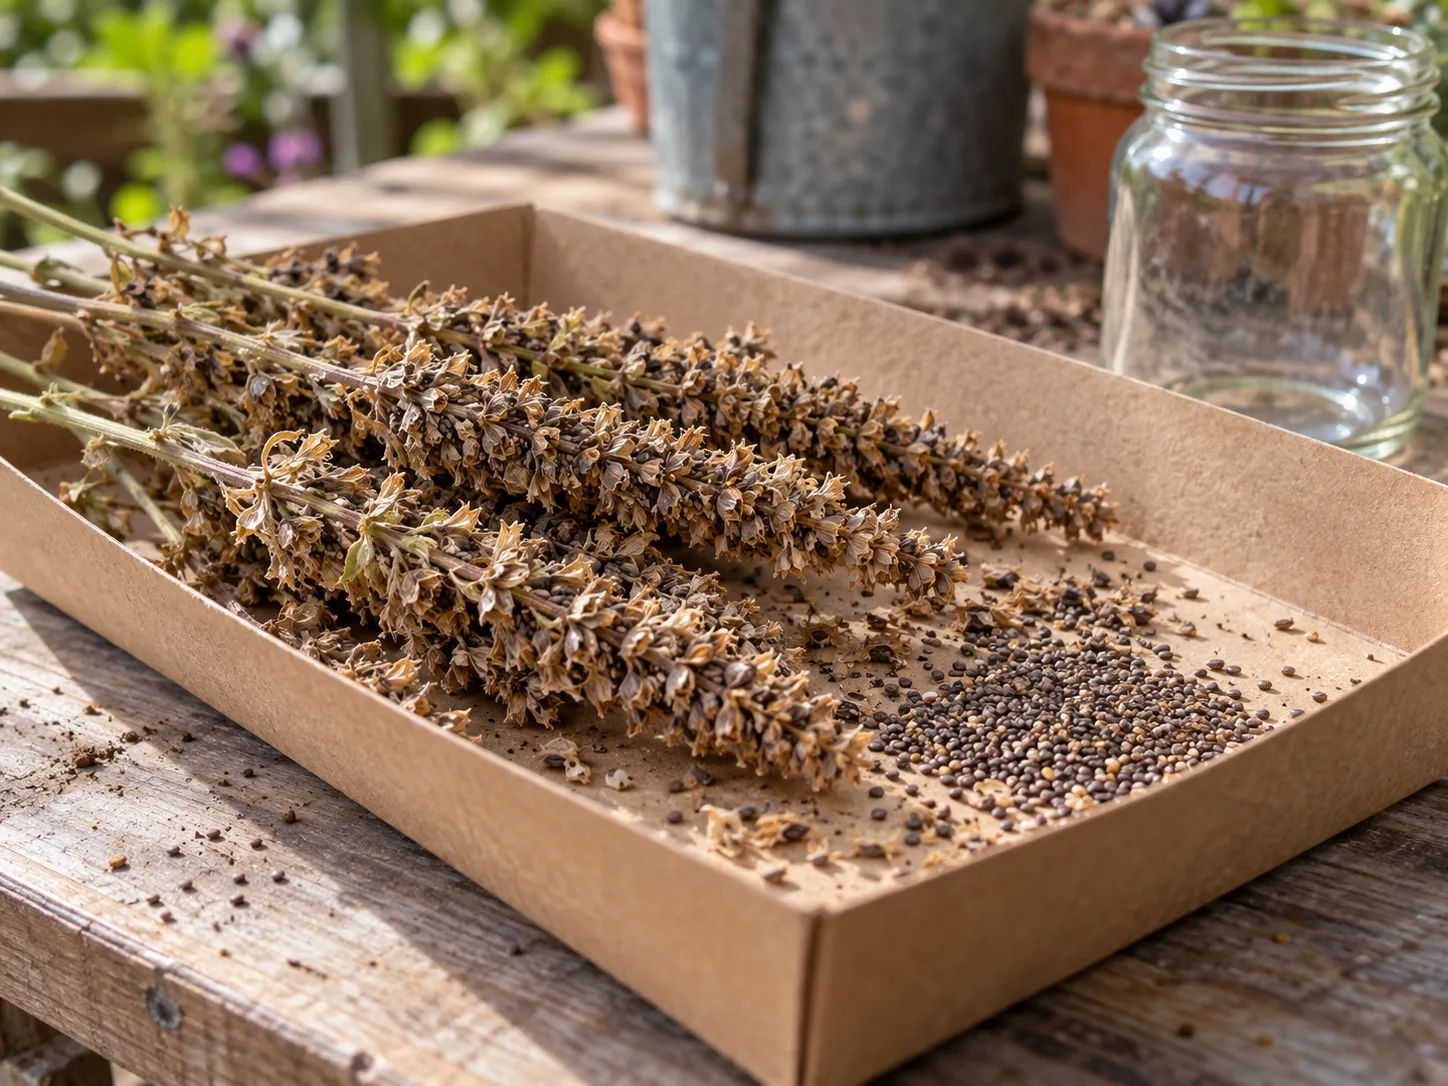
If frost is approaching and the heads are nearly dry, cut the whole stalk and finish drying it indoors. If the flowers are still green or the seed heads are plump and soft, the seeds may not be mature; bringing them inside can protect the stems from rain but cannot reliably finish immature seed. In a short-season region, this is why checking the expected flowering window before sowing is more useful than waiting for a specific harvest month.
Clean, Dry, and Store the Seeds
Once the stalks are completely dry, rub or shake the heads over a wide, clean tray to release the seeds. Separate larger pieces of stem and flower debris by hand, then use a fine sieve or a gentle breeze to winnow lighter chaff away. Work outdoors or over a contained tray because the seeds are tiny and scatter easily; a strong fan can blow away the harvest along with the debris.
Let cleaned seeds air-dry again if they feel at all cool or damp. Store them in a labeled airtight jar only after they are fully dry, and keep the jar in a cool, dark cupboard. Moisture is the main avoidable storage problem: a sealed container protects dry seed but traps moisture if seed heads were packed before drying.
If you intend to plant the saved seed next season, keep a small sample separate from the kitchen supply and test its germination before sowing a large area. A clean-looking seed can still be nonviable, and the test also reveals whether the variety and local flowering schedule are a good fit. Record when the plant flowered and when the seed heads dried; those notes will improve your planting date more than a generic harvest estimate.
Prevent Self-Sowing and Plan for Frost
Chia may drop seed and return as volunteer seedlings where the growing season is long enough. If you want the plant to reseed, leave a few dry heads in place and watch for seedlings next season. If you want to prevent spread, cut flower spikes before they shed mature seed, collect dropped heads, and pull unwanted seedlings while they are small.
In cold-winter regions, treat chia as a seasonal annual and save mature seed if the plant produces it. A frost can end the outdoor plant, but indoor protection does not turn chia into a dependable perennial; it simply keeps the current plant alive longer. If you bring it inside, provide strong light and avoid keeping the root zone wet through a slower winter period.
Conclusion
To grow chia successfully, start with fresh Salvia hispanica seed, sow it shallowly into warm, evenly moist, well-drained soil, and thin seedlings before they crowd. Give established plants sun and room, then judge watering by soil and weather rather than a fixed schedule. Chia is forgiving about many ordinary garden conditions, but mature seed depends on flowering at the right point in your local season.
If you live where chia grows leaves but blooms too late, you have not necessarily failed as a gardener; the crop may simply be a poor match for a short seed-maturing window. Grow it for its foliage and flowers, try a container for better placement, or choose another seed crop with a reliable local harvest date. When chia does flower early enough, dry the heads fully, clean the seeds over a tray, and save only seed that is completely dry.