How to Harvest Sunflower Seeds for Eating or Planting
Learn when sunflower seeds are ripe, how to cut and dry whole heads, keep birds out, test saved seed, and roast a salty batch.
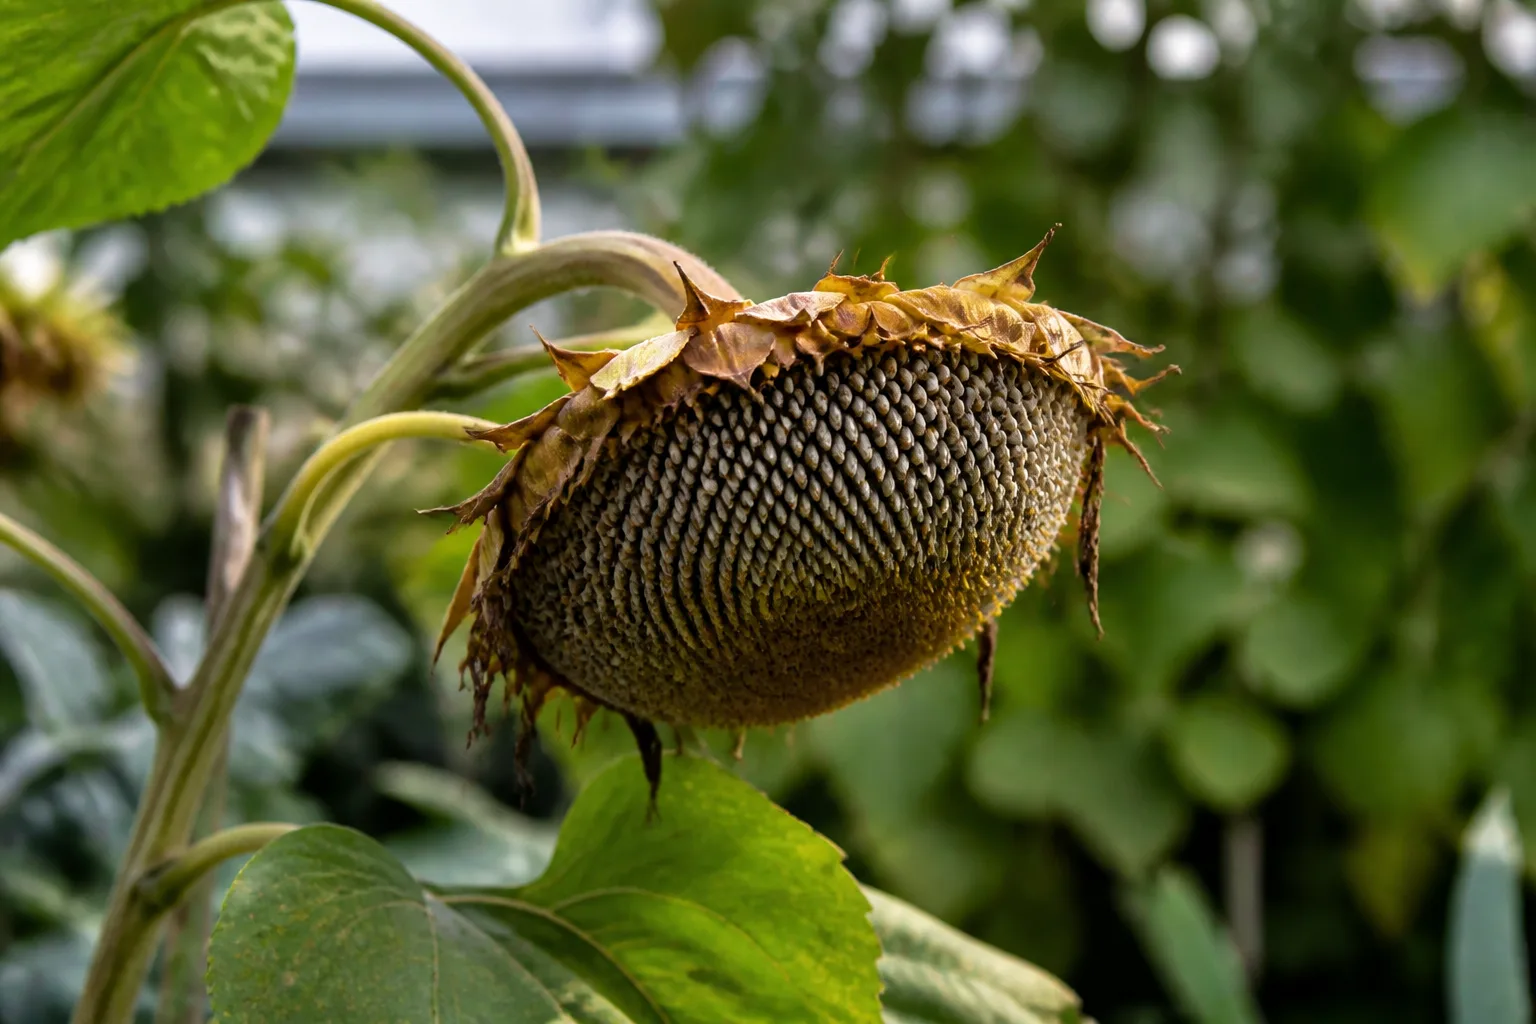
The easiest way to harvest sunflower seeds is to watch the back of the head, protect it from wildlife, cut it at the right stage, and finish drying indoors. You do not need to wait until the entire plant is brittle and brown. In fact, waiting that long often gives birds, squirrels, rain, and seed pests first choice.
One sunflower head can serve several purposes, but the best harvest method depends on what you want. Food seed needs good flavor and a clean shell; planting seed needs maturity, dryness, and a reasonably true parent; bird seed can be left on the stalk longer. Decide the destination first, then save a portion for each use if you have enough heads.
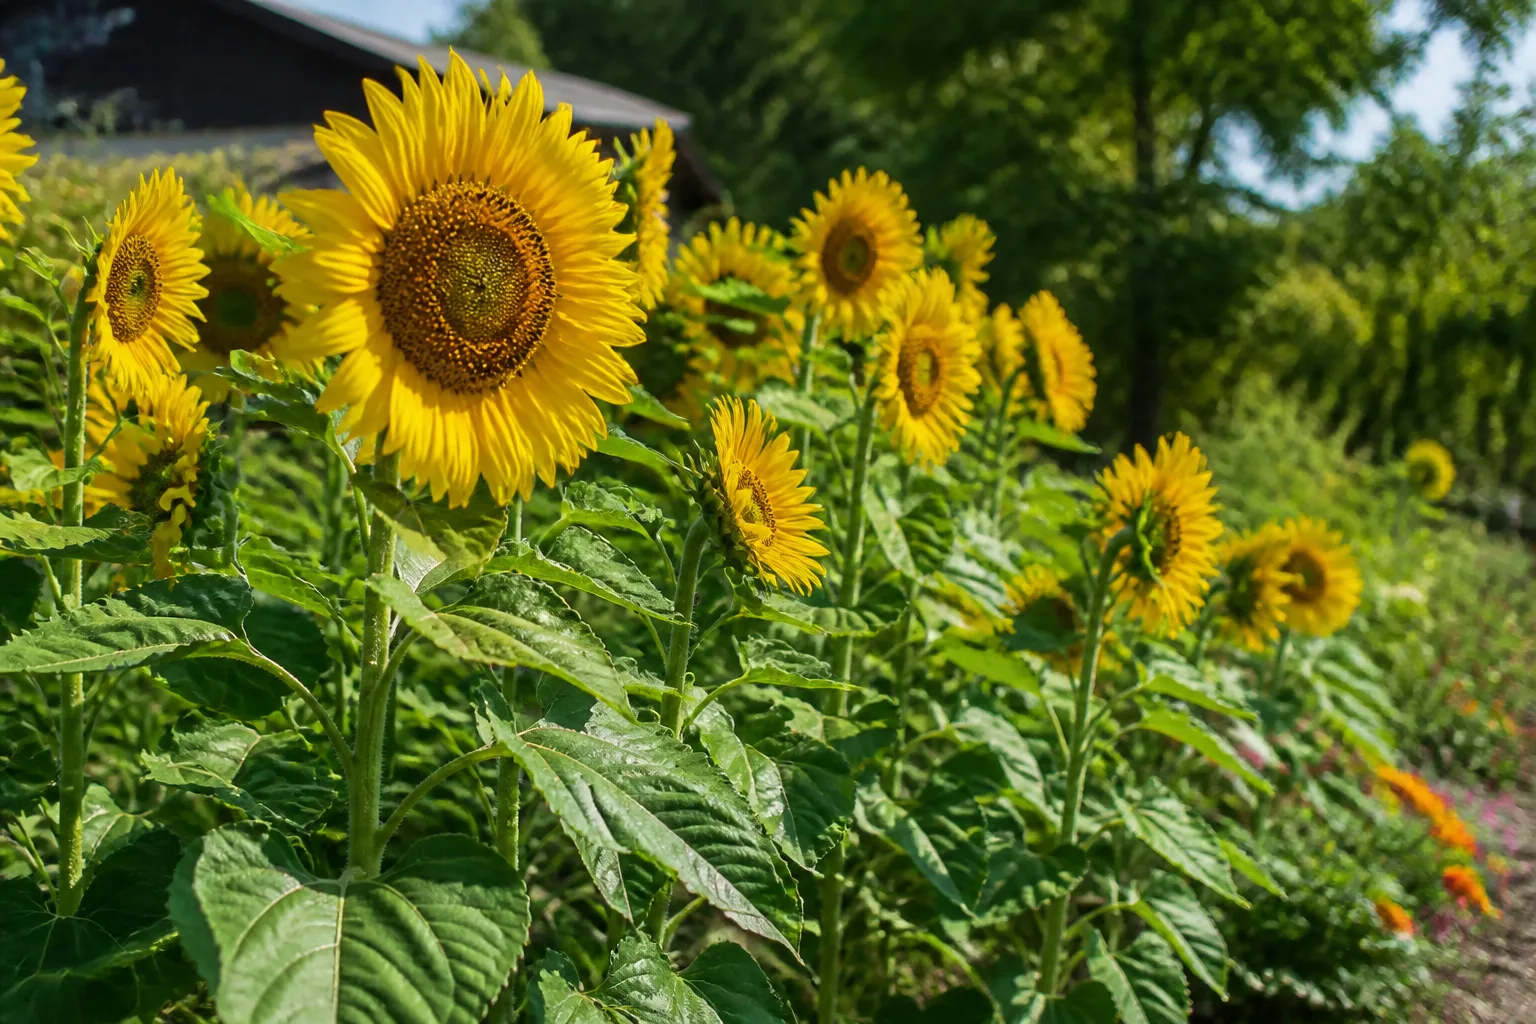
Decide what you want from this harvest
Sunflower seeds are not one uniform crop. The big, striped seeds from a confectionery type are usually the most satisfying to eat, while smaller black-oil types are often better suited to birds. Ornamental cultivars can produce edible seeds, too, but seed size, shell thickness, and taste vary widely. Never eat seed that has been treated with a pesticide, dyed, sold for planting with a treatment warning, or taken from an unknown floral arrangement.
If your priority is snacking, choose the fullest, cleanest heads and bring them in before the stalk and head become completely dry. If your priority is replanting, reserve heads from the healthiest, most vigorous plants and let those seeds reach full maturity before curing. If your priority is wildlife, leave a few heads standing and accept that you will not recover every seed.
Keeping these jobs separate prevents a common disappointment: harvesting a head at the ideal stage for one purpose and expecting it to behave like another. A slightly earlier, protected head can make excellent food after curing, but a seed saved for planting must still contain a mature embryo. Conversely, a head left for birds may be biologically mature but mostly stripped by the time you collect it.
Read the seed head instead of the calendar
Sunflowers do not ripen on a single universal date. Variety, sowing date, heat, drought, cloudy weather, and the amount of pollination all affect the window. As a rough guide, start close observation about four to six weeks after flowering, but let the plant—not a number on a calendar—make the final decision. Fruition Seeds also describes the roughly six-week interval as a useful expectation while warning that a completely brown stalk can be too late because wildlife may already have emptied the head (Fruition Seeds).
Use several ripeness clues together
Look for a combination of these signs:
- The petals have faded or fallen. The bright ray petals are decoration; the tiny disk florets in the center mature into individual seeds. Once most petals are gone, the head has moved from flowering into seed fill.
- The head droops. A heavy, downward-facing head is usually farther along than an upright bloom. Drooping by itself is not proof, because wind, rain, or a weak stem can bend a young head.
- The back changes from green to yellow, then yellow-brown. A green back usually means “wait.” A yellow or yellow-brown back often signals that the seeds are mature enough to cut and finish drying away from the plant.
- The shells look full and feel firm. Slide a fingertip over a few seed rows. Mature shells are well formed and do not collapse easily. Choose seeds from the outer, middle, and inner parts of the head; ripening is not always perfectly even.
- The seeds resist a light rub but release after curing. If every seed falls out at a touch while the head is still damp, wildlife or a damaged head may be involved. If seeds are plump but stubborn, the head may simply need more dry time.
The best compromise for a home harvest is often a head with dropped petals, a yellow-to-brown back, a noticeable droop, and full shells, but before the stalk has spent every last day turning brittle. The RHS advises collecting ripe seedheads on a dry day, watching for the color change that signals maturity, and cleaning away chaff because it can harbor mold and pests (RHS seed collecting and storing).
If you are unsure, test one head rather than cutting the entire patch. Remove one or two seeds from the center and shell them with a fingernail. A mature kernel is plump and developed; a thin, watery, or empty interior means the plant needs more time. A small test costs one head and can save the rest of the crop.
Protect the heads from birds and wet weather
Birds are excellent at finding the exact stage you are waiting for. A mesh bag, cheesecloth, or loose paper covering can buy several days, but it must allow air to move and must not sit tightly against a wet head. Secure the cover below the head so it cannot collect rainwater in a pocket.
Inspect covered heads every day or two. If the fabric is damp, remove or replace it during a dry spell. A tight plastic bag is a poor substitute: it traps condensation around the seed head and can turn a nearly ready crop into a mold problem.
In a dry climate with low wildlife pressure, you can let heads dry on the plant. In a rainy climate, a garden visited by squirrels, or a patch you cannot check daily, cut earlier at the yellow-back stage and cure the heads under cover. MIgardener’s practical harvest sequence favors cutting before the stalk is fully brown, trimming the stem, and drying the heads indoors for about two weeks (MIgardener). The trade-off is simple: you do more drying work, but you control the harvest instead of sharing it all at once.
Gather the few tools that make harvest cleaner
Set up a clean basket or bucket before you cut. You will want sharp bypass pruners or a knife, gloves if the dry bracts feel scratchy, twine for hanging, a screen or tray for drying, a bowl for rubbing out seed, and paper packets or airtight containers for the final storage.
Sanitize or at least wash and dry cutting tools if you are moving between plants with visible disease. Do not place cut heads directly on damp soil. A clean basket catches loose seeds and keeps grit out of the flower face, while a labeled tray keeps one variety from being mixed with another.
If you plan to save seed for planting, label the basket before you begin: variety or flower color, garden location, and harvest date are enough. Seed saving becomes far less useful when you have a jar of mystery sunflower seeds and no idea whether the plants were open-pollinated or crossed with a neighbor’s cultivar.
Cut the heads at the right moment
Choose a dry morning after dew has lifted or a dry afternoon. Hold the stem below the head and cut with about 12 inches of stem attached if you want to hang it. A shorter stem is fine when you are placing the head flat on a screen; the stem is a handle, not part of the seed crop.
Carry the head face-up in a basket. The outer bracts can shelter ants, earwigs, beetles, and spiders, so gently tap or shake the head outdoors before bringing it into the house. Remove obviously loose petals and damaged material, but do not aggressively scrape the still-moist seed face before curing.
If rain is arriving and the head is nearly ready, cutting a little early is better than allowing several days of saturation. Do not cut a head whose shells are flat and soft just because the petals have dropped; use the fingertip test and the back-of-head color first. Early cutting gives you a drying job, not a way to turn immature seeds into mature ones.
Cure whole heads indoors
Place the heads seed-side up on a mesh screen or hang them upside down in a cool, dry, dark, well-ventilated space. Leave room between heads so air can reach the back and face. A fan moving air across the room—not blasting directly at one fragile head—helps in humid weather.
Whole heads commonly need one to two weeks to cure, sometimes longer in cool or humid conditions. Start checking after seven days. The head should feel lighter, the back should be papery rather than soft, and the seeds should no longer feel cool or damp when you press them. If seeds still cling firmly, give the head several more days.
Fruition Seeds recommends warm, airy drying and notes that sunflower heads hold more moisture than many gardeners expect. Their guidance also warns that rodents may find drying heads indoors, so protect the tray with another screen or place it where mice and chipmunks cannot reach it (Fruition’s drying guidance).
Speed up drying without cooking the seed
Airflow and a thin arrangement are safer than high heat. Do not put a damp whole head in a hot oven or on a radiator; uneven heating can cook the kernel, crack shells, or leave the center damp while the outside feels dry. If you need to accelerate the process, strip away loose petals, split very large heads only after the seeds are firm, and use a fan in a room that stays comfortably warm.
In a very humid home, move the tray to the driest ventilated room and check it twice daily for fuzzy growth or a sour smell. If mold appears on one head, isolate and discard that head rather than brushing mold into the rest of the batch. The RHS notes that chaff and excess humidity can lead to fungal problems during seed storage, which is why clean, dry seed matters before you seal a container (RHS storage guidance).
Rub, rake, or shake the seeds free
Work over a large bowl, bucket, or clean sheet. Once a head is dry, rub the seed face with your thumb or the heel of your hand in small sections. A second dry head can be rubbed against the first, but use a gentle motion so the shells stay intact.
For a particularly large head, set it face-down over a bucket and tap the back. You can also use a stiff, clean brush, but stop if it starts grinding shells into fragments. The right amount of pressure is the amount that dislodges a mature seed without shredding the papery head.
Expect some chaff, dried petals, and small stem pieces in the bowl. Do not try to make the seed perfectly clean in this first pass. Separate the bulk material first, then sort the seeds on a light-colored tray where cracked shells and obvious insect holes are easy to see.
Clean and sort the harvest
Pick out leaves, bracts, and empty husks by hand. A gentle breeze outdoors can lift light chaff away, but do it over a tray and keep the airflow low; a strong fan can blow good seed across the yard. For a small batch, pouring the mixture slowly between two bowls in a sheltered spot is more controlled than winnowing in a gust.
Sort out seeds that are cracked, soft, discolored, or bored with a small hole. A hole may indicate an insect larva or a seed that never filled. Do not mix questionable seed into the planting packet just because it came from the same head; saving fewer healthy seeds is more useful than saving a large amount of debris.
For food seed, rinse only if the harvest is visibly dusty or carries stubborn plant debris. If you rinse, drain it thoroughly and dry it in a single layer immediately. For planting seed, avoid unnecessary washing; surface moisture is manageable, but a damp seed stored before it is fully dry is not.
Dry loose seeds before storage
Spread cleaned seeds in a single layer on a screen, plate, or paper towel in a dry room. Stir or turn them once a day for a few days. They should feel dry and firm, with no cool, rubbery, or tacky surface. A paper towel is convenient for small quantities, but do not leave seed in a thick pile where the center cannot release moisture.
The seed head being dry does not automatically mean every loose seed is dry. This second stage is the difference between a jar that lasts and a jar that grows mold. If you live in a humid climate, allow extra time and use a room with steady airflow rather than guessing by the calendar.
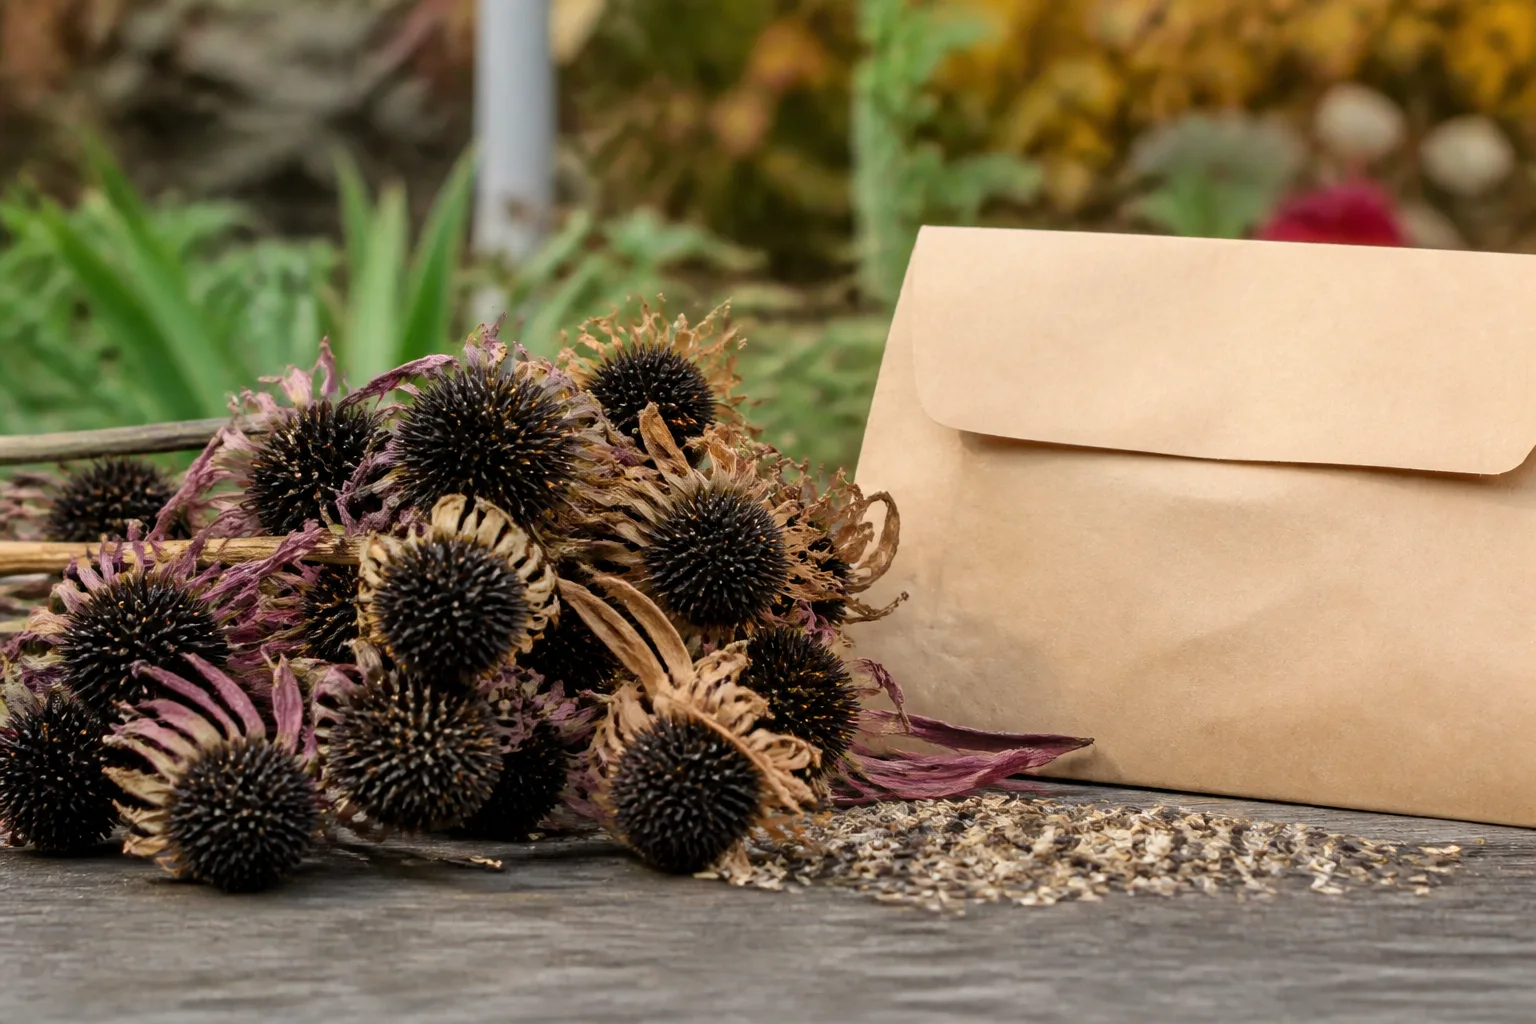
Once dry, place planting seed in a labeled paper envelope, then put the envelope inside an airtight container with a small desiccant packet. The paper envelope keeps varieties separate and the outer container limits humidity swings. The RHS recommends labeled packets or envelopes inside an airtight container with desiccant for dry seed, and advises storing seed cool and away from excess humidity or warmth (RHS Advice).
Do not seal warm seed straight from a sunny windowsill. Let it reach room temperature first, label it with the variety and year, and keep it away from a stove, greenhouse heat, or a shed that repeatedly heats and cools. Refrigeration can extend storage in an airtight, moisture-protected container, but avoid taking the container in and out while cold; condensation is a bigger enemy than a slightly shorter storage period.
Save planting seed for next year
Reserve seed from several healthy plants rather than choosing only the tallest flower. The healthiest plant is not always the tallest one, especially if height was caused by crowding or excess nitrogen. Choose heads with strong stems, good seed fill, and no obvious disease or heavy insect damage.
Sunflowers are commonly grown as open-pollinated plants, hybrids, or named selections. Seed from an open-pollinated variety is the better choice when you want offspring that resemble the parent. It may still cross with another sunflower nearby, because bees can carry pollen between plants. Saving seed is therefore a way to continue a line, not a guarantee of an identical flower.
Open-pollinated and hybrid sunflowers are different bets
Hybrid seed can germinate perfectly well. The limitation is predictability: the next generation may vary in height, branching, bloom color, maturity date, or seed size instead of repeating the parent’s combination. If you are happy with surprises, save and grow it. If you need a row of matching giants or a specific confectionery type, buy fresh seed or isolate compatible plants during flowering.
The RHS explains the broader rule plainly: species and stable forms are more likely to come true, while seedlings from hybrids can be extremely variable (RHS seed guidance). Fruition Seeds adds an important sunflower-specific point: different sunflower varieties can cross over substantial distances, so seed from a mixed neighborhood may be a new combination even when the parent flower looked pure (Fruition Seeds).
Test a sample before you commit a bed
Do a small germination test in late winter or a few weeks before sowing. Count out 10 seeds, place them between damp paper towels, put the packet in a warm spot, and check daily. Once most viable seeds have sprouted, count the result. Eight sprouts from 10 seeds is an 80% sample germination rate; it does not predict the exact performance of every packet, but it tells you whether to sow generously or find backup seed.
If the seeds swell but fail to sprout, check for mold, stale seed, or a temperature problem before discarding the whole batch. If they never swell, they may be immature or too dry and old. Plant extra seeds in the garden and thin later when the test is uncertain; that is easier than discovering an empty row after the sowing window has passed.
Roast sunflower seeds for snacking
Roast only clean, dry, food-intended seed. Leave the shells on for the classic in-shell snack, or shell the kernels for salads and baking. The shell protects the kernel during roasting but also means salt on the outside will not season the inside as quickly as salt in a soak.
For a quick unsalted batch, spread dry in-shell seeds in one layer on a baking sheet and roast at 325°F (165°C) for about 15–25 minutes, stirring once or twice. Start checking early because seed size, shell color, pan material, and moisture change the timing. They are done when the shells smell nutty and the kernels taste crisp, not when every shell has darkened.
Make a simple salted batch
For more evenly seasoned seeds, soak them overnight in salted water, or simmer them gently in a brine for about 10–15 minutes. Drain well, spread in one layer, and dry the surface before baking at 325°F until crisp and lightly browned, usually about 20–30 minutes. Gardenary uses a salt soak followed by a moderate oven and frequent stirring, which is a forgiving approach for a home kitchen (Gardenary’s sunflower seed guide).
Season after roasting with black pepper, smoked paprika, garlic powder, or a little oil and chili. Let the seeds cool before judging crispness; they firm as they cool. Store a cooled snack in an airtight container and use it promptly, especially if the seed was rinsed or still contains more moisture than commercial seed.
Troubleshoot mold, empty shells, and pests
Mold or a sour smell usually means the head or loose seed was sealed before it was dry, or air could not move through the drying pile. Isolate the batch, discard visibly moldy material, and do not taste-test questionable seed. Wash and dry the tray before using it again.
Flat or empty shells can come from incomplete pollination, immature harvest, drought during seed fill, or insect feeding. Open several seeds from the outer, middle, and inner rings. If only a few are empty, sort them out; if most are hollow, the harvest was probably too early or the head had poor seed fill.
Small holes, dust, or larvae point to insect damage. Fruition Seeds specifically warns that sunflower weevil larvae can consume saved seed before spring and recommends freezing thoroughly dried seed in a sealed bag as a preservation step. If you use that method, only freeze seed that is already dry; freezing damp seed preserves the moisture and can damage viability. Let a sealed container warm to room temperature before opening so condensation forms on the container, not on the seed.
Bird damage is a timing and protection problem, not a sign that the plant failed. Cover heads as the seeds fill, cut at the first reliable maturity signs, or leave a separate sacrificial head for birds. Trying to recover a fully exposed head after every seed has been picked out is usually wasted effort.
Seeds that do not sprout deserve a small test rather than a guess. Repeat the 10-seed paper-towel test with a fresh, damp—not dripping—towel and a warm location. If the second test fails, use the seed for wildlife or compost it and plan next year’s planting with fresh seed.
Use the stalks and leftover heads well
Cut sunflower stalks into shorter pieces and add them to compost, where they will break down faster than a whole woody stem. Thick stalks can be chopped with pruners or a lopper. If the stems are diseased, bag them rather than returning them to a home compost pile that does not reliably heat.
Leave one or two clean, intact heads in the garden for birds after your seed-saving heads are secure. You can also place dried heads in a sheltered wildlife area, but keep them away from doors and stored food if you noticed weevils or other insects. Empty, moldy, or badly infested heads belong in the trash rather than in a bird feeder.
Sunflower heads can also become a record of the season. Save one labeled head or a few shells with the seed packet, note the date you cut it, and record whether the seeds were best for roasting or planting. Those notes make next year’s harvest earlier and calmer because you will know which head signs matched your variety and local weather.
Conclusion
Harvest sunflower seeds when the petals have faded, the head is drooping, the back has shifted from green toward yellow-brown, and the shells feel full. Cut on a dry day before the stalk is completely brittle, protect the heads from birds, and cure them with airflow rather than high heat.
After rubbing the seeds free, clean out chaff, dry the loose seeds again, and choose their destination. Roast the food portion, label and store the planting portion, and test a small sample before sowing. With that simple split between maturity, dryness, and purpose, sunflower harvest stops being a race against wildlife and becomes a reliable end-of-season garden task.



