How to Make a Basic Terrarium: Step-by-Step Guide
Learn how to make a basic terrarium with the right jar, layers, plants, moisture, and light—plus fixes for mold, foggy glass, and root rot.
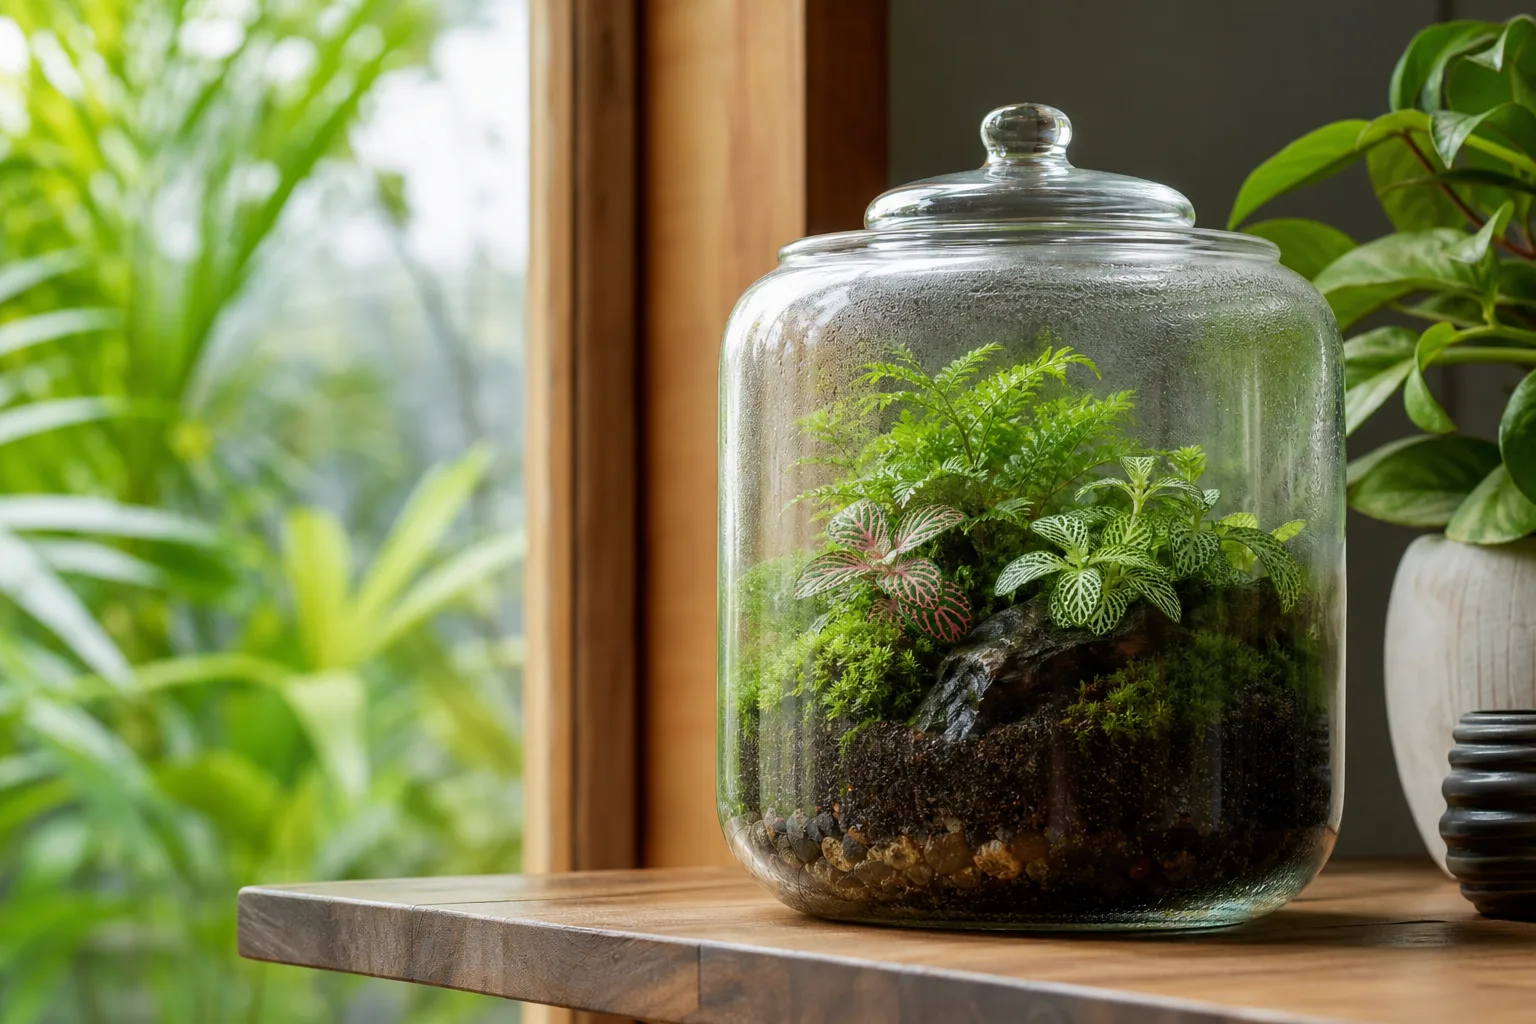
A basic terrarium is a small planted garden inside a clear container, but it is not simply a houseplant in a pretty jar. Because most terrarium vessels have no drain hole, you are managing a small water cycle with very little room for error. The container, plant choice, soil, light, and first watering all need to agree.
The decision that prevents the most failures comes before the shopping list: choose closed for humidity-loving plants such as fittonia, small ferns, peperomia, and moss, or choose open for succulents and other plants that need faster drying. The steps below build a plant-only terrarium that is easy to observe, correct, and maintain.
Quick answer: choose the terrarium type before the plants
For a first project, use a clean, wide-mouth glass vessel that you can reach into. Add a shallow collection layer, a thin layer of horticultural charcoal if you are making a closed jar, a porous barrier, and enough suitable soil to cover the roots. Arrange small, healthy plants with matching light and moisture needs, mist until the soil is evenly damp, then watch the glass before adding more water.
The simplest beginner choices are a closed jar with tropical foliage or an open bowl with succulents. Do not put a cactus beside moss in a lidded jar just because both are small; the size may match, but the moisture requirements do not. A terrarium works when the plants share a microclimate, not merely a container.
Closed, open, or partly open: what changes?
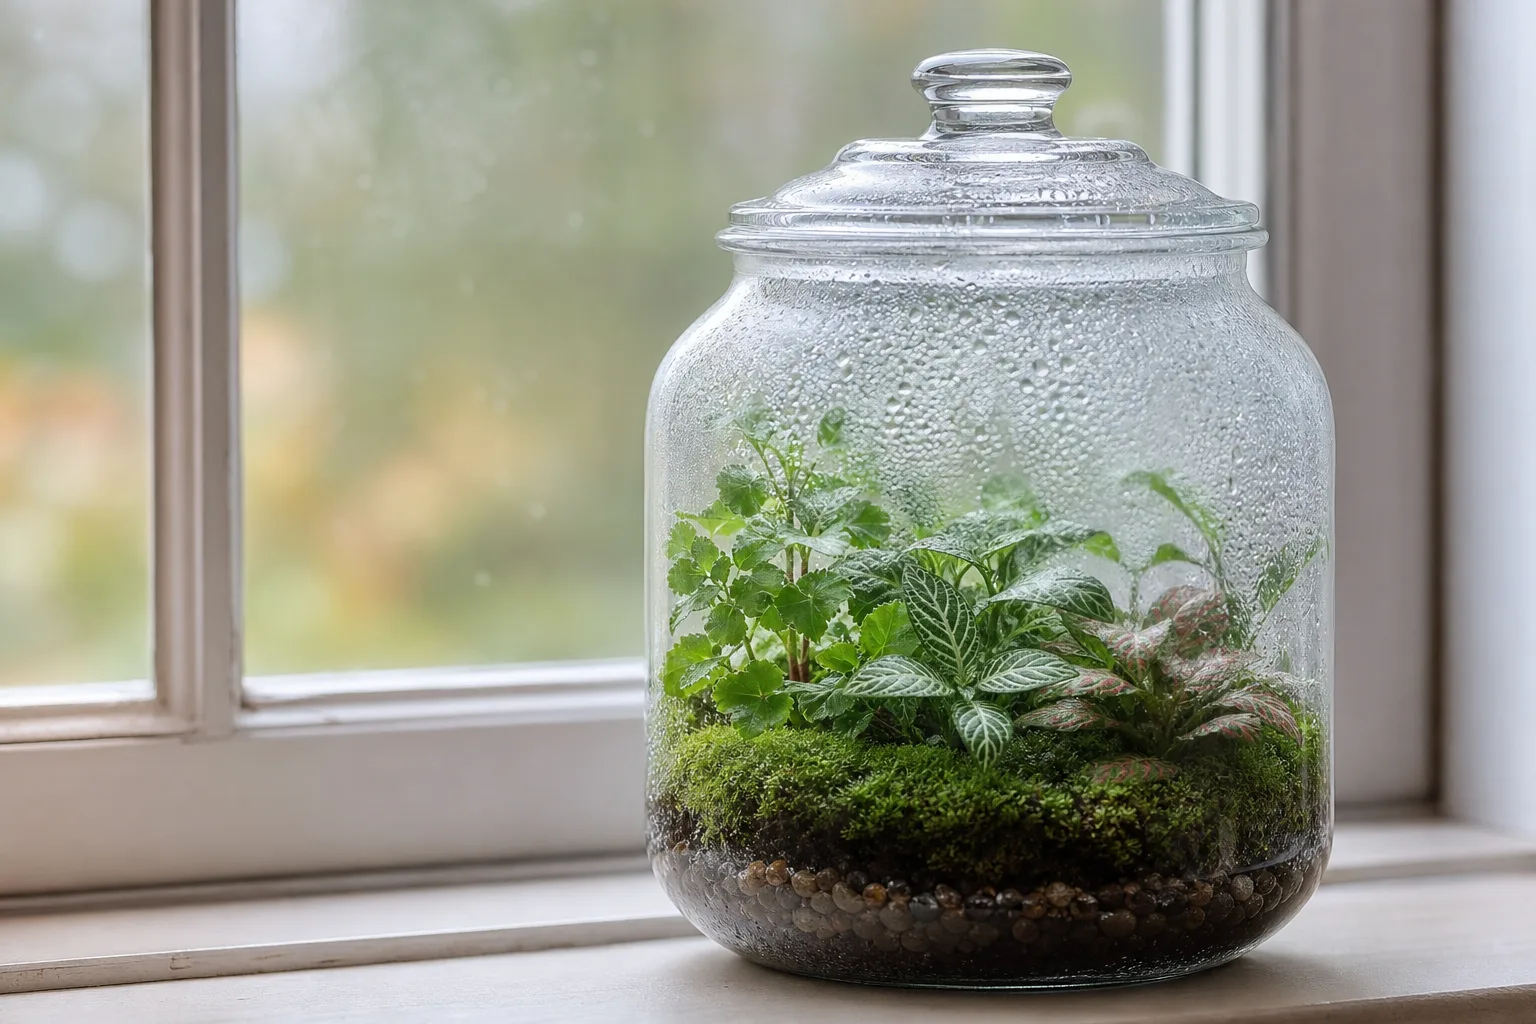
A closed terrarium has a lid that holds humid air inside. Evaporation and plant transpiration add moisture to the air, condensation forms on the glass, and some of that water returns to the soil. This can reduce watering dramatically, but it also means excess water, heat, dead leaves, and disease have fewer ways to escape. RHS describes closed terrariums as best for small, slow-growing tropical plants and recommends bright, indirect light. (RHS)
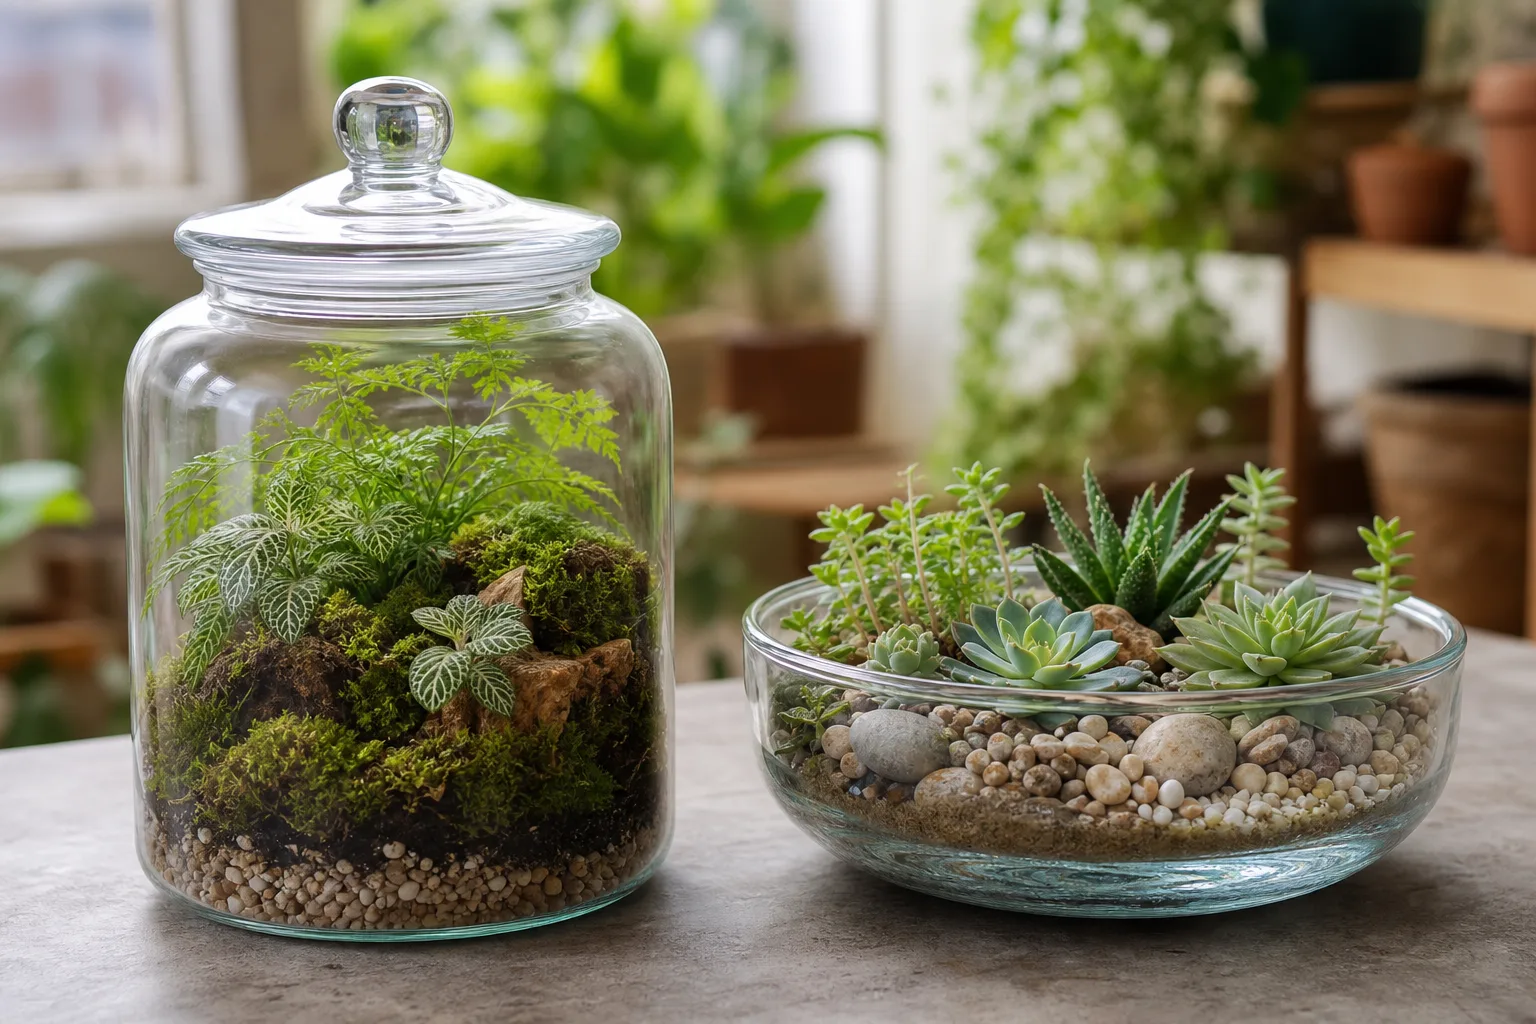
An open terrarium has a wide opening and loses moisture more quickly. It is the better match for haworthia, echeveria, jade, and many other succulents because airflow and faster drying reduce the risk of rot. An open bowl still usually has no bottom drain, so it is not permission to water like a normal nursery pot.
A partly open terrarium uses a loose lid, a vent, or a narrow opening. It can be useful for a tropical display that becomes too wet when sealed, but it needs observation rather than a preset routine. Think of it as a humidity adjustment, not a third plant category.
| Type | Best plant direction | Main advantage | Main risk |
|---|---|---|---|
| Closed | Fittonia, moss, small ferns, peperomia, pilea | Holds humidity and slows drying | Constant wetness, heat, mold, and crowded foliage |
| Open | Haworthia, echeveria, jade, other dry-loving plants | More airflow and easier moisture release | Soil can dry quickly and plants can stretch in weak light |
| Partly open | Humidity-loving foliage that needs venting | Lets you fine-tune moisture | Requires more frequent observation |
Choose a container you can actually plant and clean
Use clear glass or clear, heat-safe plastic without cracks, sharp chips, opaque walls, or a lid that blocks most of the light. A wide mouth matters more than an elaborate shape: it lets you place roots without crushing leaves, reach the back wall with a cloth, remove a failing plant, and correct a wet patch.
RHS notes that larger containers are easier to keep balanced because they provide more room for soil, air, and plant growth; its practical guide gives about 30 cm (12 in) wide and tall as a comfortable size, although a smaller jar can work with fewer plants. (RHS) For a first build, a wide-mouth jar or bowl is more forgiving than a narrow-neck bottle.
Before filling the vessel, wash it with hot soapy water, rinse thoroughly, and let it dry. If you are reusing a food jar, remove adhesive completely. Check the empty container on the shelf where it will live; once filled with stones and wet soil, it will be heavier and harder to move. Never use a cracked jar or place a heavy glass display on an unstable, high, or frequently bumped surface.
Pick plants that can share one microclimate
Choose the plants as a group, not one at a time. The strongest compatibility rule is simple: every plant in the same terrarium should tolerate the same light level, soil moisture, humidity, and eventual size. University of Minnesota Extension makes the same point when it recommends considering mature size and matching light and water needs before combining plants. (University of Minnesota Extension)
Buy the smallest healthy specimens you can find, inspect the undersides of leaves and the soil surface for pests, and avoid plants with soft stems, yellowing from an unknown cause, or a sour smell. A closed jar is a poor quarantine space: one infested plant can spread problems through the entire humid display.
Best plants for a closed terrarium
Closed jars favor compact foliage that enjoys consistent moisture and humidity. Good starting choices include fittonia (nerve plant) for patterned leaves, small ferns for height and texture, peperomia for a compact middle layer, pilea for rounded foliage, and moss for a low groundcover. A miniature African violet can work in a roomy open-topped display, but flowering plants are less convenient in a sealed jar because faded blooms need regular removal.
Use one upright plant, one mid-height filler, and a low or trailing plant only if the vessel has enough headroom. A single well-placed fittonia or fern is often easier to keep healthy than five crowded plants, and the open soil lets you see whether moisture is collecting.
Best plants for an open terrarium
Open bowls suit plants that prefer airflow and a dry interval between waterings. Haworthia, echeveria, jade, sedum, and compact cactus are common choices. Use a gritty succulent mix, leave the opening unobstructed, and give the bowl brighter light than a closed tropical jar while still avoiding sudden harsh heat through the glass.
Tillandsia can be displayed in an open terrarium without soil, but it is not watered like a rooted plant. OSU Extension recommends removing air plants for thorough misting or soaking and allowing them to dry upside down before returning them, so water does not sit in the crown. (Oregon State University Extension)
Plants that should not share one jar
Keep cacti and most succulents out of closed terrariums. Their tissues are built for storing water, while a sealed jar keeps both air and soil humid; the result is often soft growth or root rot. Also avoid combining a thirsty fern with a drought-tolerant haworthia, a fast-growing vine with miniature moss, or any plant whose mature size will quickly press against the lid.
Do not seal plants straight from a crowded nursery tray without checking them. Remove dead leaves, isolate anything suspicious, and clean decorative stones or natural objects before they go inside. Iowa State University Extension warns that decaying wood can introduce insects and fungi into a humid terrarium, so use clean, stable hardscape or leave it out. (Iowa State University Extension)
Gather materials and understand the layers
For one small closed jar, gather a clear vessel, washed pea gravel or small stones, horticultural charcoal, a piece of synthetic mesh or clean sheer fabric, a light potting mix, two or three small plants, and optional moss or stones. Add a long spoon, chopstick, funnel made from paper, spray bottle, tweezers, small scissors, soft paintbrush, and a towel. Use a cactus or succulent mix instead of tropical potting mix for an open bowl.
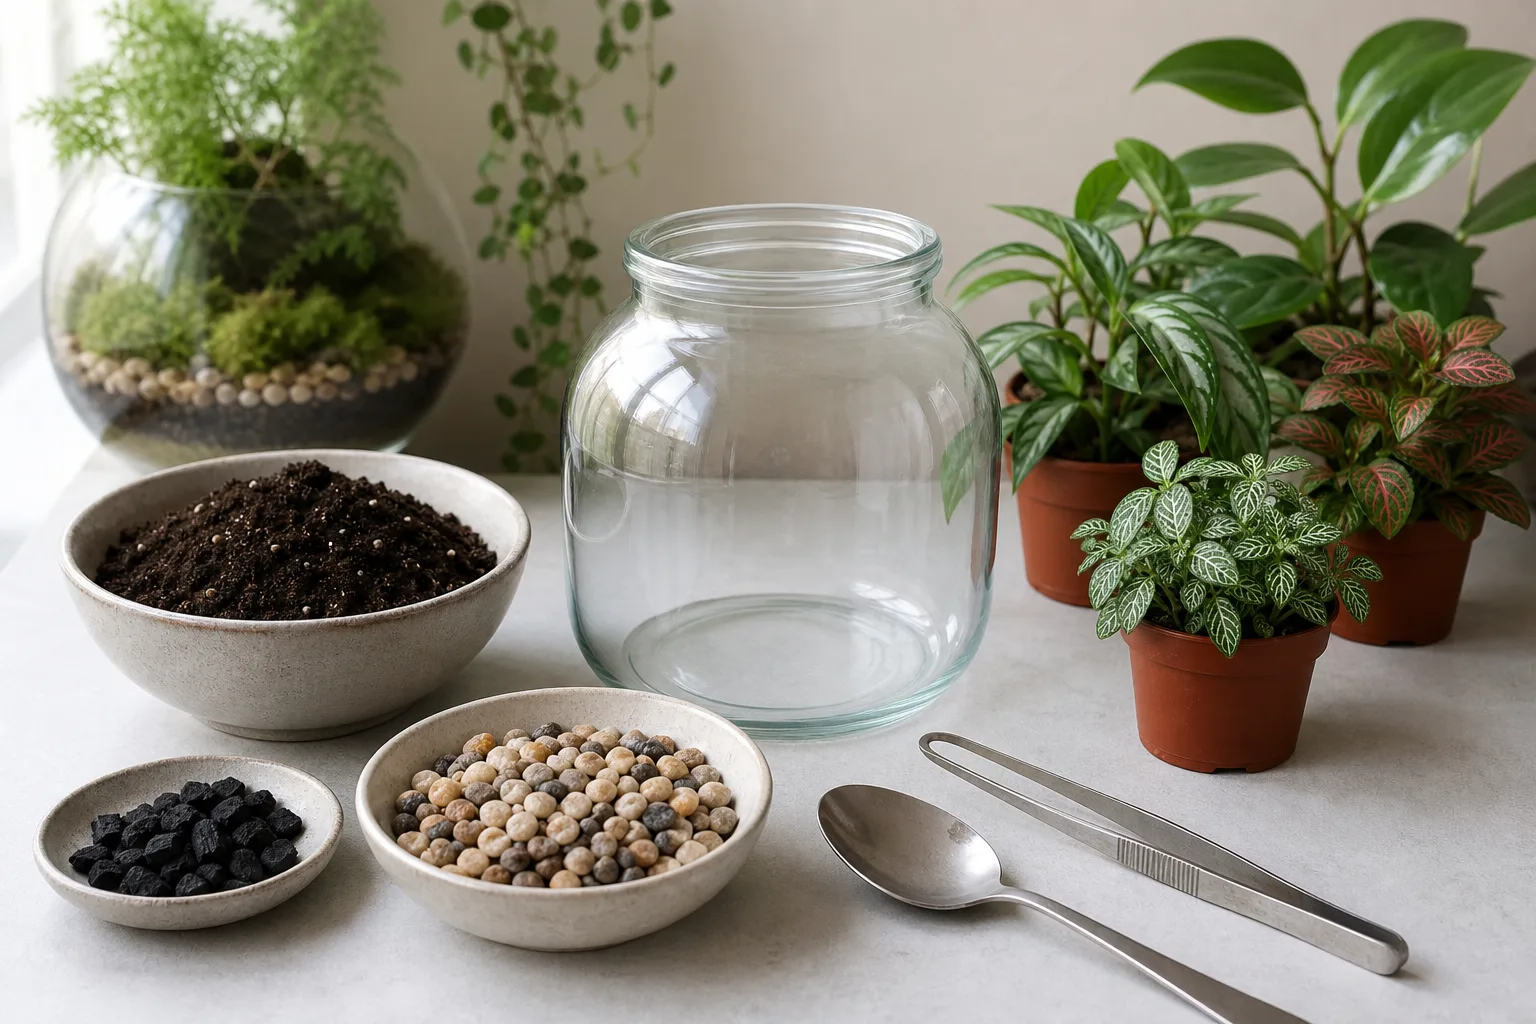
For a wide-mouth jar around 1 to 2 quarts, these are useful starting depths rather than fixed laws:
| Layer | Starting amount | What it does |
|---|---|---|
| Washed gravel, LECA, or small pebbles | About 1–1½ in (2.5–4 cm) | Creates a visible low zone where excess water can collect |
| Horticultural charcoal | A thin ¼-in (6 mm) layer, mainly for closed jars | Helps manage odors and keeps the setup fresher; it cannot cure overwatering |
| Mesh or clean synthetic fabric | One cut-to-fit piece | Keeps fine soil from sifting into the collection zone |
| Potting mix | Enough to cover the root balls, usually 2–3 in | Holds the roots and determines how much moisture remains available |
The bottom stones are often called a drainage layer, but a holeless vessel still cannot drain onto a saucer. Treat that space as a collection zone and keep the amount of water small; if it fills, the roots above it can remain in a wet environment. Iowa State describes the gravel as a place for excess water to collect, while UF/IFAS places a thin charcoal layer above the pebbles and recommends a porous fabric to stop soil from settling into the base. (Ask IFAS - Powered by EDIS)

Charcoal is useful but not magic. It is most defensible in a closed jar where odors and stagnant organic debris are harder to manage; skipping it in an open display is reasonable if you keep the soil clean and water carefully. A charcoal layer cannot compensate for a closed vessel in direct sun, a soil mix that stays saturated, or a plant that never belonged in the jar.
Build the terrarium step by step
Work on a towel or tray so spilled soil does not scratch the glass. Keep the planting sequence in mind: clean, plan, base, charcoal, barrier, soil, plants, finish, light water, observe.
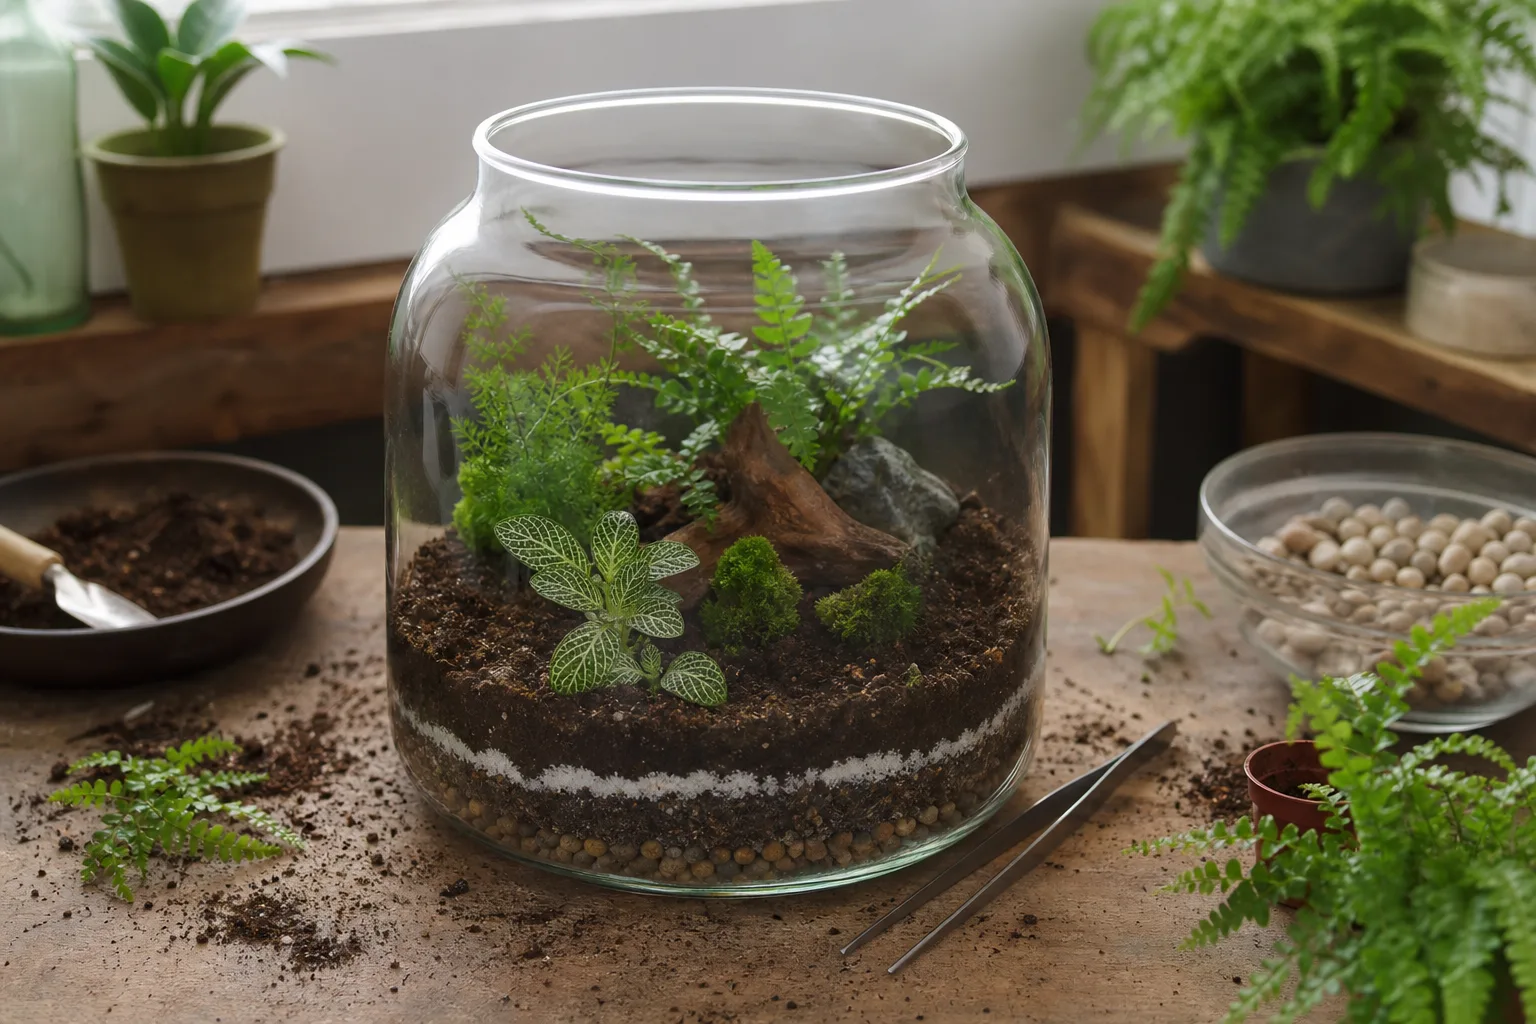
Clean the vessel and plan the layout
Set the empty container where you can see it from its main viewing side. Arrange the plants, stones, and moss outside the jar first. Put the tallest plant toward the back if the display will be viewed from one side, or near the center if it will be viewed all around. Leave visible space between plants and enough headroom that foliage will not immediately press against the glass or lid.
Remove each plant from its nursery pot carefully. Shake away only loose soil, loosen circling roots gently, and trim damaged leaves with clean scissors. Do not aggressively strip every root; the goal is to fit a small root ball, not to bare-root a plant that will already be adjusting to a new environment.
Add the base, charcoal, barrier, and soil
Pour in washed gravel or LECA and level it. A funnel made from folded paper prevents stones from scuffing the glass. Add a thin charcoal layer for a closed build, then lay the mesh over the surface so it covers the stones without buckling into a deep pocket.
Spoon in lightly damp potting mix. Make a low mound or shallow valley if you want depth, but do not sacrifice root space for a thick decorative layer. UF/IFAS recommends adding enough sterilized mix for the root system and keeping the soil off the glass as you pour; use the plant’s root ball as the final measure rather than filling the jar to a preset line. (UF/IFAS Extension)
Plant, decorate, and clean the glass
Make a hole with a chopstick or spoon, lower in the largest plant first, and tuck mix around the root ball. Firm gently so the plant stands upright, but do not pack the soil hard or bury the crown. Add the smaller plants with enough space for leaves to move and for you to remove a dead leaf later.
If the opening is narrow, use long tweezers or a spoon tied to a cane, and work slowly rather than forcing a plant through. Keep leaves and stems from resting on the glass; Mississippi State University Extension notes that trapped moisture against foliage can encourage disease. (Mississippi State University Extension)
Add a thin top dressing of clean moss or decorative stone only after the plants are stable. Avoid burying crowns, sealing the soil surface with a thick rock layer, or adding unclean natural objects. Sweep soil from the inside wall with a dry, soft paintbrush before watering; smears are much harder to remove once they turn muddy.
Add water and calibrate the lid
Water is the step most likely to undo careful planting. Mist the soil around the root balls until it is evenly damp, not glossy and saturated. Do not pour a cup into the bottom because the collection zone is not an emergency reservoir you should fill.
For a closed jar, leave the lid off for several hours or overnight so excess vapor can escape. Replace it and observe over the next day. Light condensation that appears and clears as the room warms is a useful sign that moisture is circulating. Glass that stays opaque with fog, drips continuously, or shows standing water at the base means the jar is too wet or too warm; vent it and move it farther from the window.
Mississippi State University Extension recommends alternating open and closed periods while a new closed system reaches moisture balance, and emphasizes that water can be added later but cannot be drained from the vessel. (Mississippi State University Extension) That is the right mindset: start slightly dry, then add a little only when the plants and glass show they need it.
Care after planting
A terrarium is low maintenance, not maintenance-free. The smaller the vessel and the narrower its opening, the more important it is to notice problems early because you have fewer ways to prune, wipe, or remove a plant.
Manage light, water, and condensation
Place a closed tropical terrarium in bright, indirect light. Avoid direct afternoon sun, even if the room itself feels comfortable; sunlight passing through glass can raise the internal temperature quickly. Keep the jar away from radiators, heat vents, cold drafts, and windows where the temperature swings sharply.
Check the glass and soil before watering. A closed jar with healthy plants may need only occasional small additions of water, while an open bowl may need a careful drink when the upper soil is dry. Neither should be watered by a weekly reminder alone. Gardening Know How likewise distinguishes open and closed watering and cautions that water should not stand at the bottom or on the soil surface. (Gardening Know How)
Use this moisture read:
- Light, temporary condensation: leave it alone and keep observing.
- No condensation and dry, curling, or wilting foliage: add a small mist near the root zone, then wait a day before deciding whether more is needed.
- All-day fog, dripping glass, or pooled water: remove the lid, increase airflow, and stop watering until the glass clears.
Prune, clean, and replace plants before the jar is crowded
Remove yellow leaves, fallen debris, and faded plant material as soon as you see it. In a closed system, dead material stays wet and can become a mold or disease source. Wipe the inside glass with a clean cloth on a slender tool if algae or soil blocks the view, and dust the outside so the plants still receive light.
Prune growth that presses against the lid or glass. If a plant repeatedly outgrows the container, remove it rather than cutting it back to a stump every few weeks. Oregon State Extension calls terrariums “fleeting beauties” because even a well-built display eventually needs plants replaced as they grow; low fertilizer and slow-growing choices extend the display but do not stop growth. (Oregon State University Extension)
Skip routine fertilizer while a new closed jar is settling. The small root zone and recycled moisture make overfeeding easy, and lush fast growth creates more crowding. If an open terrarium later shows a confirmed nutrient problem, use a complete fertilizer at a much weaker rate than the label’s outdoor recommendation and keep it away from foliage; most beginner displays are better served by fresh mix and correct light.
Troubleshoot the five most common failures
| What you see | Most likely cause | First correction |
|---|---|---|
| Glass stays foggy all day or drips | Too much water, too much heat, or a lid closed too soon | Open the lid, stop watering, and move to bright indirect light away from heat |
| Leaves become yellow, soft, or translucent | Saturated soil, poor plant match, or early rot | Remove the worst leaf, inspect the root zone, vent the jar, and do not add water |
| White mold appears on soil or debris | Excess moisture, decaying material, or poor airflow | Remove the debris and visible mold, wipe the glass, and leave the lid open until the surface settles |
| Plants wilt while the jar is dry | Too little water, recent root disturbance, or excessive light | Give a small targeted drink, reduce harsh light, and watch for recovery before repeating |
| Succulents stretch, fade, or soften | Weak light or a humid closed setup | Move them to a brighter open display with gritty mix; do not try to fix a succulent by adding humidity |
Mold is a signal to correct the environment, not a reason to add a random chemical. If a plant has a sour smell, collapsing stem, or spreading rot, remove it from the display so the other plants have a chance. If a closed jar repeatedly returns to heavy fog after venting, the plant mix, vessel, or location is mismatched; convert it to a partly open display or rebuild with fewer plants.
Keep a basic plant terrarium separate from a reptile, amphibian, or insect enclosure. An animal habitat needs species-specific space, ventilation, temperature, humidity, substrate, food, and sanitation; a decorative jar with plants is not an appropriate substitute. This guide is for plants only.
Conclusion
The reliable way to make a basic terrarium is to make the humidity decision first. Use a closed jar for compact tropical plants and moss, an open bowl for succulents and other dry-loving plants, and a partly open vessel only when you are prepared to watch and vent it.
Build in a clean sequence, keep the base layers shallow enough to leave real root space, treat the stone layer as a collection zone rather than a drain, and water less than your instincts suggest. Then let the glass tell you what to do: light temporary condensation is useful, while constant fog, dripping, pooled water, and soft leaves are requests for less moisture and more airflow. A sparse, well-matched terrarium will usually outlast a crowded one that looked fuller on planting day.



