How to Propagate Thyme for Fuller, Stronger Plants
Learn how to propagate thyme from soil cuttings, water, layering, division, or seed, with timing, root checks, transplant steps, and fixes for failures.
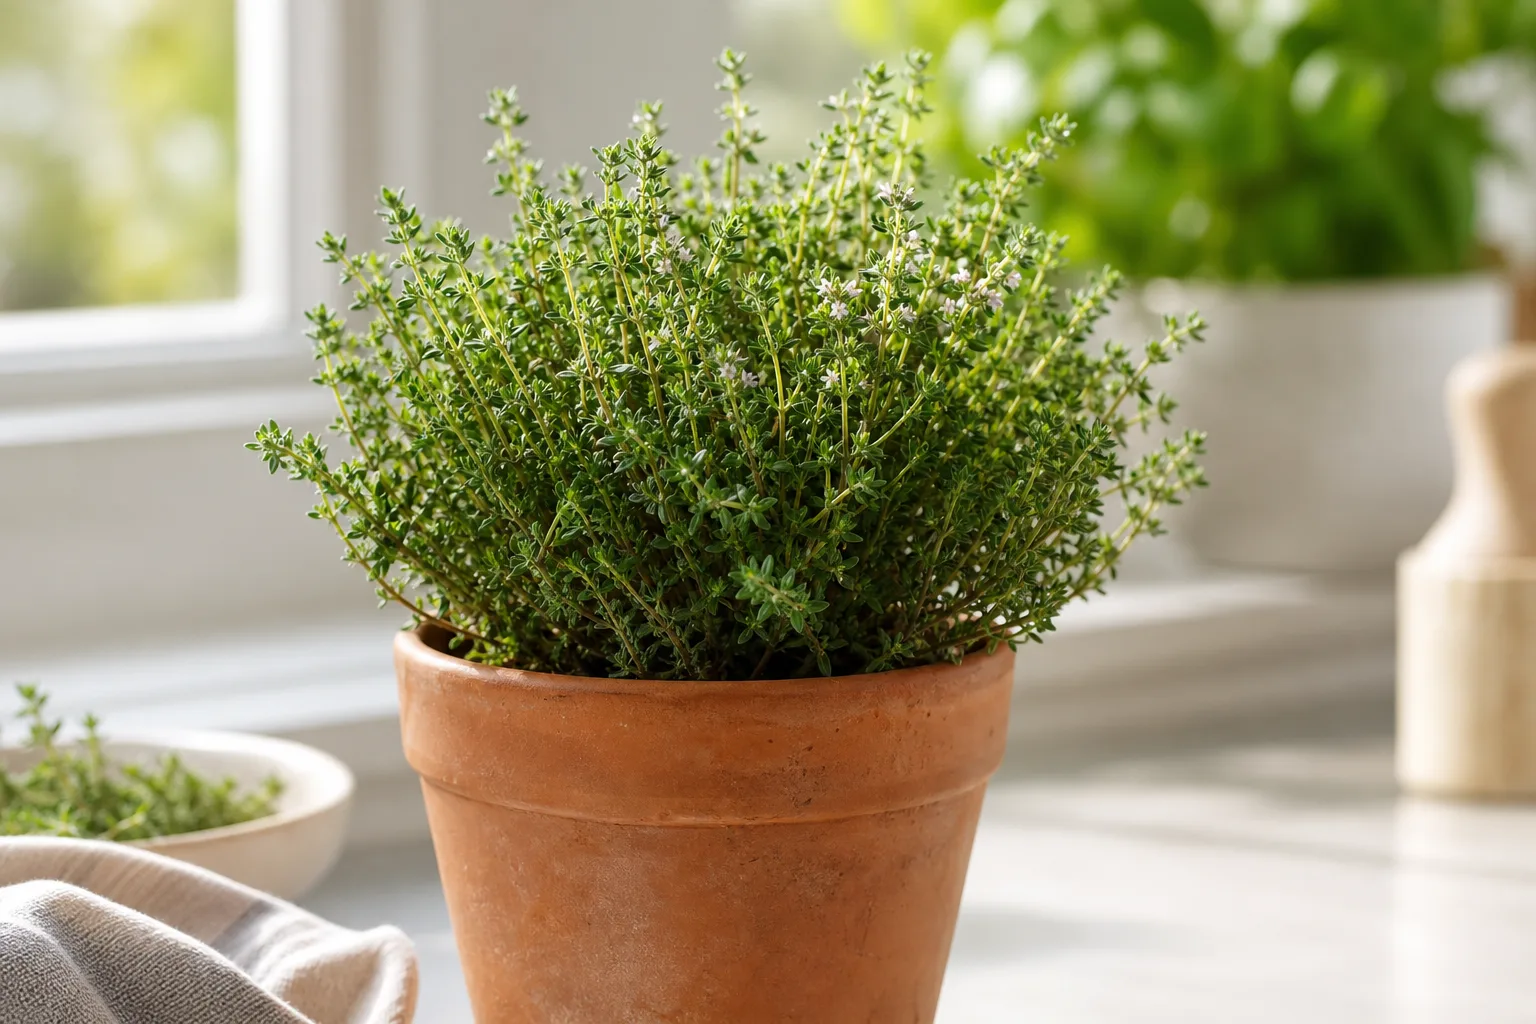
The best way to propagate thyme depends on what you have in front of you. For a single flexible stem, layering is the most forgiving because the shoot keeps receiving water from the mother plant while it roots. For several new plants, take cuttings from firm, healthy new growth and root them in a sharply draining medium. Divide an established clump when it has become crowded or woody, and use seed when you want quantity or are willing to accept variation.
Thyme is a woody-based perennial, not a soft houseplant stem that can tolerate constant wetness. A successful start needs two conditions that seem opposite: enough moisture to prevent a leafless cutting from drying out, and enough air around the base to prevent rot. The sections below show how to create that balance, how to recognize a viable cutting, and how to move a rooted start into the dry, sunny conditions thyme prefers.
Pick the method that matches your plant and goal
Use the method comparison below before you reach for the pruners. It keeps you from taking a difficult cutting from an old shrub when a division or layer would give you a much better starting root system.
| Method | Best use | Typical timing | Main advantage | Main risk |
|---|---|---|---|---|
| Soil cutting | Make several true-to-type plants from green shoots | Spring to early summer; semi-ripe cuttings can work later | Scales well and produces roots already adapted to a growing medium | Excess moisture can blacken the stem |
| Water cutting | Watch roots develop from a very fresh, nonwoody sprig | Warm active growth | Roots are visible and the setup is simple | Water-grown roots can be delicate when moved into soil |
| Layering | Root one flexible stem with minimal stress | Spring or autumn | The stem remains fed by the mother plant | It takes space and may take longer |
| Division | Rejuvenate a mature, crowded, or creeping plant | Spring or after flowering in late summer | Each piece starts with roots and shoots | A weak or undersized clump may not divide cleanly |
| Seed | Produce many plants or experiment with varieties | Spring, indoors or outdoors by climate | Inexpensive and useful for a larger planting | Germination is uneven and seedlings may not match a named parent |
Vegetative methods—cuttings, layering, and division—make genetic copies of the parent. That matters for lemon-scented, variegated, or especially flavorful thyme: a seedling may carry different traits because it comes from sexual reproduction. The Royal Horticultural Society’s thyme guide likewise describes cuttings, layering, and division as ways to preserve cultivated varieties, while noting that seedlings from named plants may not come true.
If the parent plant is already struggling, do not use propagation as an emergency rescue by default. Take material only from healthy green growth; if most stems are brown, collapsed, or diseased, first determine whether the problem is rot, winter damage, or simple age. A clean cutting from a robust side of the plant is more useful than ten pieces taken from a failing center.
Propagate at the right growth stage
Timing is really a question of stem maturity and plant stress, not a date printed on a calendar. Spring and early summer are the usual sweet spot for softwood cuttings: the new shoots are flexible, hydrated, and actively growing, but they have not yet become hard, flower-heavy wood. The RHS lists late spring for cuttings of shrubby herbs such as thyme, with spring or early summer suitable for softwood material.
Late summer can also work when the stem base has begun to firm up but the tip remains flexible. That is a semi-ripe cutting, and the RHS semi-ripe cutting guidance places this stage from summer into mid-autumn for many herbs and woody plants. Rooting may be slower as light and temperature fall, so give late cuttings shelter and start them early enough to establish before cold weather.
Layering is flexible because the attached shoot is buffered from short periods of dry air. Choose spring or autumn when the plant is actively growing but not facing a heat wave, hard frost, or waterlogged winter soil. Division is best in spring or after flowering in late summer, when a mature plant can recover without immediately confronting its most stressful weather.
Prepare the mother plant and supplies
Water the mother plant normally the day before taking cuttings, unless the soil is already wet. Collecting early in the day helps the stems begin turgid rather than wilted; this is consistent with the RHS propagation techniques guidance, which also emphasizes clean tools and surfaces. You are not trying to soak thyme—just avoid cutting from a plant that is visibly limp from drought.
Choose a healthy shoot with several nodes, where leaves and side shoots emerge. For most home cuttings, a piece about 3 to 4 inches long is manageable. The ideal piece has green or partly firm growth near the base and a leafy tip; avoid a stem that is entirely soft, entirely old wood, flowering heavily, damaged, or unusually weak.
Set up everything before the first cut: sharp bypass pruners or scissors, a clean small pot with a drainage hole, a pencil or dibber, a free-draining rooting medium, and a clear cover if the air is dry. A practical medium is roughly half peat-free potting compost and half sharp sand, or a quality propagation mix amended with perlite. Mature thyme likes lean, dry soil, but a fresh cutting cannot manage drought until it has roots, so the medium should drain quickly while holding a little moisture.
Do not crowd several cuttings into one tiny cup just to save space. Individual small pots make it easier to remove a failed cutting, judge root development, and pot each plant on without tearing a shared root mass. If you are making many starts, label the cultivar before cutting; once separated, lemon thyme and common thyme can look deceptively similar when young.
Root thyme stem cuttings in soil
Soil propagation is the most useful default when you want a plant that can move into a garden bed or pot without an extra water-to-soil transition. It also aligns with extension guidance: Penn State recommends taking shoot tips from new growth in late spring and inserting them into a sand medium, while NC State Extension’s common thyme profile lists stem cuttings among the best propagation methods and warns that seed germination can be uneven.
Step-by-step soil method
- Take the cutting just below a node. Make one clean cut through a healthy, nonflowering shoot. If the stem has dried while you were working, recut the base rather than burying a damaged end.
- Strip the lower leaves. Remove leaves from roughly the bottom half, leaving a leafy top. Buried leaves decay and create a bridge for rot; the bare section is the part that sits in the medium.
- Make a planting hole first. Use a pencil so the medium does not scrape rooting powder from the stem or bend the cutting. Rooting hormone is optional for thyme; it may help consistency, but it cannot compensate for a soggy medium or poor cutting material.
- Insert and firm the stem. Set the bare section into the hole, press the medium gently around it, and water once until excess drains from the pot. Do not compress the mix into a dense plug.
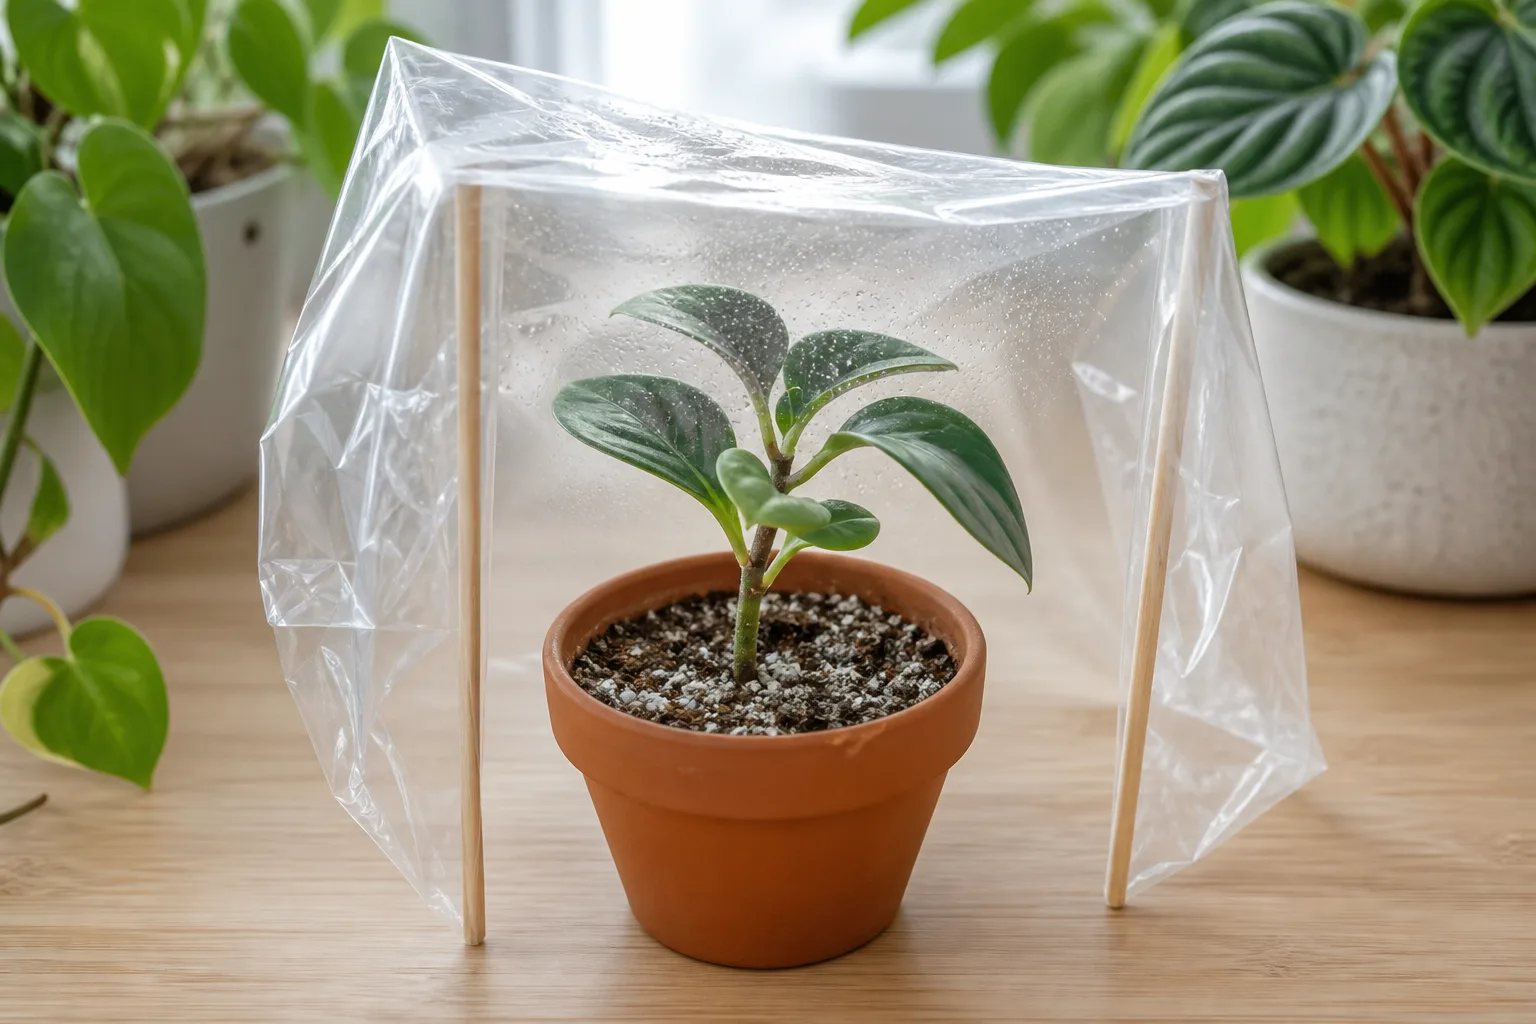
- Give bright, filtered light. Put the pot somewhere warm and bright but out of harsh midday sun. A clear bag or dome can slow moisture loss, but leave space around the leaves and ventilate it daily so the stem is not trapped in stagnant, dripping humidity.
- Check moisture by the pot, not the surface. The medium should feel lightly and evenly moist during the rooting period, never saturated. If condensation runs down the cover or the pot stays heavy for days, open the cover and wait longer between waterings.
New growth is encouraging, but it is not the only proof of roots. A cutting can push a few leaves using stored energy before it has a stable root system. Treat new growth as a reason to check gently, not as permission to pull the plant out immediately.
The water method: useful test, not a default
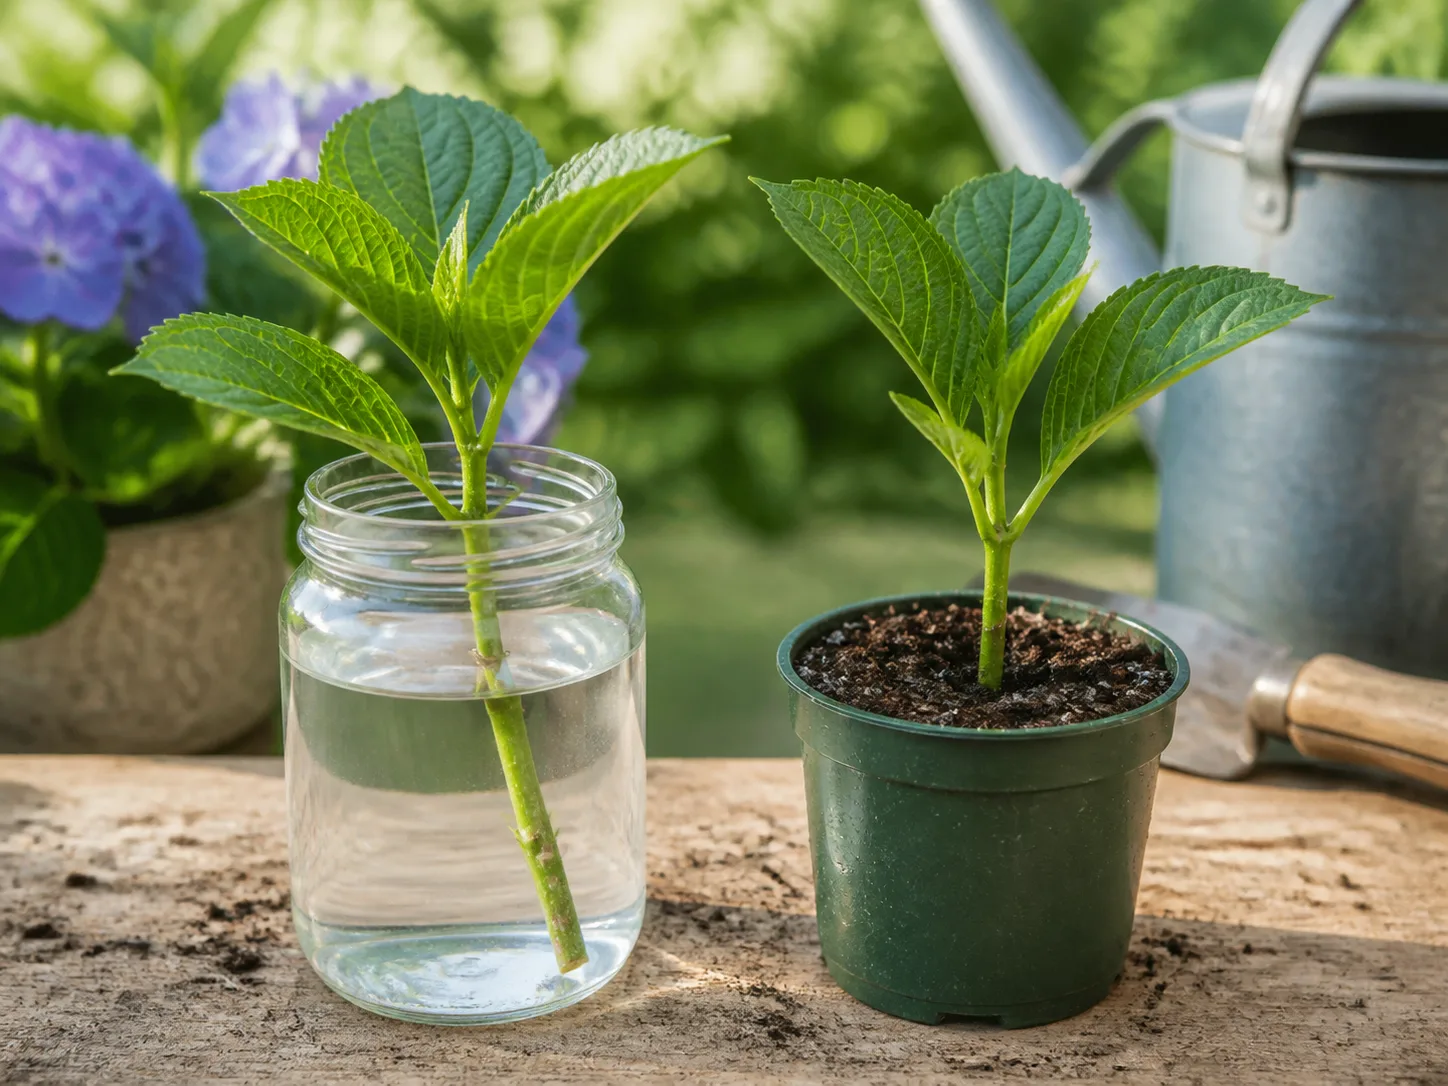
Fresh thyme stems can sometimes root in water, especially when they are green, nonwoody, and taken during active growth. Use a clean, narrow jar; remove leaves from the lower portion; keep only the bare stem under the water; and place the jar in bright light away from direct hot sun. Change the water whenever it becomes cloudy, and do not let submerged leaves sit in the jar.
Water rooting is useful when you want to see whether a very fresh cutting is responding, but it is not automatically better. The plant will eventually need roots adapted to air-filled potting media, and a water-rooted cutting can wilt when those roots are disturbed. If you choose this route, transfer it as soon as the roots are visible and branched enough to hold the stem—do not wait for a tangled mass several inches long.
To move a water-rooted cutting, prepare a small pot of damp propagation mix first. Make a hole, place the roots in without folding them sharply, firm the mix, and cover the plant loosely for a few days. Keep it evenly moist while the roots adjust, then gradually let the surface dry more between waterings. This is a practical recommendation rather than a guarantee; formal thyme guidance more consistently describes soil, layering, and division, so soil is the better starting point when you have a choice.
Layer a living stem for the lowest-risk start
Layering is often the best answer for a beginner with one established thyme plant and a low-growing stem. The new plant remains attached to the mother until it has roots, so a brief lapse in watering is less damaging than it would be to a severed cutting. The RHS includes simple layering for thyme and describes it as a way to root low stems in spring or autumn.
Find a long, flexible stem that can reach the soil without cracking. Clear a small patch of soil or set a pot of free-draining mix beside the mother plant. Remove leaves from the section that will touch the medium, but leave the growing tip leafy and above the surface.
Pin the bare section down with a U-shaped piece of wire, a floral pin, or a smooth stone. It should have firm contact with moist—not wet—medium while the tip points upward. A shallow notch just below a node may encourage rooting, but it is optional; avoid cutting so deeply that you sever the stem or create a large wound.
Keep the contact point lightly moist and inspect it after several weeks. Do not tug every few days, because that breaks young roots as they form. When the layered section resists a gentle lift and you can see or feel a meaningful root system, cut it from the mother on the mother-plant side of the new roots, dig it with its surrounding soil, and pot it immediately.
If you are layering in the ground, wait until the new plant has enough roots to survive separation and the weather gives it time to settle. In a dry summer, shade the new plant from the hottest afternoon sun for its first week. For a fall layer, it may be safer to leave it attached through winter and separate it in spring if the soil is cold, saturated, or likely to freeze hard.
Divide an established thyme clump
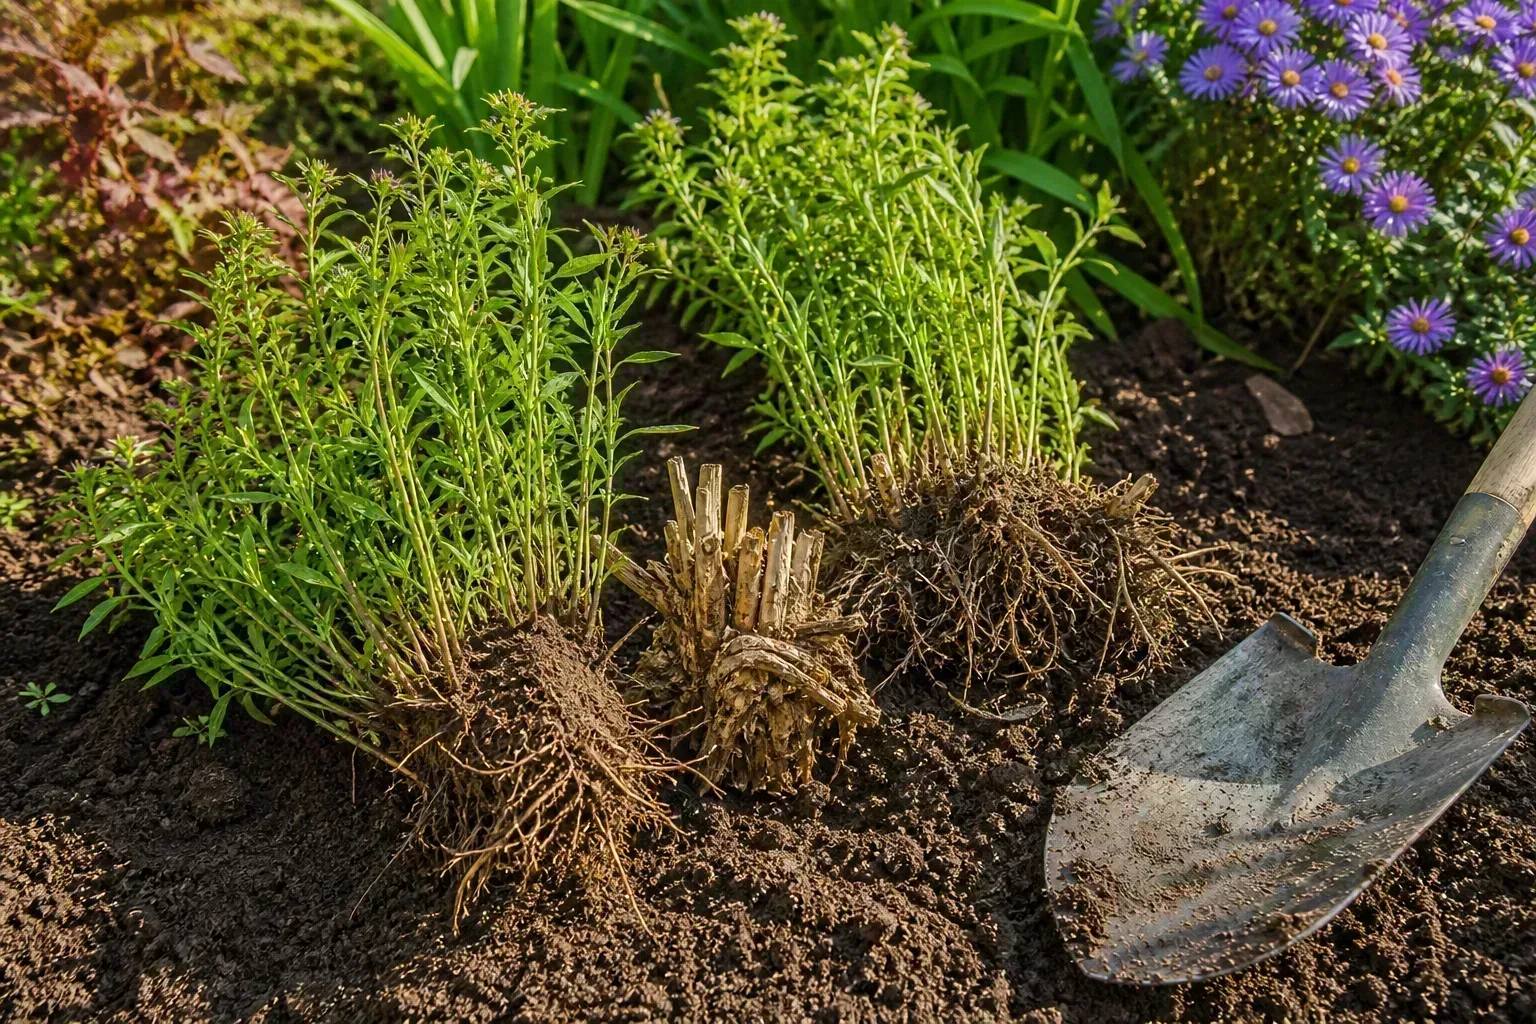
Division is not the same as taking cuttings: you lift the plant and separate pieces that already contain roots, stems, and buds. It works particularly well for mature creeping or mat-forming thyme and for an upright plant that has become crowded but still has vigorous outer growth. The RHS recommends dividing established thyme in spring or after flowering in late summer; Gardeners’ Path’s practical propagation guide also identifies division as a useful option for established container or garden plants.
Water the plant if the soil is dry, then lift it carefully with a spade or turn a container onto its side. Brush or wash away just enough soil to see the crown and root structure. Separate the outer, living sections and discard the old, hollow, diseased center rather than forcing a piece of dead wood to become a plant.
Each division needs a firm portion of crown, several healthy shoots, and enough roots to support its leaves. A tiny sliver with one tired stem may survive, but it has little reserve and is not a strong candidate for sharing. Use a clean knife or spade, keep roots from drying in the sun, and replant divisions at the same depth they were growing.
Water thoroughly once to settle the soil, then let the surface dry between waterings. Place a newly divided thyme in bright light with protection from severe afternoon heat for a few days. Do not give a heavy nitrogen feed to force growth; the priority is root contact and drainage, not lush, weak foliage.
Decide when a cutting is ready to pot up
Rooting time varies with stem maturity, warmth, light, humidity, and the health of the mother plant. A realistic working range for soil cuttings is about four to eight weeks, not a promise that every cutting will be ready on day 28. Late-season or low-light cuttings may take longer, while a layer can root on a different schedule because it remains attached.
Use these signs together:
- Resistance: a very gentle sideways nudge meets resistance instead of the stem sliding freely.
- Visible roots: roots reach the edge or drainage hole without forming a dense, tangled coil.
- New growth: the tip stays firm and produces fresh leaves after the initial cutting stress has passed.
- A stable root zone: when tipped from the pot, the medium holds together around roots rather than falling away as loose crumbs.
Do not pull a cutting repeatedly to “test” it. If there is no visible root, wait another week or two and check for changes in firmness and growth. When the root system is ready, pot into a container only one or two sizes larger; a large pot holds more wet mix around a small root system and raises the chance of rot.
Move rooted thyme outdoors without setbacks
A cutting rooted indoors has been protected from wind, intense sun, temperature swings, and drying air. Even a healthy root system can fail if that plant moves straight from a windowsill to an exposed garden bed. Harden it off over roughly two to three weeks, following the gradual acclimation principle outlined by the RHS.
Start with a few hours outdoors in bright shade or dappled light, then bring it back inside or into a sheltered porch at night. Add time and sun gradually every few days, but step back if the leaves wilt, bleach, or curl. Division pieces that were grown outdoors can usually return to a sheltered outdoor spot more directly, although they still need protection from heat and drying wind while roots reestablish.
Choose the permanent site for thyme, not for the temporary propagation setup. The plant wants full sun and free-draining soil; Penn State Extension’s thyme profile describes light, dry, well-drained soil and notes that established thyme needs little supplemental watering. If your garden soil stays wet in winter, use a raised bed, a gritty container, or a spot with a slope rather than trying to fix a drainage problem by watering less.
Plant at the same depth the new thyme was growing. Firm the soil around the root ball, water once, and keep competing weeds away while the plant establishes. Space plants according to their habit: upright common thyme needs room to mound, while creeping types need horizontal space to spread.
Care for new plants during their first season
Newly propagated thyme needs more regular attention than an established plant, but it does not need constant wetness. Check the pot or planting area whenever the top layer begins to dry, water deeply enough to settle the roots, and let excess water drain fully. As the plant begins to put on strong growth, lengthen the dry interval so the root system learns the conditions it will face as a Mediterranean herb.
Keep the plant in bright light and provide air movement around the foliage. A humid cover is a temporary rooting tool, not a permanent climate. Remove it gradually once the cutting is growing, especially if nights are cool or the plant will soon face outdoor conditions.
Harvest lightly while the plant is building its first root-and-shoot balance. A few tips can encourage branching once the plant is clearly established, but repeated hard cutting defeats the purpose of propagation. Penn State and NC State both describe thyme as a plant that can become woody and benefits from timely trimming; preserve enough green growth that the young plant can keep making energy.
Delay major feeding until the plant is actively growing in its permanent container or bed. Thyme generally performs better in lean, well-drained conditions than in rich, constantly moist compost. If you use fertilizer, choose a restrained application appropriate for herbs and follow the product label rather than trying to compensate for weak roots with extra nitrogen.
How to prevent weak, woody, or failed starts
The easiest way to improve your success rate is to make fewer, better cuttings. Take material from a healthy parent, choose stems with short gaps between leaves and several nodes, keep tools clean, and start the pieces when the plant is growing. A propagation cover can reduce water loss, but it cannot turn old wood into vigorous young tissue or make a waterlogged pot safe.
The three problems below are easier to solve when you diagnose the sequence rather than adding more water or fertilizer automatically.
Cutting stays limp or turns black
Limp leaves during the first day can mean the cutting lost water before it was planted. Recut the base, reduce harsh light, and use a loose cover for a short period. If the stem base is dark, soft, or smells sour, remove it from the pot immediately; black tissue usually points to rot, and keeping it in the same wet medium can spread the problem to other starts.
Review the setup: Is the pot draining? Are leaves buried? Is the cover dripping constantly? Let the medium drain, improve airflow, and start again with clean equipment. Do not mist a rotting cutting more often just because its leaves look thirsty.
Roots form slowly or not at all
First check the stem, not the fertilizer. A fully woody piece, a flowering shoot, a cutting taken during severe heat, or a stem from a weak mother plant may simply have low rooting potential. Move the pot to warmer bright light, keep moisture steady but not excessive, and wait; the RHS notes that cutting types and timing change with the stage of growth.
If several cuttings fail together, suspect the environment. Cold medium, dense compost, direct hot sun under plastic, and a jar of stagnant water can each stop a viable cutting. Take a fresh set in better conditions rather than repeatedly disturbing the original set.
New plant wilts after potting up
Transplant wilt often means the new roots were too few, damaged, or suddenly exposed to more light and wind. Return the plant to bright shade, water the root ball so it is in contact with the surrounding mix, and use a loose humidity cover for a few days if the air is very dry. Avoid keeping the entire pot constantly wet while waiting for recovery.
If the wilt persists, inspect the base and roots. White or pale firm roots are encouraging; brown, mushy roots signal excess moisture or a damaged root zone. Remove the affected material, repot into a clean airy medium, and reduce the pot size if the container is holding more wet soil than the roots can use.
Seeds and named varieties: when they make sense
Seed is the right tool when you want many plants for edging, a pollinator patch, or an experiment with different thyme types. It is also useful when you do not have a mother plant. Expect slower early growth and uneven emergence, and do not assume a seedling will copy the flavor, leaf color, or growth habit of a named cultivar.
Thyme seeds are tiny, so sow them shallowly in a fine, free-draining seed mix and keep the surface evenly moist without flooding it. Give seedlings bright light as soon as they emerge, thin or transplant them before they become crowded, and harden indoor-grown plants off before planting outside. The RHS notes that thyme seedlings can take about a year to become established enough for regular harvesting, which makes cuttings or division preferable when you want a faster clone.
For a named lemon, variegated, or creeping thyme, choose vegetative propagation. A cutting or layer preserves the plant you already like, while division gives an older specimen a chance to produce younger, better-positioned growth. Once the new plants are established, keep the strongest as mother plants and take modest cuttings over time instead of stripping one plant bare in a single session.
Conclusion
Propagating thyme is less about one magic technique than about matching the method to the plant. Use a flexible stem and layering when you want the safest start, soil cuttings when you want multiple true-to-type plants, water only when you can manage the transition into potting mix, and division for a mature clump with a healthy root system.
The habits that make the biggest difference are simple: take cuttings from green, vigorous growth; work with clean tools; keep the rooting medium airy; check for roots instead of relying on a fixed date; and harden indoor starts off gradually. Give each new thyme plant sun, drainage, and a light first-season harvest, and it can develop into the fuller, durable herb you meant to grow.