How to Repot a Snake Plant in 6 Steps
Learn how to repot a snake plant in six careful steps, choose the right pot and soil, inspect roots, divide pups, and avoid post-repot rot.
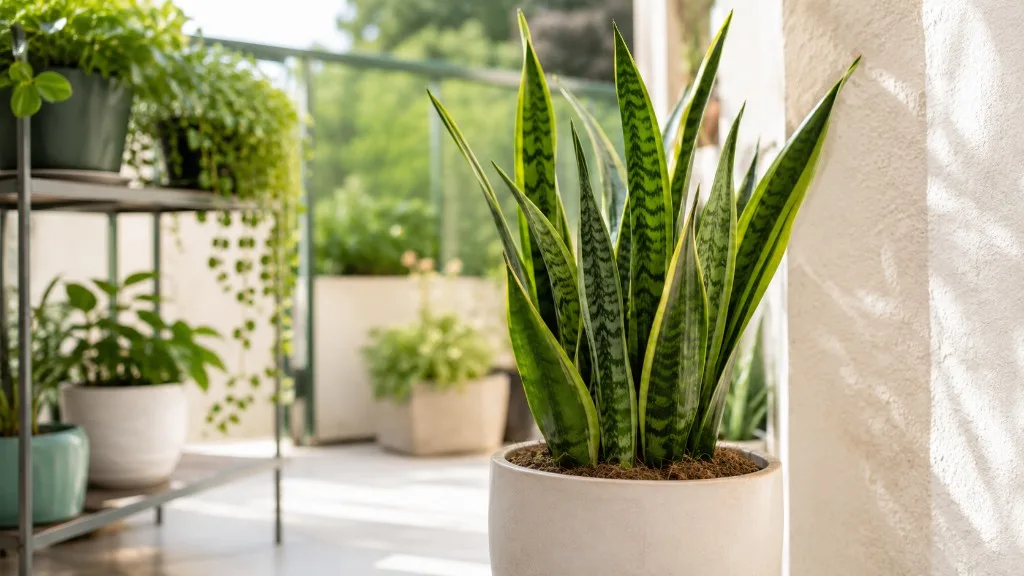
A snake plant usually needs a new pot for one of three reasons: its roots have filled the container, the old mix no longer drains and rewets properly, or the plant has a genuine root-zone emergency. It does not need a bigger pot just because a certain number of months have passed. In fact, the most common repotting mistake is giving a small root system a large volume of wet soil.
The plant sold as a snake plant is usually Dracaena trifasciata, formerly classified as Sansevieria trifasciata. Its thick leaves and underground rhizomes store water, so it can tolerate a dry spell; they do not make it tolerant of constantly wet roots. NC State Extension describes it as a clumping, erect houseplant that needs well-drained soil and careful watering, while the RHS recommends free-draining compost and watering only as the medium begins to dry. (NC State Extension Plant Toolbox, RHS Sansevieria guide)
This six-step method is for a healthy plant that needs a planned move. If the base is soft, the mix smells sour, or the plant is collapsing in wet soil, read the root-rot section below before treating the job like a routine pot-up.
Should you repot a snake plant now?
Spring or early summer is the best window for a planned repot because the plant is entering active growth and can start exploring fresh mix. Penn State Extension and NC State Extension both point to spring as the general timing, and the RHS cautions that repotting in autumn or winter leaves fresh compost wetter for longer as growth slows. (Penn State Extension, NC State Extension, RHS repotting guide)
Timing is a risk dial, not a rule that overrides a failing root zone. Repot in any season if a pot is splitting, roots are trapped in a severely collapsed mix, or rot is advancing. If the plant is merely growing slowly in a dim room, changing its pot will not create more light; correct the primary problem first.
Use the root-ball test, not one symptom
Roots at a drainage hole are a useful clue, but one wandering root does not automatically mean the plant needs a larger container. Water may have guided a root toward the hole while the rest of the root ball still has plenty of usable mix. Confirm the decision by sliding the plant out far enough to see the sides and bottom.
Repot into a larger pot when you find a dense mat of roots circling the outside, very little visible mix in the lower third, or a root ball that holds its pot shape after removal. Fast dry-down is another strong clue: if a normally watered plant becomes bone-dry within a day or two even in moderate light, there may be too little mix left to hold moisture. Penn State uses rapid drying, roots through holes, slowed growth, and dense roots as practical signs of pot-bound growth. (Penn State Extension)
Look for signals in combination. A single yellow leaf can be age, cold stress, or a watering error; it is not enough evidence for a disruptive repot. A plant that is yellowing while the soil stays wet, however, deserves a root inspection because wet-soil wilting and soft brown roots are classic root-rot clues. (Wisconsin Horticulture)
When to wait, top-dress, or refresh the same pot
Wait if the plant is newly purchased, recently moved, flowering, or already stressed by a sudden light change and the root ball is not crowded. Let it acclimate and observe its normal dry-down first. The exception is a clear drainage or rot emergency; protecting the roots matters more than preserving a perfect season.
Choose a light refresh instead of a larger pot when the container still fits but the mix has settled, developed a salt crust, or has lost its structure. Remove loose material from the top and sides, add fresh mix, and keep the plant at its original depth. This approach is especially useful for an old, slow-growing bird’s-nest form or a floor plant that is already difficult to lift.
If the plant is root-bound but you want to keep its current size, you can return it to the same pot after trimming a modest slice of the outer root mass and replacing old mix. The RHS recognizes same-pot repotting, root pruning, and compost refresh as alternatives to potting on. Do not combine aggressive root pruning, division, heavy leaf pruning, and a dramatic pot change in one session unless you are managing an emergency.
Pick a pot that fits snake-plant roots
The best new pot is usually only 1–2 inches (2.5–5 cm) wider than the current container. That is a small increase in volume, but it gives the expanding roots fresh territory without surrounding them with a deep reservoir of slow-drying mix. The RHS gives a similar rule for smaller containers, and both Penn State and NC State warn that a pot that is too large creates a poor balance between root mass and wet media. (RHS repotting guide, Penn State Extension, NC State Extension)
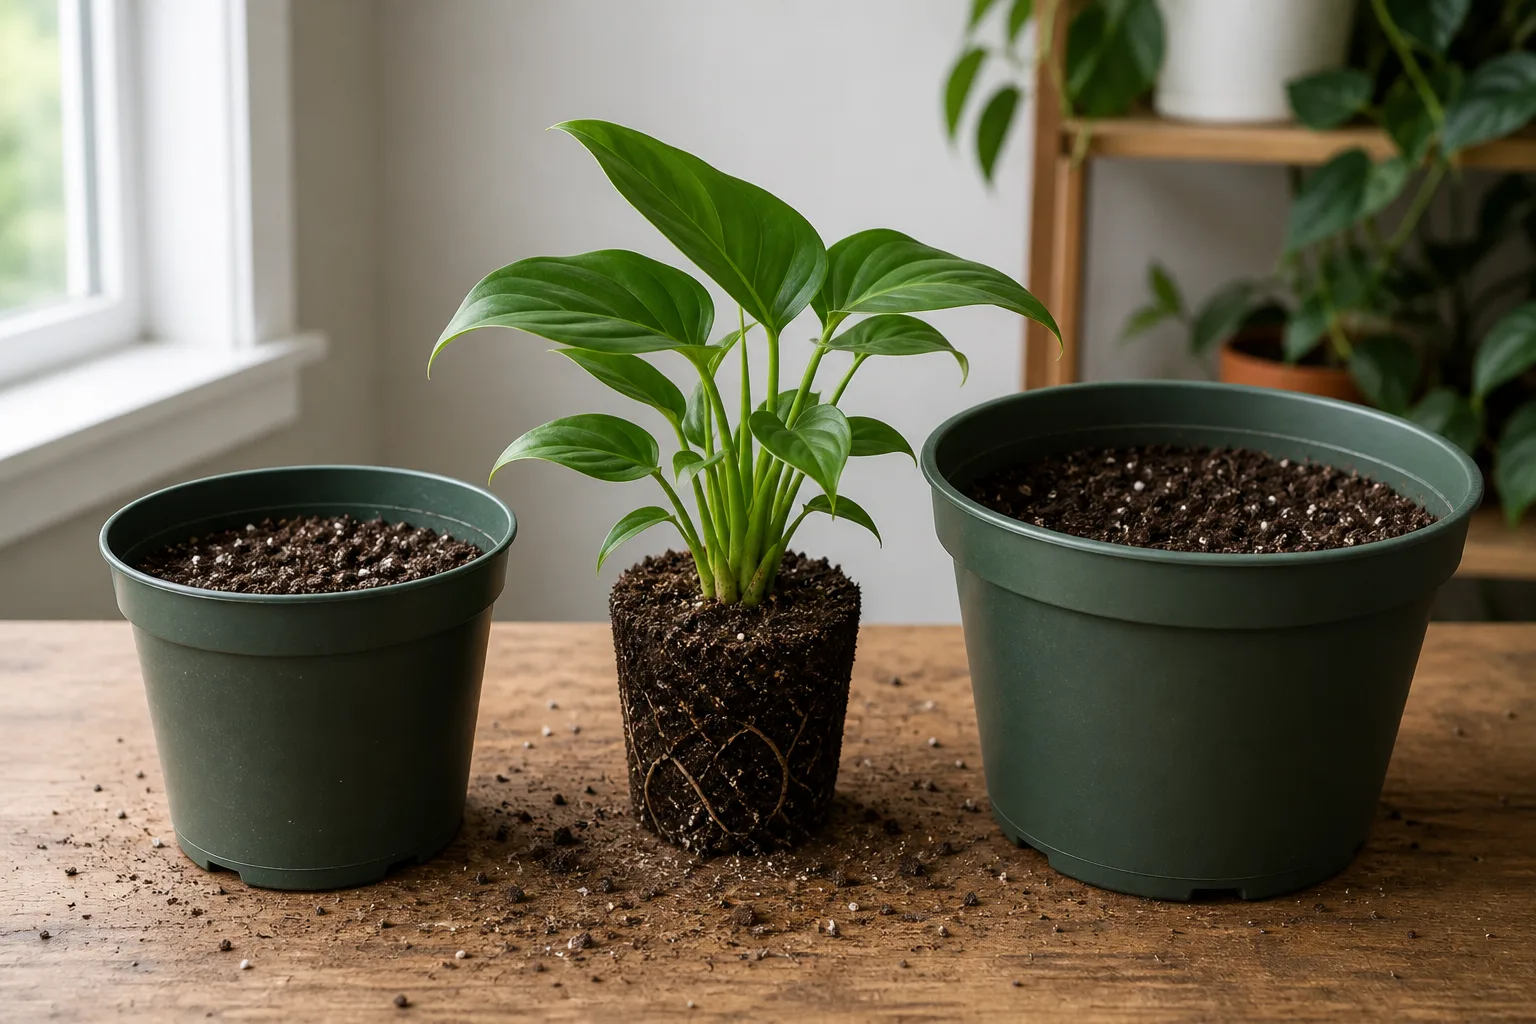
Get the size, shape, and drainage right
Snake plants are top-heavy because their leaves rise above a relatively compact root system. A broad or weighted pot can prevent tipping without forcing you into a much larger diameter. For a tall standard plant, choose a stable base; for a compact ‘Hahnii’ or other bird’s-nest type, a shallow, wide container often suits the rosette better than a narrow deep one. Penn State notes that heavy materials improve stability while plastic is lighter and easier to move; the practical choice depends on whether your room, watering habits, and plant height make drying or tipping the bigger risk. (Penn State Extension)
The pot must have a real drainage hole. A decorative cachepot can still work, but keep the plant in a draining nursery pot and lift it out to empty water after each soak. Do not rely on a layer of gravel at the bottom to make a holeless pot safe: NC State Extension explains that water does not enter the gravel layer until the soil above is saturated, so the root zone can stay wetter rather than draining better. (NC State Extension)
Unglazed terracotta dries faster and can be forgiving if you tend to water early; plastic and glazed ceramic retain moisture longer. The material does not replace a moisture check. If you move from plastic to terracotta, expect the same mix to dry sooner; if you move from terracotta to plastic, extend the interval between waterings until you learn the new pot’s weight and dry-down pattern.
Prepare the mix and tools before you unpot
Have the new pot, a clean surface, a scoop or trowel, sharp scissors or pruners, and a chopstick or blunt probe ready. Wear gloves if the leaves are sharp or if you are handling a plant that has had rot. Clean a reused pot before it touches fresh mix; Penn State recommends washing and sanitizing used containers, and Wisconsin Horticulture advises extra caution with pots, tools, and mix that have been associated with root rot. (Penn State Extension, Wisconsin Horticulture)
Moisten fresh mix until it is evenly damp but not muddy. Pre-moistening prevents dry pockets that repel the first watering, a point also emphasized by Penn State. Do not pre-fill the new pot and then leave it sitting wet for days; mix it shortly before planting so you can judge its texture.
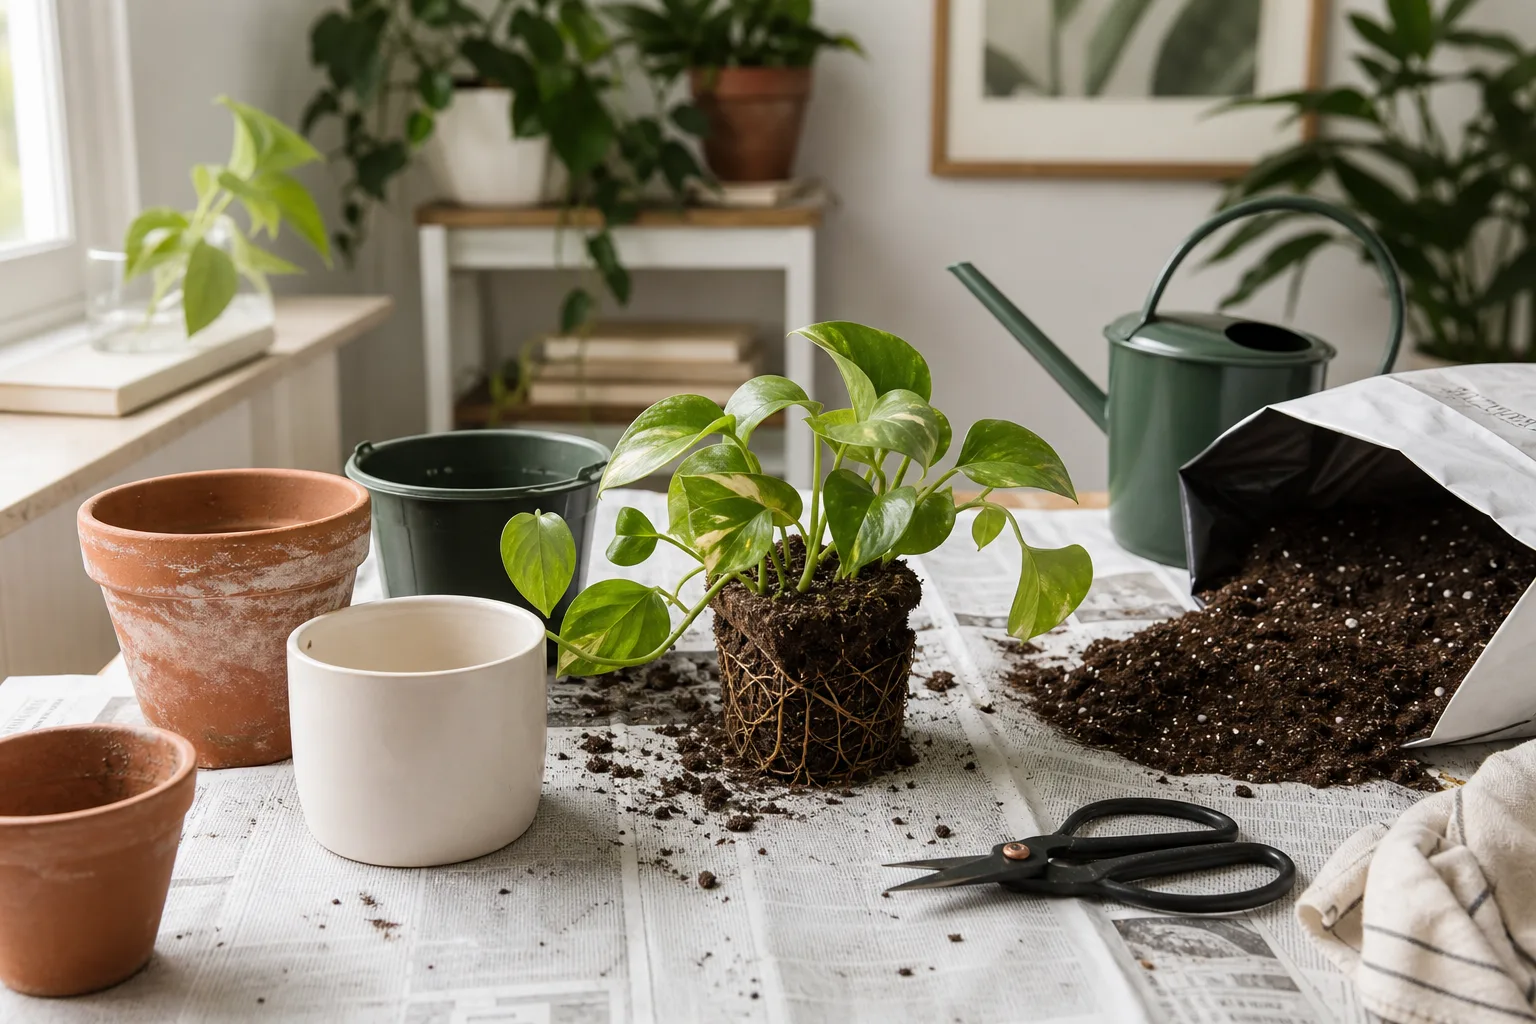
A practical snake plant soil recipe
Start with a commercial cactus or succulent mix, then add extra perlite or pumice if the bag feels fine, heavy, or slow to drain. A simple home blend is two parts quality soilless potting mix to one part perlite or pumice by volume. In a humid room, a low-light corner, or a large plastic pot, use a grittier version; in a hot, bright room with terracotta, retain enough fine material that the root ball does not become hydrophobic.
The goal is not a magic ratio. It is a mix with enough small particles to hold some water and enough irregular particles to preserve air spaces after watering. The RHS explains that aerating ingredients such as perlite, pumice, bark, or clay pellets create pore spaces; compacted or waterlogged media deprive roots of oxygen. For snake plants, avoid a dense garden soil or a compost-heavy blend that stays wet for a week. (RHS houseplant growing-media guide)
You can use regular indoor potting mix if you improve the structure rather than treating the label as a guarantee. Squeeze a damp handful: it should hold together lightly and then crumble with a touch, not form a sticky ball. If water sits on top or takes a long time to pass through a test pot, add more coarse aeration before planting.
Repot in 6 steps
The safest sequence keeps the root ball supported, makes the root inspection brief, and avoids burying the leaf bases. Have the new container and mix ready before you remove the plant so exposed roots are not left on a hot windowsill or in direct sun.
1. Choose a calm day and set up the workspace
Work when the plant is not bone-dry or freshly drenched. If the mix is hard and shrunken around the pot, water lightly the day before or a few hours ahead so the root ball has some flexibility. Avoid turning it into mud: very wet soil is harder to handle, smears over roots, and can hide rot.
Spread newspaper or use a tray, pre-moisten the new mix, check the drainage hole, and sanitize cutting tools if there has been any history of rot. Mark the current soil line with your eye before you start. That reference helps you replant at the same depth instead of burying the crown to make the tall leaves look more stable.
2. Remove the plant without pulling the leaves
For a flexible nursery pot, squeeze the sides while supporting the foliage near its base. For a rigid pot, lay it on its side and tap the rim or slide a blunt tool around the inner wall. Hold the pot and root ball, not the leaf tips. NC State Extension recommends supporting the soil with your hand while tapping the container free, because pulling from the stem or leaves can tear the connection between roots and the plant. (NC State Extension)
If roots are wedged in the drainage hole, do not yank harder. Cut the plastic pot away if it is disposable, or snip only the trapped root strands with clean scissors. A cracked clay pot is a safer sacrifice than a badly torn root ball. Once the plant is out, set it on its side and keep the leaves from bending under their own weight.
3. Inspect roots and trim only what is dead
Brush away loose old mix from the sides and bottom. Healthy snake-plant roots and rhizomes are firm; colors vary from pale tan to cream or light brown depending on the mix. Bad roots are soft, hollow, dark, or foul-smelling, and they may slough their outer tissue when pinched. Wisconsin Horticulture describes wet-soil wilting, stunting, yellowing, soft brown roots, and bad odor as root-rot clues, but visual diagnosis has limits, so use the whole pattern rather than a color alone. (Wisconsin Horticulture)

Cut mushy roots back to firm tissue with clean, sharp blades. Do not strip every healthy root or wash the entire ball by default. If the roots are merely circling, tease the outer strands outward with your fingers; if they form a hard cylinder, make a few shallow vertical cuts or loosen the bottom edge. The point is to interrupt the circle so roots can enter fresh mix, not to perform surgery on a plant that is only mildly crowded.
If more than a small portion of the root system is rotten, this is an emergency recovery rather than a normal upsize. Remove contaminated old mix, sanitize the pot, use fresh airy media, and plan on a smaller container if root loss leaves the original pot oversized. Wisconsin Horticulture recommends reducing soil moisture, using a draining pot and pasteurized commercial mix, and not reusing mix from a plant with root rot. (Wisconsin Horticulture)
4. Decide whether to separate pups
Snake plants spread through clumps, rhizomes, and offsets commonly called pups. Repotting is a convenient time to divide them, but division is optional. Leave a pup attached if it has no independent roots or if the parent plant has just had significant root loss; forcing apart an unready offset creates more wounds without giving you a viable new plant.
Separate a pup when it has a firm connection to its own roots and rhizome. Ease the clump apart with your fingers, then use a clean knife only where the rhizome will not separate cleanly. Keep each division’s leaves and roots balanced, pot it into a container only slightly wider than its root cluster, and keep the depth unchanged. Division is also the most reliable way to preserve the pattern of a variegated cultivar; leaf cuttings may not reproduce a margin-variegated plant exactly.
If the clump is stable and your goal is simply more room, skip division. Fewer cuts mean a shorter recovery and a lower chance that an otherwise healthy plant becomes a collection of small, unstable pieces.
5. Set the original depth and backfill gently
Put a shallow layer of mix in the new pot and test the height before committing. The top of the original root ball should sit roughly 1 inch below the rim, with the leaf bases and crown at the same level they occupied before. Remove or add mix until the plant sits correctly. Do not bury extra stem or leaf bases to stop a tall plant from wobbling; use a wider, heavier container instead.
Hold the plant in the center and add mix around the sides in small handfuls. Tap the pot lightly on the work surface or use a chopstick to settle obvious gaps, but do not pound or compress wet mix. Roots need air as well as water, and NC State Extension warns that packing wet media reduces air space. Leave a little headspace below the rim so the first watering does not run over the edge. (NC State Extension)
The finished surface should cover exposed roots without forming a mound against the leaf bases. If the plant rocks, brace it temporarily with a loose support or adjust the mix beneath the root ball; do not bury it deeper as a permanent fix.
6. Water once, then let the pot drain fully
For a healthy root ball with only gentle teasing, water slowly until a little runs through the drainage hole. This settles fresh mix around the roots and confirms that the container drains. Set the pot in a sink or tray, let it finish dripping, and empty any saucer or cachepot before returning it to its growing spot. The RHS and Penn State both recommend a thorough first watering followed by good drainage. (RHS repotting guide, Penn State Extension)
If you cut away rotten roots or divided a plant with substantial root disturbance, do not automatically soak it the same way. Use barely damp or dry mix, give cut surfaces several days to callus, and then water once the plant is stable and the potting medium has not been chilled by a cool room. The exact interval depends on how much root tissue was removed, the pot material, and the room’s light and airflow; “more water to help it settle” is the wrong instinct for a succulent-leaved plant.
First-month aftercare that protects new roots
Put the repotted snake plant in bright, indirect light or in the same light it already tolerated, without adding a sudden blast of hot afternoon sun. The goal is enough light for recovery and normal drying, not a second stress event. Keep it away from a cold pane or a heating and cooling vent; the RHS recommends keeping Sansevieria above 50°F (10°C), with best growth around 60–75°F (15–24°C). (RHS Sansevieria guide)
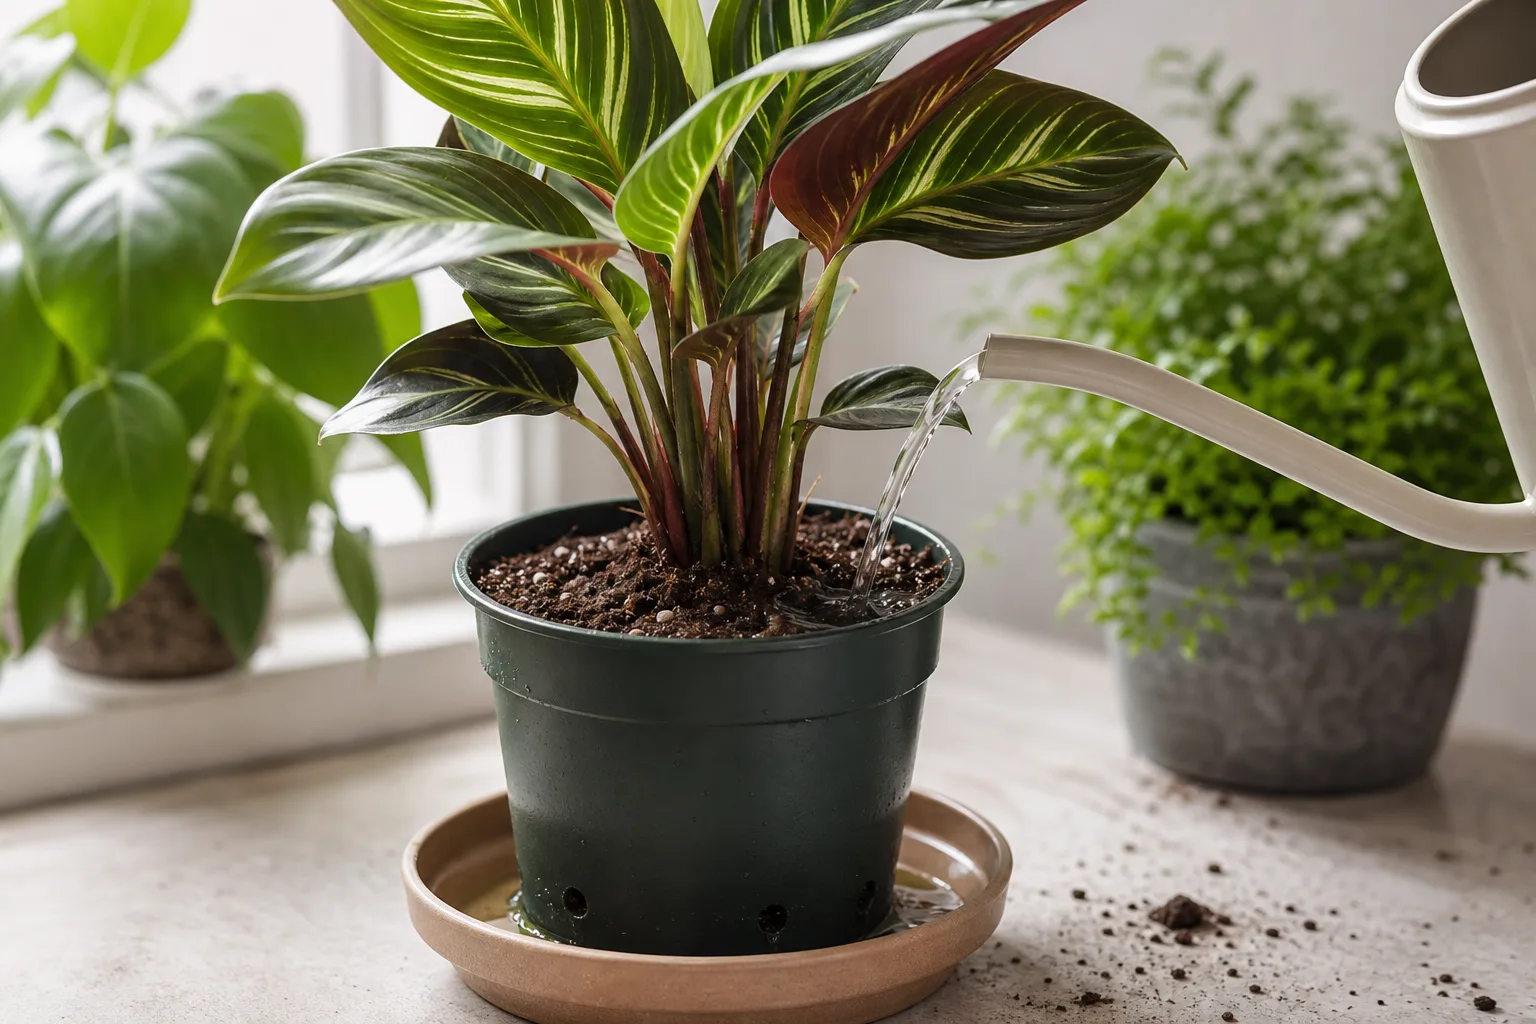
Water, light, and fertilizer after repotting
For a healthy repot, let the mix dry deeply before watering again. Check more than the surface: insert a finger or wooden skewer several inches down, compare the pot’s weight with its freshly watered weight, and account for the new container material. The surface can look dry while the lower root zone remains damp, especially in a larger plastic or glazed pot.
Do not fertilize immediately. Fresh potting mix may contain starter nutrients, and tender roots are more easily irritated by concentrated fertilizer salts after disturbance. Wait until the plant has settled and shows stable new growth; a cautious pause of about a month is reasonable for most planned repots, and longer if you removed roots. Experienced horticulture writers at Epic Gardening and Get Busy Gardening also emphasize bright indirect light, a deep dry-down, and a fertilizer pause while a repotted snake plant re-establishes. (Epic Gardening, Get Busy Gardening)
Expect a short pause in growth. A leaf may lean slightly because the fresh mix has not settled or because the root ball lost some anchoring, but firm leaves and a firm base are reassuring. Avoid rotating, pruning, feeding, and moving the plant repeatedly during the same week; stable conditions make it easier to tell whether the new pot is working.
Solve common post-repot problems
The leaves are drooping but the soil is dry. Some temporary droop can follow root disturbance, especially after division. Check the base and the pot depth first. If the leaves remain firm and the root zone was watered once, give it steady light and time; if the base is soft or the mix is wet, treat it as possible rot rather than adding water.
The soil stays wet for many days. Confirm that the drainage hole is open and that the pot is not sitting in a full cachepot. If the new pot is dramatically larger than the root ball, the problem is the container-to-root ratio, not a need for more frequent small sips. Move the plant to a better-fitting pot during active growth, or let the mix dry before making another change if the plant is otherwise stable.
Leaves are yellowing after repotting. A single older leaf can yellow as it ages, but worsening yellowing with wet mix, a sour smell, or a soft base is a reason to inspect the roots. Yellowing in dry, bright conditions may instead reflect root loss, sun stress, or a watering gap. Diagnose the soil moisture and tissue texture together; repotting again without checking the cause can compound the damage.
The plant keeps tipping over. Do not bury it deeper. Snake plants need a stable, wide base more than a tall column of mix. Use a heavier cachepot around a draining inner pot, add a temporary support, or choose a wider container at the next planned repot while keeping the root-zone diameter modest.
Water runs straight through the mix. This can mean the root ball is very crowded, but it can also mean dry mix has pulled away from the pot wall or has become hydrophobic. Soak slowly in several passes and see whether the pot gains weight. If the mix still channels water around the sides, replace the degraded mix rather than watering repeatedly on top of a dry core.
There are fungus gnats after the move. Repotting is not a cure for every insect problem. Let snake-plant mix dry as the plant requires, remove dead debris, and address adult and larval stages with an indoor integrated pest-management plan. If the soil came from an outdoor-stored or previously infested bag, isolate the plant and inspect the mix rather than adding more water.
You found extensive root rot. Cut only diseased tissue, discard contaminated mix, clean the work surface and container, and reduce future moisture. Severe cases may not be recoverable, and healthy leaf or rhizome pieces can be a better propagation starting point than repeatedly moving a failing root system. Wisconsin Horticulture advises caution with chemical fungicides for houseplant root rots and recommends professional diagnosis when the cause is unclear. (Wisconsin Horticulture)
Conclusion
Repot a snake plant when the root ball or growing medium shows a real need, not because the calendar says it is time. Choose a pot only 1–2 inches wider with a drainage hole, use a porous mix, preserve the original depth, and trim only roots that are dead or so tightly circling that they cannot move into fresh soil.
The six steps are simple, but the restraint around them is what keeps the plant healthy: do not overpot, bury the crown, compress wet mix, divide unready pups, or water on a schedule while the new pot is still damp. If you diagnose the root zone before acting and then give the plant stable light and a full dry-down between drinks, a snake plant can settle into its new container without turning an easy chore into a root-rot recovery.