How to Reuse Toilet Paper Tubes in the Garden
Empty toilet paper rolls are free garden tools. Learn seed starters, cutworm collars, compost browns, and mass trays—with when to skip dyed tubes.
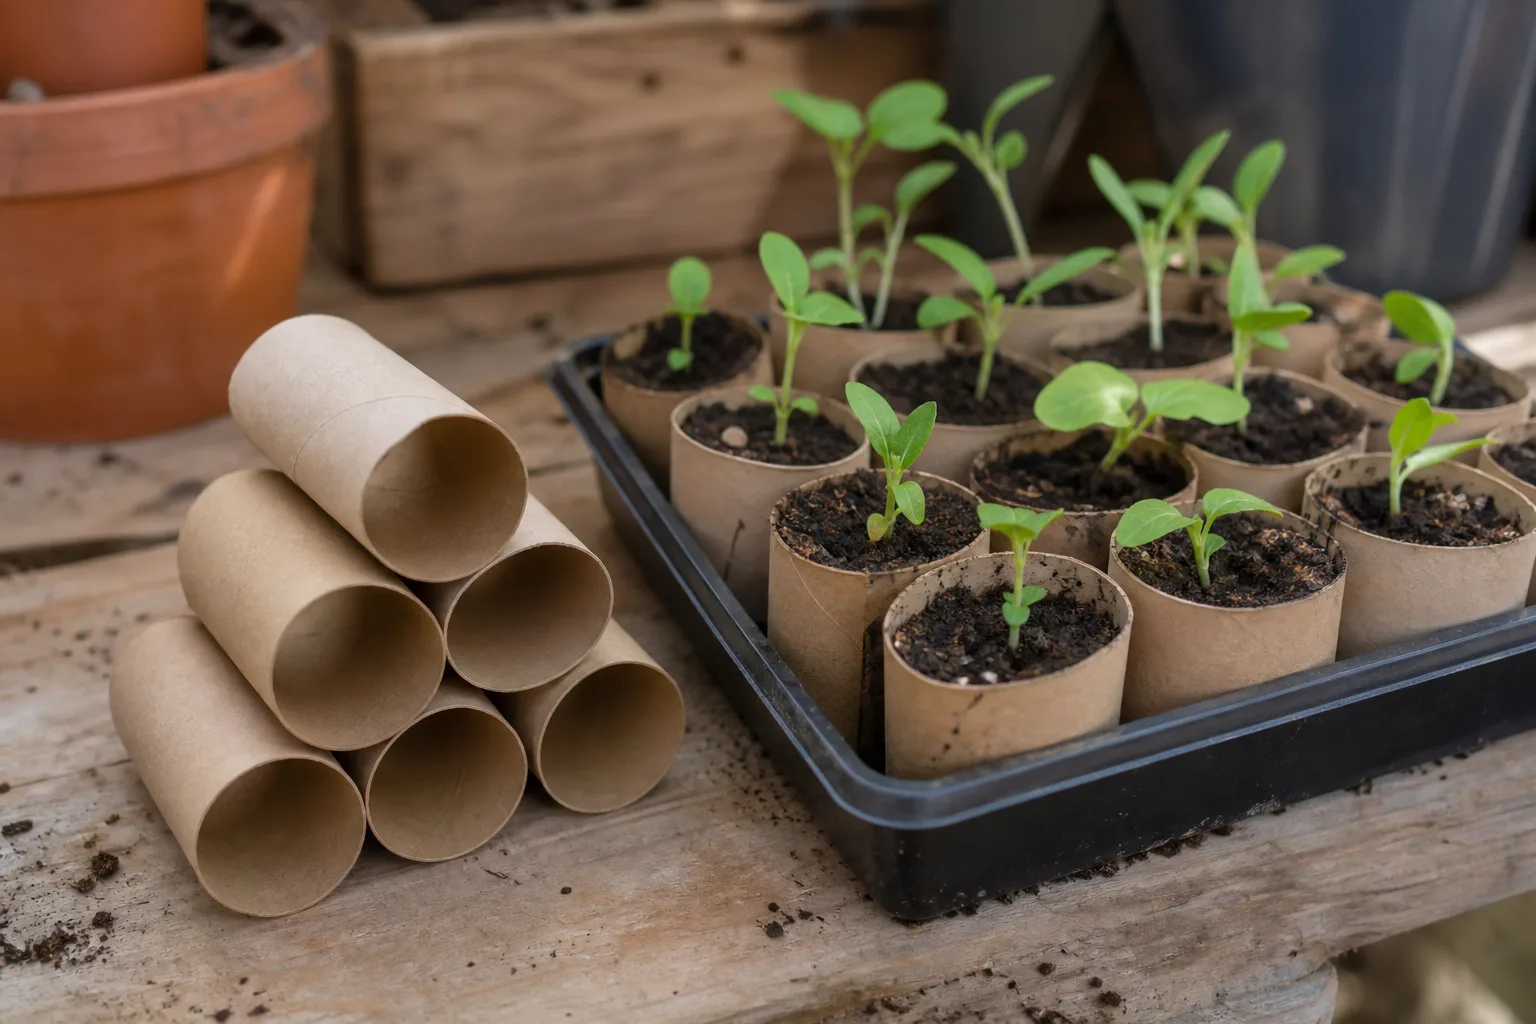
Every empty toilet paper tube is a short cylinder of plain cardboard—carbon-rich, biodegradable, and stiff enough to hold seed-starting mix for a few weeks. That makes it one of the easiest zero-waste garden supplies you already generate at home. The mistake is treating every tube the same: a roll destined for spring tomatoes needs a folded bottom and careful watering, while a roll headed for the compost bin should be shredded, and a roll protecting a bean seedling belongs half-buried around the stem. Match the tube to the job and you get free pots, pest barriers, and compost browns without buying plastic cell packs.
The Quick Answer: Route Tubes by Your Next Garden Job
Save dry, plain brown tubes in a paper bag until you need them. Then pick one primary route:
Seed starters — cut four 1-inch slits at one end, fold flaps inward to close the base, fill with moist seed-starting mix, sow, and grow under lights until transplant time. Cutworm collars — cut tubes into 3-inch sections, slip around seedlings, and bury the bottom inch so soil-level pests cannot reach the stem. Compost browns — rip or shred tubes and layer them with kitchen scraps using roughly three parts dry brown to one part green by volume. Mass tray — stand many tubes upright in a shallow watertight tray so one container holds dozens of starters.
Skip tubes that are dyed, heavily printed, scented, or damp with mildew. If you are not starting seeds or fighting cutworms this month, compost is the default—it always accepts shredded cardboard without the mold risk of wet indoor pots.
A simple decision check: if your calendar says “sow tomatoes indoors” within two weeks, start saving tubes now and fold bottoms before filling. If your vegetable row just got mowed down at the soil line overnight, cut collars today—not next month. If neither applies, toss tubes into the brown bag headed for the compost bin every Sunday so they never pile up damp in the bathroom.
Are Toilet Paper Tubes Safe for Garden and Compost Use?
Yes—for standard uncoated brown cardboard like most toilet paper rolls. Cellulose fiber breaks down in moist soil and active compost the same way shredded boxes and paper towels do. Tubes are not fertilizer; they are structure and carbon that eventually becomes humus. They will not “harm” garden soil when used in normal quantities, though quantity and condition matter for seedling health and compost balance.
Plain Brown Cardboard vs. Dyed, Scented, or Glued Stock
Prefer kraft-brown rolls with minimal ink. Some brands use colored or patterned tubes; small amounts in a large compost pile are usually fine, but avoid them for seed-starting pots where roots and stems sit against the cardboard for weeks. Scented or lotion-coated papers belong in the trash, not the seed tray.
Remove stubborn adhesive from labels if present. Gardening Know How notes that tape and stickers that will not break down should be stripped before composting cardboard (composting cardboard). Toilet rolls rarely have wax coatings—unlike glossy food boxes—but if a tube feels waxy or plastic-lined, compost it only after confirming it is plain fiber, or discard it.
How Fast Tubes Break Down in Soil and Compost
In warm, moist garden soil, thin toilet paper cardboard often softens within two to four weeks once buried and watered. Whole tubes planted with seedlings may linger longer on the surface if the rim stays dry. In a hot, turned compost pile, shredded tubes can disappear in one to two months mixed with greens. Cold, unturned piles or heavy clay may take a full season.
Shredding beats whole tubes for speed—Gardening Know How recommends breaking cardboard into small pieces so microbes can colonize edges quickly (composting cardboard). That same logic applies to rolls: rip them before composting unless you are using intact collars or pots for a specific short-term job.
When NOT to Save Toilet Paper Tubes
Certain tubes cause more trouble than they save. Do not use moldy or damp rolls stored in a humid bathroom—mold spores transfer to seed-starting mix. Skip tubes for crops you direct-sow outdoors (carrots, beans, peas, radishes); see our guide on easiest seeds to direct sow instead of starting indoors in cardboard.
Do not rely on tubes alone for pest control on established plants—collars protect young stems from cutworms and some slugs at soil level, not aphids, deer, or rabbits. Avoid tubes on heat mats without bottom trays; cardboard wicks water and can dry unevenly or over-saturate. If fungus gnats have plagued your seed bench before, tubes are not forbidden, but you must pair them with dry surface cycles, bottom watering, and clean trays—cardboard does not cause gnats, but overwatering any pot does.
Finally, if your household generates only a tube or two per month and you do not start seeds, do not hoard them in a drawer for years—shred and compost as you go so they do not attract silverfish or cockroaches indoors.
Make Fold-Bottom Biodegradable Seed Starters
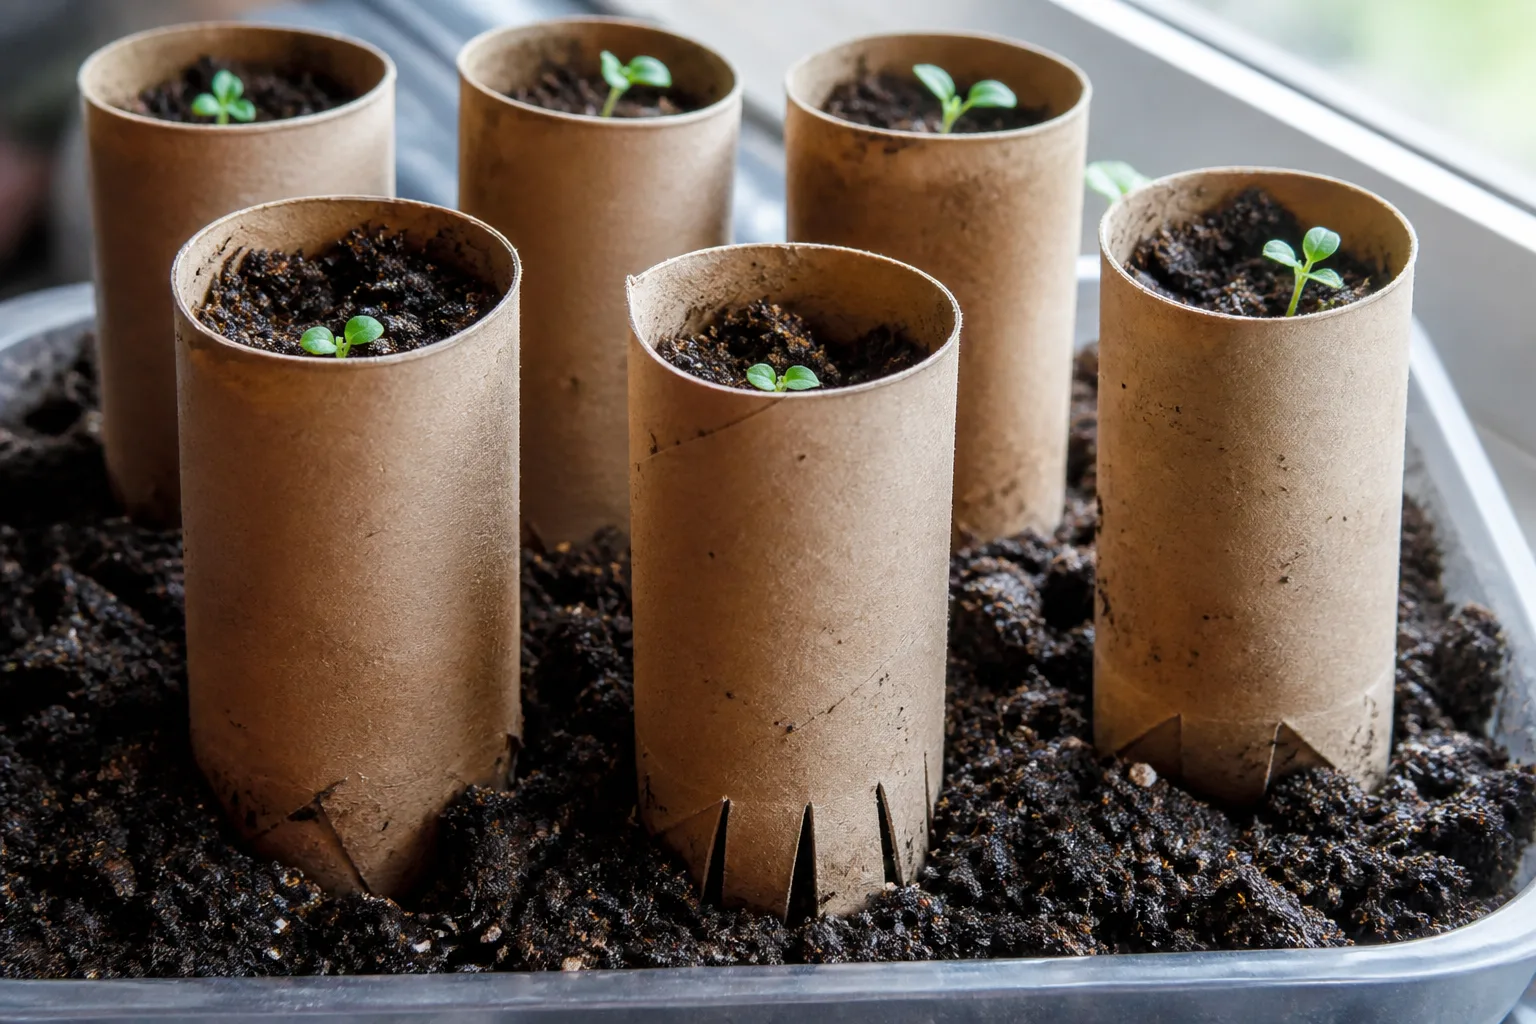
Toilet paper rolls are compact biodegradable pots for indoor seed starting. They give roots vertical room, reduce plastic waste, and—when transplanted correctly—can go into the garden with less root disturbance than pulling seedlings from rigid cells. The critical step Spruce-style summaries skip is closing the bottom so mix does not fall out.
Step-by-Step: Cut, Fold, Fill, and Sow
Stand one tube upright. With scissors, cut four 1-inch slits up from the bottom edge, evenly spaced. Fold the resulting flaps inward and overlapping like closing a cardboard box end until the base is closed. If flaps spring open, cut slits slightly longer or nest two tubes (one inside another) for stiffness.
Fill with pre-moistened seed-starting mix—not heavy garden soil—leaving about half an inch below the rim. Sow seeds at the depth listed on the packet. Label each tube with pencil on the side; ink smears when wet. Set tubes in a shallow tray that holds water without drowning the rolls. Water from the bottom when possible so the cardboard stays intact on top.
Place under grow lights or your brightest window following the schedule in our how to start seeds indoors guide. Run a fan briefly daily for stout stems. Harden off outdoors before planting, as covered in spring is the best time to transplant seedlings.
Watering rhythm matters more with cardboard than with plastic cells. Check weight daily: a light tray needs a bottom soak; a heavy tray waits. Let the top quarter inch of mix dry briefly between soaks so fungus gnats lose damp surface habitat. If tube walls turn dark brown and soft, you are overwatering—move the tray to better airflow and skip one soak cycle. If mix pulls away from the tube wall, soak longer from below until the cardboard glistens evenly.
Best Crops and Timing for Tube Pots
Tubes excel for large seeds and crops that resent root disturbance: cucumbers, squash, pumpkins, sunflowers, corn, and fast-growing flowers like zinnias or cosmos. They are oversized for slow herbs ( thyme, oregano) unless you cut rolls in half to save mix.
Start tubes four to eight weeks before your last frost for tomatoes and peppers—same calendar logic as any container, keyed to your frost date—not when you happen to accumulate ten rolls. If you need a soak step for hard-coated seed, handle that before sowing using our soaking seeds before planting guide; tubes do not change scarification rules.
Transplanting Whole vs. Peeling the Cardboard
For cucurbits and sunflowers, plant the entire tube so roots never get stripped. Bury the tube deep enough that the soil line matches the seedling’s original depth; peel back any rim sticking above soil so it does not wick moisture away from the stem.
Peel or score the tube when soil stays cold and wet and cardboard is still stiff after four weeks—slow breakdown can temporarily dry the root zone or restrict spread. Also peel if you see white mold on the outer cardboard; the seedling may still be fine after you remove the sleeve. If tubes fall apart before transplant, that is fine—move the root ball gently and compost the fragments.
Install Cutworm and Slug Collars Around Seedlings
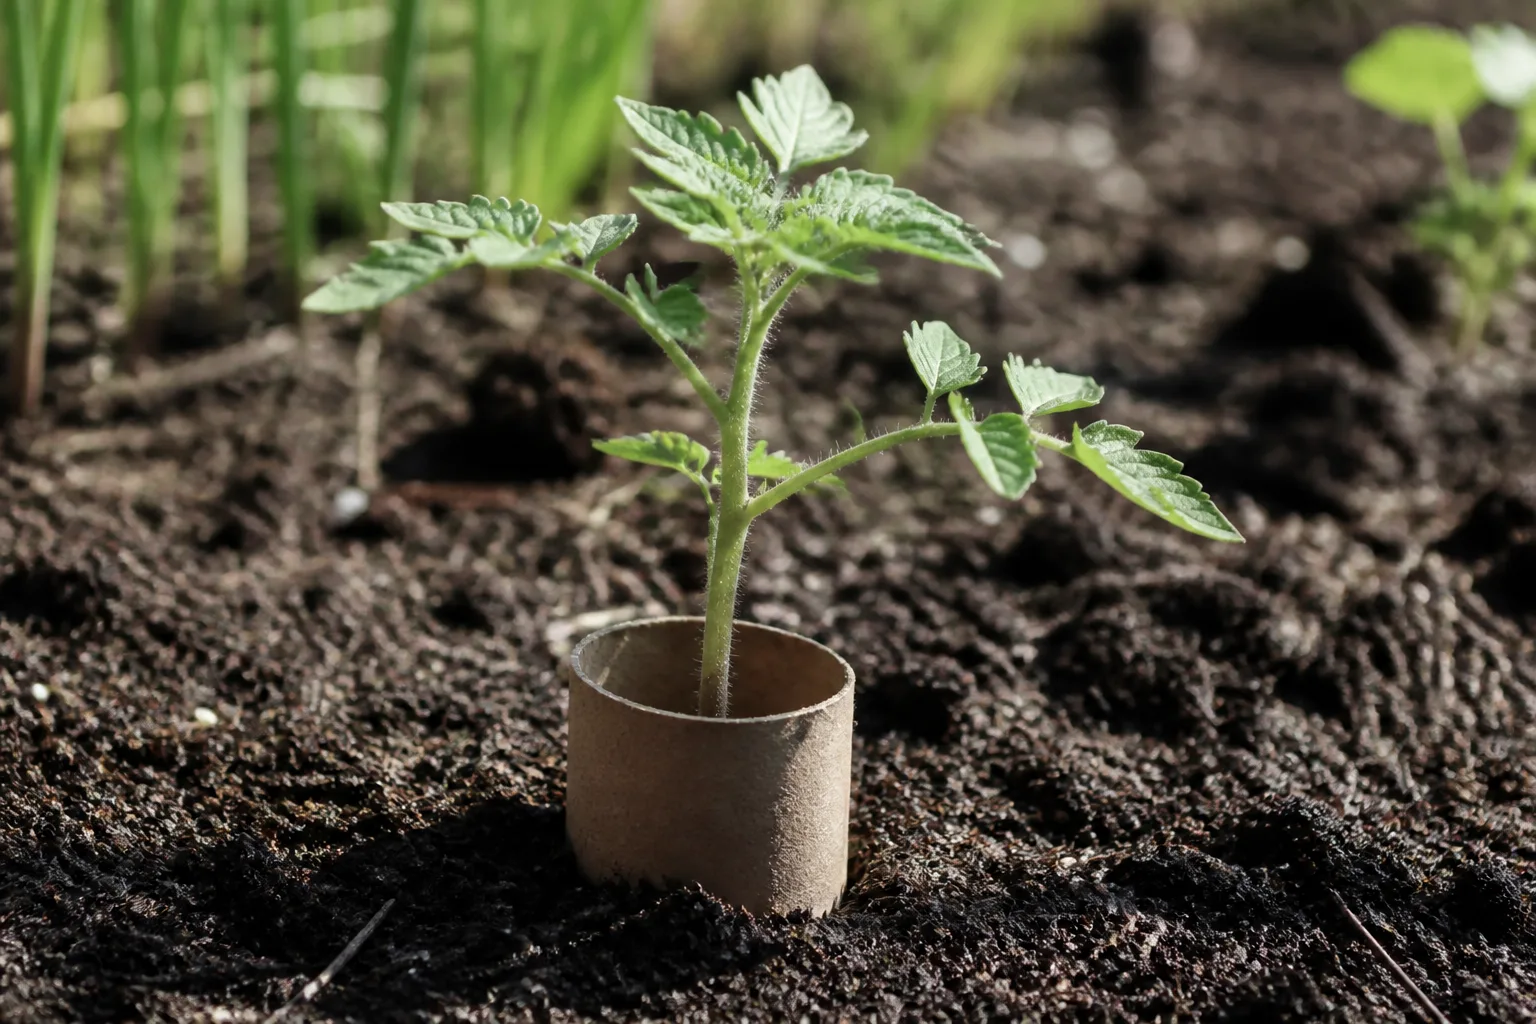
Cutworms are nocturnal caterpillars that chew seedling stems at or just below soil level, often felling plants overnight. Once a stem is severed, the seedling is lost—prevention beats rescue. The Missouri Botanical Garden recommends a 3-inch collar of stiff paper or plastic, noting that sections of toilet paper or paper towel rolls are ideal. Push the collar about an inch into the ground so larvae cannot crawl under (Missouri Botanical Garden cutworms).
Collar Size, Depth, and Which Pests They Block
Cut a tube into 2–3 inch segments—one roll yields two collars. Slide the segment over the seedling after transplant or when direct-sown plants have true leaves. The collar should extend above and below the soil line: roughly one inch buried, two inches above. This blocks cutworms and some slugs that travel on the surface; it does not stop rabbits (angled bites higher on the plant) or birds pulling sprouts.
Install collars at transplant time for tomatoes, peppers, beans, and cole crops—historically vulnerable rows in many gardens. Remove collars once stems thicken and harden (usually three to four weeks); cardboard will soften and collapse on its own. In cutworm-heavy years, combine collars with evening scouting and a cornmeal ring trap as MBG also suggests—1/2 teaspoon of cornmeal in a circle away from the stem can kill cutworms that eat it.
When Collars Fail and What to Do Next
Collars fail when they are too short, not buried, or left on waterlogged soil that collapses the cardboard. They also fail when damage is not cutworm damage—if bites are angled or leaves are eaten above soil, look for rabbits or deer instead.
If you find severed seedlings despite collars, cultivate and clean the bed in fall (MBG IPM step), delay planting until collars are on every transplant, and consider Bacillus thuringiensis (Bt) on surrounding weeds where moths lay eggs—follow label directions for caterpillars. Collars are one layer in integrated pest management, not a guarantee.
Compost Toilet Paper Tubes as Brown Material
Toilet paper tubes are dry browns: carbon-rich material that balances nitrogen-heavy kitchen scraps. Hennepin County guidance recommends adding about three parts dry brown to one part wet green by volume in backyard compost, using dry leaves, straw, and similar paper products as browns (Hennepin County composting at home). Tubes fit that brown column alongside shredded newspaper and cardboard boxes.
Shred, Layer, and Balance With Greens
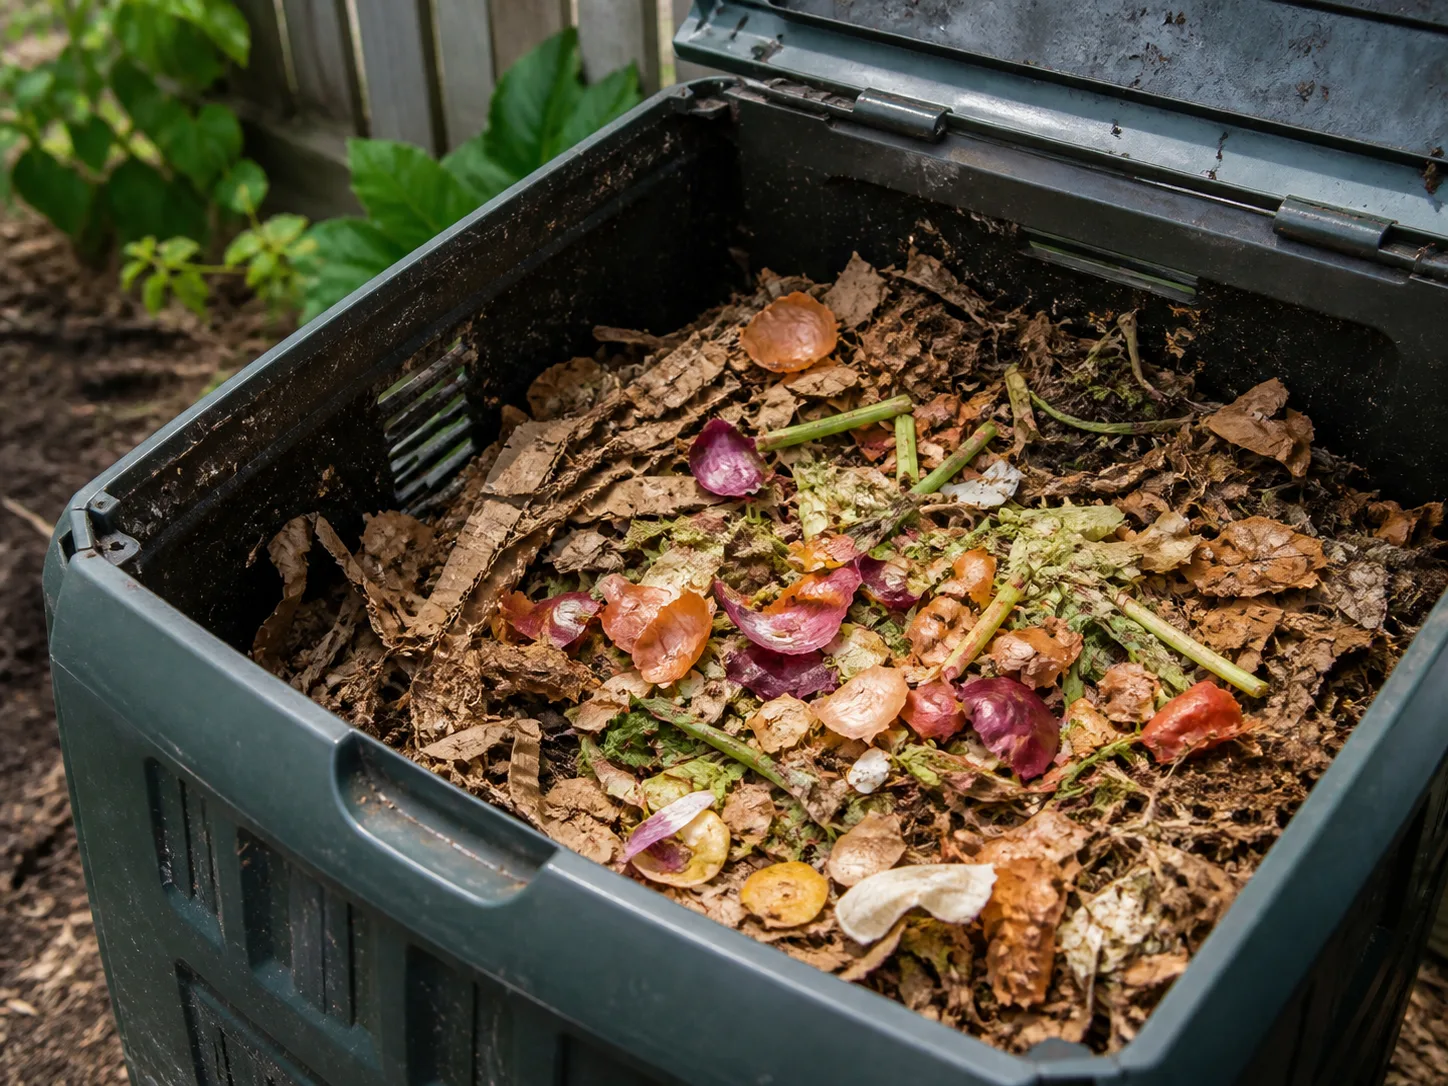
Rip each tube into strips or run a handful through scissors—whole tubes compost slowly and can mat. Layer shredded tubes with fruit peels, coffee grounds, and grass clippings, burying fresh greens under a brown cap to reduce odors and flies (Gardening Know How compost basics). Keep moisture like a wrung-out sponge; cardboard absorbs excess water, which helps soggy piles.
A household of four might generate eight to twelve tubes per month—modest volume. That will not balance a pile fed only kitchen scraps unless you also add leaves or shipping cardboard. If the pile smells like ammonia, add more browns (tubes plus paper), not less. Finished compost should smell earthy with no visible cardboard—turn weekly in active piles for faster results.
Troubleshooting tube-heavy piles: if compost stays cold and unchanged for months, the pile may be too dry or too cardboard-heavy without enough nitrogen—add grass clippings or food scraps in thin layers and wet while turning. If tubes mat into a cardboard pancake, you skipped shredding; tear them smaller and fork them into the center. Worm bins are a poor primary destination for tubes unless ripped very fine and mixed well—backyard bins and open piles handle toilet rolls more easily.
For broader motivation and bin setup, see why you should compost this year.
Winter Top Layer for Open Compost Piles
In cold climates, some gardeners split tubes lengthwise and lay them flat on an open pile’s surface as a loose insulating blanket over food scraps—similar to a cardboard cap that reduces freezing and blow-away litter. This is optional, not required; shredded integration works year-round. Replace the layer when it breaks down or blows off. Do not use this trick on piles with rodent problems—flat cardboard can create hiding spots near food unless scraps are buried deeply (Hennepin recommends burying kitchen waste at least 8 inches deep).
Build a Mass Tube Seed Tray in One Container
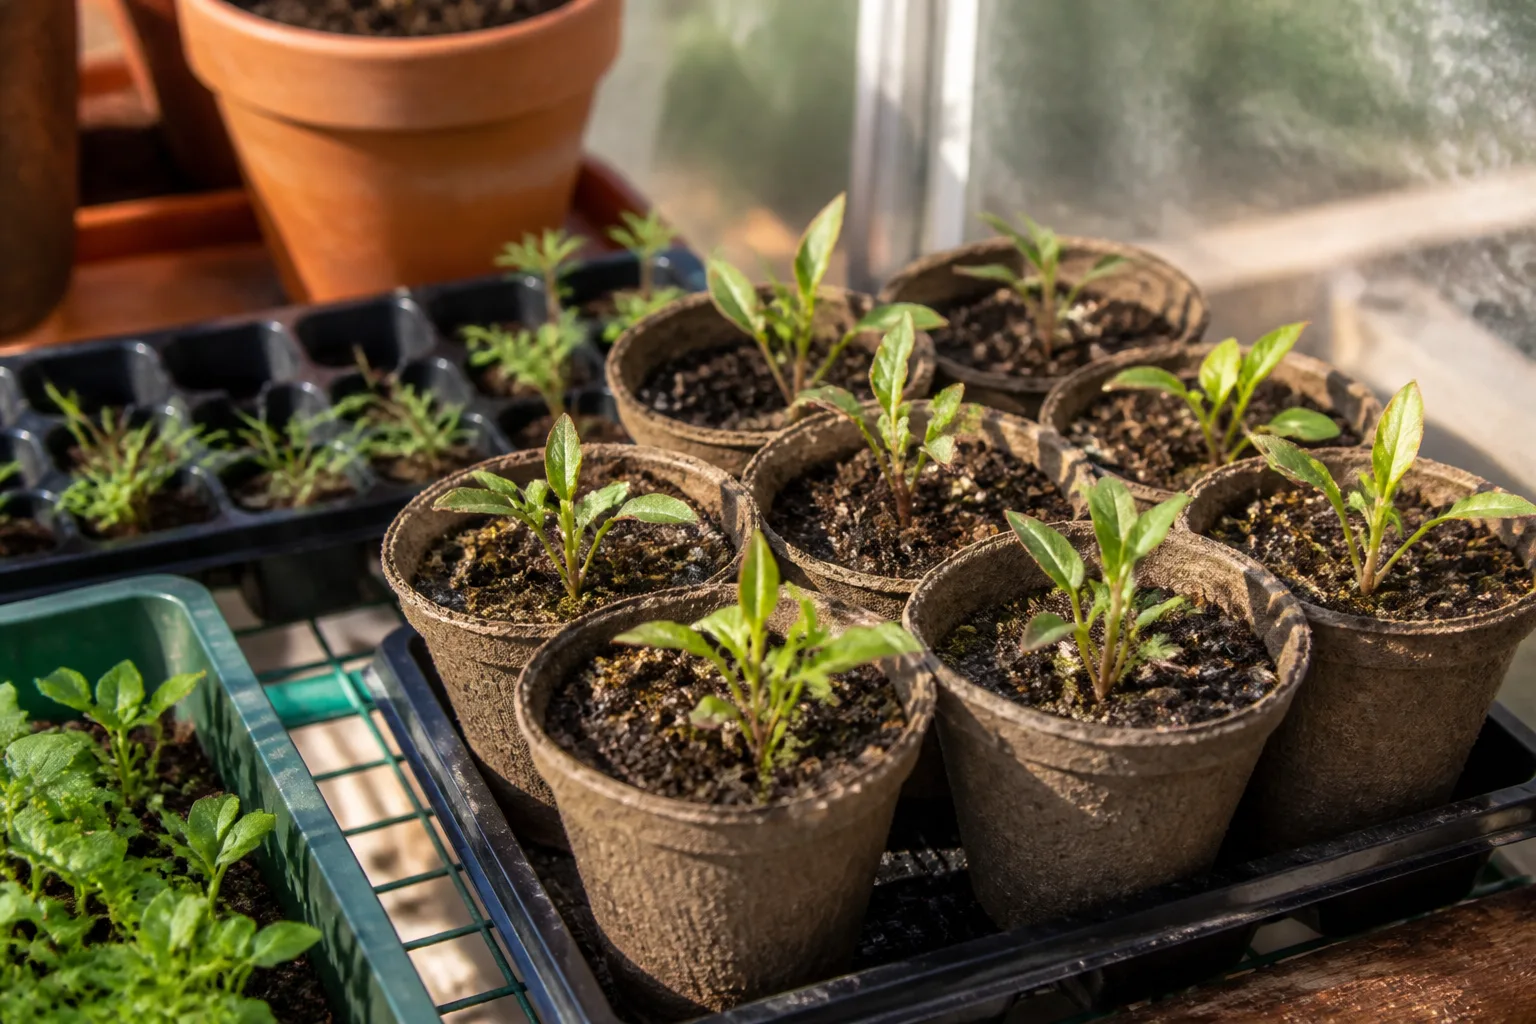
When you need dozens of starters at once, stand many tubes upright in a single shallow tray or plastic produce box so they support each other. This is the “mass seed planter” pros mention for batch sowing: the outer container provides structure while each tube stays an individual cell for easy separation at transplant.
Packing Tubes Tight and Watering Without Collapse
Pack tubes shoulder to shoulder in rows; gaps cause tipping when mix is wet. Use a tray at least 2 inches deep to catch water. Fold bottoms on all tubes before filling, or nest pairs for extra rigidity if your mix is heavy.
Water from the bottom until the tray reservoir is nearly dry, then refill—top pouring erodes cardboard rims. If tubes soften too fast, replace outer rows next season with thicker paper towel rolls for one season and compost the spent ones. Label the tray edge, not every tube, when sowing one crop; use pencil flags on each tube when sowing mixed varieties.
For a 32-cell equivalent block, save roughly thirty tubes plus ten spares for misfolds. Pack in a grid 6 by 5 or 8 by 4 inside a produce clamshell or boot tray—anything watertight and at least 10 by 14 inches. When one tube collapses mid-season, slide a spare in without disturbing neighbors; that modularity is why pros like mass trays over single shared flats where one rotten cell spreads mold sideways.
This method pairs well with container garden tips for beginners when you are pre-growing a patio vegetable block before the last frost passes.
Store Tubes Between Projects So They Stay Usable
Wet bathroom tubes mold in sealed bins. Instead, flatten lightly and stand them in a paper grocery bag in a dry pantry or garage. A shoebox with the lid ajar works for months. Start collecting six to eight weeks before your seed-starting date so you are not short the week you sow tomatoes.
Keep tubes away from pest-infested areas—silverfish chew cardboard. If a tube smells musty, compost it shredded and use a fresh one. Flattening saves space; re-open by gently rounding the tube in your hands before folding bottoms.
Toilet Paper Tubes vs. Egg Cartons and Newspaper Pots
All three are DIY biodegradable starters; the difference is cell size, drainage, and handling.
Toilet paper tubes — tall, good for deep-rooting crops; need folded bottoms; can tip if not tray-packed. Egg cartons — small cells ideal for lettuce and herbs; drain poorly unless you poke holes; tear apart easily at transplant. Newspaper pots — flexible size from origami or pot makers; ink concerns on glossy newsprint; decompose fast.
Use tubes when height and batch vertical space matter on a grow shelf. Use egg cartons for many tiny seeds in one footprint. Use newspaper when you want custom diameters without saving tubes all winter. Any method succeeds with the same non-negotiables: seed-starting mix, light, airflow, and hardening off.
| Method | Best for | Main drawback |
|---|---|---|
| Toilet paper tube | Cucurbits, sunflowers, corn | Must fold bottom; tips if loose |
| Egg carton | Herbs, lettuce, small flowers | Shallow; drainage holes needed |
| Newspaper pot | Custom sizes, quick batches | Weaker when overwatered |
Conclusion
Toilet paper tubes are small but versatile: fold them for spring seed starters, slice them for cutworm collars, shred them for compost browns, or pack them by the dozen into one seed tray. Plain brown cardboard is safe, biodegradable, and free—the win is choosing the right job instead of dumping tubes randomly into beds. Save dry rolls, skip dyed or moldy stock, and compost what you will not use within a season. Pair tubes with solid seed-starting habits—light, airflow, hardening off, and realistic pest expectations—and you turn bathroom castoffs into one of the simplest upcycles in the garden.



