How to Revive Hydrangeas: Diagnose, Fix, and Recover
Learn how to revive hydrangeas by reading wilt, brown leaves, wet soil, pests, and pruning clues—then follow a safer recovery plan for roots and blooms.
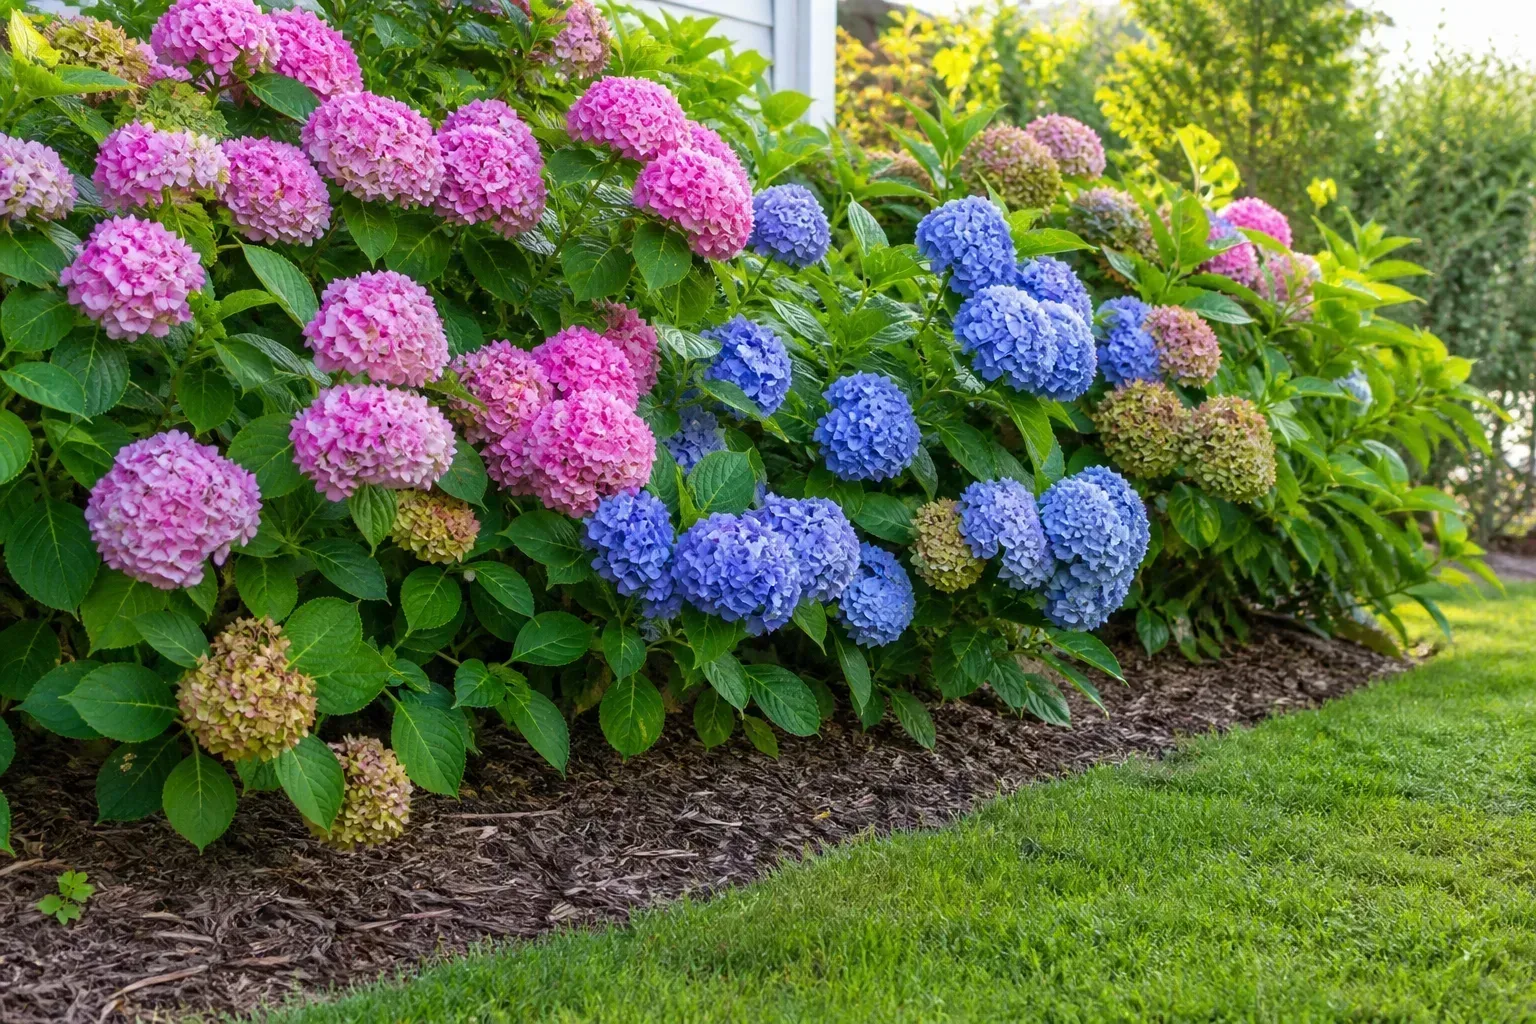
A wilted hydrangea is not automatically thirsty. Heat can make a well-watered bigleaf hydrangea droop for a few hours, while waterlogged roots can make a plant wilt because they can no longer take up oxygen. The right first move is to inspect the root zone, not reach for a hose or fertilizer.
Start by checking the soil several inches below the surface, looking at the pattern of damage, and scratching a stem to find living tissue. Then use the smallest intervention that fits the evidence: a slow soak for genuinely dry soil, shade for heat stress, drainage correction for saturated roots, or sanitation and diagnosis for disease.
Start with a 60-Second Hydrangea Triage
Walk around the whole plant before cutting anything. Note whether every stem is affected or only one branch, whether the newest leaves are collapsing, whether damage is on the sunny side, and whether the soil is dry, cool and damp, or sticky and waterlogged. A uniform afternoon slump that reverses after sunset points in a different direction from one shoot that wilts permanently while the rest of the shrub looks normal.
Container hydrangeas need an extra check because a small pot can dry quickly in sun, but a decorative cachepot can also trap water around the roots. Confirm that the inner pot has open drainage holes, empty any standing water in the saucer, and do not assume that a recently watered plant has actually absorbed water if its rootball has pulled away from the pot wall.
Check soil moisture before watering
Push a finger or narrow soil probe 2 to 3 inches into the root zone, a little away from the main stems. If that layer is dry and the plant is limp, give water slowly at the base until the soil is wet throughout the rootball; in a container, water until it drains freely, then empty the saucer. If the soil is still wet at that depth, pause watering and inspect drainage instead.
For an in-ground shrub, the top inch can look dry while the deeper root zone remains moist, especially after mulch or rain. Conversely, a dry crust can hide a hydrophobic rootball in a container. Water in two passes about 10 minutes apart so the first pass can soften the mix, rather than flooding a hard, dry rootball and watching the water run down the sides.
Most established hydrangeas use roughly 1 inch of water per week from rain or irrigation, with more needed in hot, sunny, or windy conditions; newly planted shrubs need more consistent attention while roots establish. The University of Connecticut’s hydrangea guidance recommends about 1 inch in normal conditions and 2 inches in hot, dry weather, while University of Tennessee guidance warns that overwatering can create root problems even for a plant known for liking moisture.
Test stems for living tissue
Use a fingernail or the clean edge of a pruner to make a tiny scratch on the outer bark of a questionable stem. Green, moist tissue beneath the bark means that section is alive; tan or brown tissue means the stem is dead at that point. Work downward in small checks until you find green tissue or reach the base.
This test is useful but not a promise. A green stem can still have damaged roots, and a dormant hydrangea may show little visible growth for a while after heat, frost, or transplanting. Do not strip bark from many stems or scratch near the crown repeatedly; one or two checks are enough to guide pruning.
Match the Symptom to the Likely Cause
The visible symptom is the plant’s starting clue, not the diagnosis. Use the combination of symptom, soil condition, timing, and recovery overnight to narrow the cause.
Wilt that improves at night
If leaves and flowerheads droop in the hottest part of the afternoon but look better in the evening or early morning, heat stress is more likely than a simple lack of water—especially when the soil is already moist. The plant is losing water through its leaves faster than the roots can replace it for a few hours. University of Maryland Extension explains that hydrangeas may wilt in high daytime temperatures even when the soil is sufficiently moist, and that extra watering is not needed when they recover at night.
Protect a container from reflected heat and harsh afternoon sun by moving it to bright morning light and afternoon shade. For a shrub in the ground, use temporary shade cloth or a patio umbrella during an exceptional heat spell if it can be done safely, and apply mulch to slow moisture loss. Do not keep adding water every time the leaves droop if the soil is damp; that is how a heat-stressed plant can become a root-stressed plant.
If the plant stays wilted overnight, the soil is dry, and the leaves feel thin rather than waterlogged, treat it as drought stress. If only one branch stays limp while the root zone is evenly moist, look for stem injury, a girdled branch, or a root disease rather than assuming the entire shrub needs irrigation.
Brown, crispy leaves and flowers
Brown leaf edges that feel dry and papery usually reflect water loss, hot sun, wind, salt buildup, or frost injury. Damage concentrated on the sun-facing side or the outer leaves supports scorch; blackened young growth after a cold snap supports frost. A crispy flowerhead can also be an old bloom entering its normal papery stage, so brown petals alone do not prove that the shrub is dying.
Dead tissue will not turn green again. Remove only leaves that are fully dead or badly diseased, leaving any green area that still contributes energy to the plant. The useful question is whether new leaves and buds stay firm after conditions improve, not whether an old scorched leaf becomes attractive again.
If brown margins appeared soon after feeding, inspect for a white crust on the soil or pot rim and stop fertilizer. Confirm drainage before attempting a single slow flush of a container or bed with clean water; flushing a poorly draining clay bed can worsen root oxygen loss. Afterward, wait for new growth and use a soil test before feeding again rather than adding a second product to correct the first mistake.
Yellowing, leaf drop, or mushy roots
Yellow leaves combined with persistently wet soil, a sour smell, slow growth, or soft brown roots are a waterlogging or root-rot warning. In that situation, more water is not a rescue. Stop irrigation, check that runoff can leave the container, and inspect the roots if the plant is potted.
Healthy roots are generally firm and light-colored for the plant; rotting roots are soft, dark, and easy to pull apart. Trim only clearly dead roots with clean pruners, repot into a clean container with a drainage hole and fresh, airy mix, and keep the plant stable in bright shade while it rebuilds. Do not jump to a large pot: extra wet mix around a reduced root system extends the problem.
For in-ground shrubs, do not dig up an established plant in the middle of a heat wave just because a few leaves yellowed. First check whether the site stays flooded after rain, whether a downspout is sending runoff into the root zone, and whether the crown is planted too deeply. Oregon State University Extension notes that hydrangeas need moisture but do not tolerate roots sitting in water, and that brown edges and leaf drop can signal overwatering.
Rapid wilt that spreads from one shoot to the rest of the shrub is more serious than ordinary afternoon droop. University of Connecticut’s disease guide describes root-rot symptoms that begin with wilting shoots and do not return to normal after watering. White fan-shaped growth under bark, black root threads, a soft crown, or a history of flooding are reasons to photograph the plant and ask a local extension office or qualified nursery for a diagnosis before treating the soil.
Holes, notches, spots, and white coating
Large irregular holes or fresh notches along leaf edges often point to night-feeding slugs, snails, or adult insects. Check after dark with a flashlight, remove hiding debris from around the crown, and hand-pick what you find. Avoid salt: it can injure the plant and damage soil life. If a control product is needed, choose one labeled for the pest and use it exactly as directed for your location.
Tan spots with dark margins, angular lesions, or a white powdery film are not fixed by simply watering more. Keep irrigation at the base, remove badly affected fallen leaves, thin only enough crowded growth to improve air movement, and avoid handling wet foliage. UConn’s disease guidance says many leaf spots are unattractive but not fatal, while powdery mildew is most troublesome in crowded, humid sites; the University of Tennessee’s care publication likewise emphasizes dry foliage and air circulation.
Small insects clustered on tender tips, sticky honeydew, or a black coating below the leaves suggest aphids rather than a watering problem. Knock light infestations off with a firm stream of water and protect beneficial insects. For a persistent infestation, identify the pest first and use a labeled, plant-safe treatment; do not spray an unknown home mixture on heat-stressed leaves.
The First-24-Hours Recovery Plan
Once you have a likely cause, make the smallest set of changes that can help without creating a second problem. A good emergency sequence is: stop the wrong intervention, correct moisture, reduce heat load, remove only clearly dead or diseased material, and then wait long enough to observe the plant.
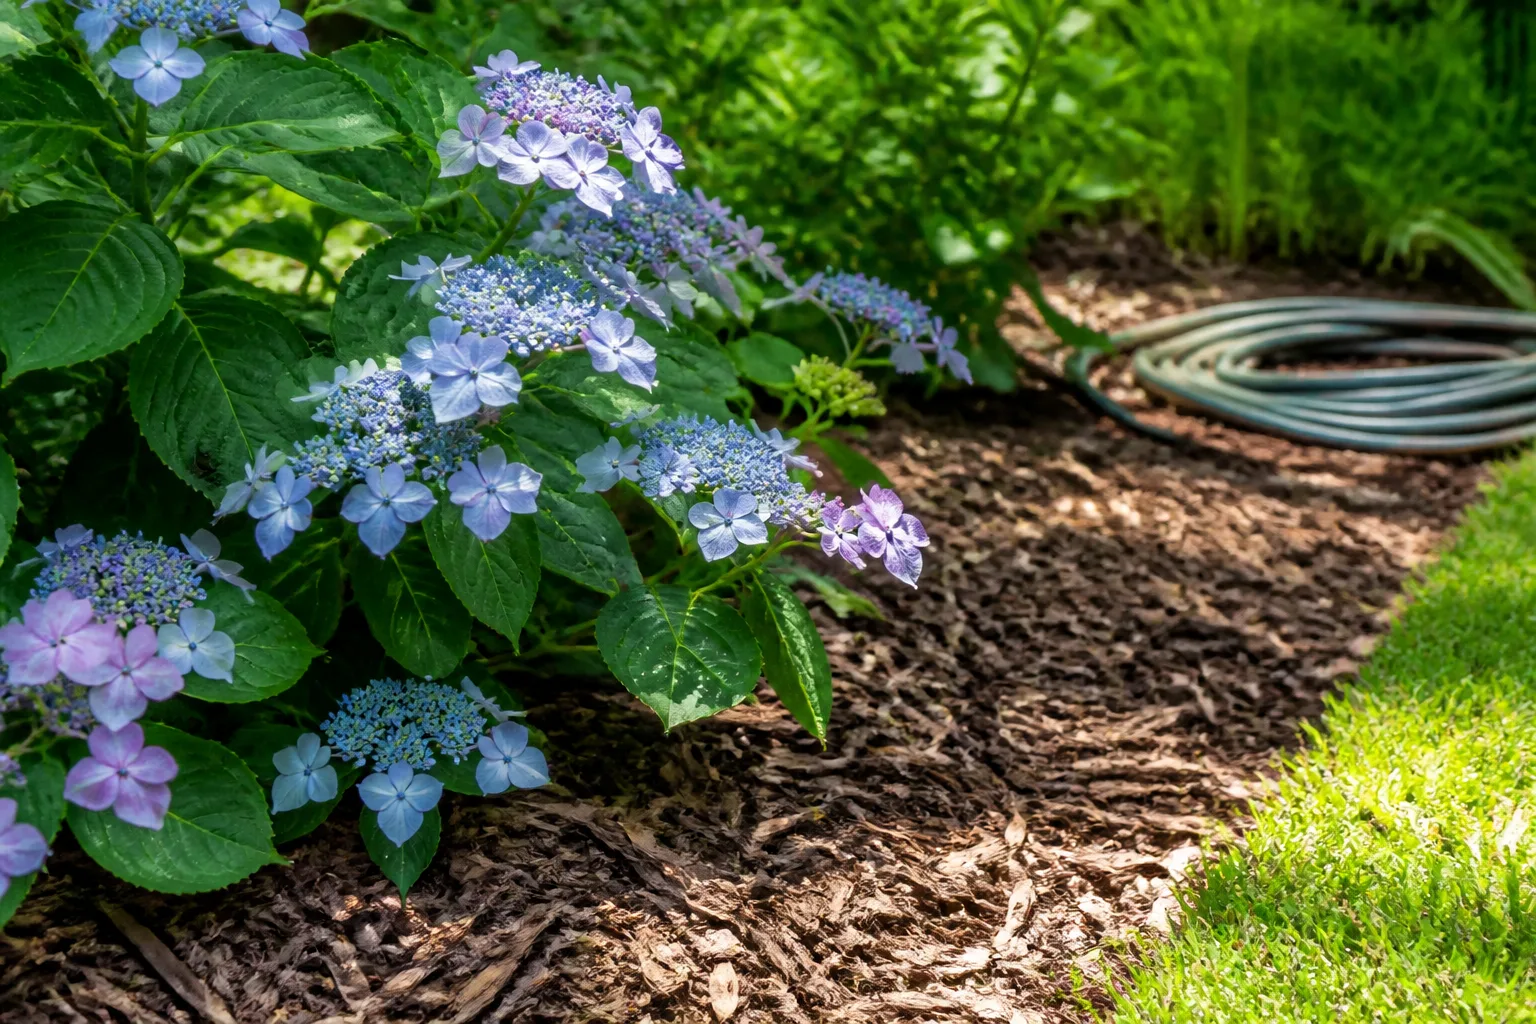
Slow water at the root zone and a mulch layer help reduce moisture swings without keeping the crown wet.
Rehydrate dry soil slowly
Water dry hydrangeas at the base in the morning, directing the flow over the root zone rather than the leaves. A soaker hose or drip line is better for a bed because it wets soil steadily; a hand-watering wand is fine if you move it slowly and allow the water to soak in instead of running off.
For a newly planted shrub, water the original rootball as well as the surrounding backfill. The surrounding soil may be damp while the compact nursery rootball remains dry, or the reverse may happen in heavy soil. Check again the next day before repeating the soak; the goal is consistent moisture, not a permanently saturated surface.
For a severely dry container, set the pot in a sink or tub and apply water in two or three slow rounds, allowing excess to drain each time. Do not leave it standing in water overnight. Once the rootball is rehydrated, move it out of hot afternoon sun while the roots catch up with the leaves.
Correct waterlogged soil and roots
Move a potted hydrangea to a covered, bright location while it drains, then inspect the pot and rootball if it remains limp after the mix begins to dry. Remove standing water from a cachepot, clear blocked drainage holes, and use fresh mix only when the roots are clearly damaged or the original mix has collapsed into a dense, airless mass.
In the ground, stop supplemental irrigation until the root zone has begun to dry and address the source of excess water. Redirect downspouts, uncover a buried crown, or improve the bed’s drainage path rather than piling more mulch against the stems. Tennessee State University’s root-disease publication identifies poor drainage and excess watering as conditions that increase Phytophthora root-rot risk, particularly in container-grown oakleaf hydrangeas.
Do not apply fertilizer to a plant with damaged roots. Roots under stress cannot use a new dose efficiently, and salts can increase the damage. Wait for evidence of new growth before resuming a light, label-directed feeding program, and remember that established hydrangeas often need less fertilizer than gardeners expect.
Restore Light, Soil, and Airflow
Recovery is easier when the shrub’s location stops repeating the original stress. Hydrangeas generally prefer rich, moisture-retentive but well-drained soil and a light level that protects foliage from the hottest afternoon sun. The exact balance depends on the type and local climate: a panicle hydrangea can take more sun than a bigleaf hydrangea, but any shrub in a hot, windy site may need more water and better mulch.
Give afternoon protection without overcorrecting
Morning sun with afternoon shade is a useful starting point for bigleaf and lacecap hydrangeas. A container can be moved immediately; an established shrub should usually be protected temporarily and transplanted only in a cooler planting window. Moving a wilted plant in the middle of extreme heat adds root disturbance when the plant is already losing water.
Do not solve scorch by putting a hydrangea in deep, stagnant shade. Heavy shade can reduce flowering and keep leaves wet for longer, which favors some leaf diseases. Aim for filtered light and moving air, then monitor whether new growth remains firm through the hottest part of the day.
Mulch and improve the root zone carefully
Spread about 2 inches of composted bark, leaf mold, or another suitable organic mulch over the root zone, keeping it several inches away from the stems. Mulch reduces evaporation, buffers soil temperature, and slows the rapid wet-dry cycle that is especially hard on new plantings. The RHS growing guide recommends a mulch layer of at least 5 cm and notes that established shrubs still benefit from watering during hot, dry spells.
Do not bury the crown or pile a volcano of mulch around the base. In a compacted bed, a soil test and a drainage assessment are more useful than adding a random fertilizer or acidifier. Hydrangea flower color can respond to soil pH in some bigleaf cultivars, but changing color is a separate project from saving roots; do not chase blue flowers while the plant is wilted.
Good airflow is equally practical. Remove fallen diseased leaves, thin one or two badly crossing or dead stems when the weather is dry, and give neighboring shrubs enough room for foliage to dry. Avoid overhead irrigation when leaf spots or mildew are active, especially late in the day.
Prune Only After You Know What Is Alive
Pruning can make a hydrangea look cleaner immediately while quietly removing next year’s flower buds. During active recovery, cut only tissue that is clearly dead, broken, or diseased, and wait on live green stems until you know the plant’s type and its bloom wood.
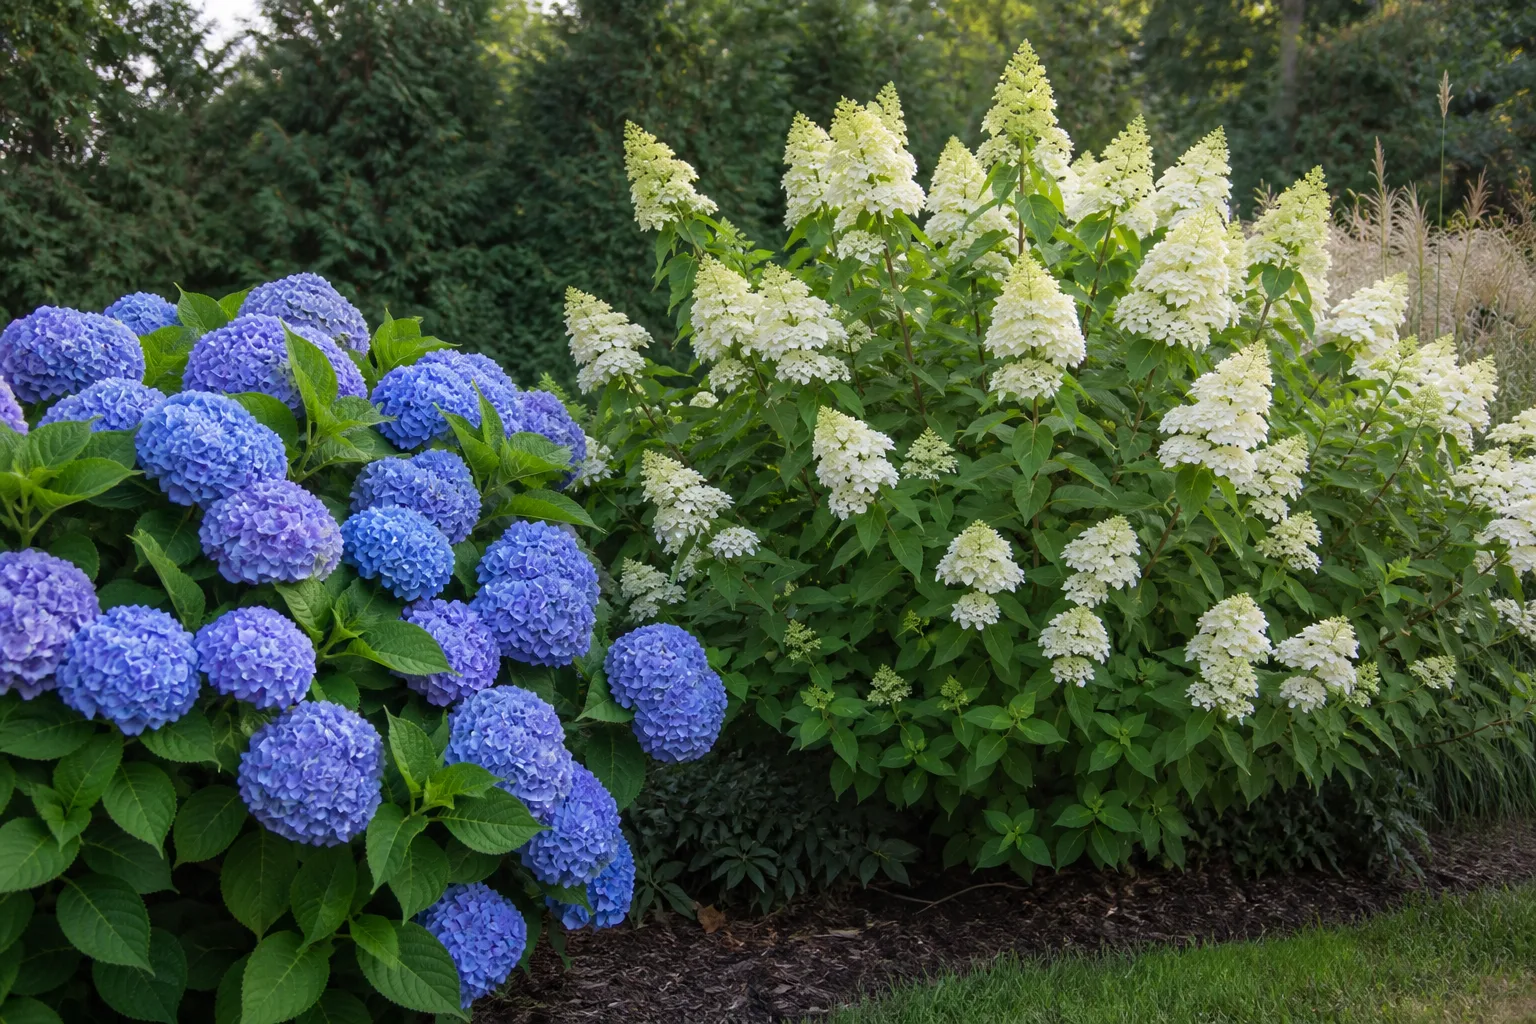
Hydrangea types do not all carry flower buds on the same year’s growth, so identification comes before a hard cut.
Old-wood versus new-wood hydrangeas
Mophead and lacecap bigleaf hydrangeas, along with many serrata hydrangeas, form flowers on older stems. Remove dead flowerheads conservatively and avoid a hard spring or summer cut if you want the next flush of flowers. The RHS pruning guide recommends light pruning for established mopheads and lacecaps and explains that a full renovation removes that summer’s flowers.
Panicle hydrangeas and smooth hydrangeas such as Hydrangea paniculata and Hydrangea arborescens flower on new wood. They tolerate a more substantial early-spring cut to a healthy framework, although hard pruning is not a treatment for a plant whose roots are currently failing. Oakleaf hydrangeas usually need only light spring pruning to remove dead or crossing wood.
If you cannot identify the hydrangea, use the conservative option: remove dead flowerheads just above healthy buds, leave living stems in place, and take a photograph of the leaf shape and flower form for identification. Gardeners’ World pruning guidance gives the same practical split between old-wood bigleaf and serrata types and new-wood panicle and smooth types.
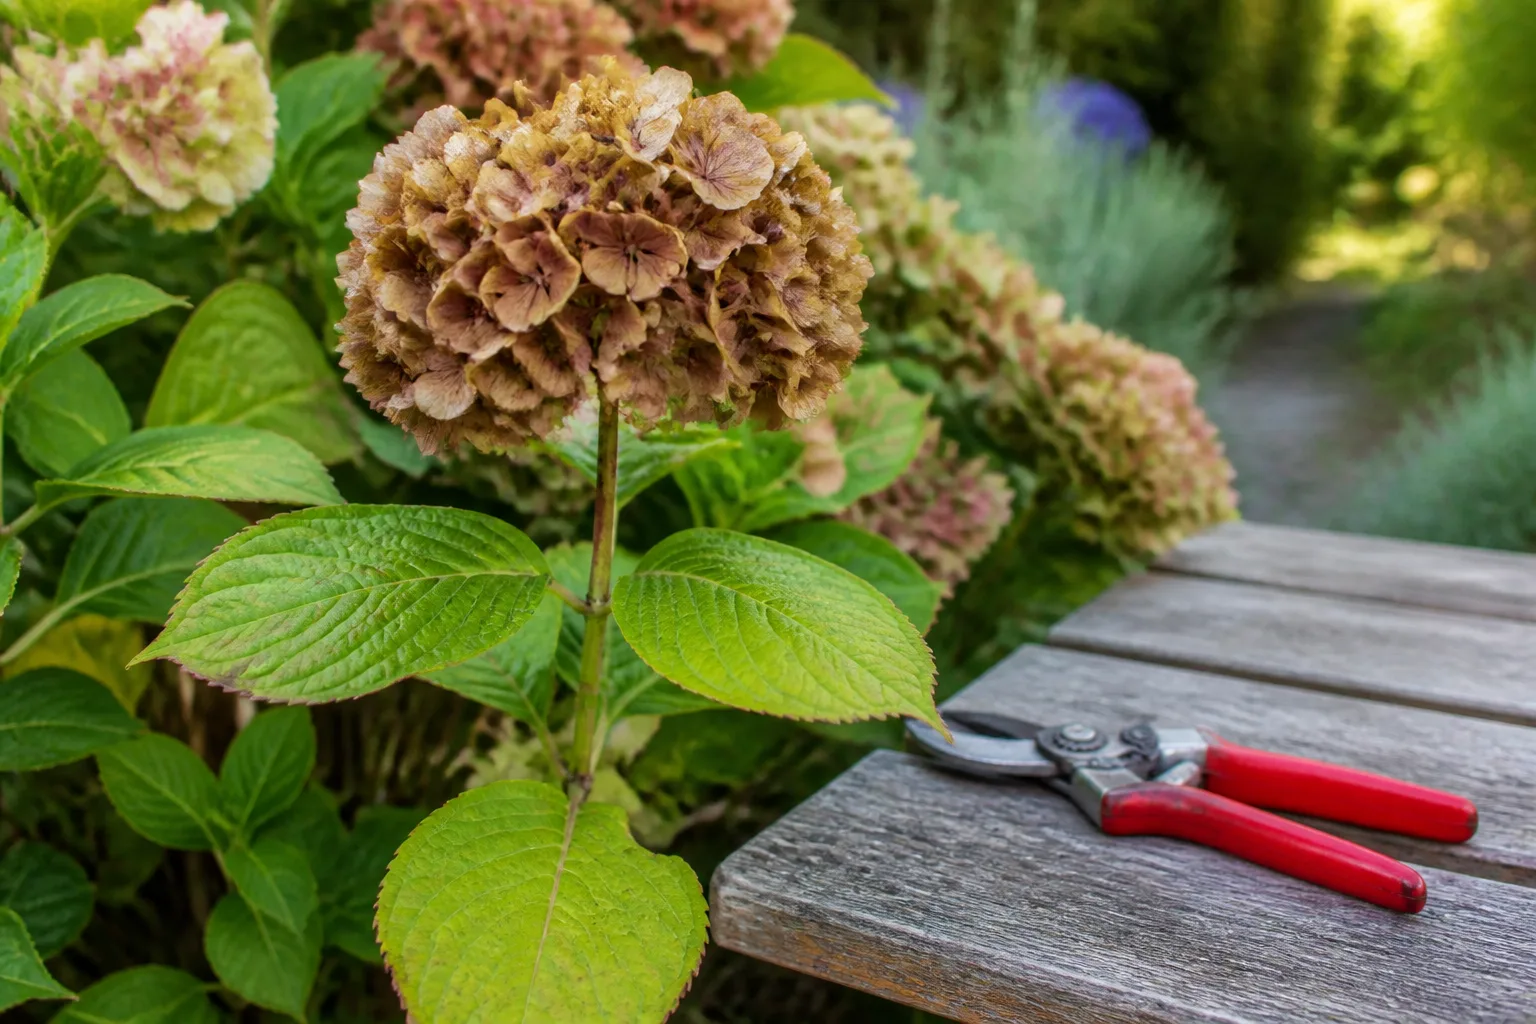
Deadheading is a cosmetic cleanup; it is not the same as cutting a stressed shrub back to the ground.
Never prune a whole hydrangea just because the leaves are drooping. First check the soil and the scratch test. Pruning reduces leaf area, which can reduce water loss, but it also removes photosynthetic tissue and can eliminate flower buds that the plant needs for the following season.
Track Recovery and Know When to Let Go
Keep a simple note of the date, weather, watering, and visible changes. In the first 24 hours, look for firmer leaves after a dry-soil soak, drainage that actually exits the pot, and less heat wilt after afternoon protection. Do not expect a scorched leaf to repair itself; recovery is shown by stable stems, firm new buds, and the absence of new damage.
Over the next 3 to 7 days, a plant suffering from ordinary drought or heat stress should stop declining once its root zone and light are corrected, although it may not look full again immediately. New leaves can take weeks, and a shrub that lost its flower buds may recover its structure this season but bloom lightly or not at all until the next suitable cycle.
If you see no improvement after the root zone is corrected, the scratch test is brown all the way to the base, the crown is soft, or wilt is spreading from shoot to shoot, stop escalating home treatments. Photograph the whole plant, the soil line, roots if visible, and the leaf pattern; a local extension office, certified arborist, or experienced nursery can often distinguish a site problem from a root disease faster than a generic fungicide can.
In severe cases, replacement is the sensible choice when all stems are dead, roots are extensively rotted, or the site stays flooded and cannot be corrected. Before replanting, fix the drainage or choose a better-suited hydrangea type. A new shrub placed into the same wet, scorching, or badly timed location is not a recovery plan—it is a repeat of the original diagnosis.
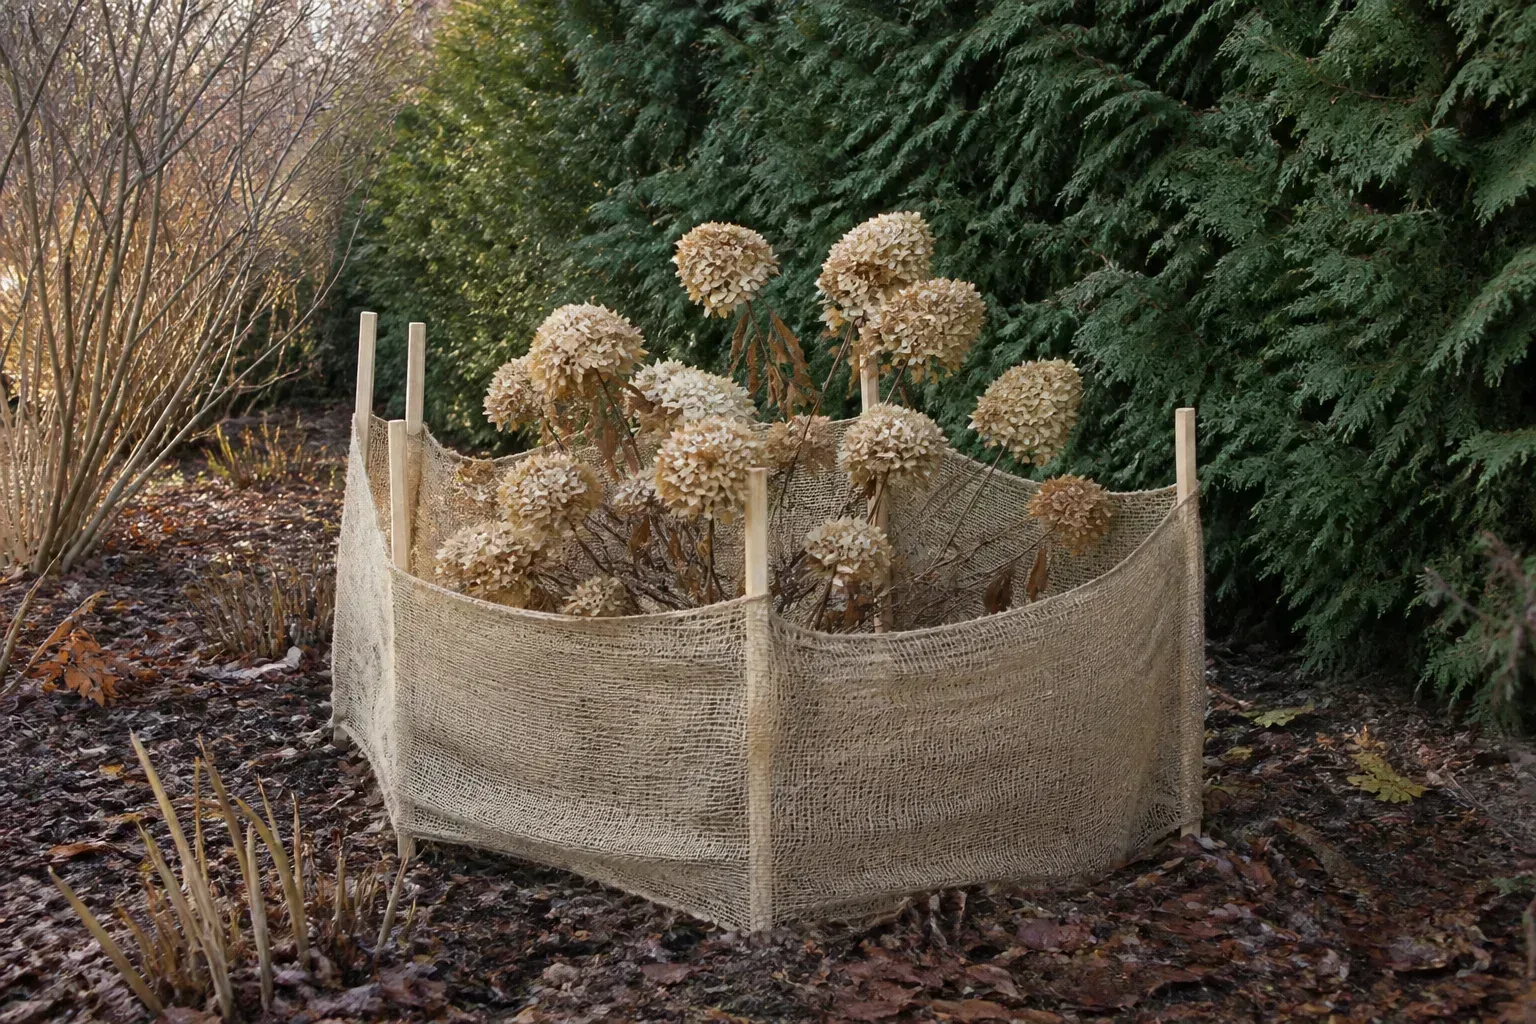
After a season of stress, protecting living stems and flower buds can matter more than forcing late growth with fertilizer.
Conclusion
To revive hydrangeas, diagnose before you intervene. Check moisture several inches down, compare the plant’s morning and evening behavior, test questionable stems for green tissue, and inspect roots when wet soil and persistent wilt point to a drainage problem.
Then correct one cause at a time: rehydrate genuinely dry soil, shade heat-stressed plants, stop flooding waterlogged roots, keep diseased foliage and fallen debris under control, and postpone major pruning until you know whether the shrub blooms on old wood or new wood. The leaves that are already brown may never recover, but a firm stem, living bud, and steady new growth are reliable signs that the hydrangea still has a path forward.



