Shovel Snow Faster and Save Your Back
Push more, lift less, and plan your route before the storm packs down. Six field-tested snow shoveling tricks that protect your back and finish faster.
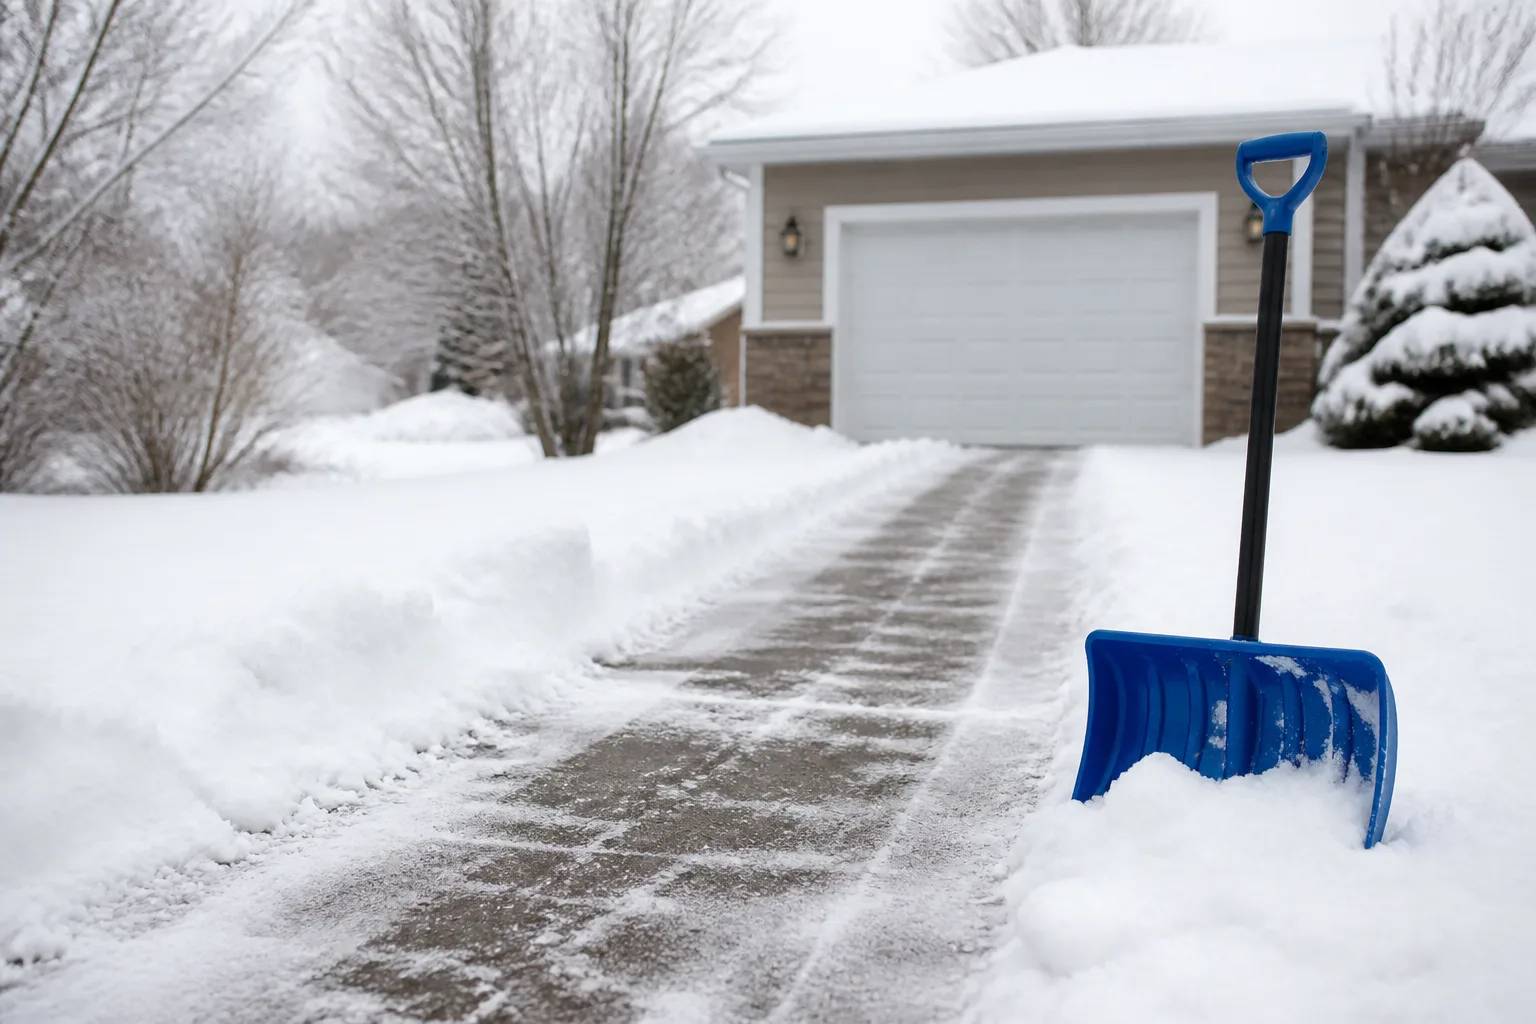
You do not need a bigger shovel. You need a better sequence. Most slow, painful snow removal comes from lifting too much, too late, with the wrong blade—then wondering why your lower back files a complaint by the second storm. The fix is not heroic effort. It is pushing instead of lifting, clearing before snow packs, and moving your feet instead of twisting your spine.
Quick Answer: Push First, Lift Less, Shovel Often
Default approach: Shovel early while snow is still light, use a pusher blade to move bulk snow off driveways and walks, and lift only small scoops when you must throw snow over a bank. Fill the blade one-quarter to one-half full—about the size of a basketball—for any lift. Keep your back straight, bend your knees, and pivot your whole body to dump; never twist at the waist with a loaded shovel.
The Canadian Centre for Occupational Health and Safety calculates that loading a shovel with roughly 5 kg of snow every five seconds moves more than 70 kg per minute—and about 1,000 kg in 15 minutes. That is weight-room volume on slippery ground, in heavy clothes, in cold air. Treat shoveling as strenuous exercise, not a quick chore you rush through in slippers.
Know When—and When Not—to Grab the Shovel
Timing beats brute force. The best window is before foot traffic and tire tracks compact snow into ice, and before wet layers bond to pavement. If you must leave for work at dawn, do a light pass at 2–4 inches to keep a path open, then finish the full job when conditions improve.
Skip shoveling—or get help—if you have untreated heart disease, chest pain with exertion, or your doctor has told you to avoid heavy lifting. The National Safety Council links snow shoveling to thousands of injuries and up to 100 deaths annually in the U.S. Cold air raises blood pressure and heart rate; sudden hard exertion after months on the couch is a real cardiac stress test. A clear driveway is not worth an ambulance ride.
Shovel Early in the Storm Cycle
Shovel early and often during multi-hour storms. Fresh, dry powder slides easily and weighs a fraction of wet, packed snow. One 20-minute pass at mid-storm often saves an hour of chopping later. CCOHS and the Connecticut Department of Public Health both emphasize that newly fallen snow is far easier to move than snow that has been walked on, driven over, or partially melted and refrozen.
If you wait until the storm ends, you are fighting density, not depth. Walkways become ice rinks. Drifts weld to the garage apron. That is when people switch to violent chopping—and that is when shovels snap and backs give out.
Pick the Warmest Window You Can
When your schedule allows, shovel during the warmest part of the day, usually late morning to early afternoon in winter. Sun and slightly warmer pavement help prevent immediate refreeze on cleared asphalt. Connecticut DPH recommends shoveling during the warmest hours whether you use a shovel or a snow thrower.
This matters most after mixed precipitation or when daytime melt creates a wet base that flash-freezes at dusk. If you clear at 3 p.m. and spread ice melt on bare pavement, you buy safer footing for the evening freeze. If you clear at 6 a.m. in single-digit cold, expect a skim coat of ice unless you treat it.
Match Your Shovel to the Job
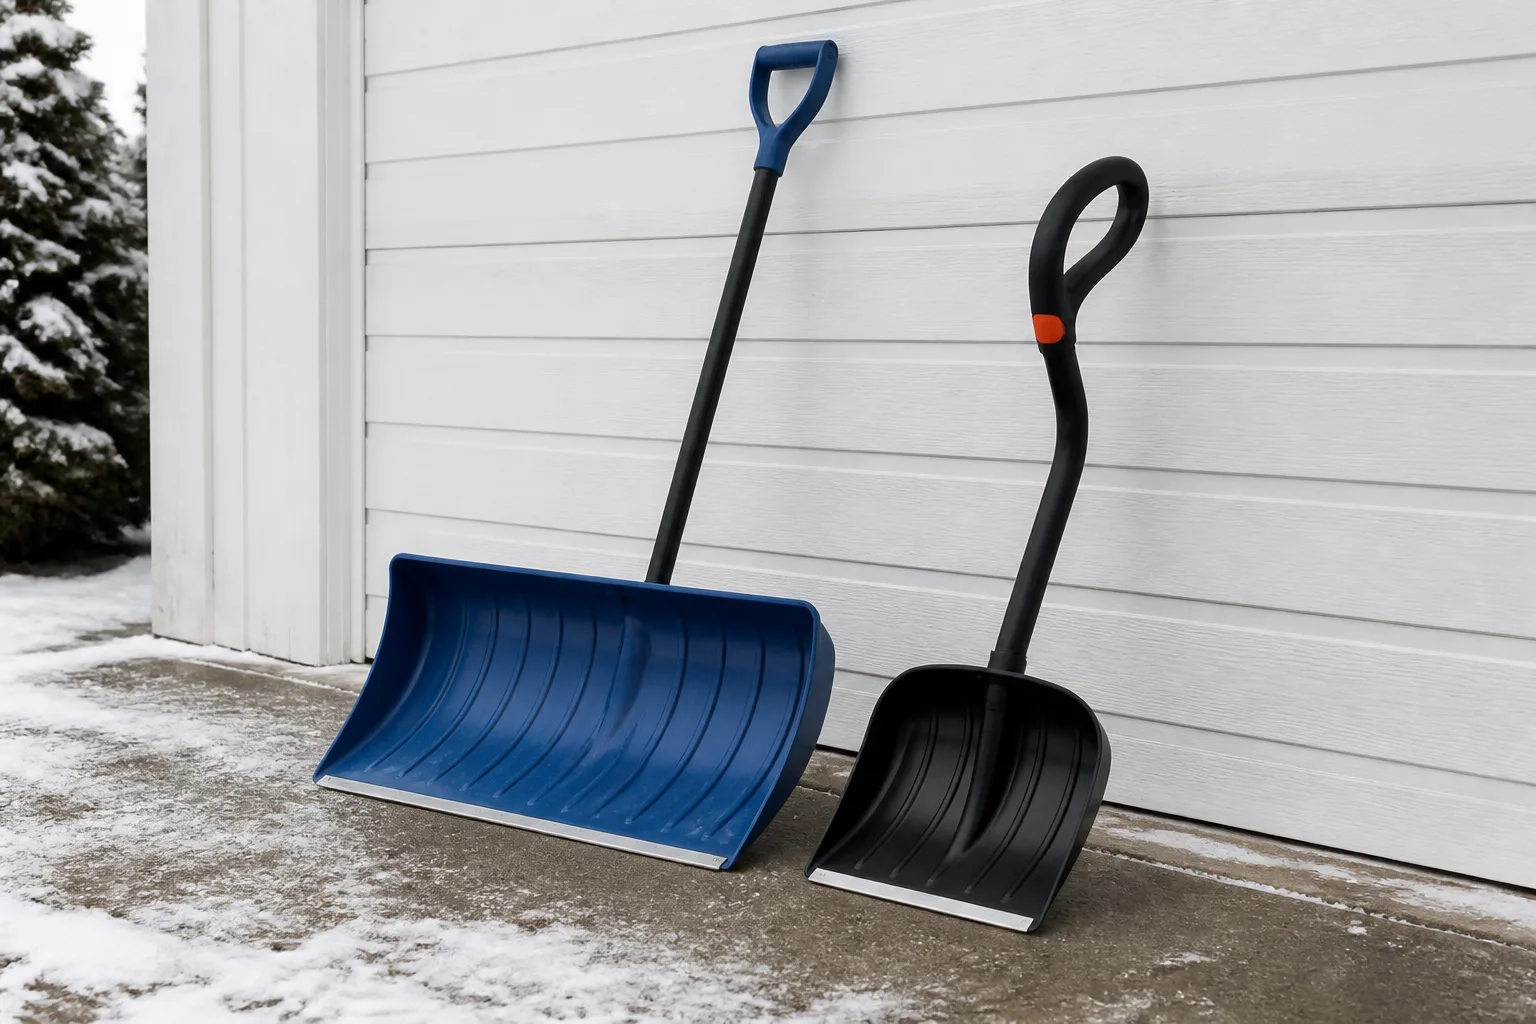
One shovel cannot do everything well. Most homeowners need two: a wide pusher for open driveway and walk sections, and a smaller scoop for stairs, tight corners, and throwing snow onto banks.
Pusher vs. Scoop vs. Ergonomic
| Shovel type | Best for | Skip when |
|---|---|---|
| Pusher (wide blade) | Long straight runs on driveways and walks | You need to lift over a tall bank; blade is too wide to control |
| Standard scoop | Lifting and throwing; tight areas; chopping thin crust | Open areas where pushing alone would finish faster |
| Ergonomic (bent shaft or second grip) | Reducing forward bend on repeated lifts | Push-only passes where bend adds little benefit |
CCOHS recommends a lightweight shovel around 1.5 kg (3 lbs) with a handle that reaches roughly chest height to limit forward bending. For lifting and throwing, use a smaller blade—25 to 35 cm (10–14 in)—so each load stays manageable. A giant blade feels efficient until you fill it with wet snow and realize you are trying to throw a suitcase of water with a stick.
Ergonomic shafts help when you must lift repeatedly: the bend or auxiliary handle keeps your lower hand closer to the load, shortening the lever arm on your spine. They do not replace good technique. You still push when you can and take partial loads when you lift.
Gear That Saves Time Without Wrecking Your Body
Beyond the shovel itself, a short kit prevents the time-wasting trips back inside:
- Boots with real tread — rubber soles beat smooth winter boots on glazed steps. Falls end more shoveling sessions than sore backs.
- Layered clothing — base layer that wicks sweat, insulating mid-layer, wind shell. Peel layers as you heat up; sweating then standing still invites chill.
- Grip-friendly gloves — light enough to feel the shaft, warm enough for metal handles.
- Non-stick blade treatment — silicone spray, cooking spray, or wax on a dry blade keeps wet snow from clumping. Reapply during long sessions.
- Ice melt and sand — for traction and thin ice you cannot safely chop.
- Snow rake or push broom — for low roof edges and deck rails where shovels are awkward. See our guide on whether to remove snow from garden beds before you pile driveway snow onto planting areas—salt and weight do real damage to perennials and shrubs.
Keep water just inside the door. Dehydration happens in winter too, and Connecticut DPH flags it as an overlooked risk during outdoor work.
Plan the Route Before You Start
Thirty seconds of planning saves twenty minutes of moving the same snow twice. Before your first scoop, decide:
- Where you will walk while working (keep a cleared footpath so you never stomp a packed trail through the job zone).
- Where snow will land — use multiple piles along the driveway edges and lawn margins, favoring sunny sides that melt faster. One central mountain becomes a glacier that blocks sight lines all March.
- What must stay open — front door, mailbox, dryer vent, furnace intake, heat-pump outdoor unit, and vehicle exhaust path.
Avoid driving or walking on areas you have not cleared yet. Compacted snow is the enemy of speed.
The Center-Line Driveway Pattern
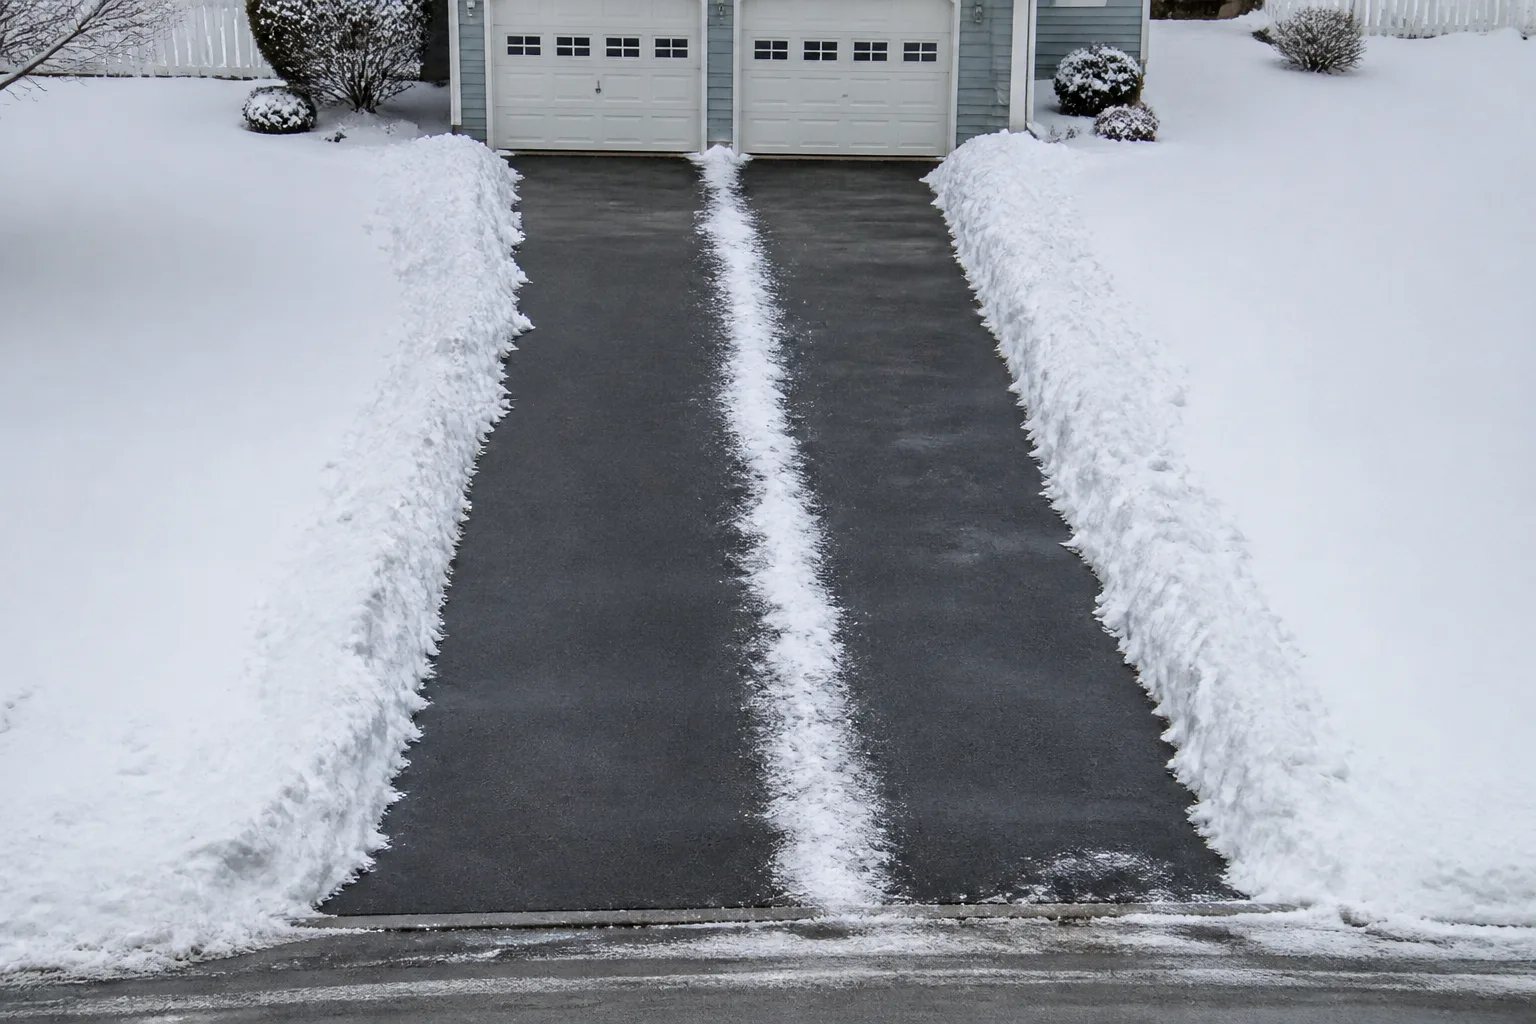
For a standard two-car driveway, the fastest low-lift pattern is center strip first, then sides:
- Push a narrow path down the middle from garage to street. You now have a work aisle without standing in deep snow.
- Push snow from each half toward the edges in long strokes, alternating sides. Let the pusher blade ride the pavement; you are plowing, not scooping.
- Lift only at the banks — small throws onto lawn edges or designated pile zones. Throw forward, pivoting your feet toward the pile. Never fling over your shoulder.
- Finish the apron and street interface last — often the iciest zone. Treat with ice melt if chop-and-scrape is unsafe.
This pattern minimizes double-handling. You are not scooping from the center, walking to the edge, and returning empty through the same deep snow. You push open lanes, then evacuate to the perimeter.
For sidewalks, work from the building outward so you always stand on cleared pavement. On stairs, clear top to bottom so you are not standing on snow you still need to move.
Use Your Body Like a Lever, Not a Crane
Back injuries dominate shoveling complaints because people treat the shovel like a crane attached to their spine. Your legs are the hydraulic lift; your arms guide the load; your core stays braced and neutral.
Push Paths, Lift Only What You Must
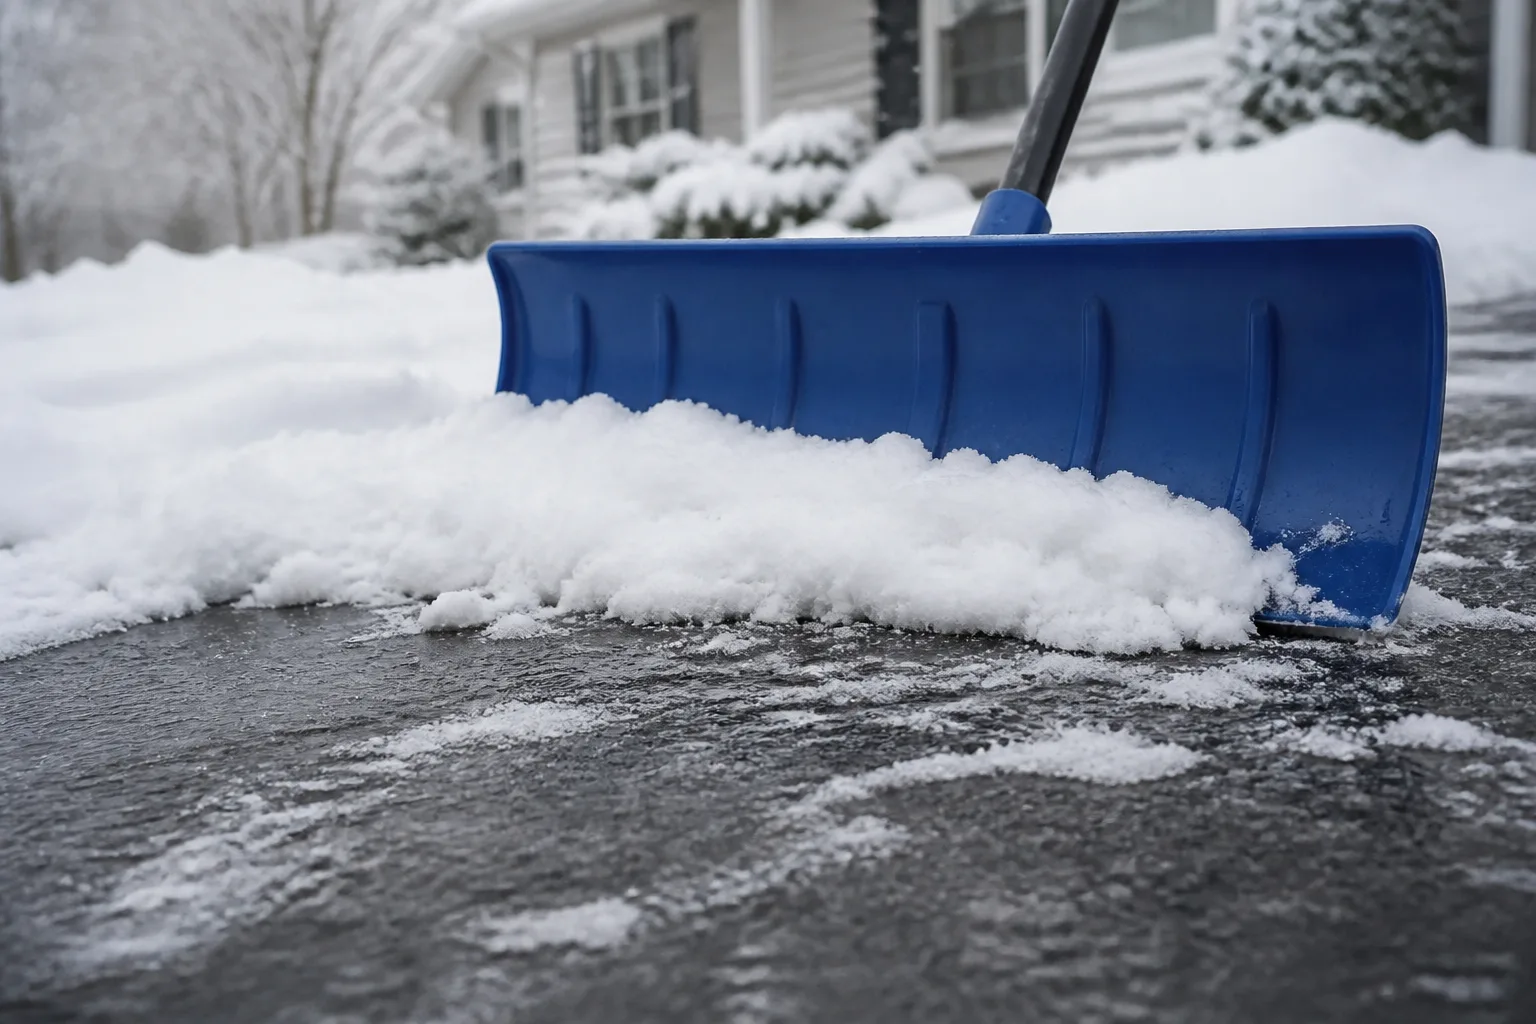
Push whenever snow can slide along pavement. NSC and CCOHS agree: pushing is lower risk than lifting. Adjust the blade angle so snow rolls ahead of you in manageable windrows. When the windrow gets heavy, push it to the edge in two passes instead of one heroic shove.
When you must lift:
- Hand spacing: keep your lower hand close to the blade.
- Stance: feet hip-width, one foot slightly forward.
- Lift: straighten your legs, back neutral, load close to your body.
- Dump: step or hop to face the pile; do not twist your torso with weight on the shovel.
WVU Extension notes that most lower-back injuries come from improper lifting and twisting—not from cold itself. Reposition your feet before every throw.
Wet Snow Demands Smaller Loads
Wet snow near 32°F can weigh more than 20 pounds per cubic foot—several times heavier than dry powder. That is when people overload the blade and feel invincible until something pops.
Rules for wet snow:
- Fill the blade one-quarter full, not half.
- Chop vertical slices through deep banks: turn the shovel backward and cut down in sections, letting chunks fall, then scoop the loose pieces.
- Rest every few minutes. Wet snow sessions are interval training.
- If chopping requires full-force swings, stop chopping and use ice melt on the bonded layer instead. Breaking your shovel or your wrist is not progress.
Spray or wax the blade before wet sessions. Clumping snow doubles effective weight when half the load sticks to steel.
Clear Vents, Walkways, and Soft Targets First
Before you obsess over the driveway centerline, clear life-safety zones:
- Dryer exhaust and HVAC intakes/outlets — snow-blocked vents can cause carbon monoxide buildup indoors or equipment shutdown. Brush lightly with a snow brush or broom; do not pack snow tighter against louvers.
- Vehicle exhaust pipes — clear before idling to warm the car.
- Front steps and handrail zones — one ice patch here outweighs a perfect driveway.
- Trees and shrubs at risk of breakage — if heavy wet snow is bending woody plants near your paths, lighten branch loads with a broom from below before you pile more snow against them. Our guide on what to do when snow crushes plants covers branch relief without causing snap damage.
These tasks are quick and prevent expensive emergencies. They also keep you from finishing a pristine driveway while the basement CO alarm is one blocked vent away from trouble.
Handle Ice Without Destroying Concrete—or Your Shovel
After snow is moved, you will meet thin ice and compacted crust. Strategy depends on thickness:
- Thin, breakable crust: slice with the shovel back in a grid pattern, then scoop loose chunks. Go easy—if you are bouncing off ice, upgrade to melt, not force.
- Bonded ice: spread ice melt at label rates—roughly ¼ cup per 25 square feet is a common residential starting point for many chloride products; always read your product label. Wait 20–30 minutes, then scrape gently.
- Preventive pass: treating cleared pavement before the next freeze cycle makes the next shoveling round dramatically easier.
Keep melt away from lawn edges and garden beds when possible. Runoff and salt spray brown evergreens and poison soil. If you must pile snow near planting areas, use our garden bed snow framework to decide what stays and what gets brushed.
Treat Shoveling Like a Workout Your Heart Notices
The American Heart Association warns that cold weather plus sudden strenuous activity can strain the cardiovascular system—even in people who feel healthy. NSC adds practical guardrails:
- Do not shovel right after a heavy meal or while smoking.
- Warm up with light movement—marching in place, arm circles, gentle stretches—for five to ten minutes.
- Pace yourself with breaks every 10–15 minutes in deep or wet snow.
- Stop immediately for chest pain or pressure, sudden shortness of breath, dizziness, cold sweat, or pain radiating to arm, neck, or jaw. Call emergency services. This is not a “walk it off” moment.
People over 40, those who are sedentary most of the year, and anyone with known heart conditions should talk to a doctor before treating shoveling as routine. Hiring a neighbor teen, using a snow blower on large areas, or clearing only a single vehicle path is a legitimate safety choice—not laziness.
Set Up for the Next Round Before You Go Inside
Storms rarely deliver once. Ten minutes of reset work now saves panic at 5 a.m.:
- Stand the shovel upright under an eave or in the mudroom—blade off the ground so it does not freeze to pavement.
- Seal ice melt in a labeled, airtight container with a scoop, stored away from kids and pets.
- Knock snow off boots and gloves before it melts into ice on the mudroom floor.
- Note trouble spots — a drift by the garage corner, a vent that buried fast—so your next pass targets them first.
If more snow is forecast overnight, consider a preventive ice-melt dusting on cleared pavement before bed, especially on north-facing walks that never see sun.
Conclusion
Faster snow removal is mostly better physics, not harder effort. Shovel early while snow is light, push wide open areas with the right blade, lift small loads with your legs, and plan piles so you never handle the same mass twice. Respect wet snow, respect your heart, and clear vents before vanity-clearing the last cosmetic inch of driveway.
The homeowners who finish first are rarely the strongest. They are the ones who stop lifting when pushing works, quit before exhaustion, and set up the next pass while the storm is still talking. Keep that sequence, and both your back and your Saturday morning survive winter intact.



