18 IKEA Greenhouse Cabinet Hacks You Should Know
Turn an IKEA glass-door cabinet into a safer plant greenhouse with practical hacks for light, airflow, humidity, shelving, watering, and propagation.
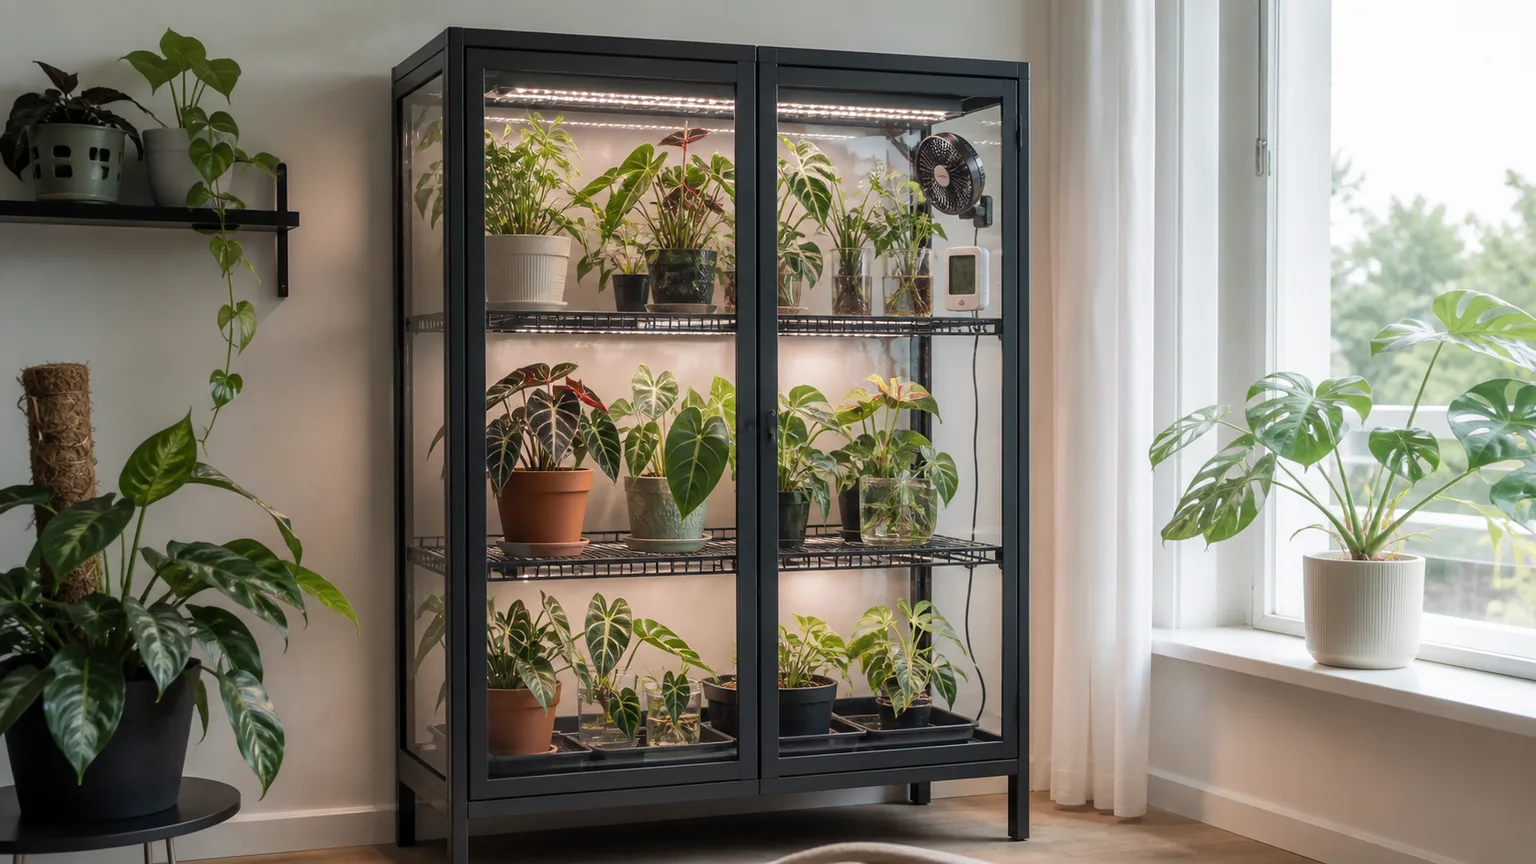
An IKEA greenhouse cabinet is most useful when it gives you a small, measurable microclimate—not when it is packed with accessories until the plants become impossible to reach. A glass-door cabinet can soften drafts, hold humidity around tropical foliage, keep a propagation tray organized, and make grow lights easy to position. It can also trap heat, water, pests, and electrical clutter if you seal it before planning the inside.
The best build starts with the plants you already own. Decide whether you need a bright display case, a humid cabinet for a few aroids, a propagation station, or a nearly closed terrarium-style environment. Then add only the hardware that solves that specific problem.
What an IKEA greenhouse cabinet can—and cannot—do
An IKEA cabinet is a modified display cabinet, not a miniature commercial greenhouse. Its glass and metal frame can help create a steadier pocket of temperature and humidity, but the cabinet does not automatically provide usable light, ventilation, drainage, or safe electrical routing. Those are the parts that turn furniture into a functional plant-growing space.
The biggest advantage is control. You can put a hygrometer at leaf height, move a light closer to a short plant, raise a shelf for a tall one, and run a small fan without changing the conditions of an entire room. A cabinet is especially useful for humidity-loving plants, cuttings, seedlings, and newly acquired plants that need observation before joining a larger collection.
The biggest limitation is scale. A cabinet has little spare air volume, so a few wet pots can raise humidity quickly. A bright LED mounted too close can warm the top shelf, while a packed cabinet can leave lower leaves in shade even when the room looks bright. Treat every number as a starting point and watch the plants, soil, glass, and meter together.
Use the cabinet as a process, not a permanent hiding place. Put new plants through an inspection period, record the light schedule and humidity for the first week, and leave a clear path to remove any pot quickly. That habit matters more than decorative details because a cabinet amplifies both good care and bad care: consistent light becomes useful growth, while one missed leak can spread moisture across a shelf. If you cannot reach the back plant, read the meter, or wipe the lower tray without unloading everything, the cabinet is already too crowded.
Choose the cabinet before you buy the accessories
Choose the footprint, door access, shelf height, and back-panel material before choosing lights or fans. A cabinet that is too shallow for your pots, too narrow for your hand, or too heavy for the floor will be frustrating no matter how neat the wiring looks.
| Cabinet | Current U.S. listed size | Shelf information | Best fit |
|---|---|---|---|
| MILSBO | 28 3/4 in. W × 16 1/2 in. D × 68 7/8 in. H | Adjustable glass shelves; 11 lb maximum per shelf | Tall plants, several light tiers, and a full-height display |
| RUDSTA | 31 1/2 in. W × 14 5/8 in. D × 47 1/4 in. H | 20 lb maximum per shelf; metal back panel | A wider, shallower cabinet with magnetic mounting options |
| FABRIKÖR | 22 1/2 in. W × 18 1/2 in. D × 59 in. H | Adjustable shelf; 22 lb maximum per shelf | A compact, deeper cabinet for a smaller collection |
These dimensions and load limits come from the current U.S. product pages for MILSBO, RUDSTA, and FABRIKÖR. Availability, colors, dimensions, and product numbers can vary by country, so recheck the local listing before buying. Do not calculate shelf capacity from the total cabinet capacity, and remember that wet soil makes every pot heavier.
All three models still need a stable location and careful assembly. IKEA notes that the glass is tempered but vulnerable at damaged or scratched edges, and its product instructions warn that the cabinet must be anchored to reduce tipping risk. Assemble it with the help recommended by the product page, keep it level, and decide where it will live before you start modifying it.
18 IKEA greenhouse cabinet hacks that improve the setup
The hacks below are arranged in the order that prevents the most rework: stabilize the cabinet, plan the inside, add the environmental controls, and style it only after the plants can be watered and inspected.
Hack 1: Anchor the cabinet before adding plants
A tall glass cabinet becomes top-heavy when you add pots, lights, wire shelves, and water. Anchor the cabinet to a suitable wall stud or masonry surface using hardware appropriate for that wall, following the manufacturer’s instructions. If you rent or cannot drill, choose a naturally stable location and use a freestanding anti-tip solution approved for the cabinet and wall type rather than trusting the cabinet’s weight alone.
Leave enough clearance to open both doors fully and reach the back row. A cabinet wedged against a wall may look tidy, but it makes the back glass difficult to clean and the rear plants difficult to inspect. Keep a little space around the sides if the design allows it, especially when a fan or cable outlet needs access.
Hack 2: Dry-fit the interior before drilling
Put empty pots, trays, lights, shelves, the hygrometer, and the fan inside the assembled cabinet before making permanent holes. Use cardboard cutouts or painter’s tape to mark the footprint of each item. This quick rehearsal reveals whether your tallest plant blocks the door, whether a light shines into the next shelf, and whether the fan can move air through the foliage instead of blowing into a solid wall.
Plan by plant height rather than by equal shelf spacing. A small cutting may need only a few inches of headroom, while a climbing philodendron needs room for new leaves and a support. Keep the front edge open enough to lift pots out without brushing leaves against the glass; cramped access leads to skipped inspections and accidental damage.
Hack 3: Seal only the gaps that need sealing
Weather stripping around a door can reduce drafts and make a humid cabinet more stable, but a fully sealed cabinet is not automatically better. Start with a removable foam strip on the door gap, run the cabinet for several days, and measure humidity and temperature before adding sealant anywhere else. You may need less sealing than you expect.
Avoid blocking every natural opening if the cabinet is already humid or the plants are crowded. A modest gap can help fresh air enter, while a fan handles circulation. Permanent silicone is difficult to remove and can trap water against metal or glass; use it only for a deliberate, leak-proof terrarium-style build and only on clean, dry surfaces that the product allows you to modify.
Hack 4: Route cables away from water
Keep power strips, adapters, and connections outside the cabinet and above the floor. Route low-voltage light and fan cables through an existing cable outlet when the model provides one, or through a carefully planned rear or side opening that does not weaken the frame or leave a sharp edge. Protect any pass-through with a grommet so the cable cannot rub against metal.
Water plants outside the cabinet whenever practical, let the pot drain fully, and return it only after the outside of the pot is dry. Do not place a power strip in a drip tray, under a humidifier, or on the floor beneath a cabinet. If the setup is near water, use an appropriately protected outlet that follows local electrical requirements; ask a qualified electrician if you are unsure about the installation.
Hack 5: Use slim full-spectrum LED bars
Slim LED bars fit under shelves more cleanly than bulky bulbs and spread light across a canopy instead of creating one bright spot. Choose a fixture with a neutral or full-spectrum appearance, low heat, a switch or timer-compatible plug, and a mounting method that will not fall onto plants. White light is also easier on your eyes when you inspect leaves for pests.
The University of Maine Cooperative Extension’s artificial-light guidance explains that LEDs are efficient, produce relatively little heat, and can be installed in many locations for supplemental or primary light. Its guidance also distinguishes light intensity from the number of hours the light runs, which is why a timer and a consistent mounting distance matter more than simply buying the brightest-looking lamp. BHG’s grow-light guide likewise notes that light intensity drops sharply as the fixture moves farther from the leaves.
Hack 6: Put the lights on a timer and protect a dark period
Plants need a repeatable day-and-night rhythm. A timer keeps the cabinet from receiving an accidental 20-hour day when you forget to switch the lights off, and it makes the cabinet’s temperature easier to interpret. Start with a moderate schedule, such as 12 to 14 hours of light for established foliage plants, then adjust based on the fixture’s intensity and the plant’s response.
Published guidance is not one universal number: BHG recommends 12 to 14 hours for interior plants, while Maine Extension says 16 to 18 hours is best for most plants under artificial light. The difference reflects plant type and light intensity. The practical rule is to provide enough light for compact growth while keeping a consistent dark period; pale stretched growth suggests too little usable light, while bleached, leathery, curled, or scorched foliage suggests excess intensity or heat.
Do not leave grow lights on all night to compensate for a weak fixture. Improve the fixture, distance, or shelf layout first, and give the plants a predictable period of darkness.
Hack 7: Keep light close to the canopy, not the cabinet roof
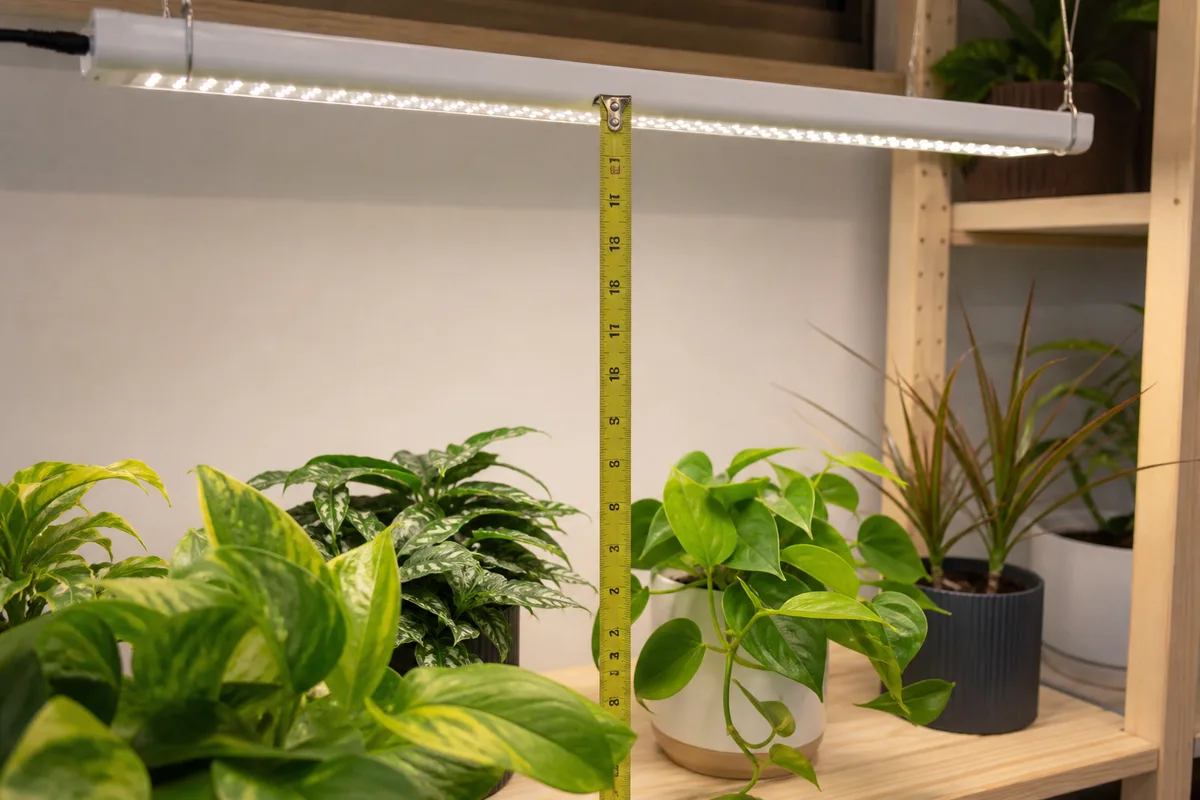
The top of a tall cabinet can be several feet from a lower shelf. That distance wastes light, even if the lamp looks bright to your eyes. Mount a bar under the shelf above the plants, or raise a short plant on a stable platform so its leaves sit within the fixture’s useful range. Measure from the light to the highest leaves, not from the light to the shelf.
Begin close enough to provide useful light but far enough to avoid heat or bleaching; many low-heat LED bars start around 6 to 12 inches above foliage, but the manufacturer’s instructions and the plant’s response take priority. Check new growth after a week or two. Long internodes and small pale leaves suggest the fixture is too far away or too weak, while crisp, faded, or curled new growth calls for more distance or less intensity.
Hack 8: Add gentle cross-flow with a small fan
A fan is not there to make the cabinet windy. Aim for a soft, indirect movement that keeps leaves from sitting in still, wet air and helps the cabinet equalize from top to bottom. Place the fan so it pushes air across the foliage or toward a gap, not straight at a delicate plant from a few inches away.
Run it intermittently or at the lowest effective speed and listen for rattling. If leaves flap continuously, the airflow is too strong; if condensation persists on the glass and the lower shelf stays damp, improve the flow path rather than only turning the fan up. Open the doors briefly during routine care when the cabinet is very wet, and remove dead leaves promptly.
Hack 9: Measure humidity at leaf height
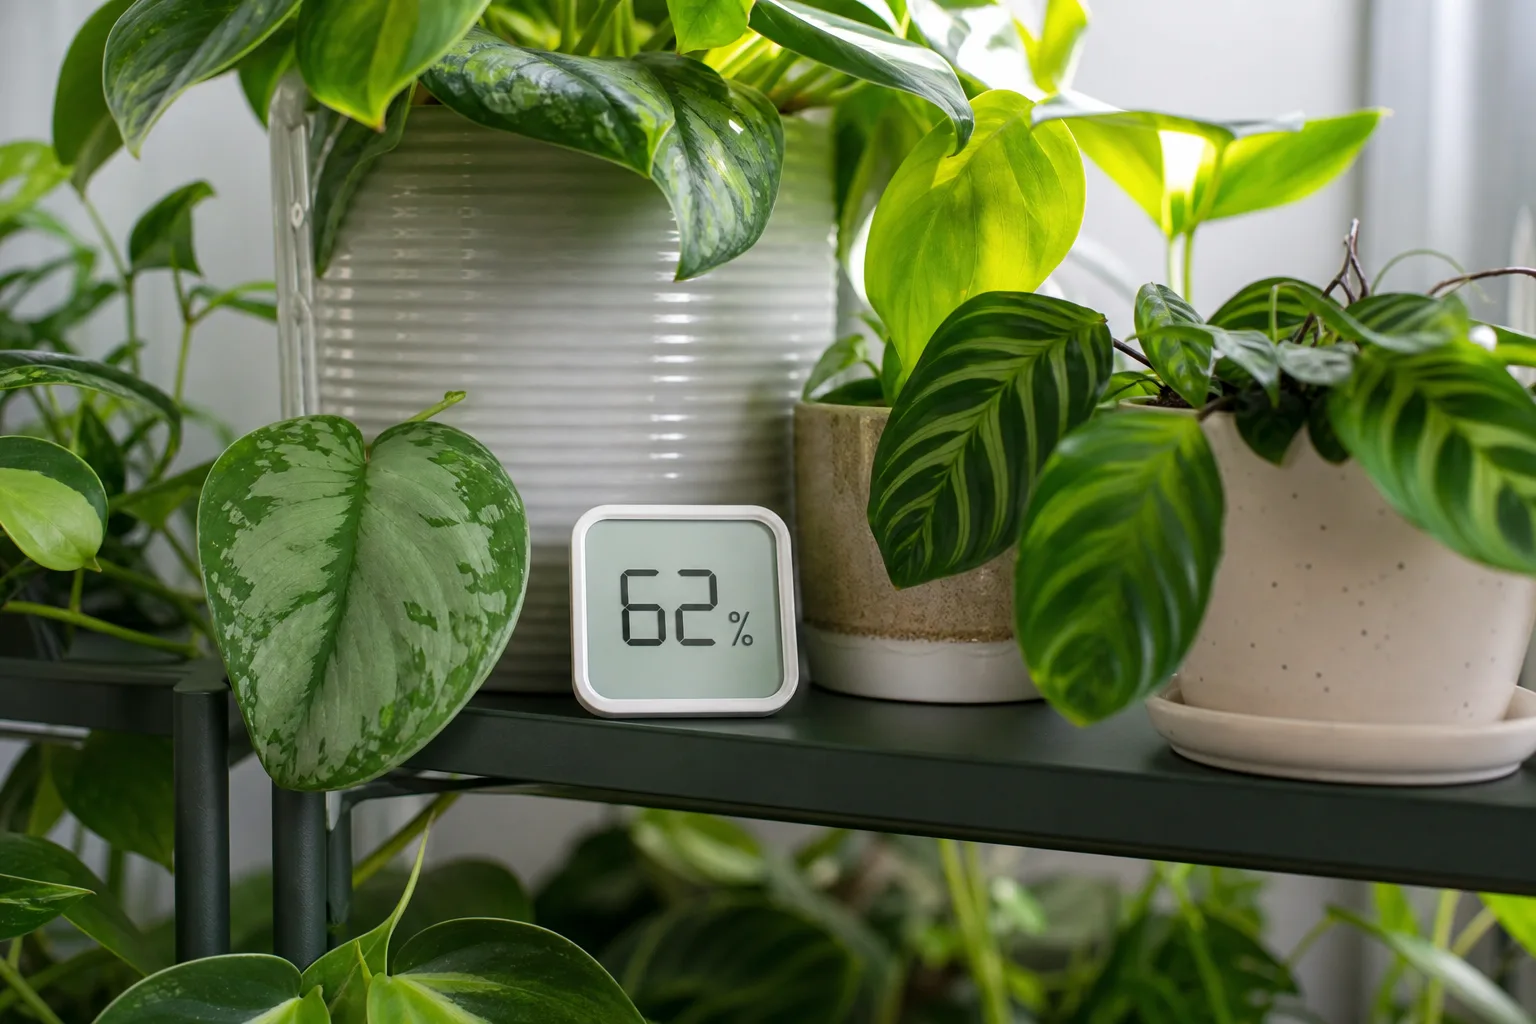
A hygrometer on the cabinet floor may read differently from one beside the upper canopy. Mount or place it around the height of the leaves you are trying to protect, away from the humidifier outlet, direct light, and a cold glass panel. Record readings at the same time each day for several days instead of reacting to one number.
High humidity can help tropical foliage, but a high reading is not a goal by itself. It becomes a problem when soil stays wet, leaves remain damp, air is stagnant, or the cabinet smells musty. Houseplant Alley’s microclimate guide emphasizes coordinating humidity, light, and temperature rather than treating any one dial as the whole environment.
Hack 10: Make watering and drainage cabinet-safe
Give every pot a drainage hole and place it in a waterproof saucer or boot tray that fits the shelf. A tray should catch routine drips, not become a permanent reservoir. Empty it after watering and wipe the shelf if water reaches the metal frame, because repeated moisture is a maintenance problem even when the cabinet looks rust-resistant.
Use a moisture check rather than a cabinet-wide watering schedule. Plants on the top shelf may dry sooner under lights, while shaded lower pots may stay wet. Check each pot with a finger, wooden skewer, or moisture meter appropriate to the mix, and water only when that plant’s root zone has reached its normal dry-down point. Never let a self-watering planter or pebble tray turn into standing water that touches the pot base unless the design is specifically meant for it.
Hack 11: Use adjustable shelves to create light tiers
Treat each shelf as a separate growing tier. Put the brightest or most light-hungry plants directly under the strongest bars, give lower-light foliage a less intense shelf, and leave a clear vertical lane for plants that are growing upward. Wire shelves can improve drainage and airflow, but they still need a tray under pots so runoff does not fall onto the plants below.
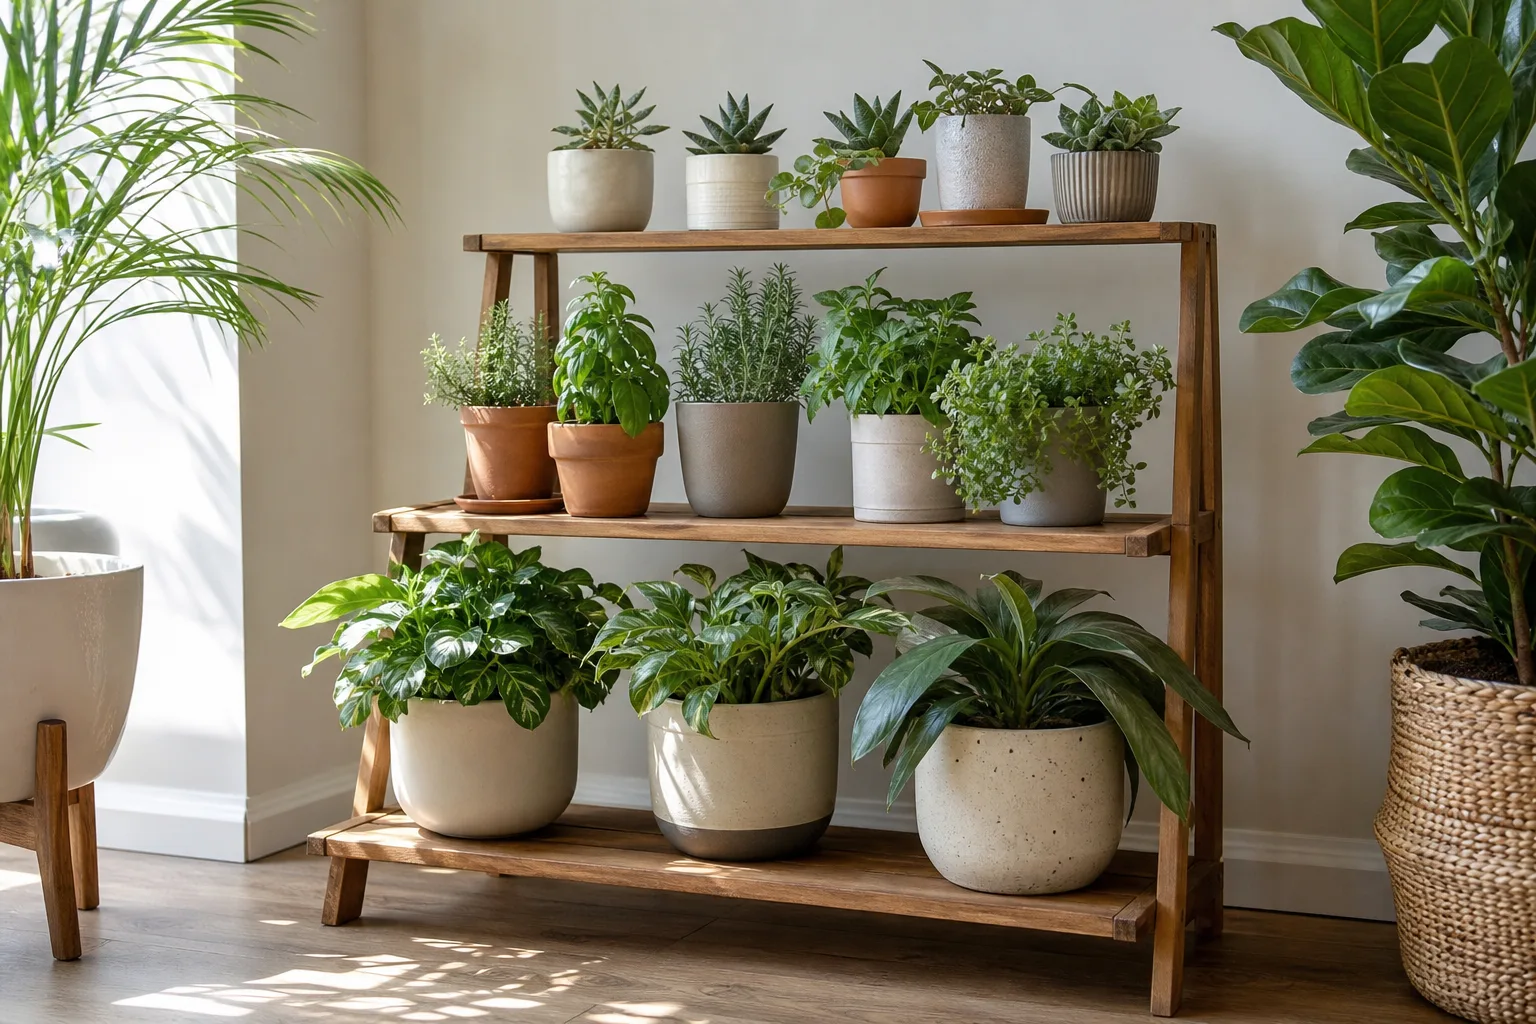
Keep the manufacturer’s shelf-load limits visible while planning. A shelf holding several wet ceramic pots can approach its limit faster than a shelf holding empty plastic nursery pots. The example below illustrates the basic planning idea: plant height, access, and weight all compete for the same vertical space.
Hack 12: Group plants by climate and care routine
Do not mix a dry-loving cactus, a freshly watered fern, and a delicate anthurium on one sealed shelf just because they fit together visually. A cabinet is easier to tune when the plants share similar light, humidity, temperature, and watering needs. Group plants into a humid tropical tier, a general foliage tier, and an open display tier, or leave dry-loving plants outside the cabinet.
Grouping also limits the damage from a problem. If one plant arrives with thrips, scale, or fungus gnats, the whole cabinet should not become a permanent holding pen for it. Inspect new plants before they enter, isolate questionable specimens on a separate surface, and clean shared trays and tools between groups.
Hack 13: Turn one shelf into a propagation or quarantine zone
A low shelf with a washable tray is ideal for cuttings, seedlings, and plants recovering from repotting. Keep jars, small nursery pots, labels, and a simple inspection light together so you can check roots and new growth without moving the entire collection. Use a separate tray for new arrivals rather than placing them among established plants on day one.
The cabinet can make propagation more consistent, but it does not make a cutting immune to rot. Give the medium air, avoid crowding leaves against glass, and remove dead material quickly. If a cutting is in water, change the water and clean the vessel rather than assuming high humidity will compensate for low oxygen around the roots.
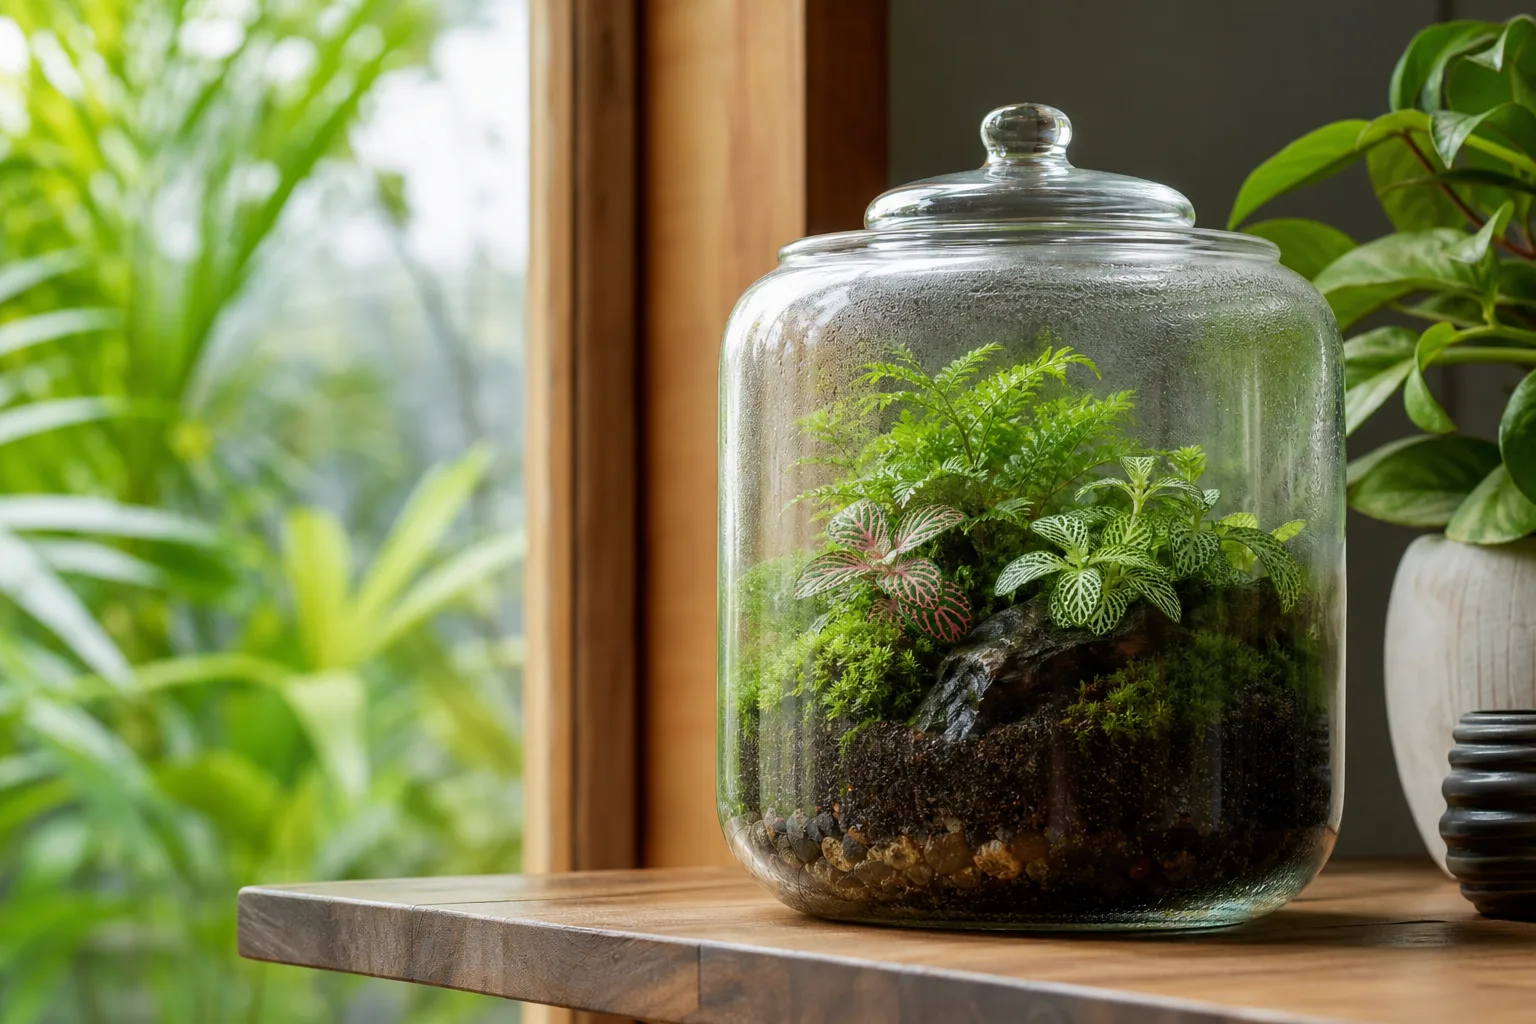
Hack 14: Build a terrarium-style base only when it is leak-proof
A planted lower section can look spectacular, but it changes the cabinet from a flexible plant shelf into a wet system that is harder to clean. Use a removable waterproof liner or tray when possible. If you build a permanent base, test it with plain water outside the living room, confirm that doors still open, and leave a way to remove wet material without dismantling the cabinet.
Do not place soil directly against untreated metal, block the door track with expanding foam, or assume a glass cabinet is waterproof because it has glass panels. A terrarium-style build suits small, humidity-loving plants that share a similar moisture requirement; it is a poor match for a mixed collection that needs frequent individual watering. A separate glass terrarium gives you more control when you want a truly closed ecosystem.
Hacks 15–18: Use display, cart, multi-cabinet, and styling modes
15. Keep a simple display mode. Not every cabinet needs weather stripping, a humidifier, and multiple fans. If your plants already thrive in the room, use adjustable shelves, a clean light, and trays, then treat the cabinet as a display case that protects leaves from pets, dust, or drafts.
16. Put a small greenhouse on a cart only when the cart is stable. A compact glass greenhouse or cabinet on casters can become a useful propagation station, but lock the wheels, keep the center of gravity low, and never roll a loaded glass cabinet across a threshold. Move plants individually when possible.
17. Use multiple cabinets for different climates. Two modest cabinets are often easier to manage than one overstuffed cabinet. Give one bright, drier setup to general foliage and one more humid setup to aroid cuttings, instead of trying to make every plant tolerate the same conditions.
18. Make the cabinet match the room after the environment works. A pegboard, magnetic hooks, contrasting pots, a painted back panel, or a distinctive handle can make the cabinet feel intentional. Keep decorations outside the growing volume, leave the vents and doors accessible, and do not add fabric, untreated wood, or porous baskets where constant humidity can keep them damp.
Conclusion: build a cabinet you can actually manage
The most successful IKEA greenhouse cabinet is not the one with the most parts. It is the one that gives your plants enough usable light, a repeatable day-night cycle, gentle airflow, measured humidity, safe drainage, and enough space for you to inspect every pot.
Start with a stable cabinet, a dry-fit layout, one timer-controlled LED tier, a small fan, a hygrometer, and waterproof trays. Add weather stripping, extra shelves, propagation zones, or a terrarium-style base only when your measurements and your plants show that the change solves a real problem. A cabinet that stays accessible and easy to clean will outperform a sealed showcase you are afraid to open.



