5 Outdated Backyard Features Designers Avoid
Designers flag five backyard features that instantly date a yard—from dyed mulch to faux-stone BBQ islands. See what to swap and budget-friendly fixes.
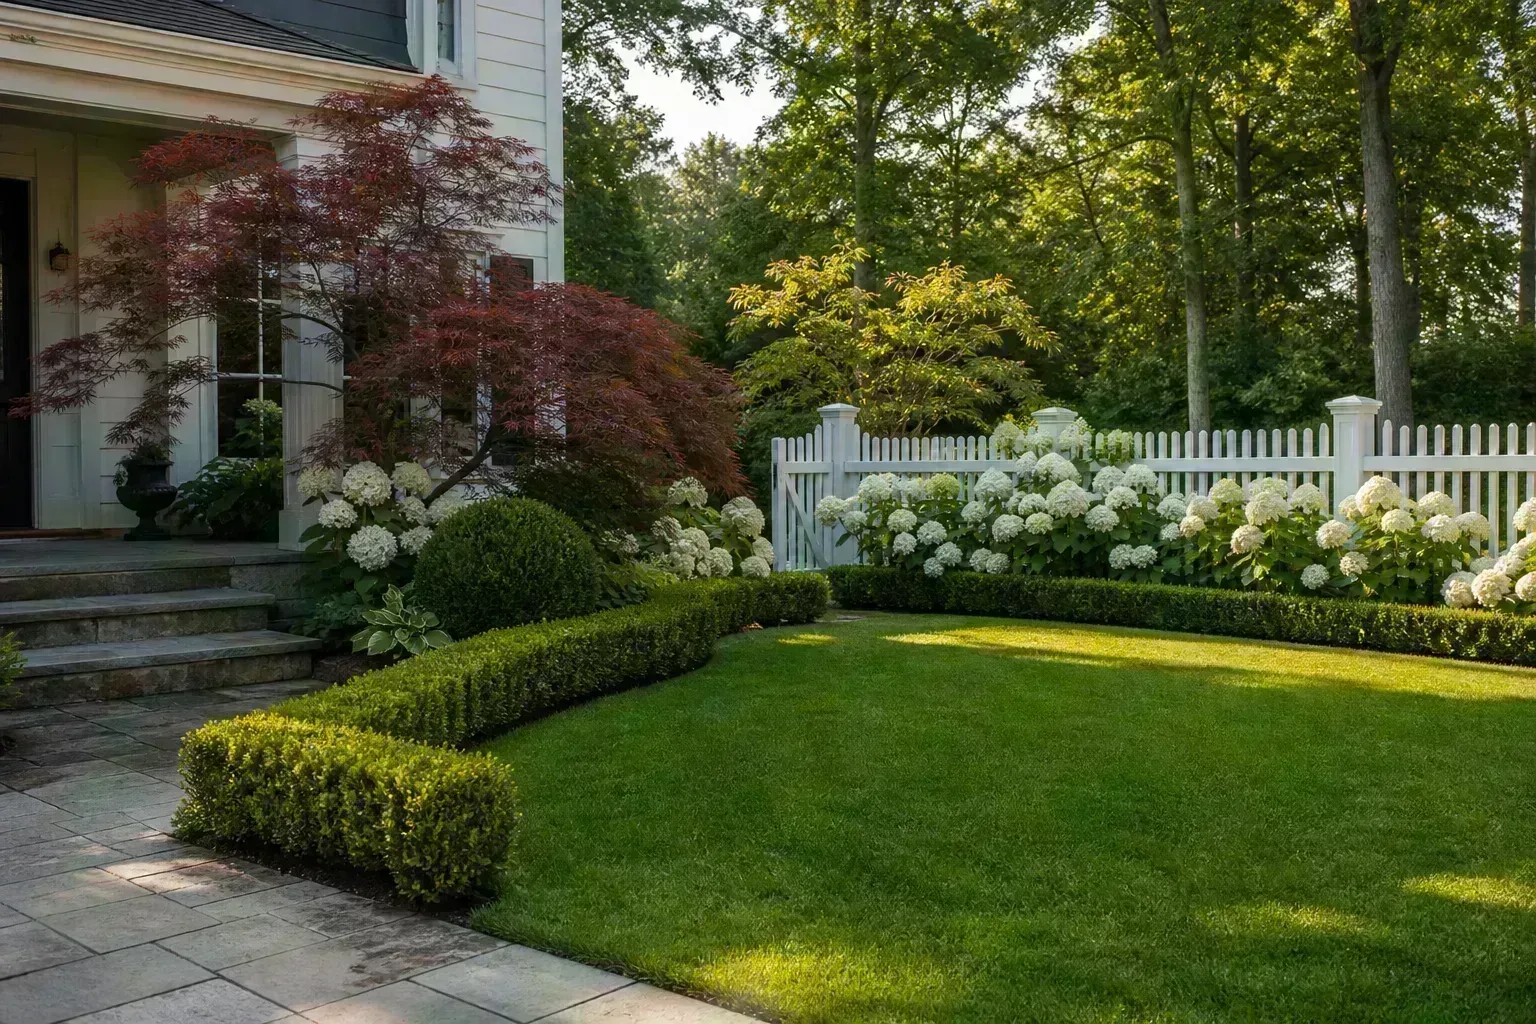
Your backyard is the room guests see before they ever reach the front door—and a handful of once-popular features can make even a well-maintained house feel stuck in an earlier decade. Landscape and interior designers consistently flag the same five culprits: fussy planters, dyed mulch, yards paved more than planted, stamped-concrete patios pretending to be stone, and oversized faux-stone grill islands built for a different era of entertaining.
This is not a mandate to rip everything out. It is a priority list. Replace or refresh the items that dominate the sightline first, and the whole property reads newer without a six-figure landscape contract.
Why Outdoor Style Ages Faster Than Your Living Room
Interiors get repainted, sofas rotate, and throw pillows swap with the season. Backyards sit exposed to UV, freeze-thaw cycles, and years of mulch refresh skipped “until spring.” Materials that looked fresh in a catalog photo—Cherokee red mulch, ashlar-stamped concrete, Corinthian-column planters—fade, crack, and date faster than a neutral sofa ever could.
Designers also entertain differently now. Smaller households, more portable grills, and outdoor rooms that mirror interior finishes (smooth stucco, steel, large-format pavers) replaced the mega-island BBQ station as the default backyard flex. Climate matters too: a stamped patio that works in a dry Western yard can look tired and slippery in a humid Eastern summer after three seasons without resealing.
The goal is not minimalism for its own sake. It is proportion, natural color, and enough planting to soften hard edges so the yard feels like an extension of the house—not a separate, frozen-in-time project.
Listing photos make this tangible. Wide-angle shots of the back patio often dominate online galleries; if the first image is red mulch, gray stamp, and a stone monolith grill, buyers scroll before they notice square footage. Agents repeatedly report that “move-in ready” yards with neutral mulch and visible planting need fewer price concessions than identical floor plans with dated hardscape—even when no structural work changed.
How to Spot What’s Dating Your Yard (Without a Demo Crew)
Before you budget a full redo, walk the property with fresh eyes. Photograph from the street, the kitchen window, and the primary seating area. If one element grabs attention before the planting or architecture does, that is usually the outdated piece.
Compare your photos to the five sections below. You may find you have two problems, not five—and that is a much cheaper fix.
The One-Minute Walk-Through Test
Stand at the back door and scan left to right. Note what your eye hits first:
- A single loud color band (bright red mulch, white rock rings) competing with the house paint
- Flat gray or terra-cotta stamped concrete with repetitive patterning and no planting breaks
- A grill structure wider than your indoor range wrapped in fake rock
- Empty pots with scrollwork but no coherent plant scheme
- More than half the visible ground in pavement, roof, or bare mulch with no layered greenery
If two or more boxes check, you are not imagining the dated feel—your sightlines are working against you.
When “Outdated” Is Not Worth Replacing Yet
Structural stamped concrete that is level, drained, and crack-free can stay if you budget for color refresh, joint repair, or a gravel/planter border to break the slab edge. A built-in grill you use weekly beats a trendy portable setup you will never wheel out. Red mulch on a rental or short-term flip may not justify hardwood bark if you are selling in six months—though natural brown still photographs better for listings.
Replace when the feature dominates photos, needs constant upkeep to look acceptable, or blocks a simpler layout you would actually use. Skip replacement when the cost of demo exceeds the visual gain and the item still functions safely.
1. Ornate, Busy Planters
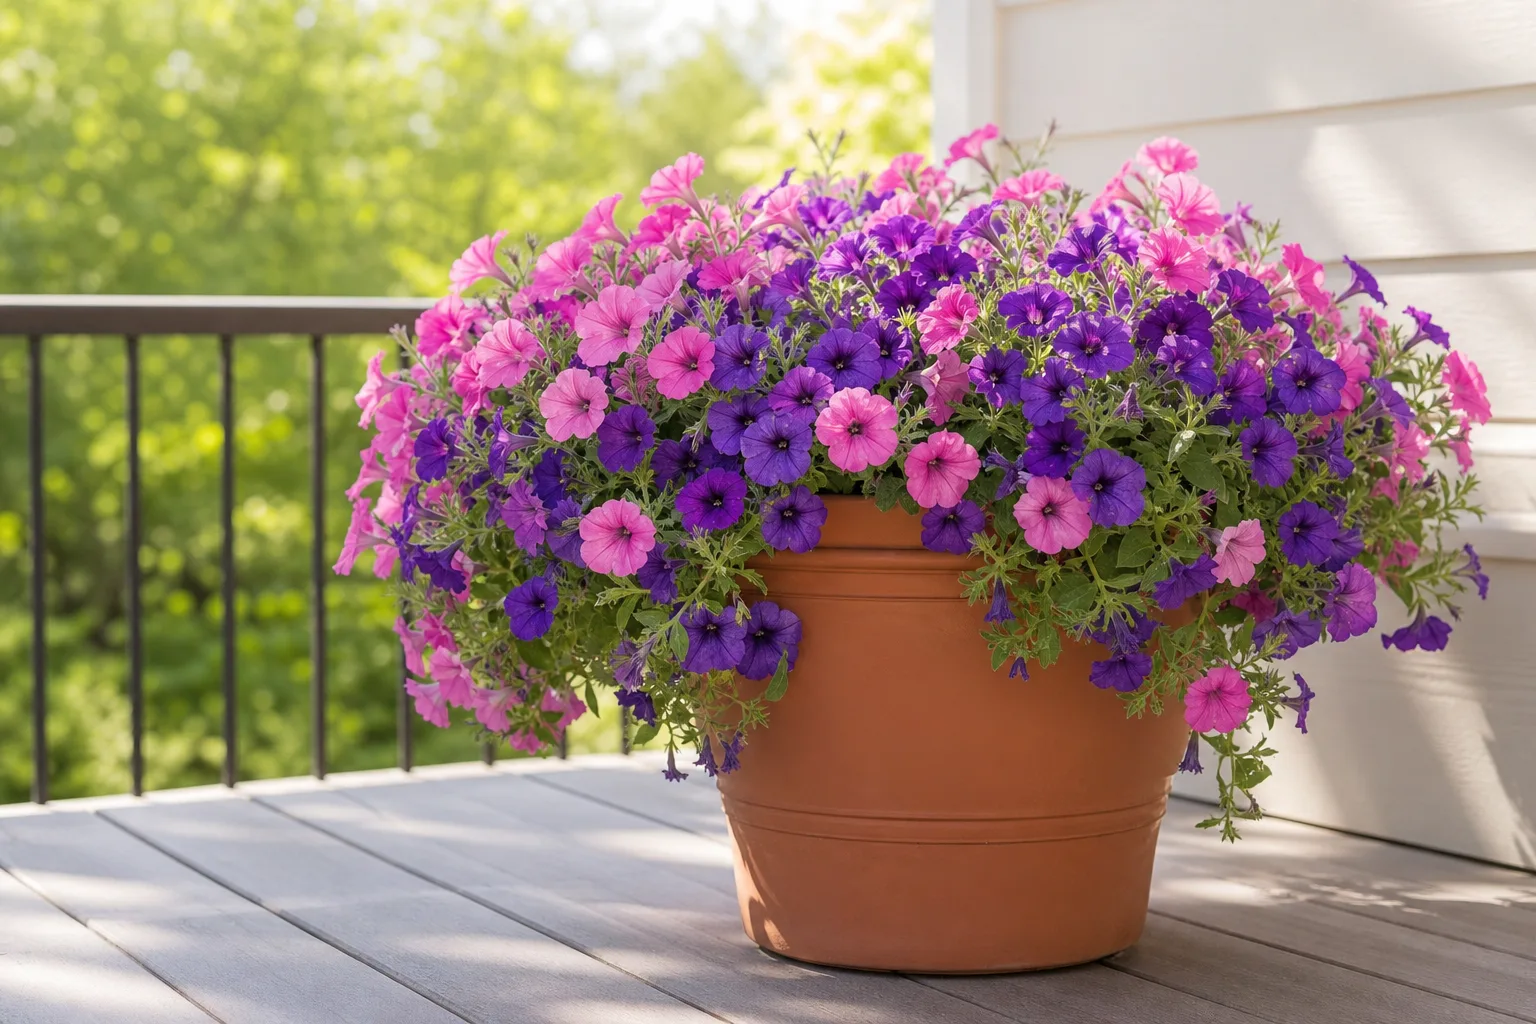
Scrollwork resin urns, multi-color glazed pots, and “Tuscan” triple stacks were everywhere in early-2000s backyard catalogs. Designers now treat them like loud wallpaper outdoors: they fight the planting instead of framing it.
The issue is visual noise. When every pot has its own pattern, nothing reads intentional—and empty ornate pots look like yard sale leftovers rather than design choices.
Minimal Pots That Still Feel Designed
Swap busy details for simple cylinders, tapered fiber-cement, or unglazed terracotta in one finish repeated two or three times. Match scale to the plant: a 24-inch boxwood belongs in a 20–24-inch pot; a trailing petunia basket wants a lighter bowl, not a pedestal urn.
Group in odd numbers (three along a step, five on a patio edge) and repeat the same material so the eye reads a collection, not a clearance rack. Fill with one species per pot for cleaner lines—massed lavender, upright rosemary, or a single grass clump reads more current than a mixed annual explosion in a carved pot.
Budget: $40–$120 per quality simple pot vs. $200+ for decorative resin that fades in two seasons. Weekend fix: Edit down to your three best pots, replant, and store or donate the rest before buying anything new.
Material cheat sheet: Fiber-cement and concrete-composite pots survive freeze-thaw better than thin glazed ceramic left outdoors year-round in Zones 5 and colder. Unglazed terracotta breathes well for Mediterranean herbs but may crack if left full of wet soil through winter—lift or cover in hard-freeze regions. Whatever you choose, one neutral finish repeated beats three “statement” pots competing for attention.
2. Dyed Red or Jet-Black Mulch
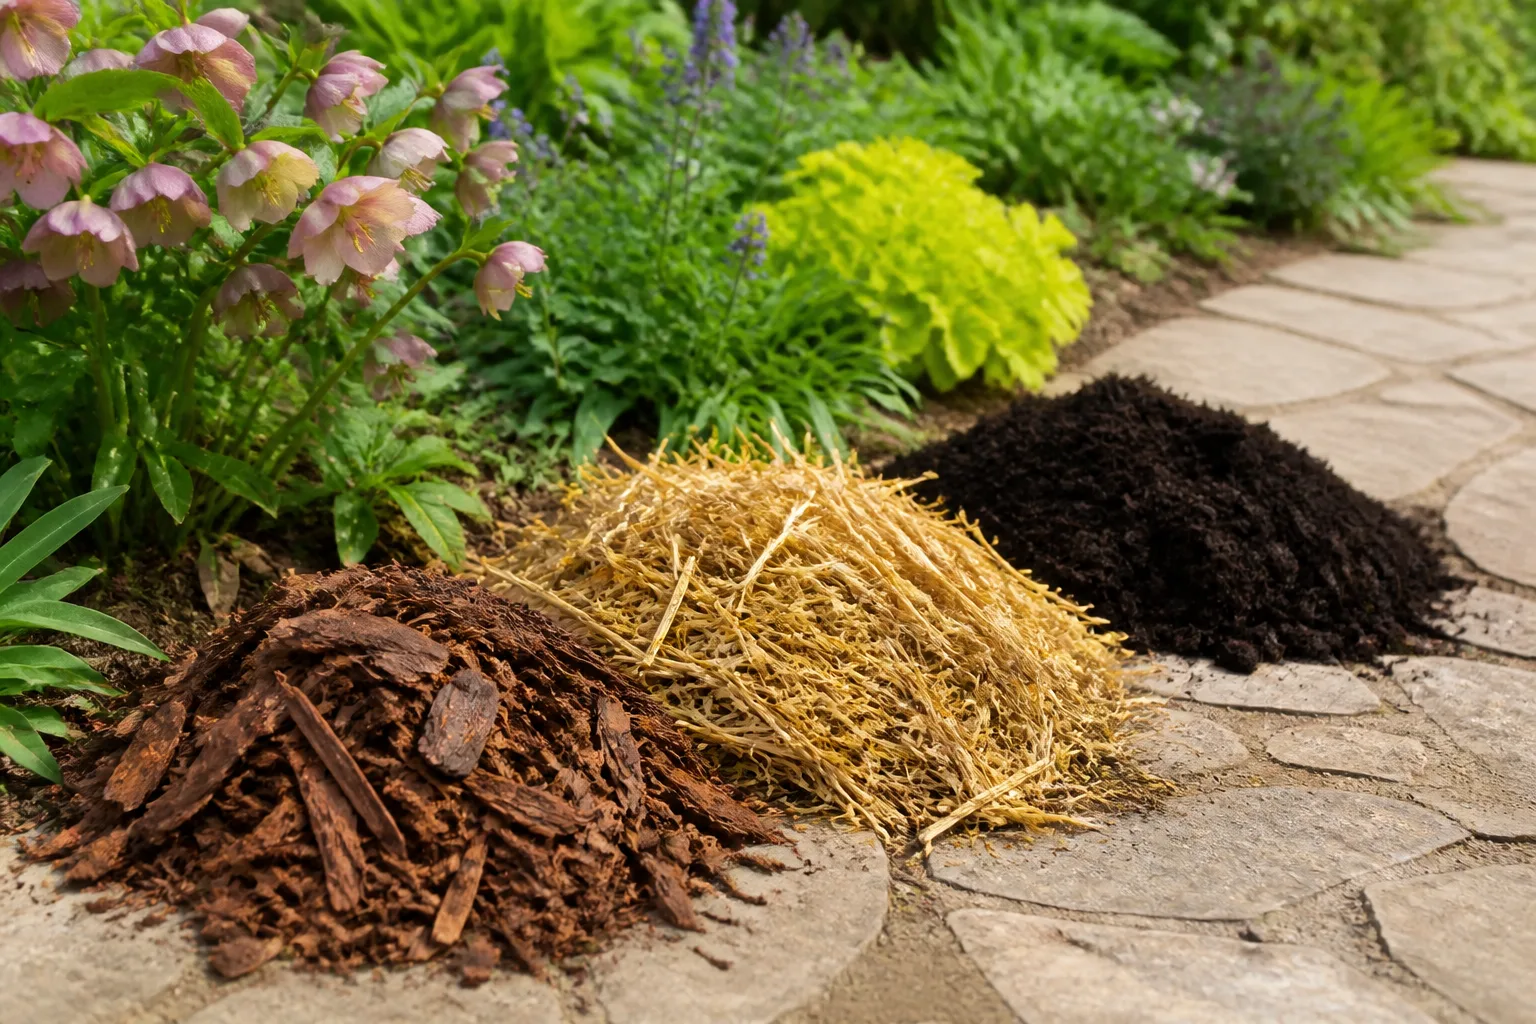
Bright red, blue, or jet-black dyed mulch was marketed as high-contrast curb appeal. Landscape designers now call it one of the fastest ways to make beds look artificial—especially after sun fade turns uniform red into patchy orange-brown within a single season.
The color pulls attention away from foundation plantings and the house itself. Idaho Falls landscape designer Kirk Jeppesen puts it bluntly: red mulch and white rock combinations “draw the eye away from the parts of the landscape and home that we try to emphasize” (Outback Landscape). Dyed products also often use lower-grade feedstock that breaks down unevenly compared with double-shredded bark.
That does not mean all colored mulch is evil—natural dark brown hardwood that gains richness from aging is different from cherry-red dye. The test is whether the mulch disappears into the bed or announces itself from the curb.
Mulch Colors Extension Services Recommend
Clemson Cooperative Extension notes that shredded hardwood bark suppresses weeds, decomposes relatively slowly, and “provides a cover of uniform color and interesting texture” when applied correctly (Clemson Extension HGIC 1604). Other regional standbys extension guides cite repeatedly:
- Pine straw on slopes and acid-loving plantings—interlocks well and looks natural in Southern yards
- Partially composted leaf mold or shredded leaves for woodland beds and native plantings
- Natural pine bark nuggets where you want slower breakdown and can tolerate occasional float in heavy rain
Apply 2–3 inches, keep mulch 2–3 inches away from woody stems, and 6–12 inches from building walls to reduce termite bridge risk (Clemson Extension HGIC 1604). Refresh hardwood mulch every one to three years depending on decomposition—not every spring by default.
Budget swap: Rake out faded dye mulch, edge the bed, and install one truckload of natural brown bark—often $150–$400 for a typical front foundation bed. For deeper guidance on weed suppression with natural mulch, see /guides/does-mulch-prevent-weeds/.
Dyed mulch reality check: Cherry-red and jet-black products use colorants on various feedstocks—sometimes recycled pallets or construction debris in the cheapest bags. Fade is cosmetic, but uneven UV breakdown creates a patchwork look by late summer that reads as neglected even when you weeded yesterday. If you inherit dyed mulch with a home purchase, rake it out rather than topping with brown; mixing layers often looks muddier than a clean reset.
3. Too Much Hardscape, Not Enough Green
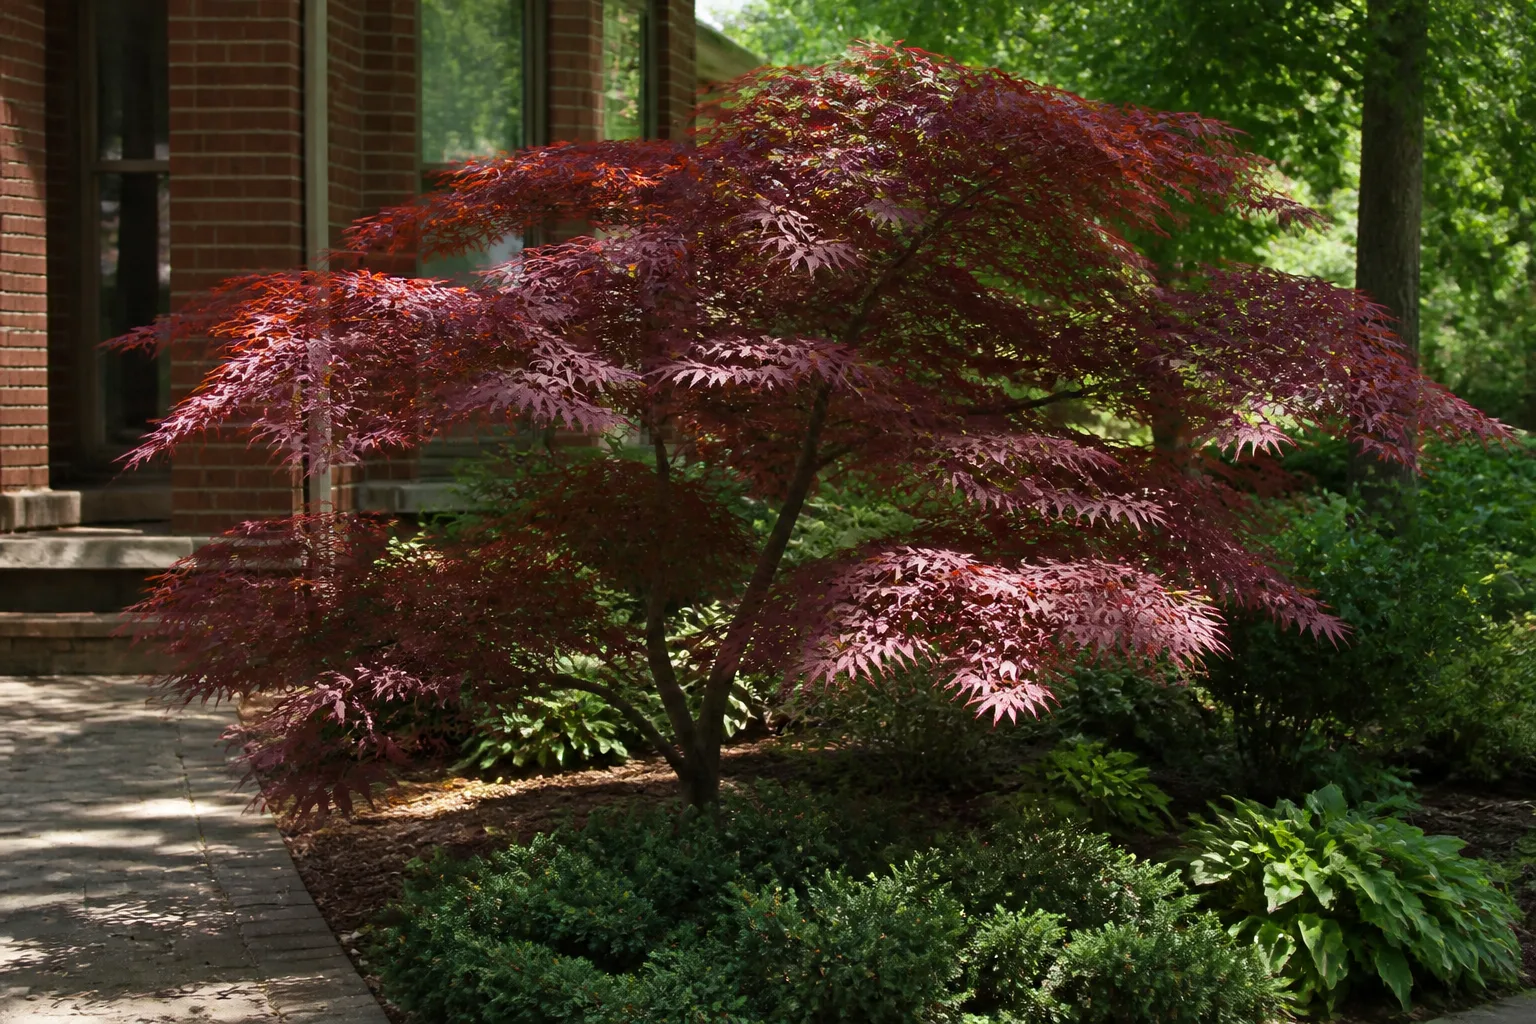
Yards dominated by concrete pads, stone deserts, and pavers edge-to-edge read hot, sterile, and—honestly—2008. Designers describe the fix as “excessive hardscaping” replaced by layered plantings, natural pathways, and seating zones that feel lush rather than parking-lot adjacent.
Hardscape is not the enemy. Unrelieved hardscape is. A patio you use is good; a patio surrounded by three feet of bare mulch and nothing vertical is what dates the property.
The Plant-to-Pavement Balance
A practical target many residential designers use: roughly 40–60% planted or lawn area visible from primary sightlines, with hardscape concentrated where you actually sit, cook, or walk. Break large slabs with planter cuts, gravel strips, or groundcover joints so the eye travels green → stone → green.
Cool the microclimate too: Clemson Extension notes that gravel and rock mulches reflect solar radiation and can create very hot surface temperatures in summer (Clemson Extension HGIC 1604). In sunny yards, that heat radiates onto patios and house walls. Shade from a small tree or tall ornamental grass hedge often improves comfort more than another square of pavement.
Layered Beds Without Overplanting
The opposite mistake—stuffing every gap on day one—creates a maintenance trap. Outback’s designers warn that over-planting for instant fullness “gets big, and soon the space becomes overwhelming.” Modern beds leave negative space: a clear mulch or gravel band between a hydrangea mass and the lawn lets each plant read.
Build in three heights: low groundcover or border at the edge, mid shrubs, one focal tree or tall grass. Repeat one shrub species in groups of three or five instead of twelve one-offs. For plant picks that elevate perceived value without clutter, /guides/plants-that-make-yard-look-more-expensive/ covers designer-favorite specimens and spacing rules.
Quick green injection without a full redesign: Cut a 18–24 inch planting strip along a patio edge or fence line, amend soil, and install three identical shrubs plus one grass drift—often $200–$600 in plants for immediate softness. Avoid the temptation to line every hard edge with one-gallon perennials on six-inch centers; three five-gallon shrubs spaced five feet apart usually photograph better and need less water after year one.
4. Stamped Concrete Patios
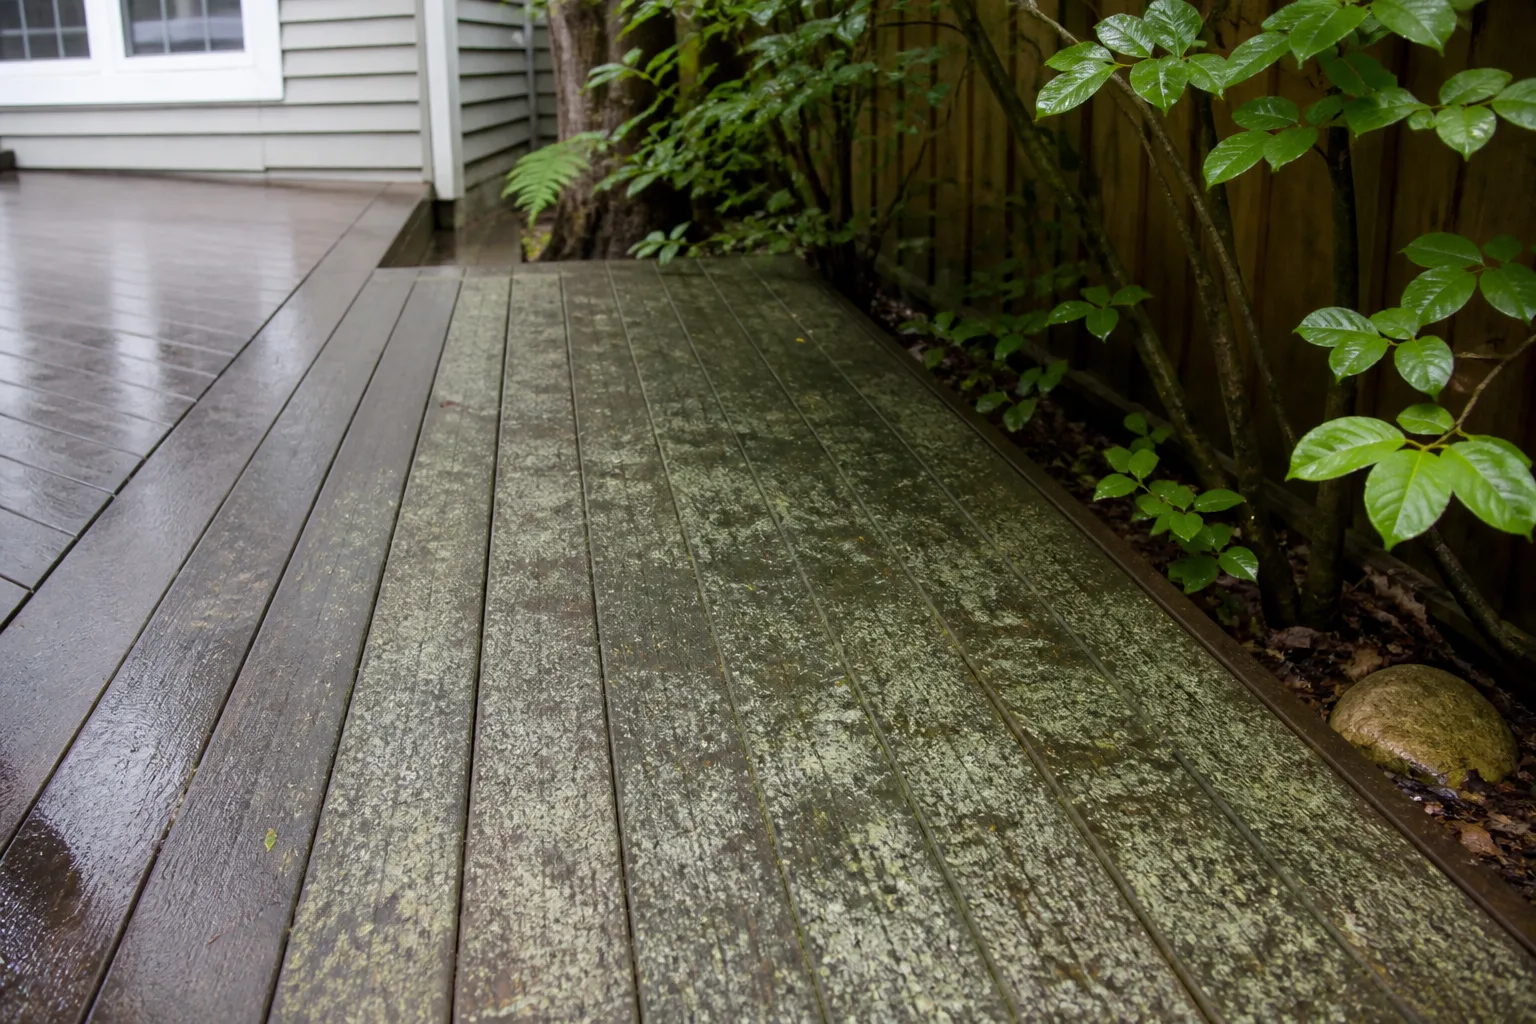
Stamped concrete mimicking ashlar stone or cobble peaked when real stone felt out of reach. Years later, the telltales show: repetitive stamp patterns, color hardener that fades unevenly, surface cracks following control joints, and slipperiness when the sealer wears.
Designers favor materials with natural variation in tone and texture—bluestone, large-format concrete pavers with honest aggregate, gravel with steel edging, or oversized cast-in-place slabs with minimal patterning.
Better Patio Materials by Budget
| Budget tier | Material direction | Typical look | Trade-off |
|---|---|---|---|
| Under $2,000 DIY | Gravel pad + steel edging, or concrete pavers on sand | Casual, drains well | Gravel migrates without good edging |
| $5,000–$12,000 | Large-format pavers or flagstone in dry-laid pattern | Architectural, repairable per stone | Requires competent base prep |
| $12,000+ | Natural stone (bluestone, limestone) wet-laid or pedestal pavers | Highest-end, unique variation | Highest labor cost |
If stamped concrete is sound, cheaper refreshes include: diamond-grind and reseal in a matte product (avoid high-gloss slick finishes), stain in a single muted tone to hide patchy fade, or cut planting pockets along the perimeter and soften with low grasses. Full tear-out only when drainage fails, major heaving, or the slab dominates a small yard with no green relief.
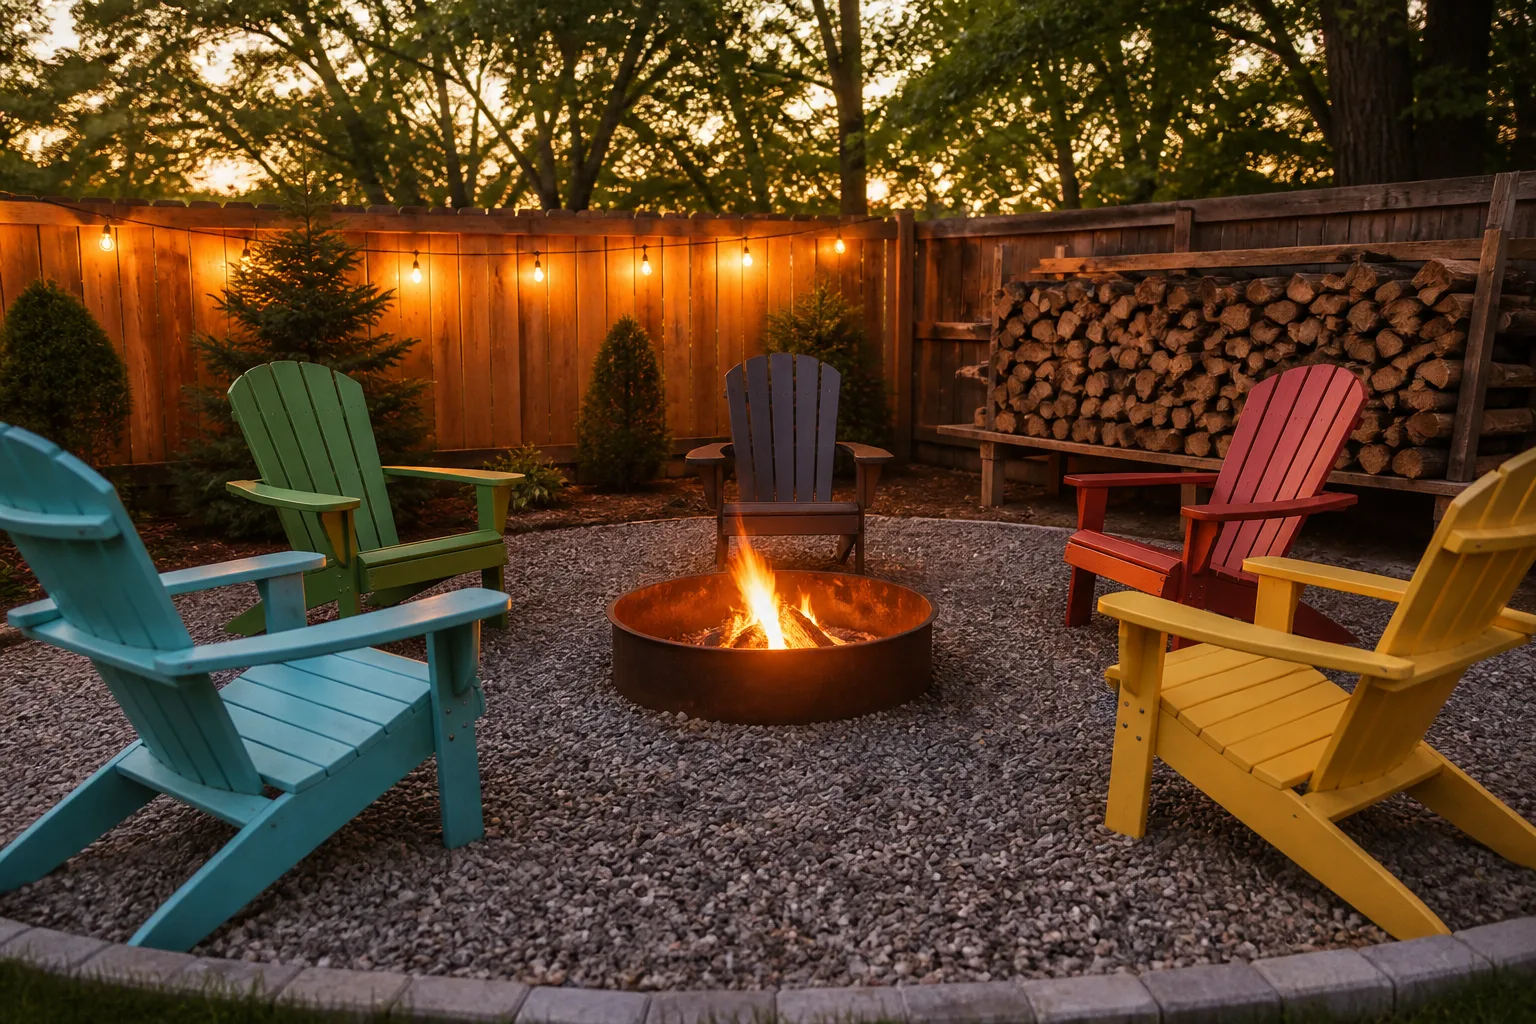
Pair a new or refreshed patio with one outdoor living anchor—a fire pit zone, dining set, or portable kitchen cart—rather than rebuilding a monument island. /guides/diy-backyard-fire-pits/ covers safe placement and materials if you add a gathering spot instead of more slab.
Maintenance timeline owners forget: Integral color and topical sealers on stamped concrete typically need resealing every two to four years in freeze-thaw climates—skip a cycle and water penetration accelerates freeze damage and efflorescence (white mineral bloom). Budget $1–$2 per square foot for professional reseal or factor a full weekend DIY if you grind and coat yourself. Compare that ongoing line item to dry-laid pavers, where you replace individual units if one cracks.
5. Bulky Faux-Stone BBQ Islands
Built-in barbecue islands wrapped in manufactured stone veneer, heavy tile counters, and double-side burners made sense when outdoor kitchens mimicked indoor ranges. Designers now see many as overscaled for how people actually cook outside—one grill, a prep shelf, and cold storage, not a second indoor kitchen baking in the sun.
Faux stone that never appeared elsewhere on the house breaks visual continuity. Tile counters stain, crack, and date quickly. The structure also eats patio space you might prefer for seating or a fire pit.
Streamlined Outdoor Kitchen Layouts
Current high-end direction favors low-profile runs: smooth stucco, poured-in-place concrete, or powder-coated steel cabinetry with integrated storage and a single quality grill. The finish echoes interior materials so the yard reads as one design language.
Not ready for masonry? A portable gas grill on a rolling cart, wall-mounted fold-down shelf, and a narrow run of base cabinets often delivers 90% of the function at 10% of the demo cost. Anchor the grill on the leeward side of prevailing wind, keep 10 feet from combustibles if you also add fire features, and store propane or connect gas to code.
If you keep a built-in, reduce height and depth, lose unused burners, and match one house material (stucco, brick, or steel) instead of stacking fake rock. Entertain with the house door open—circulation matters more than island square footage.
Layout rule of thumb: Aim for counter depth of 24–30 inches and total run length under 10 feet unless you routinely cook for twelve. Put the grill downwind of seating so smoke does not park over the dining table. A side burner you use twice a year is square footage better spent on counter prep or a compact fridge drawer.
A Phased Backyard Refresh Plan
You do not need a single renovation loan. Sequence by sightline impact:
Weekend 1 (often under $500): Swap dyed mulch for natural bark on front and back foundation beds; edge beds with a sharp spade line or steel edging; declutter ornate pots to a matching set of three.
Month 1 ($500–$3,000): Add layered planting along the worst hardscape edge—three shrub groups, one grass drift, mulch refresh; reseal or stain tired stamped concrete if structurally sound; relocate or slim the grill station.
Season 2 ($5,000–$15,000+): Replace failing stamped slab with pavers or gravel where drainage demands it; build a compact outdoor kitchen or fire-pit gathering zone; expand /guides/how-to-kill-grass-in-flower-beds/ prep if you are converting lawn to planted beds.
Photograph after each phase. Curb appeal gains compound—buyers and guests notice clean mulch and coherent pots before they ever judge paver brand.
Conclusion
Five backyard features date a property faster than almost anything else outdoors: busy planters, dyed mulch, hardscape-heavy layouts, faded stamped-concrete patios, and oversized faux-stone grill islands. Designers are not asking you to erase your yard—they are asking you to quiet the loudest elements, restore natural color, and put planting back in the picture.
Start with mulch and pots this weekend if budget is tight. Address pavement and cooking zones when function or drainage forces the issue. A yard that evolves with timeless materials and enough green to soften the edges will outlast any single trend cycle—and still feel current when the next “instantly outdated” list publishes.