How to Use Peonies in Your Landscape
Learn how to use peonies in your landscape with type-by-type placement ideas, bed layouts, companion plants, spacing, support, and planting tips.
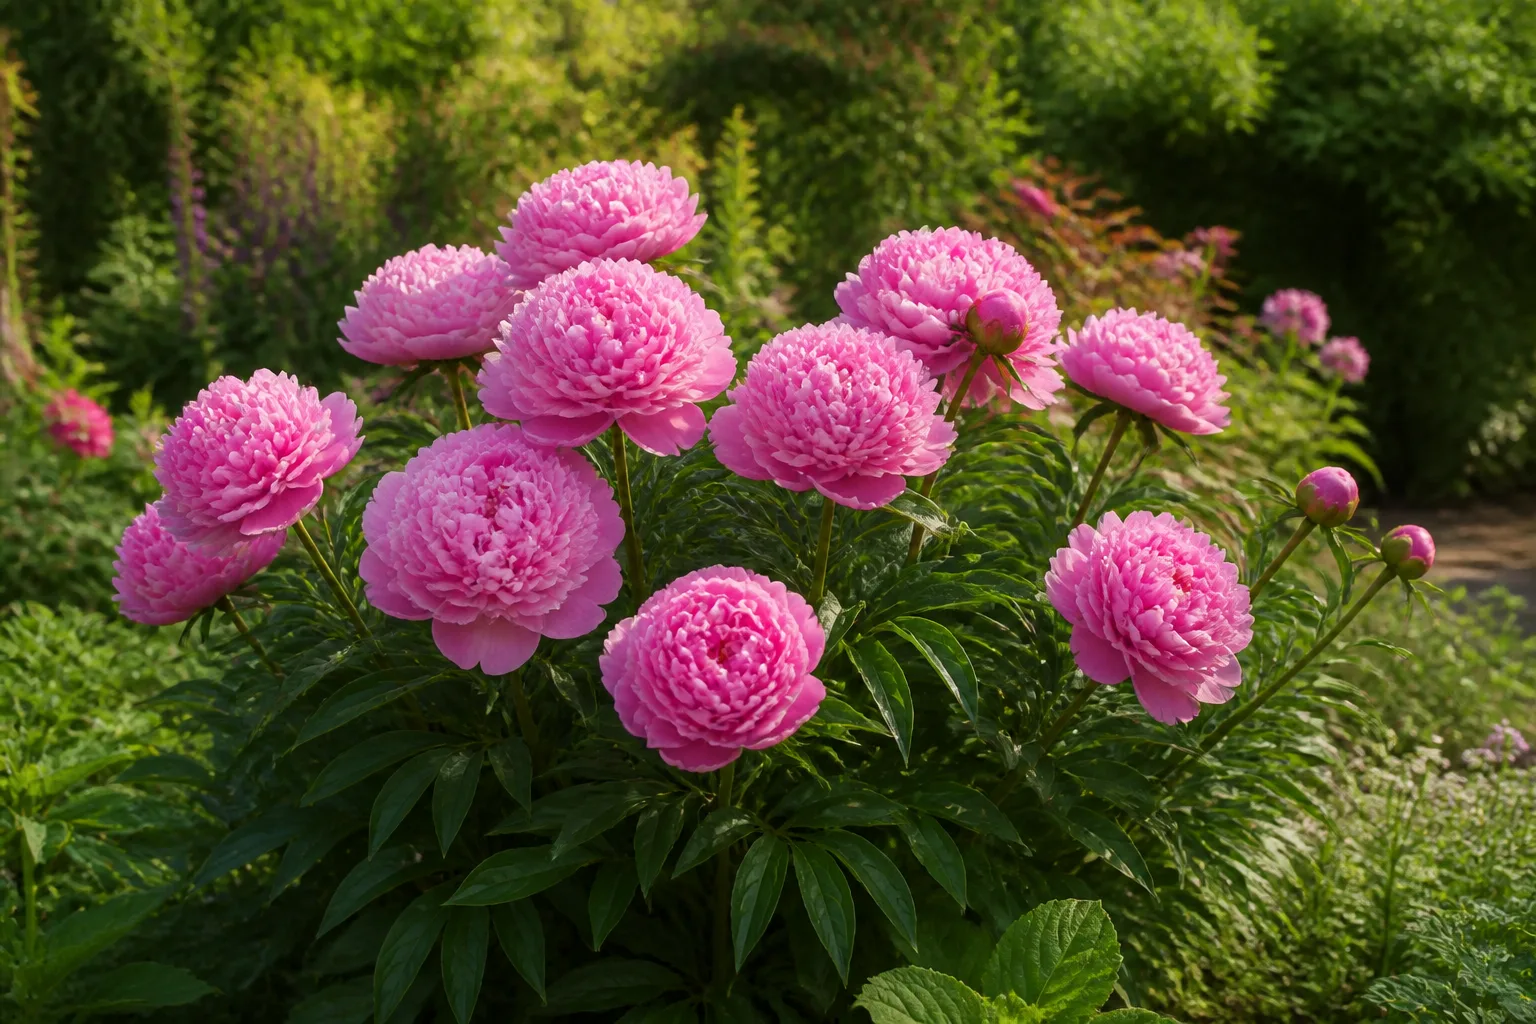
Peonies are easiest to design with when you stop treating them as short-lived color and start treating them as long-lived garden anchors. A mature clump can hold the middle of a perennial border, mark the bend in a path, soften a fence line, or give an entry bed one unforgettable moment in late spring. The flowers are brief, but the plant’s foliage and shape remain part of the composition for months.
The best peony landscaping ideas begin with a practical match: choose a peony type that fits the site, leave enough room for its mature spread, and place companions where they can take over before or after the main bloom. A sunny, well-drained site matters more than a clever color scheme. The Peony Society’s growing guidance emphasizes full sun for most peonies, excellent drainage, careful planting depth, and generous spacing; those are design constraints as much as care instructions. (The Peony Society)
Pick the Right Peony Type for the Design
“Peony” describes several landscape personalities. Herbaceous peonies are the familiar clump-forming perennials that die back to the ground in winter. Itoh, or intersectional, peonies also die back but usually have sturdier stems, finely divided foliage, and a useful range of yellow, apricot, and coral flowers. Tree peonies keep woody stems and form a shrub-like framework, while woodland species are better suited to specialized edges with filtered light.
Choose the plant for the job you want it to do, not only for the flower photograph on the nursery tag.
| Peony type | Strongest landscape role | Site and design note |
|---|---|---|
| Herbaceous | Repeated clumps in a sunny border, cutting garden, or informal group | Soft stems may need support; foliage stays useful after bloom |
| Itoh or intersectional | Specimen clump, front-to-middle border, or small-space focal point | Sturdy stems and long-lasting foliage make it easier to place near a view |
| Tree peony | Woody specimen, mixed shrub border, or sheltered transition | Give it room to branch; morning sun or filtered afternoon light can suit it |
| Woodland or species peony | Bright woodland edge or specialized naturalistic planting | Do not use it as a substitute for a sun-loving garden peony |
Fine Gardening describes the common garden peony as a long-lived plant for mixed, herbaceous, or shrub borders, with full sun to part shade and moist but well-drained soil. (Fine Gardening’s common garden peony profile) The distinction between types also changes your maintenance plan: an herbaceous clump can be cut back after dormancy, but a tree peony’s woody structure is part of the plant and should not be treated like seasonal stems.
For a compact yard, look for a cultivar with a mature width and height that fit the bed rather than relying on the word “dwarf.” For a rain-exposed site, single, semi-double, or sturdy-stemmed forms can be more forgiving than very full doubles. For a formal entry, a matched pair of herbaceous or Itoh clumps may give better rhythm than one oversized tree peony squeezed beside a walkway.
Test the Site Before Drawing the Bed
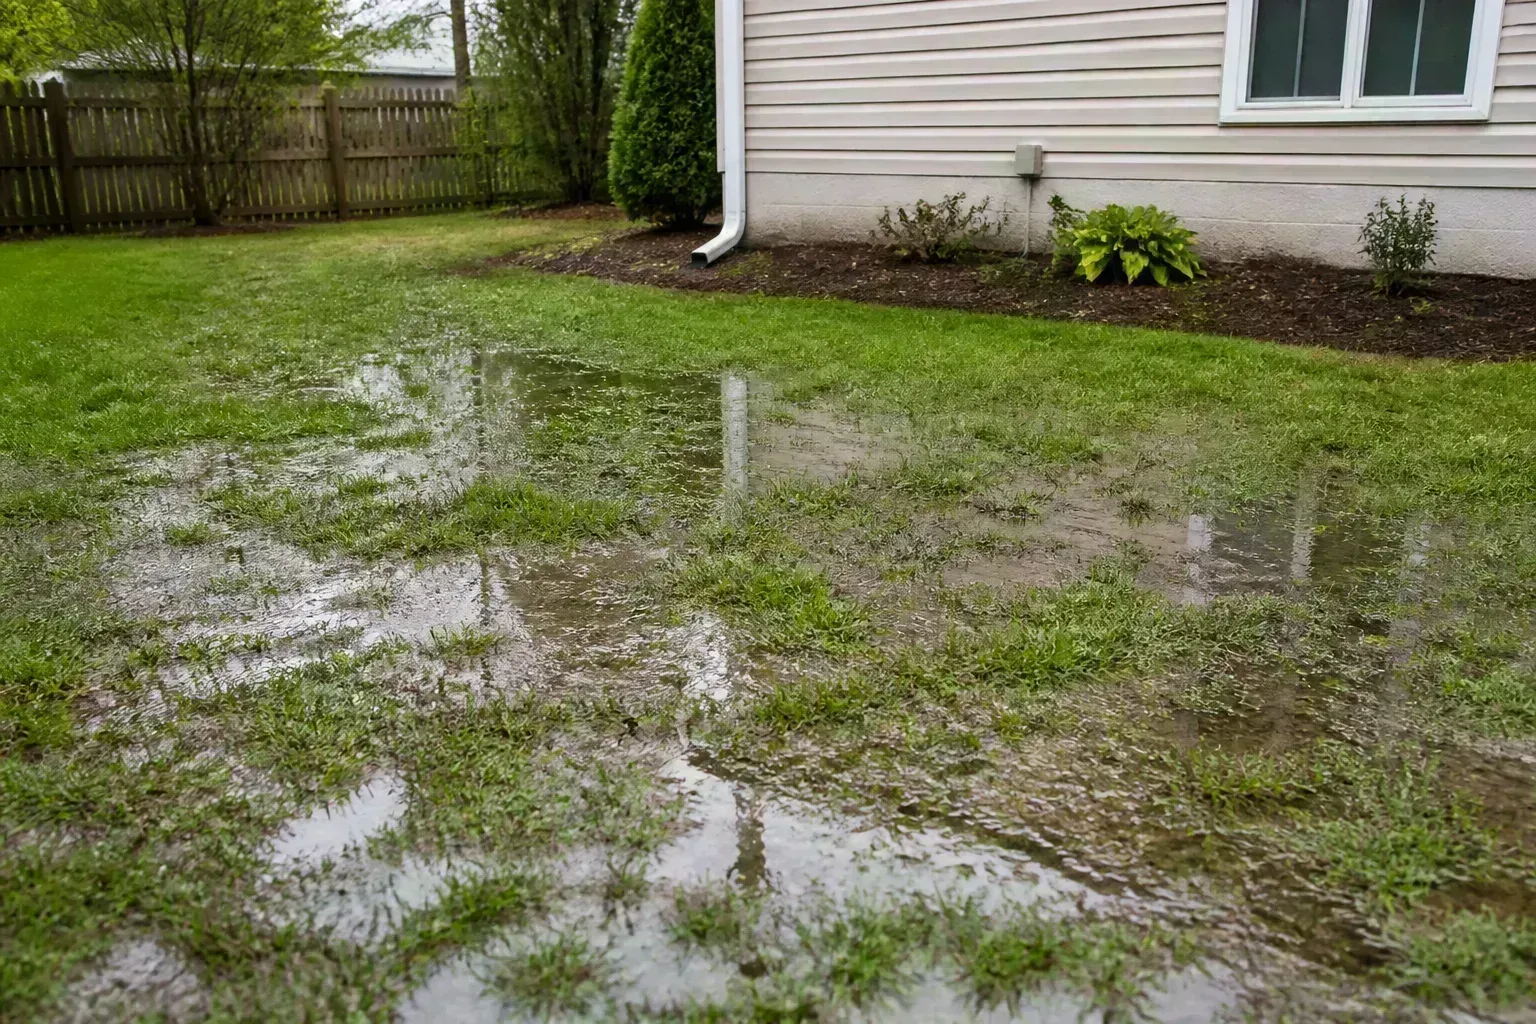
Before you sketch a border, watch the proposed location through a full day and after a hard rain. A peony may look perfect in a spring nursery display, yet fail in a bed that loses afternoon light, stays wet near a downspout, or sits inside the root zone of a mature tree. Moving an established peony is disruptive, so make the site decision before you buy.
Start with four questions:
- Does the planting spot receive at least six hours of direct light, or is it reliably bright filtered light for a type that tolerates it?
- Does water drain away rather than sit around the crown after a storm?
- Will nearby trees, hedges, or large shrubs compete for water and roots as they mature?
- Is there enough space for the peony’s adult width plus a service gap for deadheading, support, and cleanup?
The first question protects flowering. The second protects the fleshy roots from chronic wetness. The third prevents a beautiful young bed from becoming shaded and thirsty in five years. The fourth keeps you from planting companions so close that the peony becomes a damp, inaccessible island.
Sun, Drainage, and Root Competition
Most herbaceous and Itoh peonies want a sunny position. A few hours of morning sun with light afternoon shade can work for some tree or woodland types, especially where summer heat is intense, but dense shade usually means fewer or smaller flowers. A south-facing bed can be bright enough in spring and shaded by a leafed-out tree in summer, so judge the site in the season when the tree has foliage.
Drainage deserves a simple test. Dig a hole about 18 inches deep, fill it with water to wet the surrounding soil, then refill it and watch how long the water takes to disappear. The Peony Society presents this as a practical way to identify sites that drain too fast, drain well, or remain chronically wet. If water is still standing after a day, choose another site or correct the drainage with a genuinely raised or mounded bed rather than hoping compost in one hole will solve it. (The Peony Society’s site guidance)
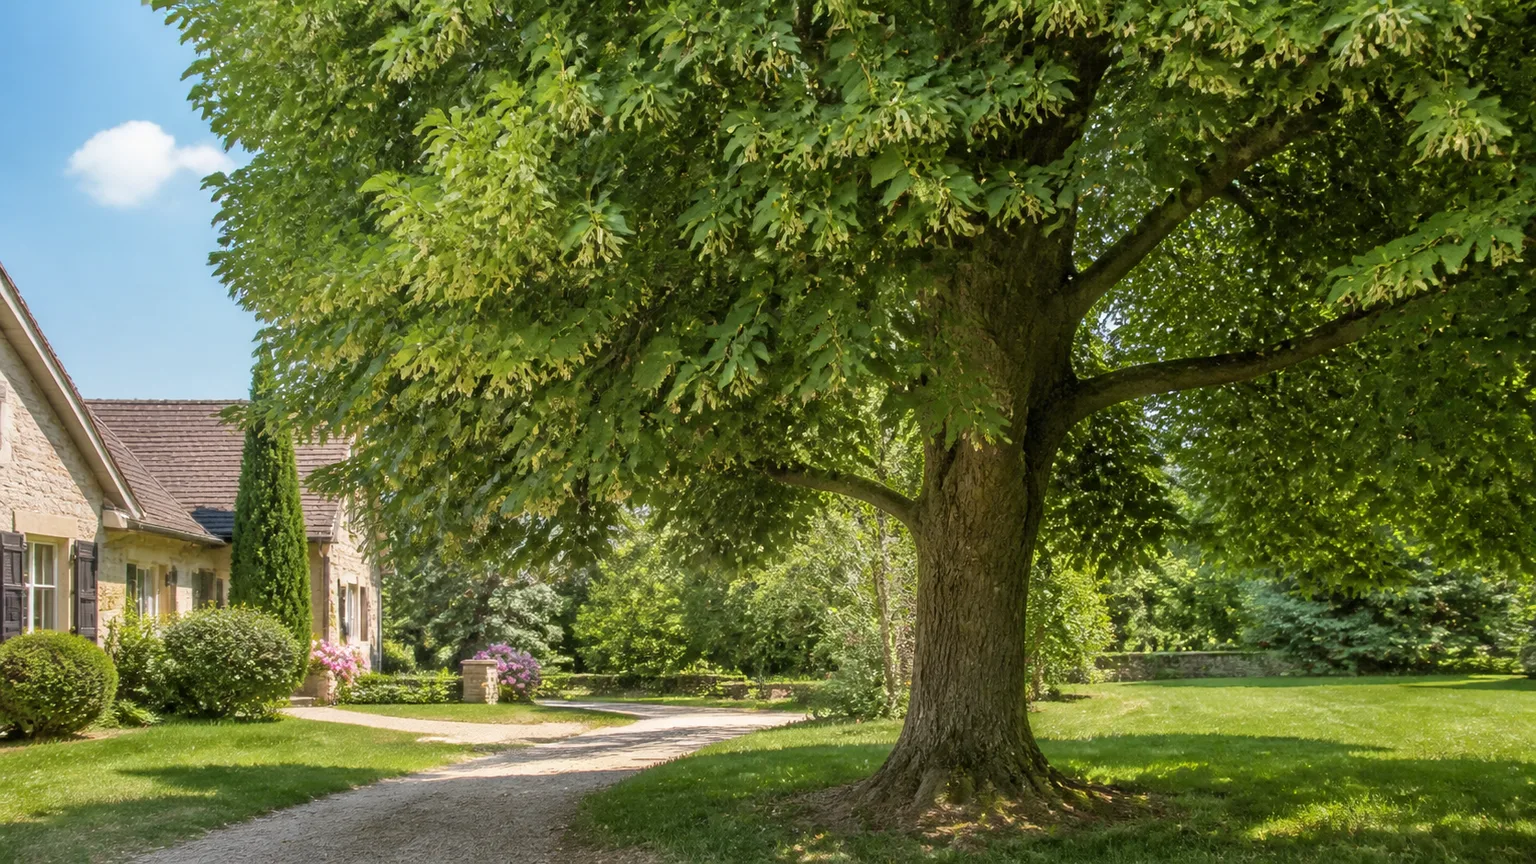
Keep peonies away from the direct root competition of large trees whenever possible. A tree canopy can create attractive dappled light, but tree roots also remove moisture and nutrients from the same soil volume. Plant at the bright edge of that habitat only when the peony type and watering reality agree; do not place a full-sun herbaceous cultivar under a dense, mature canopy and call it a woodland design.
Five Peony Landscape Layouts That Work
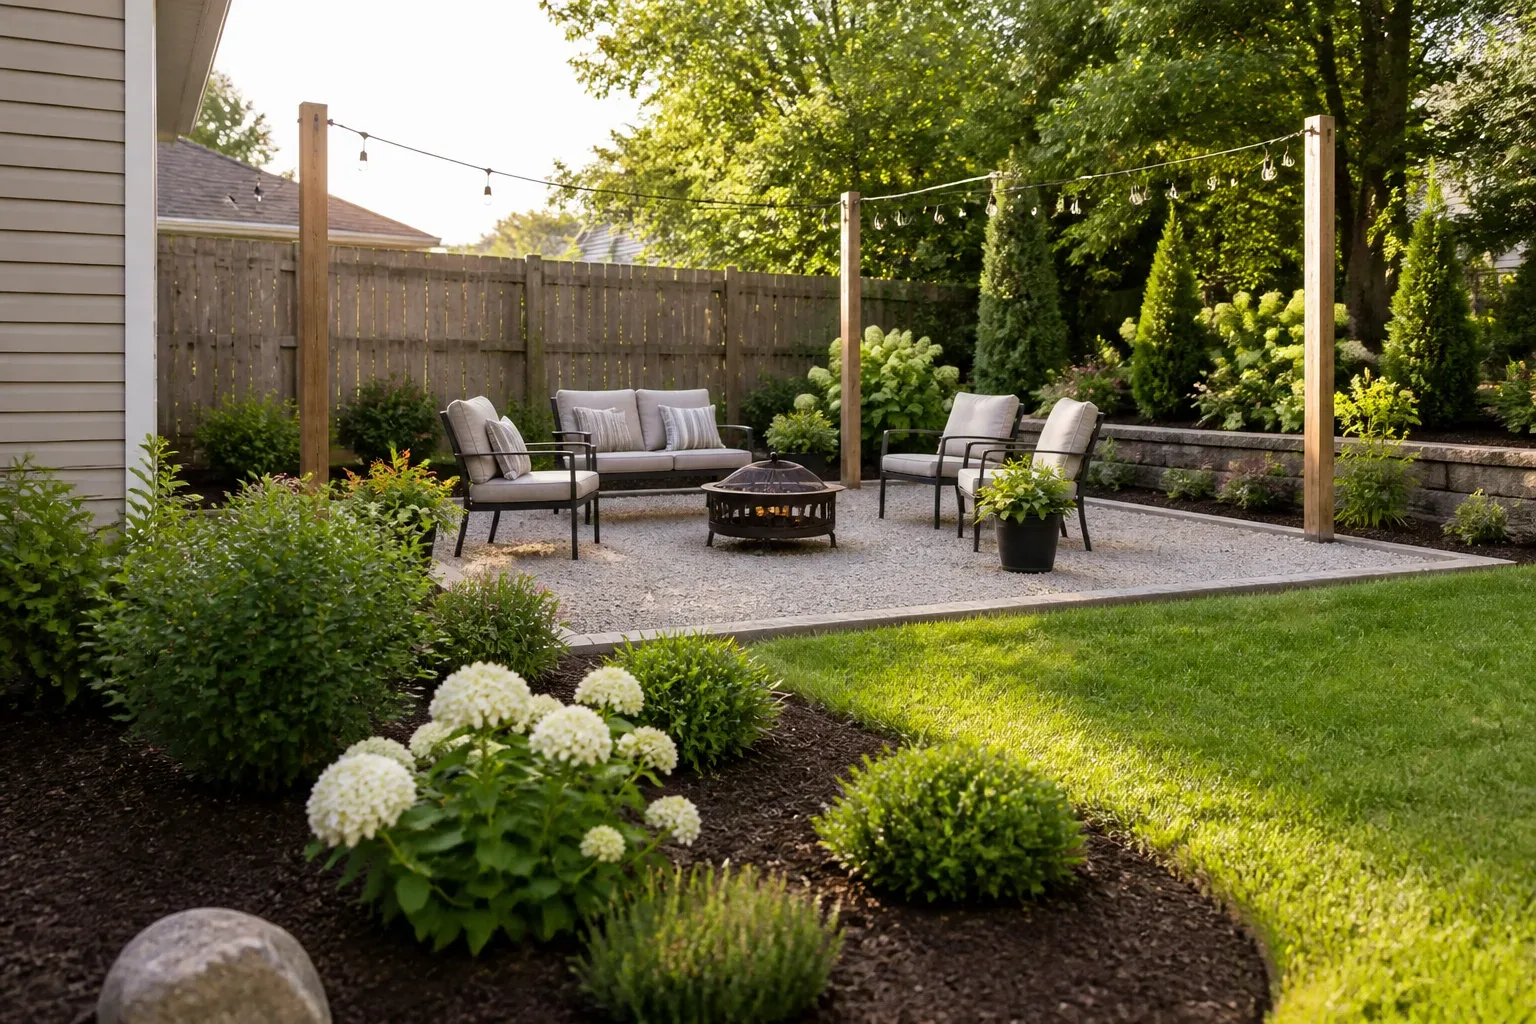
The most convincing peony beds have a clear viewing angle and a reason for each plant’s position. Decide whether the bed is seen from the house, the street, a path, or all three. Then place the peony where its flowers can be seen without forcing shorter plants into permanent shade.
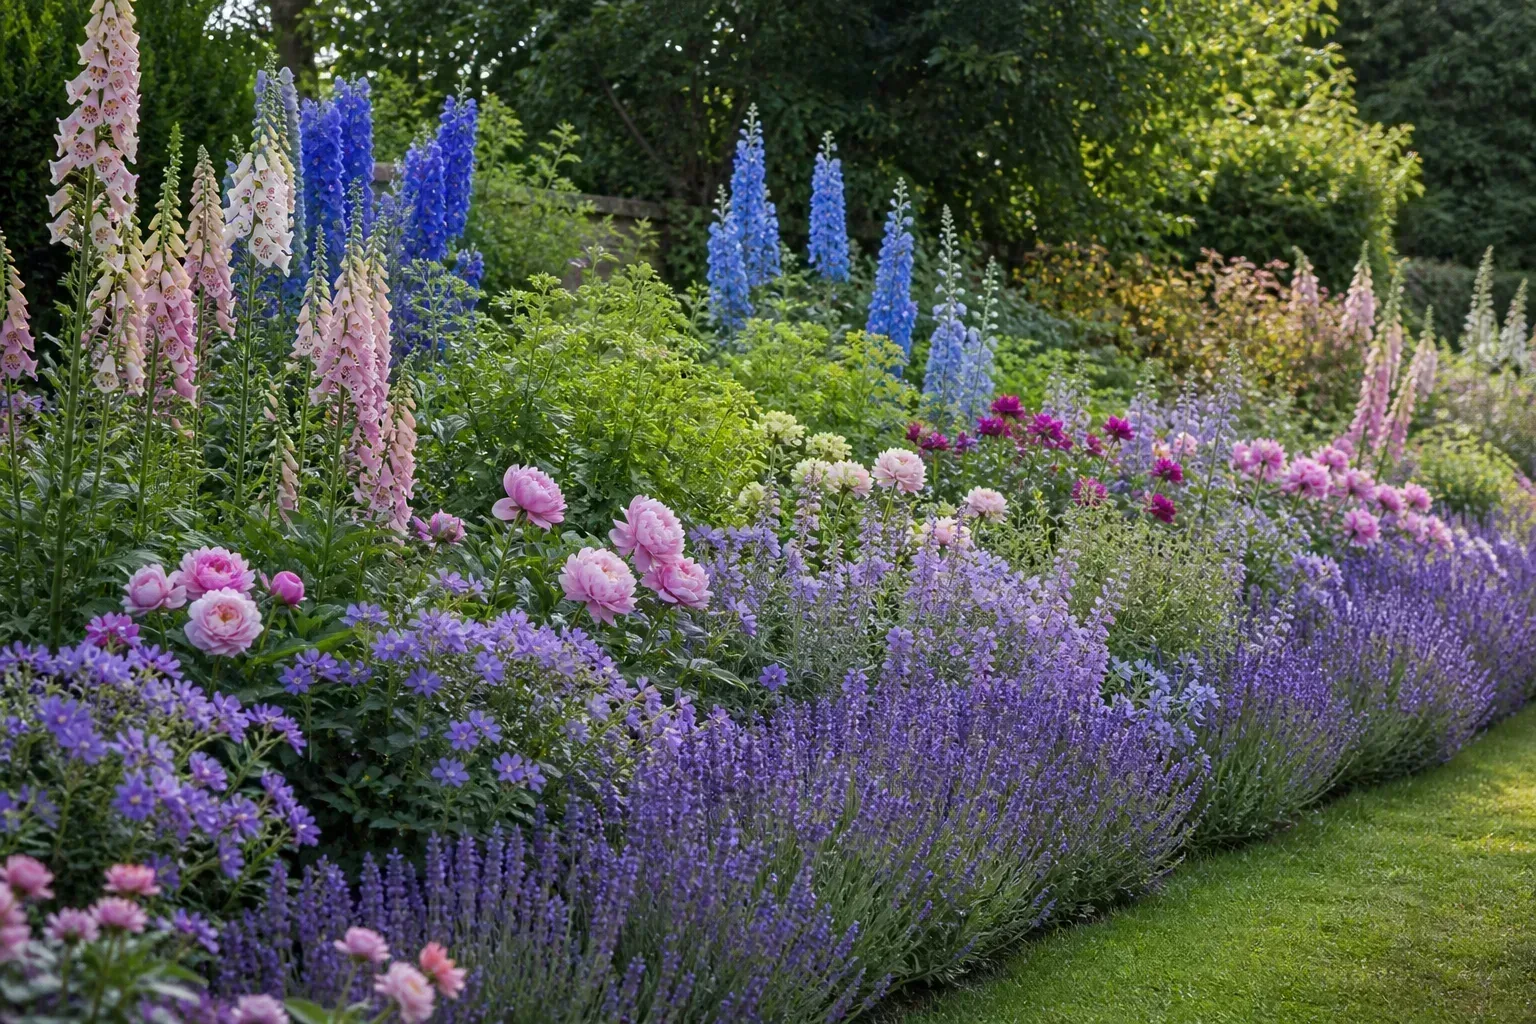
A layered border gives peonies a starring role while surrounding them with contrast and season-long structure.
Mixed Perennial Border
A mixed border is the most flexible use for herbaceous or Itoh peonies. Place peonies in the middle layer, then build lower foliage toward the path and taller, airy plants behind them. Repeating two or three peony clumps at intervals usually looks more intentional than scattering single plants wherever a gap appears.
Keep the peony’s leaves visible after flowering. A front layer of hardy geranium, lady’s mantle, catmint, or a restrained ornamental grass can soften the lower stems, while bearded iris or alliums can provide shape around the bloom window. Avoid filling the entire space with plants that peak at the same height and time; the bed will look crowded in May and strangely empty in July.
Fence-Line Group or Soft Hedge
A row of peonies along a fence can create a low, seasonal hedge, but it will not behave like an evergreen screen. The plants are most effective when the fence supplies permanent structure and the peonies supply a burst of flowers in late spring and early summer. Use repeated cultivars for a calm, formal effect, or alternate compatible colors for a looser cottage-garden rhythm.
Leave enough room between the peonies and the fence for air to move and for you to reach the back of the plants. A narrow strip that traps leaves against a solid fence is harder to clean and more likely to stay damp after rain. If the fence casts afternoon shade, favor a type that tolerates that exposure or move the row toward the brighter side rather than accepting weak bloom.
Entry Path or Front-Bed Focal Point
Peonies make excellent focal points near a path because their flowers reward close viewing and their fragrance is easiest to notice where people walk. Put a clump where it can be approached without brushing against it, and keep mature stems from narrowing the route. Itoh peonies are especially useful near a frequently viewed bed because their foliage often remains tidy and their stems are less likely to collapse across the path.
For a formal entrance, use one specimen with a low evergreen or clipped edge to frame it. For a relaxed entrance, combine a peony with iris, nepeta, or a low perennial that guides the eye toward the door. Do not plant a tree peony under the eaves simply because the spot is sheltered; roof runoff and shallow foundation soil can be poor conditions even when the composition looks right.
An island bed lets a group of peonies read from every direction. Put the tallest or widest plants toward the center, then lower companions around the perimeter. This works well with a compact herbaceous or Itoh cultivar, but a mature tree peony needs more room than most small island beds provide.
Use repeated flower colors and varied foliage to keep the island from becoming a pink blob. A silver-leaved plant, upright iris, or fine-textured grass can separate large peony flowers without competing for the same visual space. Leave a clear mulch edge so the bed still looks deliberate before growth begins.
Likewise, a tree peony can function like a flowering shrub among other woody plants, especially in a sheltered mixed border with morning sun and light afternoon shade. Give it breathing room on all sides and place it where the branching framework can be seen after the flowers pass. Its slower establishment is a reason to treat it as permanent structure, not a temporary filler.
Avoid pairing a tree peony with a fast-growing shrub that will eventually overtop it. Check the mature height of every neighbor, not only the size at installation, and maintain a clear route for pruning dead wood and removing fallen leaves.
Use Companions to Carry the Season
Companion plants are most useful when they perform a specific design job. Choose at least one plant that blooms before the peony, one that overlaps it with a contrasting form, and one that keeps the bed visually active afterward. This is more dependable than choosing a long list of flowers that all bloom for two weeks in the same color family.
For early interest, columbine or spring bulbs can occupy the front edge without hiding the emerging peony stems. During the main show, bearded iris supplies upright leaves and angular flowers beside the peony’s rounded blooms. Ornamental alliums add spherical heads at a different scale, while hardy geranium can cover the lower portion without forming a tight collar around the crown.
For later interest, delphinium offers height behind the peony if you can stake it, and Russian sage provides airy texture at a sunny, drier outer edge. These plants do not share exactly the same moisture needs: Russian sage prefers sharper drainage and occasional dryness, while a new peony needs consistent moisture as it establishes. Place them in different parts of the bed instead of forcing one irrigation schedule on all of them.
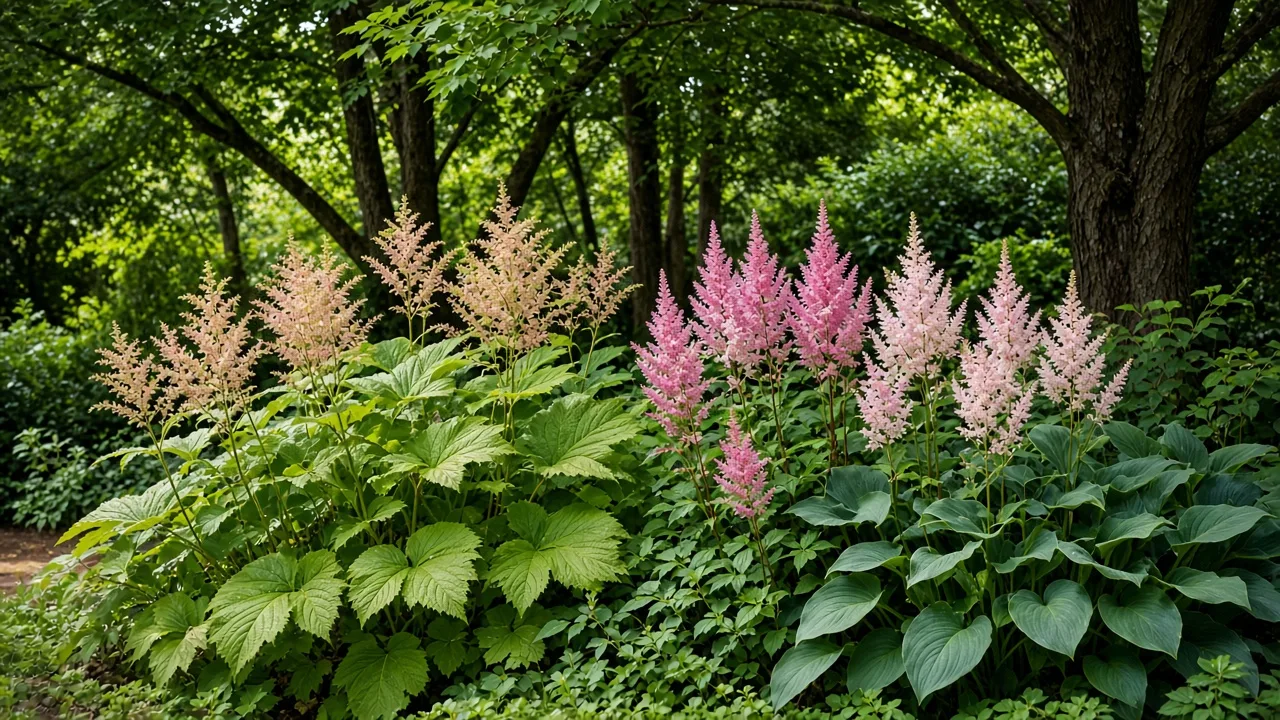
A woodland edge calls for a different companion strategy. Virginia bluebells or a shade-tolerant groundcover may work near a tree peony or specialized species peony, but they are poor substitutes for sun-loving companions in the center of a sunny herbaceous border. Always match the companion to the actual microclimate, not simply to a pleasing catalog photograph.
Plan Color, Height, and Texture Together
Color is only one layer of a good peony garden. The most durable designs coordinate flower color with height, leaf shape, bloom form, and what remains when flowers are gone. Country Living’s garden-design guidance makes a similar practical point: a lush garden can mix tall and short plants, but the planting still needs enough light and room to avoid crowding. (Country Living’s English garden design guide)
Use one of three color approaches. A limited palette of blush, white, and soft blue feels calm and works well near a house. A hot palette of coral, red, and apricot makes a focal bed more visible from a distance. Repeated pink peonies with purple iris or blue delphinium create contrast without turning every plant into a competing accent.
Height should follow the sun. In a bed viewed from the south, put delphinium, tall grasses, and larger shrubs toward the north or back side so they do not shade the peonies. Put low companions at the viewing edge, but not so close that they touch the crown. If the bed is viewed from all sides, use a gradual height change from center to edge.
Texture keeps the composition legible. Large, rounded peony flowers look richer beside narrow iris leaves, airy allium stems, or finely cut foliage than beside another plant with the same dense, rounded shape. Repeat a texture in two or three places so it becomes a design thread rather than a one-off novelty.
Space for Mature Spread and Airflow
Planting distance is a visual decision and a plant-health decision. A new division may occupy only a small circle, but a mature herbaceous peony can fill a broad area with leaves and flowering stems. Allow about 3 feet between many garden peony centers as a starting point, then widen the spacing for large cultivars, humid climates, or a more open composition. The Peony Society notes that closer spacing can close the soil sooner, while wider spacing improves wind movement and can reduce Botrytis pressure.
Tree peonies need a different scale. Give a specimen enough room to branch without immediately touching a fence, shrub, or path; a generous 4- to 6-foot working zone around the plant is often more realistic than a narrow shrub border. Confirm the cultivar’s mature width before finalizing the bed because tree peony size varies significantly.
The goal is not empty soil. The goal is usable air and access. You should be able to water the base, install a support ring, cut a spent flower, and remove diseased leaves without kneeling on neighboring plants. If you want the space to look full early, use a thin mulch layer or temporary annuals at the edge rather than planting a permanent groundcover into the peony’s crown space.
Plant So the Layout Lasts
Peonies reward a permanent-site mindset. Prepare the whole planting area, correct drainage broadly, remove perennial weeds, and set the crown at the depth appropriate for its type. A narrow hole full of rich compost can settle differently from the surrounding soil and leave the root too deep or too wet.
Autumn is generally the best planting window for bare-root divisions because the soil remains workable while top growth is slowing. The Peony Society specifically recommends fall planting and notes that bare-root plants have time to make fine roots before winter. Ask Extension also highlights planting depth as a key factor in whether peonies flower. (Ask Extension’s peony planting response)
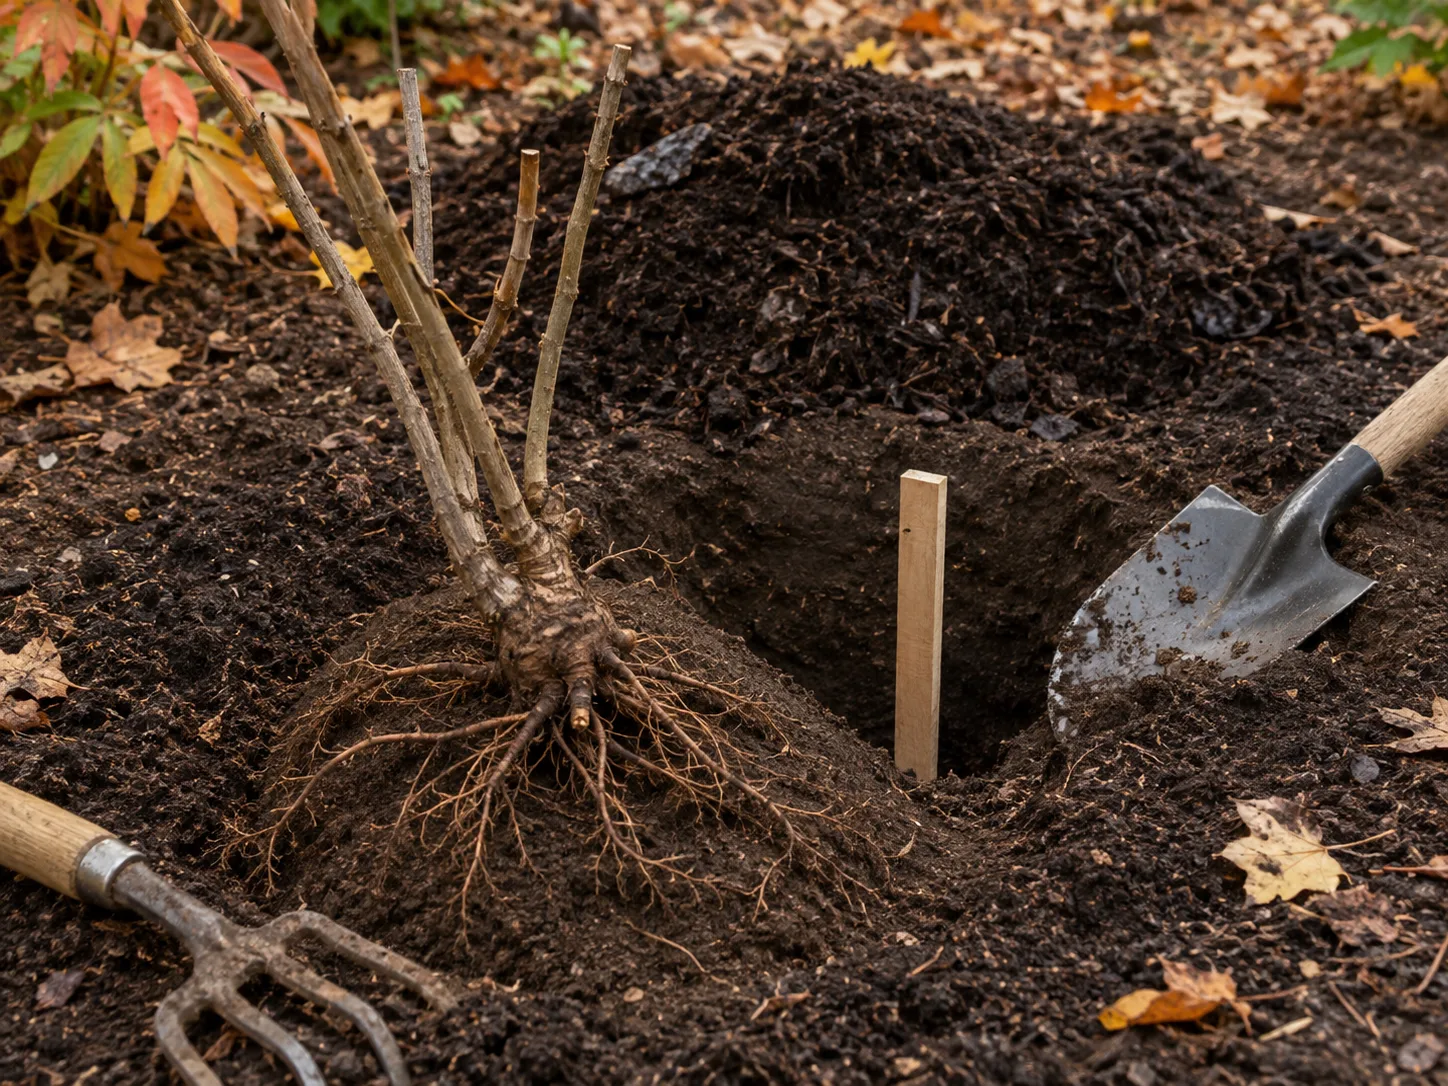
A permanent peony placement starts with a prepared bed, open root space, and a planting depth that fits the type.
Bare-Root Crowns and Planting Depth
On a bare-root herbaceous or Itoh peony, the pink or reddish growth eyes should sit only about 1 to 2 inches below the finished soil surface. Set the root horizontally with the eyes facing upward and the roots spreading down and outward. Then water the soil so it settles and recheck the depth before adding mulch.
Deep planting is one of the most common reasons for a plant that produces handsome leaves but few flowers. Remember that later compost, soil, and thick mulch all count as added depth. Keep the crown area relatively clear and apply mulch around, not over, the eyes.
Do not make the mistake of planting a tiny division at the front edge of a bed because it looks small. It may take two or three seasons to build a substantial clump. Leave the adult footprint from the beginning, and use temporary low plants only if they will not compete for water or make later access difficult.
Potted Plants and Tree Peony Exceptions
Set a potted herbaceous or Itoh peony at the same soil level it occupied in its container, unless the nursery’s instructions say otherwise. Gently loosen roots that are tightly circling, but do not shred a root ball simply to make it fit a decorative planting hole. Spring planting is possible for a healthy container plant, but it demands closer watering through the first summer.
Tree peonies require more careful reading of the label. Many are grafted, and the graft union is typically planted several inches below the soil surface so the scion can establish its own roots; the Peony Society describes roughly 4 to 6 inches of soil above the graft for common grafted shrubs. Own-root tree peonies do not have that same graft-depth requirement, so follow the nursery’s directions rather than applying the herbaceous 1- to 2-inch rule to every plant.
Itoh peonies are planted shallowly like herbaceous peonies because they die back above ground. If a label leaves the type unclear, identify the crown or graft union before planting. A five-minute check is easier than repairing a buried plant after a season of weak flowering.
Keep the Bed Attractive After Flowers Fade
Peony flowers may dominate the spring photograph, but the foliage is what carries the design through summer. Leave healthy leaves in place after flowering so the plant can replenish its crown. Deadhead faded blooms if you want a cleaner look, but do not turn the whole clump into a bare patch immediately after the petals fall.
This is why the front layer matters. Hardy geranium, low catmint, lady’s mantle, or a modest grass can disguise lower stems while leaving enough light and air around the peony. Taller late-season plants can occupy the background, but they should not smother the foliage or turn the crown into a damp pocket.
In autumn, cut herbaceous and Itoh stems back after the foliage has yellowed or frost has ended the season, and remove the debris from the bed. Tree peonies keep their woody stems; remove only dead or damaged growth and shape them lightly when appropriate. Clean fall work is not merely cosmetic—infected leaf and stem debris can carry fungal inoculum into the next season.
Think about winter structure as you plan. A low evergreen edge, stone border, fence, or the branching framework of a tree peony can keep the bed from disappearing when the herbaceous stems are dormant. Good landscape design gives the site a reason to exist in March as well as in the week the peonies bloom.
Support Heavy Blooms Without Hiding the Plant
Large double peony flowers can become heavy with rain, especially when stems are soft or the clump is exposed to wind. Install a peony ring or discreet support before the buds open and the stems lean. A support added after a storm often pulls stems together, traps wet foliage, and looks more obvious than one that grew into the plant.
Choose a ring that is wide enough to support the outer stems without squeezing the clump. Set it low while shoots are emerging, then let the foliage hide most of the structure. In a small front bed, prioritize sturdy-stemmed or Itoh cultivars if you want less visible hardware. In a cottage border, a few slim stakes and soft ties can work, but place them where they do not cut across the main viewing line.
Support should inform placement. A peony that predictably flops across a narrow path is in the wrong location even if the flower color is perfect. Move the path, widen the bed, choose a sturdier cultivar, or install support early; do not wait for the first rain to decide.
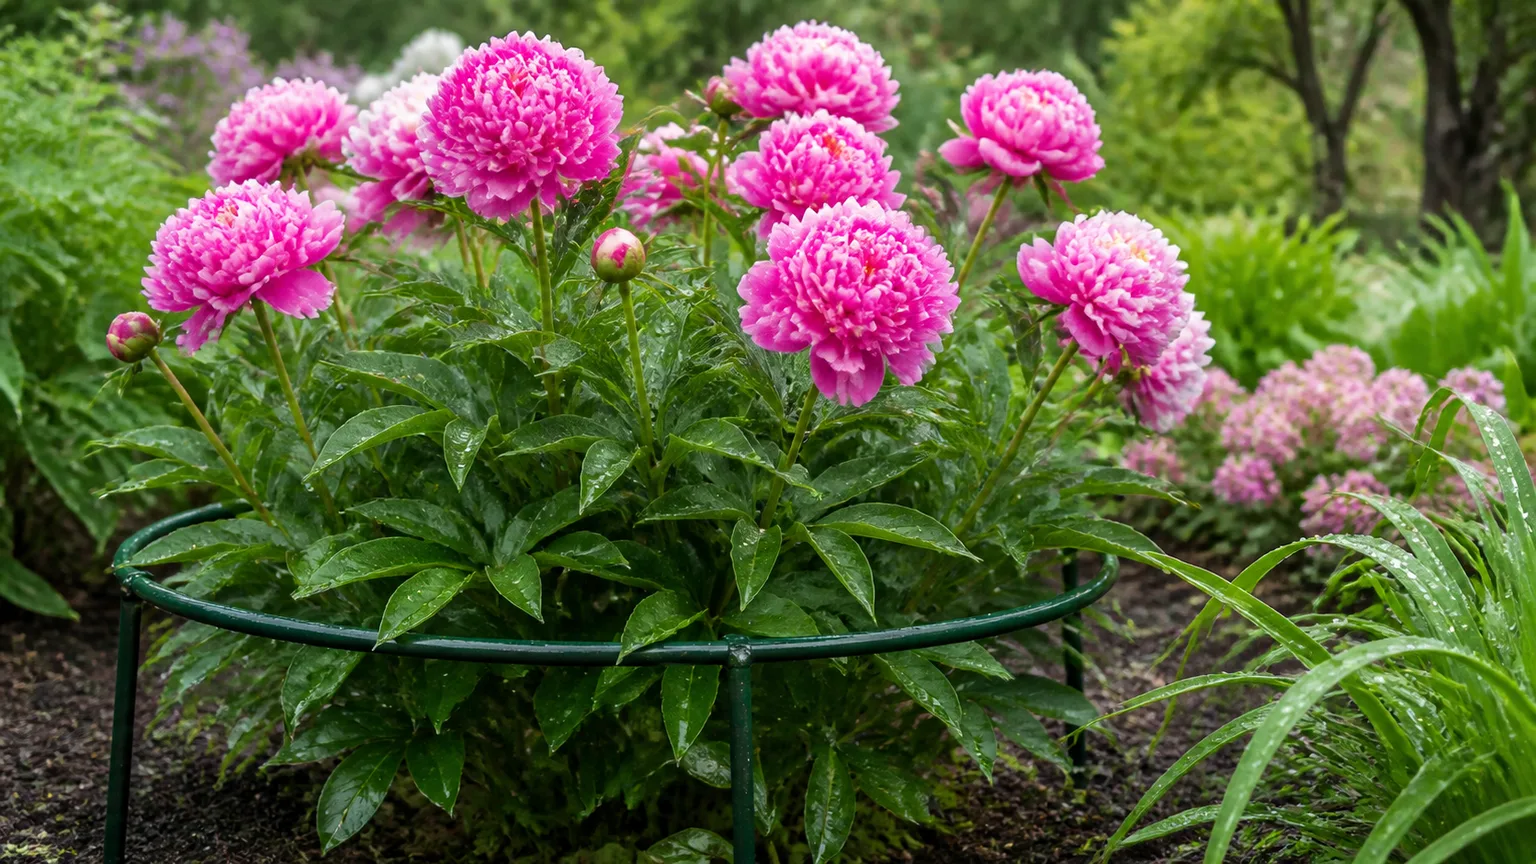
Early support protects the flowers and keeps a peony from collapsing into its companions after rain.
Water, Mulch, and Disease Prevention
Peonies are not drought-proof, especially in their first year. Water slowly at the soil line when the upper few inches begin to dry, then let excess water drain away. Sandy soil, hot wind, recent planting, and a long stretch without rain shorten the interval; cool clay soil lengthens it. A rigid calendar is less useful than checking the root zone.
Keep water off dense foliage when possible. Soil-level irrigation reduces splash and allows leaves to dry faster, which is helpful where Botrytis blight, leaf spots, or mildew are recurring problems. The Peony Society identifies Botrytis as a common disease and connects prevention with airflow, sanitation, and removal of infected material. Avoid planting so tightly that the leaves form a wet canopy with no air movement.
Mulch should moderate moisture and suppress weeds, not bury the crown. Spread a light layer over the surrounding soil and leave a clear ring around the base. If a new plant needs extra winter protection in a cold region, place mulch after the ground freezes and pull it back from emerging shoots in spring.
Fertilizer is a secondary design tool, not a cure for a weak site. Test the soil if growth is poor, and do not respond to missing flowers with repeated high-nitrogen feeding before checking planting depth, light, plant age, drainage, and root competition. A bed that is too shady will not become a sunny bed because the peony receives more fertilizer.
Common Mistakes to Avoid
Planting by flower color alone. A catalog color does not tell you whether the cultivar needs a support ring, how wide it becomes, or whether it will tolerate your winter and summer conditions. Read the mature dimensions and bloom timing before you place it on the plan.
Burying the crown under a new mulch layer. This is especially easy in a renovated bed where soil and compost are added after planting. Keep herbaceous and Itoh eyes shallow and recheck the finished grade after the bed settles.
Putting a sun-loving peony beneath a mature tree. Filtered light can look beautiful, but the roots and canopy may reduce flowering and moisture. If the site is genuinely shady, choose a plant suited to that habitat or use the bright edge rather than forcing a full-sun cultivar into the deepest shade.
Packing companions into the crown space. Dense groundcovers and aggressive spreaders can make watering, support, division, and sanitation difficult. A clear working zone is part of the design, not wasted space.
Planting a tree peony like an herbaceous peony. The graft union, woody stems, and mature shrub footprint require different handling. Identify whether the plant is grafted or own-root and follow its specific directions.
Cutting all foliage immediately after bloom. The flowers are finished, but healthy leaves are still feeding the crown. Use companions to hide a tired lower edge and wait for natural dormancy before the final cutback.
Expecting a new plant to fill the bed immediately. Peonies are patient plants. A small division may need several seasons to become the clump you pictured, so use proper spacing from the start and resist the urge to crowd it with permanent neighbors.
Conclusion
The most successful peony landscaping ideas begin with a simple order of operations: choose the type, test the site, reserve the mature space, and then design the companions around the bloom calendar. Herbaceous peonies anchor sunny perennial borders, Itoh peonies bring sturdy form to visible beds, and tree peonies provide woody structure where they have room to branch.
Use repeated clumps for a fence line, layered heights for a mixed border, a carefully supported specimen near a path, or a tree peony as the flowering shrub in a larger composition. Keep the crown shallow, the soil well drained, the foliage clean, and the bed interesting after the flowers fade. That combination gives the garden more than a beautiful week—it gives the peony a place it can occupy for years.