How to Grow and Care for Peperomia Orba Indoors
Learn how to care for Peperomia orba (Pixie Lime): choose bright indirect light, water by soil dryness, use an airy mix, and root cuttings successfully.
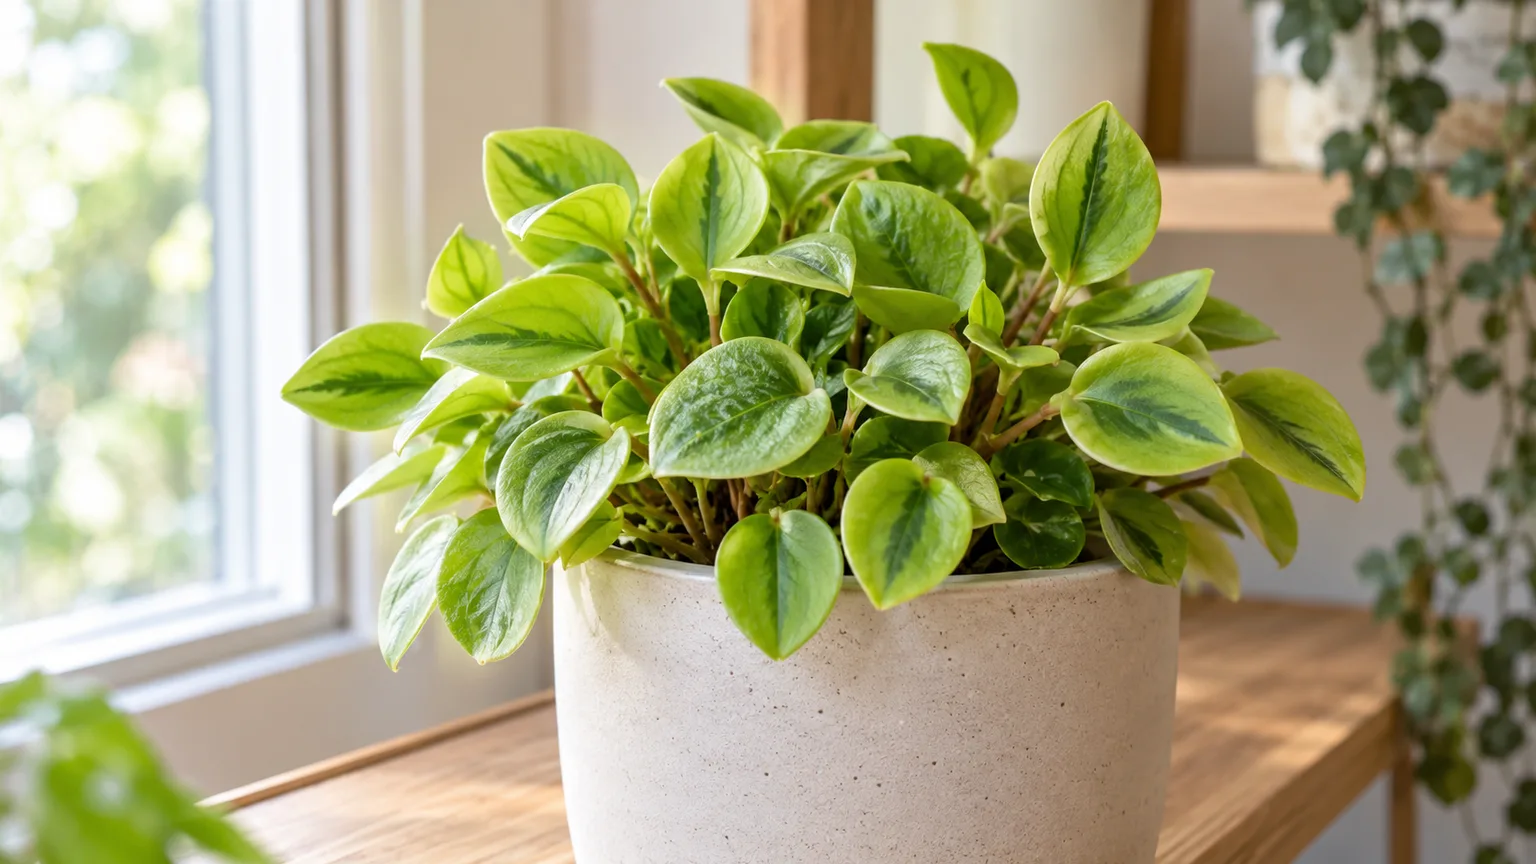
Peperomia orba, often sold as Pixie Lime, is a compact houseplant with fleshy green leaves and a forgiving nature once its roots are kept out of soggy soil. The easiest way to grow it well is to give it bright, filtered light, a loose mix, and a pot that dries at a reasonable pace. You do not need to follow a weekly watering calendar or keep the room tropical.
The details matter because “Peperomia” covers a large and varied genus. NC State’s Plant Toolbox notes that Peperomia species differ in growth habit and that many adapt to ordinary indoor humidity while still needing well-drained soil and protection from overwatering. That broad pattern is useful, but care should follow the plant in your pot rather than a one-size-fits-all rule. (NC State Extension Plant Toolbox)
Peperomia Orba at a Glance
| Need | Practical starting point |
|---|---|
| Light | Bright indirect light; gentle morning sun is usually easier to manage than hot afternoon sun |
| Water | Water thoroughly when the upper part of the mix has dried and the pot feels lighter |
| Soil | Loose indoor potting mix amended with perlite or pumice; use a pot with a drainage hole |
| Temperature | Normal warm indoor conditions, roughly 60 to 80°F; protect it from frost and cold drafts |
| Humidity | Average home humidity is generally adequate; improve very dry air only if the plant shows a pattern of stress |
| Feeding | A diluted balanced houseplant fertilizer during active spring and summer growth, if the plant is growing |
| Repotting | Move up only when roots fill the pot or the mix has compacted and stopped draining well |
This is a starting point, not a rigid schedule. A small plant in a plastic pot in a humid bathroom uses water differently from a fuller plant in terracotta beside a sunny window. Check how quickly the mix dries and adjust one condition at a time.
How to Identify Pixie Lime
Peperomia orba is a low, compact peperomia with fleshy oval-to-teardrop leaves. Plants sold as Pixie Lime are typically selected for bright green foliage and a small, tidy shape. Nursery labels are not always consistent, so use the plant’s actual growth and leaf texture to guide care rather than relying on a common name alone.
Do not confuse it with every plant marketed as a “radiator plant.” That nickname is used for several peperomias, especially Peperomia obtusifolia, which has larger, thicker leaves and a different upright form. The Missouri Botanical Garden’s care notes for P. obtusifolia are still useful as a comparison: they emphasize bright indirect light, moderate watering, and letting the soil approach dryness before watering again, but they are not a precise schedule for P. orba. (Missouri Botanical Garden Plant Finder)
Like many peperomias, P. orba is semi-succulent: its leaves and stems hold some water. That does not make it a desert succulent that can be ignored for weeks, but it does mean that roots need air and the potting mix should not remain wet. Extension guidance from Arkansas describes peperomias as having relatively small root systems and warns that they can be overwatered, especially when growth slows in winter. (University of Arkansas Extension: Peperomia)
Give It Bright, Indirect Light
Place Peperomia orba near a bright window where the leaves receive plenty of ambient daylight without sitting in strong midday sun. An east-facing window is often an easy choice. A north-facing window can work if the room is genuinely bright; a south- or west-facing window is usually better with a sheer curtain or a little distance from the glass.
Lower light may keep the plant alive, but it can slow growth and make stems stretch toward the window. If new growth becomes sparse, the plant leans, or the bright lime color dulls, move it closer to a light source before adding fertilizer. More light gives the plant energy to grow; fertilizer cannot make up for a dark location. Epic Gardening likewise cautions that most peperomias prefer indirect light and that direct sun can scorch foliage, while noting that the needs vary by species. (Epic Gardening: Peperomia Care)
If the plant has been kept in a dim shop or a shaded corner, increase light gradually over a week or two. A sudden move into direct sun can leave pale, dry patches that do not turn green again. Turn the pot a quarter-turn every week or two if one side is consistently facing the window, but do not rotate it daily; a stable position makes it easier to judge new growth.
Water by Soil Dryness, Not a Calendar
Before watering, feel the potting mix rather than checking the date. Let the upper inch or two dry for a small pot, then water when the pot is noticeably lighter and the mix is no longer cool and damp near the surface. The exact depth depends on pot size: in a very small nursery pot, a finger can reach much of the root zone, so do not wait until every bit of mix is bone-dry.
When it is time to water, pour slowly over the soil until water exits the drainage hole. Let the pot drain fully, then empty the saucer or cachepot. A quick splash at the surface may leave the center of the root ball dry, while leaving the pot standing in drained water keeps the lower roots saturated. Both patterns make the plant harder to read.
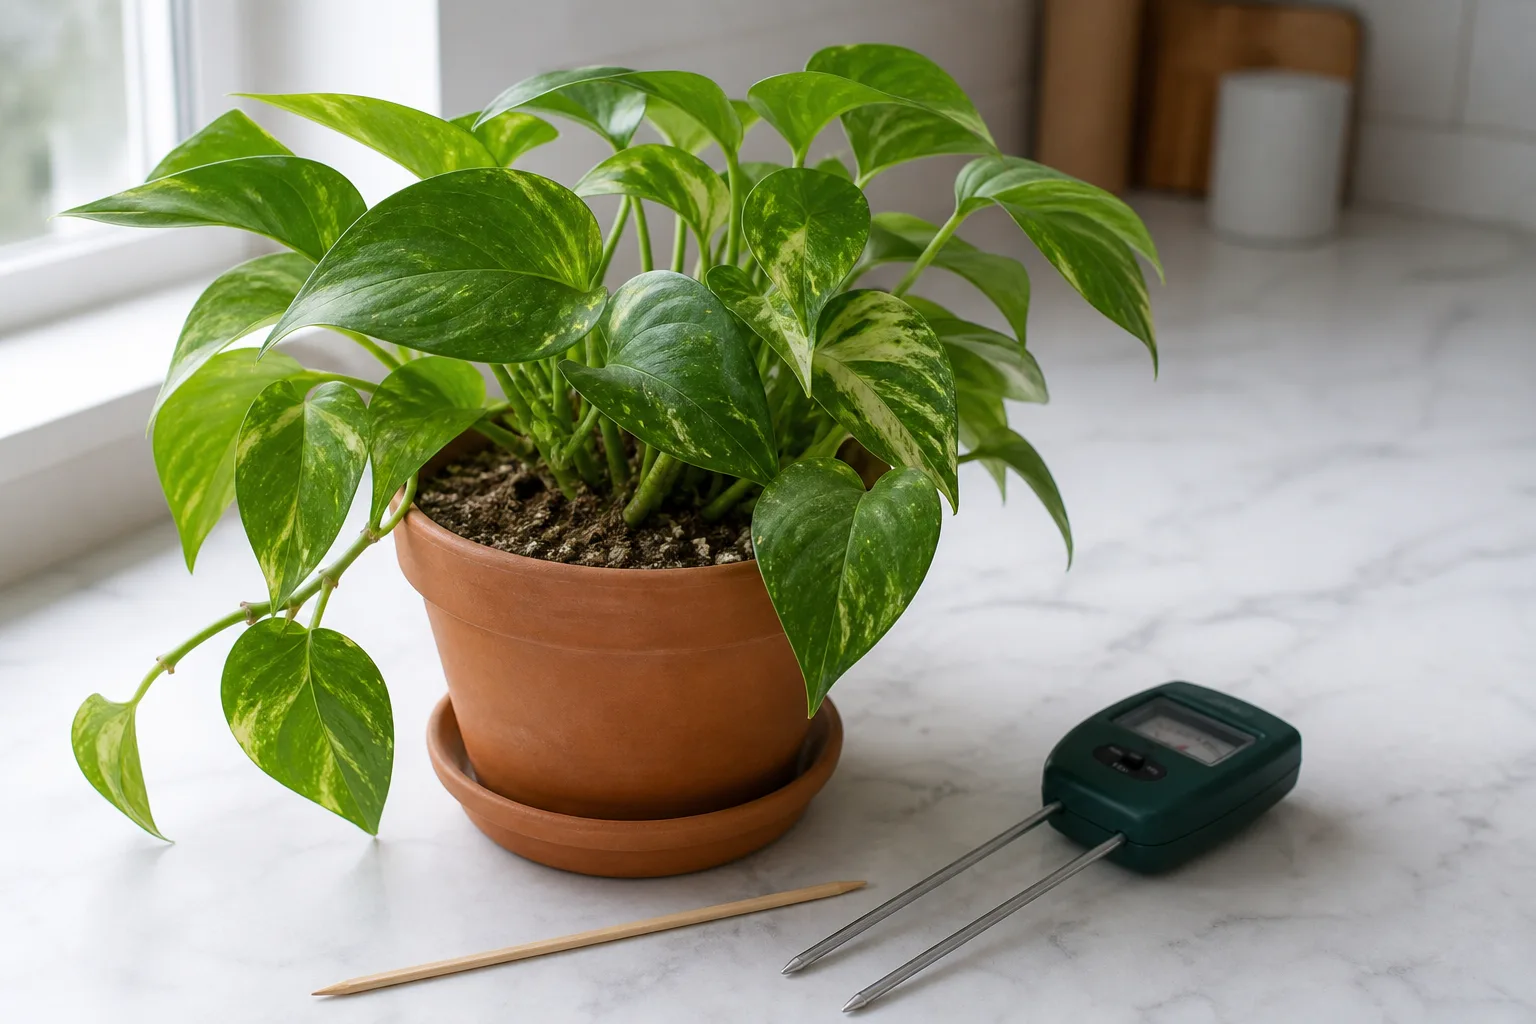
In spring and summer, the mix may dry faster as days lengthen and the plant grows. In winter, shorter days and cooler rooms slow water use, so the same pot may stay damp much longer. Do not withhold water simply because it is winter; wait for the soil and pot to tell you when the next thorough watering is due.
If you are unsure, wait a day and check again. Peperomia leaves can hold some moisture, so a short delay is usually less risky than repeatedly watering a pot that is still damp. Once you know how long your own pot takes to dry, you can use that interval as a reminder to check—not as an automatic watering day.
Build an Airy Mix and Use a Snug Pot
Use a light indoor potting mix that drains freely but does not dry to dust immediately. A practical blend is two parts quality houseplant mix with one part perlite or pumice. If the base mix is dense or peat-heavy, add a little fine orchid bark as well. The goal is a root zone with air spaces after watering, not a special brand or an exact recipe.
Avoid heavy garden soil, compacted all-purpose mix, or a deep layer of stones at the bottom of the pot. Stones do not improve drainage through the root zone; a drainage hole and an evenly airy mix do. If water sits on the surface for a long time, runs down the sides without wetting the center, or leaves the pot soggy for many days, the mix or pot setup needs attention.
Choose a pot with at least one open drainage hole and only a little room around the root ball. A pot that is much wider than the roots holds a larger volume of wet soil than this small plant can use. Terracotta can help a mix dry faster, which is useful in a humid room or for someone who tends to water early; a glazed pot can be easier in a dry home where small pots dry too quickly.
Keep Temperatures Steady; Humidity Is Rarely the Issue
Keep the plant in the same comfortable range you enjoy indoors, around 60 to 80°F. Avoid cold windows in winter, outdoor frost, and abrupt blasts from an air conditioner. If you move the plant outside for summer, wait until nights are warm and place it in shade or filtered light; bring it back inside before cool nights return.
The common name “radiator plant” is not a placement instruction. A radiator, heat vent, or hot appliance can dry the root ball quickly and expose leaves to hot air. Put Peperomia orba near a window or on a shelf where temperatures stay steady, not directly above a heater.
Average household humidity is usually enough. NC State notes that Peperomia plants adapt to the humidity levels in most homes, and Epic Gardening describes moderate indoor humidity as workable for many types. If the air is exceptionally dry, keep the plant away from a direct heat vent or group it with other plants; a humidifier is an option, but a pebble tray is not a substitute for good watering or drainage. (NC State Extension Plant Toolbox) (Epic Gardening: Peperomia Care)
Feed Lightly and Prune for Shape
Peperomia orba is not a heavy feeder. If it is putting out new growth in spring or summer, use a balanced liquid houseplant fertilizer at the diluted rate on its label, or at a lower rate if the plant is small. Feed only after the mix is already slightly moist; fertilizer on dry roots can be stressful. Skip feeding when the plant is not growing, and do not add fertilizer to a recently repotted plant in fresh mix until it resumes growth.
More fertilizer does not create a compact plant. Excess salts can damage roots or leave a crust at the soil surface. If you see a white crust, pause feeding and flush the mix with plain water only if the pot drains freely; otherwise refresh the mix at the next appropriate repotting.
Use clean scissors to remove yellow, broken, or crowded stems. Pinching the tip just above a leaf joint can encourage branching and keep a healthy plant bushier. Avoid hard pruning when the plant is already weak, recently repotted, or dealing with soft stems. Slender flower spikes are normal peperomia blooms; leave them or trim them at the base if you prefer the foliage look.
How to Propagate Peperomia Orba
Spring and early summer are the easiest times to take cuttings because the parent plant is actively growing. Choose a firm, healthy stem and use clean snips. The best method for a small Pixie Lime is usually a stem cutting: it is straightforward, uses little material, and is more dependable than trying to root a single leaf. Epic Gardening describes stem and leaf propagation across the genus, while emphasizing that the best approach depends on the species. (Epic Gardening: Peperomia Care)
Root Stem Cuttings in Water
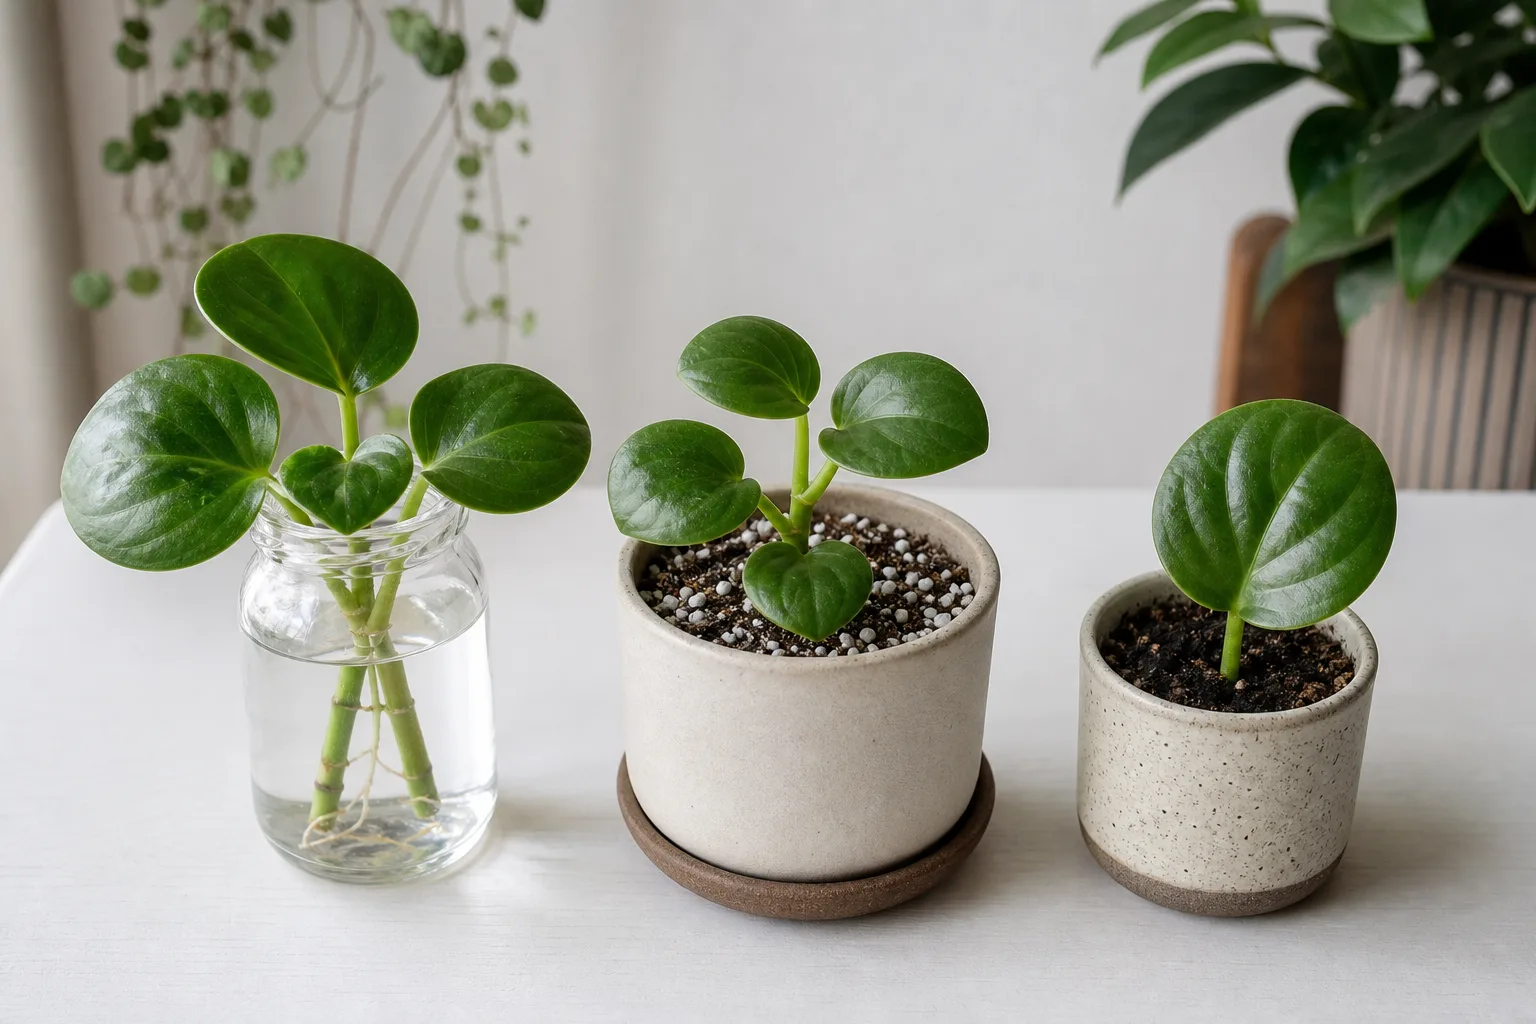
Cut a healthy tip with at least one node—the point where a leaf joins the stem—and remove any leaves that would sit below the waterline. Put the node in a clean glass with enough water to cover it while keeping the leaves dry. Place the glass in bright indirect light and refresh the water when it becomes cloudy or the level drops.
Look for roots at the submerged node, then wait until they are several centimeters long and begin branching before potting the cutting. Move it into a small container with drainage and an airy mix. Water the mix through once, let excess drain, and keep it lightly moist while the new roots adjust; after the cutting is established, return to the same dry-before-watering routine as the parent plant.
Water rooting makes progress easy to see, but roots formed in water have to adjust to a less saturated environment after potting. Do not leave a rooted cutting in a large, wet pot just because it has grown a few long roots. A small pot and a careful first watering make the transition easier.
Root Stem Cuttings in Potting Mix
Take a cutting with one or two nodes, remove the leaves near the base, and insert the lowest node into a small pot of barely moist, loose mix. Firm the medium gently so the cutting stands upright without burying its leaves. A node below the surface is where new roots can form; a leaf blade alone pushed into the soil is less reliable as a stem cutting.
Set the pot in bright, indirect light and keep the mix lightly moist—not saturated—while roots form. A sealed plastic cover can trap too much moisture around a semi-succulent cutting, so begin without one in a typical home. If the air is very dry and the cutting wilts before it roots, use a loose, vented cover and remove it regularly so the foliage does not stay wet.
Do not pull the cutting out every few days to inspect it. New leaf growth, a firm stem, or gentle resistance when you nudge the base are better signs that it has rooted. Once established, let the mix dry a little more between waterings rather than maintaining seedling-level moisture indefinitely.
When to Try a Leaf Cutting
A healthy leaf with its petiole—the short stalk connecting the leaf to the stem—may root in a loose medium, but the process is slower and less predictable. Use this method if you want to experiment or if a leaf has fallen off; choose a firm leaf and keep the petiole in contact with the mix. The cutting needs warmth and bright indirect light, not direct sun or a saturated container.
For a plant you want to grow into a matching, compact specimen, a stem cutting is the better first choice. Peperomia species and cultivars do not all respond identically to leaf propagation, so do not assume that one successful leaf proves every plant can be multiplied the same way.
Repot Only When the Root Zone Needs It
Repotting is not an annual chore for a slow-growing, compact plant. Check the drainage holes and the root ball when water stops soaking in evenly, the mix has broken down and stays wet, or roots fill most of the current pot. One root peeking through a hole is a clue to inspect, not an emergency by itself.
Move up just one pot size, keeping the root ball at about the same depth. Loosen only circling roots that are easy to free; do not tease apart a healthy, small root system unnecessarily. Fill around it with fresh airy mix, press gently, and water once so the soil settles. If the old mix was already wet, let the plant drain well and resume checks after the upper mix begins to dry.
Repotting into a much larger container can make the leaves appear fine for a while while the bottom of the pot remains wet. If the plant is stable and the mix still drains properly, leaving it in its current pot is often the safer choice. The University of Arkansas extension describes peperomias as well suited to relatively small pots and recommends allowing some drying between waterings. (University of Arkansas Extension: Peperomia)
Read Common Problems Before Changing Care
One symptom rarely identifies a single cause. Look at where the problem starts, how quickly it spreads, and whether the mix is dry or wet before changing the plant’s routine. Check the leaves and stems alongside the pot and root zone; changing light, water, and fertilizer all at once makes it difficult to learn what actually helped.
Yellow, Curling, or Dropping Leaves
A single older leaf at the base may yellow and fall as the plant grows. Several leaves yellowing together, especially while the soil remains damp, points first to a water or drainage problem. Wait for the mix to dry to the usual check point, confirm that the pot drains, and only then water again. If the leaves are yellow while the mix is consistently dry and the stems are firm, check for too little light or a root ball that has pulled away from the potting mix.
Curling or slightly wrinkled leaves can appear when the root zone has stayed dry too long, but soft, yellowing leaves in wet soil suggest a different problem. Feel the leaves and check the soil before adding water. If the plant is dry, water thoroughly and let it drain; if the mix is wet, adding more water can make the roots less able to supply the foliage.
Leaf color can also change after a sudden move into strong sun. Bleached or crisp patches on the window-facing side are consistent with sun stress; shift the plant back to bright indirect light and remove only tissue that is fully dead. A pale plant in a dim corner needs brighter light, introduced gradually.
Soft Stems and Root Rot
Soft leaves do not prove root rot, but a mushy stem base combined with persistently wet soil is a reason to inspect the roots. Slide the plant from its pot and check a small section of the root ball. Healthy roots are firm; decayed roots feel soft or slimy and may be dark. Gardening Know How notes that root rot and underwatering can both produce wilting or yellowing, so the wetness of the mix and the condition of the roots are more useful than leaf color alone. (Gardening Know How: Root Rot in Houseplants)
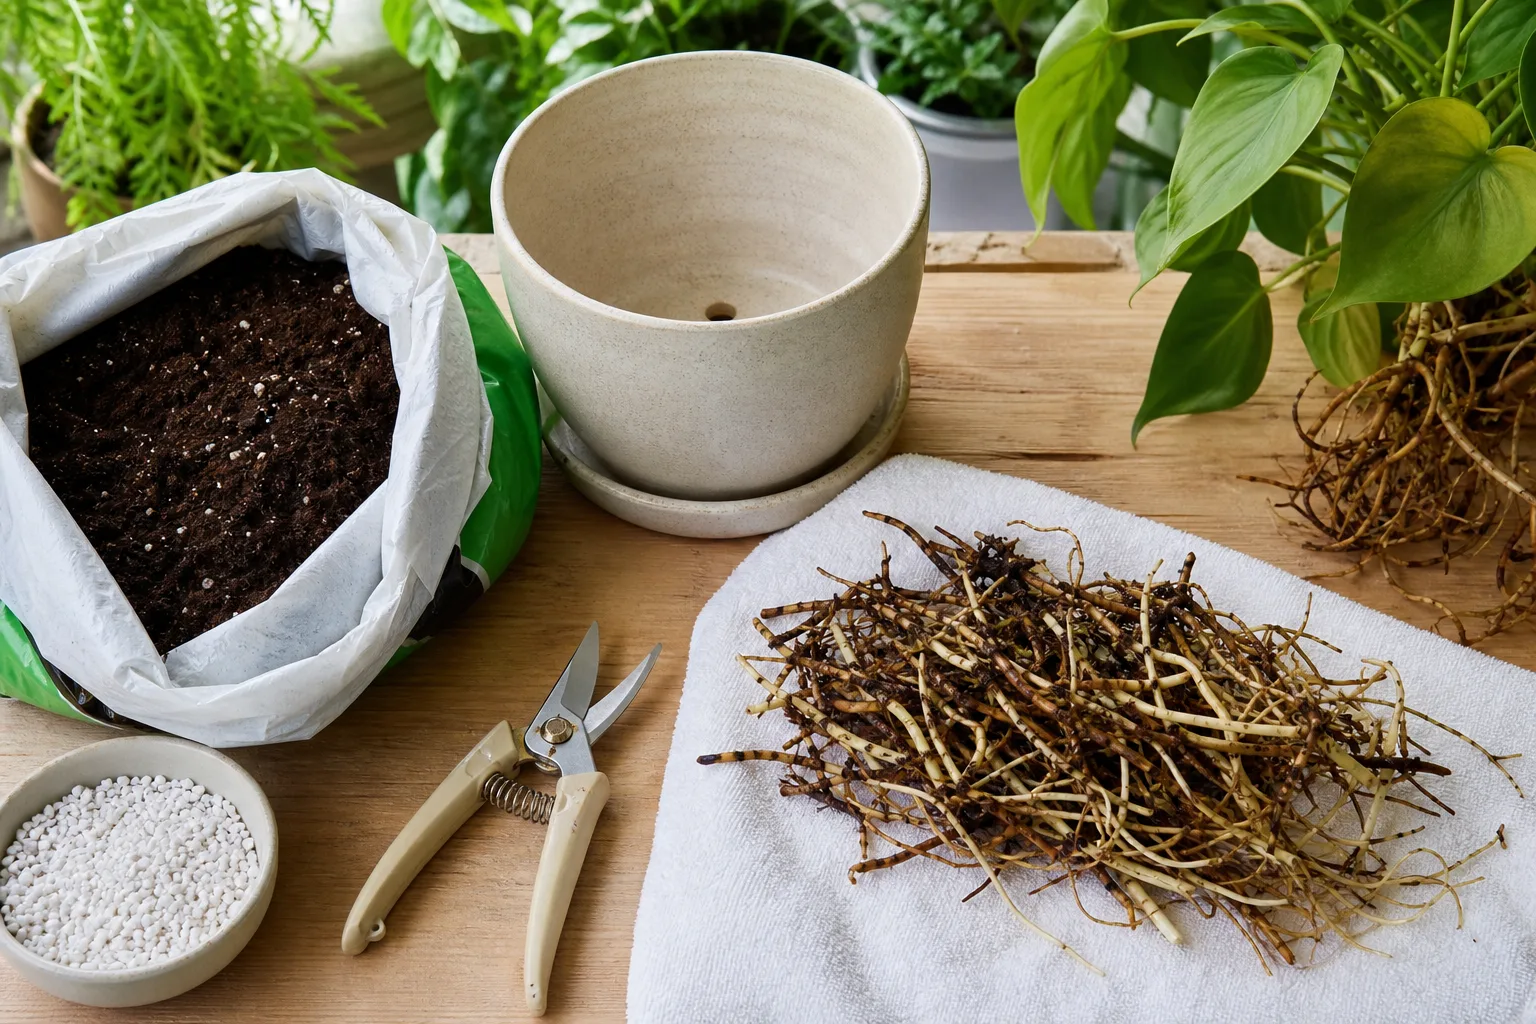
If only a few roots are soft, trim those parts with clean scissors, remove the old soggy mix, and repot into a clean pot with open drainage and fresh airy medium. Keep the remaining healthy roots intact; there is no benefit to cutting firm roots. If the stem base itself is collapsing, take a firm, unaffected top cutting as insurance and discard the worst-decayed portion rather than trying to save every damaged section.
After an emergency repot, do not immediately return to frequent watering. Give the mix time to settle, drain it thoroughly after the first watering, and then check before watering again. If the old soil stayed wet for a long time, improve the light or airflow and use a smaller pot or a more open mix so the same conditions do not return.
Thin Growth and Pests
Long spaces between leaves usually mean the plant is reaching for more light. Move it closer to a bright window, prune only the stretched tips if the remaining stems are healthy, and rotate the pot occasionally. Do not expect fertilizer to shorten the gaps; new growth reflects the conditions the plant receives now.
Inspect leaf undersides and stem joints if the plant develops stippling, sticky spots, cottony patches, or webbing. Mealybugs, spider mites, and similar indoor pests can be removed early by isolating the plant and wiping or rinsing affected leaves. If you use a treatment, choose one labeled for indoor ornamental plants and follow its directions; avoid applying a product in hot sun or to a plant that is already badly stressed.
Fungus gnats are more often a clue that the potting mix stays wet than a sign that the leaves are being eaten. Let the surface dry between waterings, remove fallen plant debris, and confirm that the container is not sitting in water. Sticky traps may catch adults, but improving the root-zone conditions is what prevents the problem from continuing.
Conclusion
Peperomia orba grows best when its small root zone gets bright indirect light, a loose mix, and time to dry between thorough waterings. Start with a pot that has a drainage hole, water only after checking the soil, and keep the plant away from cold drafts and heater blasts. Average indoor humidity is usually enough, and neither constant misting nor a strict weekly schedule is required.
If the plant looks unwell, use the soil and stems to narrow down the cause before changing its care. Dry mix calls for a thorough drink; wet mix and soft roots call for better drainage and less frequent watering. When it is growing well, prune lightly, take a node-bearing stem cutting if you want another plant, and repot only when the roots or old mix show a real need.