Fall Daylily Pruning: What to Cut and What to Leave
Should you prune daylilies in fall? Learn when to remove flowers, scapes, dead foliage, and disease debris—and when healthy green leaves should stay.
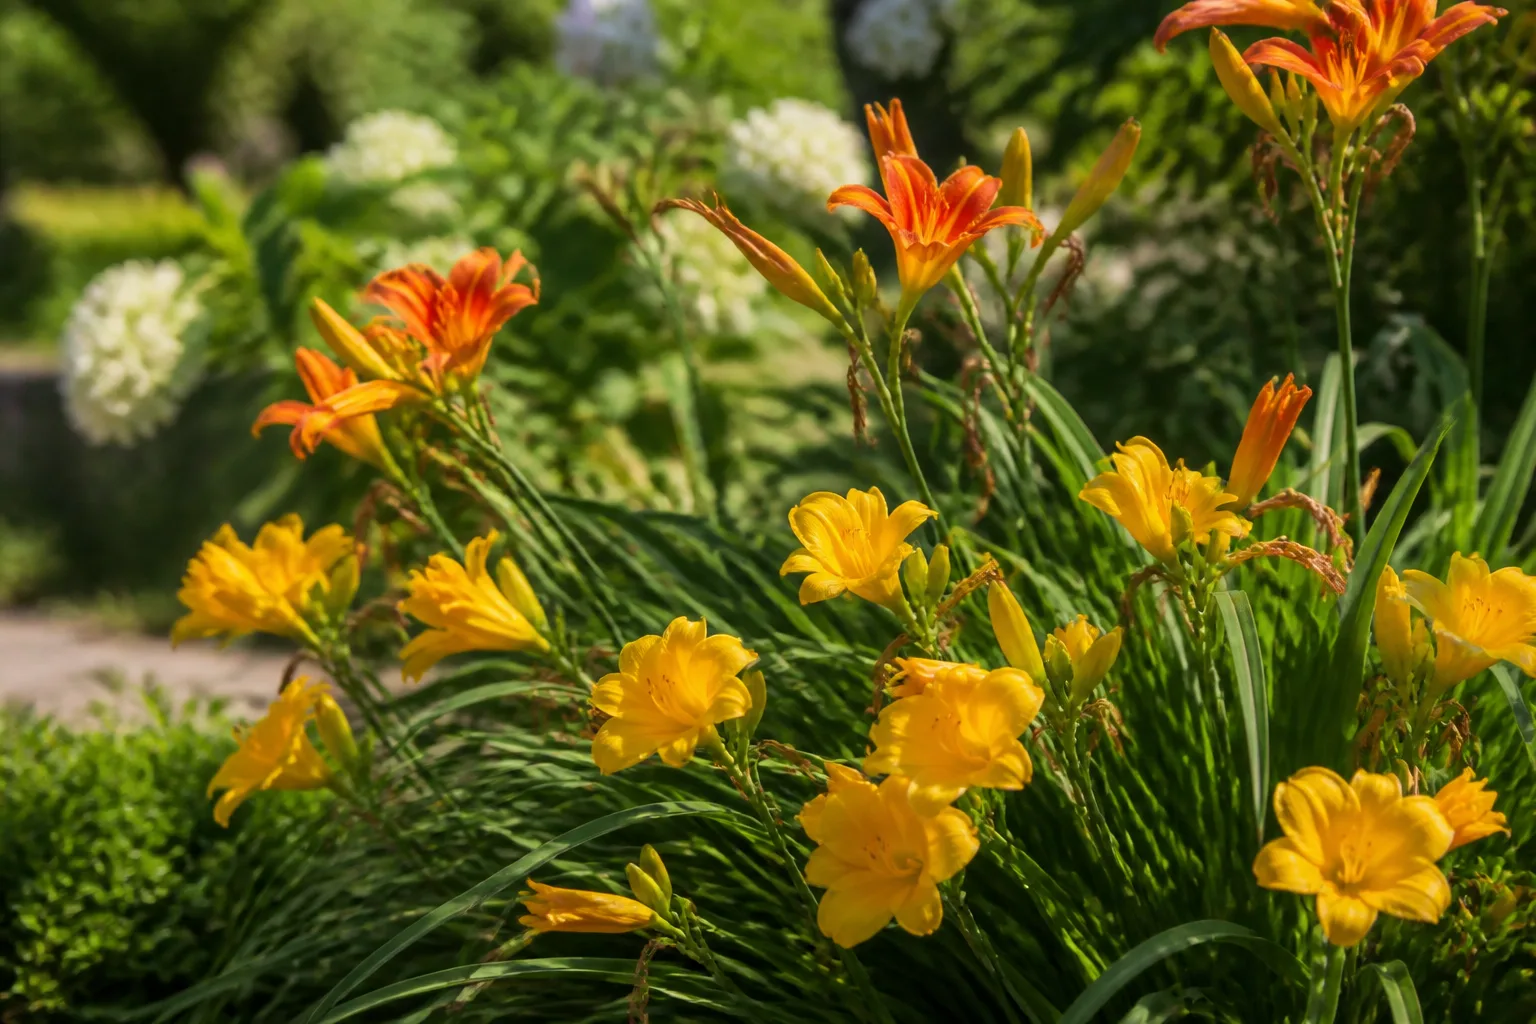
The best fall daylily pruning is selective. Remove spent flowers and completely finished flower scapes when they are done, then wait to cut the leaf fans until the foliage has naturally declined or a hard frost has finished it. If the leaves are still green and upright, they are still working; a fall haircut is usually cosmetic, not a shortcut to more flowers.
Daylilies are forgiving, clump-forming herbaceous perennials, so an imperfect cleanup rarely kills an established plant. The bigger risk is subtler: cutting active foliage too early, removing a scape that still has buds, or cutting into the crown while trying to make the bed look finished. The North Carolina State Extension profile for Hemerocallis describes daylilies as adaptable perennials that can be propagated by division in fall or spring and generally do not need to be lifted for winter.
The short answer: prune what is finished, not what is green
Yes, you can prune daylilies in fall, but “prune” covers several different actions. Deadheading a flower, removing a bare scape, trimming a dead leaf, and shearing a whole green clump are not interchangeable jobs, and they have different effects on the plant.
For most established daylilies, use this order: remove faded flowers during bloom if you want a cleaner display, cut a flower scape only after all its buds have opened or failed, leave healthy leaf fans alone while they are green, and finish the seasonal cleanup after dieback. This is the useful middle ground between ignoring a collapsing clump and cutting every leaf as soon as summer flowers end.
The Royal Horticultural Society’s daylily growing guide makes the same distinction in practical terms: most daylilies die down in autumn and can have old foliage cut back in late autumn or early spring, while some evergreen types keep their leaves year-round. Timing should follow the plant’s condition and foliage habit, not a fixed date on the calendar.
Know which daylily part you are cutting
Stand close to the clump before picking up the pruners. The thin stalk carrying flowers is not the same thing as the arching fan of leaves, and the swollen base behind a faded flower is not merely leftover petal tissue. Identifying the part first prevents the most common fall-pruning mistake: removing healthy plant tissue because one flower has finished.
Spent flowers and seed pods
A daylily flower usually lasts for about a day. That does not mean the entire stalk is finished the next morning; unopened buds may still be lined up above it. Pinch or snip the collapsed flower at its attachment point, taking care not to knock off nearby buds.
If pollination produces a green seed pod and you are not intentionally raising seedlings, remove the pod while it is still young. This keeps the clump from spending resources on seed you do not need and avoids a scattering of volunteer seedlings. If you are breeding daylilies or want to experiment with seed, leave the pod and label the cross instead; seed production is a legitimate goal, not a pruning mistake.
Deadheading is mainly about appearance, seed control, and keeping the display open. It is not a guaranteed bloom booster. A cultivar may rebloom under the right combination of genetics, moisture, light, vigor, and growing season, but removing a flower cannot create a second flowering cycle in a cultivar that does not have that capacity.
Flower scapes
The scape is the mostly leafless flowering stalk that rises from the crown. Check it from bottom to top before cutting. If even one plump bud remains, leave the scape in place; that bud may open after neighboring flowers have faded.
Once every flower and bud on that scape is finished, cut the stalk as low as you can without slicing into the crown or surrounding leaf bases. A finished scape can be removed during the growing season or in fall cleanup. Removing it makes the clump tidier and eliminates a place for a seed pod to mature, but it does not require cutting the leaves around it.
The simple test is buds still present, leave it; every bud finished, take the scape down. This one check is more reliable than cutting every stalk on the same day, because different scapes on one clump finish at different times.
Leaf fans and the crown
Daylily foliage grows in fans of long, strap-shaped leaves from the crown at soil level. The leaves may look tired after a long summer, but green tissue is still producing energy and supporting the underground crown and roots. The crown is the short, compressed growing point between the leaves and roots; it is the part you must protect from a low, careless cut.
Do not routinely shear a healthy established fan just because flowering has ended. A short trim is appropriate when you are lifting and dividing a clump, because less leaf area makes divisions easier to handle and reduces the burden on disturbed roots. That is a specific transplanting job, not a general fall-pruning rule.
When to prune daylilies in fall
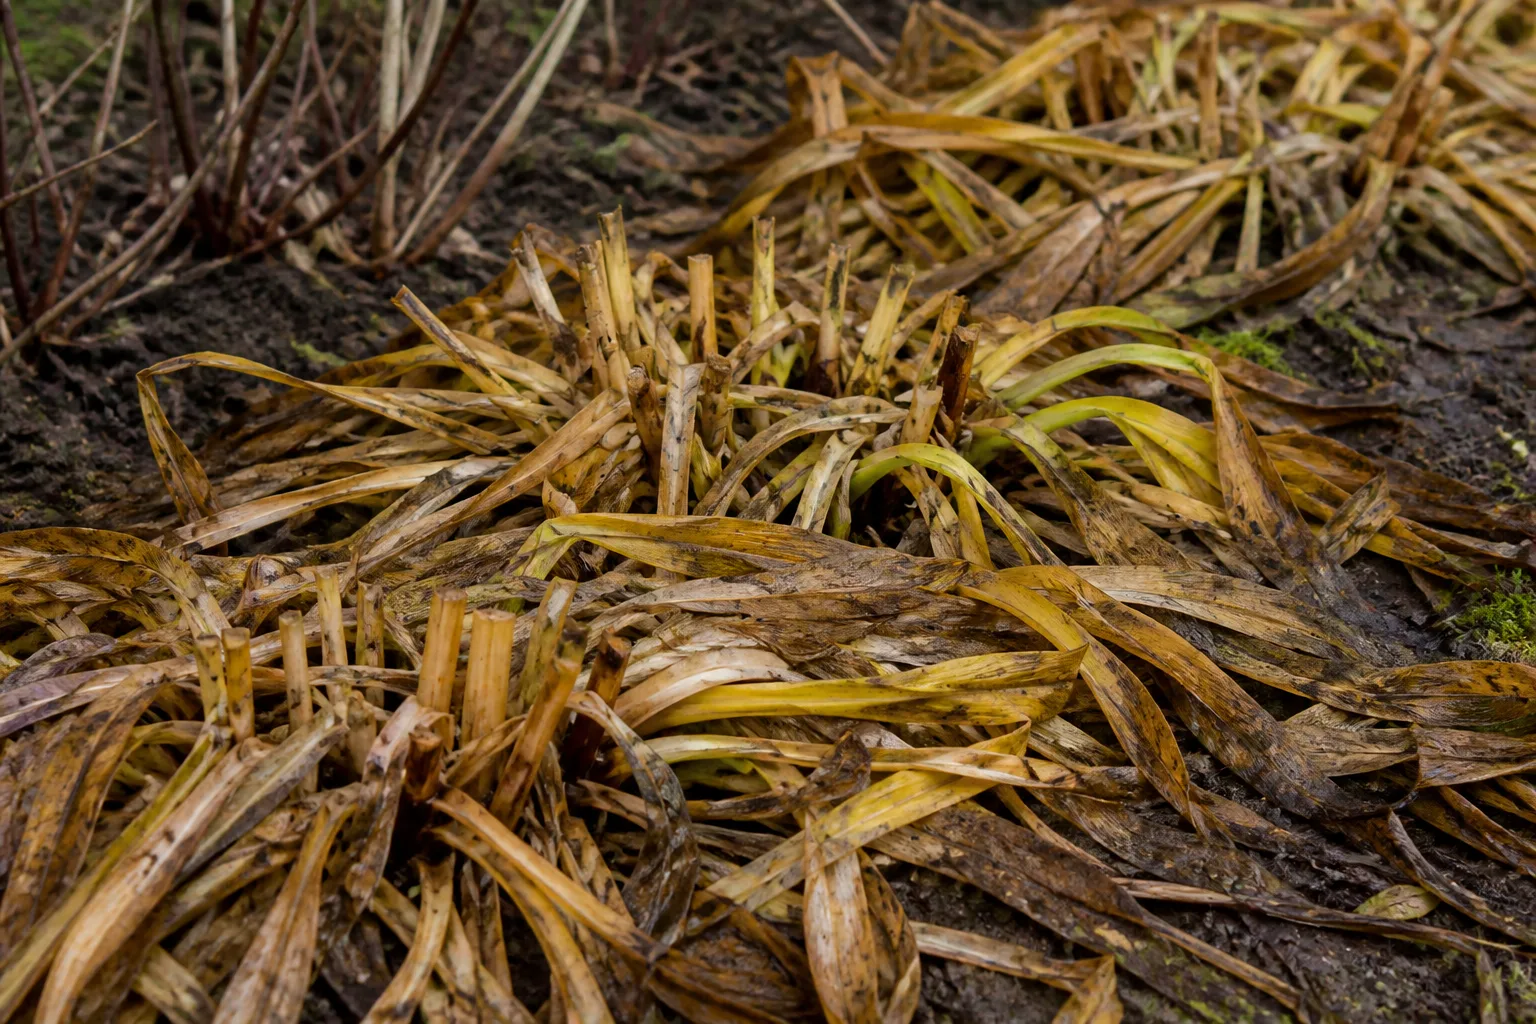
Use visible dieback as your cue. When the leaves have turned yellow or brown, collapsed, or been blackened by a hard frost, the clump is moving into dormancy and a cleanup cut is reasonable. If it is still producing healthy green leaves in late autumn, wait unless disease or a safety problem makes earlier removal necessary.
Cold climates and dormant daylilies
Dormant daylilies naturally lose their top growth as temperatures and day length change. In a cold-winter garden, wait until the foliage has clearly declined or a killing frost has finished it, then remove the dead leaves before the ground freezes solid. Leaving a little time between frost and freeze makes it easier to see the crown, clear the bed, and avoid stepping repeatedly on saturated soil.
You do not have to force the cut into a narrow week. Early winter cleanup is often fine if the ground remains workable, and early spring cleanup is also acceptable when the foliage stayed clean over winter. If snow, ice, or wet leaves will press a collapsed mat against the crown, fall removal has a practical advantage.
As a practical weather check, Gardening Know How’s daylily trimming guidance also points gardeners toward the period after frost or once leaves yellow. Use that as a cue rather than a rigid date, because a warm fall can keep a healthy clump photosynthesizing longer.
Mild climates and evergreen daylilies
In a mild climate, an evergreen or semi-evergreen cultivar may keep useful green foliage through winter. Do not give it a ground-level haircut automatically. Remove brown, broken, diseased, or weather-beaten leaves, but preserve sound green fans unless you are dividing or moving the plant.
Foliage habit and hardiness are related but not identical. “Evergreen” describes what the leaves tend to do; it does not promise that every leaf will stay undamaged in every winter. Conversely, a daylily with dormant genetics may hold green leaves longer than expected during a warm fall. Let the actual clump guide the cut.
A fall-pruning decision table
| What you see | What to do now | Why |
|---|---|---|
| A faded flower but unopened buds remain on the same scape | Remove the flower only | The scape is still capable of flowering |
| A bare scape with no flowers or buds | Cut it near the base | It has finished and adds no display value |
| A few brown tips on otherwise green leaves | Trim tips selectively or leave them | A cosmetic flaw does not justify removing the whole fan |
| Yellow outer leaves late in the season | Pull or cut the dead leaves | Normal decline can be cleaned without disturbing green growth |
| The whole clump is green and upright after bloom | Wait | Leaves may still be supporting the crown and roots |
| Leaves are black, collapsed, or mushy after frost | Cut back dead material and clear it | A wet mat can trap moisture and hide debris around the crown |
| Spots, streaks, pustules, or unusual early collapse | Remove affected debris and investigate the cause | Pruning hides symptoms but does not solve disease or root stress |
| Healthy leaves are being shortened because the clump is being divided | Trim the divisions to about 5–8 inches | Reduced leaf area makes replanting and establishment easier |
| Evergreen foliage remains healthy in a mild winter | Leave it | The plant has not finished with those leaves |
How to prune daylilies step by step
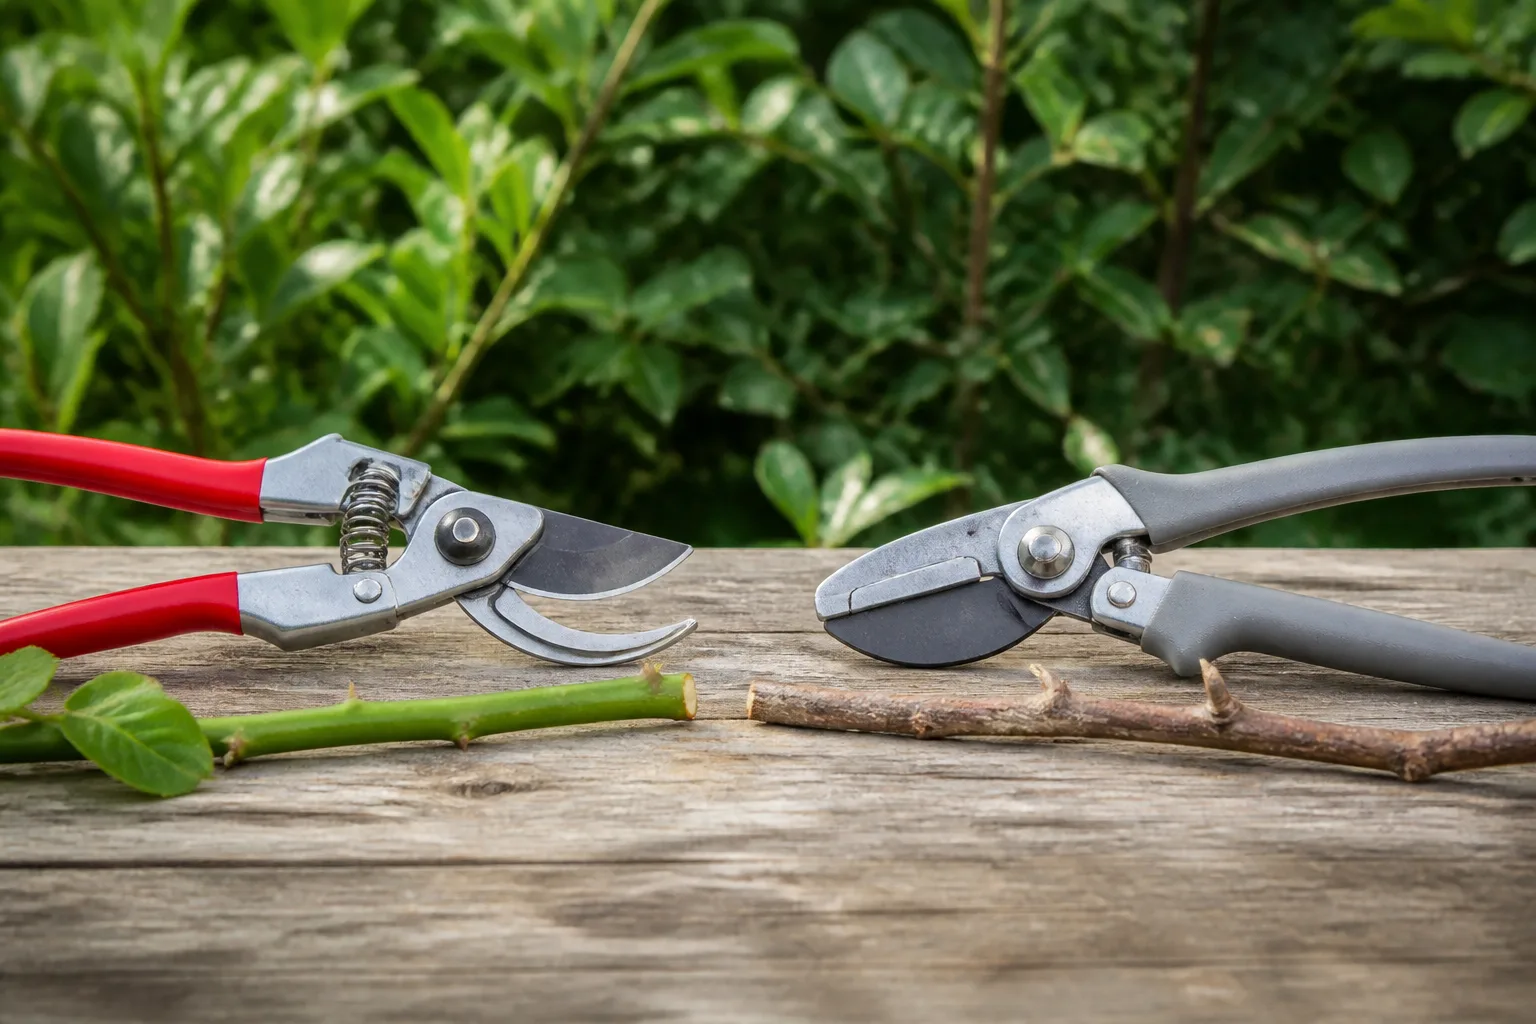
For an average clump, sharp bypass hand pruners are enough. A narrow garden knife can help with a tough, fibrous scape, but there is no reason to bring out a hedge trimmer for routine cleanup. A clean, controlled cut is easier to place near the crown and less likely to flatten neighboring fans.
Step 1: inspect each clump
Begin at the outside of the planting and look into the base. Separate living green leaves from brown or translucent leaves, and scan every scape for buds. Also look for seed pods, spotted foliage, slimy debris, and leaves that are lying flat against wet soil.
If the clump is yellowing unusually early or unevenly, pause before making a full cut. Check recent watering, drainage, crown depth, nearby competition, pests, and signs of disease. Normal fall decline tends to progress with the season; sudden damage in midsummer deserves a cause, not a disguise.
Step 2: remove finished scapes
Follow each empty scape down through the leaf fan and cut it near the base. Keep the blades above the crown and avoid catching healthy leaves in the cut. If a stalk resists because it is still green and flexible, inspect it again for a hidden bud instead of pulling hard enough to loosen the crown.
During bloom, deadhead flowers individually rather than removing the whole stalk. If a seed pod has formed, cut or pinch it off at its short stem. You can do this every few days during peak bloom, or simply clean the clump whenever you are already watering; daylilies do not require a perfect daily routine to remain healthy.
Step 3: cut back dead foliage
Wait until the leaves are genuinely dead or frost-damaged, then gather a small handful and cut it close to the crown. You can remove a few dead leaves by hand if they release easily, but do not yank a firmly attached leaf; a clean snip is safer for the crown and roots.
For a full fall cleanup, leave a short stub rather than forcing the blades into the soil. The goal is to remove dead top growth while keeping the growing point intact. If part of the clump is still green, work selectively around it instead of making a flat cut across the entire plant.
Step 4: clear debris and clean tools
Rake or lift old leaves away from the crown and dispose of anything that is visibly diseased, slimy, or infested. Healthy, dry clippings can usually go into a well-managed compost pile, but diseased foliage should not be added to a cool home pile where pathogens may survive. Bag questionable material according to local waste rules.
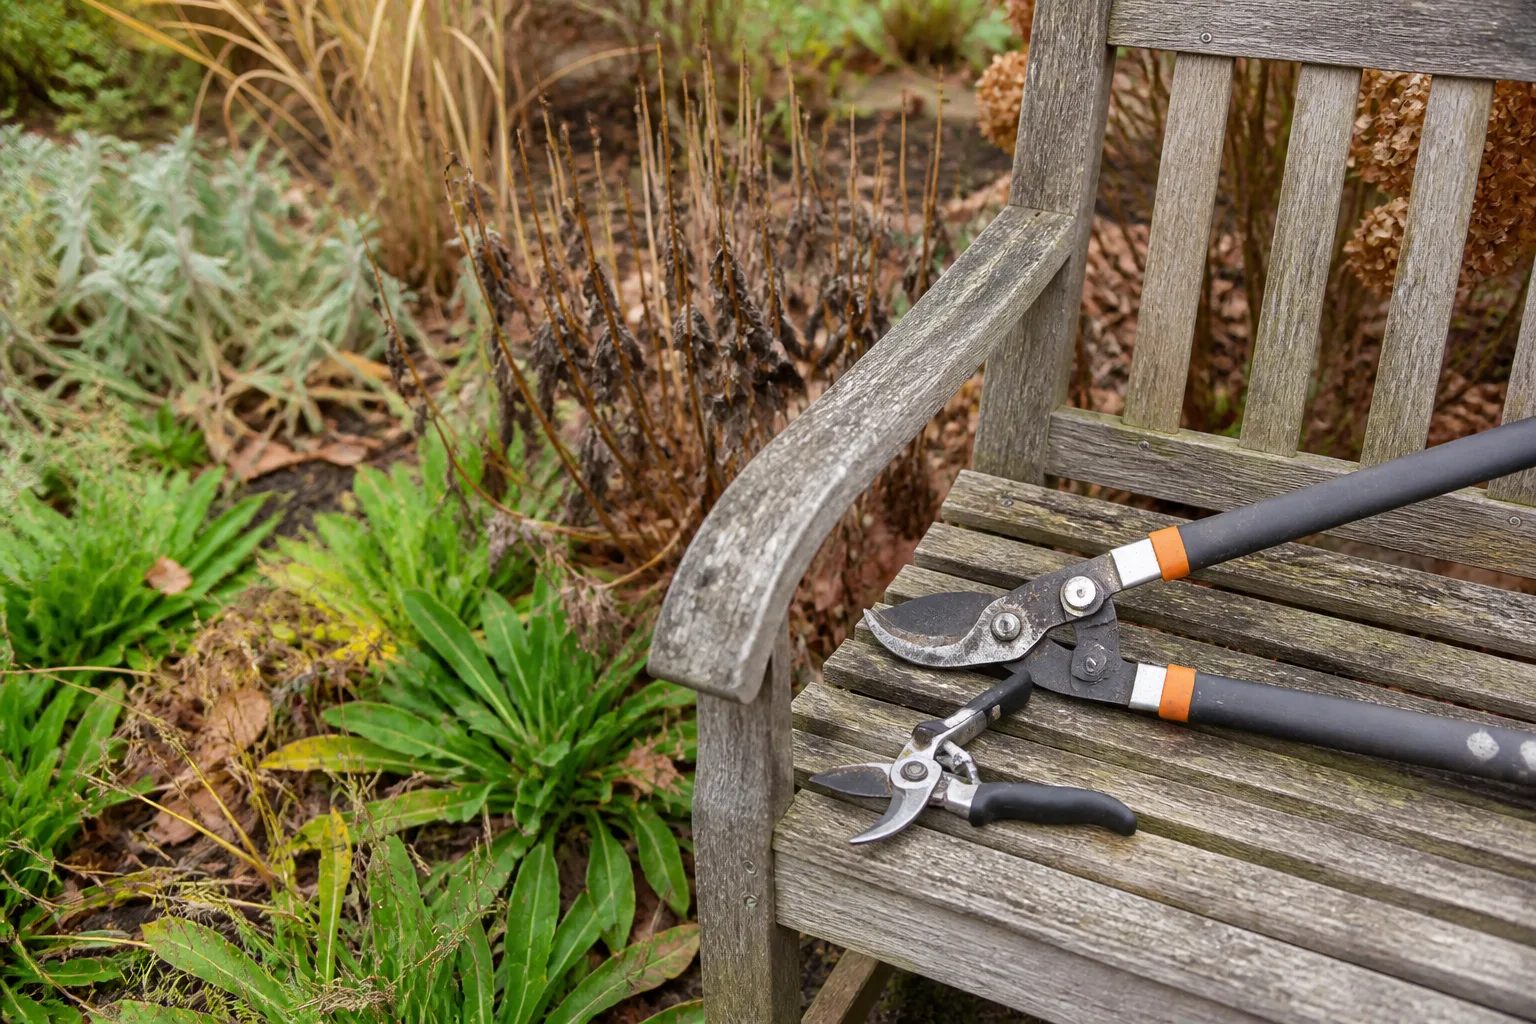
Wipe soil from the blades and disinfect them before moving from a suspect clump to a healthy one. Rubbing alcohol is convenient for routine tool cleaning; if you use a bleach solution, follow a safe dilution and rinse or dry the metal afterward to limit corrosion. Clean tools are part of the pruning job, not an optional finishing touch.
Will fall pruning give you more blooms next year?
Not by itself. Removing a finished scape can keep the plant from making unwanted seed, and deadheading can make some reblooming cultivars perform better when other conditions are favorable. But pruning cannot change the cultivar’s flowering program.
The practical bloom-building work happens earlier and elsewhere: give daylilies appropriate sun, avoid waterlogged soil, water new or drought-stressed plants during active growth, and divide an overcrowded clump when vigor or flowering declines. The Gardenia guide to daylily cutback is useful on this point because it separates the finished flower, scape, foliage, and fall cleanup rather than calling all four “pruning.”
The same logic explains why removing all green leaves after flowering can backfire. The plant may look neater immediately, but you have removed active leaf area without guaranteeing a new scape. If you want a reblooming display, choose cultivars bred for rebloom and then support them with light, moisture, and a healthy root system.
What to do about ugly or yellow daylily leaves
Start with the smallest cut that solves the problem. A few brown tips can be shaped with scissors so the leaf still looks natural. Completely brown outer leaves can be pulled or snipped individually, while green inner leaves stay in place.
If yellowing begins as the season winds down and spreads gradually through the clump, it is probably ordinary senescence. If the entire plant turns yellow early, collapses suddenly, or shows spots, streaks, orange pustules, or a foul, wet crown, do not assume the calendar is responsible. Inspect drainage and watering first, then seek a local extension diagnosis if the pattern is unfamiliar.
Daylilies are generally robust, but “low maintenance” is not the same as “immune to problems.” The NC State profile notes that daylilies can have disease issues even though serious pest and disease problems are uncommon. Removing damaged leaves can reduce clutter, but it does not replace correcting poor drainage, crowding, drought, or an actual pathogen.
There is also a household-safety detail worth remembering: NC State Extension and RHS both warn that daylilies are toxic to cats if eaten. Keep fresh trimmings and fallen leaves away from cats, especially when cleaning a large clump, and contact a veterinarian promptly if you suspect ingestion.
When to divide instead of prune
If the clump has become crowded, produced fewer flowers, or developed a bare center, the right job may be division. Fall can be a good time to lift and split daylilies where the remaining growing season allows new divisions to establish, although spring is another common window.
Cutting foliage to roughly 5–8 inches makes a divided plant easier to lift, separate, carry, and replant. After dividing, replant promptly with the crown at the correct depth, firm the soil around the roots, and water thoroughly. Keep the new divisions evenly moist while roots recover, without leaving them in saturated soil.
This is the key distinction: short foliage is useful on a disturbed division; green foliage on an undisturbed clump is useful where it stands. Do not imitate the division cut on every established plant just because the trimmed divisions look tidy in a nursery bed.
If you want the detailed timing and handling sequence, use the existing guide to splitting daylilies rather than trying to turn routine fall cleanup into a major renovation.
Mistakes that reduce bloom performance
The most damaging mistakes are usually small decisions repeated across an entire bed. Avoid these before you start:
- Cutting when the last flower fades. Flowering can be over while the leaves remain active. Remove spent flowers or completed scapes and wait on green fans.
- Cutting a scape with buds. One brown flower is not proof that its stalk is done. Check the full stalk from top to bottom.
- Expecting a haircut to create rebloom. Rebloom is a cultivar trait influenced by conditions; pruning is not a switch that turns it on.
- Making a flat, ground-level cut. Soil-level blades can nick the crown. Cut close, but keep the growing point intact.
- Treating every yellow leaf as disease—or every disease symptom as normal. Follow the pattern and timing. Gradual late-season decline is different from sudden spotting or collapse.
- Leaving a wet mat over the crown. If frost has turned foliage into a thick, soggy layer, clear it so the base is not buried in decaying material.
- Composting infected clippings. A backyard pile may not heat consistently enough to destroy disease organisms. Remove suspect debris from the garden instead.
- Trimming evergreen plants by calendar. In mild regions, healthy foliage can be doing useful work through winter. Clean selectively and let the plant’s habit guide you.
- Forgetting cats. Daylily leaves, flowers, and trimmings should not be accessible to cats that chew plants.
For broader fall cleanup, compare this plant-specific decision with the selective fall cutback guide for perennials. It uses the same disease-and-decay-first principle: remove material that has become a problem, but do not strip every healthy plant for the sake of a bare bed.
Conclusion
The safest answer to “Should you prune daylilies in the fall?” is yes, when the part you are cutting is truly finished. Remove faded flowers and unwanted seed pods during bloom, cut empty scapes after their last bud, and wait to cut leaf fans until they have naturally declined or been damaged by frost.
In a cold garden, dormant foliage can be cleaned in late fall or early spring. In a mild garden, evergreen and semi-evergreen leaves may stay; remove only what is dead, damaged, diseased, or collapsing. Cut healthy leaves shorter when you are dividing a clump, not as a routine response to the end of flowering.
Keep the rule visible: flower off, finished scape down, healthy foliage on, cleanup late. That sequence leaves the bed orderly without sacrificing the living leaf area, crown protection, and realistic bloom potential your daylilies need for another strong season.



