Shrubs: How to Choose, Plant, and Care for Them
Learn how to choose shrubs for sun, soil, mature size, flowers, privacy, and wildlife, then plant, water, mulch, and prune them with less guesswork.
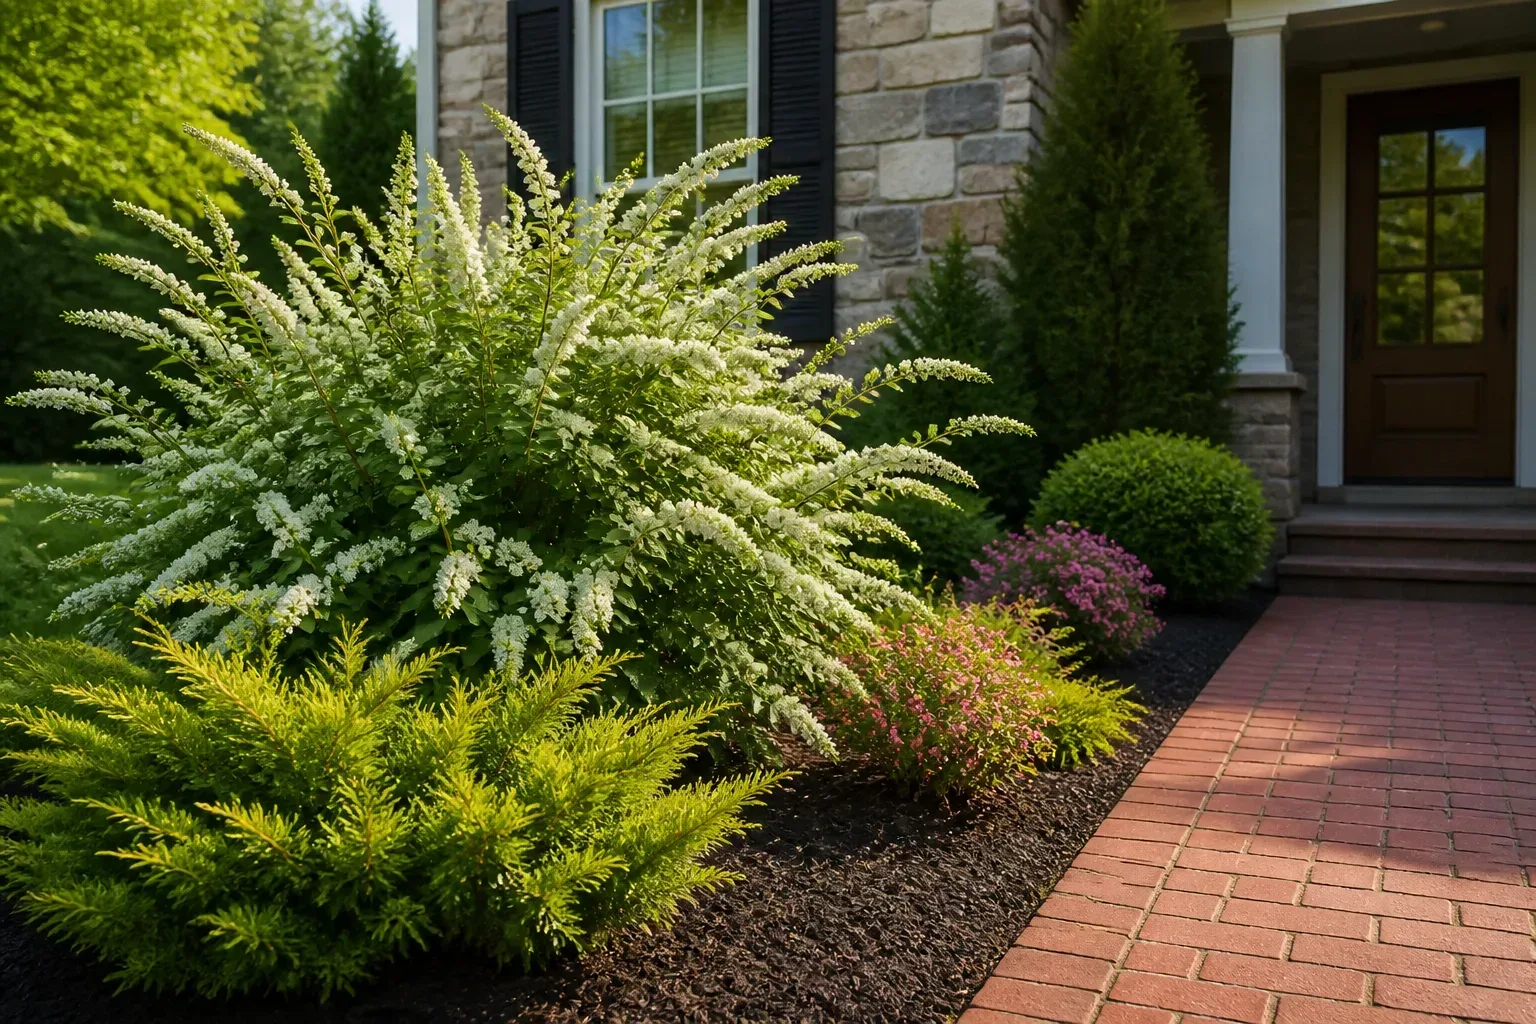
Shrubs are woody plants with several stems or branches, usually arising near the ground. The category spans low evergreen mounds, flowering hedges, sprawling native thickets, and large plants that can look almost tree-like; there is no single height cutoff that cleanly separates every shrub from every small tree. That range is useful, but it also means “easy shrub” is not a meaningful recommendation until you know the job, site, and mature size.
Start by deciding what you want the plant to do, then compare that goal with the light, soil, drainage, winter exposure, and room available in the exact planting spot. Once the shrub fits the site, planting it at the right height and keeping its root ball evenly moist during establishment matter more than frequent fertilizer or cosmetic pruning.
Choose a shrub by the job it must do
Write down the role before browsing plant labels. A privacy screen needs year-round density or enough seasonal foliage to meet your expectations; a flowering border needs bloom at the right height and season; a foundation planting needs mature dimensions that leave windows, siding, paths, and utility access clear. A shrub bought only because it looks good in a nursery pot can become a poor fit once it reaches its adult size.
The same plant may serve more than one purpose, but every extra job brings a trade-off. A dense evergreen can screen a view in winter, yet a broad mature spread may crowd a narrow foundation bed. A fast-growing shrub fills space quickly, but often needs more water while young and more room or pruning later. For a low-maintenance result, a naturally compact cultivar often beats a large species kept small by repeated shearing.
| Yard goal | What to compare on the label | Common trade-off |
|---|---|---|
| Privacy | Mature height, evergreen habit, spacing, and local cold tolerance | Dense screens can shade nearby plants and need room for airflow |
| Flowers or seasonal color | Bloom season, flower color, fall color, and pruning window | A single short bloom period may leave the rest of the year quiet |
| Foundation planting | Mature width, root habit, light needs, and clearance from structures | Plants placed too close become a repeated pruning job |
| Wildlife value | Locally native status, flower access, and fruit or seed | A native species may still be too large or thirsty for the site |
For a closer look at small foundation choices, see our guide to shrubs for curb appeal. Here, the main rule is to buy for the plant’s eventual form and care needs, not just its first-year appearance.
Audit the planting site before you shop
Take a short site inventory before you visit a nursery. Record how many hours of direct sun the bed receives in the growing season, where water pools after a storm, how close the spot is to pavement or a downspout, and which side faces winter wind. Those observations are more useful than a general description such as “mostly sunny,” because a south-facing strip beside a wall can be much hotter and drier than an open bed with the same sun hours.
Also note what already competes there. Tree roots can intercept water, eaves can block rainfall, and a lawn sprinkler may wet the surface without soaking a shrub’s root zone. If the site has a persistent drainage issue, solve or work around that condition before buying an ornamental plant that will not tolerate it.
Count light and exposure where roots will grow
Use the plant tag’s light description as a starting point, then compare it with the actual bed. “Full sun” generally means the plant receives most of the day’s direct light, but the hours and intensity matter: morning sun in a cool climate is not the same stress as blazing afternoon sun reflected off a driveway. Shade-tolerant does not mean light-free; flowering shrubs often produce fewer blooms in deep shade, and some evergreens grow thin or lose their compact outline.
Check the whole future canopy, not just the plant’s current height. A shrub placed beneath a tree may be in sun when planted and shaded after the tree leafs out. If a label gives a range, choose a plant whose preferred conditions overlap with the site instead of trying to force a marginal match with extra fertilizer or pruning.
Read soil drainage and pH before amending
Feel the soil a day after rain. If it is sticky and waterlogged for long periods, a drought-adapted shrub is a risky choice; if it dries rapidly, a moisture-loving shrub may need irrigation or a different bed. A simple hole test can reveal obvious drainage problems, but a soil test is more useful for pH and nutrient questions than guessing from leaf color or adding a bag of fertilizer.
Do not assume that a shrub needs a special planting-hole mix. A heavily amended pocket can hold water differently from the surrounding soil and encourage roots to stay inside the hole instead of moving outward. Improve the whole bed when a test or soil structure justifies it, and reserve pH correction for species that truly need a particular soil reaction. If drainage is poor, adding compost to the hole does not turn a wet site into a suitable one.
Allow for full mature width and height
Read both dimensions on the tag and check whether they describe the species or the exact cultivar. The common name alone may cover plants that differ widely in height, width, growth speed, and shape. A shrub with a listed mature width of six feet needs a bed that can accommodate that spread without leaning over the walk or touching a wall.
For a natural screen, space plants according to their mature spread and the desired time to fill in. Planting them closer can create a faster visual screen, but it also increases competition and makes thinning or shearing more likely. For a loose, layered bed, leave enough space to see the plant’s outline and reach the center for maintenance. Measure from the center of each root ball and include room to prune, weed, and inspect the base.
Decide between evergreen, deciduous, and flowering shrubs
Evergreen shrubs keep foliage through winter, though some broadleaf evergreens may drop leaves during stress or in colder climates. They provide structure and screening when the garden is dormant, but winter sun and wind can dry exposed foliage while frozen soil limits water uptake. Select one rated for the local climate and give it protection from the worst exposure when its needs call for it.
Deciduous shrubs lose leaves seasonally, which opens views and lets more winter sun reach a house or bed. Their value may come from spring flowers, colorful stems, fall foliage, fruit, or a pleasing branch pattern rather than year-round screening. Flowering shrubs also differ in when they set buds, so flowering season will affect the pruning calendar.
Do not choose only by a hardiness-zone number. The USDA Plant Hardiness Zone Map is a useful cold-tolerance screen, but it cannot tell you whether a shrub suits your summer heat, drainage, humidity, or exposure. Read the plant’s full site requirements and seek local advice when winter extremes, water restrictions, or invasive-plant rules vary by region.
Build a shrub planting that has more than one season
A bed feels intentional when plants contribute at different times, not when every shrub peaks on the same week. Combine a structural evergreen, a shrub with spring or summer flowers, and a plant selected for fall color or winter stems, while keeping their mature sizes and cultural needs compatible. A mixed bed may also be more resilient visually: when one plant finishes blooming, another still offers foliage, form, or fruit.
Avoid mixing plants that need sharply different soil moisture or pH in one small bed just to create a color combination. Group shrubs with similar needs so watering one does not keep another’s roots saturated. Repeating a few compatible plants creates a calm pattern; a long row of different one-off specimens can look crowded and takes more effort to care for.
Native shrubs can support local wildlife and are adapted to regional conditions, but “native” is not a guarantee of compactness or low maintenance. Verify the species’ natural spread, suckering habit, and soil needs, and check local invasive-plant lists before choosing a nonnative shrub. A cultivar may differ from the species in size or flower traits, but do not assume it is sterile or ecologically interchangeable without evidence. Savvy Gardening’s compact-shrub guide illustrates why checking the specific cultivar and regional status matters.
Plant when weather and soil support establishment
The easiest planting window is usually when the soil is workable and temperatures are mild, often spring or fall in temperate regions. The better choice depends on local climate, the shrub’s dormancy and heat tolerance, and how much time you can spend checking moisture. Avoid planting into frozen ground, saturated soil, or a heat wave when possible; if you must plant during a warm dry spell, plan for closer monitoring and slower watering.
Before digging, set the shrub beside the bed and check its eventual outline against the house, fence, or path. Water the nursery pot first if the root ball is dry, identify the topmost structural roots, and dig a broad hole rather than a deep one. Joy Us Garden’s planting walkthrough covers container stock, root loosening, and the value of leaving room for roots to spread; the important details are height, root condition, and firm contact with native soil.
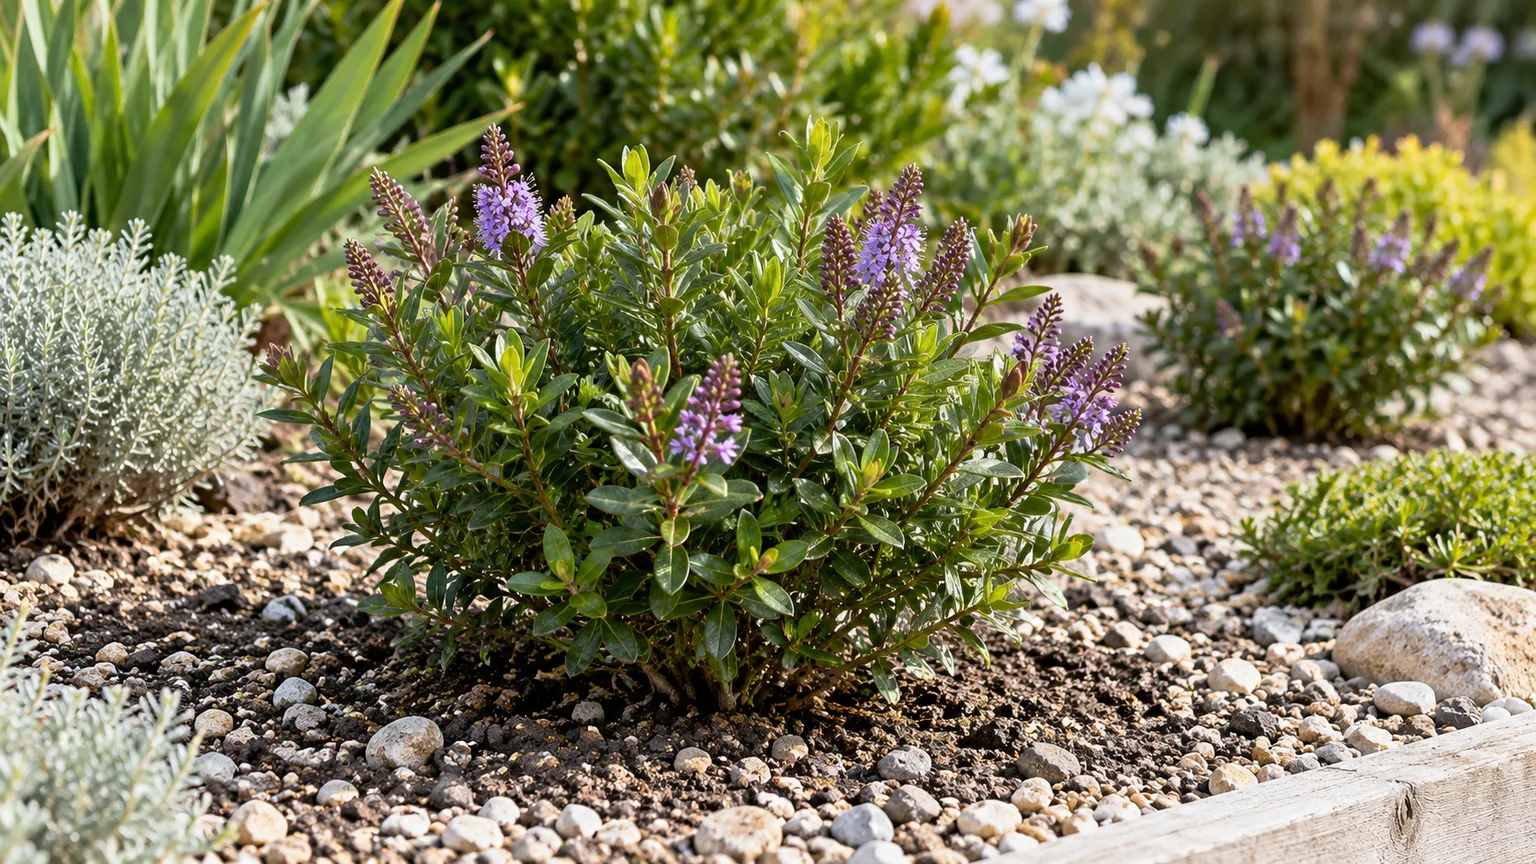
Set container shrubs at the correct depth
Remove the pot and inspect the root ball before it goes into the hole. If fine roots circle tightly around the outside, tease them outward; if the outer layer is a dense mat, loosen or make a few shallow vertical cuts rather than leaving the roots wound around themselves. Do not rip apart a healthy root system just to make it look loose, and do not bury the stem base to hide a crooked planting.
Set the root flare—the point where the main stem widens into the upper roots—at or slightly above the finished soil line. The root ball should sit on undisturbed soil so the shrub does not sink later. The hole should be wider than the root ball to make the side soil easier for new roots to enter, but no deeper than needed to keep the flare visible.
Backfill mainly with the soil you removed, breaking large clods and gently firming it so there are no large air gaps. Water slowly as you fill or immediately afterward to settle soil around the roots. Do not tamp it into a hard crust, build a soil mound against the stems, or add a thick layer of compost directly over the root ball.
Handle bare-root and balled plants carefully
Bare-root shrubs are sold without soil around the roots and are usually planted while dormant, following the supplier’s regional timing instructions. Keep the roots shaded and moist before planting, trim only broken or dead parts with clean tools, and spread the roots naturally over a low mound of soil in the hole. Never leave exposed roots drying in sun or wind while you finish preparing the bed.
Balled-and-burlapped shrubs can be heavy and are easy to plant too low if the root flare is hidden beneath nursery soil. Set the root ball carefully, locate the flare, and follow current local Extension advice for the specific wrapping and basket materials. Remove ties or cord that could girdle the stems; avoid pulling apart a heavy root ball after it is positioned if doing so would destabilize it. In all cases, water the full root ball and surrounding backfill after planting.
Water the root ball while new roots spread
New shrubs need consistent moisture while roots move beyond the nursery root ball, but a fixed calendar cannot account for soil, rainfall, wind, shade, and container-media differences. Check the root ball itself a few inches below the surface. Soil around it may feel damp while a bark-based nursery mix inside has dried, or a wet clay bed may stay saturated after rain and need no additional water.
When the root zone is beginning to dry, apply water slowly enough that it soaks into the root ball and the surrounding backfill instead of running down a slope. A soaker hose or a low-flow hose at the base can help with a row of shrubs. After watering, check again rather than assuming the surface wetness proves that moisture reached the roots. Gardening Know How’s guidance for new woody plantings highlights how light rainfall can wet mulch while a recently planted root ball stays dry.
As the shrub establishes, widen the watered area to encourage roots to explore the bed. Reduce frequency when cooler weather and rain keep the root zone moist, but do not stop monitoring just because leaves have fallen; evergreen leaves continue losing moisture through winter. Stop watering when the soil is frozen and water cannot soak in. In dry or windy climates, a newly planted shrub may need more frequent checks than a plant in a cool, rainy site.
If a shrub wilts, test moisture before reaching for the hose. Dry, crumbly soil points toward insufficient water; persistently wet soil, a buried root flare, or a sour smell around roots suggests poor aeration or excess moisture. Water stress and root damage can produce similar leaf symptoms, so the next step is to check the soil and planting depth, then adjust one cause at a time.
Mulch broadly and fertilize only when needed
Spread a modest layer of organic mulch over the root zone to slow moisture loss, reduce weeds, and protect soil from temperature swings. Keep mulch several inches away from stems and the root flare, and avoid piling it into a cone against the plant. A broad, shallow ring is more useful than a thick, narrow mound because feeder roots extend outward as the shrub grows.
Fertilizer is not a routine planting requirement. A shrub that is newly transplanted needs stable moisture and root growth; a strong dose of fertilizer can push soft top growth before the roots can supply it. Use a soil test when growth or leaf color suggests a nutrient issue, identify the shrub before changing pH, and follow the label if a specific product is recommended for that plant and region.
If the plant grows well and produces healthy leaves, skip fertilizer unless a soil test or species-specific guidance indicates otherwise. Excess nitrogen may create long shoots, reduce flowering, and increase pruning work. Apply compost as a surface top-dressing when appropriate to the soil, but do not assume more organic matter is always better; shrubs adapted to lean, dry, or sharply drained soils can decline in an overly rich, wet bed.
Prune based on bloom timing and structure
Before cutting, identify whether the shrub flowers on old wood (growth made last season) or new wood (growth made this season). Many spring-flowering shrubs set buds before winter, so hard pruning in late winter removes the coming display; prune them soon after flowering if size control is needed. Many summer bloomers flower on current-season growth and can be pruned in late winter or early spring before active growth, but check the species rather than using the category as a guarantee.
Start with dead, damaged, crossing, or diseased stems, cutting back to a healthy branch or the base where appropriate. For an informal shrub, selective cuts preserve its natural shape better than shearing every surface into a shell. Shearing may suit a formal hedge, but it creates a higher-maintenance form and can leave a dense outer layer that shades interior growth.
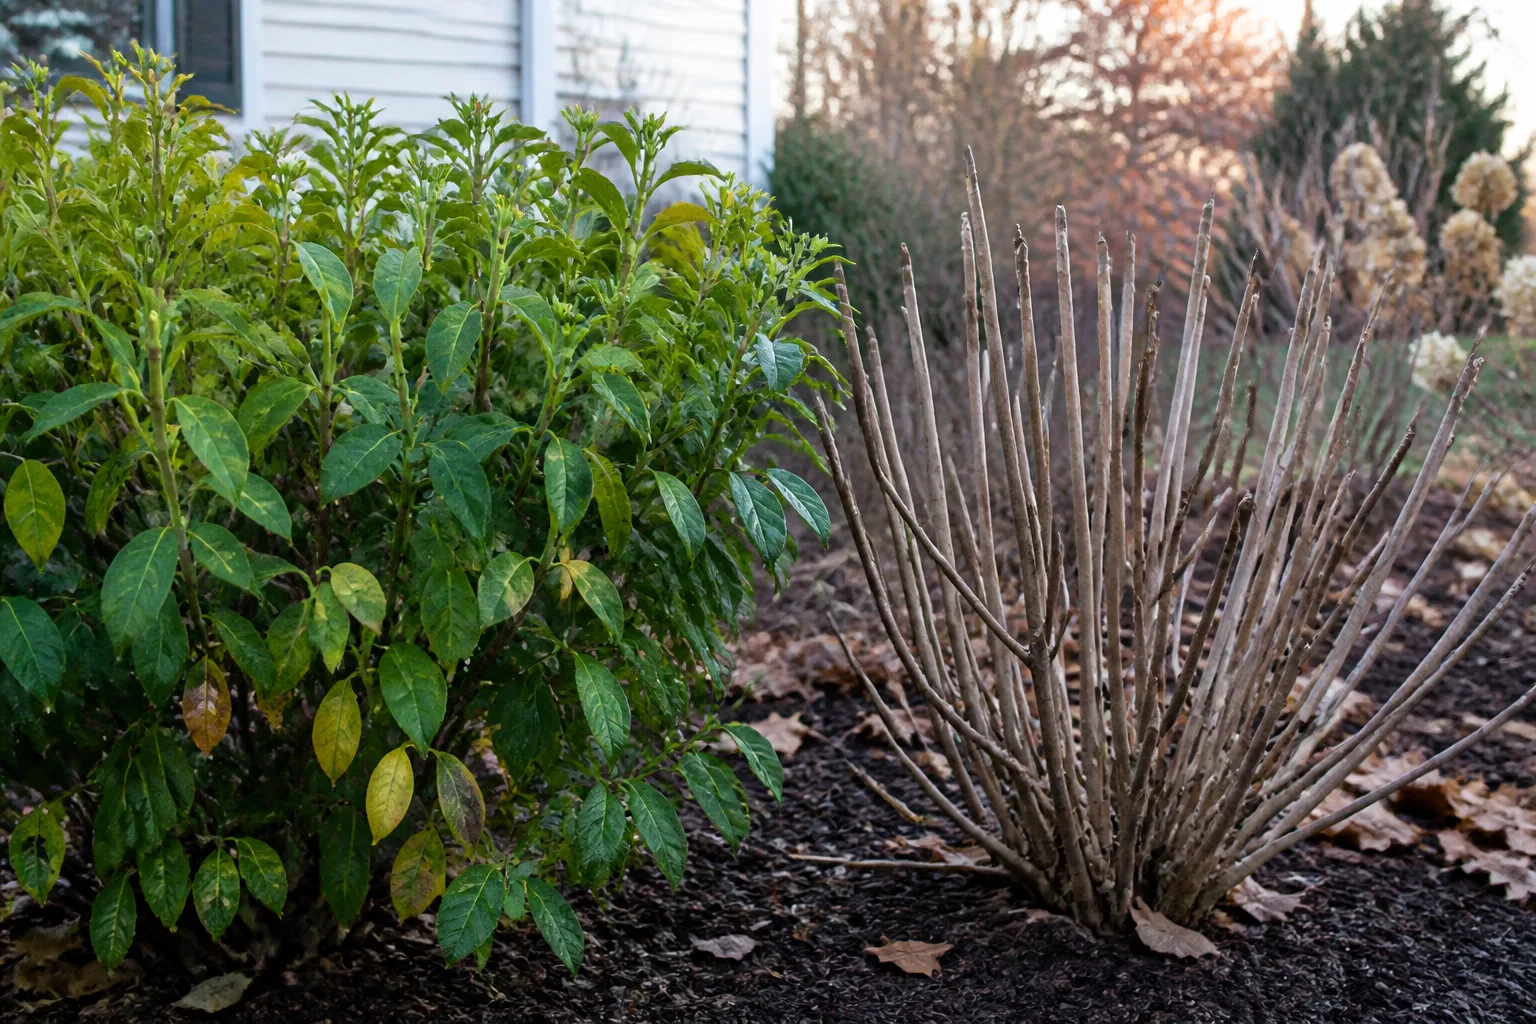
Do not prune a shrub simply because it is March, fall, or “overgrown.” First identify the species, bloom habit, and reason for cutting. If the plant has outgrown its space, repeated topping may not solve the problem; replacement with a compact, better-matched shrub can be kinder and cheaper than years of severe pruning.
Renew old stems instead of shearing everything
Some multi-stemmed shrubs respond to renewal pruning: remove a portion of the oldest stems close to the base over more than one season, allowing younger stems to take their place. The method can restore light and a more open framework without cutting the whole shrub into a stump. It is not suitable for every evergreen or every shrub, so verify the species’ response before starting.
For a neglected plant, first remove dead wood and look for healthy shoots at the base. If renewal is appropriate, take a limited share of the oldest stems in one year and reassess new growth before continuing. Avoid removing so much foliage that the remaining roots cannot support recovery, and do not treat a shrub that is dying from root or drainage problems as a pruning project.
Troubleshoot decline by checking the site first
When a shrub fades, write down what changed: planting date, recent rain, irrigation, construction, pruning, herbicide use nearby, or a sudden shift in exposure. Compare the moisture in the original root ball with the bed soil, then look for the root flare and check whether water drains away. These checks often reveal a correctable problem faster than adding fertilizer or spraying a product without identifying a pest or disease.
Yellow leaves can result from natural seasonal leaf drop, water stress, poor drainage, root injury, unsuitable pH, or nutrient deficiency. Brown leaf edges may follow drought, wind, salt exposure, or heat; stippling, webbing, sticky residue, or a spreading lesion suggests a different line of investigation. Inspect both leaf surfaces and stems, photograph the pattern, and compare affected and healthy branches before acting.
If symptoms spread or the cause is unclear, use a local Extension diagnostic service or an arborist familiar with woody ornamentals. Bring clear photos and details about the soil and recent care. Avoid broad-spectrum pesticide applications as a first response; they can harm beneficial insects and will not repair a buried root flare, saturated soil, or dry root ball.
Use a simple seasonal care rhythm
In spring, check winter damage, remove broken stems, refresh mulch without covering the base, and prune only after confirming the plant’s flowering habit. If soil tests or species-specific advice call for feeding, apply it at the recommended rate and season. Spring is also a good time to compare actual growth against the plant’s mature dimensions and correct spacing while changes are still manageable.
During summer, water new shrubs by checking their root zones during dry periods, and watch for pests or leaf symptoms before they spread. Established shrubs suited to the site usually need less attention than plants still establishing, but prolonged heat, drought, or restricted root space can still stress them. Keep lawn equipment and string trimmers away from stems, since repeated bark damage weakens woody plants.
In fall, keep checking newly planted shrubs through dry weather, especially evergreens, and stop only when frozen soil prevents watering. Avoid late-season pruning that may stimulate tender growth or remove flower buds. In winter, do not shake or strike ice-covered branches; remove only loose debris that can be reached without breaking stems, and use temporary wind protection only where the species and exposure justify it.
Regional timing varies, so use local Cooperative Extension advice alongside a plant label. University of Minnesota Extension’s planting and transplanting guide and its watering guide for newly planted trees and shrubs are examples of region-specific resources; UNH Extension’s plant selection and design materials offer another way to check local landscape decisions. Adjust the dates and frequency to your own frost, rainfall, soil, and heat rather than copying a calendar from another climate.
Conclusion
Good shrub care starts before the plant reaches the hole. Choose a plant for a real landscape job, match its light and moisture needs to the site, check mature size and local suitability, and leave the root flare visible when you plant it. Those choices prevent more trouble than routine feeding or frequent trimming.
After planting, keep the root ball evenly moist without leaving it waterlogged, mulch the root zone without burying the stems, and prune according to how that shrub grows and flowers. If decline appears, inspect soil moisture, drainage, planting depth, and recent changes first. A shrub that fits its place can provide structure, flowers, privacy, or wildlife value for years with far less corrective work.



