How to Do a Soil Jar Test and Choose Better Plants
Use a free soil jar test to measure sand, silt, and clay, read your soil texture, choose better-matched plants, and amend without guesswork.
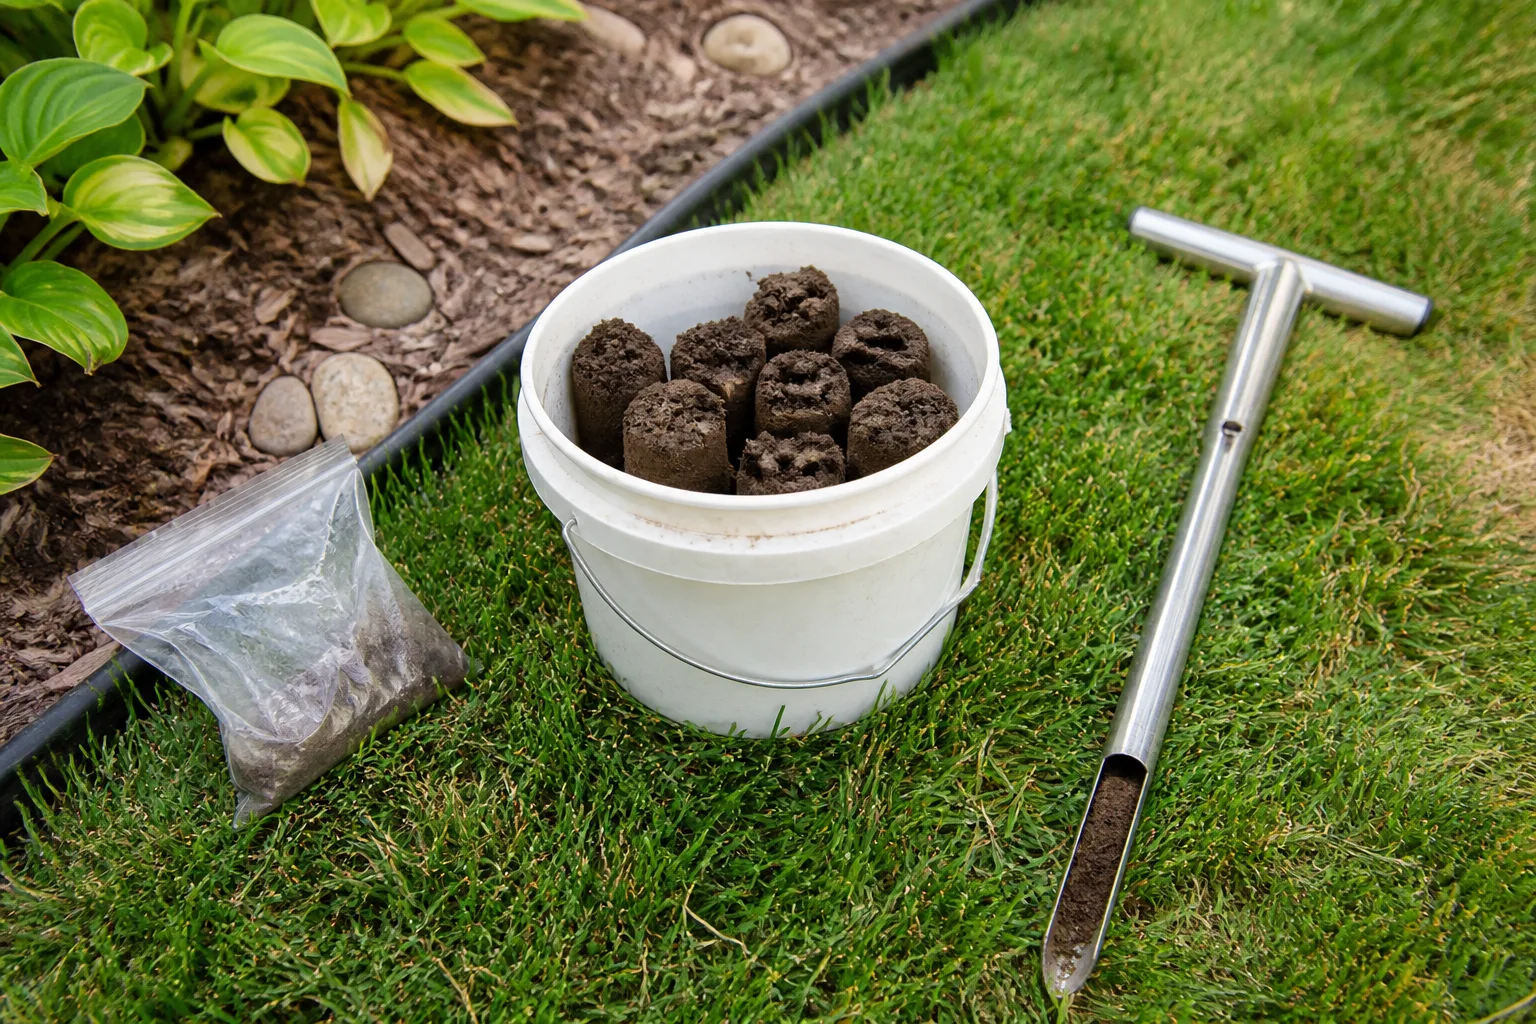
Your garden soil can look dark and healthy while still draining too quickly, holding water too long, or forming a hard crust after rain. A soil jar test gives you a free, useful snapshot of the soil’s texture by separating its sand, silt, and clay particles into visible layers.
That snapshot is enough to improve your plant shortlist and your amendment plan—but it is not a complete soil diagnosis. Use the jar to understand how the ground is likely to behave, then combine it with sun, drainage, climate, and a laboratory soil test when you need pH or nutrient numbers.
What a Soil Jar Test Can—and Cannot—Tell You
Soil texture is the relative share of sand, silt, and clay in a sample. Sand particles are largest and settle first, silt is finer, and clay is finest and remains suspended the longest. Their proportions affect how much water and air the soil can hold and how quickly water moves through it; Clemson Cooperative Extension’s jar-test guide uses those three fractions to estimate a soil texture class.
The test can tell you whether one bed is broadly sandy, silty, clay-heavy, or somewhere in the loam range. It cannot tell you the soil’s pH, nitrogen level, soluble salts, organic-matter percentage, contamination risk, compaction, or actual drainage rate. It also cannot account for every root-zone layer if your sample comes only from the surface.
Think of the result as a behavior forecast, not a verdict. A sandy result suggests faster drying and more nutrient leaching; a clay-heavy result suggests slower infiltration and more risk of compaction. Both can grow excellent plants when you select for the site and manage the soil appropriately.
Choose a Representative Sample Before You Fill the Jar
Sampling is the step most likely to make a simple test misleading. Soil beside a downspout, under a mature tree, in a compost-rich vegetable bed, and beside a foundation may all belong to the same yard while behaving like different soils.
If you are testing one future bed, take several small scoops from the same growing area and mix them in a clean bucket. Remove mulch and surface litter first, then sample roughly the upper 6 inches of the root zone rather than scraping a thin layer from the surface. This cross-section approach is also recommended in GrowIt BuildIt’s practical jar-test walkthrough.
Do not mix unlike places into one “average” jar. Keep samples separate for a sunny raised bed, a soggy low spot, an undisturbed lawn edge, or an area filled with purchased topsoil. A single blended sample can hide the exact texture difference that explains why one group of plants thrives and another struggles.
Test soil that is crumbly enough to sift, not saturated mud. If the site was recently graded, heavily amended, or covered with imported fill, take a second sample from below the altered layer if you can do so safely; the surface may not represent the soil plant roots will meet later.
Gather the Simple Materials
You need a clear, straight-sided jar with a tight lid, a ruler, a permanent marker, a watch or phone timer, a sieve or old colander, a clean bucket, and water. A straight-sided container makes layer heights easier to measure than a jar that narrows sharply at the shoulder.
You do not need a special kit. Follow one consistent protocol and label the jar with the bed name and start time. The exact shape of the jar changes the visual width of the layers, but it does not change the percentage calculation when every layer is measured as a height in the same container.
How to Do a Soil Jar Test
The basic sequence is simple: disperse the sample in water, mark what settles quickly, wait for the finer particles, and calculate the layer proportions. Resist the urge to judge the result while the water is still cloudy; the clay fraction is the part that needs the most time.
Sift Before You Shake
Push the mixed soil through a sieve or colander to remove stones, roots, wood chips, leaves, and other large debris. Break apart obvious clods as you sift, but do not grind stones or organic matter into the sample. Those materials are not the sand, silt, and clay fractions you are trying to measure.
Sifting is not cosmetic. A pebble can inflate the bottom layer, while an intact clay clod can sink as a lump instead of dispersing into fine particles. GrowIt BuildIt notes that unsifted clods can remain intact even after vigorous shaking, which is a practical reason to slow down before the jar is filled.
Shake, Set, and Mark the Layers
Fill the jar about one-third full with sifted soil. Add clean water, leaving an inch or two of air at the top, cap it tightly, and shake until the mixture is as uniform as you can make it. Set the jar on a level surface where it will not be bumped.
Start the timer as soon as the jar is stationary. After 1 minute, mark the top of the settled bottom layer. This is the coarse sand boundary. After 2 hours, mark the top of the next layer; the material between the first and second marks is the silt fraction. These settling checkpoints match the stepwise procedure documented by Clemson Extension.
The water may still look hazy after two hours. That is expected. Do not pour off the water, stir the jar again, or move it to a sunny windowsill where temperature changes can create currents. Keep it level and undisturbed.
Wait for the Clay Layer and Record the Final Height
Leave the jar in place for about 48 hours, or until the water has cleared enough that the top of the sediment is easy to identify. Mark the final top of the sediment. The layer thicknesses are measured between marks—not by measuring each mark from the bottom and treating those cumulative heights as separate layers.
A floating mat of leaves or organic fragments is not part of the mineral sediment. Note it separately and exclude it from the total. If the top boundary is diffuse, record a reasonable range rather than pretending the line is exact; a jar test is a field estimate, not a laboratory particle-size analysis.
Calculate the Sand, Silt, and Clay Percentages
Measure the height of the bottom sand layer, the combined sand-plus-silt layer at two hours, and the full sediment column at the final reading. Convert the cumulative marks into individual layer thicknesses with these formulas:
- Sand thickness = 1-minute mark.
- Silt thickness = 2-hour mark − 1-minute mark.
- Clay thickness = final mark − 2-hour mark.
- Total sediment = final mark.
- Percentage of each fraction = individual thickness ÷ total sediment × 100.
For example, imagine the final sediment column is 100 millimeters tall. The one-minute sand mark is at 55 millimeters and the two-hour mark is at 85 millimeters. That gives you 55 millimeters of sand, 30 millimeters of silt, and 15 millimeters of clay: 55% sand, 30% silt, and 15% clay.
The percentages should add up to approximately 100. Small discrepancies are normal when boundaries are fuzzy, but a large mismatch usually means you double-counted a cumulative mark, included pebbles or floating organic matter, or measured the water depth instead of the sediment depth.
Classify the Texture With the USDA Soil Triangle
Percentages describe the sample; a soil texture triangle turns those percentages into a recognized class such as sandy loam, loam, or clay loam. Do not classify the soil by whichever layer looks tallest. A soil with 55% sand, 30% silt, and 15% clay is not automatically called “sandy” in every classification system; the boundaries are defined by the interaction of all three fractions.
Plot the sand, silt, and clay percentages on the USDA NRCS soil information system or a current USDA soil texture triangle. Follow the guide lines for each percentage until they intersect. The region containing that intersection is your estimated texture class.
If your result lands close to a boundary, treat it as a range. “Sandy loam leaning toward loam” is more honest and more useful than claiming a precision the home test cannot provide. Retest a second mixed sample if the plant decision is expensive or the first jar had weak layer separation.
Read the Result: Texture Changes How a Site Behaves
Texture matters because it changes the balance between water, air, and pore space around roots. But texture is only one part of a growing site: a compacted loam beside a downspout may drain worse than an open clay loam on a gentle slope.
Sandy Soil
When sand dominates, water usually moves through the soil quickly and the root zone can dry between rains. Nutrients may also move below the main root zone more readily, especially after repeated heavy watering. That does not make sandy soil poor; it makes water-holding capacity and organic-matter management more important.
Sun-loving, drought-tolerant plants such as lavender, rosemary, yarrow, and many sedums can be good candidates when they also fit your hardiness zone and winter moisture. For vegetables, sandy ground can be productive when you add mature organic matter, mulch the surface, and irrigate deeply enough to wet the root zone instead of sprinkling the top.
Check the result against reality. If a sandy bed stays wet for days, the problem may be a compacted layer below the sample, a high water table, or a low spot—not the sand percentage itself.
Silty Soil
Silt sits between sand and clay in particle size. It can hold useful moisture, but exposed silty ground is vulnerable to crusting, compaction, and erosion when it is repeatedly walked on or struck by heavy rain. A smooth, dusty surface after drying is a management clue even if the jar looks balanced.
Keep silty beds covered with plants or mulch, avoid working them when wet, and add organic matter gradually. If the site is both silty and consistently moist, moisture-tolerant plants such as ferns, astilbes, or cardinal flowers may fit—but only where light, climate, and drainage also match their needs. Silt does not automatically mean shade or wet soil.
Clay-Heavy Soil
Clay particles are tiny and have a large combined surface area, so clay-heavy soil can hold water and nutrients well. The trade-off is slower infiltration, sticky digging when wet, hard clods when dry, and less air space when the soil is compacted.
Clay-tolerant perennials such as coneflowers, bee balm, daylilies, and many asters can be workable choices in a sunny bed, but their success still depends on drainage. Do not plant a moisture-sensitive species in a clay basin simply because it is labeled “clay tolerant.”
The safest improvement is repeated organic-matter building: compost, finished leaf mold, living roots, and a protective mulch layer. Avoid walking on wet clay, and do not add a little sand as a shortcut. Small amounts of sand mixed into heavy clay can create a dense, concrete-like texture rather than reliable drainage.
Loam and “Almost Loam”
Loam is a texture class with a useful balance of sand, silt, and clay, but it is not a guarantee of perfect garden soil. A loam can still be compacted, low in organic matter, poorly drained, acidic, alkaline, or depleted of nutrients.
If your jar points to loam and the site drains well, resist the urge to amend automatically. Many plants—including tomatoes, carrots, strawberries, and flowering perennials—can grow in loamy ground, but they still need the right light, seasonal temperature, moisture, and pH.
Choose Plants With Texture, Sun, and Drainage Together
Use your jar result to narrow the field, not to generate a rigid list. The most reliable selection order is sun exposure, hardiness, mature size, drainage, soil texture, then pH and nutrient needs. Texture matters, but a plant adapted to your local conditions is usually a better bet than a theoretically perfect plant in the wrong light.
Start by observing the site for a full day. Record whether it receives morning sun, afternoon sun, filtered light, or shade; whether water runs toward or away from it; and how long the surface stays wet after a normal rain. A jar test cannot replace those observations.
Then match the plant’s preference to the site’s behavior. Put drought-tolerant plants on the faster-draining, sunnier edge; place moisture-loving plants where moisture is available without standing water; and reserve raised beds or containers for crops whose root zones cannot tolerate the native soil. Check the plant tag or a local extension reference for hardiness and moisture requirements before buying.
For a new vegetable bed, keep the jar result beside your plant plan. A sandy result suggests crops and irrigation methods that tolerate faster drying. A clay-heavy result suggests choosing crops that can handle slower spring warming or building a raised, well-drained root zone. The decision is not “Which soil is best?” but “Which plant and management system fit this soil?”
Improve the Soil Without Fighting the Site
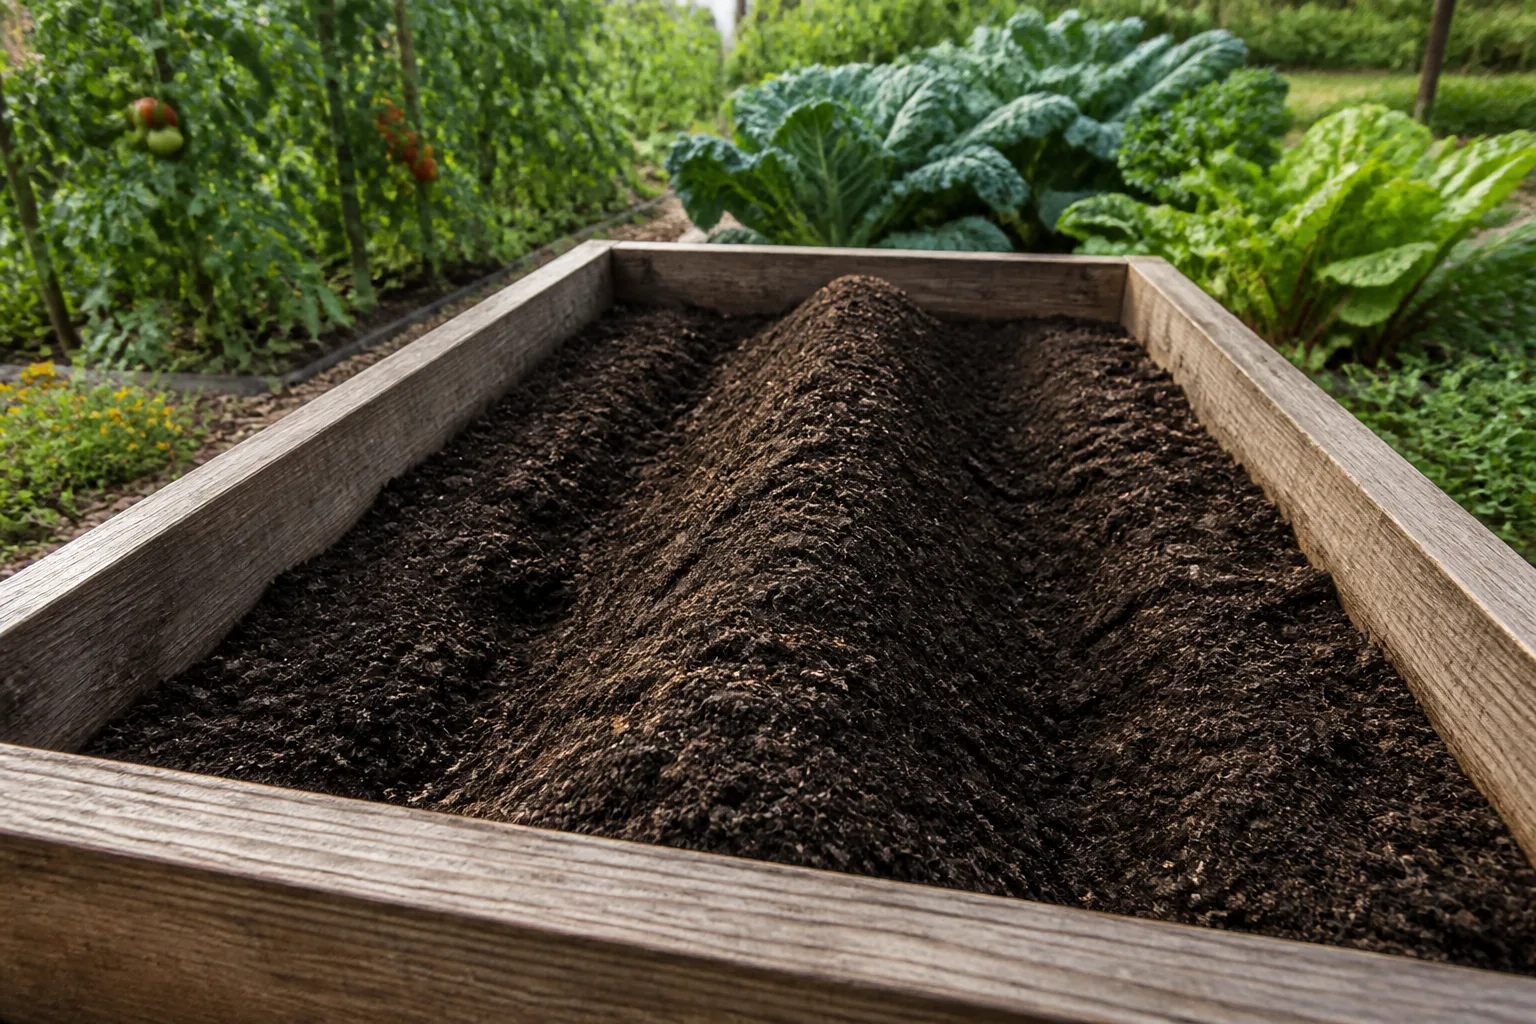
Amendments are most useful when they solve a measured problem. Mature compost or leaf mold can improve water and nutrient holding in sandy soil and improve aggregation in clay or silt, but the effect is gradual. Spread it across the bed and incorporate it only when the soil is workable; repeated additions plus living roots are usually more sustainable than one dramatic correction.
For clay, focus on organic matter, surface mulch, and no traffic when wet. For sand, focus on organic matter, mulch, and irrigation that wets the full root zone. For silt, focus on cover, reduced compaction, and erosion control. For loam, amend only when a soil test or plant performance shows a need.
Do not use compost to disguise a drainage problem caused by a hardpan, buried construction debris, a clogged downspout, or a high water table. A percolation test, improved grading, a drainage route, or a raised bed may address that problem more directly than adding another bag of organic matter.
Also avoid fertilizer as a substitute for texture management. Fertilizer can add nutrients, but it cannot create pore space in compacted clay or prevent sandy soil from drying. Use a laboratory recommendation when applying nutrients or lime rather than guessing from the jar color.
Common Jar-Test Mistakes and Limitations
The jar test is forgiving when you use it as an estimate and unforgiving when you treat it as a precision instrument. These corrections cover the failures that most often produce a confident but wrong plant decision:
- One scoop from one spot: Take several small samples from the same bed and mix them. Keep contrasting areas separate.
- Surface-only scraping: Remove mulch and sample the root zone, not just the dusty top layer.
- Unsifted clods and stones: Sift first. Rocks and intact clods distort the layer boundaries.
- Double-counting cumulative marks: The two-hour mark includes sand; subtract the one-minute mark to get silt.
- Stopping while the water is cloudy: Give clay roughly 48 hours or until the upper water is clear enough to identify the boundary.
- Measuring organic debris: Floating roots and leaves are not mineral sediment; exclude them.
- Working wet soil afterward: The test itself does not compact the bed, but digging or tilling saturated soil can damage structure.
- Calling the jar a fertility test: Texture is not pH, nutrient availability, organic matter, or contamination.
Some samples never form clean lines. High organic matter, strongly aggregated clay, unusual mineral content, a curved jar, or a jar that was bumped can blur the boundaries. If the result is unclear, repeat it with a better-mixed sample and compare the visual result with a quick ribbon test or a professional analysis rather than forcing a class.
When a Lab Soil Test Is the Better Tool
Order a laboratory soil test when you need pH, lime or sulfur guidance, nutrient levels, salinity information, or a recommendation for an edible garden. A lab uses a standardized sample and method; your local county or state extension service can often explain how much soil to send and which test package fits your crop.
The jar is still useful before the lab test because it helps you notice whether two parts of the property should be sampled separately. Send the lab a representative sample from each distinct bed, not a single bucket that blends a sandy lawn edge with a clay planting hole.
For a new property or an area with imported soil, use the USDA NRCS Web Soil Survey to review mapped soil information as background. Maps are regional and cannot replace a sample from your actual garden, but they can flag likely soil series, drainage patterns, and changes across a property.
If you suspect contamination from old paint, treated fill, industrial activity, or an unknown dumping area, skip DIY interpretation and ask your extension service or an appropriate environmental laboratory for guidance. A jar can show particles settling; it cannot establish whether the soil is safe.
Conclusion
A soil jar test is a smart first move because it costs almost nothing and makes an invisible property of soil visible. Sample the root zone carefully, sift the material, mark the one-minute, two-hour, and final layers, and calculate each fraction from the thickness between marks.
Use the result to predict whether a bed will dry quickly, hold water, crust, or compact—and to choose plants that fit those conditions. Then verify the decision with real observations of sun and drainage, and use a laboratory soil test when pH, nutrients, salinity, or contamination matters. The goal is not to force every bed into perfect loam; it is to build a plant list and a soil plan that work with the ground you actually have.



