16 Spring Gardening Tasks for a Strong Growing Season
Plan 16 spring gardening tasks by frost risk, soil readiness, and plant needs, from testing beds and pruning shrubs to protecting overwintering pollinators.
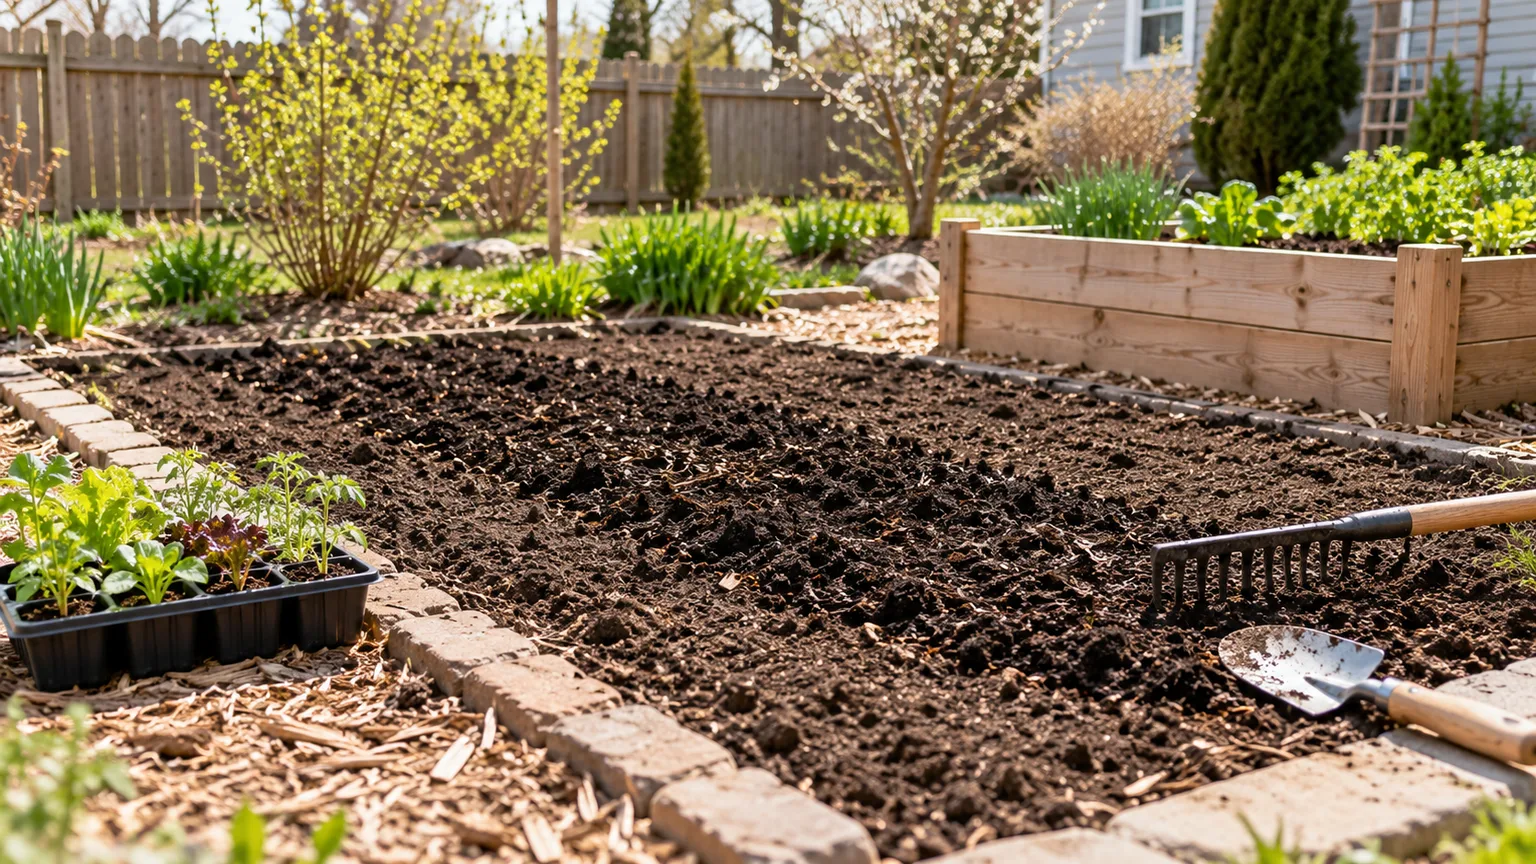
Spring work goes better when it follows the garden’s conditions instead of a date on the calendar. A sunny warm afternoon can arrive while the soil is still saturated, a late freeze can follow several mild days, and shrubs that look dormant may already be carrying next season’s flower buds. Start with observation and planning; move into pruning, digging, and cleanup only when the plants and ground are ready.
This checklist is designed to be worked in stages. Some jobs—reviewing notes, ordering seed, sharpening tools—can happen indoors or on a cold day. Others should wait for a workable bed, and a few are tasks to do only when inspection shows a need. In warmer climates, the same decisions may come earlier; in regions where spring is brief or unpredictable, they may stretch over several weeks.
1. Review Last Year’s Garden Photos and Notes
Before buying plants or moving anything, look through last year’s photos and notes. Make a short record of what thrived, what struggled, where water pooled, which beds dried out first, and when the main flowers appeared. A photo can reveal a gap that is hard to remember in winter, such as a border that blooms heavily in May but has little color later in summer.
Turn observations into a few specific decisions: replace a plant that failed for a clear reason, move a sun-loving perennial from a shaded corner, or add a late-blooming plant where the season goes quiet. Keep the distinction between a one-off problem and a pattern. A plant may have suffered from one unusual drought or a storm; that does not automatically mean it is wrong for the garden. Notes are most useful when they help you change one condition at a time and see whether the result improves.
2. Prune Trees and Shrubs Only When Their Timing Is Right
Remove broken, dead, or clearly diseased wood when you can reach it safely, but do not treat “spring pruning” as one universal job. For flowering shrubs, timing depends on when the plant makes its flower buds. Penn State Extension explains that many spring-blooming shrubs flower on old wood and should be pruned soon after flowering; many summer- and fall-blooming shrubs flower on new wood and can be pruned in late winter or early spring before new growth develops (Penn State Extension’s pruning guide).
If you cannot identify the shrub, wait until you can. A quick cut to “tidy” a lilac, azalea, viburnum, or spring rose before it blooms can remove the buds you have waited all winter to see. Use sharp bypass pruners for small stems and loppers for branches within their safe capacity; make clean cuts rather than leaving torn stubs. Avoid topping trees or cutting large limbs from a ladder. Those jobs call for a qualified arborist, especially near buildings or power lines.
3. Check for Frost-Heaved Perennials
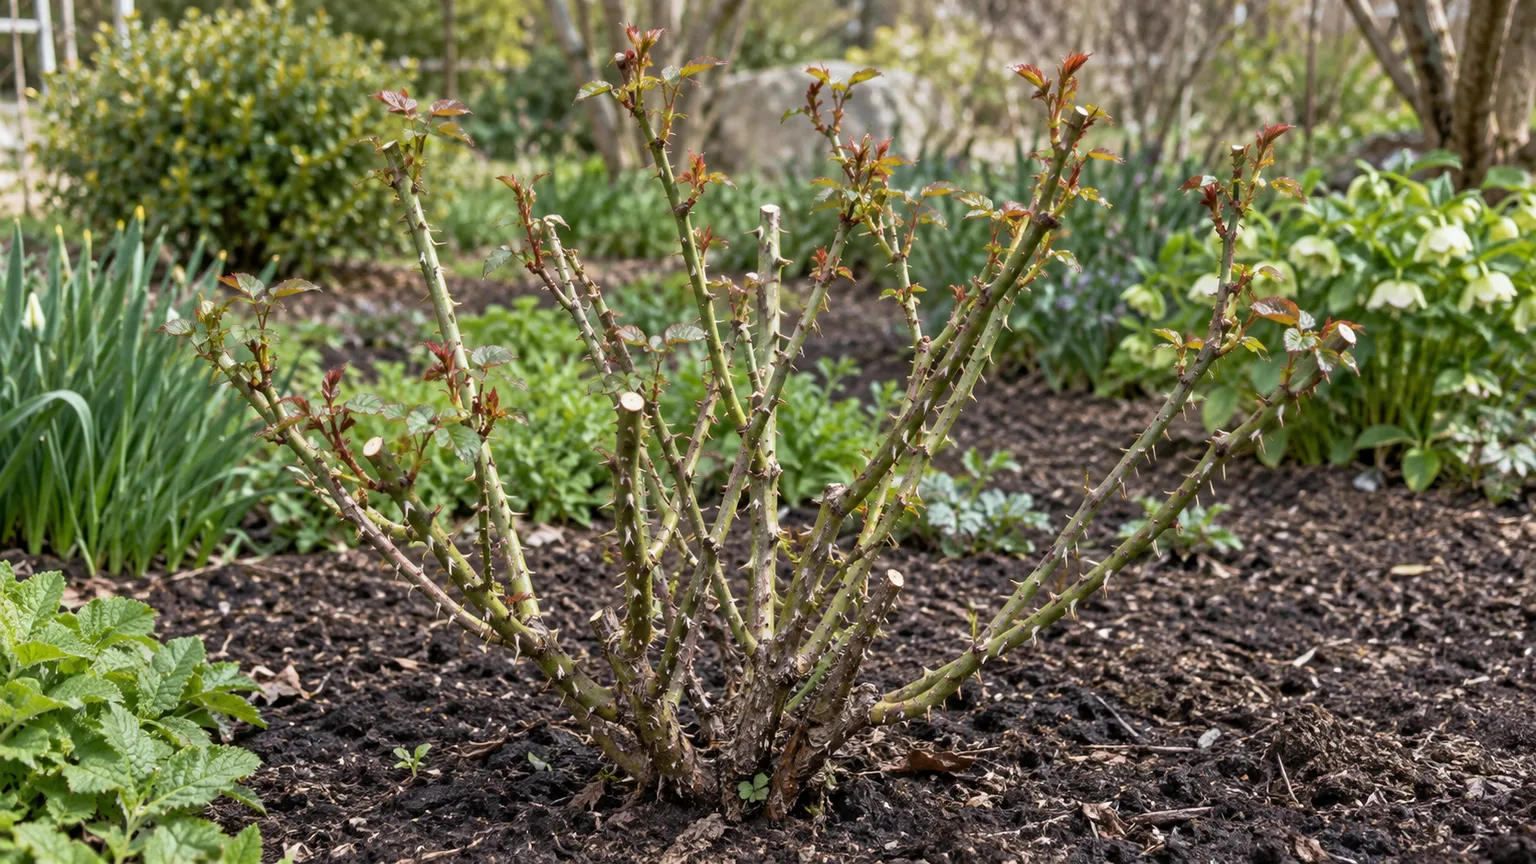
Freeze-and-thaw cycles can push shallow-rooted perennials partly out of the ground. Walk beds after the soil has thawed and look for exposed roots, lifted crowns, or plants that sit higher than the soil around them. Do not tug at a plant just because it looks loose: first confirm that it is actually heaved rather than naturally showing a crown or emerging shoots.
When the bed is no longer muddy or frozen, gently press a displaced root ball back to its original level and firm the soil around it with your hands. Water lightly if the soil is dry enough to absorb it, then check the plant after the next freeze-thaw cycle. If the roots are torn or the crown has rotted, replanting may not help; wait until the plant resumes growth before deciding whether it survived. The point is to restore root contact without packing wet soil tightly around the crown.
4. Clean Flower Beds Without Erasing Wildlife Habitat
Start with the easiest cleanup: pick up branches that block paths, remove litter, and clear diseased material that should not stay in the bed. Then pause before raking every leaf or cutting every stem to the ground. Some beneficial insects shelter in leaf litter, hollow stems, or cocoons on woody branches. Savvy Gardening’s spring-cleanup guidance recommends delaying a full cutback when conditions allow and leaving or loosely bundling stems so insects can emerge; the exact timing varies with climate and species (Savvy Gardening).
If a neat border matters, clean it in small patches instead of stripping the whole yard at once. Leave a modest, out-of-the-way patch of leaves or standing stems until the garden is actively growing, and inspect branches before pruning. Gingham Gardens likewise stresses using local weather and soil conditions instead of the equinox as a cleanup signal (Gingham Gardens). Avoid walking through beds when the soil is wet; Penn State Extension warns that working saturated soil can crush its structure and leave it compacted as it dries (Penn State Extension’s soil-health guide).
5. Trim Perennials With the Plant, Not the Calendar, in Mind
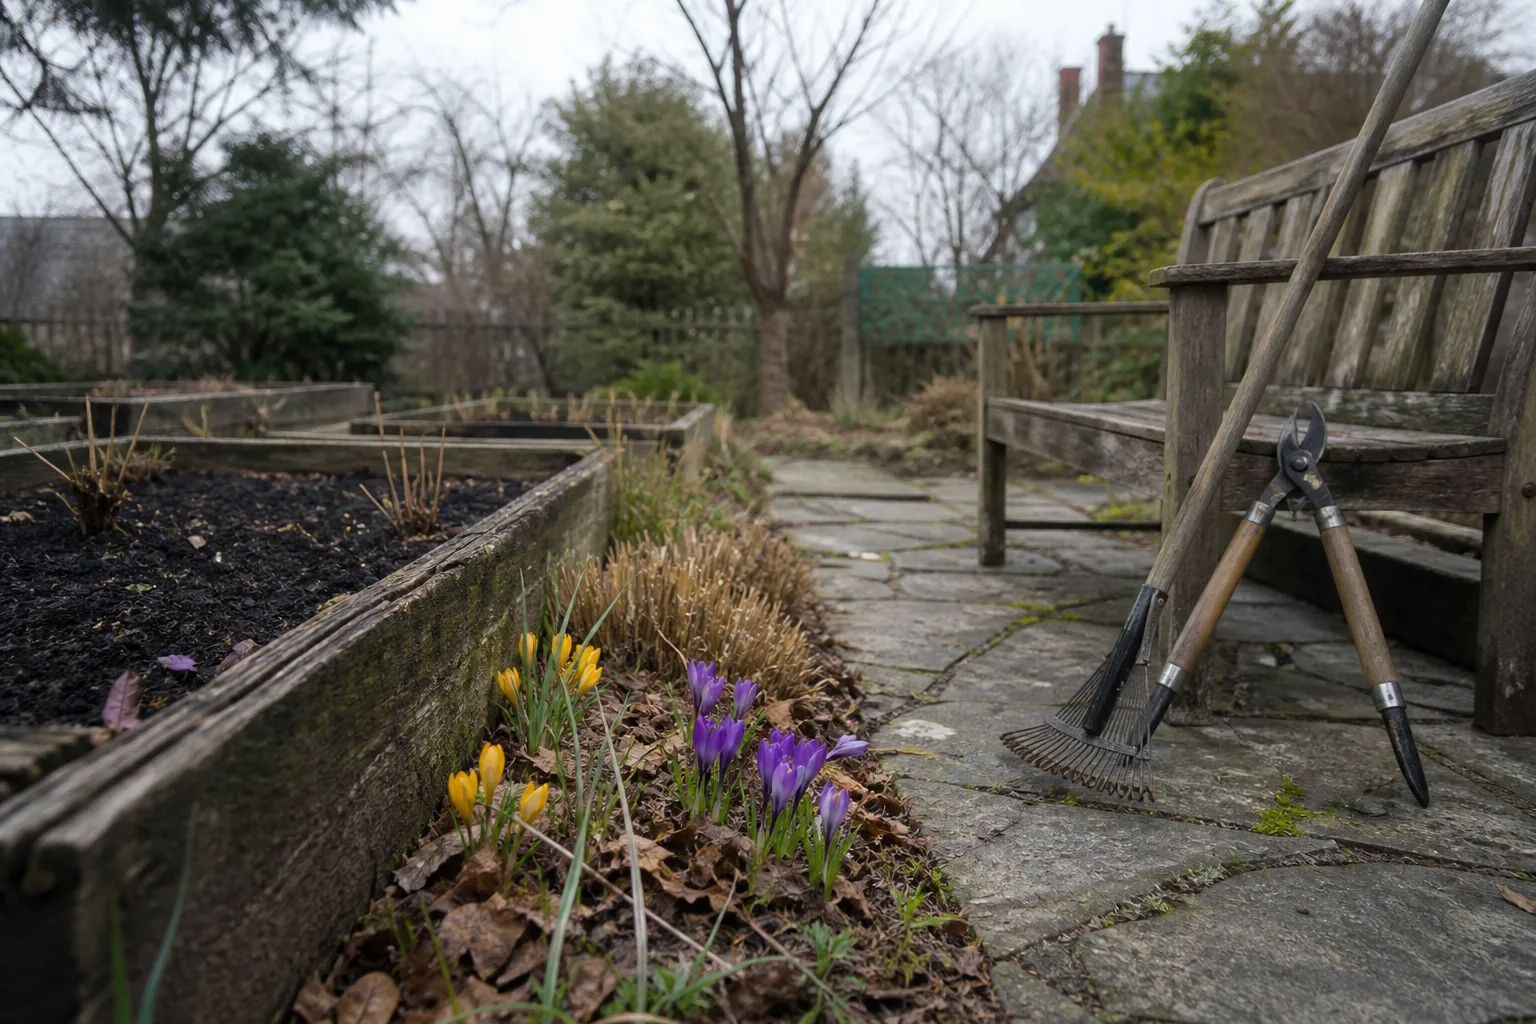
Some perennial stems are ready to come out in spring; others are still shelter for insects, provide winter structure, or protect the crown from temperature swings. Identify the plant first and look for new growth at its base. If fresh shoots are already pushing through last year’s foliage, use hand pruners to cut only the dead material above them instead of running a rake over the whole clump.
For plants with hollow stems, leave a short section standing or move the cut stems loosely to a quiet edge of the garden rather than shredding or tightly bagging them immediately. Remove stems that are mushy, visibly diseased, or tangled enough to smother new shoots, and discard those according to local disease guidance rather than adding them to a cool home compost pile. If you are unsure whether a perennial is slow to emerge or dead, mark it and give it more time. Digging too early can turn a healthy late-riser into an unnecessary replacement.
6. Test Garden Soil Before Buying Fertilizer
A soil test turns “the plants looked pale last year” into a measured starting point. Home kits can help with rough pH screening, but a laboratory test can report nutrients and pH and give recommendations tied to the crop or garden area. Penn State Extension advises sampling separate areas that are managed differently; for a garden bed, its instructions call for collecting cores from about 6 to 8 inches deep at 8 to 10 random locations, combining them, and submitting a mixed sample (Penn State Extension’s soil-testing instructions). Follow the method from the lab you use, because sample depth and submission rules can differ.
Do not mix the vegetable bed, lawn, and a problem corner into one sample if they receive different care. That average may hide the thing you need to know. Take samples when the soil is not waterlogged, remove surface mulch first, and note the bed’s intended use. Most importantly, wait for the result before applying lime, phosphorus, or a complete fertilizer. Plants can struggle because of drainage, shade, roots, or watering even when nutrients are adequate; fertilizer is not a diagnosis.
7. Add Compost and Amendments to Match the Soil
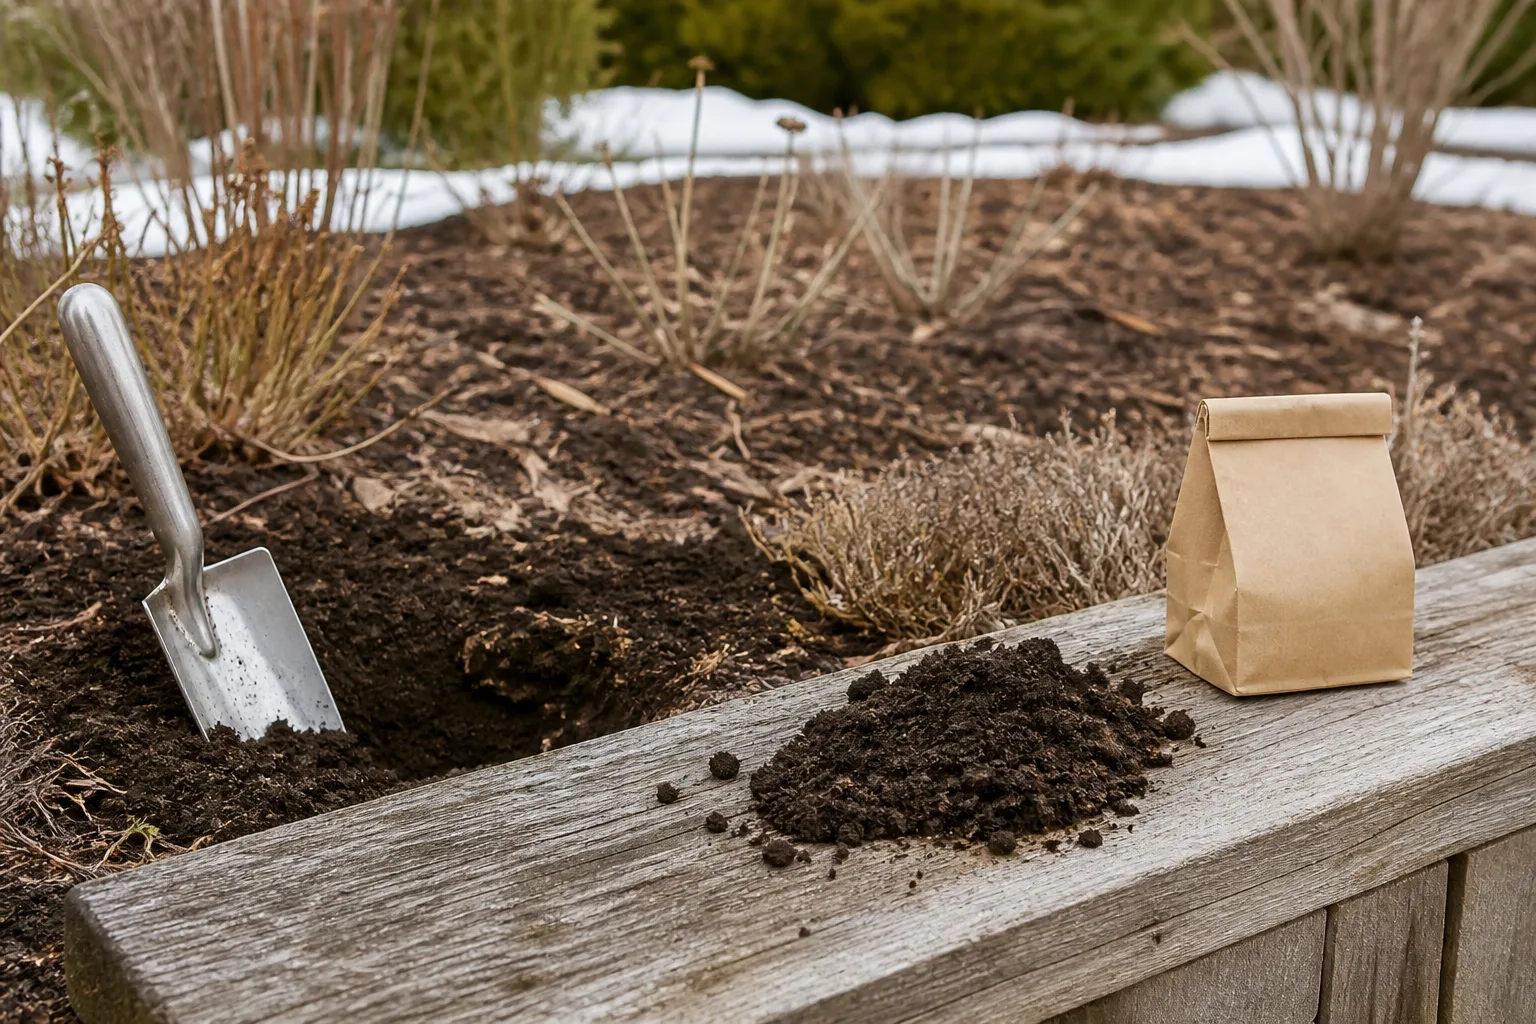
Use finished compost to build organic matter where it is needed, not as a reflexive thick layer on every bed. Penn State Extension notes that organic matter supports soil structure and that recommendations should be based on a soil test; it also cautions against adding materials such as fresh wood chips or sawdust directly into soil because decomposition can tie up nitrogen. For established beds, Penn State describes incorporating roughly 1 to 3 inches of organic matter into the upper 6 to 12 inches where amendment is appropriate, but local soil conditions and the crop still matter (Penn State Extension).
Do not dig or rototill sticky soil simply because compost has arrived. A handful that smears into a shiny, dense ribbon is too wet to work; if it crumbles when gently squeezed, it is closer to workable. Where digging would disturb roots or soil structure, spread a modest top-dressing and let rain, worms, and time move it downward. Avoid fresh manure near edible crops unless it is properly composted and safe for the intended use. More amendment is not always better: a raised bed with an existing rich mix may need only a thin surface layer.
8. Divide Perennials Only When They Are Ready
Division can rejuvenate a crowded clump and give you plants for another bed, but not every perennial should be divided in early spring. Check the plant’s normal division season and whether it blooms in spring or later. A spring-blooming perennial may be easier to divide after flowering, while a summer bloomer may tolerate early spring division before strong growth begins. The ground must be workable, and the plant should be healthy enough to handle root disturbance.
Before digging, water the plant the day before if the soil is dry, then lift a wide root ball to preserve as many roots as possible. Separate it with a sharp spade or knife into pieces that each have viable roots and several healthy growing points; discard dead or diseased centers. Replant divisions promptly at the original depth, water them in, and label them so you remember what moved. Skip division if the plant is stressed, newly planted, or already emerging into a hot, dry spell. A crowded plant that is still flowering well may not need division at all.
9. Plan Vegetable Beds and Rotate Crop Families
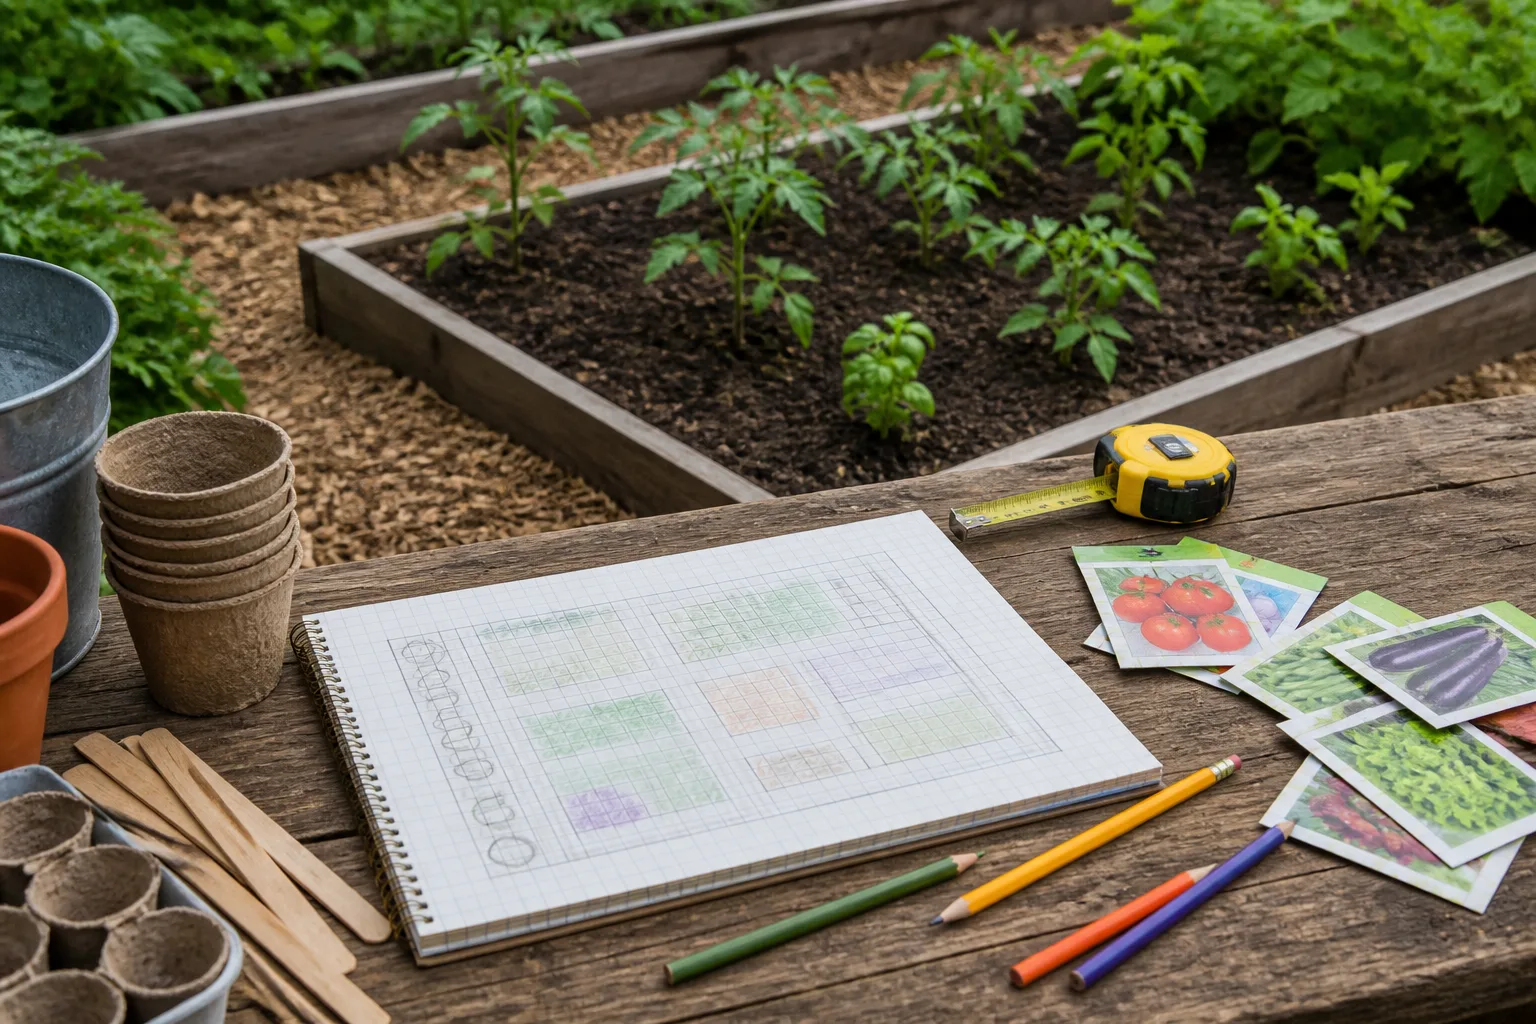
Sketch the vegetable garden before buying starts. Mark bed dimensions, paths, trellises, water access, and the direction of strong shade; then estimate the mature spacing from seed packets rather than planting every seedling at once. A small, reachable bed that receives enough sun is easier to water and harvest than a larger plot that is hard to maintain. Include herbs and flowers if they help you use edges and support the garden’s overall design, but do not let companion-planting claims override basic light, spacing, and water needs.
Use last year’s map to rotate crop families where space allows. Moving tomatoes, peppers, potatoes, and eggplants as a group is more meaningful than moving individual varieties because they share many pests and diseases. Rotate brassicas, cucurbits, and legumes in the same way, and avoid returning a crop family to the same bed in consecutive seasons when you can. Rotation is a risk-reduction tool, not a cure-all; small gardens may have limited options, so combine it with sanitation and resistant varieties. Keep a simple map and write down what actually went into each bed.
10. Order Seeds and Start Them on a Local Schedule
Order varieties early if you need a particular cultivar, but resist starting every seed as soon as it arrives. Read the packet for days to maturity, sowing depth, light, germination temperature, and the recommended interval before transplanting. Count backward from the local expected planting window, then include time to harden seedlings outdoors gradually. Starting too early often creates tall, root-bound seedlings that outgrow their lights and pots before the garden is safe for them.
Use direct sowing for crops that dislike root disturbance or thrive in cool soil, and reserve indoor starting for plants that benefit from a head start in your climate. Keep labels with each tray, use clean containers with drainage, and give seedlings enough light so they do not stretch. If weather delays transplanting, pot up crowded seedlings rather than pushing them outdoors during cold nights. A seed-starting calendar should be a flexible plan; a warm week does not erase the risk of a late frost, and a warm-climate gardener may use an entirely different spring schedule from someone in a short-season region.
11. Inventory Supplies and Check Watering Systems
Make one inventory before the first busy weekend. Check whether you have seed labels, ties, stakes, gloves, row cover, irrigation connectors, and the potting mix needed for plants you actually intend to grow. Replace items that are split, clogged, or no longer fit the job instead of buying a duplicate kit because a supply shelf looks untidy. Keep pesticides and fertilizers only if they are still in their original, readable containers and stored according to their labels; do not use an unlabeled product or one with unknown contents.
Before foliage hides lines and emitters, turn on the irrigation system and walk its length. Look for leaks, disconnected fittings, clogged emitters, and water spraying onto paths or plant crowns. Check hoses for cracks and confirm that timers or rain sensors have the correct settings. If you hand-water, put the hose where it can reach the beds without crushing shoots or crossing a walkway. These quick checks prevent a small repair from becoming an emergency during a hot spell, when a newly planted bed is most vulnerable.
12. Inspect Fruit Trees Before Considering Any Spray
Walk around each fruit tree and look closely at the trunk, branch unions, buds, and last year’s leaves or fruit. Note broken branches, cankers, mummified fruit, scale-like insects, or signs of chewing, then identify the issue before deciding whether to act. A dormant-season spray is not a general spring tonic, and the wrong product or timing can miss the pest, injure the plant, or expose beneficial organisms unnecessarily.
Remove dead or damaged fruit-tree wood with clean tools when the tree’s species and pruning window allow. For a pest or disease that may need treatment, consult your local Extension service for the crop, pest, and growth stage, and follow the pesticide label exactly if a pesticide is warranted. Penn State Extension advises against spraying at the first sign of damage because many insects cause little harm and unnecessary pesticide use can kill beneficial insects (Penn State Extension’s soil-health and IPM guidance). If you cannot identify the problem, take clear photos and ask for a diagnosis instead of applying a broad-spectrum product.
13. Weed Early Once the Ground Is Workable
Weeds are easiest to remove when they are small, but “early” does not mean digging in mud. Wait until soil crumbles rather than smears, then pull annual weeds before they flower and set seed. For a perennial weed, loosen the soil around the root system and remove as much of the root as practical; breaking a creeping root into pieces can make some species harder to control. Use a hand fork around established perennials so you do not damage their roots or disturb bulbs just emerging below the surface.
Identify unfamiliar plants before pulling them, especially in a native or pollinator garden where a volunteer seedling may be something you want to keep. If the weed is invasive or spreading by seed, roots, or rhizomes, follow local disposal guidance; ordinary home compost piles may not reach the temperatures needed to kill every propagule. A shallow hoeing pass on a dry day can sever tiny annual weeds without turning over the whole bed. Recheck the area after rain, because new seedlings often appear in waves.
14. Pull Back Winter Mulch Gradually
Winter mulch protects crowns and roots during freeze-thaw weather, so removing it all at once can expose tender growth to a cold snap. As shoots emerge and the forecast settles, rake or lift the thickest material away from plant crowns and keep some mulch between plants to limit weeds and conserve moisture. Use your hands near bulbs and small perennials, and leave mulch in place where it is still providing needed insulation.
Do not confuse “pull back” with “strip the bed bare.” Let the soil warm and dry before spreading a fresh layer, and do not heap mulch against trunks or plant stems. The correct depth depends on the material and the bed; avoid burying low-growing crowns or new seedlings. If leaf litter remains as a thin, loose layer and is not smothering shoots, it may be better left to break down than hauled away. A spring mulch job should protect soil while leaving room for emergence, not create a damp collar around each plant.
15. Clean, Sharpen, and Store Garden Tools Properly
Brush soil from shovels, forks, hoes, and hand tools, then wash and dry them before sharpening. A sharp spade cuts soil and roots more cleanly; sharp pruners make cleaner cuts that are easier for a plant to seal over. Tighten loose nuts, oil moving joints, and inspect wooden handles for splinters or cracks. Replace a damaged tool rather than relying on a repair that leaves the head loose or the handle unsafe.
If a tool has touched a plant with a suspected disease, clean off sap and debris and disinfect the blade between affected plants using an appropriate product according to its label. Let metal dry before storage to reduce rust. There is no need to soak every garden tool in a harsh solution after routine use; the goal is to remove soil and reduce pathogen transfer where it is a realistic concern. Keep pruners in a sheath or dry toolbox, and store sharp tools away from children and pets.
16. Reset Planters and Refresh Container Growing Media
Empty pots left outdoors and check their drainage holes, rims, and bases for cracks. Scrub away stuck roots and mineral crust, then wash reusable containers with soap and water and let them dry. If a pot held a diseased plant, clean and disinfect it before reuse with a product suitable for that material. Porous terracotta may need a different approach from glazed ceramic or plastic, so avoid a one-solution-fits-all treatment that could damage the pot or leave a residue.
Do not automatically throw every bag of last year’s mix into the trash, but do not assume it is fresh potting soil either. Discard mix that held a badly diseased plant, has a sour smell, stays waterlogged, or is full of persistent roots and pests. For healthy old mix, remove roots and debris and use it to top up large outdoor containers or blend a modest amount into a garden bed where appropriate; refresh a container that will support hungry annuals with new potting mix or a suitable amendment. Never fill a pot with heavy garden soil unless the container and plant are specifically designed for it.
Conclusion
The best spring checklist is a sequence, not a race. Review the garden and make plans first; wait for soil that crumbles instead of smearing; identify plants before pruning or dividing them; and clean beds in a way that leaves room for beneficial insects as well as new growth. Use a soil test to guide amendments, start seeds according to their packets and your local planting window, and treat sprays as a response to a confirmed problem—not an automatic seasonal chore.
You do not need to finish all 16 tasks in one weekend. Choose the jobs that match current conditions, mark anything that should wait, and revisit the beds after the next weather shift. That approach protects the work already in your garden while giving new plantings a more reliable start.



