How to Dry and Preserve Hydrangea Flowers
Learn when to cut hydrangeas and choose water drying, air drying, or silica gel for better color, shape, storage, and fewer brittle blooms.
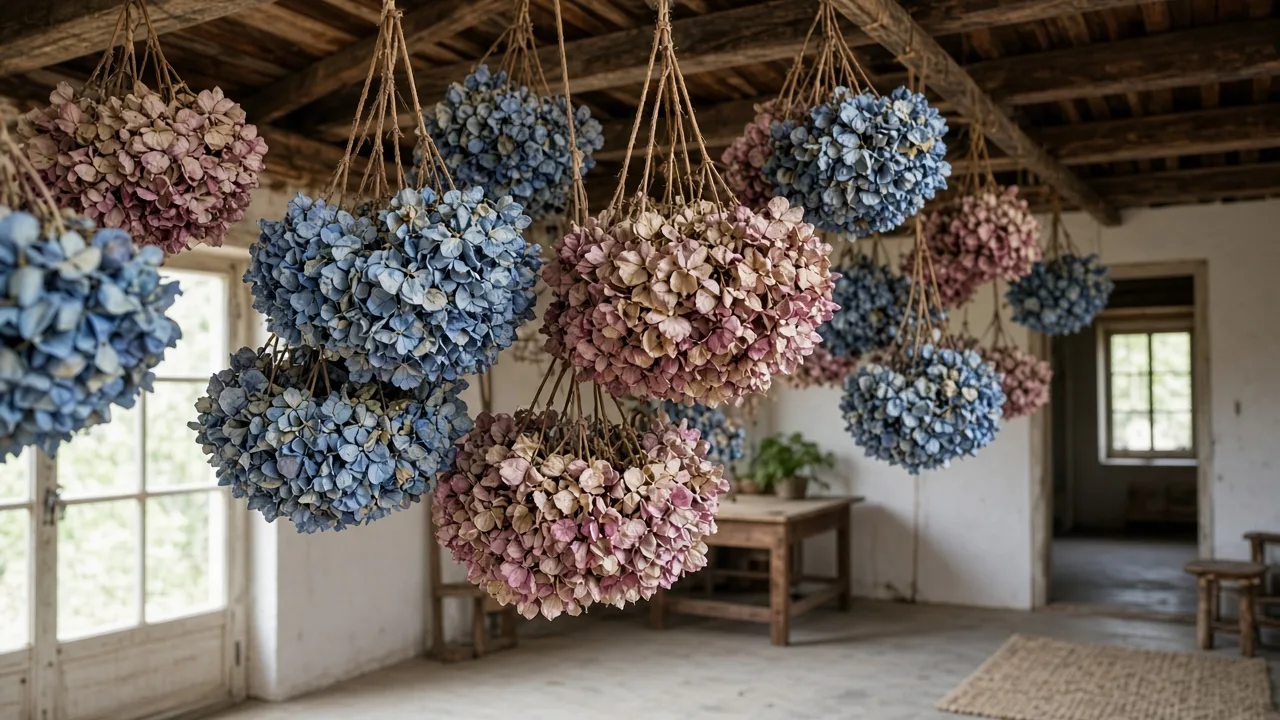
Hydrangeas are unusually rewarding cut flowers because their showy flower heads can keep a strong outline after the fresh color fades. The trick is not to cut the biggest, freshest bloom in midsummer; harvest when the head has begun to mature, the petals feel papery, and the color is moving toward the shade you want to keep.
For most home gardeners, water drying in a vase is the best default. It costs almost nothing, keeps stems usable, and removes moisture gradually. Air drying is faster and simpler but usually produces more brittle flowers, while silica gel is the better choice when preserving the closest possible version of the original color and shape matters more than cost or convenience.
Choose the Drying Method That Fits Your Goal
Before cutting, decide what “preserved” means for your project. A bouquet that will sit on a mantel for one season has different requirements from a single perfect mophead destined for a shadow box. Choosing the method first helps you harvest the right number of stems and prevents you from asking an inexpensive method to deliver a florist-level result.
| Method | Typical time | Best feature | Main trade-off |
|---|---|---|---|
| Water drying | About 2 weeks or longer | Forgiving, natural stems, good shape | Slow; color continues to age |
| Air drying | About 1–3 weeks | Free and equipment-light | More fading, shrinking, and brittleness |
| Silica gel | About 3–7 days for many heads | Strong color and shape retention | Costs more and requires careful removal |
| Glycerin | About 1–3 weeks | Flexible stems and foliage | Flowers and foliage shift toward tan or brown |
These times are working ranges, not promises. Flower-head thickness, room humidity, stem length, cultivar, and how mature the bloom was at cutting all change the result. UF/IFAS Extension’s guide to preserving plant materials explains the general principle well: drying should remove moisture while preserving as much original shape and texture as possible.
If you want an easy, attractive arrangement and can wait, choose water. If you need a few stems quickly and have a genuinely dry room, choose air drying. If a special bloom is worth the extra materials and close attention, choose silica gel. Glycerin is a separate aesthetic choice, not a secret way to keep a blue or pink flower looking fresh.
Know When Hydrangea Blooms Are Ready to Cut
Timing controls more of the final result than the vase, string, or desiccant. A bloom cut while it is still soft and richly hydrated often wilts, shrivels, or collapses before it can form a sturdy dried shell. A bloom left outside too long may develop large brown patches, mildew, storm damage, or brittle edges before you bring it in.
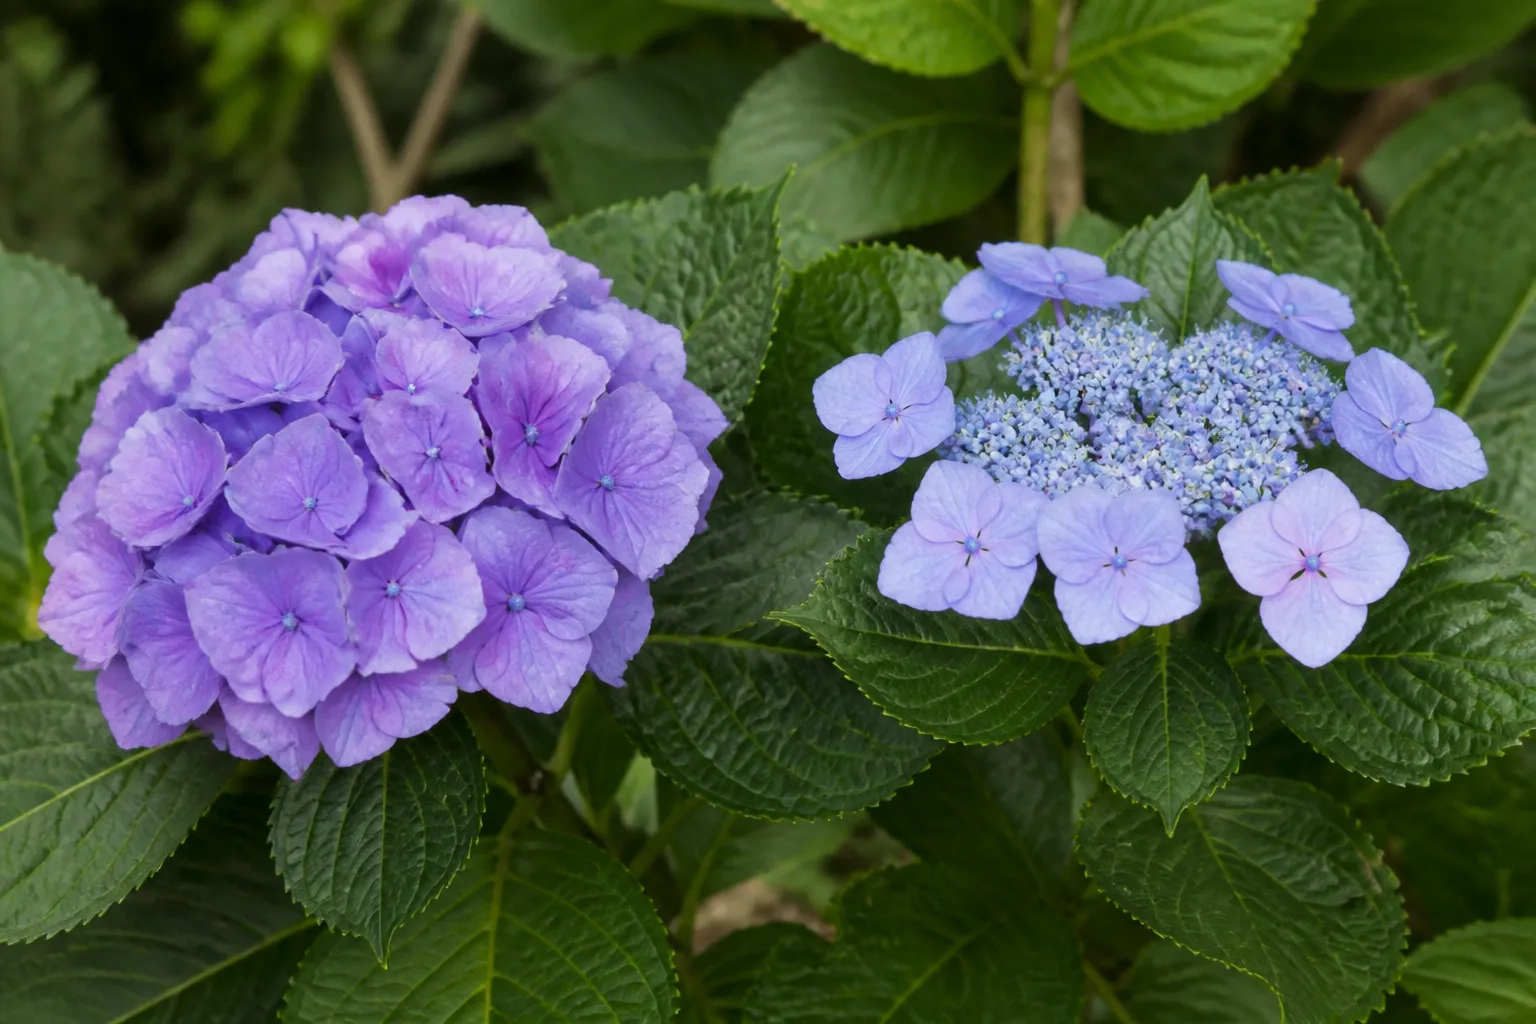
Look for late-season maturity rather than a date on the calendar. In many gardens this is late summer into early fall, often several weeks after the flowers first open. The showy florets begin to feel less fleshy and more like thin paper, and the head may shift from bright white, pink, or blue toward green, antique pink, lavender, burgundy, cream, or tan. Gardening Know How’s hydrangea-drying guidance uses the same practical test: wait until the flowers are starting to feel dry and papery, not at their freshest peak.
Use the color-and-texture test
Hold the flower head lightly from underneath. It should feel firm and substantial, not floppy, juicy, or cool with surface moisture. Rub one or two florets with a fingertip; the right bloom feels slightly leathery or papery, and the petals do not immediately fold, bruise, or spring back like a fresh petal.
Color is your design decision. Cut when the head has the muted green, dusty pink, faded blue, cream, or wine tone you want in the finished arrangement, because drying will not restore the brighter color it had earlier. The goal is not to find a bloom with no blemishes at all; remove a few damaged florets later, but reject heads with widespread blackening, wet rot, insect injury, or a musty smell.
Harvest on a dry day after dew and irrigation have evaporated, usually from late morning through midday. Do not cut immediately after rain, during a spell of very high humidity, or just before a forecast frost if you can wait for a better window. A dry stem starts with less surface moisture, and less trapped moisture means a lower chance of mold while the flower head is finishing its transition.
Hydrangea type changes the visual cue slightly. Bigleaf mopheads and lacecaps often age through green, dusty, or antique shades, while panicle types can move from white or lime into pink and then tan. Smooth hydrangea flower heads may also look excellent once they have shifted green or tan. The NC State Extension Plant Toolbox profile recognizes the genus as a useful cut-flower plant, but the specific cultivar and the weather in your garden still determine the best harvest moment.
Prepare Stems Before Any Drying Method
Use clean, sharp pruning shears so the stem is cut rather than crushed. Choose the best-looking heads with sturdy stems and leave enough length for the finished arrangement; 12 to 18 inches is a useful range for vase displays, although short stems are easier to bury in silica gel.
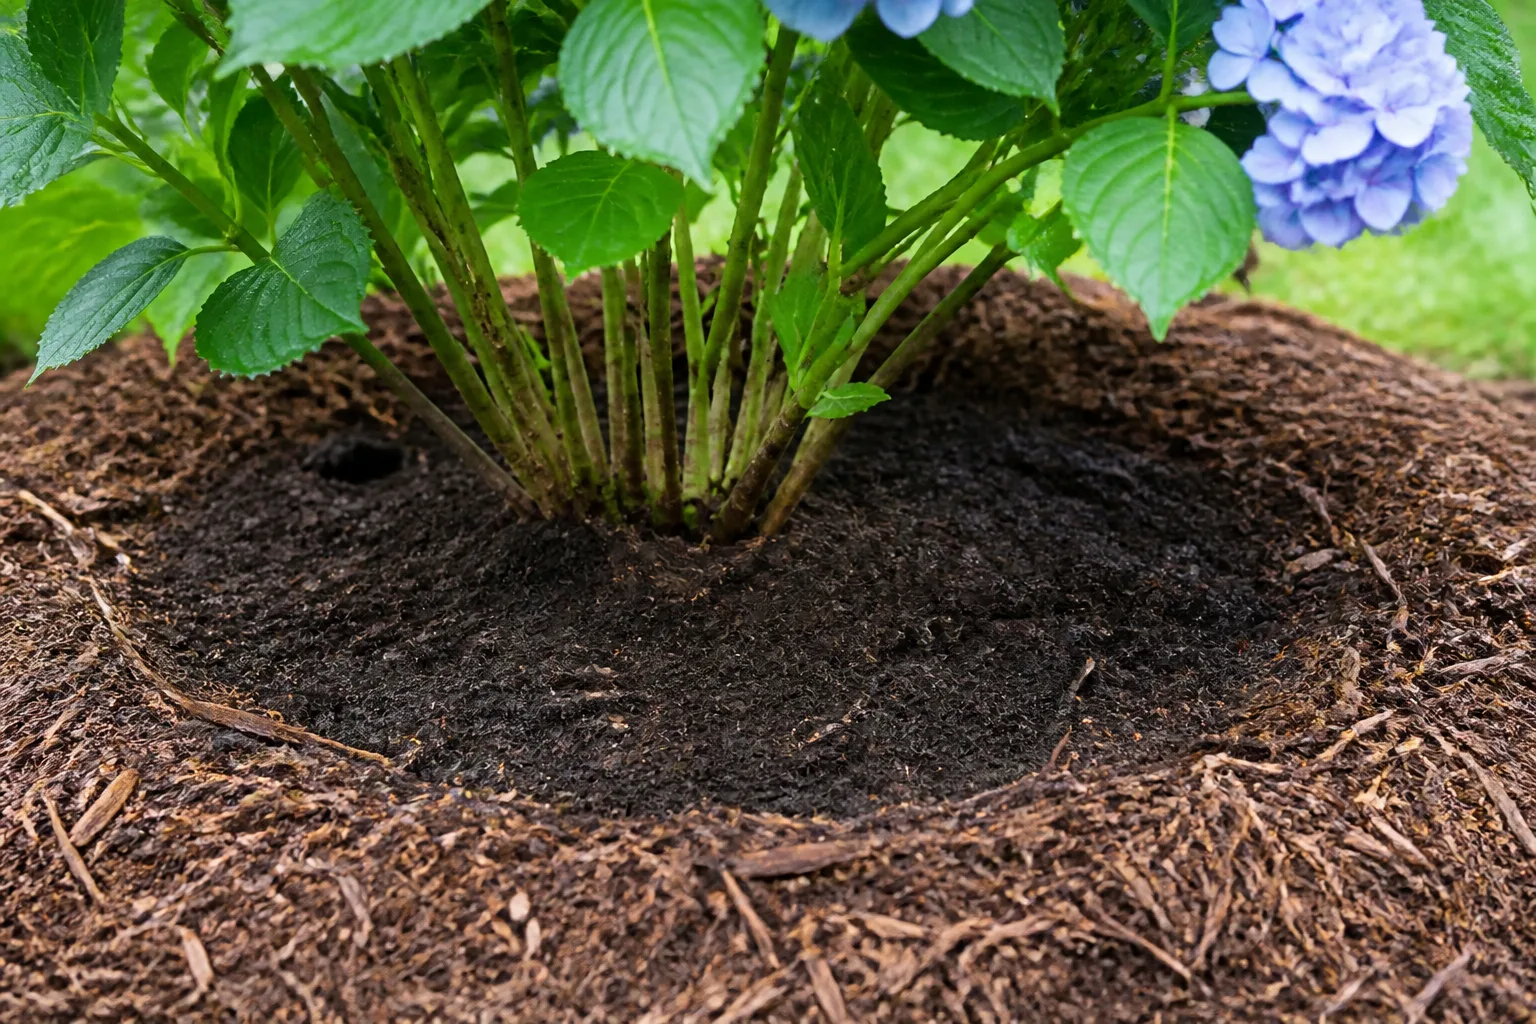
Make a clean angled cut just above a leaf node or strong pair of leaves. The angle is not a magic preservation treatment, but it gives you a clean end and makes a long stem easier to position in water. If you are taking several stems from one shrub, spread the cuts around the plant instead of stripping one side bare.
Strip leaves from the lower stem before drying. Hydrangea leaves hold water, wrinkle unattractively, and can trap moisture against the flower head; Gardening Know How’s general flower-drying instructions also recommend removing leaves because they do not dry as cleanly as the flowers.
If you cannot start the process immediately, place the cut ends in a clean bucket with a few inches of water and keep the flowers cool and shaded. Do not leave freshly cut heads sealed in a damp plastic bag. The temporary water is only to prevent wilting while you work; the actual drying method begins after the stems are prepared.
Remember that harvesting a few flower stems is not the same as pruning the shrub. Bigleaf, lacecap, and oakleaf hydrangeas can set next year’s flower buds on older wood, so avoid turning a late-season harvest into a hard fall cutback. Rutgers Cooperative Extension explains this old-wood versus new-wood distinction in its Hydrangeas in the Garden fact sheet; when in doubt, limit yourself to the stems you want for display and save structural pruning for the correct season and plant type.
Water-Dry Hydrangeas for Shape and Easy Color
Water drying sounds backwards, but it works because the vase gives a hydrangea enough moisture to avoid a sudden collapse while the water disappears gradually. This slow transition usually produces sturdy stems and flower heads that keep a natural, rounded outline. It is the method I would use for a first attempt or for a larger harvest when you do not want to handle every petal individually.
Follow the water-vase sequence
- Fill a clean vase with 2 to 3 inches of water. You need enough to cover the lower ends of the stems, not enough to float the flower heads or fill the vase halfway by default.
- Place the prepared stems in the vase with space between the heads. If the flowers touch, the inner petals dry more slowly and the crowded area may stay soft.
- Set the vase in a cool, dry location away from direct sun, radiators, heat vents, cooking steam, and frequent handling. Bright light can fade the color while heat can make the outer florets crisp before the center is ready.
- Let the water evaporate on its own. Do not keep topping up the vase as if you were maintaining a fresh bouquet; the goal is a controlled dry-down.
- Check the heads after the water is gone and then every few days. They are ready when the florets feel papery and stiff and the stems no longer feel cool or flexible from retained moisture.
The process often takes around two weeks, but thick heads in a humid room may take longer. If the vase empties and the flower is still noticeably soft, add a small amount of fresh water once and let it evaporate again rather than moving the bloom immediately to a hot room. A second dry-down is gentler than trying to force the remaining moisture out with heat.
Use a separate small vase for each few stems if the heads are large. This lets you stagger the heights and keeps the flowers from leaning into one another. It also makes it easier to remove one failing bloom without disturbing the stems that are drying well.
Air-Dry Hydrangeas When Speed and Zero Cost Matter
Air drying removes the vase from the equation. It is the simplest method when your home has a consistently dry, well-ventilated closet, spare room, attic, or covered porch. It can finish in roughly one to three weeks, but the flowers often become more fragile and lose more color than water-dried stems.
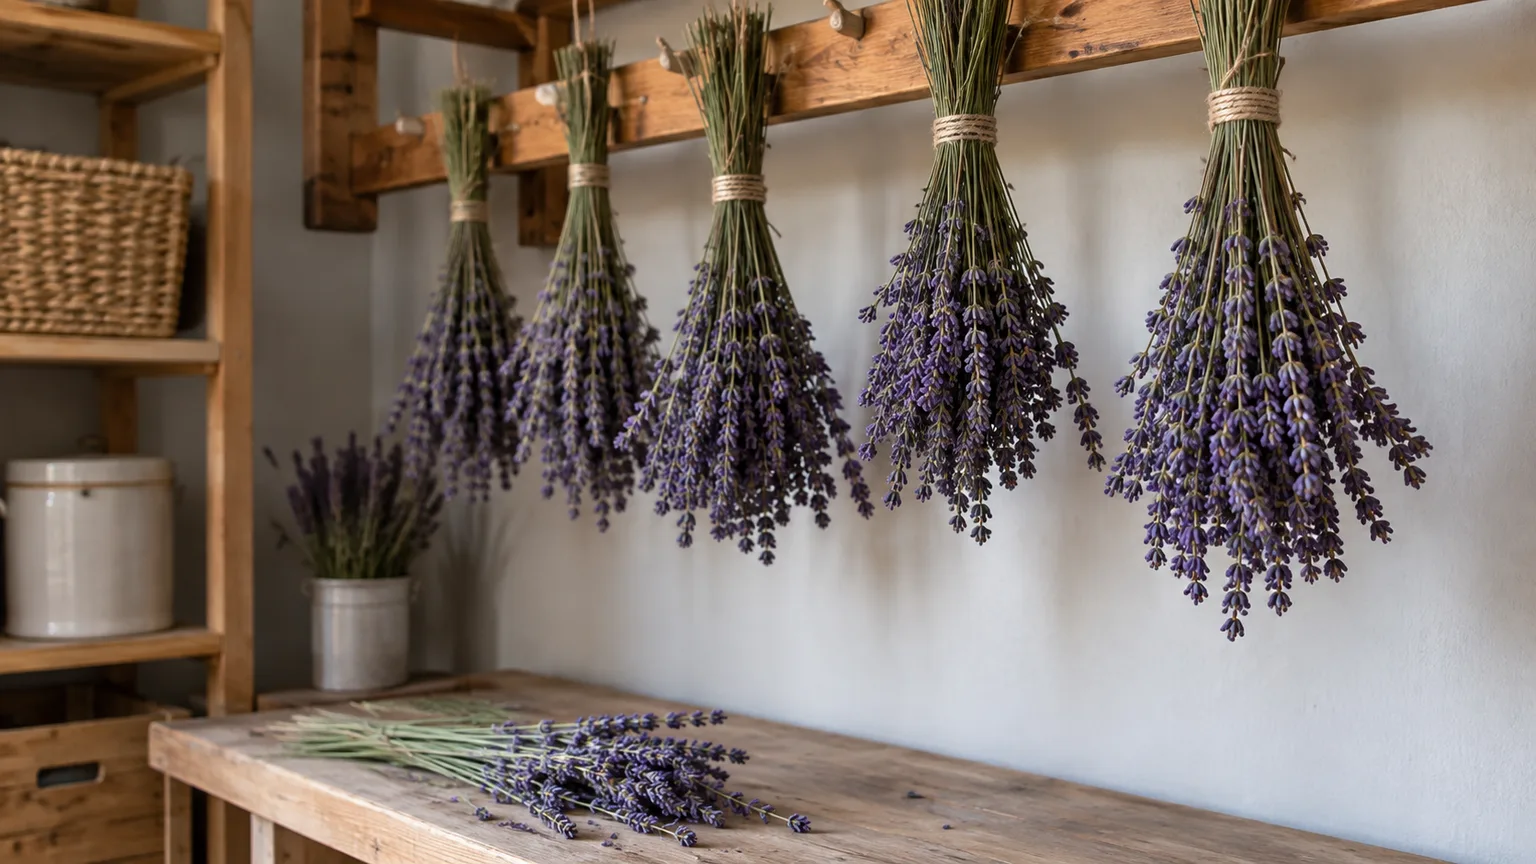
For hanging, group only three to five stems and secure them loosely with a rubber band or string. Rubber bands are useful because the stems shrink as they dry, but a tight knot can crush the stems and keep the bundle from breathing. Hang each bundle upside down in a dark or dim space with air movement, and hang very large flower heads individually rather than packing them into a cluster.
You can also stand the leafless stems in an empty vase. This keeps the stems upright and is convenient if you want to watch the color change, but the flower heads may droop slightly while they lose moisture. Choose the hanging method when straight stems matter most, and choose the empty-vase method when you want to handle the flowers less.
Avoid a warm oven, hair dryer, or heater as a shortcut. Heat can brown the outer florets, leave a damp center, and make already-dry petals shatter. UF/IFAS notes that air circulation is necessary both for proper drying and for limiting mold; moving air at room temperature is more useful than blasting the flower with heat.
Use Silica Gel for the Closest Color and Shape
Silica gel is the high-control option for one or two prized flower heads, craft projects, or an arrangement where color and three-dimensional shape matter more than a free method. The crystals pull moisture from the petals while supporting the head, so the flower usually shrinks less and keeps a stronger outline than a loose air-dried bloom.
Choose a container wide and deep enough that the flower head will not press against the sides, bottom, or lid. A shallow container forces petals sideways; a cramped container can preserve a distorted version of the flower rather than the shape you selected.
Pack and remove the flower head carefully
- Pour a layer of silica gel into the bottom of an airtight container, deep enough to support the bloom without letting it rest directly on the container floor.
- Cut the stem short, or remove it if the project only needs the head. Position the hydrangea upright and make sure the florets are arranged as you want them before covering them.
- Sift silica gel slowly around the sides and between the florets. Continue until the head is completely covered, supporting the petals with the crystals rather than pushing them down.
- Seal the container and leave it undisturbed for several days. Heavy hydrangea heads may need closer to a week; follow the instructions for the specific silica product and check the thickest center, not just the outside petals.
- When the flower feels dry and firm, uncover it gradually. Lift from the stem or base and use a soft artist’s brush to remove crystals instead of shaking the bloom.
The center is the slowest part to dry. If the outside feels crisp but the middle is still cool or flexible, bury it again for another day or two. Removing it early and then sealing it in a display box can trap the last moisture and create a mold problem that is difficult to reverse.
Silica gel is reusable when it is dried according to its product instructions, but do not assume every packet or colored indicator is safe to heat in a household oven. Keep crystals away from children, pets, food, and eyes, and wash your hands after handling. The cost is worthwhile for a special bloom, not necessary for a full shrub’s worth of casual seasonal stems.
Compare Glycerin, Sand, Pressing, and Heat Methods
Glycerin preserves flexibility rather than the original flower color. A common approach uses one part glycerin to two parts warm water, with the lower ends of stems standing in a few inches of solution while the plant absorbs it over one to three weeks. UF/IFAS Extension describes glycerin as especially useful for flexible foliage and notes that treated leaves and stems change color; for hydrangea flower heads, expect a tan, bronze, or brown antique effect rather than a fresh pink or blue.
Sand and borax-based mixtures can support flowers as they dry, but they are heavier, slower, and less forgiving than silica gel. Fine, dry sand may bruise petals, while borax dust can irritate the eyes, skin, or lungs with prolonged exposure. If you use any powdered desiccant, follow the product or extension directions, avoid breathing dust, keep the workspace away from food, and do not let children or pets handle the materials.
Pressing is a good answer only when you want a flat flower for a card, frame, or botanical-style collage. A full mophead will not stay round between paper and weights, and thick florets can mold before the center dries. Press small individual florets or thin portions instead of sacrificing a perfect three-dimensional head to a method that cannot preserve its volume.
Know when to skip heat and dusty desiccants
Microwave drying can work for small, supported specimens, but it is a test-and-adjust craft method rather than a dependable shortcut for a full hydrangea head. If you experiment, use only a microwave-safe container and a desiccant product whose instructions allow that use; never add wire or metal, never cover the container, and do not leave the appliance unattended.
Do not treat an oven, air fryer, or food dehydrator temperature chart as interchangeable with flower-preservation instructions. Hydrangea heads are thick and uneven, so the outside can scorch while the center remains wet. For most gardeners, water, air, or silica gel gives a better balance of control and risk without forcing a dense flower head through high heat.
Fix Brown, Wilted, Moldy, or Shedding Blooms
Drying reveals problems that were already present in the flower. A late-season bloom can have a few naturally brown florets and still make a beautiful arrangement, but widespread darkening, a wet center, or a sour or musty smell signals that the process needs attention. Diagnose the first failure before changing methods, because adding more spray or heat usually hides the symptom rather than fixing the cause.
Separate moisture problems from harvest problems
If the flower turns brown or black soon after cutting, ask whether it was harvested while still soft, cut after rain, packed too tightly, or placed in sun or heat. Move a salvageable bloom to a dry, shaded, better-ventilated space and remove the visibly damaged florets. If the head is wet through, smells musty, or has fuzzy growth, discard it rather than sealing mold into a box with good flowers.
If the head wilts dramatically, it was probably too fresh for the chosen method or dehydrated too quickly. Water drying can sometimes rescue a still-clean stem: recut the end, place it in a few inches of water for a short recovery period, and then restart the gradual dry-down. A bloom that stays limp after rehydration has usually passed the point where a preservation method can restore its structure.
If the center remains soft after the outside dries, improve spacing and patience before increasing temperature. In a vase, let the bloom complete a second slow evaporation; in silica, return it to the crystals and check the center later. The thickest part determines whether the flower is truly dry, not the crispness of its outer edge.
Reduce shedding without overhandling
Shedding is normal as a hydrangea loses its last moisture, especially when a flower was cut too late or moved repeatedly. Hold the stem rather than squeezing the head, support the bloom from underneath when you relocate it, and make the final arrangement before the petals become fully brittle.
A light coat of an unscented hairspray or a floral protectant is optional after the flower is completely dry. Test it on one less-important bloom first, mist from a distance in a ventilated space, and let it dry before touching the petals. A spray may reduce loose dust and minor shedding, but it cannot restore color, repair mold, or rescue a flower harvested too early; shade and dry air matter more.
Store Dried Hydrangeas So They Last
The best storage location is cool, dry, dim, and stable. Keep dried heads away from sunny windows, bathrooms, steamy kitchens, damp basements, humidifiers, heating vents, and open doors that bring in rain. Direct sun gradually bleaches color, while repeated humidity changes make petals swell and shrink until they crack.
For a short break between drying and display, lay the flowers in a shallow box with tissue or plain paper so the heads do not press against one another. Once you are certain they are completely dry, a lidded box with a moisture-absorbing silica packet can protect them from dust and ambient humidity. Do not seal a flower that still feels cool or flexible in the center.
Clean displayed blooms with a soft makeup brush or a gentle puff of air. Do not rinse them, wipe them with a wet cloth, or place them outside for a “freshening” session. Dried plant material is also flammable, so keep arrangements away from candles, fireplaces, hot bulbs, and other heat sources.
There is no permanent color guarantee for a dried flower. With good timing and low light, water- and silica-dried hydrangeas can look attractive for a season or several seasons, but some fading and shedding are part of their life cycle. Replace a head when it becomes badly discolored, soft, moldy, or too fragile to handle; preserving a new batch is usually easier than trying to make an exhausted bloom look fresh again.
Display and Refresh Your Preserved Flowers
The strong flower head is the focal point, so use fewer stems than you would in a fresh bouquet. Three to seven stems in a narrow vase can look fuller than a crowded bundle, especially when you vary the heights and mix one rounded mophead with lighter foliage or slender dried stems.
For a wreath, attach individual heads after the flowers are fully dry and handle each one by its stem or base. A wreath hung in a bright window will fade faster than one placed on an interior wall. For a table arrangement or mantel, use a stable vase and keep the flowers away from frequent shoulder or pet traffic; a single bumped head can shed more in one afternoon than it would in a month of quiet display.
If you want to refresh the look without repainting the flowers, rearrange the stems rather than spraying heavily. Add dried grasses, seed heads, eucalyptus, or branches only when they are equally dry, and check any new material for insects or dampness first. Hydrangeas work well in autumn arrangements because their softened colors pair naturally with rust, cream, olive, burgundy, and warm brown.
Conclusion
The most reliable way to dry hydrangea flowers is to wait until the heads feel papery and have begun to change color, harvest on a dry day, remove the leaves, and let the stems lose moisture gradually. Start with the water-vase method when you want a forgiving, low-cost result; use air drying for simple bundles, and reserve silica gel for blooms where color and three-dimensional shape are worth the extra care.
Good preservation is mostly a timing and environment problem. Give the flowers room to breathe, keep them out of direct light and damp air, treat sprays as optional finishing touches, and separate flower harvesting from the pruning decisions that protect next year’s buds. With that sequence, even a faded garden head can become a durable seasonal decoration instead of a pile of brown petals.



