How to Identify and Get Rid of Thrips
Learn how to identify thrips from their silver damage and black frass, then use a repeatable indoor or outdoor treatment plan that breaks the life cycle.
Thrips are easiest to control when you treat the first confirmed insects, not the first ugly leaf. Look for moving, threadlike insects on a white sheet of paper, then match the response to the setting: isolation and repeated leaf coverage for a houseplant, exclusion and monitoring for a vegetable bed, and often simple tolerance for an established shrub with cosmetic damage.
The silver or bronze scarring can remain after the insects are gone, so a plant may look worse for a week or two even when your plan is working. The goal is to stop fresh damage, prevent the next generation, and give new growth a chance to emerge clean. That is why a single spray rarely solves a confirmed infestation.
Start here: confirm thrips before you spray
Do not diagnose thrips from silvering alone. Wind damage, nutrient stress, mites, true bugs, pathogens, and rough handling can create similar patterns, and some harmless or predatory thrips may be present without causing meaningful injury. The UC Statewide IPM Program explains that thrips presence does not automatically mean control is needed, which is a useful guardrail against spraying every tiny insect you find.
Start with a quick confirmation sequence:
- Hold white paper, a pale tray, or a sheet of cardstock beneath a damaged leaf, flower, or shoot tip.
- Tap the plant firmly but gently. Look for tiny pale or dark slivers that walk, wriggle, jump, or briefly fly away. Dust and soil particles do not move with purpose.
- Use a 10x hand lens if you have one. You are looking for an elongated body and, on adults, narrow wings with fringed edges—not a perfectly precise species diagnosis.
- Examine the newest leaves, folded growth, leaf axils, flower centers, and the undersides of leaves. Thrips often feed in protected places, so a clean upper leaf does not clear the plant.
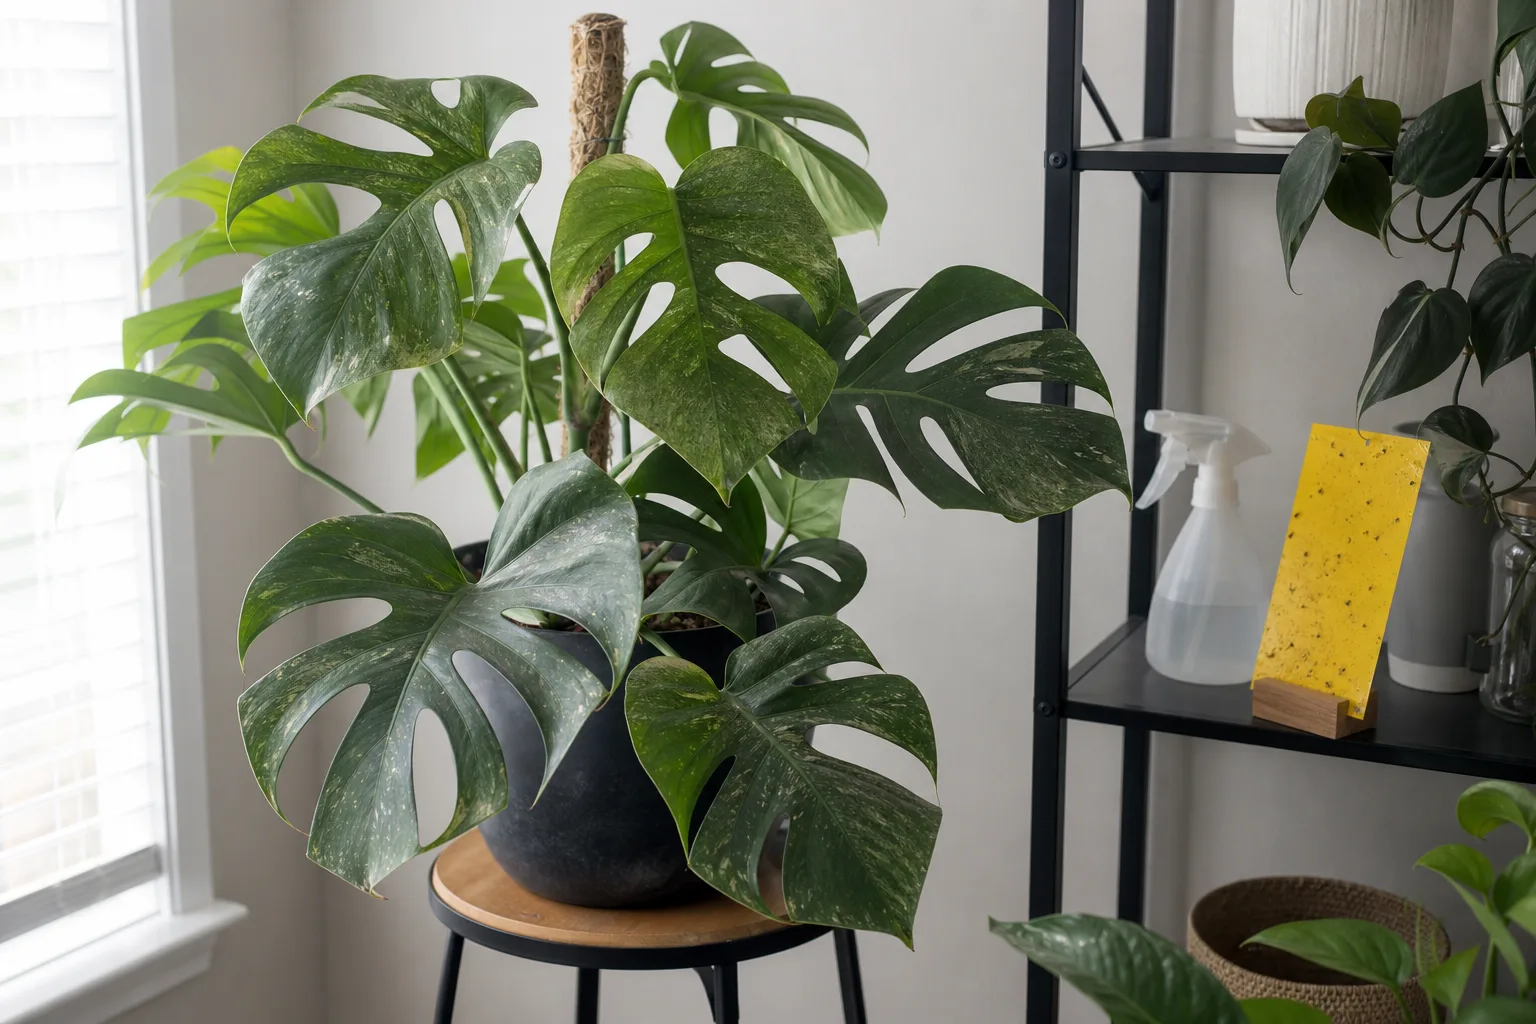
- Hang a sticky card near the canopy as a monitor. Blue or yellow cards can show adult activity, but a catch count tells you that insects are flying; it does not prove they are the cause of every mark on the plant.
For a valuable collection, a greenhouse, or a crop with a history of virus problems, save a sample in a sealed bag and ask your local extension service about identification. Species-level identification commonly requires magnification and an expert, and it matters when you are choosing a particular biological control or evaluating a potential plant-virus problem.
What thrips look like
Thrips belong to the insect order Thysanoptera. Most plant-feeding adults are only about 1–2 mm long, with a narrow, cigar-shaped body and two pairs of slender wings fringed with hairs. Their colors range from translucent white and yellow to tan, brown, or black, so color by itself is a poor identification tool.
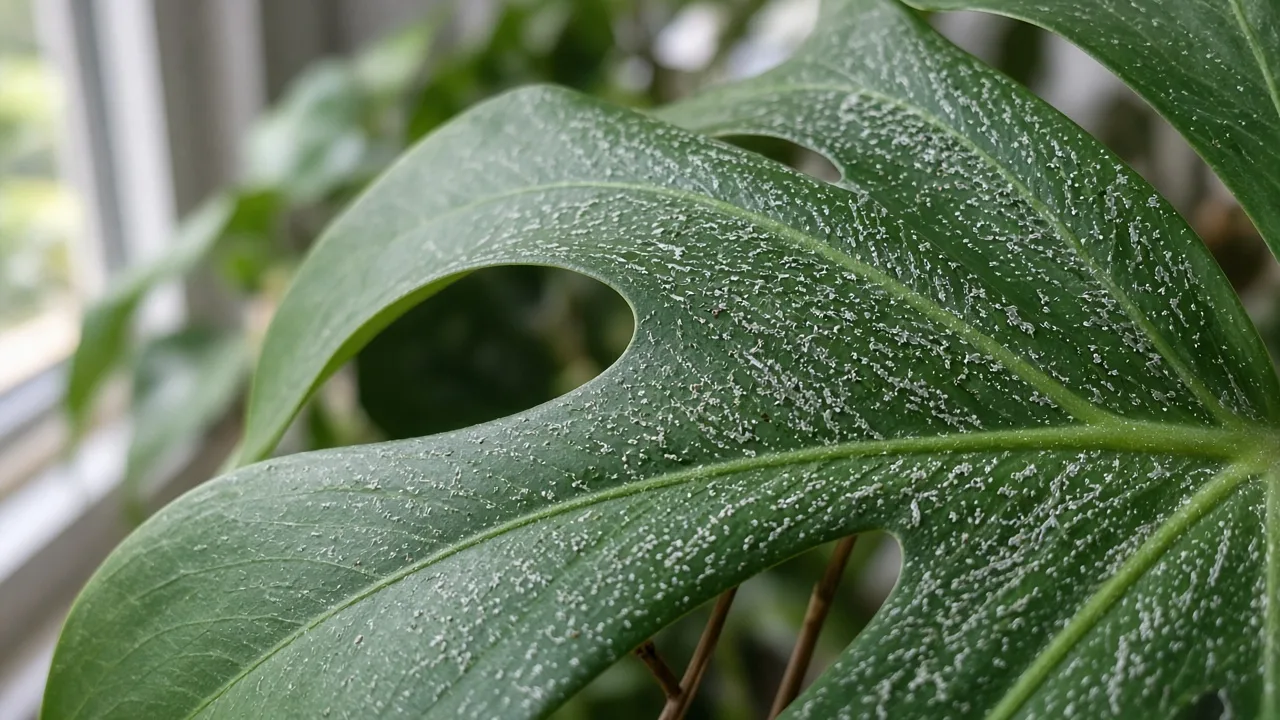
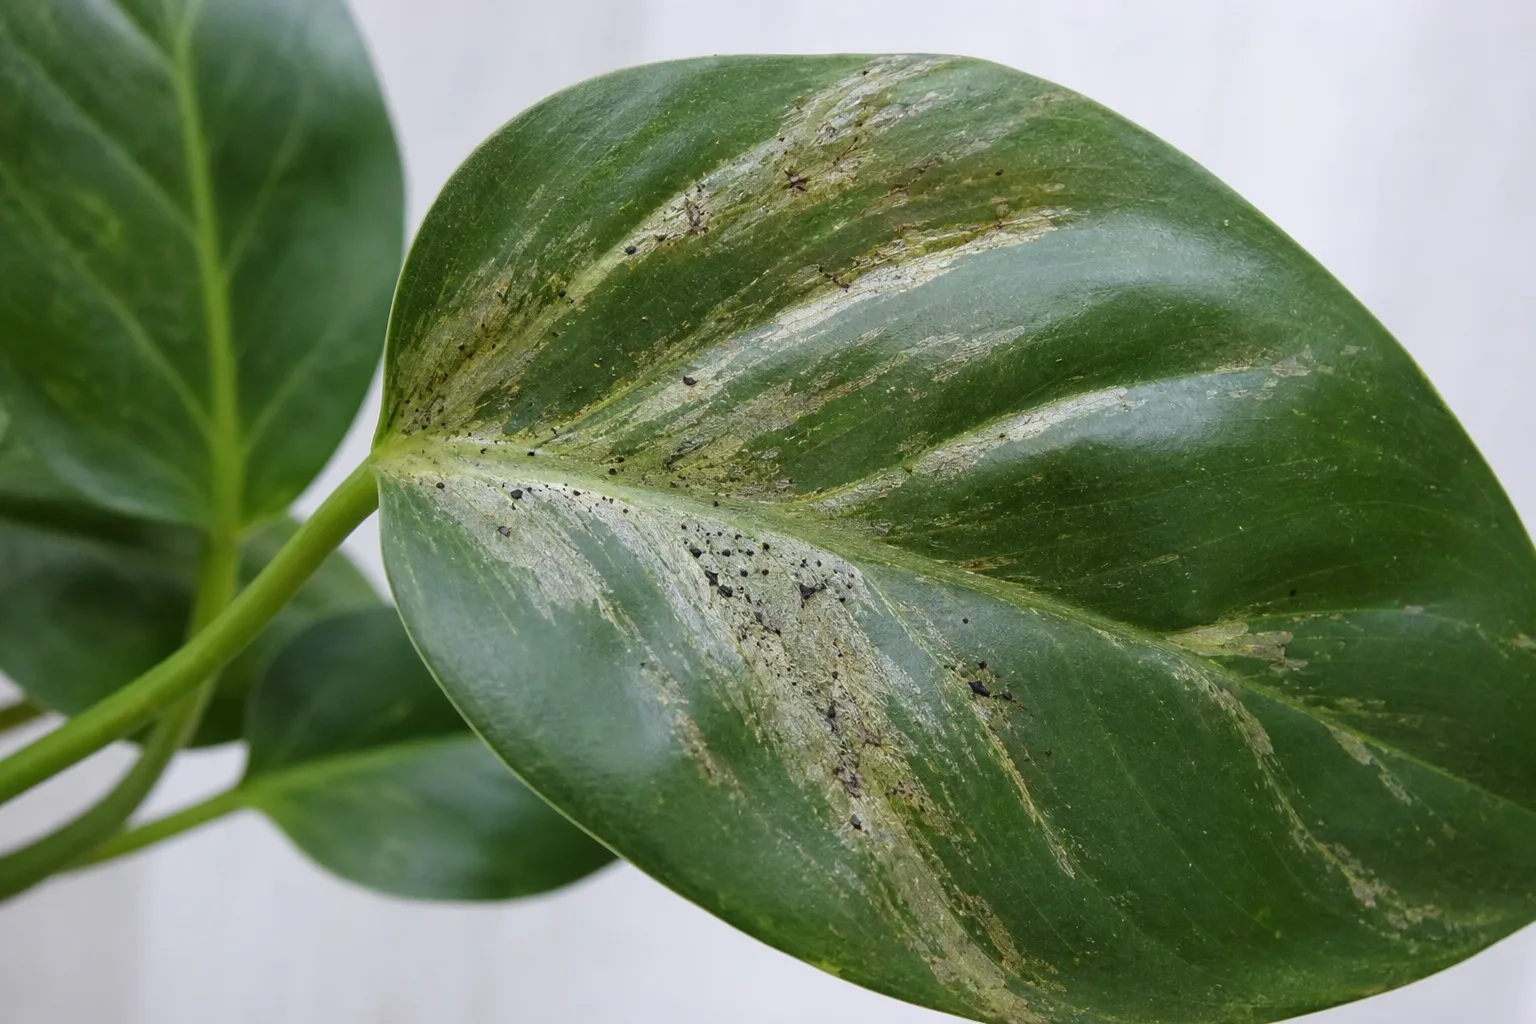
A close-up can reveal both the narrow insects and the black frass that often accompanies their feeding scars.
The insects are small enough to hide in a crease or flower and fast enough to disappear when disturbed. Adults are weak fliers, but wind, air currents, clothing, cut flowers, and infested plants can move them from one host to another. A plant brought home from a nursery can therefore be the starting point for an indoor outbreak even if you never see an adult in the packaging.
Adults, larvae, and what you may actually see
The pale insects crawling over fresh damage are often larvae, also called nymphs. They are wingless, generally cream to yellow, and actively feed. Adults are more likely to move between plants or appear on a sticky card, while larvae can stay tucked in a new leaf, bud, or flower where a quick glance misses them.
You may also see dark adults that look like splinters, but you should not expect every thrips species to match a single picture. The RHS guide to thrips on garden plants notes that many species do not cause noticeable damage and that accurate identification is difficult without close examination. Treat the combination of moving insects, characteristic injury, and a susceptible plant as stronger evidence than body color alone.
Damage patterns that point to thrips
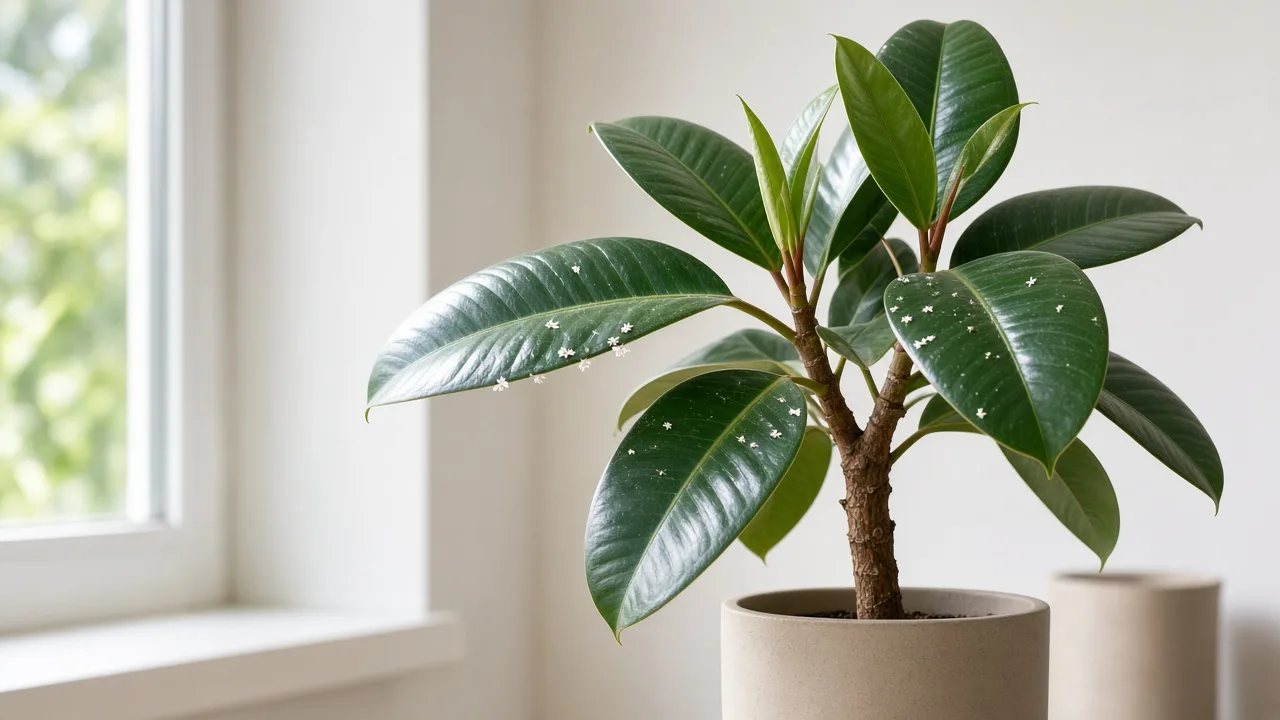
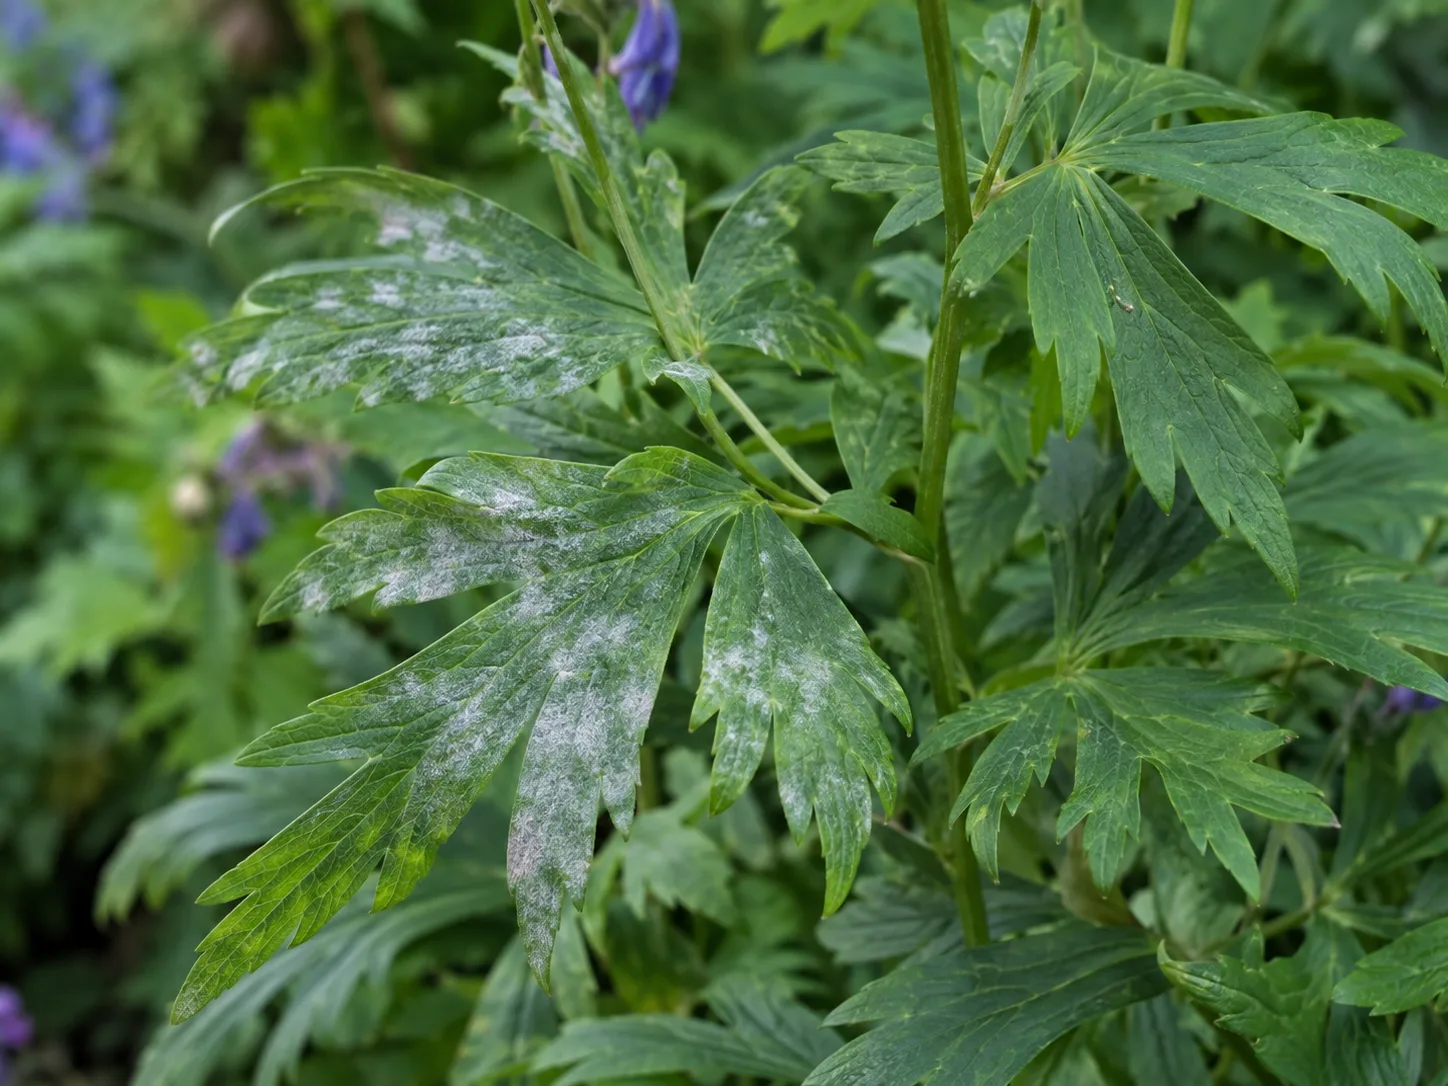
Thrips scrape or puncture the outer plant tissue and feed on the contents of damaged cells. The first clues are often a dull, silvery, bronze, or translucent sheen; pale streaks; or clusters of tiny scars that make a leaf look sandblasted. In heavy feeding, leaves can become papery, curl, distort, brown, or drop early.
Check for these clues together:
- Silvering or stippling: pale flecks, narrow streaks, or broad rubbed-looking patches on leaves and petals.
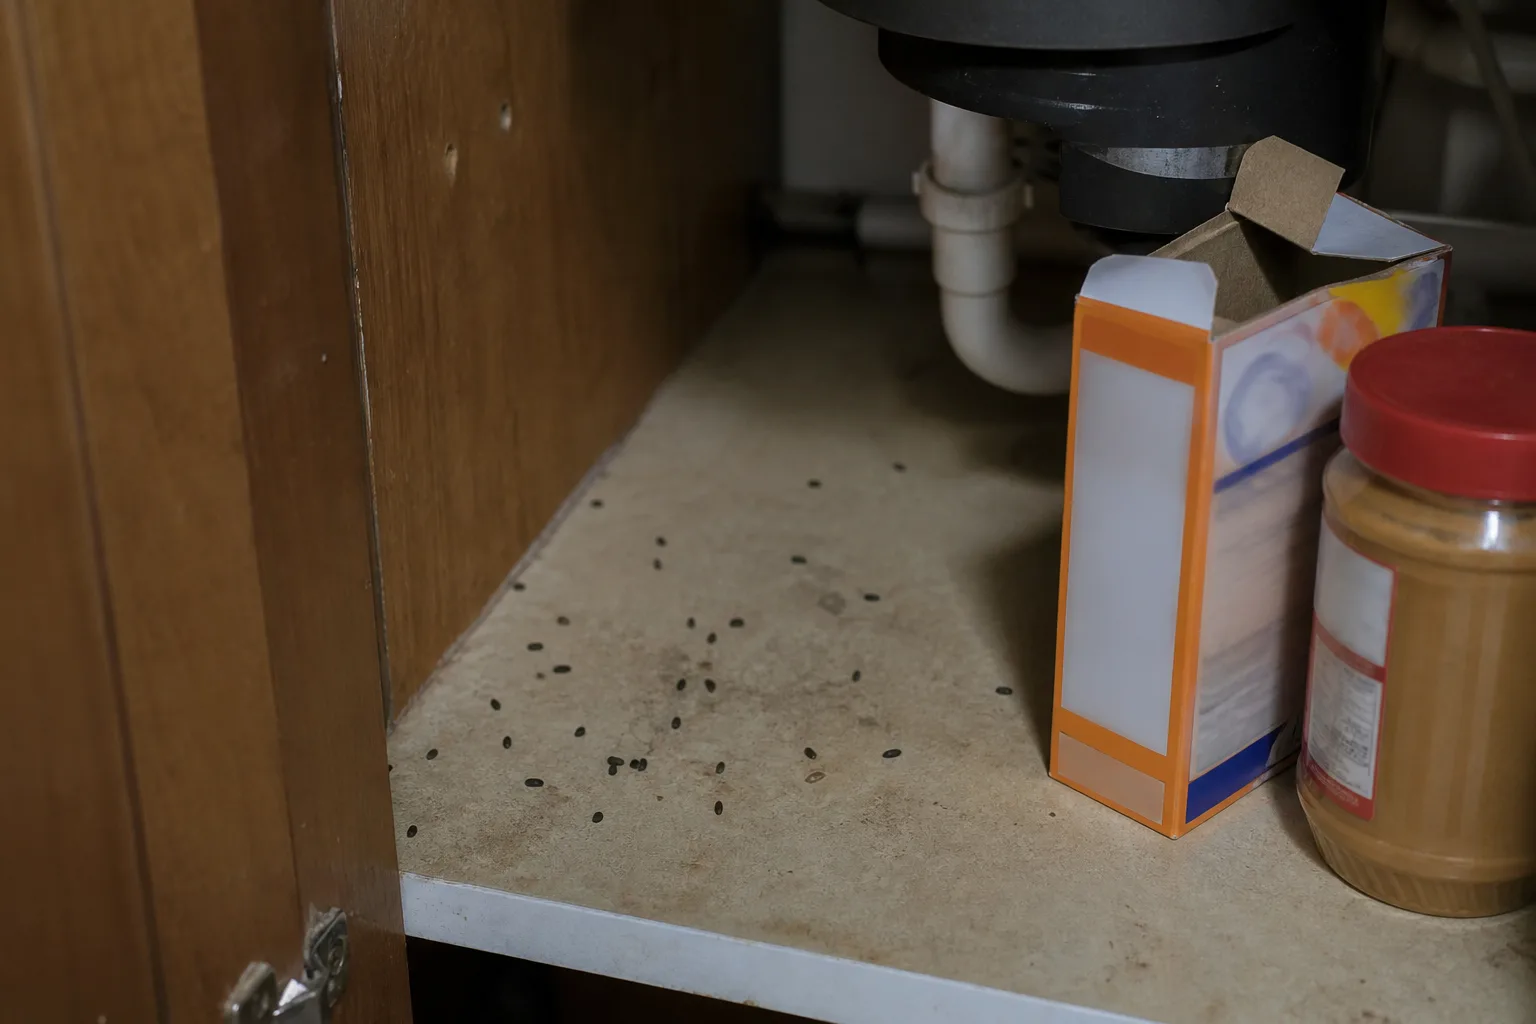
- Black frass: tiny black, varnish-like fecal spots, often close to the pale feeding scars or on the underside of a leaf.
- Distorted new growth: twisted shoot tips, crinkled leaves, scarred stems, or a leaf that unfurls with irregular edges.
- Flower injury: white flecks, brown edges, color breaks, dried petals, buds that fail to open, or flowers that age prematurely.
- Fruit and crop scars: rough rings, bronze patches, scabby surfaces, or misshapen young fruit, depending on the species and crop.
Damage can show up after the thrips have moved on. A flower that opens with scars may be showing feeding that happened while the bud was closed. The UF/IFAS Thrips Management Program lists silvering, stippling, distorted terminals, black frass, early senescence, and stunted growth among the patterns that should prompt closer scouting rather than automatic pesticide use.
Thrips vs. spider mites, aphids, and nutrient problems
These problems overlap enough that a visual shortcut can send you in the wrong direction. Use the table as a first filter, then confirm with the paper test and a hand lens.
| Clue | Thrips | Spider mites | Aphids | Nutrient or environmental stress |
|---|---|---|---|---|
| What moves | Slender slivers; pale larvae and darker adults | Very small round or oval mites; movement may be hard to see | Pear-shaped insects, often clustered on soft growth | Nothing insect-like moves when foliage is tapped |
| Typical injury | Silver or bronze scarring, streaks, black frass, distorted new growth | Fine stippling, fading, and sometimes silk webbing | Curling, sticky honeydew, sooty mold, and clusters on tips | Pattern follows watering, light, roots, pH, or older/newer leaves rather than insect hiding places |
| Where to look | Buds, flowers, new leaves, leaf axils, undersides, and crevices | Undersides of leaves and dry, dusty foliage | Tender shoots, leaf undersides, and stems | Root zone and whole-plant pattern; no frass or insects |
| Best first check | Tap over white paper and inspect with a lens | Look for webbing and mites under magnification | Inspect clusters and sticky residue | Correct care only after pests and roots have been checked |
Thrips and mites can occur together, especially on a stressed indoor plant. Treating the wrong pest can also make the real problem worse: broad-spectrum products may remove predators and trigger a secondary mite flare-up. If the paper test is negative but the damage keeps expanding, pause before escalating and check roots, watering, light, and the possibility of a pathogen.
Why thrips keep returning
The recurring problem is usually not that the product “did nothing.” It is that the product reached only the exposed stages on the day you applied it. Eggs can be protected inside plant tissue, and resting stages may be in soil, leaf litter, a flower, or a tight plant crevice where a leaf spray cannot reach.
The life cycle in plain language
A typical plant-feeding thrips begins as an egg inserted into a leaf, stem, bud, or flower. It hatches into a wingless, feeding larva and passes through two feeding larval stages. Later stages stop feeding and become a prepupa and pupa before emerging as an adult.
The UC IPM life-cycle summary describes two active larval stages followed by two nonfeeding stages. The University of Georgia’s reviewed 2025 extension circular notes that a generation can be completed in roughly two weeks under favorable conditions, while the exact timing changes with species and temperature.
That speed explains why warm weather can make an infestation seem to appear overnight. Adults lay eggs while larvae are already feeding, and new adults can begin the cycle before you have finished watching the first round of damage. In a greenhouse or warm home, the cycle may continue for much of the year; outdoors, populations often build during warm spring and summer weather.
Where eggs and pupae escape treatment
Foliar sprays cannot reliably reach eggs sealed into plant tissue. They also miss prepupae and pupae that have dropped into the upper soil, settled in leaf litter, or found a protected crevice. Not every species uses the same resting location, but the practical lesson is consistent: a treatment that touches leaves alone is only one part of the plan.
This is also why the old damage is a poor progress report. Pesticides do not repair a scarred leaf. Judge success by whether new leaves, buds, and flowers are clean; whether paper tests find fewer mobile insects; and whether sticky-card activity falls over time. The UC IPM guidance specifically warns that injured plant material stays injured until it is pruned or naturally replaced.
A same-day response plan for houseplants
Indoor thrips deserve a fast, organized response because there are no naturally arriving predators to provide background control, and one plant can sit beside many others. You do not need to throw away a valuable plant at the first confirmed insect, but you do need to stop treating it as an isolated leaf problem.
Isolate and inspect the whole collection
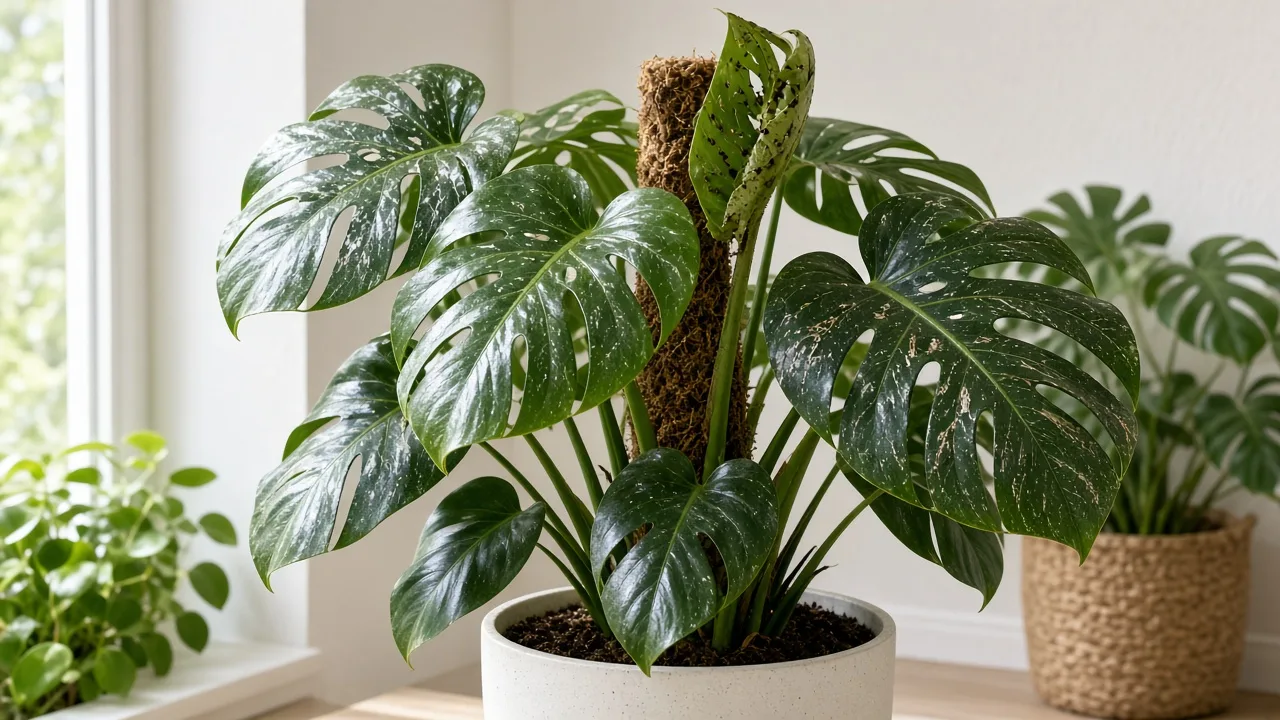
Move the suspect plant away from the main group, preferably to a room with no shared shelf, fan stream, or touching foliage. Inspect plants that were closest to it, plus any plants with fresh growth or flowers. Pay particular attention to monstera, alocasia, dracaena, ficus, palms, African violets, begonias, and other plants with broad leaves or sheltered growing points; susceptibility varies by species and by the thrips present.
Quarantine new plants before they join your collection. Two weeks is a practical minimum for an ordinary purchase, while a longer isolation—up to about 30 days—is more conservative for a large or high-value collection. The Garden Design houseplant guidance also recommends inspecting new plants and keeping them separate, because a plant can carry eggs or a small number of larvae before obvious silvering appears.
Place the isolated plant where you can work on every side of it. Remove decorative sleeves and empty the saucer so you can see whether insects or debris are collecting around the pot. If a plant is heavily infested and has little sentimental or financial value, discarding it in a sealed bag can be the most protective choice for the rest of the collection.
Rinse, prune, and clean the growing area
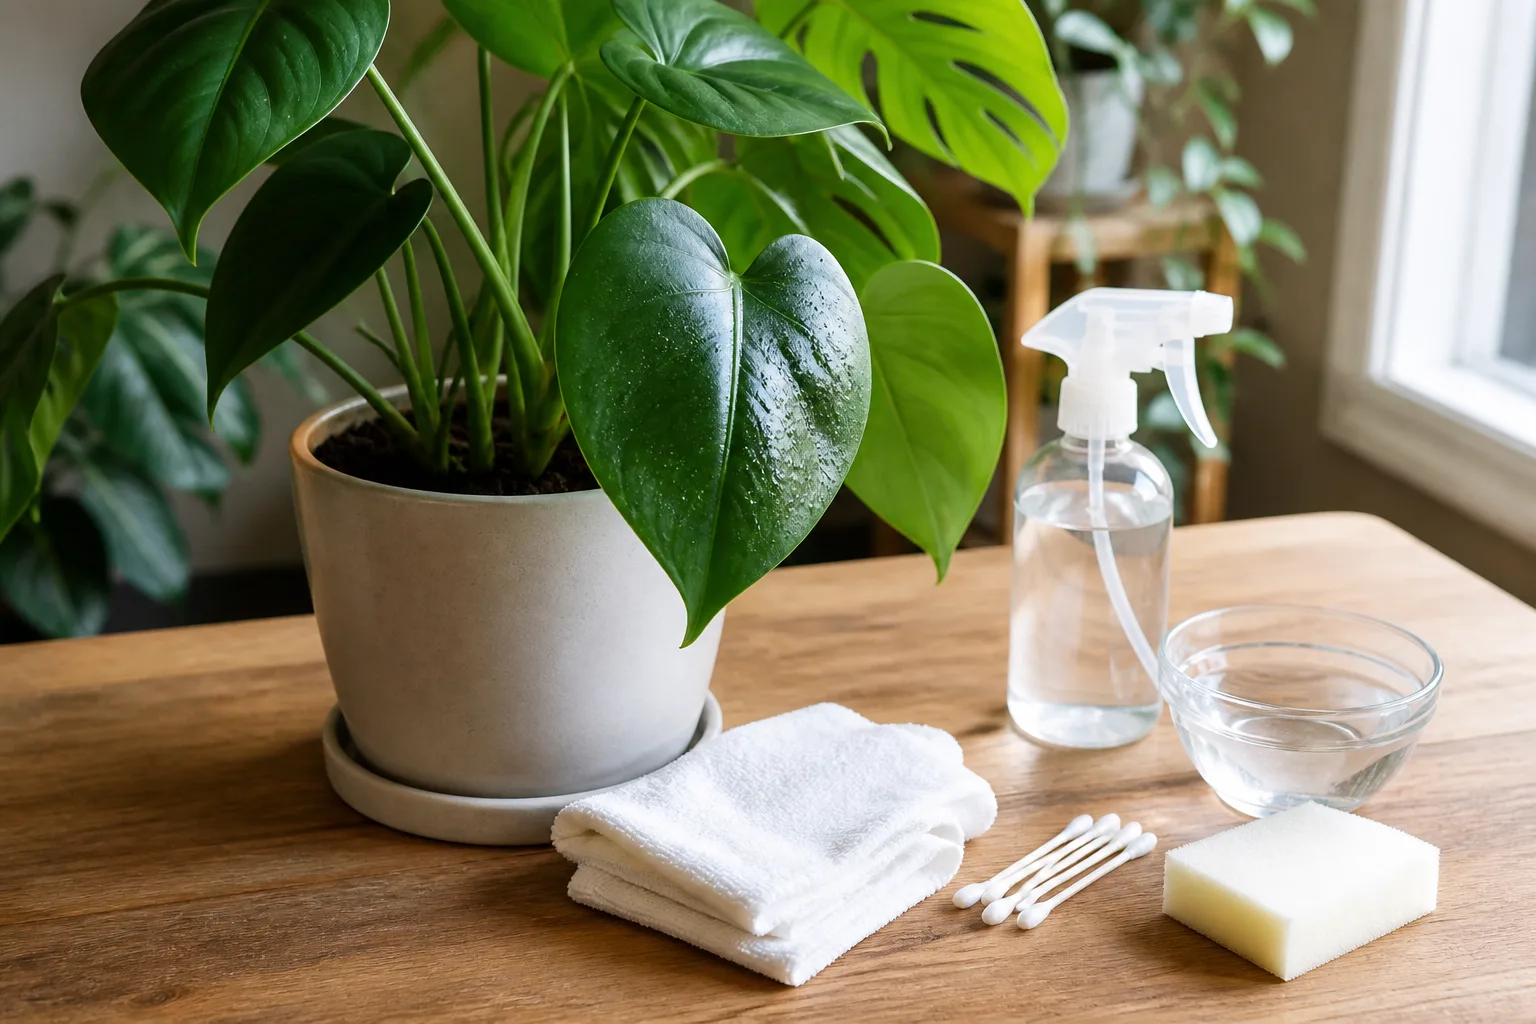
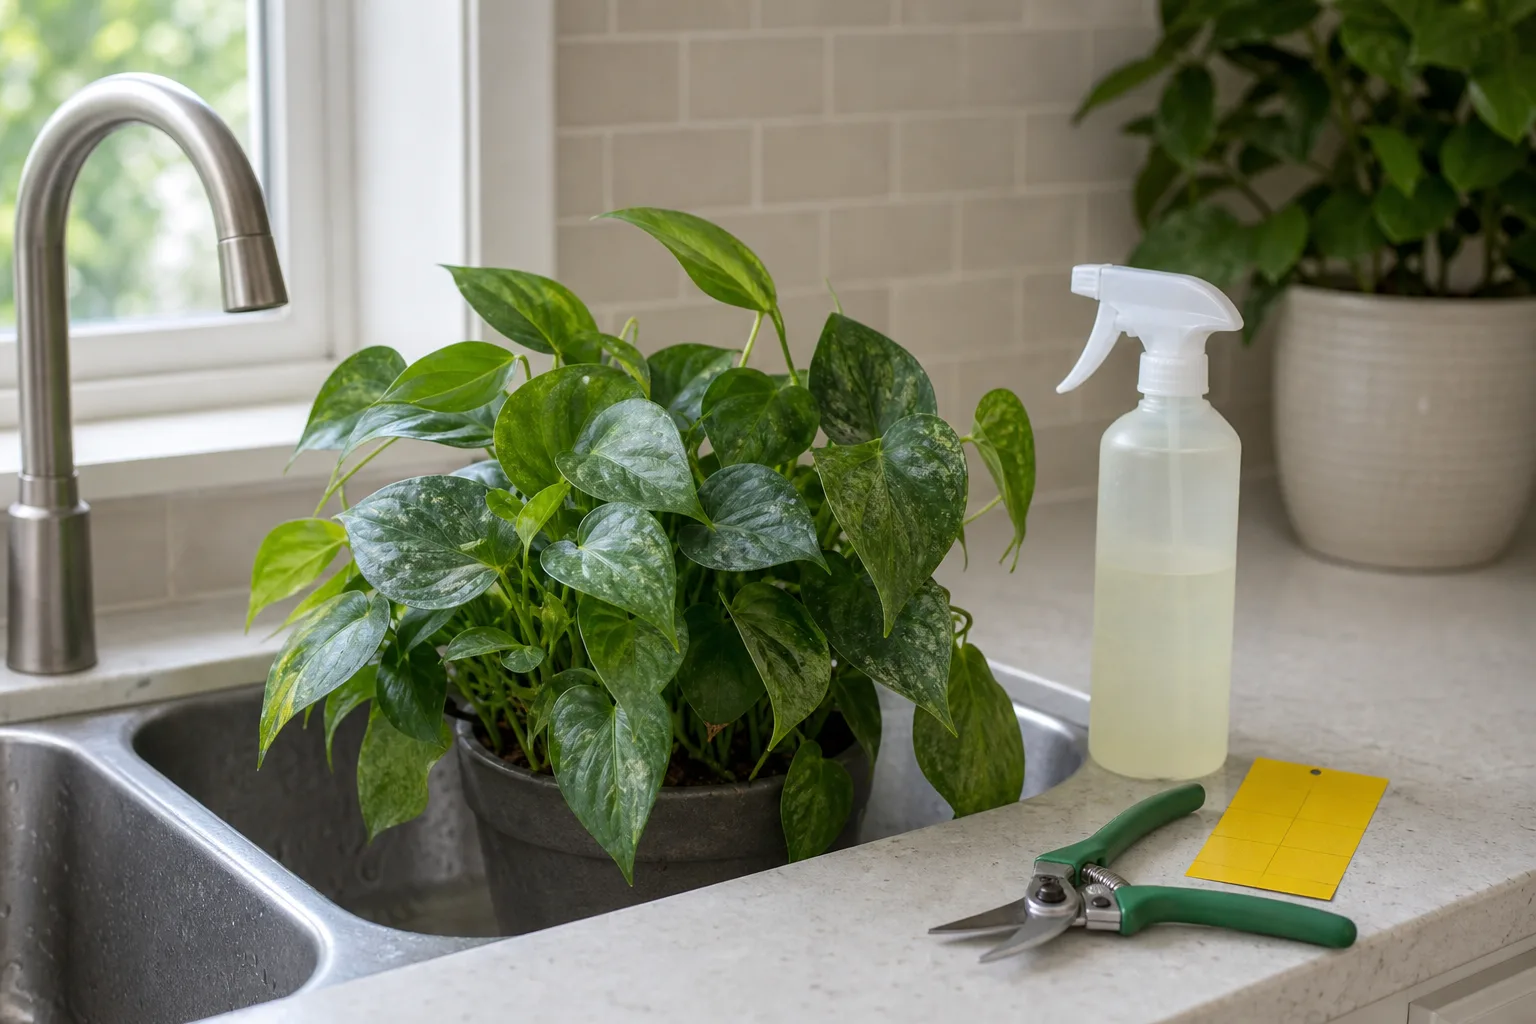
Take a sturdy plant to a sink, tub, or shower and rinse the foliage with lukewarm water. Aim at the undersides, leaf axils, growing tips, and flower bases while using enough pressure to dislodge insects without shredding leaves or saturating a delicate plant’s crown. Let the plant drain fully before returning it to bright light; wet foliage in cool, stagnant air can create a different set of problems.
Prune leaves, flowers, or shoot tips that are heavily scarred and actively harboring insects, especially when removing them will not strip most of the plant’s canopy. Bag the cut material immediately rather than carrying it across the room or placing it in a nearby compost container. Clean scissors between plants, wipe the shelf and pot exterior, empty the saucer, and remove fallen leaves from the soil surface.
Do not repot automatically. Repotting can disturb some soil-stage insects, but it also stresses roots, spreads contaminated potting mix, and does not remove eggs already inside leaves. Consider replacing the upper layer of potting mix only when the plant is already due for repotting, the mix is contaminated with debris, or your chosen labeled treatment specifically directs a soil application. Rinsing, sanitation, and a repeatable foliar plan are usually better first moves.
Choose a treatment that fits the infestation
Use the least disruptive option that matches the damage, the plant, and the place where you are treating. A product’s “natural,” “organic,” or “systemic” label does not remove the need to read the label, test plant sensitivity, protect people and pets, and avoid exposure to pollinators or beneficial insects.
Insecticidal soap, horticultural oil, and neem
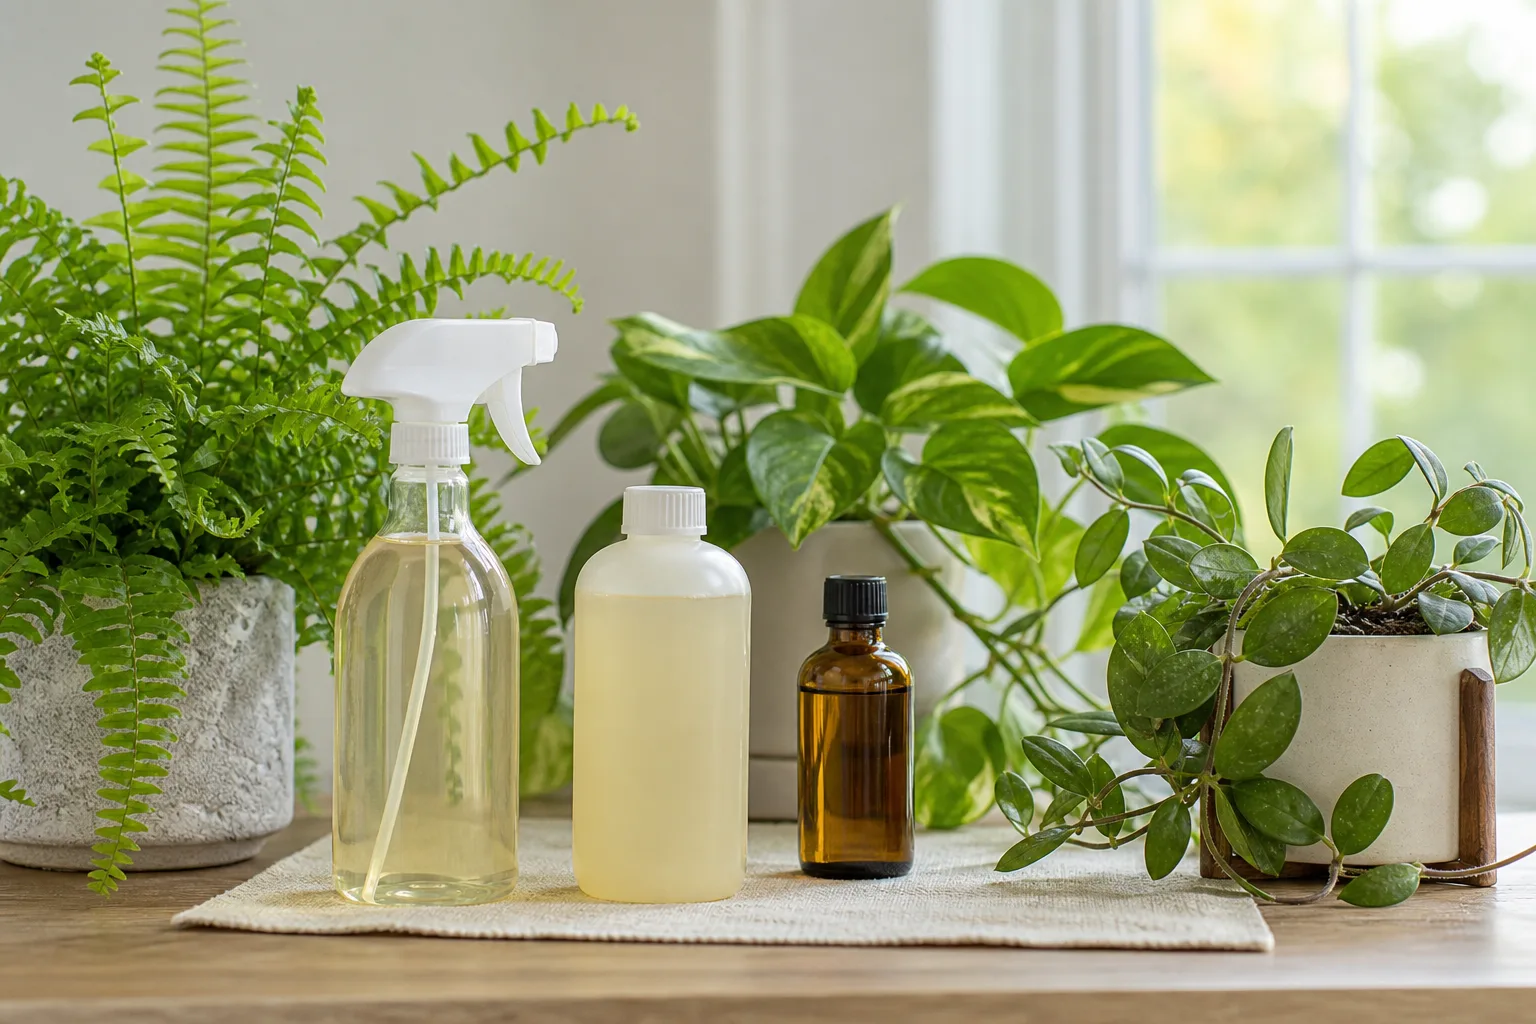
Insecticidal soap, narrow-range horticultural oil, and neem or azadirachtin products are primarily contact tools in this context. They work only when the spray reaches the insect, so coverage matters more than soaking the pot. Coat the undersides of leaves, new growth, leaf axils, and flowers only when the label allows it; eggs hidden in tissue will not be erased by a surface spray.
Use a product formulated and labeled for plants rather than substituting kitchen dish detergent. Household detergents vary widely and can strip the leaf’s protective surface, especially on ferns, begonias, succulents, thin-leaved tropicals, or plants already stressed by heat and drought. Test the exact product on a small area, wait according to the label or your plant’s sensitivity, and stop if spotting, edge burn, or collapse appears.
The UC IPM active-ingredient guidance lists insecticidal soaps, narrow-range oils, neem oil, azadirachtin, and pyrethrins among contact materials compatible with an integrated approach when used correctly. It also emphasizes thorough coverage and repeat applications while susceptible plant parts and pest thrips remain present. Follow the product’s interval; do not shorten it because the old leaves still look damaged.
Spray when the plant is hydrated and temperatures are within the label range, not on a heat-stressed plant in direct hot sun. Keep sprays off open flowers when the label warns of pollinator risk, and do not assume a houseplant product is approved for edible crops. If you are treating food plants, use only a product labeled for that crop and obey harvest and re-entry instructions.
Spinosad and other pesticides: when caution matters
Spinosad can be more effective against thrips than many contact materials because it lasts longer and moves a short distance into sprayed leaf tissue. The UC IPM thrips note describes this translaminar activity as useful for insects feeding in somewhat protected plant parts. That does not make it a universal cure: coverage, timing, the product label, and resistance in local thrips populations still matter.
Do not spray spinosad on flowering plants when bees or other pollinators may contact the treated surface. UC IPM also notes toxicity to bees during spraying and for about a day afterward, along with effects on some natural enemies. Treat an open flower as a reason to pause and read the label, not as an invitation to spray at night without checking restrictions.
Pyrethrins may provide short-lived knockdown when a labeled product is truly needed, but broad-spectrum or repeated chemistry can remove predators and select for resistant thrips. Pyrethroids and some older insecticides are not automatically better because they are stronger; the UC IPM home-and-landscape recommendations warn that several are highly toxic to beneficial organisms and may be ineffective for thrips.
Systemic insecticides require the most restraint. They can move through plant tissue and persist long enough to expose pollinators, nearby plants, or people handling treated material, and they are not equally effective against every thrips species. UC IPM reports that imidacloprid commonly fails to provide satisfactory thrips control and generally is not recommended for this pest. If a severe, high-value infestation appears to require a systemic, get crop- and region-specific advice from an extension professional and follow the exact label; do not improvise a soil drench from a product meant for another host.
The interval is as important as the active ingredient. For a confirmed infestation, mark each label-approved application date and keep checking new growth between treatments. The UF/IFAS management program describes repeated applications at labeled intervals and rotation of different modes of action when chemical control is necessary; it specifically cautions against routine calendar spraying that accelerates resistance.
Biological control for greenhouses and outdoor gardens
Natural enemies include minute pirate bugs, predatory mites, lacewings, predatory thrips, parasitic wasps, and soil-dwelling nematodes. They can be valuable in a greenhouse, enclosed growing space, or carefully managed collection, particularly when released early and matched to the pest and environment.
They are not an emergency eraser for a plant already packed with thrips. The UF/IFAS program says biological controls work best before thrips enter protected buds and advises matching agents such as Orius, predatory mites, or Steinernema feltiae to the situation. The RHS guidance lists biological options for glasshouses but cautions that outdoor sticky traps can catch non-target invertebrates.
In an outdoor garden, first protect the beneficials already there. The UC IPM discussion of natural enemies notes that research-based information on releasing purchased enemies in ordinary gardens and landscapes is limited, and that releases often do not provide satisfactory control. Avoid persistent broad-spectrum sprays, reduce dust on foliage, and grow a diversity of plants that supports predators. If you are already using predatory mites or pirate bugs, spraying indiscriminately defeats that investment.
Outdoor tactics and when not to treat
Outdoor management depends on the plant’s value, the crop’s stage, the amount of fresh damage, and whether a virus-sensitive crop is involved. A few scarred leaves on a mature woody shrub do not justify the same response as thrips on young tomatoes, peppers, or a prized greenhouse collection.
Sanitation, exclusion, reflective mulch, and plant vigor
Remove weeds and heavily infested green debris near susceptible plants, since weeds can act as alternate hosts. Dispose of infested flowers, pruned tips, and old crop material where it cannot sit beside the bed. Be selective with spent-flower cleanup, however: old blossoms can also shelter beneficial predators, so sanitation should target clear pest reservoirs rather than strip every flower from the garden.
Use fine-mesh row covers or cages over pest-free young vegetables before adults arrive. Covers need enough room and ventilation, and they usually come off as plants enlarge or temperatures rise. This is an exclusion tool, not a rescue cover for a bed that is already full of thrips.
Reflective mulch can make it harder for flying thrips to locate small plants. The UC IPM guidance says it is most useful while the crop canopy covers less than about half of the soil surface; once the plant fills in, the effect declines. Reflective material also changes watering, soil-temperature, disposal, and root-disease considerations, so treat it as one tool rather than a guarantee.
Keep plants vigorous without pushing soft, excessive growth. Water according to the crop’s needs, correct shade or heat stress, and avoid excess nitrogen. Healthy plants can tolerate more feeding injury, while tender flushes created by overfertilization may be especially attractive to thrips.
Know when to leave the sprayer in the shed. The RHS recommends tolerating some thrips damage on established outdoor shrubs, and UC IPM notes that thrips rarely threaten the survival of mature trees and shrubs. Tolerate cosmetic silvering when the plant is growing normally, no virus is suspected, and predators are present. Escalate when new growth is repeatedly distorted, flowers or fruit are being lost, a young crop is at a vulnerable stage, or a confirmed virus vector is present.
Thrips can transmit viruses such as tomato spotted wilt virus and impatiens necrotic spot virus. Pesticides cannot reverse an infected plant, and a spray may not act quickly enough to prevent transmission. If a susceptible crop develops unexplained rings, mosaic patterns, severe stunting, or rapid decline alongside thrips, remove obviously infected plants as advised locally and contact your extension service or a plant-diagnostic laboratory rather than trying to cure the virus with more spray.
Prevention and monitoring schedule
Prevention is a routine, not a one-time deep clean. Inspect every new plant before it enters the growing area, look through flowers and folded leaves, and keep it quarantined for at least two weeks. Check bouquets, cuttings, summer plants brought indoors, and tools or clothing that have just moved through an infested greenhouse or garden.
During active growth, walk the collection or garden once a week. Check the newest leaves and buds first, tap a few plants over white paper, and read sticky cards on the same day each week so changes are meaningful. Replace cards when they are dusty or full, but remember that a trap is a monitoring signal—not a treatment threshold that applies to every crop and climate.
When you finish a treatment cycle, do not judge it by the worst leaf. Compare fresh growth with the growth produced before treatment, count moving insects during the paper test, and inspect the soil surface and leaf litter for resting stages. If fresh damage continues after well-timed, label-compliant applications, revisit the diagnosis, check spray coverage, and rotate to a different mode of action only when the label and local advice support it.
Write down the plant, date, product active ingredient, weather or room conditions, and what you observed. A simple record shows whether the problem is actually declining and prevents accidental overuse of the same chemistry. It also gives an extension professional useful information if the thrips survive your first plan.
Conclusion: the repeat-and-monitor rule
The reliable way to get rid of thrips is to interrupt their cycle, not to search for one perfect spray. Confirm moving insects and characteristic damage, isolate indoor plants, rinse and prune what you can, target the hidden places where thrips feed, and choose a labeled treatment that fits the plant and the setting.
Then repeat only at the product’s approved interval while monitoring new growth. Eggs in plant tissue and resting stages in soil or litter explain why the campaign takes time; old silver scars explain why a recovering plant may still look damaged. Protect pollinators and predators, use exclusion and sanitation outdoors, and accept cosmetic injury when treatment would create more risk than benefit.