How to Transplant Hostas: Timing, Steps, and Aftercare
Move hostas in spring or early fall with less stress. Get a step-by-step plan for site choice, careful digging, division, planting depth, and aftercare.
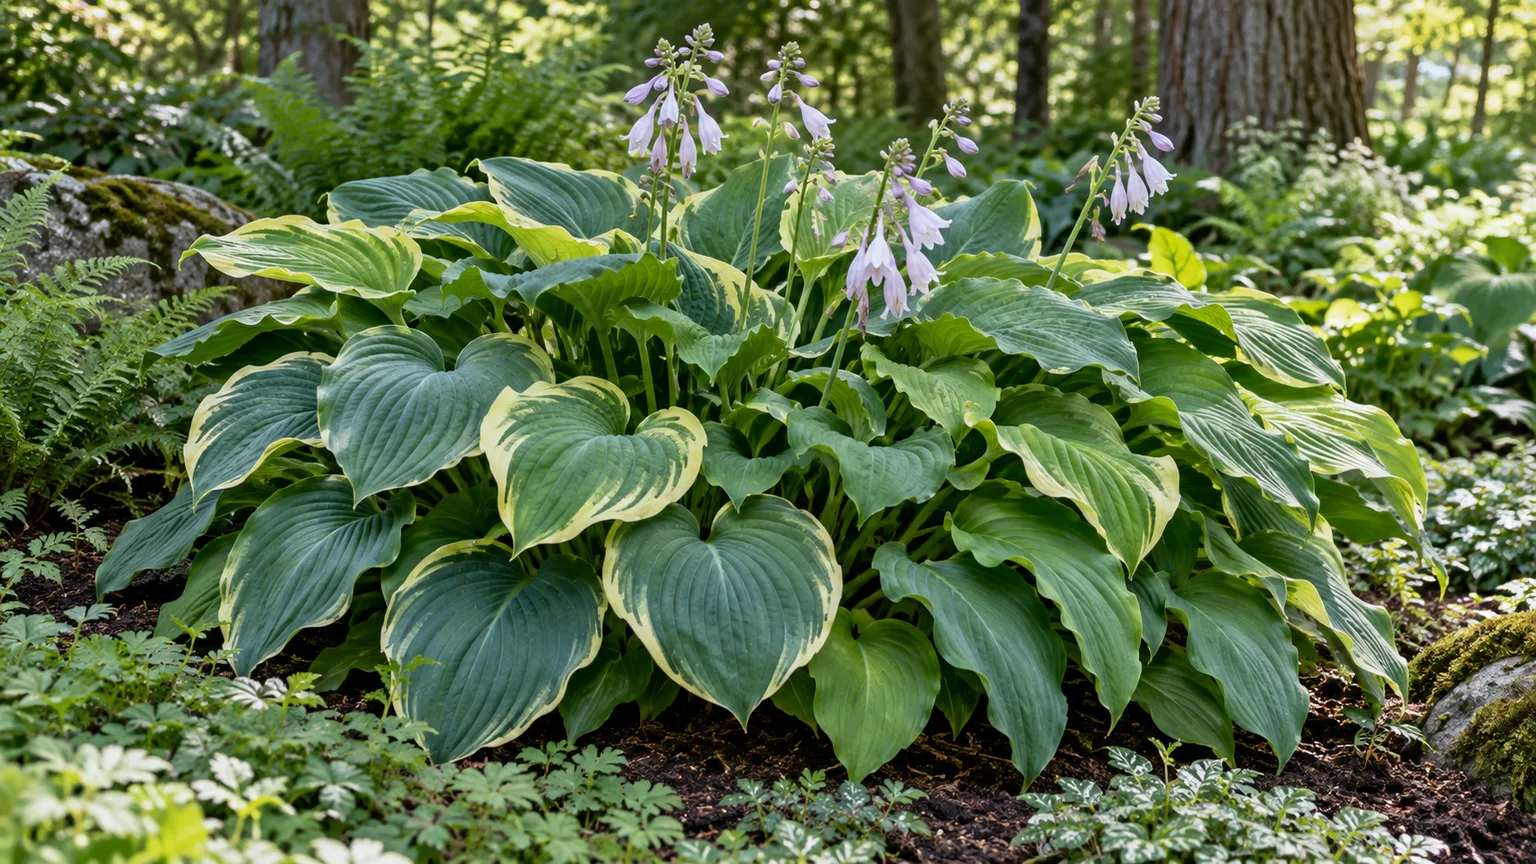
Hostas are long-lived clump-forming perennials, so a healthy plant can stay in one spot for years. When a patio, tree canopy, or crowded border forces a move, success depends less on digging a perfect circle and more on limiting the time roots are exposed, choosing a workable weather window, and planting the crown at the correct level.
The first decision is whether you need to move the hosta intact or divide it. Relocation alone is not a reason to cut up a healthy clump. Leave it whole when practical; divide only when you want more plants, need to reduce its footprint, or find a mature crown that is congested or declining in the center.
Should you move the whole hosta or divide it?
Move the whole plant when its size fits the new site and you want the quickest path back to a full mound. Keeping the root system and crown together preserves more stored energy and avoids making the plant establish several smaller divisions at once. A large hosta may require a helper or a wider lift, but it does not have to be divided just because it is difficult to move.
Division is useful for propagation, spacing, or rejuvenating a clump with a weak or empty center. It is also a practical way to leave a portion in place and move only an outside section. However, division temporarily reduces each piece’s root and shoot mass; the smaller the piece, the longer it may take to look like a mature hosta. University of Nebraska–Lincoln Extension notes that hostas may take several years to reach mature size and that repeated division delays their spread.
| What you see | Better choice |
|---|---|
| Healthy clump, but the bed is being redesigned | Lift and replant the whole clump |
| Clump is too wide for the new position | Divide into a few substantial pieces |
| Center is sparse while outer growth is strong | Remove the weak center and replant healthy outer divisions |
| You only want to shift the plant a short distance | Move intact if you can preserve a generous root mass |
| Leaves or crown show unexplained disease symptoms | Do not share or propagate it; identify the problem first |
Hostas are commonly divided by their clumping crown and underground stems, not by pulling off leaves. A healthy division needs at least one visible growing point—often called an eye or nose—attached to roots. A division with two or three sturdy shoots and ample roots has more reserve than a tiny one-eye piece, so choose fewer, stronger divisions when establishment speed matters.
When to transplant hostas
For most gardens, early spring as the shoots emerge is the easiest default. The leaves are still compact, temperatures are usually mild, and you can see the hosta’s growing points before a full canopy makes the plant harder to handle. University of Nebraska–Lincoln Extension recommends planting, transplanting, and dividing after spring emergence or in late summer after temperatures drop and blooming ends. The North Carolina Extension Gardener Plant Toolbox likewise describes early spring as the usual division time.
Early fall can work where the soil remains workable and the plant has a stretch of mild weather before hard freezing. Calendar dates vary with climate, elevation, and year; use soil condition and your local frost pattern rather than assuming that September is ideal everywhere. If your area moves quickly from warm weather to frozen ground, spring is the safer choice.
Why early spring is the easiest window
When the pointed shoots are just visible, they show where the crown is without presenting large leaves to tear or dry. Dig after the soil has drained enough to crumble rather than smear, and choose a cloudy, cool day if possible. A soaking rain the night before can make heavy soil easier to loosen, but do not work a waterlogged bed: compacting wet soil can undo the benefit of careful digging.
The main spring trade-off is cosmetic. A spade may nick tender shoots, and established leaves can look uneven for the season if the plant has already begun to unfurl. That damage usually matters less than losing the roots or allowing them to dry. If the foliage has expanded, handle it gently and avoid folding the leaves under a tarp or wheelbarrow load.
When early fall is a good alternative
Early fall is a reasonable choice after the worst heat has passed, especially when the hosta’s foliage is starting to slow down and the soil still holds warmth. The plant has less active top growth to support while disturbed roots re-establish. Gardenia’s hosta-division guide also treats early fall as a useful option in many climates while stressing the need for roots to settle before freezing. Stacy Ling describes choosing spring or fall around milder local weather in her New Jersey garden. In regions with early freezes, do not push a major division into late fall just because the leaves have started to fade; give the roots time in open soil before winter.
Summer transplanting is possible when construction or a move leaves no choice, but it requires more attention. Fully leafed hostas lose water quickly, and hot wind can stress a root system that has just been cut. If you must move one in summer, prepare the hole first, work at dawn or on a cool overcast day, preserve the largest root mass you can, shade the plant temporarily, and keep checking soil moisture. Do not wait for a convenient weekend if the root ball is already exposed.
Choose the new site before digging
Hostas perform best when the destination matches the cultivar and the water available there. Most tolerate or prefer partial to full shade, though some varieties accept morning sun; heat, afternoon exposure, and dry soil can scorch leaves even when the plant is not dying. The North Carolina Extension hosta profile describes good performance in morning sun and dappled shade, in moist, organic-rich soil that still drains well. A hosta bed under a tree may look shady but dry faster because tree roots compete for water.
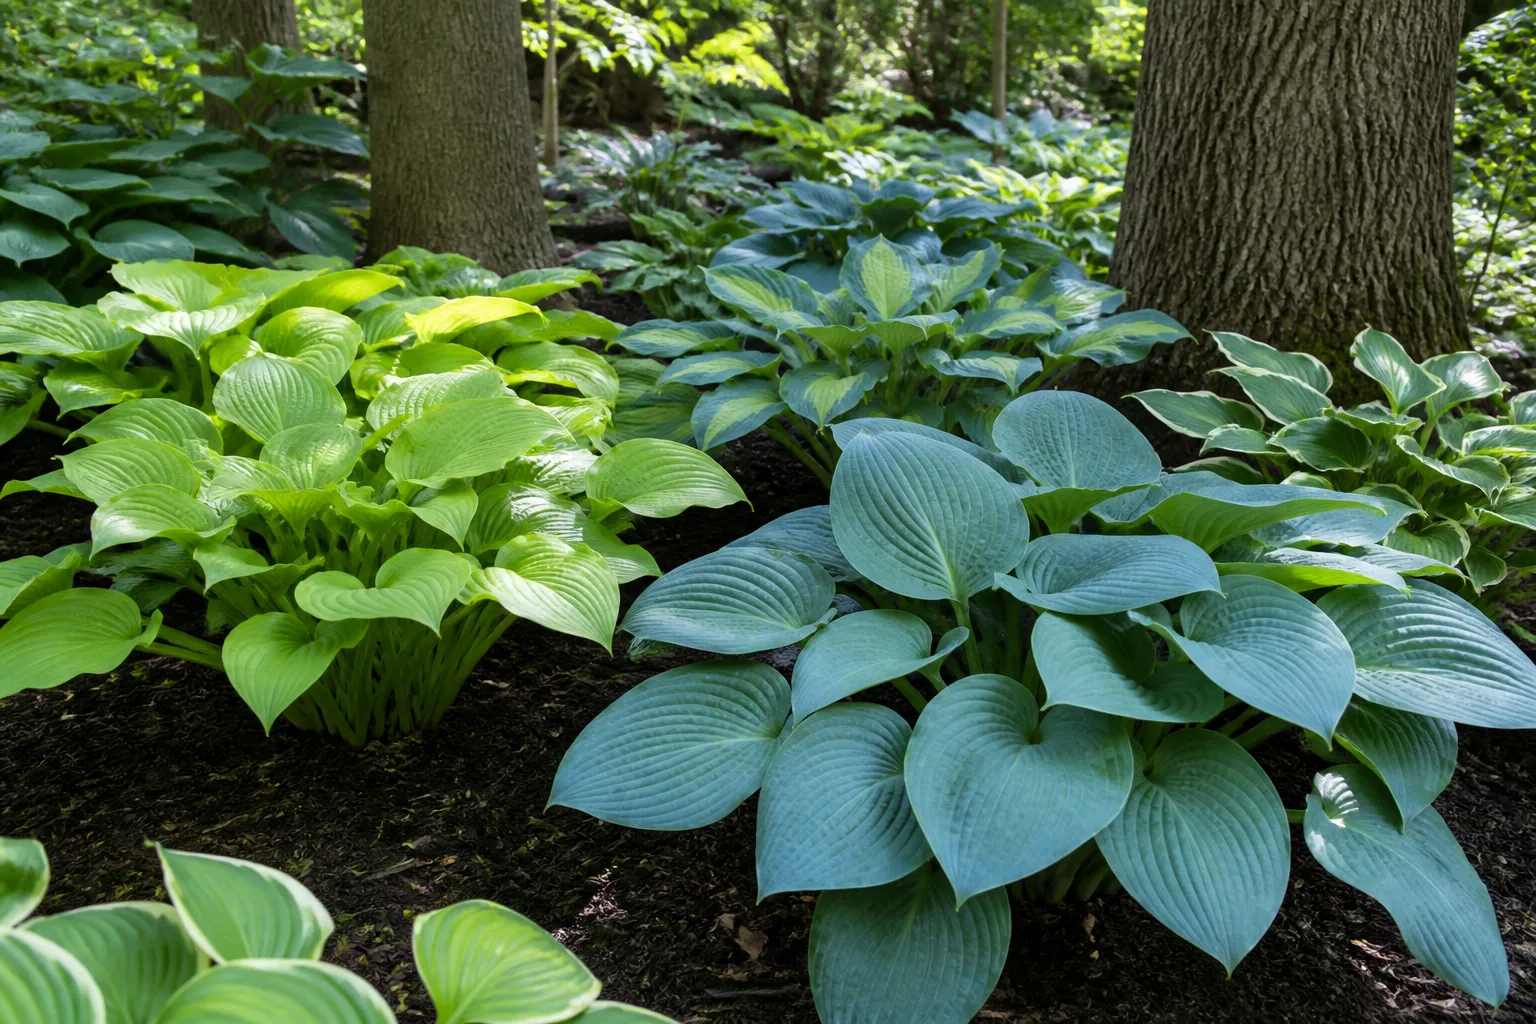
Check shade, drainage, and tree-root competition
Watch the proposed spot during the warmest part of the day. Dappled light or morning sun with afternoon shade is a safer starting point than intense west-facing sun, particularly for blue or pale-variegated hostas. If you are moving a hosta because it burns every summer, do not put it into another site with the same reflected heat from paving or a wall.
Check drainage after rain. The soil should remain evenly moist but not stay saturated; poorly drained ground can lead to root or crown rot. If water collects in the hole or the bed stays slick long after surrounding soil dries, choose a better-drained location or improve the whole bed before planting. Adding a small pocket of rich compost to an otherwise compacted hole will not correct a drainage problem.
Hostas planted beneath established trees face two additional limits: roots may make digging difficult, and adding a thick layer of soil over tree roots can reduce oxygen reaching the tree. University of Nebraska–Lincoln Extension recommends working among tree roots carefully, using smaller hostas where possible, and avoiding substantial soil additions beneath a tree canopy. If the destination competes heavily for moisture, plan to irrigate during establishment rather than expecting shade alone to keep the soil wet.
Prepare the tools, planting hole, and plant
Gather a sharp spade, garden fork if the clump is large, a clean knife for division, gloves, a tarp or sturdy tub, and water. For a large plant, having a second person lift from the opposite side protects your back and reduces the chance that the root mass will split unexpectedly. Clean soil from blades first; if you are dividing multiple plants, clean the knife between clumps, especially when a plant has suspicious mottling, streaks, or rotted tissue.
Prepare the destination before you lift. Dig a broad hole so the roots can spread outward, and keep it slightly shallower than the depth of the root ball; you can always add soil below if needed. Nebraska Extension recommends a hole at least one and a half times as wide as the root ball and setting the crown just above soil level. The point is room for roots, not a deep bowl that traps water.
If the new bed needs organic matter, blend mature compost through the surrounding soil rather than filling the planting hole with a rich, isolated pocket. Hostas prefer moisture-retentive but well-drained soil; they do not need a layer of fertilizer under their roots. Water the hosta the day before if the ground is dry. Damp soil clings to fine roots and makes the clump less likely to crumble, while muddy soil is harder to lift cleanly.
Lift the hosta while keeping roots protected
Start wider than the visible stems. Hosta roots extend beyond the crown, and a cut immediately beside the plant can leave much of the active root zone behind. Insert the spade in a circle outside the outer shoots, loosen the soil in short sections, then angle beneath the root mass and lift gradually. If resistance is strong, stop and cut farther from the crown rather than levering against one tight point.
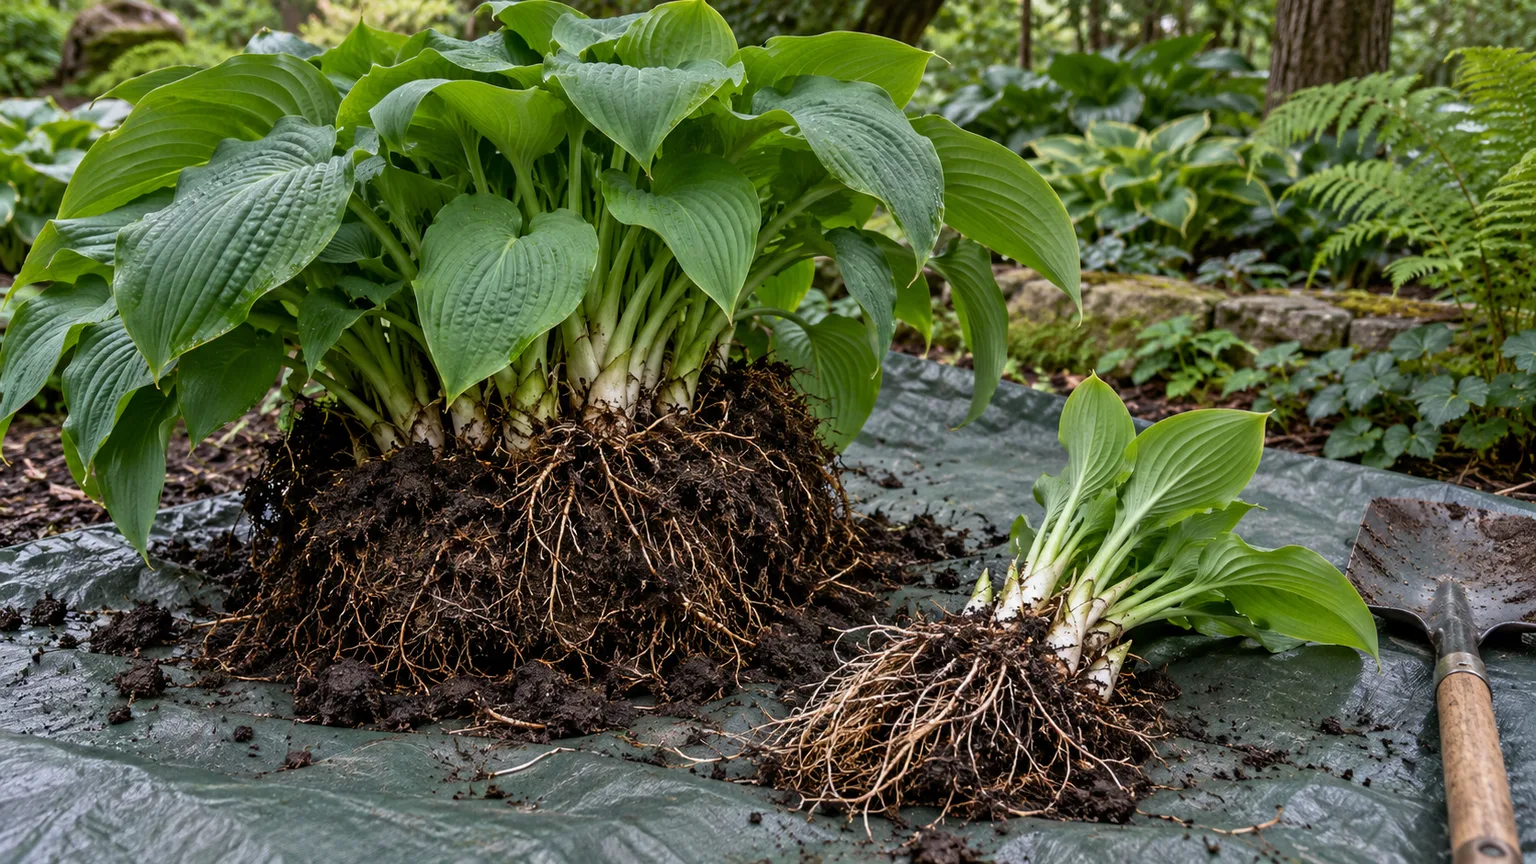
Support the clump from below instead of pulling on leaves or petioles. A fork can help ease a heavy mass upward, but avoid stabbing repeatedly through the crown. If the plant is very large, dig from opposing sides with a helper or remove a manageable outside section instead of wrestling the entire root ball onto a shovel.
Move the hosta promptly. You do not need to scrub every trace of soil from the roots; preserving a little moist soil can reduce drying, and removing all soil adds handling without helping the plant establish. If you need a short pause, set the clump on a damp tarp in shade and cover the roots with a lightly damp cloth. Do not leave it in sun, wind, or a bucket of standing water.
Divide a mature clump only when useful
Shake or brush away just enough loose soil to see how the crown is organized. Look for separate fans of shoots and natural gaps between them. Small clumps may pull apart with your hands; a mature, tight crown often needs a clean spade or knife. Cut decisively through the crown rather than sawing repeatedly through roots, and preserve roots attached to each piece.
Do not chase the maximum number of plants. Two substantial divisions are often a better outcome than six small pieces with one weak eye apiece. The tiny pieces may live, but they can take longer to fill a border and need closer moisture care. If the goal is to maintain the original display, keep the biggest section intact and treat any extra piece as a bonus. Gardenia’s practical division guidance treats two or three shoots with good roots as a useful balance between making another plant and preserving recovery capacity.
Choose a whole-clump or partial division
You can lift the entire hosta and divide it on a tarp, or slice a section from the clump while leaving the rest in place. A whole lift gives a clearer view of the roots and makes it easier to remove damaged sections, but it disturbs more of the bed. A partial division is less disruptive when only one side is crowding a path; insert the spade between shoots, sever a section with roots, and lift only that portion.
Use a clean tool when you move between plants. Hosta Virus X can spread in sap on contaminated tools, according to Nebraska Extension; plants with mottled, puckered, or ink-like markings should not be divided for sharing until the cause is understood. If the crown is soft, dark, or foul-smelling, the problem may involve rot rather than ordinary transplant stress. Do not carry diseased soil or suspect divisions to a new bed.
Replant at the right crown depth
Set the hosta at about the same depth it grew before, with the crown at or just above the finished soil line. The crown is where the shoots meet the roots; burying it deeply can keep it too wet, while leaving a mass of roots exposed can dry them. Spread long roots outward and downward in the hole instead of curling them into a tight knot.
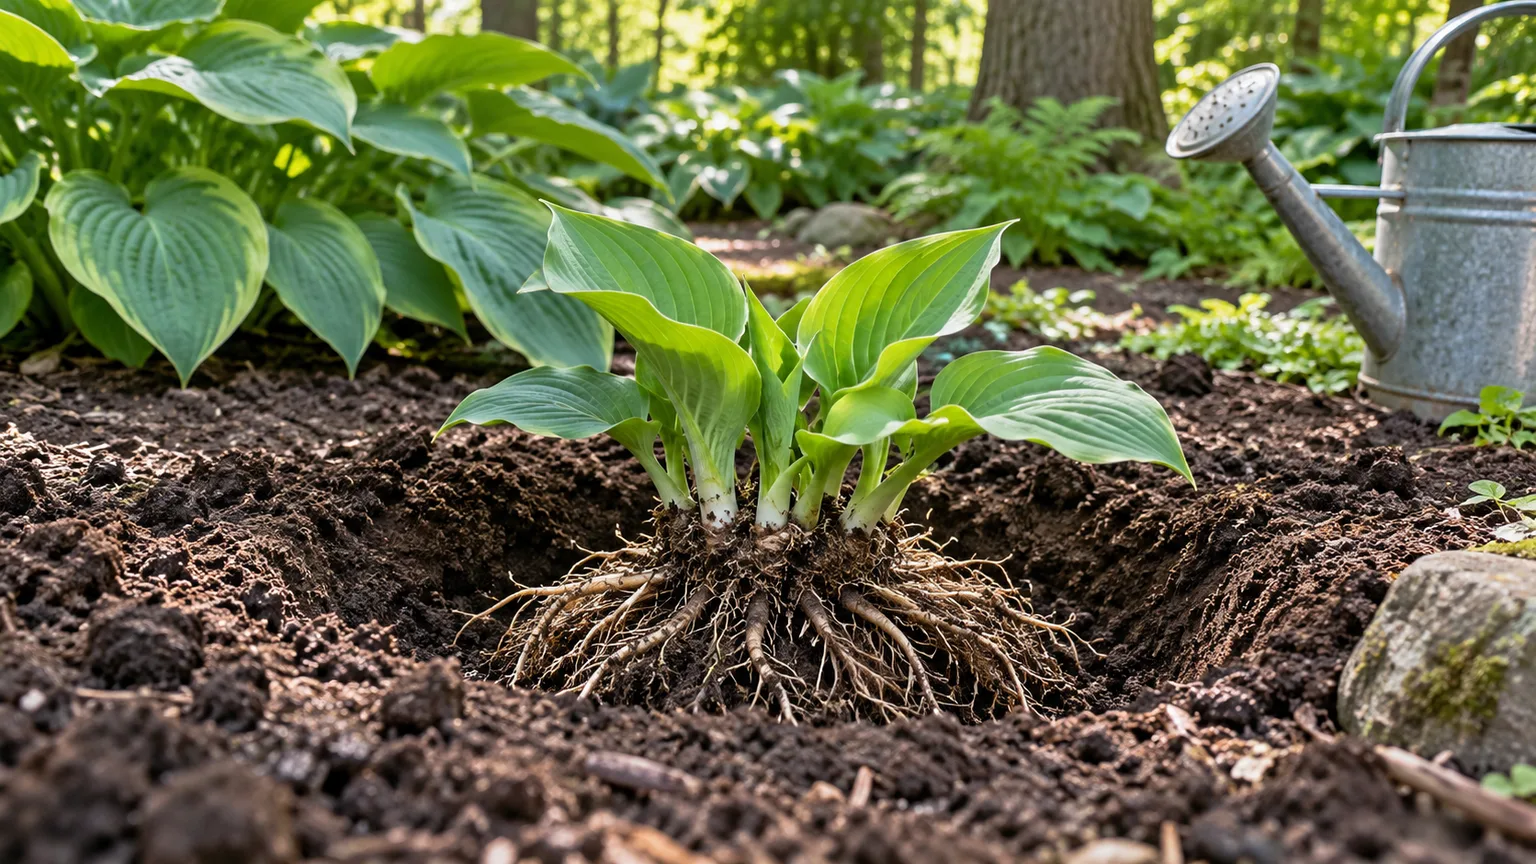
Backfill with the native soil you removed, crumbling large clods as you go. Firm the soil gently with your fingers so the plant sits securely, but do not stomp or pack it hard. Nebraska Extension advises watering to settle soil and remove air pockets rather than tamping the fill; that also avoids collapsing pore space around the young roots.
If the hosta settled too low, lift it and adjust the soil beneath the root ball before the final watering. Pulling soil up over a buried crown afterward is not a fix. When planting several divisions, give each one room for its mature width, not just the small footprint it has on transplant day; crowded hostas are harder to water, inspect, and divide later.
Water, mulch, and avoid heavy feeding
Water slowly and deeply right after planting so the soil makes contact with the roots. The goal is to moisten the entire root zone, not to keep it saturated. Check again once the surface begins to dry: if the soil several inches down is still cool and damp, wait; if it is dry and crumbly, water at the base. Rainfall, soil texture, wind, and leaf size affect how often you need to irrigate, so a fixed daily schedule can lead to overwatering in clay or underwatering in a sandy bed.
Spread a modest layer of loose organic mulch to reduce evaporation and weeds, leaving a clear ring around the crown. A thick blanket piled over hosta stems can hold excessive moisture and create a hiding place for slugs. University of Nebraska–Lincoln Extension cautions that heavy mulch can encourage slug populations and recommends keeping the bed ventilated; a light layer is enough to buffer the soil while roots settle.
Skip a strong fertilizer dose at planting. Freshly cut roots need moisture and contact with soil, not a heavy concentration of salts around the crown. If the bed is poor, improve it with mature compost or follow a soil test and local extension advice. Once growth resumes, use a restrained feeding plan suited to the bed rather than trying to force a transplanted hosta to make leaves before its roots are ready.
Care for the hosta during its first month
For the first couple of weeks, inspect the soil around the root ball every few days and after hot, windy weather. The old root ball and surrounding soil may dry at different rates, especially if their textures differ. Feel several inches down near the edge of the original clump; do not judge only by a dry mulch surface. Water deeply when the root zone is drying, then let excess drain before watering again.
Keep the plant out of unusual heat stress while it recovers. A temporary shade cloth can help a hosta moved during a warm spell, but do not wrap or cover it tightly; airflow matters. If a plant was moved into the wrong light because the former site was too sunny, choose afternoon shade rather than leaving it exposed and trying to compensate with constant watering.
Avoid walking repeatedly on the bed, tugging the plant to “test” whether it has rooted, or adding topsoil over the crown as the ground settles. Replant promptly if frost heaving lifts the crown in winter or early spring. Once the hosta resumes steady growth and the soil is holding moisture normally, return to regular garden care.
Read recovery signs without overreacting
Some droop or leaf damage can follow root disturbance, especially when you moved a fully leafed hosta. A leaf may wilt temporarily in afternoon heat and recover after evening, while old leaf tissue that was torn or scorched may stay damaged even after the roots settle. Judge the whole plant over time: firm crowns, no spreading collapse, and new shoots in the next growth period are more meaningful than the appearance of one injured leaf.
Do not respond to every drooping leaf with more water. First feel the soil: dry soil calls for a thorough soak, while wet heavy soil calls for a pause and better drainage. If the base becomes soft, leaves collapse across the clump, or the soil stays waterlogged, investigate crown or root rot rather than increasing irrigation. North Carolina Extension notes that poorly drained soil can contribute to root and crown rot in hostas.
The first season after division may look smaller than the original clump. A division has fewer shoots and roots by design, so it may take time to rebuild its display; late-summer transplants can also prioritize belowground establishment before visible growth. Keep the crown at grade, supply moisture when needed, and let the plant’s next flush—not a single week of leaf posture—tell you whether it is settling in.
Adjust the method for container hostas or urgent moves
Container hostas can be moved at the same cool-weather windows as in-ground plants. Water the pot first if the mix is dry, tip it carefully, and support the root ball rather than pulling the foliage. If roots form a dense mat or the plant has several crowns, divide or repot only if the container is genuinely crowded; a large pot with ample drainage may need no division.
Choose a container with drainage holes and enough room for the root mass, then use a moisture-retentive but free-draining potting mix. Set the crown at its former level and water until excess runs from the drainage holes. Containers dry faster than garden beds and heat more quickly in sun, so check them more often during establishment and move them to a protected, shaded position during a hot spell.
For an urgent move caused by construction, dig the new hole first and keep the root ball intact. If you cannot plant immediately, shade the hosta and keep roots cool and slightly moist; do not let them dry or sit submerged. If the plant must be held for more than a short period, temporarily pot it in a draining container and replant when conditions improve.
Common transplanting mistakes to avoid
The most damaging shortcut is lifting too close to the crown. A small root ball may make the job easier, but it leaves fewer roots to supply a large set of leaves. Start wide, then narrow the circle only if the root mass proves smaller than expected. For giant clumps, enlist help or take a partial division instead of forcing a risky one-person lift.
Other avoidable problems include:
- Dividing on a calendar: A healthy hosta does not need to be split every few years. Divide when its size, condition, or your garden plan calls for it.
- Working in heat or drought: If the move cannot wait, shade the roots and plant immediately; otherwise wait for cool, workable conditions.
- Leaving roots exposed: Stage the new hole and tools before you dig so the hosta does not sit in sun or wind.
- Planting too deep: Keep the crown at the original soil line and avoid piling mulch against it.
- Over-amending one hole: Improve the larger bed rather than creating a rich pocket surrounded by compact soil.
- Watering by habit instead of soil condition: Newly moved roots need steady moisture, not standing water.
- Making divisions too small: Fewer sections with several strong shoots and healthy roots establish more reliably than many scraps.
- Sharing suspect plants: Do not propagate a hosta with unexplained mottling or a soft, rotting crown until you have identified the issue.
The move is successful when the hosta is set at the right depth in a site it can thrive in, not when it looks untouched on the first afternoon. A careful hole, protected roots, clean cuts, and sensible watering solve more problems than extra fertilizer or a thick mulch blanket.
Conclusion
Transplant hostas in early spring as shoots emerge when you want the easiest handling; choose early fall only when mild weather will remain long enough for roots to settle before freezing. Move a healthy plant intact if it fits the new space, and divide only to propagate, reduce its size, or remove a declining portion. Prepare the destination before you dig, keep the roots shaded and moist, and replant with the crown at its former soil line.
Afterward, water deeply, let excess drain, and check the root zone before watering again. A hosta may look uneven for a season after a move or division, but sound roots and new growth are better recovery signs than perfect leaves on transplant day.



