When to Cut Back Amaryllis Leaves for Reblooming
Learn when to cut back amaryllis leaves, what to leave green, how to enter dormancy, and how to give the bulb a better chance of reblooming.
The short answer: wait for yellow or brown leaves
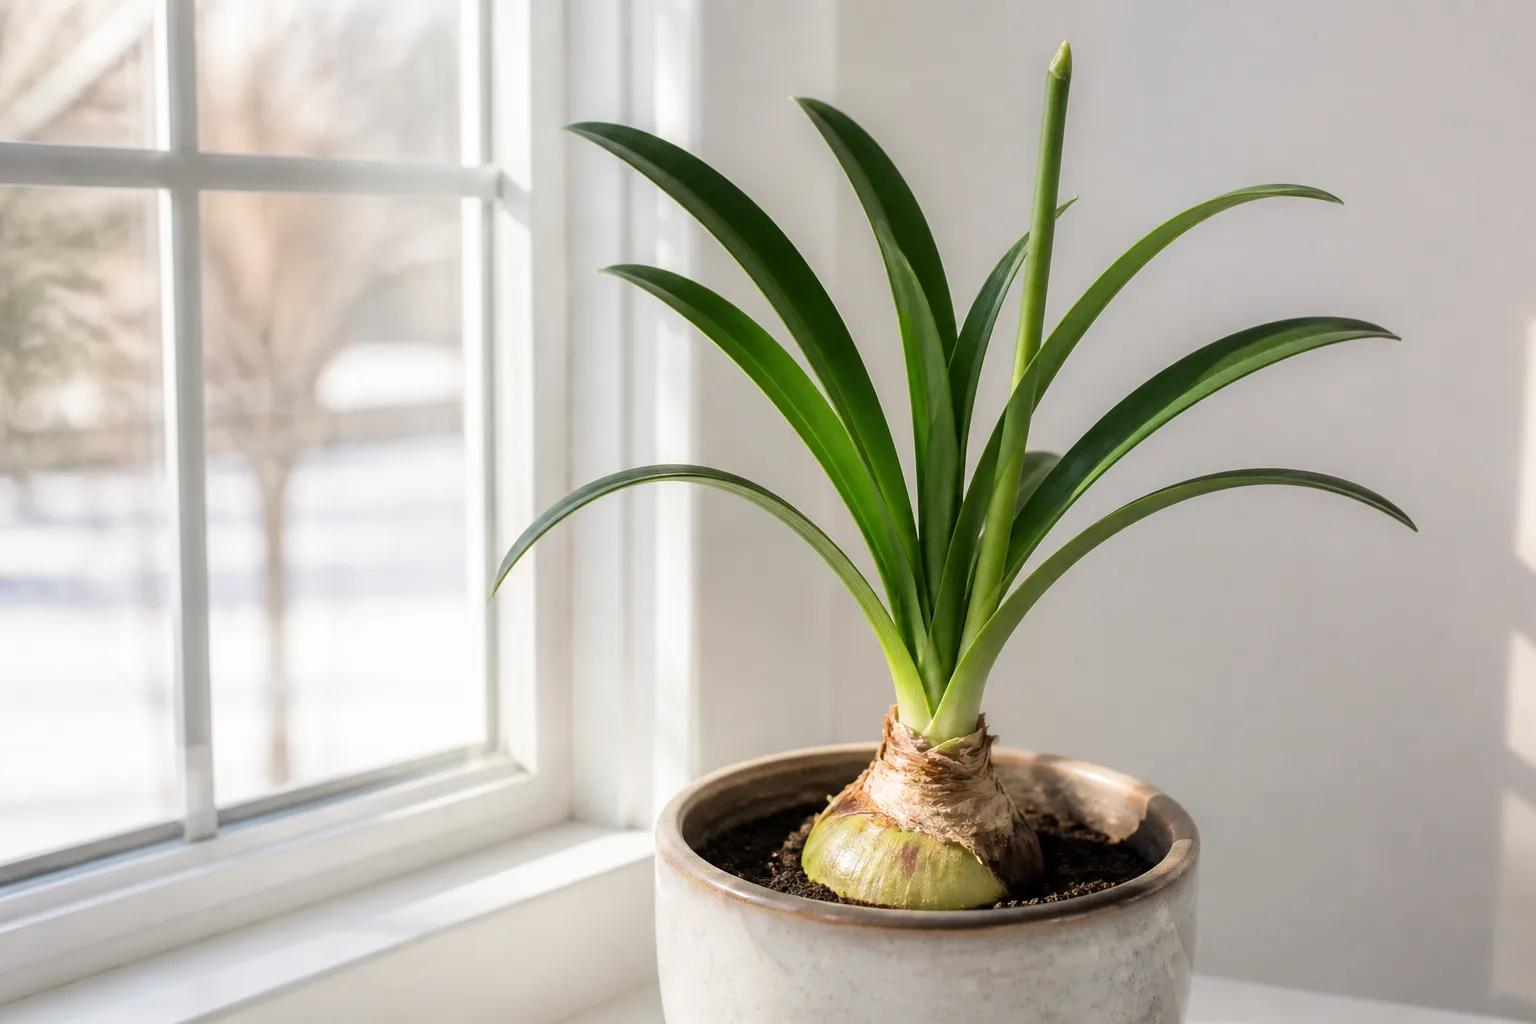
Cut back amaryllis leaves only after they have turned fully yellow or brown and begun to wither. Green leaves are still photosynthesizing, which means they are making and storing energy in the bulb for the next flower cycle. Cutting them while they are green may leave the bulb alive, but it removes the tissue doing the work that makes reblooming possible.
The exact month is less important than the plant’s condition. A holiday bulb may keep green leaves for months after its flowers fade; another may enter dormancy on a different schedule. Wait for the foliage to finish naturally, then trim it if you want a tidy pot. This is consistent with the New York Botanical Garden’s amaryllis care guidance, which treats leaf growth as the bulb’s post-flowering energy-building phase.
Read the plant before making a cut
An amaryllis sold as a holiday bulb is usually a Hippeastrum hybrid. It is not finished when the trumpet flowers fade. The plant shifts from a showy flowering phase into a quieter leaf-growing phase, and the bulb’s ability to flower again depends heavily on what happens during that interval.
Before reaching for scissors, look at three things: the leaf color and texture, the flower stalk, and the moisture around the bulb. Those three observations tell you whether you are looking at normal aging, a part that should stay green, or a possible care problem.
Green leaves are refueling the bulb
Firm green leaves are productive leaves, even when they are floppy, long, or inconveniently arranged. They capture light and convert it into stored carbohydrates inside the bulb. The NYBG Mertz Library’s expert answer recommends keeping the plant in a bright window after flowering, continuing reduced watering for a while, and allowing the foliage to yellow and wither before removing it.
That is why tying, folding, or cutting the leaves to make the plant look neat is a poor trade. If the pot looks unruly, move it to a brighter, less prominent location or support the leaves loosely without crushing them. A season of unattractive foliage is usually the price of a stronger bulb and a better chance of next year’s flower stalk.
Yellow leaves can be natural shutdown—or a warning
Yellowing from the tips or base that progresses gradually, followed by limp or papery tissue, usually means the bulb is completing its active cycle. When most or all of the leaves have finished this way, cutting them back is appropriate.
Yellowing is not automatically dormancy, though. If several leaves turn yellow quickly while the mix stays wet, the bulb feels soft, or the pot has poor drainage, inspect the root zone before cutting. The Gardenia guide to amaryllis leaf pruning notes that overwatering during dormancy can lead to rot; yellow tissue paired with wet soil is a reason to correct moisture and check the bulb, not simply to schedule a trim.
Flower stalks and leaves have different rules
The thick flower stalk follows a different timeline from the leaves. Remove individual faded flowers as they collapse so the plant does not spend energy developing seed. Leave the stalk itself while it is green, then cut it down once it turns yellow or begins to die back. The leaves stay in place as long as they are green, even if the stalk has already been removed.
| Plant part | When to cut | Why |
|---|---|---|
| Faded individual flower | As it wilts | Prevents unnecessary seed formation |
| Green flower stalk | Do not cut yet | It can still contribute to energy production |
| Yellow or brown flower stalk | After it dies back | It has finished its useful work |
| Green leaf | Do not cut | It is recharging the bulb |
| Fully yellow, brown, or papery leaf | After natural senescence | It is no longer contributing much and can be removed neatly |
The Ask Extension answer about a summer-blooming amaryllis makes the same practical distinction: remove dead flowers, but leave the thick stalk until it yellows. Keeping those cuts separate prevents the most common mistake—treating every green part as disposable after the flowers are gone.
What to do in the first week after flowers fade
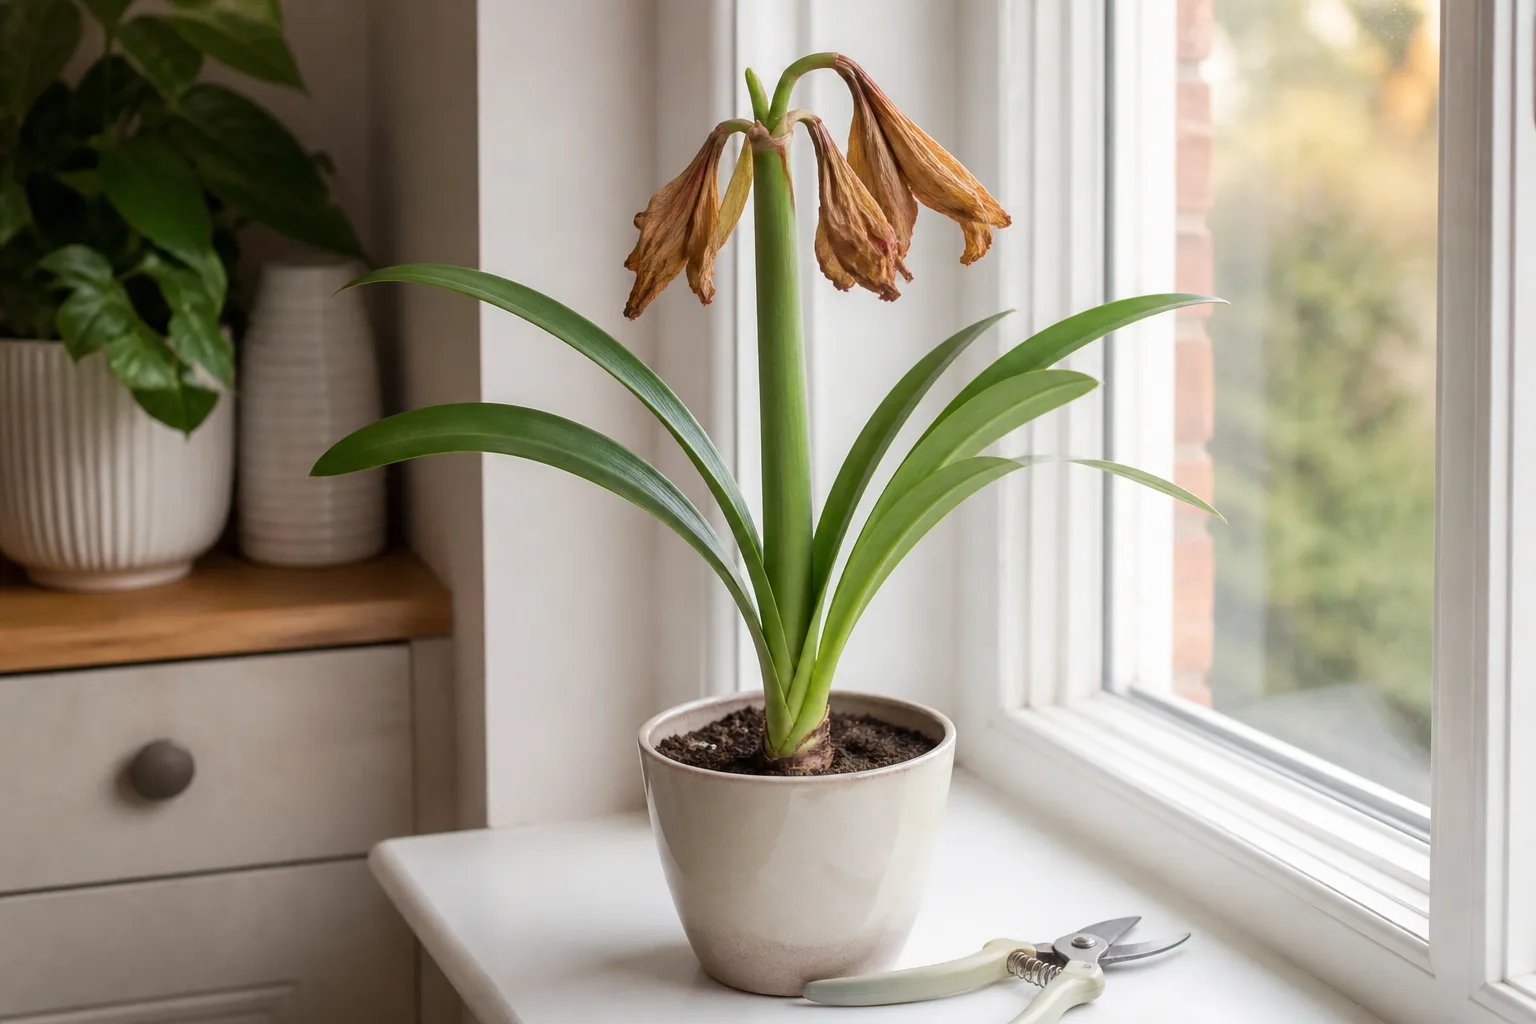
Your first job is cleanup without interrupting the recharge phase. Pinch or snip off each spent flower where its short stem joins the main stalk. Once the last flower has faded, leave the green stalk alone and let the leaves continue growing.
Put the pot in the brightest light you can provide without overheating the foliage against hot glass. Water when the upper portion of the mix begins to dry, then let excess drain completely; the bulb should never sit in a saucer of water. Keep the plant actively growing rather than trying to force dormancy immediately after a winter display.
Remove spent blooms, not green foliage
Deadheading has a different purpose from leaf pruning. Removing a fading flower prevents the plant from directing more resources toward seed development, while removing a green leaf takes away an active energy-making surface. Fine Gardening’s discussion of reblooming plants explains the broader principle: seed production is energetically expensive, so removing spent flowers can help a plant preserve reserves.
Use clean, sharp scissors or bypass pruners for the flower cuts. Do not tug at a flower stalk or twist it against the bulb. Tearing can leave a ragged wound and may pull at the bulb’s neck.
Keep the bulb in bright light
After flowering, bright light matters more than a decorative location. A south- or west-facing window can work indoors, provided the pot does not bake against the glass. If winter daylight is weak, a grow light can help keep the leaves productive; place it according to the fixture’s directions rather than guessing from how bright the room looks.
Rotate the pot occasionally so one side does not lean toward the window. Do not mistake the plant’s post-bloom leaf phase for a signal to put it in a dark closet. Darkness belongs to the planned rest period after the leaves have finished, not to the weeks when green leaves are still building the bulb.
How to cut back amaryllis leaves safely
When the leaves are entirely yellow, brown, limp, or papery, use a simple three-part check: the foliage is no longer mostly green, the soil is not staying wet from a drainage problem, and the bulb remains firm. If those conditions are met, trimming is optional but safe. You can also let the dead leaves collapse and pull away naturally.
Choose the tool and the cut height
Use sharp scissors or pruners that have been cleaned before the cut. Gather the leaves together without bending the bulb’s neck, then cut each one about 1 to 2 inches above the bulb. Leave a short stub rather than cutting flush against the shoulder or slicing into the bulb.
The goal is not to shape the leaves or reduce their length while they are green. It is simply to remove tissue that has completed its cycle. If a leaf is partly green and partly yellow, wait; if a single leaf has a clearly dead section but the rest is green, remove only the fully dead portion or leave the leaf until more of it senesces.
What to do with cut leaves
Remove the dry leaves from the soil surface and discard them or add them to a compost system that reaches an appropriate temperature. Do not pack damp, decaying foliage around the bulb, because it can hold moisture against the neck and make it harder to spot rot.
Keep the bulb, leaves, and pruners away from pets while you work. The ASPCA lists Hippeastrum, commonly sold as amaryllis, as toxic to cats and dogs, with the bulb the most poisonous part. If a pet chews the bulb or eats a substantial amount of plant material, contact a veterinarian or animal poison service promptly.
The aftercare sequence that supports reblooming
Leaf cutting is one small step in a seasonal sequence. The bulb needs a period of active growth to rebuild reserves, followed by a cool, dry rest if you are using dormancy to time the next bloom. Skipping the growing phase and putting a recently flowered bulb straight into storage is more likely to produce disappointment than flowers.
Grow leaves through the recharge season
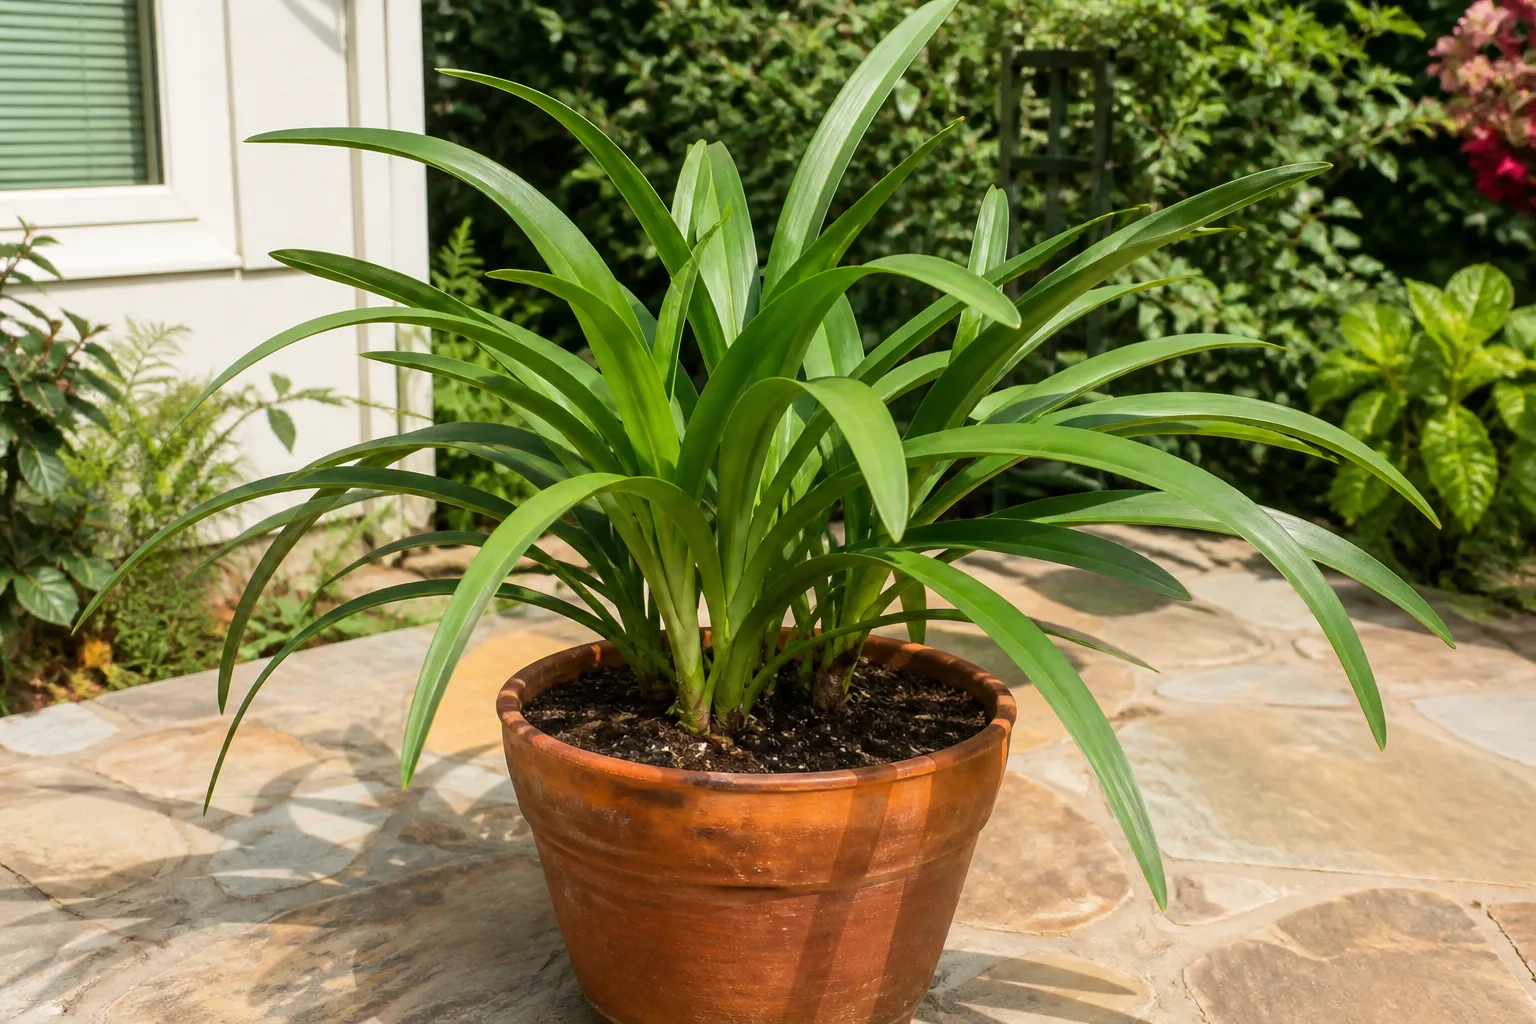
Once the flowers are gone and green leaves remain, keep the plant in strong light and water it when the upper half of the potting mix is drying. A pot with a drainage hole is essential. Water thoroughly enough to moisten the mix, then empty the saucer rather than leaving the bulb in standing water.
Continue feeding during active leaf growth according to the fertilizer label. The NYBG guide describes regular liquid fertilizer from the end of flowering through midsummer, then a higher-potash feed can be used later in the season. The important principle is consistency: light, water, and nutrition should support leaves for several months before you ask the bulb to rest.
Move outdoors gradually, if climate allows
An amaryllis can spend the warm season outdoors in many climates, but it should not move directly from a dim indoor room into harsh midday sun. Wait until frost danger has passed, start in bright shade or gentle morning sun, and increase exposure over roughly a week or two as the leaves adjust.
Outdoor light can improve the recharge phase, but outdoor care is not hands-off. Wind and heat dry containers quickly, rain can keep the mix saturated, and slugs or other pests may reach the foliage. Check the pot more often than you would indoors, let excess water drain, and bring it back under cover before frost or a cold night.
The calendar is regional. A gardener in a mild climate may grow the potted bulb outside for much of the year, while a cold-climate gardener needs a protected summer location and an early return indoors. The NYBG guide recommends outdoor placement after frost danger has passed, with morning sun or light shade to protect the foliage.
Start dormancy by conditions, not a calendar date
When late summer or fall arrives, reduce watering and stop fertilizing as growth slows. You can let the leaves yellow naturally, then remove them once they are dead. After the pot is dry, place it in a cool, dark location for about six to eight weeks if you want to control the timing of a rebloom.
Dormancy is not a cue to keep watering lightly. Once the rest begins, the potting mix should remain dry, and the storage spot should be cool but not freezing. The NYBG guidance describes a dry rest until new growth appears; the bulb does not need light while it is dormant.
The rest period is a tool, not a guarantee. Some modern bulbs can flower without a strongly enforced dormancy, while a tired bulb may need longer to rebuild. As the Ask Extension guidance explains, dormancy can be used to control bloom timing, especially when you want flowers during a particular season.
Why amaryllis makes leaves but no flower stalk
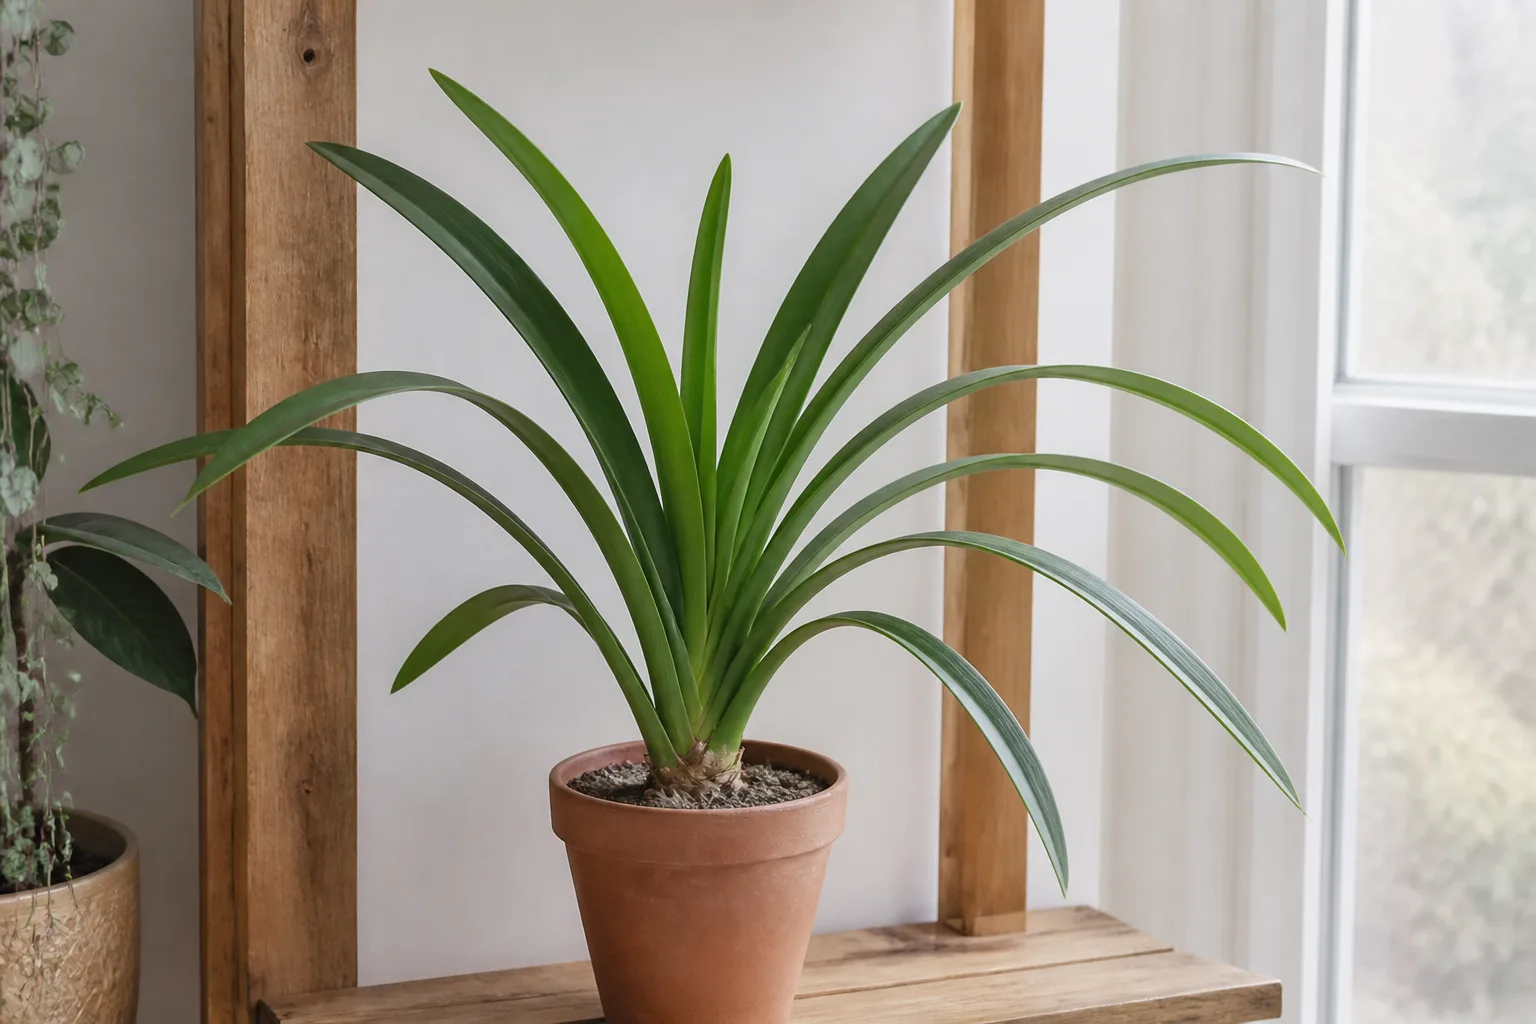
Leaves without a flower stalk usually mean the bulb is alive but did not receive the conditions needed to prepare a bloom. The first suspects are insufficient light during the recharge season, cutting the leaves too early, a bulb that was depleted by a previous bloom, or a rest period that was too warm, too wet, or too short.
Do not respond by cutting the leaves again. Keep caring for green foliage so the bulb has another chance to gain strength. If the bulb is firm and the leaves are healthy, patience is more useful than repeated repotting or extra fertilizer.
If leaves are pale, stretched, or weak, improve light before changing anything else. If the bulb is soft or smells sour, remove it from persistently wet conditions and check for rot. A healthy bulb that only makes leaves one year may still flower in a later cycle; the NYBG care guide specifically advises continuing post-flowering care while leaves feed the bulb for the next year.
When to repot, store, or leave the bulb alone
Do not repot an amaryllis every time it finishes flowering. These bulbs generally flower better when their roots are left undisturbed, and a slightly snug pot is not automatically a problem. If the mix has collapsed, drainage is failing, the bulb is unstable, or roots have filled the container after several seasons, repot when new growth starts rather than during the middle of the green-leaf recharge phase.
For a bulb that is otherwise healthy, you can top-dress by removing a little old potting mix and replacing it with fresh mix without disturbing the roots. The NYBG expert guidance suggests repotting only after several years unless there is a specific problem. When you do repot, keep the bulb’s upper portion above the soil line and use a container with drainage.
Storage is different from repotting. A potted bulb can rest in its container, dry and cool, without being dug up. Removing it from the soil is optional and adds handling that can damage roots or expose a soft bulb to unnoticed injury.
What changes for waxed or forced bulbs
Waxed amaryllis bulbs are sold as short-term displays with little or no usable root system. They may bloom from stored energy, but they start the rebloom attempt at a disadvantage because they have not been feeding from soil. Once flowering ends, remove the wax carefully, inspect whether the bulb is firm, and pot it in well-draining mix with the upper shoulder exposed.
Do not promise yourself a flower the following year from a waxed bulb. Give it bright light, water, and a full active growing season first; it may produce leaves only while it rebuilds roots and reserves. The NYBG Hippeastrum guide notes that waxed bulbs lack a full root system and may need more than one season before they have enough energy to flower again.
Conclusion
The right time to cut back amaryllis leaves is when they have finished their job: wait until they are fully yellow or brown, limp, and naturally dying back. Keep green leaves in bright light, remove faded flowers promptly, and leave a green flower stalk until it yellows; those parts do not follow the same pruning rule.
After the leaves are cut, let the bulb rest cool and dry for roughly six to eight weeks if you are timing a rebloom, then wake it with warmth, light, and careful watering. If it makes leaves but no flower, treat that as information about the previous recharge or rest period—not a reason to remove healthy foliage. A little patience at the ugly stage is what gives the bulb its best chance to flower again.



