When to Cut Back Bee Balm: Fall, Spring, or Summer
Learn when to cut back bee balm in fall, spring, or summer, with clear steps for mildew, bushier growth, longer blooms, and pollinator habitat.
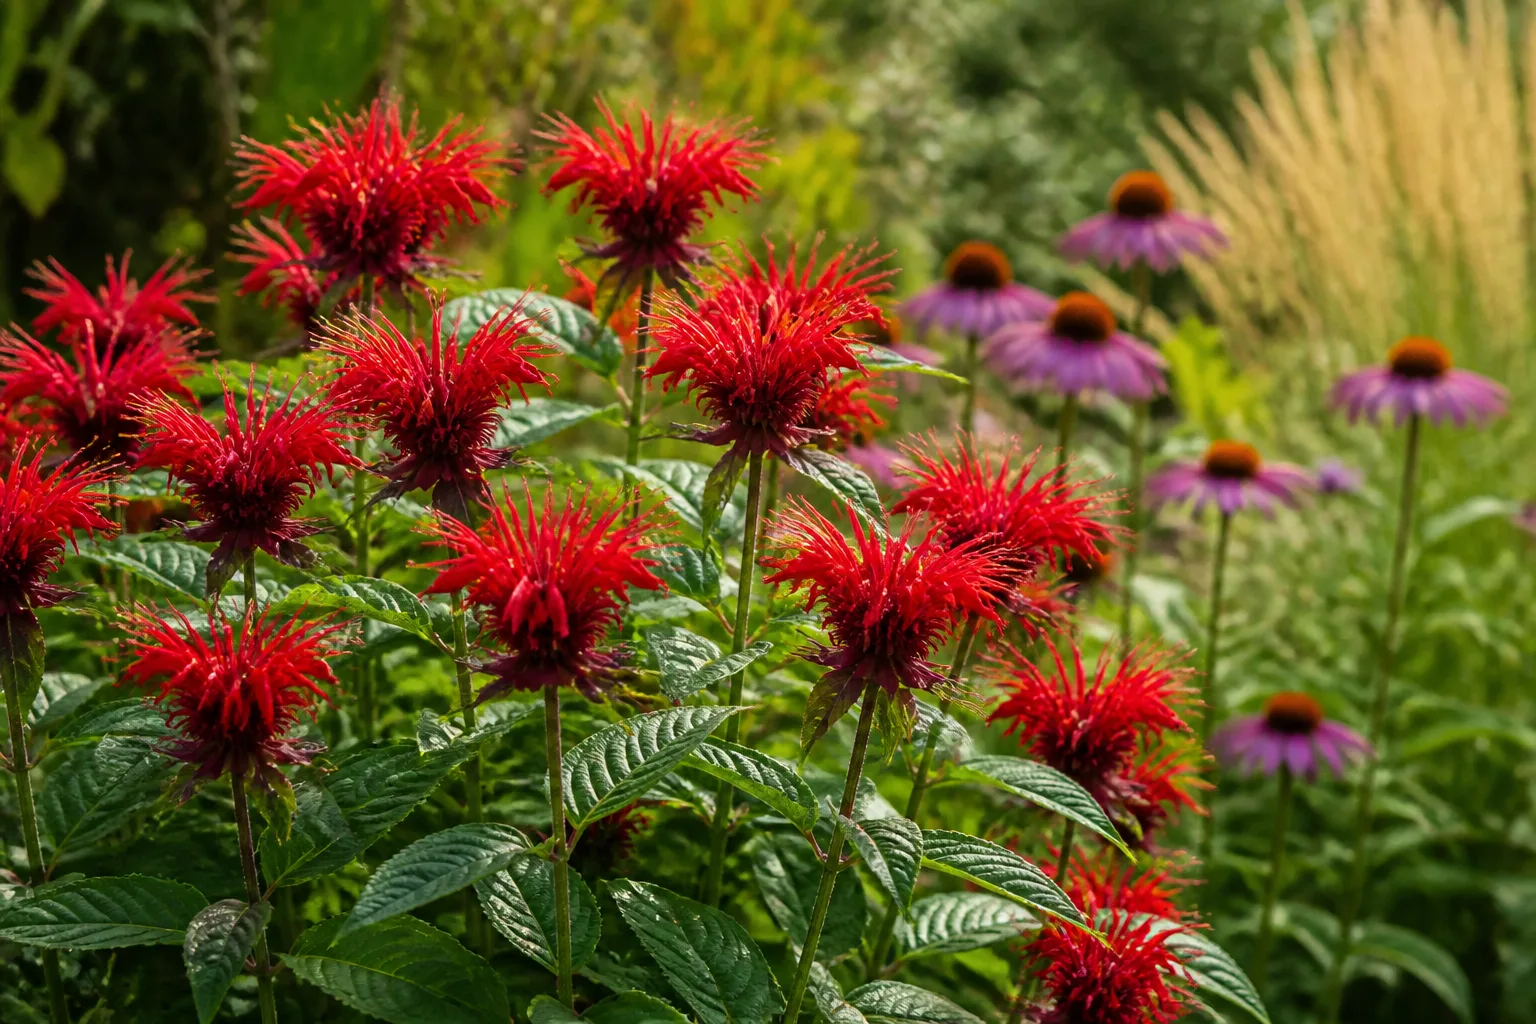
If your bee balm has finished flowering and is beginning to brown, do not automatically cut it to the ground. The right fall decision depends on two questions: did the plant have a serious disease problem, and do you want a perfectly tidy bed or more winter value for birds and stem-nesting insects?
For a healthy clump, you can leave the seed heads and stems standing, trim only partway, or remove the stems during the first winter dormancy. For a mildew-covered clump, sanitation takes priority. Spring and summer cuts serve different purposes—shorter stems, better branching, more flowers, or less crowding—so “the best time to prune” is really a goal-based question.
The short answer: choose timing by goal
Bee balm, or Monarda, is an herbaceous perennial that dies back above ground while its crown and roots persist. Many plants sold as bee balm are Monarda didyma or Monarda fistulosa, but cultivars vary in height, disease resistance, moisture preference, and how aggressively they spread. NC State Extension describes scarlet bee balm as a plant that likes moist, well-drained soil, full sun, and can spread by underground stolons. (NC State Extension’s Monarda didyma profile)
Use this quick map before picking up your pruners:
| Your goal | Best timing | What to do |
|---|---|---|
| Remove mildew-infected growth | As soon as practical, then final cleanup after dormancy | Cut affected stems, collect fallen leaves, and keep diseased debris out of compost. |
| Make a tall clump shorter and sturdier | Late spring, when stems are about 12–18 inches tall | Cut selected stems back by roughly one-third to one-half. |
| Increase branching or stagger bloom | Early to late spring | Pinch or cut different sections over several weeks. |
| Encourage a little more summer bloom | Mid- to late summer | Deadhead spent flower heads above a healthy side shoot or leaf node. |
| Create winter habitat | First winter dormancy | Leave stems intact, or trim first-year stems to 12–24 inches. |
| Create a tidy, bare bed | First winter dormancy or late winter | Cut healthy first-year stems near the soil line, understanding that you give up standing habitat. |
That distinction prevents the most common mistake: using a fall cleanup cut to solve a problem that actually started in spring. Pruning can change height, branching, bloom timing, and the amount of infected material left in the bed, but it cannot compensate for deep shade, poor drainage, excessive nitrogen, or a severely overcrowded clump.
The fall decision: clean mildew or save habitat
Fall is not automatically the “correct” season to cut bee balm. It is simply the season when the plant has stopped investing in fresh top growth and you can make a useful decision about old stems, seed heads, and diseased debris.
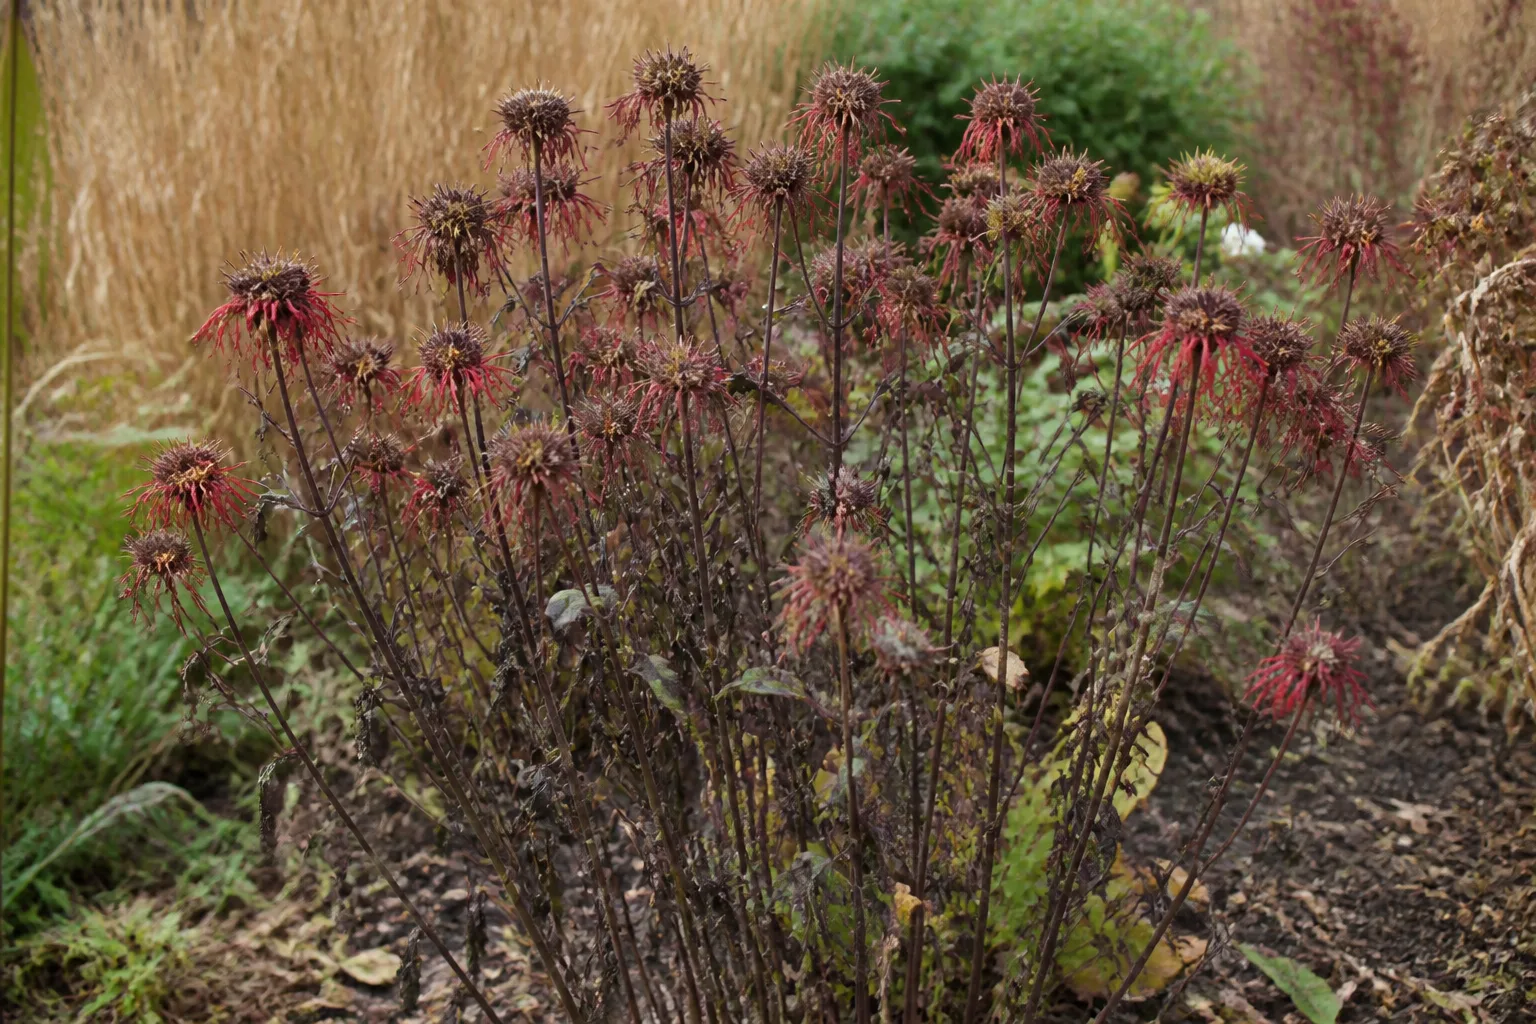
When fall cutback is worth doing
Cut back bee balm in fall when powdery mildew covered a large portion of the foliage, when stems are collapsing into a wet mat, or when the plant is blocking a path and cannot safely remain upright. Remove visibly diseased leaves and stems rather than carrying them into winter. If mildew was extensive, a thorough cleanup after the plant has died back is sensible because infected plant material left in the bed can add to next season’s disease pressure.
You do not have to wait for a particular calendar date. Wait until the plant has gone dormant—top growth is brown, blackened by frost, or clearly finished—unless an active disease problem requires selective removal sooner. Working on a dry day makes it easier to collect debris cleanly and avoids smearing wet fungal material onto nearby plants.
When leaving stems standing is the better choice
Leave healthy bee balm standing if you value seed for birds, winter structure, or habitat for small solitary bees. NC State Extension’s study of almost 3,000 perennial stems from 20 North Carolina gardens found no nests in the first winter, because the current season’s stems were not yet cut or damaged enough for bees to enter. The same study found the most nests the following spring, after stems had developed access points, and it included both M. didyma and M. fistulosa among plants whose stems held nests. (NC State Extension’s perennial-stem study)
That evidence supports a practical compromise: trim new, first-winter stems to 12–24 inches, or leave the clump untouched until the stems naturally break down. The 12–24-inch stubble looks intentional and creates cut ends for later nesting, while a completely uncut clump offers less immediate access but still gains habitat value as weather opens the stems.
The study was conducted in North Carolina, so it is evidence-based guidance rather than a guarantee about every climate, bee community, or Monarda cultivar. The important rule is broader: do not recut a stem that was already cut, broken, or damaged during the growing season, because bees may have moved into it later. If you want both neatness and habitat, cut only the new stems in winter and leave any older, weathered stems alone.
Fall pruning: how to do it without guesswork
Fall cutback is straightforward when you treat it as inspection followed by a measured choice. A few minutes of sorting prevents you from stripping every stem, spreading infected debris, or removing the very habitat you hoped to preserve.
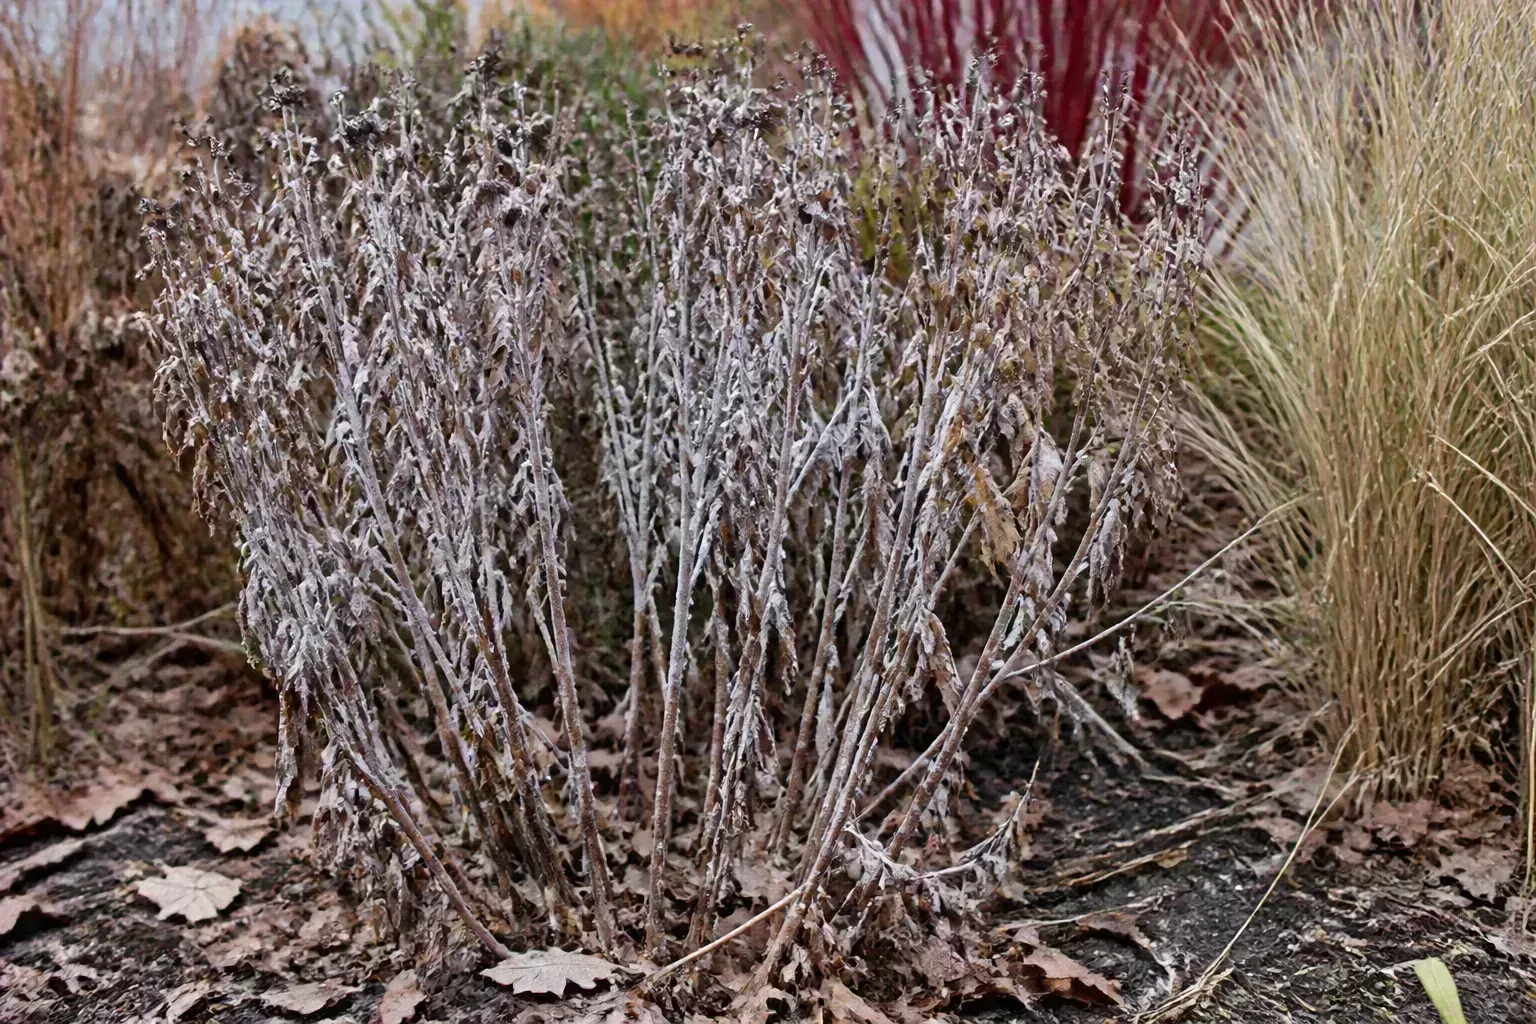
Wait for dormancy, then inspect the clump
Start by looking at the whole plant, not just the flower heads. If the stems are still green and carrying late blooms, leave them unless you are removing a diseased section or a stem that is actively breaking. If only a few leaves had mildew, you may need selective sanitation rather than a dramatic whole-plant haircut.
Once frost or natural senescence has finished the top growth, separate the clump mentally into three groups: healthy current-season stems, older stems that were already present, and material showing mildew, rust, black decay, or obvious pest damage. That sorting step matters because each group has a different destination: habitat, standing structure, or the trash.
Use sharp bypass pruners for a small clump and hedge shears only for a large patch where uniformity matters. Make clean cuts rather than crushing stems, and avoid dragging a diseased handful across neighboring crowns. Wipe soil and plant residue from the blades between visibly diseased plants; sanitation is more useful than a perfectly smooth cut.
Pick a cut height that fits your garden
You have three reasonable fall options for healthy first-year stems:
- Leave them full height. This gives the most winter structure and lets seed heads remain available to birds. It works best when the clump is upright and the bed will not stay wet around fallen foliage.
- Trim to about 8–10 inches. This is a middle ground for gardeners who want less visual bulk but still want stem pieces and a little winter shelter. The cut tops can be left in a dry, raised place if you want to experiment with habitat away from the bed.
- Trim to 12–24 inches. This is the strongest habitat-oriented compromise described by NC State Extension. It creates accessible cut ends while keeping enough stalk to look deliberate and to stand above damp soil.
Cut to the ground only when tidiness, access, or disease cleanup is more important than standing habitat. Cutting healthy first-winter stems at soil level does not destroy bee nests that were not yet present in those stems, according to the North Carolina study, but it removes future nesting material and eliminates seed heads. If you do cut low, leave a thin layer of clean mulch around—not over—the crown rather than piling wet debris against it.
Handle diseased debris separately
Powdery mildew looks like white or gray powder on the leaf surface, often appearing first when foliage is crowded or air is humid. It is not a signal to fertilize or water more. Remove infected leaves and stems, rake up fallen debris, and put it in household trash where local rules allow; do not add obviously diseased bee balm to home compost.
A diseased clump should not be treated as a wildlife-habitat exception. You can keep a few clean, uninfected stems for structure if the plant had only a localized problem, but do not preserve a thick mat of infected foliage in the name of pollinator gardening. The next season’s success will depend more on airflow, sun, watering method, and cultivar choice than on whether every old stalk was left in place.
Spring pruning for shorter, bushier bee balm
Spring is usually the most useful pruning season when the plant is healthy but too tall, floppy, or dense. The goal is to influence the shape of new stems before flower buds are fully developed, not to punish the plant for dying back naturally in winter.
Use the Chelsea chop to trade height for later bloom
When new stems reach roughly 12–18 inches, cut selected stems back by one-third to one-half. You can make the cut just above a pair of leaves, where side shoots can develop, or cut an entire section evenly with clean shears. The result is usually a shorter, more branched plant with a later flowering window on the cut stems.
The trade-off is simple: the more you cut and the later you cut, the more you delay that section’s flowers. Do not shear the entire bed automatically if you want a long display. Cut one-third to one-half of the clump, or stagger the work over two or three weeks, so untouched stems bloom on the normal schedule while trimmed stems catch up later. Savvy Gardening describes this approach as a way to reduce flopping and stretch the overall flowering season rather than merely make plants shorter. (Savvy Gardening’s bee balm pruning guide)
Pinching the growing tip from individual stems creates a softer version of the same effect. It is useful in a small border where you want to shape the plant by eye, but it takes longer than a patch-wide cut. If the stems are already in flower, switch to deadheading instead; a late Chelsea chop will remove buds without giving the plant enough season to reward the cut.
Thin crowded stems before mildew arrives
If the center of the clump stays humid and the lower leaves regularly turn white or drop, thinning may be more valuable than shortening every stem. In early spring, remove roughly one-quarter of the stems at ground level, choosing the weakest, most crowded, or inward-growing stems first. The remaining stems get more room for air movement and light, and the plant still has enough shoots to fill out.
Thinning is not the same as dividing. It reduces density without lifting the crown, so it is less disruptive when the clump is generally healthy but too packed. If the center is dead, the outer ring is expanding rapidly, or flowering has declined despite good light and moisture, division may be the better long-term correction.
Summer deadheading without sacrificing seed
Deadheading is a targeted summer cut, not a fall cleanup. When a bee balm flower head fades, pinch or snip the stem just above a healthy side shoot, leaf node, or developing bud. That directs the plant’s remaining energy toward fresh lateral growth and can produce a smaller second flush of flowers, especially when the plant still has adequate light and moisture.
You do not need to remove every spent flower. If you want seed for natural reseeding or food for birds, leave a portion of the heads in place and deadhead only the sections nearest a walkway or the ones that are visibly collapsing. This partial approach also keeps the bed useful to wildlife while extending bloom where you will see it.
Avoid cutting deep into a healthy flowering stem merely because the petals look tired. Find the next node first, then make the cut above it. Removing the entire stem to the ground is appropriate when that stem has finished all side flowering, but it is unnecessary for every faded head and can make a vigorous clump look sparse.
Adjust the cut for young, divided, or old plants
A first-year bee balm plant needs a different hand than an established clump. If it was planted late in the season, let it retain healthy green growth until dormancy so the roots can establish. Remove damaged or diseased parts, but avoid a hard shaping cut made only to make a small plant look tidy.
Recently divided bee balm also benefits from restraint. Give each division time to rebuild roots and crown strength; a light deadhead is fine, but a full spring chop or aggressive fall cleanup can reduce the plant’s margin before winter. Water newly divided plants consistently in well-drained soil, and do not use heavy fertilizer as a substitute for root establishment.
Older clumps often need a combination of thinning and division. If the center dies out while the edges keep running, lift and divide the plant in early spring before flower buds form, keeping vigorous crown sections with healthy roots. A mature Monarda can spread by underground stolons, so division is also the moment to remove runners that have crossed the boundary of the bed rather than trying to control the plant with repeated top cuts.
Fix the cause when pruning is not enough
Repeatedly cutting bee balm back can hide a problem for one season without solving it. Look at the leaves, stems, soil, and light before deciding that the plant needs another haircut.
If white powder appears on the leaves
Powdery mildew is encouraged by a combination of susceptible genetics, crowded growth, low airflow, shaded foliage, and conditions that keep leaves humid. NC State Extension lists powdery mildew and rust among the problems that can affect Monarda didyma and recommends avoiding overhead watering to reduce mildew risk. (NC State Extension’s Monarda didyma profile)
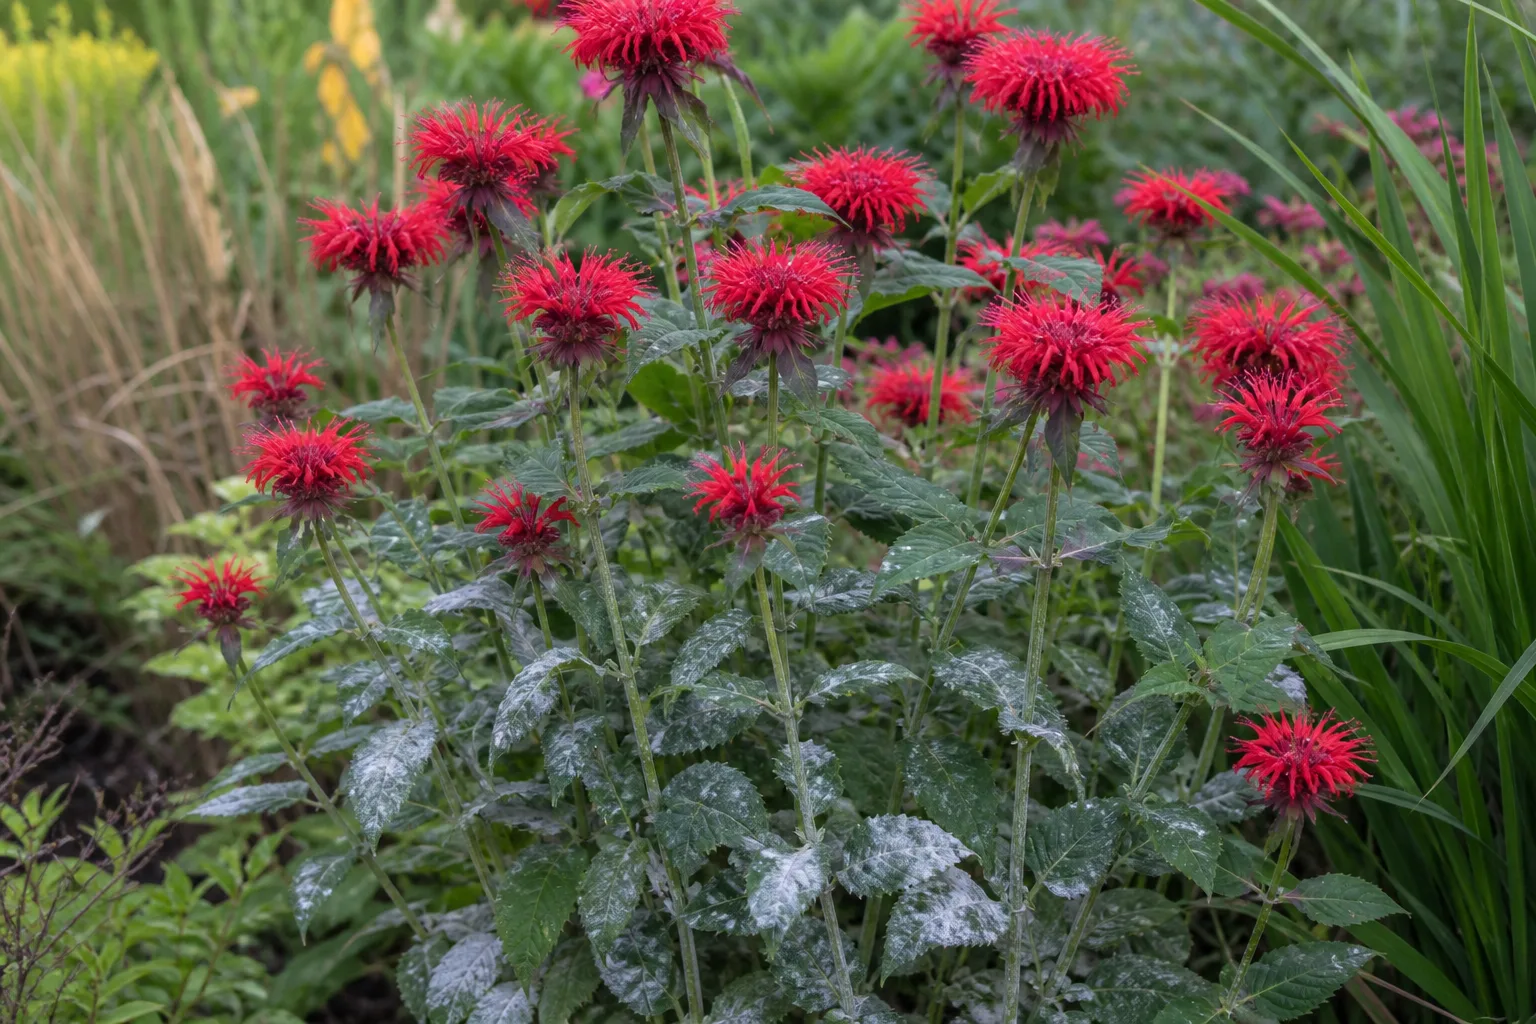
Use a layered response rather than one magic fix. Remove the worst leaves and any heavily infected stems, thin the clump in spring, water at the soil surface, and improve light and spacing. If mildew returns every year, replace or divide the plant with a cultivar known for better resistance; pruning helps the microclimate, but it cannot change a cultivar that is consistently vulnerable.
Check whether the foliage is actually powdery mildew before cutting. White residue that wipes away easily after a dusty day is not the same diagnosis as fungal growth that spreads across leaves. If you are unsure, photograph the symptom, compare it with a reliable extension diagnosis, and avoid applying a pesticide around blooming pollinator plants until you know what you are treating and that the product is labeled for the use.
If stems flop, wilt, or show holes
Flopping usually points to a combination of tall growth, insufficient light, excess fertility, crowding, or soft stems made lanky by uneven moisture. Epic Gardening’s Monarda care guide recommends full sun or some afternoon shade in hot regions, moist but not soggy soil, and pruning established plants around 12 inches to encourage lateral growth. (Epic Gardening’s bee balm care guide) A spring Chelsea chop and selective thinning are more preventive than tying a collapsed plant after it flowers.
If one stem wilts while the rest of the clump looks normal, inspect the stem closely. A small hole with a yellowish edge, sawdust-like residue, or a hollowed section can point to a stalk borer. Cut at least an inch below the damaged section, split the removed piece to check for the larva, and dispose of the infested stem rather than leaving it in the bed.
If the whole clump wilts in wet soil, suspect a root or crown problem instead of pruning. Improve drainage, remove rotting material if the plant can be lifted safely, and avoid keeping the crown buried under a thick wet layer of mulch. A clean cut above ground will not restore roots that are starved of oxygen below it.
Site adjustments that make pruning work better
Bee balm grows best when the site makes every pruning decision easier. Give it full sun where possible—NC State defines full sun as six or more hours of direct light—and provide a spot where moisture is available without the soil staying saturated. In very hot climates, afternoon shade can protect foliage, but deep shade tends to increase lankiness and reduce flowering.
Space plants so mature foliage can dry and air can move through the clump. A common practical spacing range is 18–24 inches, although dwarf cultivars need less and large species may need more. Do not place a moisture-loving Monarda in a stagnant pocket beside a downspout or against a wall where air never moves.
Water the soil rather than the leaves, ideally in the morning when irrigation is necessary. Established plants can tolerate some dry weather, but a newly planted clump needs more consistent moisture while roots spread. Keep fertilizer modest: overly rich growth can produce soft, floppy stems that make mildew and staking more likely. For the broader plant, soil, spacing, and cultivar decisions, see the bee balm growing guide.
Bee balm pruning mistakes to avoid
The biggest mistake is treating all dead-looking stems as waste. A healthy winter stem can carry seed, structure, and future nesting value, while a mildew-covered stem should be removed; the correct action depends on what you are looking at.
Avoid these common errors:
- Cutting a healthy clump to the ground in early fall before it has finished feeding birds or before the first-winter stems have served their full seasonal purpose.
- Recutting stems that were already deadheaded, broken, or cut during the growing season, when bees may have gained access to the pith.
- Using a whole-bed Chelsea chop after buds have formed, then wondering why flowering is late or absent.
- Watering foliage from above at night and expecting fall sanitation to compensate for a damp, crowded canopy.
- Leaving infected leaves in place because the plant is a pollinator favorite.
- Adding high-nitrogen fertilizer to correct a leggy plant when the real issue is shade, excess moisture, or overcrowding.
- Removing every seed head when you wanted birds and self-sown seedlings, or leaving every seed head when you need a clear path and an orderly bed.
The best pruning routine is selective. Mark the stems you want for habitat, remove the ones that are diseased or damaged, and use spring cuts to shape the new growth before it becomes a problem.
Conclusion
So, should you prune your bee balm this fall? Yes, if the plant had significant mildew, is collapsing into damp debris, or needs a clear, accessible bed. No, not automatically, if the clump is healthy and you value seed heads, winter structure, and pollinator habitat. In that case, leave it standing or trim first-winter stems to 12–24 inches, then leave older weathered stems alone.
Save spring for the Chelsea chop and thinning, summer for selective deadheading, and fall or winter dormancy for the cleanup decision. Once you match the cut to the goal—and correct sun, spacing, watering, and cultivar issues—bee balm pruning becomes a small seasonal adjustment instead of an annual guessing game.



