When to Prune Mums for Fuller Fall Blooms
Find the right time to prune mums for fall flowers, with a clear spring-to-fall schedule, late-bud exceptions, and overwintering advice.
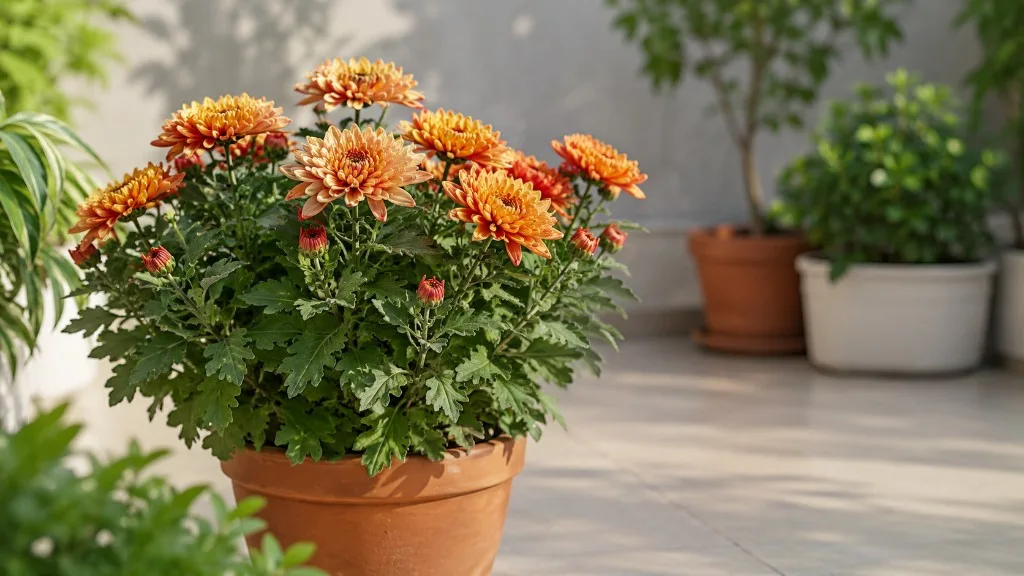
The right time to prune mums depends on which cut you mean. Pinching tender tips in spring and early summer makes a chrysanthemum branch; hard pruning an overwintered plant in spring removes last year’s dead stems; deadheading in fall tidies spent flowers. They are related jobs, but doing one at the wrong time can trade a full autumn mound for a late, thin bloom.
For most garden mums, the practical plan is simple: let a newly planted plant grow in spring, pinch it as it reaches about 6 inches tall, repeat while it is making leafy shoots, and stop early enough for flower buds to develop. Once a fall mum is already flowering, do not shear the whole plant. Remove spent heads, keep the root zone evenly moist, and save the major cutback for spring if the plant survives winter.
The Answer in One Glance
If you need a quick decision today, use the plant’s stage rather than the month on the calendar. A green, actively growing mum gets pinched; an overwintered mum with old brown stems gets cut back near the ground after new growth begins; a flowering mum gets deadheaded. A mum that is already covered in buds is usually too late for aggressive shaping.
| What you see | What to do | What not to do |
|---|---|---|
| Fresh leafy shoots in spring | Pinch the growing tips back to a leaf set | Do not wait until flower buds are large and colored |
| Old stems after winter | Cut dead growth to about 2–4 inches when regrowth is visible or the crown is clearly waking | Do not mistake a flexible live stem for dead wood |
| Open flowers or faded flower heads | Snip individual spent heads just above a leafy branch | Do not shear a flowering mound to the soil |
| Many tight buds near the end of summer | Stop shaping and let the plant flower | Do not keep pinching because the plant still looks tall |
This stage-based approach also explains why two gardeners can report different “best” dates. A spring cutting in a cool northern garden, a rooted mum purchased in July, and a potted plant bought in full bloom are not at the same starting line.
Three Cuts, Three Different Jobs
Chrysanthemums respond to pruning because removing a growing tip changes where the plant spends its energy. The useful question is not “Should I prune my mum?” but “Am I trying to create branches, remove winter dieback, or extend the current flower show?”
Pinching Builds a Rounded Plant
Pinching is the removal of the soft, actively growing end of a stem. When that tip is gone, buds lower on the stem can develop into side branches, giving the plant more potential flowering points and a wider, denser shape. This is the cut that creates the familiar cushion-like garden mum.
The timing matters because pinching keeps the plant in a leafy, vegetative phase for longer. Utah State University Extension’s chrysanthemum guidance describes pinching small-flowered varieties while they are roughly 6–8 inches high and repeating it every two weeks through variety-specific stop dates. That is a production schedule, not a command to keep cutting every mum until autumn.
Hard Spring Pruning Resets Old Stems
Hard pruning is a clean-up cut on a plant that has spent winter outdoors or in a protected container. Once the old tops are clearly dead and the crown is beginning to send up new shoots, cut the previous season’s stems down to a few inches above the soil. The remaining stubs make the new growth easier to see and leave a little structure around the crown.
The exact height is less important than the condition of the stem. A brittle, brown stem that snaps easily can be removed; a stem that bends, shows green inside, or has swelling buds may still be alive. NC State Cooperative Extension advises cutting overwintered mums back to about 3–4 inches in spring, while other extension guidance uses a couple of inches. Treat those numbers as a useful range, not a test you can fail by leaving an extra inch.
Deadheading Manages Flowers, Not Plant Shape
Deadheading means removing flowers that have faded, browned, or begun to collapse. Follow the flower stem down to the first healthy side shoot or leafy junction and make a small cut there. This keeps the plant presentable and can encourage more flowers while the variety still has unopened buds and the weather remains suitable.
Deadheading is not the same as cutting the mum back. A flowering plant has already shifted toward reproduction, so removing every green tip in fall can remove the very branches carrying your display. Better Homes & Gardens recommends frequent removal of old flower heads rather than waiting for the entire plant to become a mass of spent blooms; that small-and-often habit is easier on both gardener and plant.
Build the Pruning Schedule Around Growth Stage
The best pruning schedule begins before the plant looks like a finished fall mound. Garden mums that are established early have time to replace each pinched tip with several side shoots. A late-summer purchase may be perfectly healthy but already too close to flowering for the same treatment.
Overwintered Mums
In spring, wait until the plant shows where live growth is returning. Remove winter-killed stems first, then begin pinching the new shoots when they are several inches tall. If the crown is crowded, this is also the time to remove a weak or damaged shoot so the remaining branches have room and light.
Do not confuse “hard prune in spring” with “cut immediately on the first warm day.” A brief warm spell can wake the top growth while the crown remains vulnerable to another freeze. Leave a little extra protection until severe cold has passed, then reduce the old stems and pull back excess mulch so emerging shoots are not smothered.
Mums Planted in Spring or Early Summer
These plants have the widest opportunity for a bushy fall result. Let the young plant settle after planting, then pinch the growing tips when the stems reach about 6 inches. Repeat roughly every two weeks while shoots are soft and leafy, trimming enough to keep the plant compact without stripping all of its foliage.
The final pinch is the important one. Stop before the plant reaches its flowering window; the farther north, cooler, or later-season the variety, the earlier you may need to stop. USU Extension notes that early-, mid-, and late-season varieties have different final pinching dates, which is why a variety tag is more useful than a universal “pinch until August” rule.
How to Pinch Mums Step by Step
Start with a dry plant on a day when you can see the stems clearly. You can use clean fingers for tender tips or sharp bypass pruners for firmer growth; either method is fine if the cut is small, intentional, and made above a healthy pair of leaves.
- Inspect the plant. Look for new leafy tips, existing flower buds, broken stems, and signs of disease. If one branch is stunted or badly spotted, do not use it as your source for cuttings, and clean your hands or tools before touching another plant.
- Choose the height. On a young mum, remove about ½–2 inches of soft tip, or enough to cut just above a strong leaf pair. On a tall branch, shorten it to a level that keeps the whole plant mounded rather than creating a flat haircut.
- Remove early buds. If a small bud appears during the pinching phase, remove it with the tip rather than allowing one branch to flower weeks before the rest. This redirects the plant toward branching and a more synchronized display.
- Repeat while growth is tender. Check every 10–14 days during active growth, but do not keep cutting by habit if the plant has stopped producing soft tips or has entered its bud-building phase.
- Stop and mark the date. Once the final pinch is complete, let the tips extend. Keep the plant in strong light, water it consistently, and watch for the first clear flower buds instead of trying to shape it again.
The result should be a plant that is wider than it is tall, with several branches beginning at different heights. If you remove every tip at exactly the same level, you can create a flat upper edge that later flowers unevenly; staggered, light pinching produces a more natural dome.
Use Bloom Timing, Not Just the Calendar
The often-repeated “100-day rule” is best understood as a planning estimate: make the last substantial pinch roughly 100 days, or a little over three months, before the bloom window you want. It is useful when you know the variety’s early-, mid-, or late-season classification, but it is not a stopwatch. Weather, plant maturity, light, and cultivar all influence the result.
Start with the label’s expected season, then work backward. If a late-season mum normally colors up in mid-October, a final pinch around early July may be reasonable; an early-season cultivar may need its last pinch sooner. If you do not know the variety, use the plant’s behavior: stop when the stems are becoming firm and the plant is beginning to set recognizable buds, rather than continuing until the target date is almost here.
Photoperiod adds another layer. Mums are short-day plants, so long, uninterrupted nights help trigger flowering, while a bright security light, porch light, or streetlamp shining on the plant can delay or disrupt bud formation. Better Homes & Gardens explains the connection between uninterrupted darkness and mum flowering. You do not need to put an outdoor mum in a closet; you do need to notice if artificial light is hitting it all night.
If Your Mum Is Already Budding or Flowering
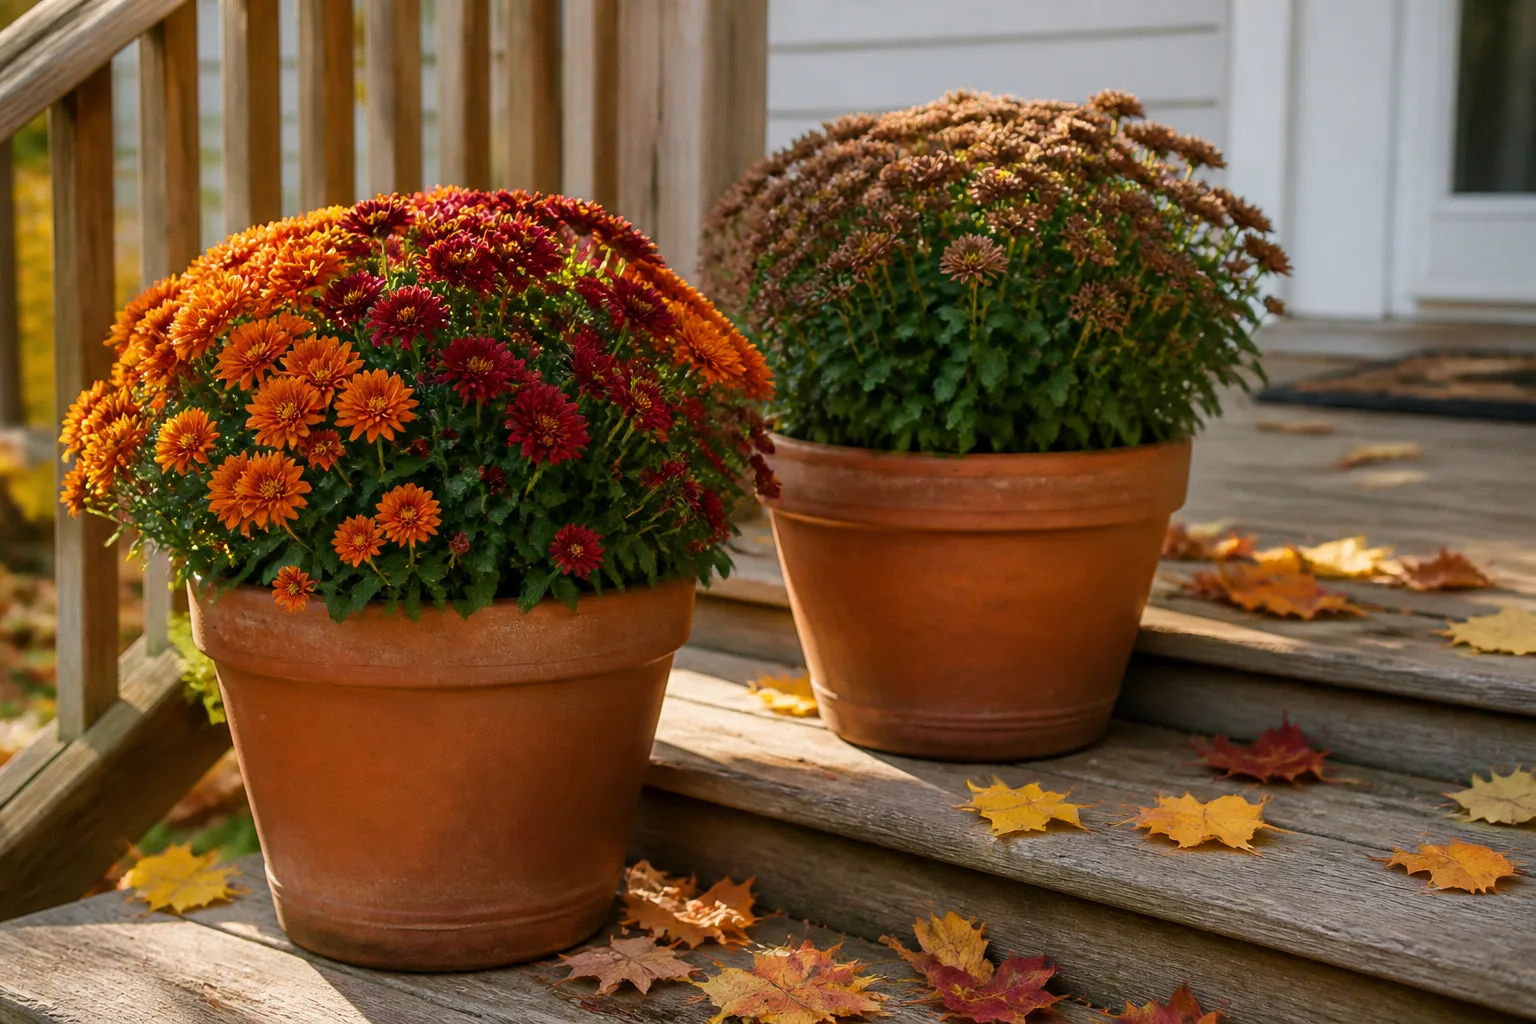
If the plant has many visible buds, stop pinching. At that point, your goal is even moisture, good air circulation, and protection from stress, not more branching. Removing a few damaged or poorly placed buds is a different technique called disbudding, used mainly when a gardener wants fewer, larger flowers rather than the many-flowered cushion typical of garden mums.
An early bud does not automatically mean the plant is doomed. A cutting planted late, a warm spell, drought stress, or a variety that naturally flowers early can all shift the schedule. Leave healthy buds in place, remove only spent flowers after they fade, and accept that this plant may give you an earlier or less synchronized display than a spring-started specimen.
If you accidentally pinched too late, do not try to repair the mistake by feeding heavily or cutting more. Keep the plant in bright light and stable moisture, and let it flower when it is ready. The next season is the time to start earlier, not to force a stressed plant to recover in a few weeks.
What to Do With a Fall Nursery Mum
The plant you buy in September or October is usually already shaped and pre-pruned by the grower. Its dense mound is the result of earlier pinching and controlled production, so it does not need you to repeat that work at home. Epic Gardening’s practical fall-mum guidance also emphasizes choosing a plant with healthy green leaves and plenty of unopened buds, because a plant at the beginning of its display can last longer than one already past peak bloom.
For a fall nursery mum, place the pot where it receives several hours of bright sun, check moisture frequently, and water deeply when the mix begins to dry. Small nursery pots can dry rapidly in wind and sun, but keeping the pot permanently saturated is just as damaging; make sure drainage holes are open and empty any decorative cover pot after watering.
If you want to plant it in the ground, do so as early as conditions allow rather than waiting until the flowers are finished and the ground is nearly frozen. NC State Cooperative Extension recommends spring-planted cuttings for the best chance of perennial performance, and fall planting is more successful when roots have time to establish before winter. Survival still depends on the variety, local winter, soil drainage, and how much stress the plant experienced at the store.
When to Prune Mums for Winter
For most gardeners, fall is a time for flower cleanup, not a hard haircut. Remove faded blooms and diseased tissue as needed, but leave healthy green stems alone while they are still contributing energy to the crown. After a hard freeze, the tops may collapse naturally; leaving some stems until spring can help you locate the crown and provide modest protection during freeze-thaw weather.
There is no single universal cleanup rule. Older extension recommendations may call for cutting the tops to the ground after flowering and removing fallen debris, while more recent practical guidance often recommends waiting until spring to prune stems. The sensible choice depends on disease pressure and winter exposure: clean away obviously infected material promptly, but in a cold or wet garden, avoid turning a healthy crown into a bare target before winter protection is in place.
If you cut in fall because the plant is diseased, remove the material from the bed rather than composting it unless your compost system reliably reaches pathogen-killing temperatures. If the plant is simply brown from frost, wait for a mild, dry day and either leave the stems until spring or make a tidy cut a few inches above the crown, then mulch without burying the plant’s center.
Choose Between Overwintering in a Bed or a Container
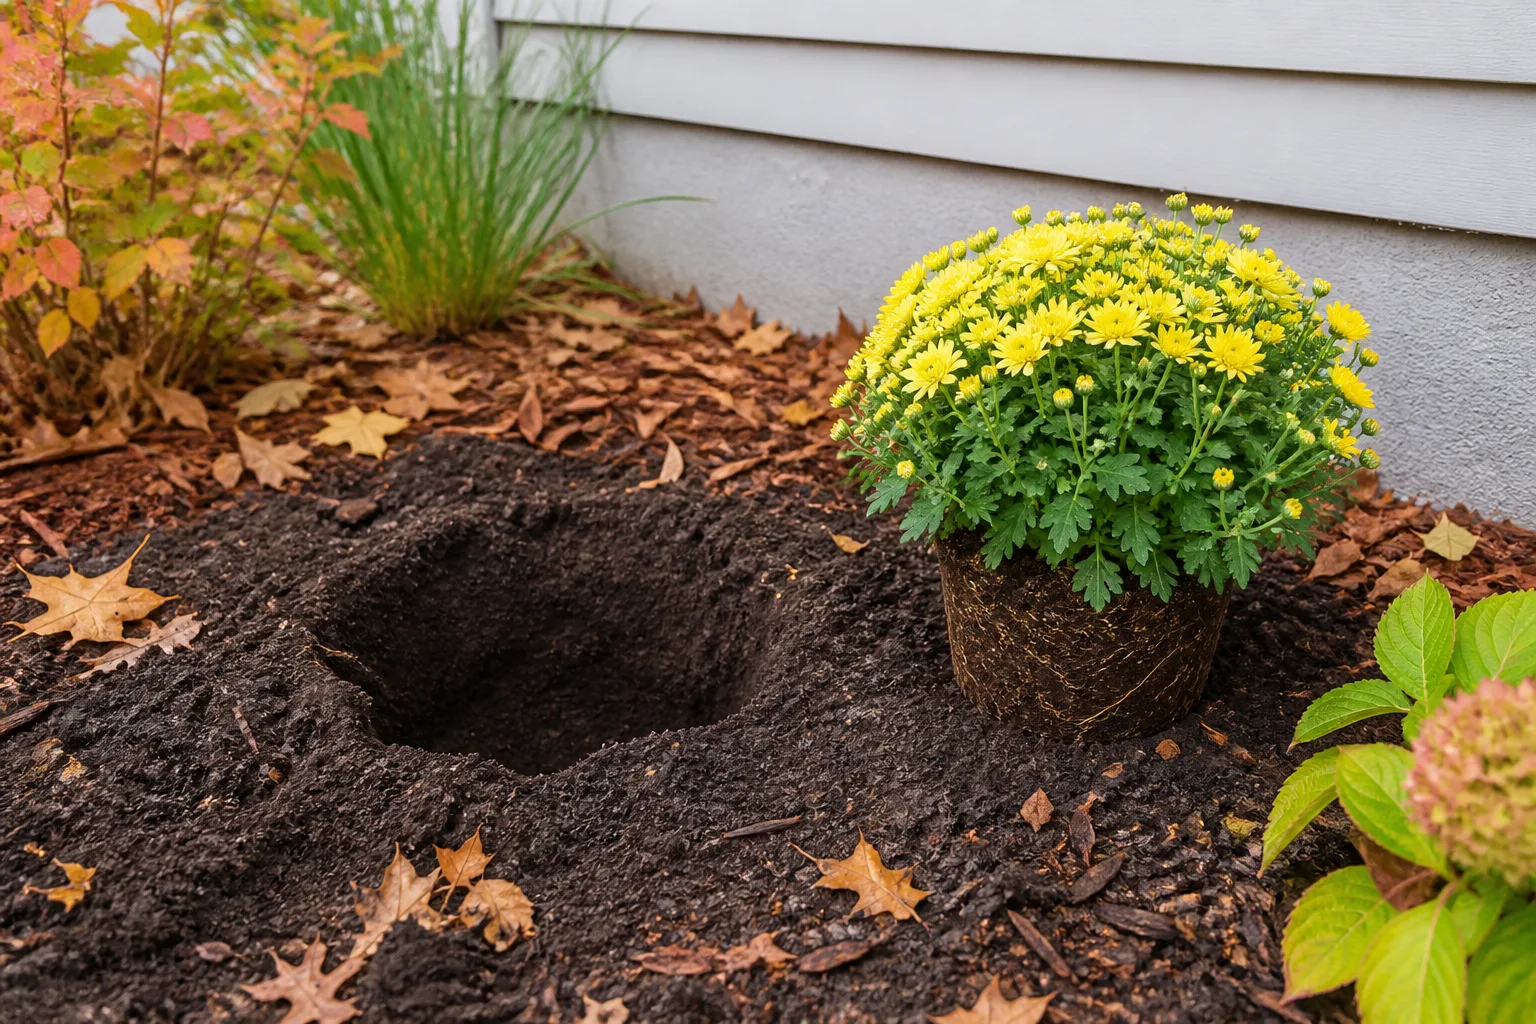
Whether a mum returns is not decided by pruning alone. USU Extension distinguishes hardy garden types, which can persist through underground shoots, from nonhardy or florist types that may be damaged by freeze-thaw cycles or simply bloom too late for a cold climate. A label that says “garden mum” improves your odds, but it is not a guarantee.
An in-ground mum usually has better root insulation than a small exposed pot. Before severe cold, apply a loose layer of straw, evergreen branches, or other suitable mulch around—not packed against—the crown. Good drainage is essential; winter wet can be as dangerous as low temperature, so do not add heavy cover to a planting pocket that already holds water.
A container mum has less soil volume and is more exposed on every side. Move a potted plant to an unheated but protected garage, shed, or enclosed porch where roots will not freeze solid, and keep the mix slightly moist rather than bone-dry or waterlogged. If the plant is already flowering, prioritize keeping the root ball viable; shaping can wait until spring.
The best time to plant a fall purchase for long-term survival is not the day after a hard freeze. If you have several weeks of workable soil, planting can give roots time to settle, but a stressed, root-bound plant put into cold saturated ground may be better treated as a seasonal display. Utah State University Extension notes that many florist-purchased potted chrysanthemums do not survive the first winter, so plan with realistic expectations.
Clean Tools and Protect the Plant
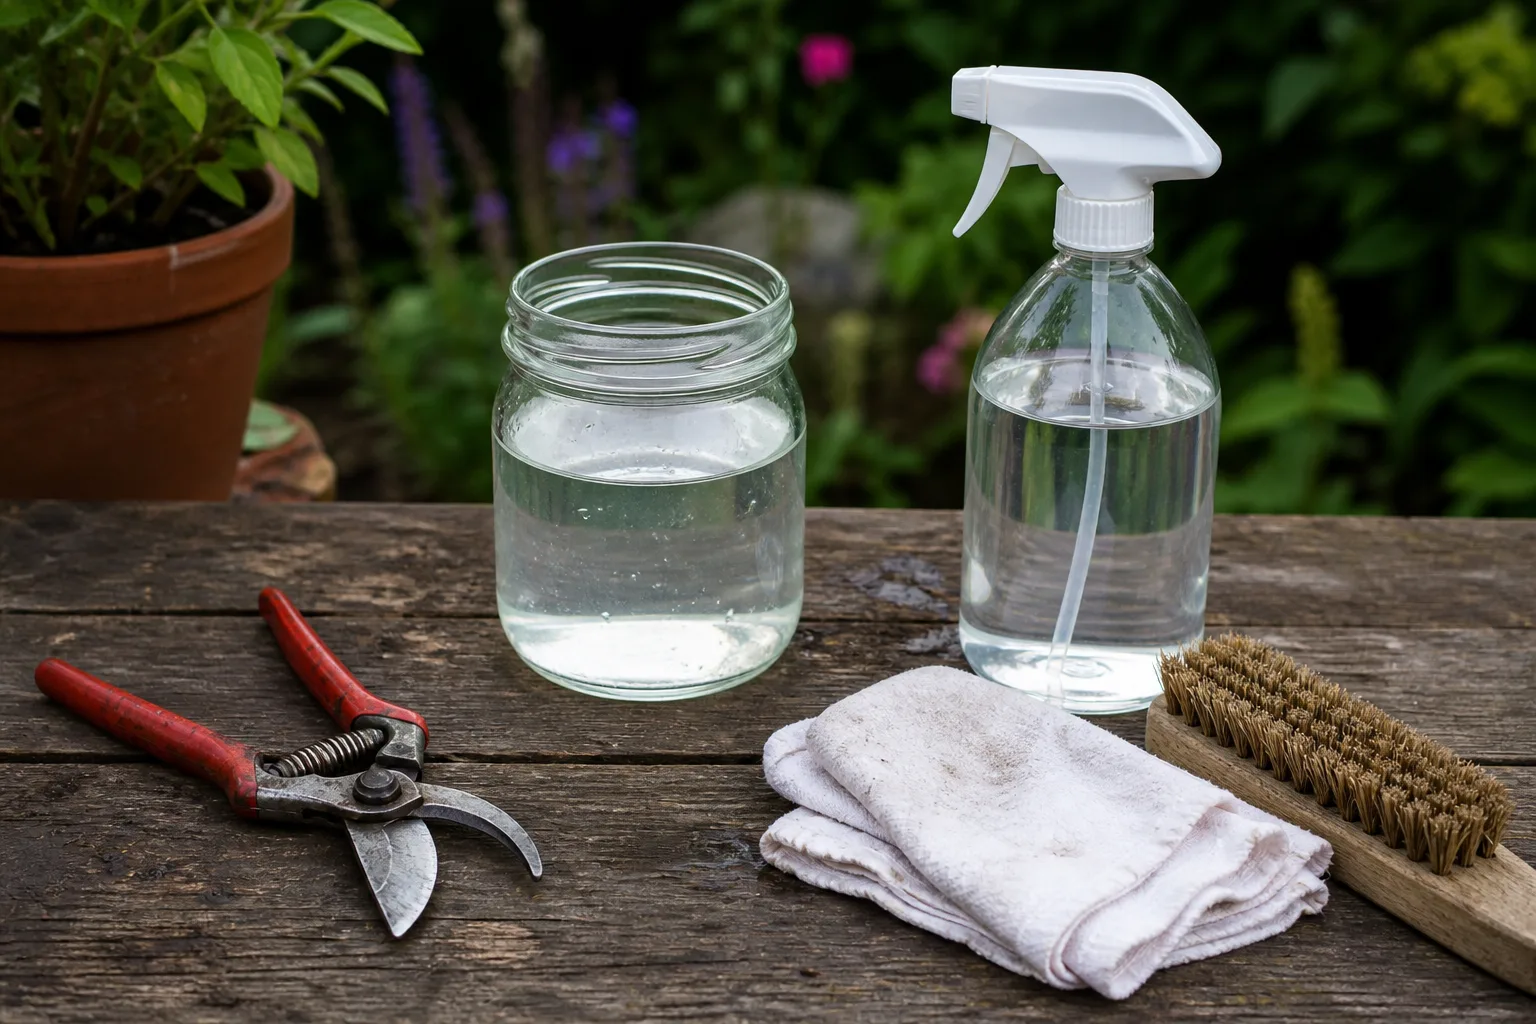
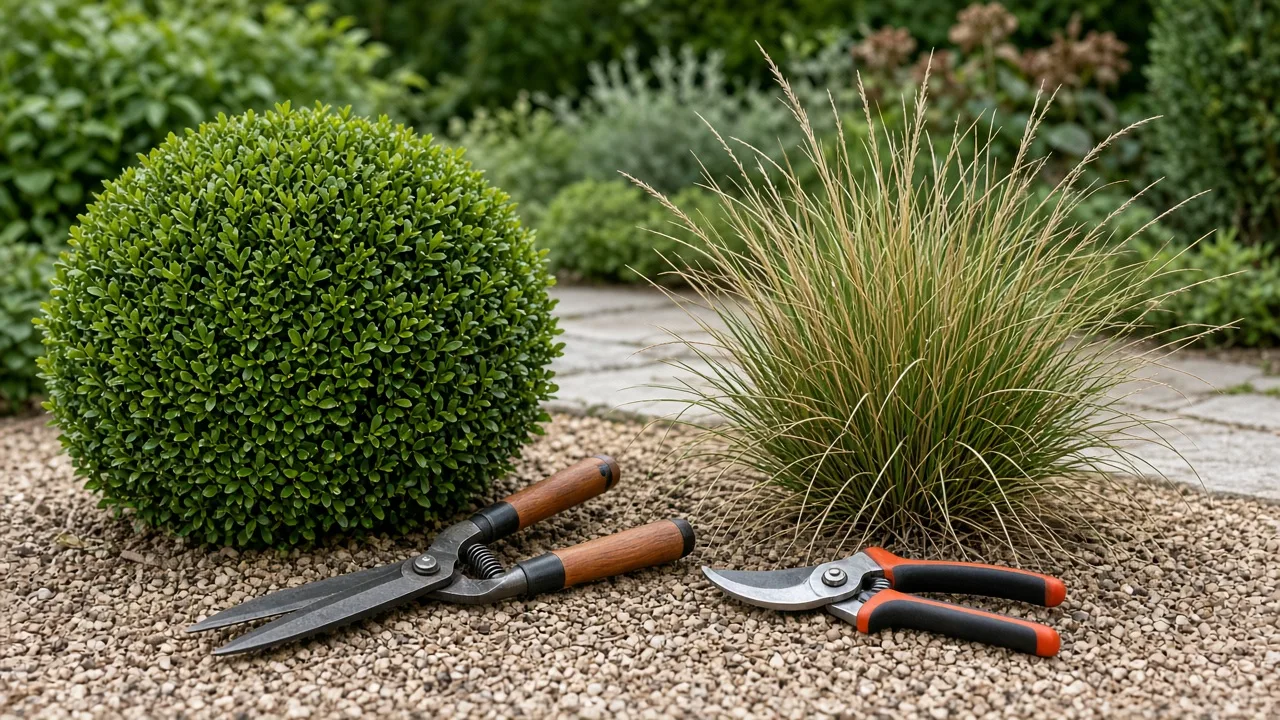
Mum stems are soft enough to pinch, but clean bypass pruners are useful for woody-feeling old stems, deadheading, and plants with many branches. Wipe soil and sap from the blades, then disinfect them between plants when you are cutting questionable tissue or moving through a collection with known disease problems. Clean hands matter too, especially after touching a stunted or visibly diseased plant.
Make cuts just above a leaf junction or healthy side shoot, and avoid leaving a long stub that can die back into the branch. Do not crush the stem with dull scissors; a ragged wound dries slowly and is harder for the plant to seal. USU Extension’s guidance on chrysanthemum disease prevention also stresses avoiding wet, shady, crowded conditions and watering early enough for leaves to dry.
Sanitation is most important when pruning is not the real solution. A plant with widespread leaf spots, distorted flowers, severe stunting, or a suspicious wilt should not simply be sheared and shared as a cutting. Remove affected material, improve air movement, and seek local extension help if symptoms continue; a clean cut can improve the appearance without curing a virus or soil-borne disease.
Mistakes That Cost Mums Their Fall Display
Pinching by date alone is a common trap. A calendar reminder cannot see that one plant is an early-season cultivar and another is a late-season type, so use the tag, the local climate, and the plant’s visible transition from soft leafy growth to firm buds.
Shearing a fall-blooming mum after purchase wastes the shape you paid the grower to create. Remove a stray branch or spent flower, but do not treat a dense September mound like a spring seedling that needs structural pinching.
Continuing to pinch after buds are obvious delays or reduces the display. The plant needs time to extend its flowering stems; late cuts may produce a few fresh shoots that never mature before frost.
Hard-pruning before checking for life can remove stems that would have regrown. Scratch a small area or bend the stem gently, and look at the crown for swelling buds before deciding that every brown-looking branch is dead.
Watering around a pruning schedule is another mistake. Pinching does not make a mum drought-proof, and a thirsty plant may flower early, drop buds, or produce weak branches. Check the root zone and drainage instead of adding water on a fixed interval.
Crowding plants after a successful pinch can undo the benefit. Branches need light and air, and Epic Gardening recommends generous spacing for transplanted mums. If the mound is pressed against a wall or another plant, it may stay damp longer and develop a thinner interior even if the outer edge looks full.
Troubleshoot a Bad Shape or Late Bloom
If your mum is tall and floppy, first ask whether it received enough direct light and whether the spring pinches were missed. You can lightly shorten a few still-leafy, non-budding branches early in the season, but once the plant is carrying flower buds, staking or discreet support is safer than a dramatic reset. A weak, crowded, or overwatered plant may not respond with the same vigor as a healthy one.
If the plant has lots of leaves but few flowers, check the night environment before reaching for fertilizer. An all-night light, very late pinching, insufficient sun, or a variety that naturally flowers later can explain the delay. Keep care steady, and do not push high-nitrogen feeding in the hope of forcing buds; lush new foliage is not the same as a timely bloom.
If the mum flowered too early, remove only spent heads and keep the plant growing if the season is still warm. Some varieties can make additional flowers, but deadheading cannot recreate the full fall flush after the plant has completed its natural cycle or frost has damaged the buds. For next year, start with a spring plant, record when you pinched, and stop earlier if the first bloom arrived ahead of your target.
Finally, if a plant suddenly wilts after pruning, inspect the root zone rather than blaming the cut. A clean pinch rarely causes whole-plant collapse; saturated soil, root damage, severe drought, stem disease, or a broken crown is more likely. Remove dead tissue, correct the growing conditions, and avoid taking cuttings until the plant is clearly healthy.
Conclusion: Make the Last Cut the Right One
The best time to prune mums is a sequence, not one universal day. Pinch young leafy growth in spring and early summer to create branches, stop before the cultivar’s flower window, deadhead individual flowers once the fall show begins, and reserve hard cutback for old overwintered stems in spring or for a clearly chosen winter-cleanup plan.
When in doubt, make the least disruptive cut that matches what you see. A flowering mum needs water and deadheading; a spring mum needs pinching; an overwintered mum needs a careful life check before its old stems are removed. That small distinction is what turns a tidy plant into a reliably fuller fall display.