Why Plants Wilt After Watering: 8 Causes to Check
Why are your garden plants wilting after watering? Diagnose heat stress, shallow watering, root damage, pests, and poor drainage with this practical guide.
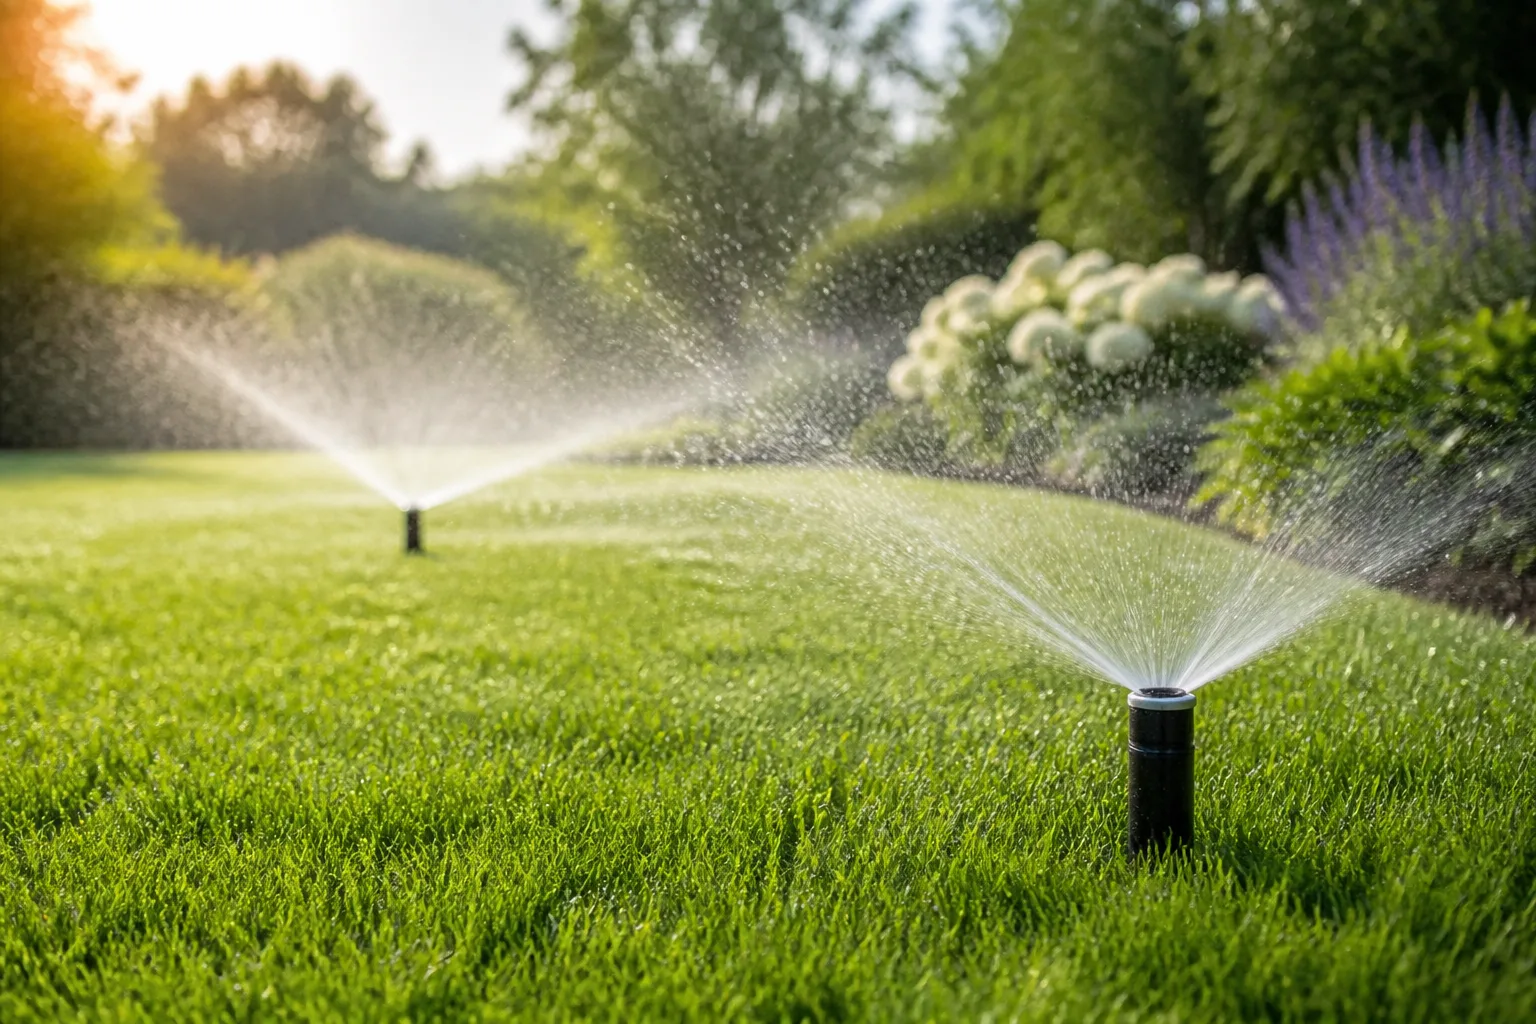
Water is only useful when the roots can reach it, absorb it, and move it through the plant faster than the leaves lose it. That is why a garden can look thirsty after rain, after irrigation, or even while the soil feels damp in your hand. Wilting is a symptom, not a diagnosis.
The safest response is to pause before watering again. Check moisture where the roots are, note whether the wilt appears only during the hottest hours, inspect the stems and leaves for clues, and look for standing water or compacted soil. That sequence separates a temporary heat response from a dry root zone, drowning roots, pests, and diseases that need a completely different response.
The 60-Second Wilt Triage
Start by looking at the whole plant and its setting. Is the plant in a pot, raised bed, or in-ground bed? Did the wilt begin after a hot, windy day, a heavy rain, a transplant, or a change in irrigation? Is one plant affected, or is an entire row showing the same pattern?
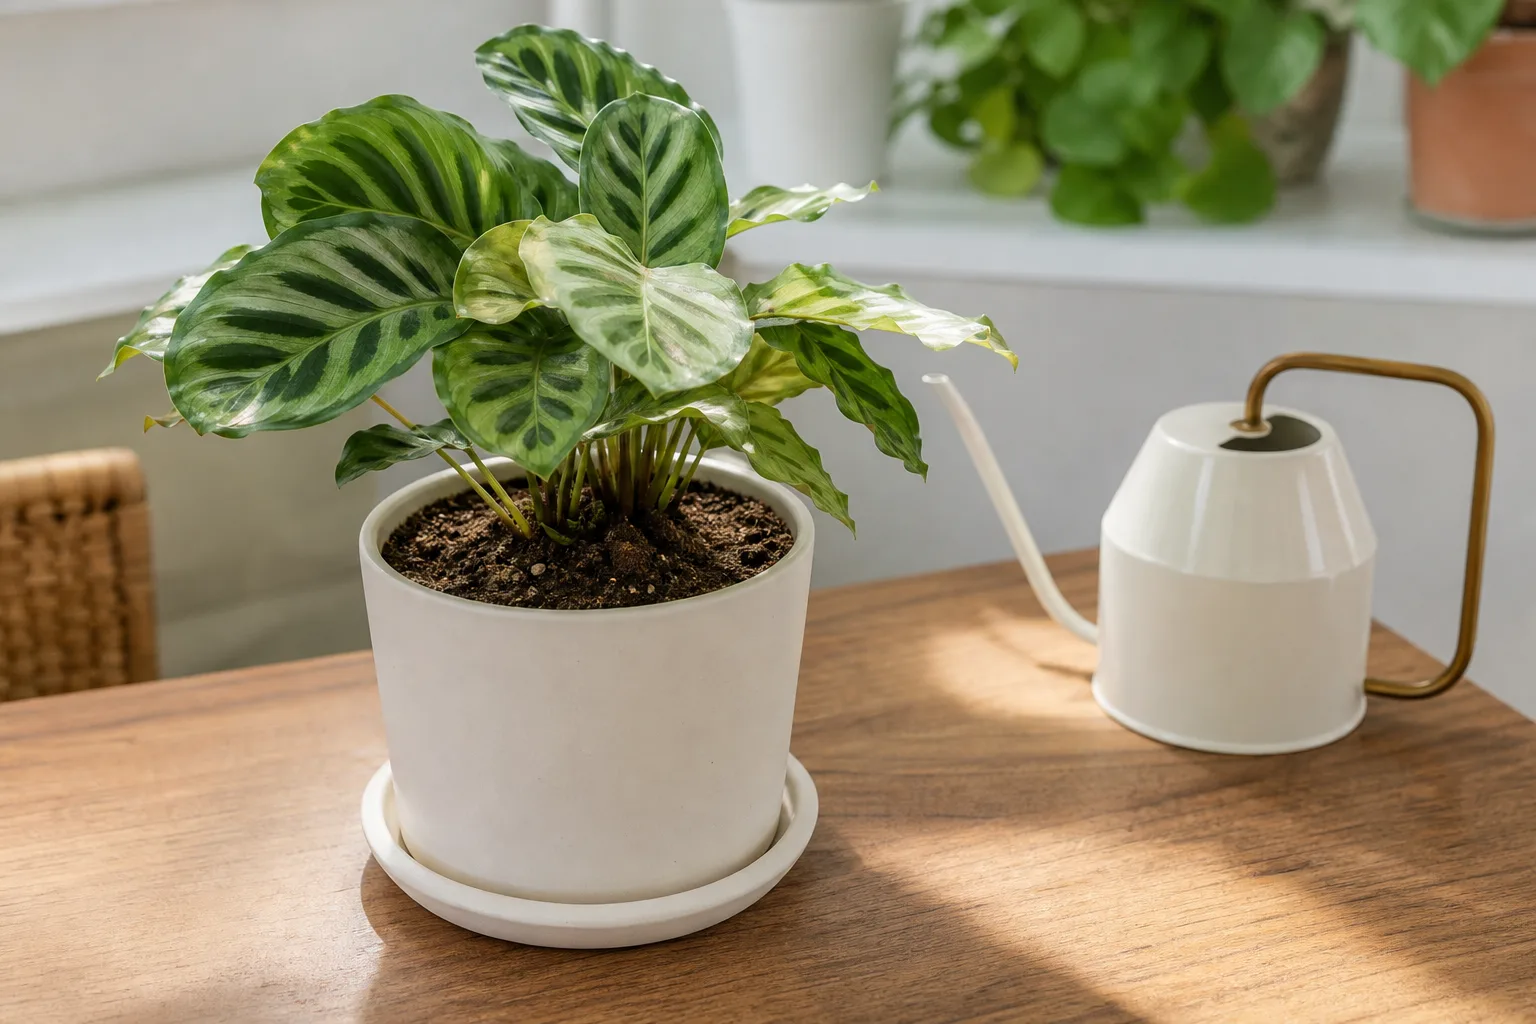
Use this quick table as a direction finder, not a substitute for examining the plant. More than one stress can occur at once: a heat-stressed plant may be sitting in a compacted bed, and a shallowly watered plant may later develop damaged roots.
| What you observe | More likely explanation | First move |
|---|---|---|
| Wilt is worst in afternoon heat and reverses by evening or morning | Temporary heat or wind stress | Check moisture; add temporary shade and wait before adding water if the root zone is moist |
| Soil is dry several inches down, leaves are limp or crisp, and the pot or bed feels light | Underwatering or shallow irrigation | Water slowly at the root zone until the intended depth is wet |
| Soil stays saturated, lower leaves yellow, stems soften, or the smell is sour | Waterlogging, poor drainage, or root damage | Stop routine watering and inspect drainage and roots |
| Water runs off, pools, or disappears through cracks while roots remain dry | Compaction, hydrophobic soil, or uneven irrigation | Slow the delivery, open the soil broadly, and check moisture in more than one spot |
| Sticky leaves, stippling, webbing, holes, spots, or one-sided collapse | Pest or disease pressure | Inspect leaf undersides, stems, and the soil line before treating |
Read the Soil Below the Surface
The top layer is a poor judge of what roots are experiencing. Sun and wind can dry a crust quickly even when the lower root zone is moist, while a light shower or short sprinkler cycle can wet the surface without moving water through the root zone. Conversely, a dark, cool surface can hide saturated soil below.
Push a finger, wooden skewer, hand trowel, or soil probe several inches into the soil beside the plant, not directly through the crown or main stem. Check two or three locations around a bed because one pocket can be wet while another is dry. In a container, lift the pot after a full watering and again before the next one; weight is useful when paired with a physical moisture check, especially for baskets and small pots.
Penn State Extension gives one inch of rain per week as a broad starting point for many in-ground plants, but it also stresses that container vegetables and herbs need more frequent monitoring and that small containers dry faster. Treat that number as a measuring reference, not a universal prescription. Plant species, age, soil, exposure, recent rain, and wind all change the amount needed (Penn State Extension’s summer watering guidance).
Use Timing and Plant-Wide Pattern
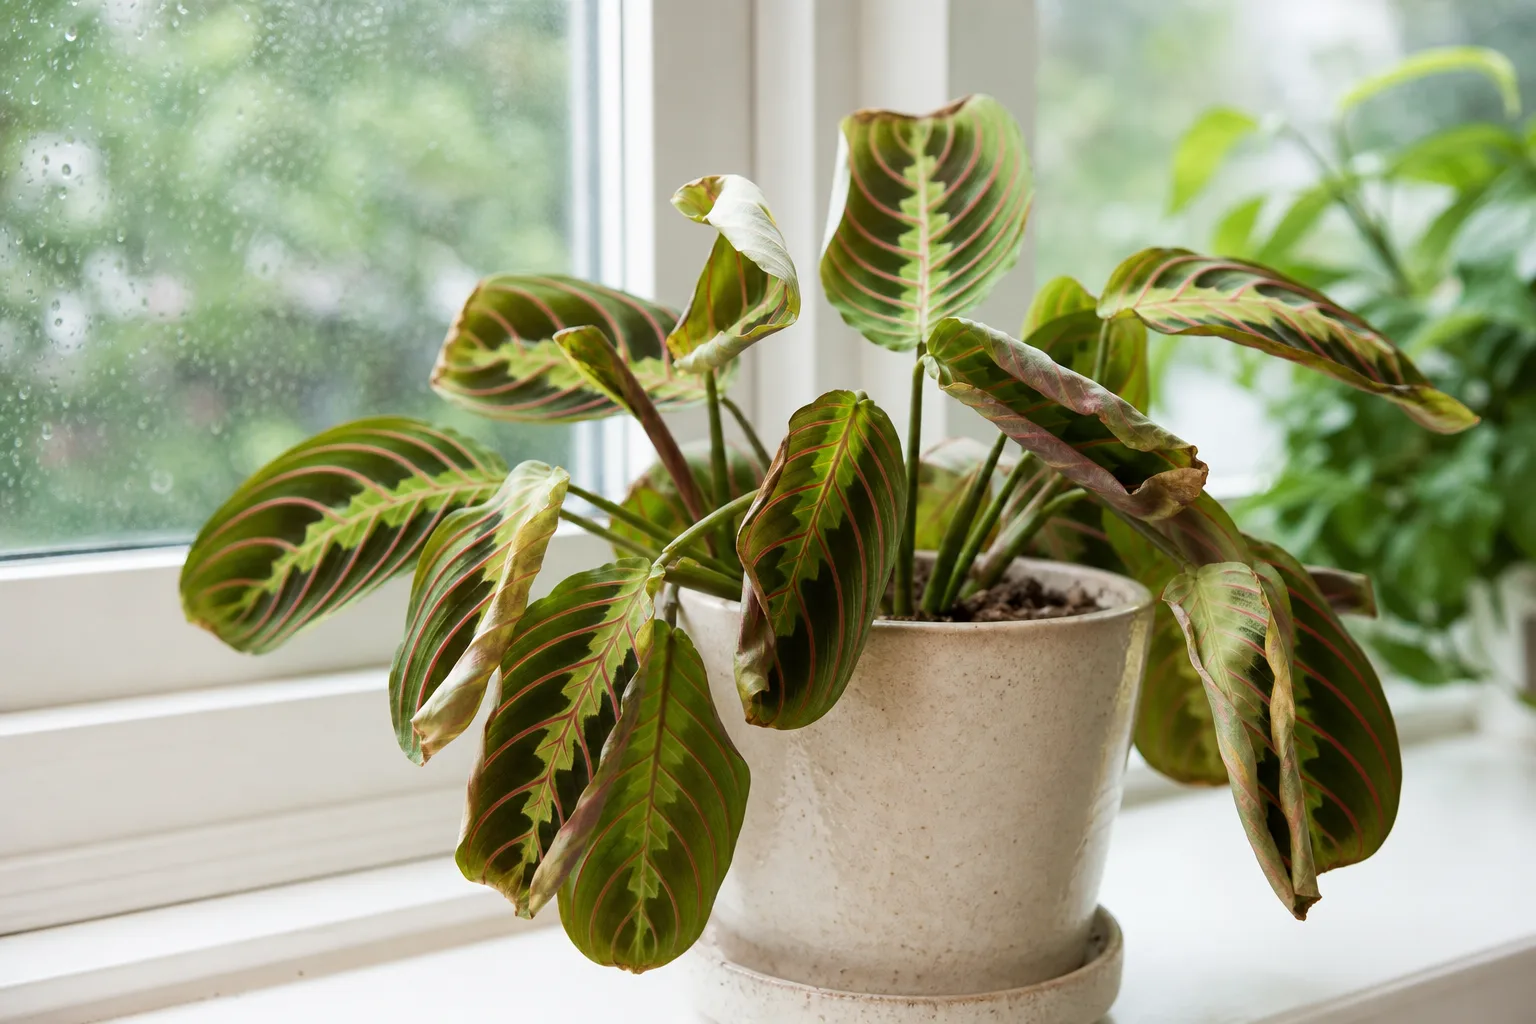
Timing is one of the strongest clues. If leaves droop during the bright, hottest part of the day but firm up when the air cools, the plant may be losing water through transpiration faster than its roots can replace it. UF/IFAS Extension describes this as heat wilt and distinguishes it from permanent wilt, which occurs when water is unavailable or roots cannot extract it (UF/IFAS Extension’s heat-wilt explanation).
Pattern matters just as much. Every plant along the sunny edge of a bed wilting together suggests exposure, irrigation coverage, or root-zone moisture. One plant collapsing while neighbors stay firm points more toward a damaged root system, a pest, a stem injury, or a plant-specific disease. A lower leaf or two aging out is not the same as a whole crown losing turgor.
Heat Wilt: Why Healthy Soil Can Still Look Dry
On a hot afternoon, leaves can lose water rapidly even when the soil contains adequate moisture. The plant closes stomata and changes leaf position to slow water loss, so foliage may droop or curl as a short-term survival response. High root-zone temperatures, reflected heat from pavement, and wind can make the imbalance more dramatic.
North Carolina Cooperative Extension lists wilting and curling, leaf scorch, blossom or fruit drop, stunted growth, and bolting among heat-stress responses. It recommends slow, deep watering during cooler hours, mulch, temporary shade, and postponing planting or transplanting during intense heat (North Carolina Cooperative Extension’s heat-stress guidance).
Heat wilt is most likely when the plant has firm stems, the soil is moist at root depth, and the leaves recover overnight. It becomes more concerning when the plant stays limp the next morning, new growth is scorched, stems are collapsing, or the soil is actually dry. Recovery timing is not proof by itself, but it is a useful piece of the diagnosis.
What to Do During a Hot Afternoon
Check the soil before reaching for the hose. If the root zone is moist, do not flood it just because the leaves are hanging. Move containers off heat-radiating concrete, use a shade cloth or patio umbrella for a temporary break from the strongest sun, and make sure the support cannot blow into the plant or block airflow.
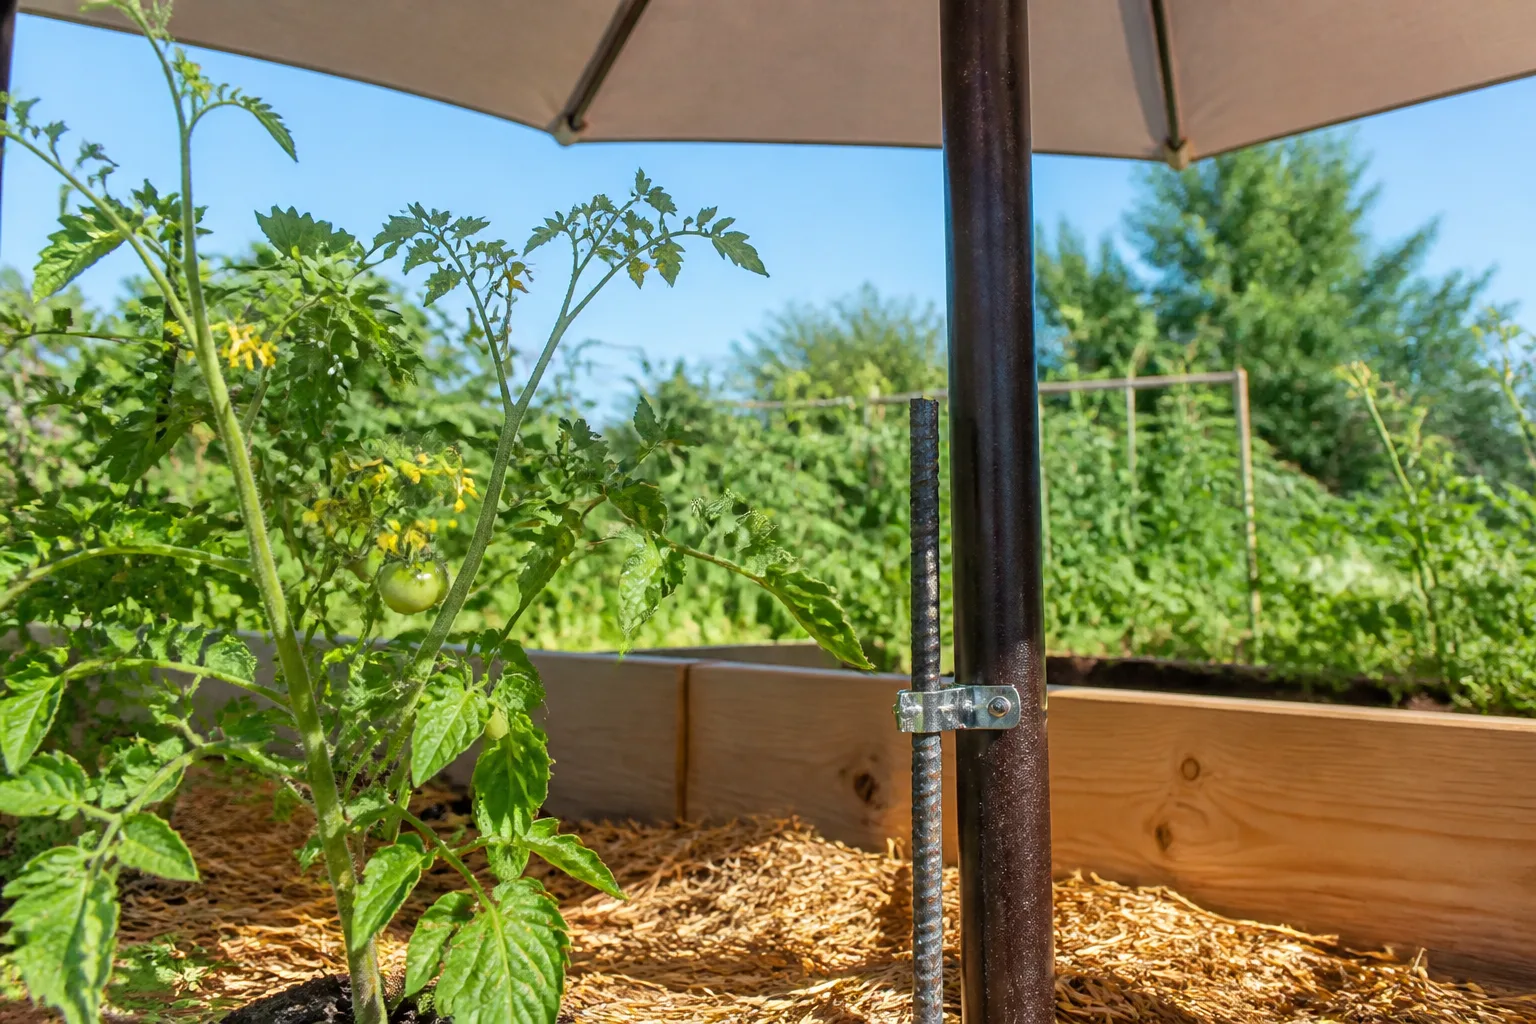
If the soil is dry several inches down, water slowly at the base and let the first pass soak in before adding more. Early morning is a strong default because roots have time to absorb water before peak heat, but the root-zone test matters more than following a clock. If you can only water later, direct water onto the soil, avoid blasting foliage, and give the bed time to drain.
Hold fertilizer during a severe heat spell or immediately after a plant has wilted from drought. Fertilizer salts can add stress to a dehydrated root system, and a flush of tender new growth is not what a plant needs while it is trying to balance water loss. Also postpone major pruning, repotting, and transplanting unless safety or disease removal makes the work unavoidable.
Underwatering and the “Silent Drought”
Sometimes “plenty of water” means plenty of water has been applied, not that the roots received it. A light shower may wet only the surface. A short sprinkler cycle may leave the top inch damp while the root zone below is dry, and a dense mulch layer can make the surface look moist even when roots are struggling.
This hidden mismatch is a silent drought: the gardener sees wet soil, but the plant experiences a dry root zone. Missouri Botanical Garden notes that drought symptoms can resemble overwatering, pests, and diseases, and that a dry surface is not always a reliable indicator of plant water need. Its guidance recommends checking moisture with a trowel or soil probe and watering deeply enough to reach cooler, deeper soil (Missouri Botanical Garden’s drought and water-stress guidance).
Underwatered foliage often becomes thin, dull, crisp, or brittle as stress continues. Tender plants may wilt first at midday, while woody plants can develop scorched edges, early fall color, leaf drop, or dieback. Newly planted trees and shrubs deserve special attention because their roots have not yet spread beyond the original root ball.
How to Deep-Water Without Runoff
Water in short passes instead of turning a dry bed into a sudden stream. Apply enough to wet the surface, pause for several minutes, then repeat so the water has time to infiltrate. On a slope or compacted bed, a soaker hose or drip line usually delivers water more evenly than a fast hose stream or a high-arc sprinkler.
Guide irrigation to the soil, not the leaves. Penn State Extension recommends placing water as close to the ground as possible and using a controlled flow; a simple bucket test can show how many seconds your hose takes to deliver a known volume. That turns “I watered for a while” into a repeatable method without pretending every bed needs the same number of gallons.
If water runs down the sides of a container or beads on the surface, the root ball may have shrunk away from the pot or become water-repellent. Rewet it gradually, or set a small container in a shallow tray briefly so moisture can wick upward, then remove it and let excess drain. Do not leave the pot standing in water as a routine; roots still need air.
After a deep watering, check the same spot again later that day and the next morning. If the surface is wet but the lower soil is dry, increase soak time or correct the delivery pattern. If the lower soil remains saturated, stop adding water and move to the drainage diagnosis instead.
Overwatering, Poor Drainage, and Root Rot
Overwatering is not one heavy watering followed by normal drainage. It is a root zone that stays saturated too long because of frequent irrigation, compacted soil, a blocked container hole, a full saucer, roof runoff, or a low planting pocket. Water fills the air spaces between soil particles, leaving roots short of oxygen; damaged roots then become less able to absorb water, so the plant wilts in wet soil.
Look for persistent limp foliage, yellowing lower leaves, slow growth, algae or moss on the surface, a soft stem base, and a sour or swampy smell. A single clue is weak evidence. The combination of wet soil, worsening wilt, and root or stem softness is a much stronger reason to stop routine watering.
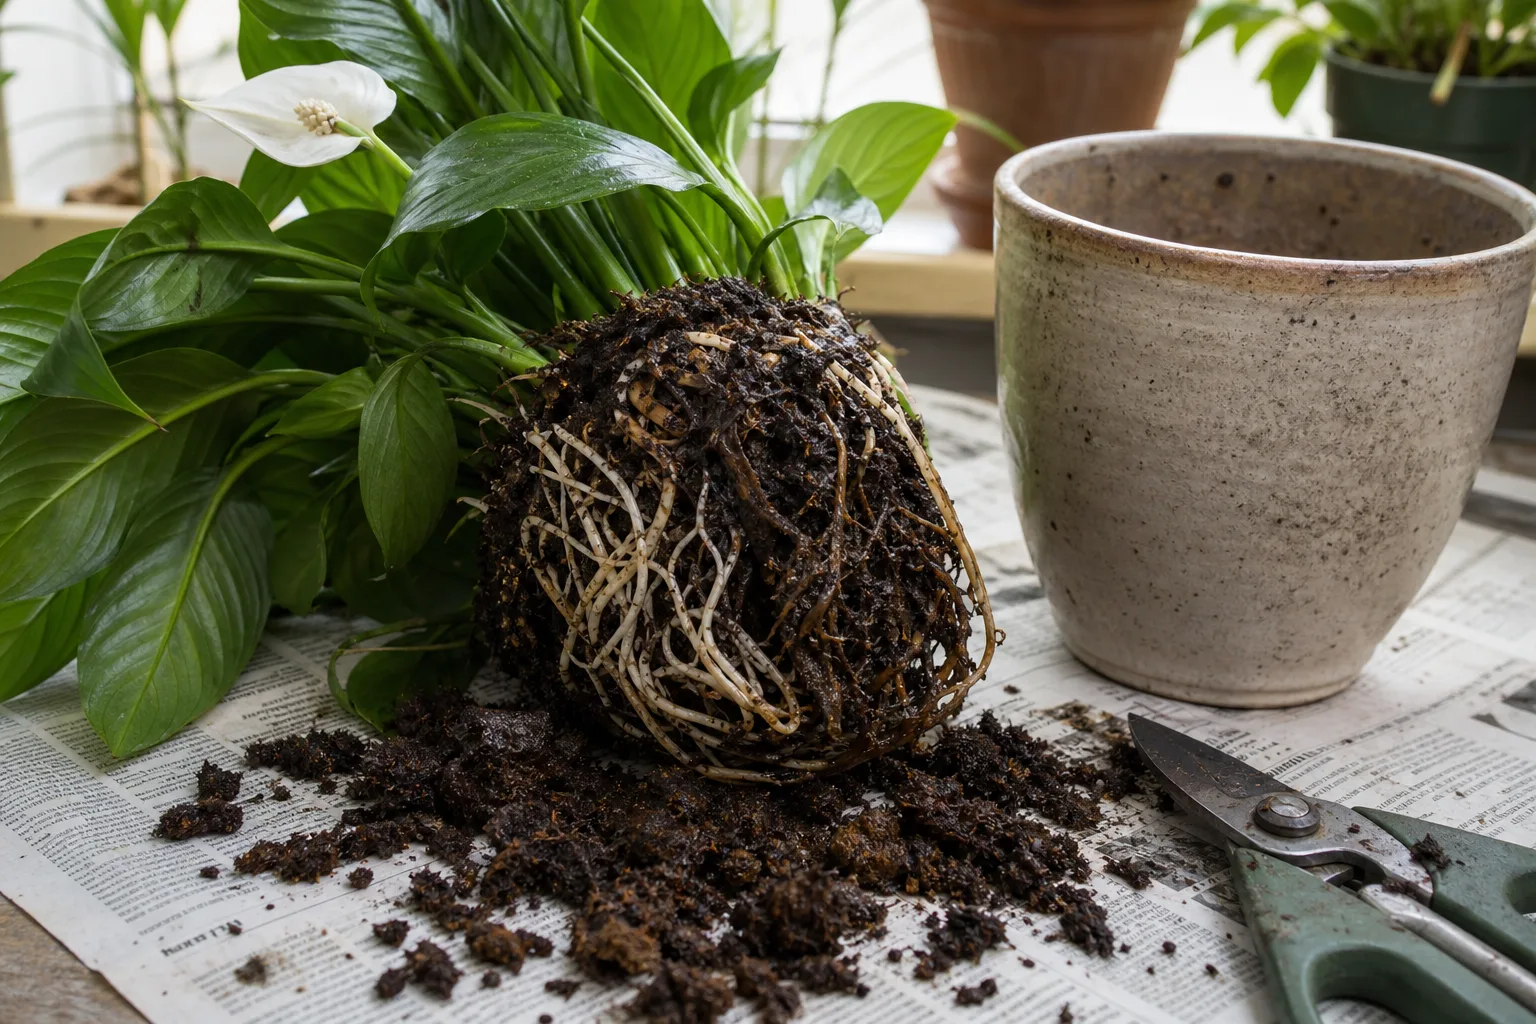
Root Check: What Healthy Versus Damaged Looks Like
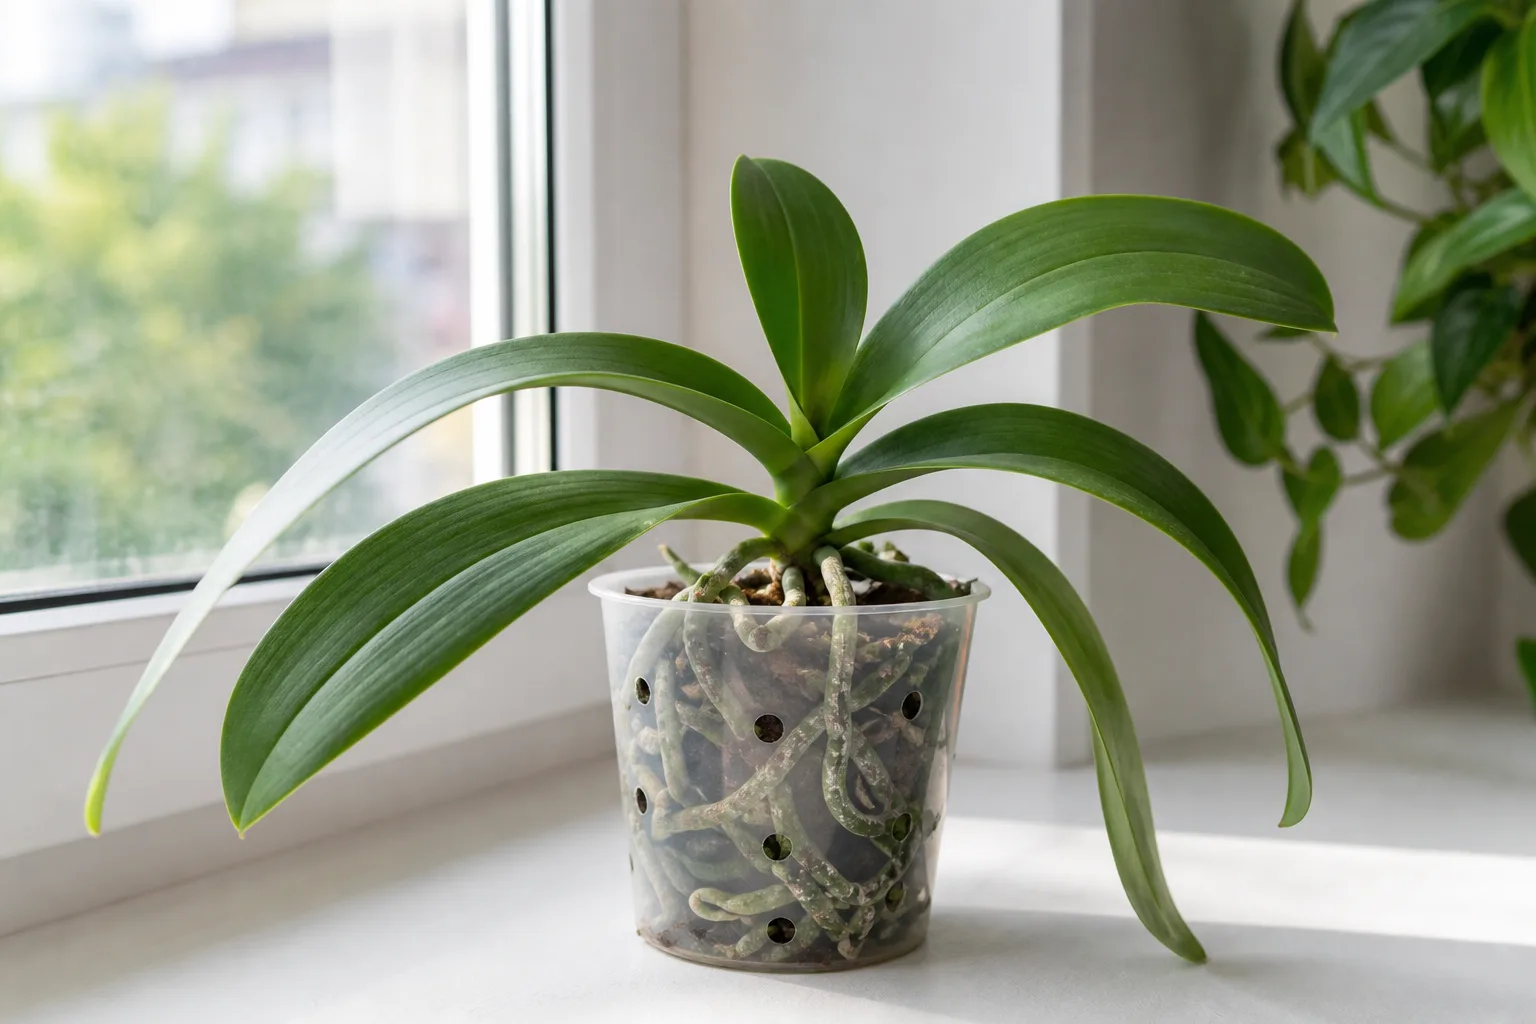
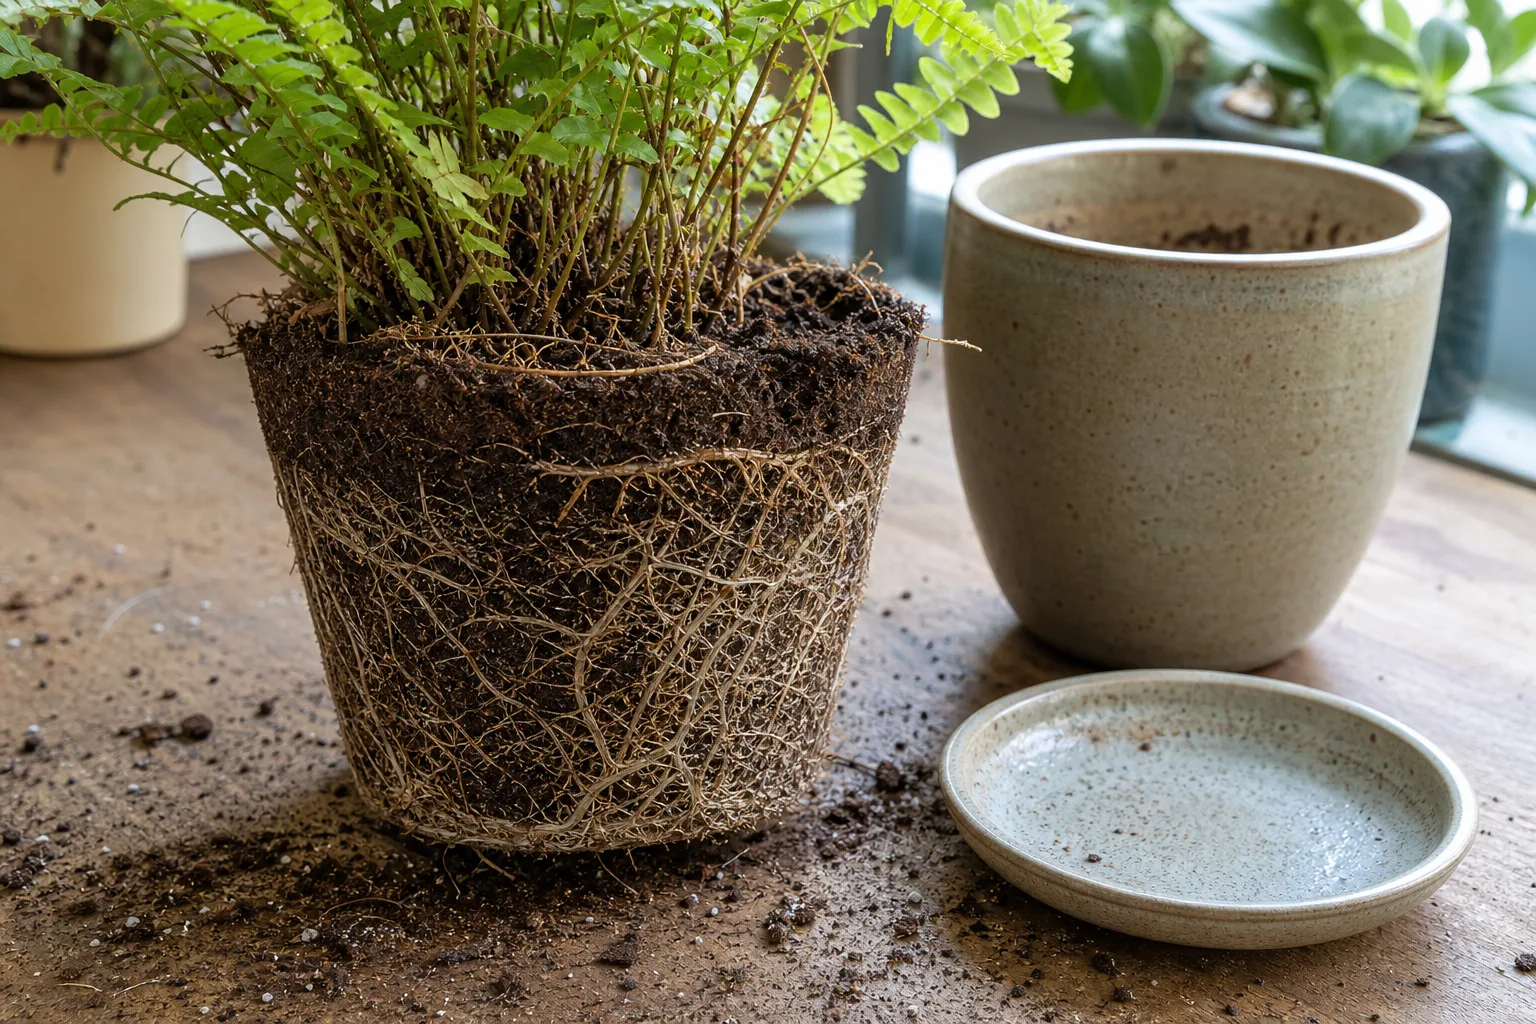
For a container plant, slide the root ball out gently and inspect the outside and center. Healthy roots are usually firm and hold their shape, though their color varies by species and growing medium. Rotten roots are often brown or black, soft, hollow, slimy, or easy to pull apart; the stem at the soil line may also be dark or collapsing.
Do not name a pathogen from wilt alone. The Royal Horticultural Society explains that Phytophthora root rot can affect many soil- and container-grown plants, but its above-ground symptoms overlap with drought, waterlogging, and other root diseases. Laboratory examination may be needed to separate those causes (RHS guidance on Phytophthora root rot).
If only some roots are clearly dead, trim those sections with clean shears, improve drainage, and repot a container plant into fresh, appropriately airy mix. Use a container with an open drainage hole and do not jump to a pot dramatically larger than the root system, because a large volume of wet mix can slow recovery. Water lightly to settle the new mix, then wait until the plant shows stable growth before fertilizing.
In an established bed, do not dig aggressively around a stressed plant just to expose every root. Correct the water source first: redirect a downspout, repair a leaking irrigation line, remove a saucer-like depression, or temporarily stop irrigation. If decline continues or multiple plants in the same pocket are affected, contact a local extension service or plant clinic rather than applying an unverified cure.
The RHS notes that improving drainage reduces the risk of Phytophthora and that no chemical treatment is available to home gardeners for Phytophthora root rot. Where the disease is confirmed, removal, sanitation, containment, and replanting with suitable plants may be more realistic than trying to nurse a failing specimen indefinitely (RHS outbreak-management guidance).
Compacted Soil, Heavy Clay, and the Container Trap
Compaction can create both drought and drowning in the same bed. Dense soil has fewer connected pores for air and water, so irrigation may sit on top or run across the surface while roots remain shallow. When the bed finally dries, compacted clay can bake hard and crack, making the next watering even less effective.
Clues include puddles that remain after rain, a fork or probe that stops abruptly, roots concentrated in a shallow layer, runoff down a path, and plants that wilt despite a damp crust. Raised beds can also behave like containers: if they are shallow, they dry quickly in heat; if the base is sealed by compaction, they can stay saturated.
Improve the Root Zone Without Making a “Bucket”
Work soil only when it is crumbly enough not to smear. Aerate broadly with a fork, add suitable organic matter across the bed rather than in a narrow hole, and keep foot traffic off the root zone. If the site is persistently wet, a raised or mounded planting area may solve more than repeated amendments.
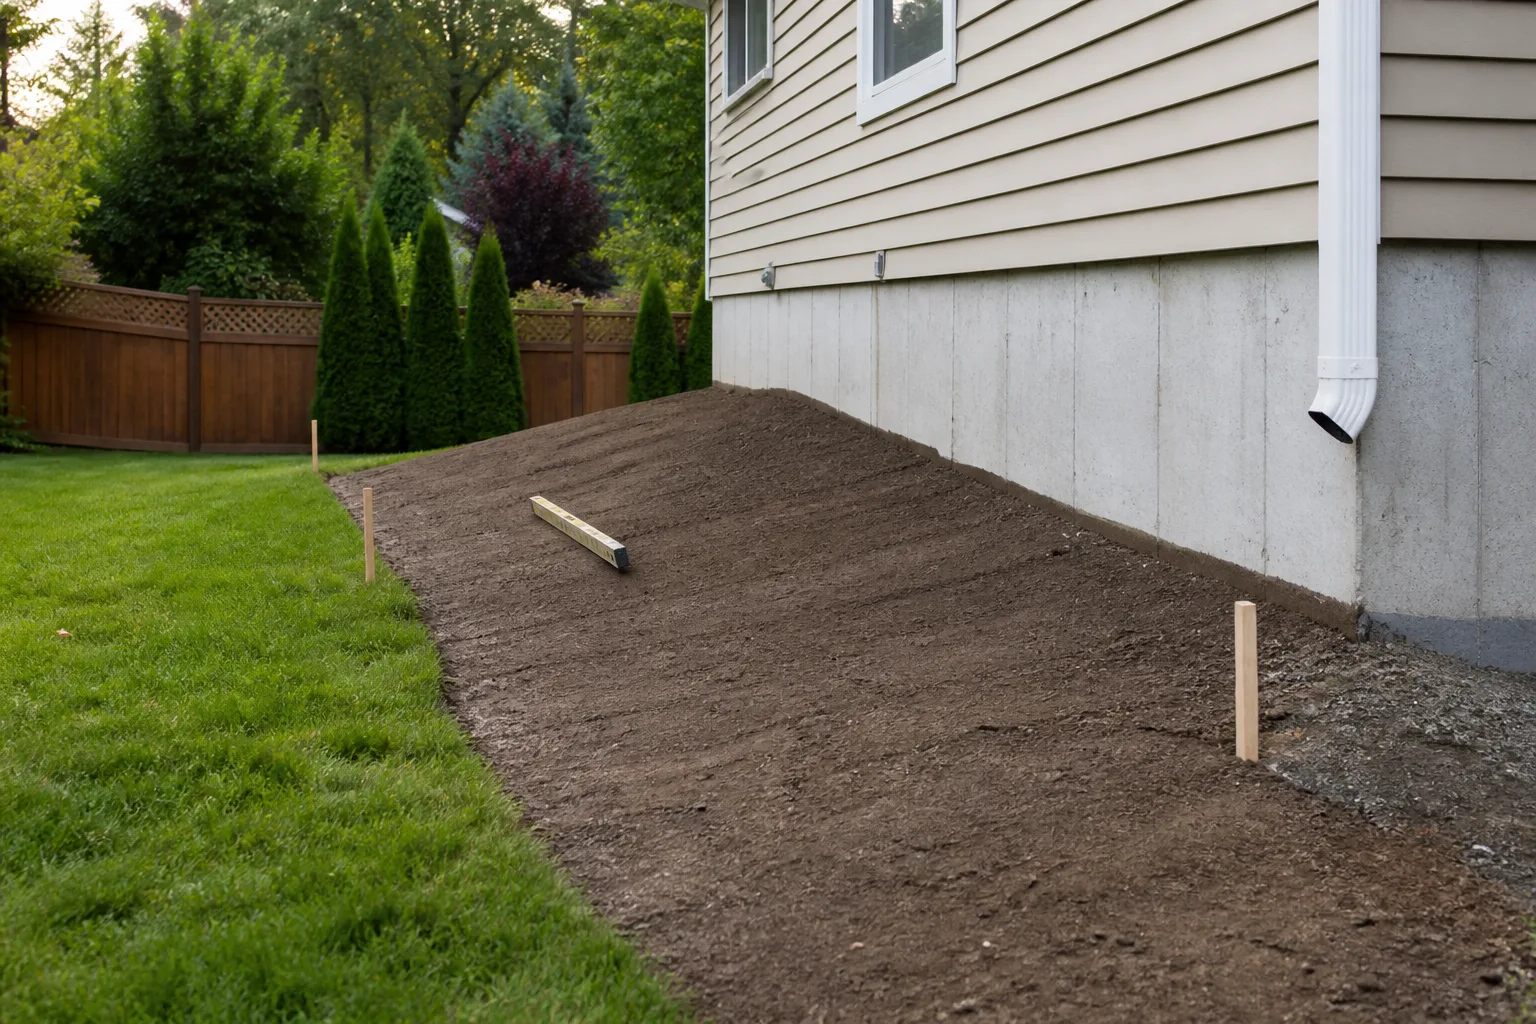
Avoid digging a small deep hole in compacted clay and filling it with loose compost. That can create a “bucket” that collects water around the root ball. The RHS recommends forking the sides and base of planting holes and improving drainage and aeration rather than creating an isolated pocket with different water movement.
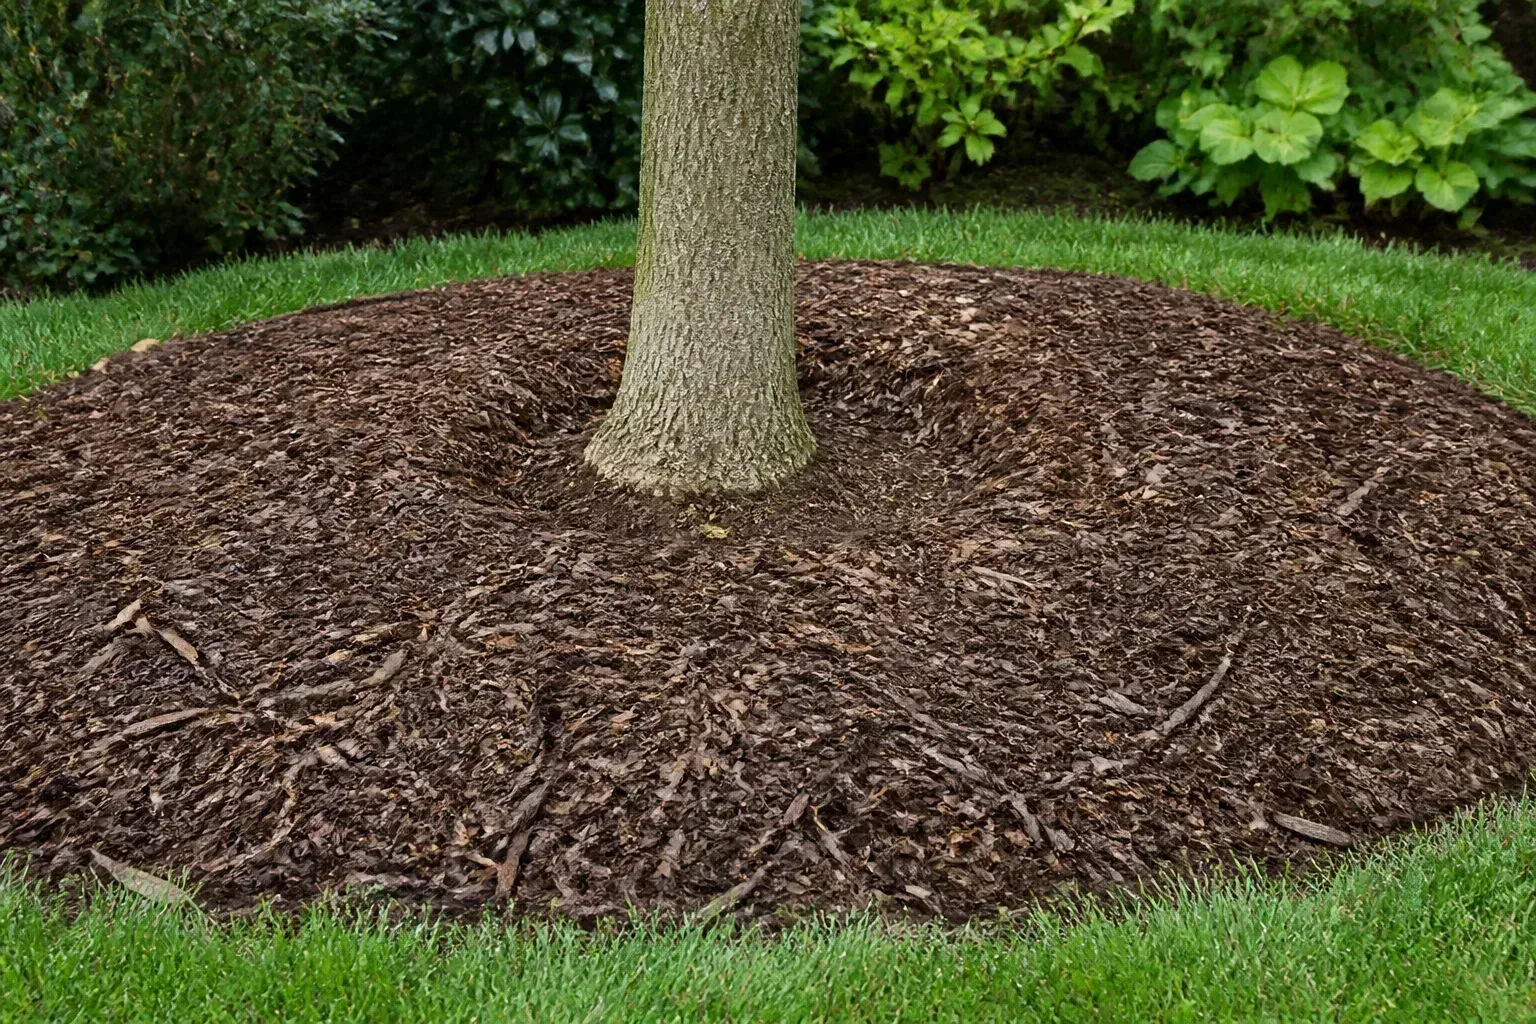
Mulch helps once the root-zone structure and drainage are reasonable. Apply a layer of organic mulch around the plant to slow evaporation and moderate soil temperature, but keep it away from stems, trunks, and crowns. A mulch ring should look like a shallow doughnut, not a volcano; buried bark or constantly wet plant crowns can add another source of trouble.
Pests and Diseases That Mimic Thirst
Pests and diseases become more likely when wilt comes with other signs. Check the undersides of leaves, newest shoots, stems, and the soil line before reaching for insecticide or fungicide. Epic Gardening’s reviewed overview of brown, wilted, and crisp foliage recommends checking cultural conditions first, then scouting for pests and disease because the same visible decline can have very different causes (Epic Gardening’s wilted-leaf diagnosis).
Sap-sucking pests such as aphids, spider mites, and thrips can reduce vigor, distort new growth, or cause stippling and leaf drop. Aphids may leave sticky honeydew; spider mites often leave fine webbing and pale stippling in hot, dry conditions; thrips can scar flowers and tender leaves. These clues do not prove that a pest caused the wilt, but they tell you where to inspect.
Rinse a small, visible colony with a controlled stream of water when the plant is otherwise stable, then recheck it. If a product is needed, choose one labeled for the plant and pest, follow the label, and protect pollinators by avoiding open flowers and active foraging periods. Do not improvise a detergent concentration or spray a drought-stressed plant in intense sun.
When Wilt Needs a Plant-Pathology Diagnosis
Disease moves up the list when one side of a plant declines, wilt progresses despite corrected moisture, leaves show spreading spots or lesions, stems discolor internally, or several plants in a row develop the same problem. Vascular wilts such as Fusarium and Verticillium interfere with water movement through the plant, while water-mold diseases are favored by saturated soil; their symptoms can overlap enough that a photograph and a local diagnosis are worthwhile.
Savvy Gardening’s vegetable problem guidance makes the same practical distinction: a wilted pepper may also show lesions, virus-like distortion, pest damage, or a moisture-related disorder, and each path has a different response. Use that kind of plant-specific symptom guide only as a screening tool, not as a laboratory diagnosis (Savvy Gardening’s pepper problem guide).
Remove leaves or whole plants that are clearly diseased when leaving them in place risks spreading the problem. Bag suspicious material instead of adding it to home compost, clean tools between plants, and avoid moving wet soil from one bed to another. If a valuable tree, shrub, or entire bed is declining, an extension agent or plant clinic can help distinguish a treatable cultural problem from a soil-borne disease.
A Recovery Plan for the Next Seven Days
Once you have made the first diagnosis, resist the urge to change five variables at once. Plants need time to show whether a corrected root zone is helping, and damaged leaves will not become fresh again. Judge recovery by firmer stems, reduced midday collapse, stable color, new growth, and the absence of new lesions.
Day 1: record the baseline. Photograph the plant, note the time of day, check soil at depth, and write down recent rain, irrigation, fertilizer, transplanting, and heat. Mark which plants are affected so you can see whether the pattern follows a bed, a species, or an irrigation zone.
Day 2: correct moisture delivery. If the root zone is dry, water slowly and deeply enough to reach it. If it is saturated, stop supplemental water, empty containers or saucers, and find the source of continued wetness. Do not use a fixed calendar interval until you know how the soil is behaving.
Day 3: reduce environmental load. Add temporary shade during extreme heat, move containers away from hot walls or pavement, and top up a correctly spaced mulch layer. Keep airflow open; do not wrap a plant in plastic or crowd it against other foliage.
Day 4: inspect below ground where appropriate. Check a container’s roots or gently examine a declining plant at the soil line. Remove only clearly dead material, disinfect tools, and repot or replant only when the root problem or planting site makes it necessary.
Day 5: scout for pests and disease. Look under leaves and along stems with a hand lens. Remove badly damaged leaves, isolate a container with a suspicious pest outbreak, and avoid applying broad treatments to a plant whose symptoms still point to water or heat.
Days 6 and 7: compare, then adjust one thing. Recheck soil at the same depth and time of day. If the plant is improving, keep the routine steady; if it is declining, widen the diagnosis to drainage, root disease, pests, or a plant-specific issue rather than doubling the water.
What to Pause While Plants Recover
Pause fertilizer while the plant is dehydrated, newly unpotted, or in severe heat. Pause major pruning unless a dead or diseased branch must be removed, because a stressed plant has fewer resources to seal wounds and replace lost foliage. Pause routine foliar misting as a rescue strategy; wet leaves do not rehydrate damaged roots and can prolong leaf wetness in crowded conditions.
Do not repot every wilted plant. Repot when roots, drainage, or an exhausted container mix explain the problem, not simply because the leaves look sad. Do not move a plant from deep shade into full sun as a quick fix for weak growth while it is already wilted; make light changes gradually after moisture and root health are stable.
Prevent the Same Wilt Next Heat Wave
Build your watering routine around observations rather than weekdays. Check new plantings, containers, raised beds, and exposed edges more often than established plants in deep soil. After a heat wave, heavy rain, irrigation repair, or major pruning, inspect again because the old schedule may no longer match the plant’s demand.
Use a rain gauge or a simple measured container to learn what the bed actually receives. Audit sprinklers for blocked heads and overspray, and make sure water is not landing on a path while the root zone stays dry. Drip irrigation and soaker hoses can improve delivery, but they still need seasonal adjustment and occasional checks for clogged emitters or uneven coverage.
Improve the soil before the crisis. Add organic matter across compacted beds when conditions are suitable, protect soil from repeated foot traffic, and choose plants that fit the site’s sun, drainage, and water availability. Missouri Botanical Garden also recommends appropriate plant selection and notes that native plants are often better adapted to local conditions, though “native” does not mean a plant can survive every newly planted drought without establishment watering.
Mulch is a buffer, not a cure. A modest, even layer reduces evaporation and temperature swings, but it cannot repair a blocked drain, replace missing root depth, or make a poorly chosen plant fit a wet site. Keep mulch off stems and crowns, renew it as it decomposes, and expose the root collar of woody plants rather than burying it.
Finally, learn the normal rhythm of the plants you grow. Some naturally fold, droop, or close leaves during heat; others stay rigid until damage is already advanced. A weekly walk that checks soil, stems, leaf undersides, irrigation coverage, and new growth gives you a baseline, so the next wilt is a solvable change in pattern instead of a reason to water blindly.
Conclusion
When your garden wilts after watering, start with the root zone and the clock. Moist soil plus afternoon-only droop usually calls for shade and observation; dry soil calls for slow, deep watering; wet soil plus persistent wilt calls for drainage and root inspection. Spots, webbing, sticky residue, one-sided collapse, or spreading decline move the problem beyond simple hydration.
The goal is not to keep leaves rigid every minute of the day. It is to maintain roots that have both water and oxygen, match irrigation to the soil and weather, and respond to evidence before adding stress. Once you make that habit—check, diagnose, correct one variable, and monitor—wilting becomes useful information about the garden rather than a mystery at the end of the hose.