Faded Houseplant Leaves: Causes and Solutions
Light is the engine of houseplant health. Faded Leaves appears as Leaves lose deep green color and look washed out when a plant receives too little energy to thrive-or too much direct sun for its leaves to handle. Matching light to species prevents most leaf fade, stretch, and scorch issues indoors. Track weekly progress after you change care, and note watering, light, and repotting dates so you can tell whether the symptom is improving or returning. Compare upper versus lower leaves, new versus old growth, and soil moisture at root depth before you treat, because the same visible symptom can come from watering, light, pests, or normal aging on different plants.
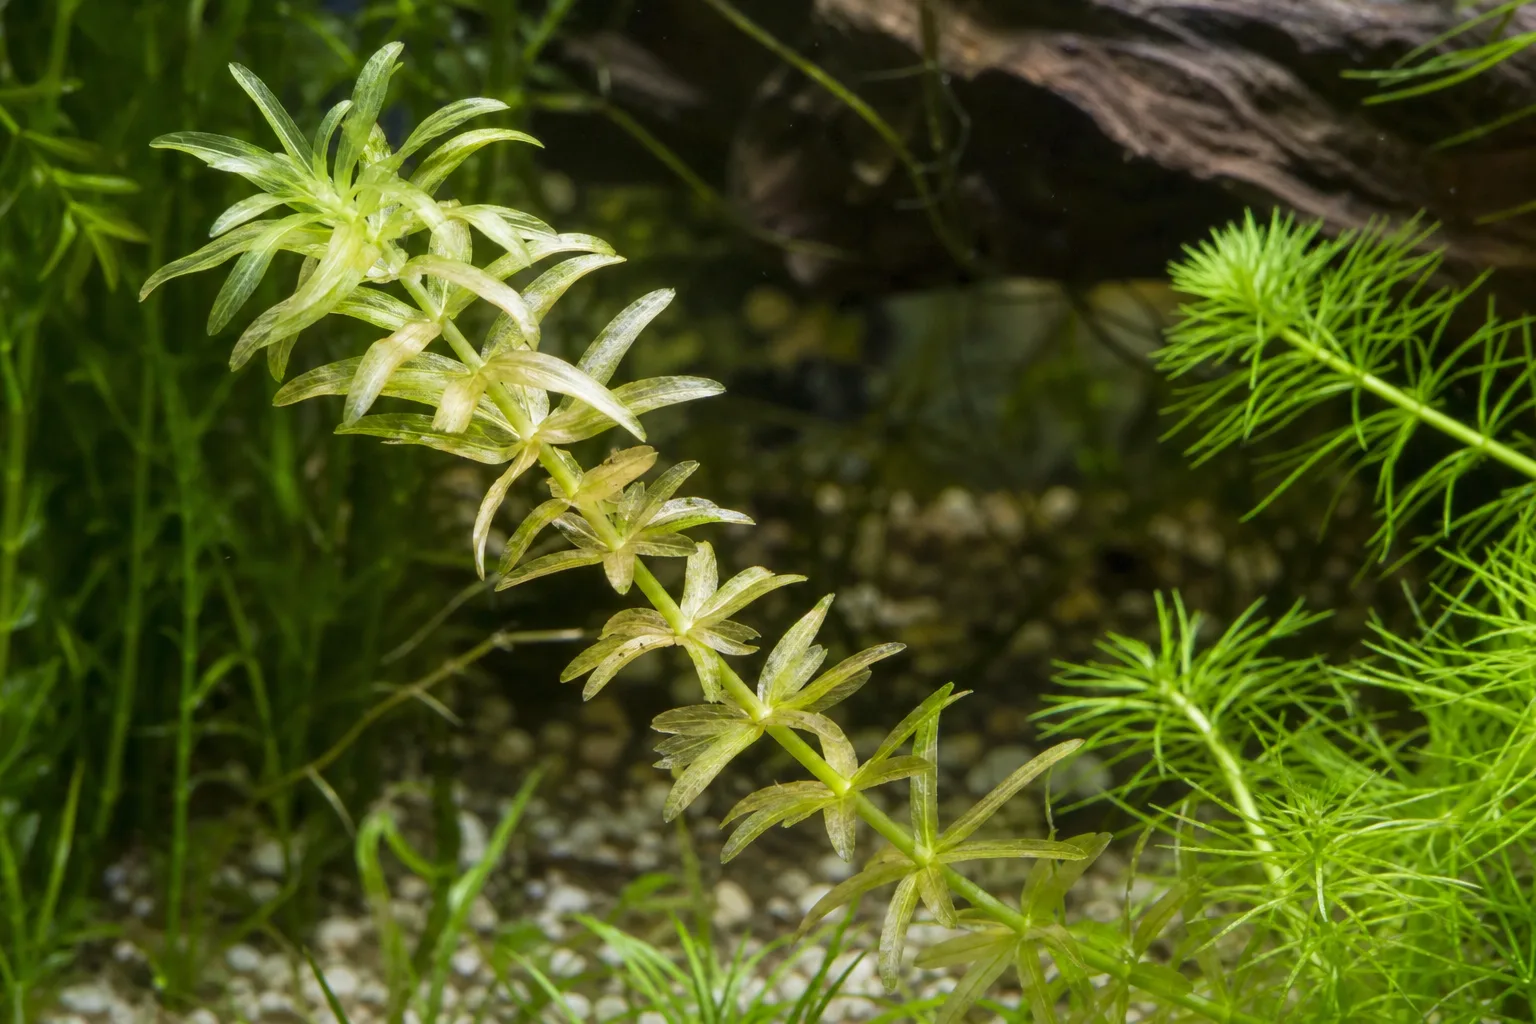
Faded Leaves on Houseplants
Still unsure?Match your symptoms to the most likely problems in under a minute.Run diagnosis →Understand and fix faded leaves
Light is the engine of houseplant health. Faded Leaves appears as Leaves lose deep green color and look washed out when a plant receives too little energy to thrive-or too much direct sun for its leaves to handle. Matching light to species prevents most leaf fade, stretch, and scorch issues indoors. Track weekly progress after you change care, and note watering, light, and repotting dates so you can tell whether the symptom is improving or returning. Compare upper versus lower leaves, new versus old growth, and soil moisture at root depth before you treat, because the same visible symptom can come from watering, light, pests, or normal aging on different plants.
Overview
Light is the engine of houseplant health. Faded Leaves appears as Leaves lose deep green color and look washed out when a plant receives too little energy to thrive-or too much direct sun for its leaves to handle. Matching light to species prevents most leaf fade, stretch, and scorch issues indoors. Track weekly progress after you change care, and note watering, light, and repotting dates so you can tell whether the symptom is improving or returning. Compare upper versus lower leaves, new versus old growth, and soil moisture at root depth before you treat, because the same visible symptom can come from watering, light, pests, or normal aging on different plants.
How to identify it
- Plant leans or stretches toward the window (too little light)
- Pale, washed-out leaves far from the glass
- Crispy bleached patches on sun-facing leaves (too much light)
- Slow growth in winter far from windows
- Compare care routine-watering unchanged but leaves declining
When to worry
Bleached, papery patches after sudden sun exposure or total leaf drop after a dark move need quick light adjustment, not fertilizer.
Common causes
Plant too far from the brightest window
Indoor light drops sharply with distance. What looks 'bright' to us may be low light for a fiddle leaf fig or succulent.
Sudden move into direct sun
Plants acclimated to indirect light burn quickly when placed in south-facing direct rays-classic Faded Leaves.
Seasonal daylight reduction
Winter short days trigger fade, drop, and leggy growth even if the plant stayed in the same spot all year.
Dirty windows or obstructed glass
Sheers, tint, furniture, and grimy panes can cut usable light more than owners realize.
Step-by-step fix
Measure light at the plant's location
Within 2 feet of a window is bright indirect for most tropicals. Farther than 6 feet is usually low light.
Move gradually
Increase light over 1–2 weeks to avoid shock. Pull back from harsh direct sun the same way.
Add grow lights if windows are insufficient
Full-spectrum LEDs 12–14 hours daily support plants in dark rooms or north-facing windows.
Rotate the pot weekly
Even growth prevents one-sided lean and uneven fading.
Adjust watering with light changes
Plants in brighter spots dry faster-recheck soil when you move them.
Prevention tips
- Research light needs before placing a new plant
- Acclimate to direct sun slowly over two weeks
- Supplement with grow lights in winter for high-light species
- Keep windows clean and unobstructed
Common mistakes
- Assuming all 'indoor plants' tolerate the same light
- Moving a plant into direct sun to 'fix' legginess instantly
- Ignoring seasonal light drop in winter care
Faded leaves are a description, not a diagnosis. A plant can look washed out because it receives too little light, because intense light bleached exposed tissue, because roots cannot support normal growth, because chlorophyll formation is disrupted, or because tiny feeding injuries have accumulated. Dust, mineral residue, normal variegation, and immature leaf color can create false alarms.
The useful question is not simply “Why is this leaf pale?” It is “Which leaves changed, where did the change begin, what pattern follows the veins, and what happened before it started?” Those observations separate causes that require opposite responses. Moving a low-light plant closer to suitable light may help; moving an already bleached plant into stronger sun will not.
This guide uses a conservative evidence-map method synthesized from extension and integrated-pest-management sources: describe the color pattern, locate it by leaf age and exposure, reconstruct the timing, and verify the root zone before treating. The photographs illustrate distribution and texture; they cannot establish a nutrient deficiency, light dose, or pest by themselves. Where a diagnosis would require substrate, irrigation-water, tissue, or pathogen testing, the text says so rather than turning a color chart into certainty.
Quick answer: why leaves lose color
Houseplant foliage can fade when chlorophyll is reduced, damaged, masked, or naturally absent. Common cause groups include unsuitable light, root or watering stress, nutrient availability problems, sap-feeding pests, chemical injury, and normal genetics or aging. Washington State University Hortsense describes chlorosis as yellowing caused by reduced chlorophyll and stresses that cultural conditions can be responsible.
Begin with five checks:
- Confirm the plant and cultivar’s normal color.
- Compare young and old leaves separately.
- Map whether veins stay green or fade too.
- Note whether one exposed side differs from the shaded side.
- Review light, watering, feeding, repotting, pest treatments, and temperature changes.
Do not fertilize before checking roots and light. Do not put the plant in direct sun as a generic “color cure.” Both actions can worsen the wrong diagnosis.
What “faded” can mean
People use faded, pale, yellow, bleached, dull, and chlorotic interchangeably, but the visual patterns differ. General paling affects most of the blade. Interveinal chlorosis leaves veins greener than the tissue between them. Bleaching is a very pale or whitish exposure injury. Stippling consists of many tiny light feeding marks. Surface dullness may wipe away.
Describe the pattern before naming the cause. Is the leaf uniformly lighter or mottled? Are margins crisp? Do pale zones face a window? Are there tiny dots, webbing, black specks, or sticky residue? Did the newest leaves emerge pale, or did old leaves fade first?
Severely bleached, crisp, or necrotic tissue will not rebuild. Mild chlorosis in living tissue sometimes improves when the underlying problem is corrected, but healthy new growth is a more dependable recovery sign than recoloring an old leaf.
Build a four-part evidence map
Use four categories: location, pattern, timing, and root-zone condition. Location means leaf age and place on the plant. Pattern means veins, margins, spots, and exposed surfaces. Timing links the change to an event. Root-zone condition covers moisture, drainage, odor, root firmness, substrate age, and feeding history.
This method prevents a common mistake: seeing pale tissue and choosing one nutrient from an image chart. Penn State Extension’s diagnostic key places similar symptoms under nutrient, watering, root, and environmental causes. A visual symptom can narrow possibilities, but it rarely proves a single mechanism.
Take photographs in the same neutral light every week. Automatic phone exposure and warm indoor bulbs can exaggerate or hide color differences. Include one unaffected leaf in the frame as a reference.
Turn observations into a compact matrix instead of a list of guesses:
| Pattern | Evidence that supports it | Evidence that weakens it |
|---|---|---|
| Low light | Reaching, long internodes, small new leaves, dim position | Localized bleaching on the bright side |
| Excess light | Exposed-side fading after a move, crisp pale patches | Uniform fading deep within the canopy |
| Root stress | Wet or severely dry core, stalled growth, weak roots | Healthy roots and normal wet-to-dry cycle |
| Nutrient availability | Repeatable leaf-age and vein pattern, plausible history | Sudden one-sided onset after exposure |
| Pest feeding | Stippling, silvering, webbing, insects or specks | Clean magnified inspection and stable pattern |
This table ranks hypotheses; it does not convert a symptom into proof. Look for at least two independent pieces of evidence before choosing a treatment.
Leaf age, veins, and distribution
Oldest leaves fading first may reflect normal turnover, prolonged low light, root stress, or limitations involving nutrients that plants can redistribute. Newest leaves paling while older foliage stays greener can point toward micronutrient availability, root-zone pH, or impaired new growth. These patterns are screening clues, not prescriptions.
Green veins with paler tissue indicate interveinal chlorosis. Iron, manganese, magnesium, and root-related problems can produce vein-associated patterns depending on species and leaf age. A targeted fertilizer is justified only when the full evidence supports it.
Distribution can be even more useful. One window-facing side suggests direct exposure. Uniform whole-plant fading suggests a systemic or environment-wide issue. Random silvering with black specks suggests pest inspection. One old lower leaf fading slowly may simply be senescence.
Timing, exposure, and recent changes
Build a short timeline. Did fading begin after the plant was moved, after winter daylight declined, after a new grow light was installed, after repotting, after a fertilizer or spray application, or after a watering problem? A close temporal link does not prove causation, but it can establish a sensible first hypothesis.
Sudden damage over one or two sunny days favors exposure or heat injury. Slow loss of color with elongated stems and smaller leaves favors inadequate light. Fading coupled with persistently wet mix and stalled growth raises root-zone concern. Fine stippling that spreads from leaf to leaf deserves magnified pest inspection.
Avoid changing several conditions at once. If the plant is stable, make the lowest-risk correction and watch new growth. A care log preserves the relationship between action and response.
Rule out normal and surface color
Identify the cultivar. Chartreuse foliage, silver overlays, cream sectors, pale venation, and juvenile coloration may be normal. Healthy variegation usually follows a repeatable genetic pattern rather than spreading as irregular tissue damage. However, variegated areas contain less chlorophyll and may scorch more readily.
New leaves often emerge lighter and deepen as they mature. Compare leaves of similar age. Concern increases when new leaves remain unusually pale, are small or distorted, or develop dead edges.
Wipe one sturdy leaf gently with water and a soft cloth. Dust, hard-water deposits, and spray residue may make foliage look gray. Avoid aggressive cleaning on fuzzy or delicate species, and do not use leaf-shine products as a diagnostic shortcut.
Variegation can also change with light. Some cultivars produce greener growth under weak exposure because green tissue supports photosynthesis; others show weaker contrast for different developmental reasons. A suddenly all-green shoot may be genetic reversion rather than a care emergency. Research the cultivar before removing it.
Aquatic foliage deserves its own caution. Fading in submerged plants may involve water chemistry, nutrient supply, carbon availability, shading, algae, or normal transition between emersed and submerged leaves. Houseplant soil rules do not transfer directly to an aquarium. Use the image below only for visual pattern comparison, then diagnose within the correct growing system.
Choose the diagnostic branch before choosing a treatment. For a terrestrial container plant, inspect potting-medium moisture, drainage, roots, leaf surfaces, and recent exposure. For a submerged aquarium plant, record water parameters, lighting schedule, shading, fertilization, carbon supplementation if used, and whether the leaf formed emersed or submerged. Do not apply terrestrial flushing, soil-pH, or foliar-spray advice to an aquarium system.
Use this image to study distribution, not to identify a universal cause. Aquatic plants and terrestrial houseplants have very different root, light, nutrient, and gas-exchange conditions.
Light-related fading
Light affects both energy capture and leaf development. Too little light often produces weak, stretched growth and gradual loss of lower foliage. Too much direct light can bleach exposed areas and lead to tan scorch. Sudden change matters: a plant acclimated to a dim shop or winter room can be injured by exposure that a gradually acclimated plant might tolerate.
Evaluate the light at leaf level and over time. Window direction alone is incomplete; season, latitude, glazing, curtains, trees, buildings, and distance from glass all alter intensity. Your eyes adapt to dim rooms far better than plants do.
Too little light
Look for fading combined with long spaces between leaves, leaning, smaller new growth, slow substrate drying, and old-leaf drop. Penn State Extension notes that plants selected for low light still have limits and provides examples of houseplants adapted to lower-light interiors. “Low light tolerant” does not mean no light or no decline.
Increase useful light gradually. Move the plant closer to a suitable window while watching for direct sun, or add a horticultural grow light. Because water use may increase in brighter conditions, reassess soil rather than keeping the old routine.
If shape has stretched, existing internodes will not shorten. Pruning or propagation may later improve form, while correctly lit new growth provides evidence that the placement works.
When using a grow light, avoid universal distance rules. Output varies enormously among bulbs and fixtures. Begin with the manufacturer’s plant-use guidance, measure at the canopy if possible, and change distance or duration one variable at a time. A timer makes daily exposure consistent. Leaves growing toward the lamp suggest inadequate or uneven coverage; bleached upper surfaces suggest excess or poor acclimation.
Excess light and sudden exposure
Excess-light fading is often strongest on the surface facing the source. Tissue may turn pale yellow, ivory, or tan and later become crisp. University of Maryland Extension identifies bleached or scorched foliage as an excess-light symptom.
Pull the plant back from the acute exposure or diffuse the strongest rays. Do not plunge it into a dark corner; preserve suitable indirect light for recovery. Increase future sun exposure in stages, especially after winter, shipping, greenhouse culture, or an indoor move.
Check heat as well as light. Leaves near glass can become much warmer than room air. A hot, dry root ball and intense sun can combine to produce fading, edge burn, and wilt.
Root, water, and nutrient-related fading
Roots support water and mineral uptake. When they are chronically dry, saturated, compacted, salt-injured, or diseased, leaves can lose healthy color even if fertilizer is present. Inspect moisture at depth, drainage holes, pot size, odor, and root firmness before feeding.
A wet surface does not prove the entire root ball is wet; water may bypass compacted or repellent zones. Conversely, a dry surface can hide a saturated center in a large pot. Pot weight and a wooden skewer help reveal the deeper pattern.
Correct root conditions first. Fertilizer cannot add oxygen to waterlogged mix or restore dead roots.
Root stress, pH, and soluble salts
Persistent saturation can reduce root function and create yellowing, wilt, edema, and leaf drop. Repeated severe drought can kill fine roots and interrupt uptake. Dense or decomposed mix can hold both wet pockets and dry channels.
Substrate pH affects nutrient availability. A nutrient may be present but less available outside a suitable range. Do not chase a universal houseplant pH number; species and media differ, and cheap probes can be unreliable in potting substrates. For a valuable or recurring problem, a laboratory substrate test is stronger evidence.
Soluble salts can accumulate from fertilizer and mineral-rich water. Clues include crust on the surface, margin burn, reduced roots, and a feeding history that fits. Flush only when drainage is sound and the plant tolerates thorough watering. Otherwise, carefully replace degraded mix.
Nutrient patterns without guessing
Nitrogen limitation is often associated with generalized older-leaf paling; magnesium deficiency with older-leaf interveinal chlorosis; and iron deficiency with younger interveinal chlorosis. These are generalized teaching patterns, not proof that a specific houseplant lacks one element. Species, mixed problems, pH, root damage, and nutrient interactions blur them.
Treat that list as a screening aid, not a prescription. A pattern earns further investigation when it repeats on multiple leaves of comparable age and the care history makes deficiency or impaired availability plausible. It does not justify adding a single nutrient when roots are failing, the substrate is saturated, or recent fertilizer already supplied the element.
Never diagnose one nutrient solely from color. Review how long the plant has occupied its mix, whether fertilizer was already included, how actively it is growing, root health, pH evidence, and water quality. Apply a complete fertilizer at the label rate only when the plant is healthy enough to use it and deficiency is plausible.
Overfertilizing a stressed plant can increase salt injury. More is not a faster version of correct.
For recurring cases, separate “supply” from “availability.” A fertilizer label can show that an element was applied, but damaged roots or unsuitable pH may prevent effective uptake. Conversely, a healthy root system in old, exhausted mix may genuinely lack supply. A substrate test, irrigation-water analysis, and accurate care history provide stronger evidence than adding one micronutrient at a time.
Escalate to testing when the same pattern reaches successive new leaves after light, watering, and root condition have been stabilized; when several plants sharing water or substrate develop it; or when an expensive specimen would otherwise receive repeated corrective products. A laboratory result is most useful when accompanied by the plant identity, medium, fertilizer record, irrigation-water source, and photographs showing which leaf ages are affected.
Be wary of home remedies that alter pH or add minerals without measurement. Coffee grounds, vinegar, Epsom salt, rusty nails, and similar treatments deliver inconsistent doses or change conditions in unintended ways. If testing supports a correction, use a product and rate designed for the medium and plant.
Pests, disease, and chemical injury
Spider mites remove cell contents and create fine pale stippling that can merge into bronzed or washed-out areas. Thrips may create silvery scars with dark fecal specks. Scale and other sap feeders can contribute to general decline. Inspect undersides, veins, nodes, and new growth with a hand lens.
The University of California Integrated Pest Management program describes spider-mite injury as stippling that can progress to yellowing or bronzing, supporting inspection for a fine feeding pattern rather than diagnosing mites from general fading alone.
Disease is more likely when fading accompanies expanding lesions, water-soaked areas, halos, distortion, stem symptoms, or rapid spread. Isolate the plant and avoid splashing foliage. Naming a pathogen from color alone is unreliable; local extension diagnosis or laboratory testing may be appropriate.
Chemical injury can follow an overly concentrated fertilizer, pesticide, household cleaner, leaf shine, or spray applied in bright sun. The exposure history and sharp distribution are important. Rinse residues when the product label permits, move the plant from acute exposure, and do not layer on another treatment.
A white sheet of paper can help with mite inspection: hold it under foliage and tap gently, then examine moving specks with magnification. Sticky cards can reveal flying adults of some pests but do not rule out insects that remain on leaves. Pest identification matters because treatments and life cycles differ.
When lesions are wet, expanding, or surrounded by halos, avoid treating the problem as simple fading. Remove the plant from close contact with others, keep foliage dry unless species care requires otherwise, sanitize tools, and seek a local diagnostic service if the plant is valuable or decline is rapid.
A careful correction plan
First stabilize extremes: remove standing water, move away from acute heat or cold, and provide suitable indirect light. Second, identify whether the root ball is too dry, too wet, or physically failing. Third, inspect for pests. Fourth, review nutrition only after roots and light are credible.
This sequence aligns with the Royal Horticultural Society’s advice to check watering, light, temperature, pests, and roots when a houseplant declines, rather than assigning one treatment from one visible sign.
Make one primary correction at a time when the plant is stable. Water a genuinely dry root ball thoroughly and drain it. Allow an overly wet but otherwise sound root zone to dry appropriately. Repot only if drainage, mix structure, or damaged roots justify disturbance. Acclimate light over days or weeks.
Prune leaves only when they are dead, heavily damaged, diseased, or blocking inspection. A faded living leaf may still photosynthesize. Preserve enough foliage to support recovery.
Use a staged response:
- Correct any immediate hazard such as standing water, freezing glass, intense midday exposure, or a severe infestation.
- Hold temperature and placement steady long enough to observe.
- Verify that roots are functioning and the pot drains.
- Improve light gradually if the growth pattern supports insufficiency.
- Consider nutrition only after root and light conditions are credible.
This order favors reversible actions. It also protects against the familiar cycle of fertilizing, repotting, pruning, and moving a plant so quickly that the original cause becomes impossible to identify.
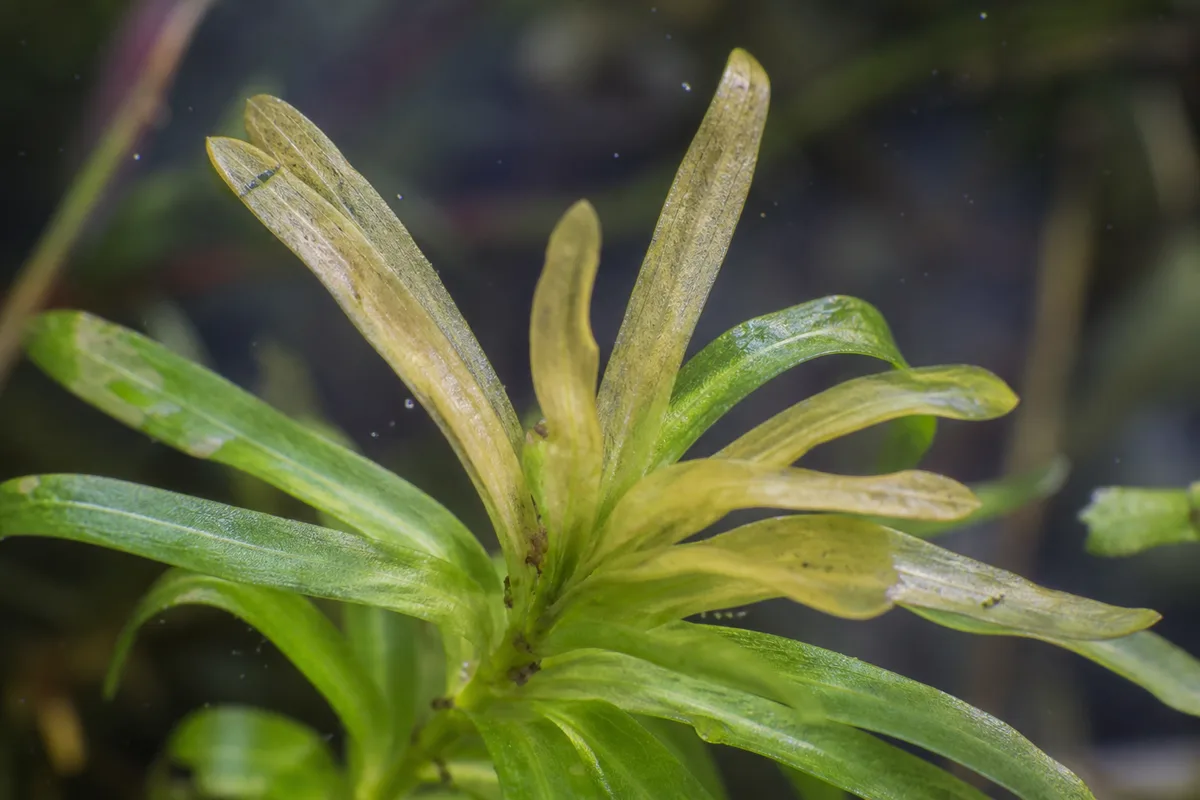
At close range, look for vein patterns, stippling, residue, and necrotic boundaries. Confirm those observations on the actual plant under neutral light.
Measure recovery and prevent recurrence
Recovery means the cause has stopped progressing. Watch for normally sized new leaves with expected cultivar color, stable older damage, healthy roots, and a normal wet-to-dry cycle. A severely bleached or dead patch will remain scarred even when the plant is recovering.
Give the plant enough time to produce meaningful growth. Weekly photographs are more useful than hourly inspection. If symptoms continue across new leaves after light and roots are corrected, test the substrate or seek an extension diagnosis rather than adding successive products.
Compare new leaves with healthy leaves of similar maturity, not with old nursery foliage formed under controlled greenhouse conditions. Indoor leaves may differ slightly in size or color without being unhealthy. The meaningful questions are whether the trend is stable and whether new tissue matches the normal cultivar range.
Escalate when fading progresses rapidly, new growth is strongly distorted, roots are failing, pests persist despite correct treatment, or multiple plants develop similar unexplained symptoms. Bring the complete plant, clear photos, and the care timeline to a local extension office where possible. That context can prevent a color symptom from being misclassified.
Prevent recurrence by matching placement to species, acclimating after moves, watering from root-zone evidence, using a suitable mix and draining container, feeding at label rates during active growth, and inspecting new plants. Clean leaves gently and keep basic care notes when color changes recur.
Conclusion
Faded leaves can reflect low light, excess exposure, root stress, nutrient availability, pests, chemicals, or normal color. Diagnose from leaf age, veins, distribution, timing, and root-zone evidence rather than one photograph or one nutrient chart. Correct the strongest supported cause with the least disruptive action, then judge success by stable damage and healthy new growth. Some old tissue may never regain color; preventing further fading is the meaningful win.
Plants commonly affected
These houseplants often struggle with faded leaves. Open a care guide or plant-specific troubleshooting page for tailored fixes.
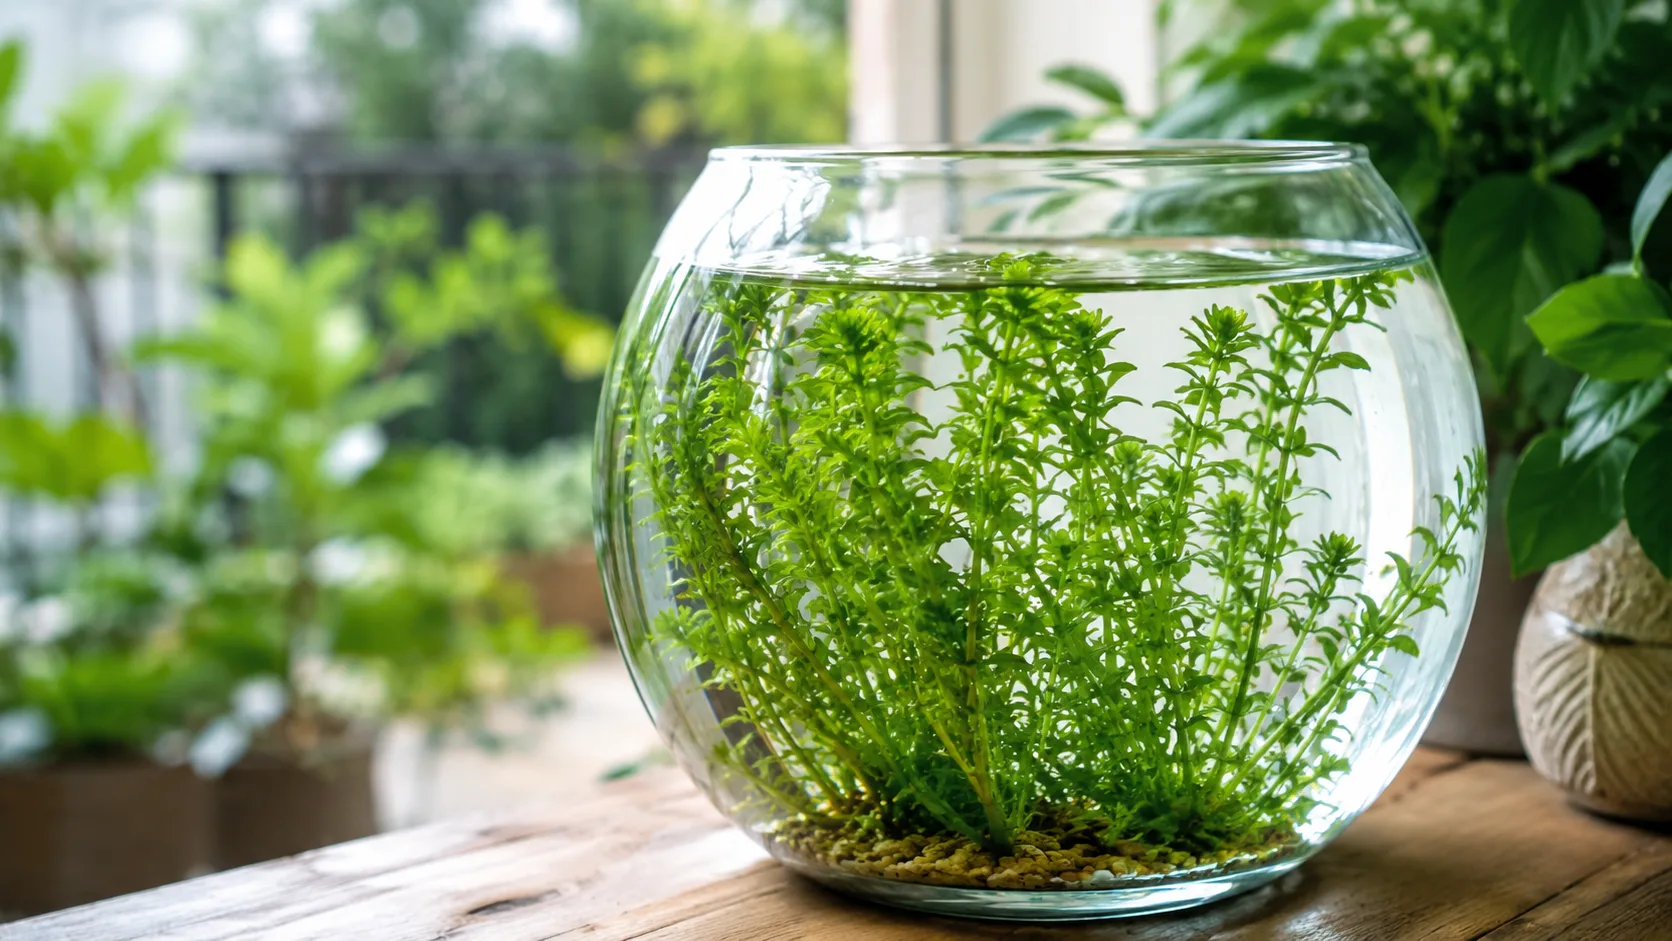 Easy
EasyAnacharis / Elodea
Likely causeLow light, nitrogen deficiency on older leaves, or iron shortage on new tips.
Quick fixIncrease moderate aquarium lighting and dose a balanced liquid fertilizer with iron.
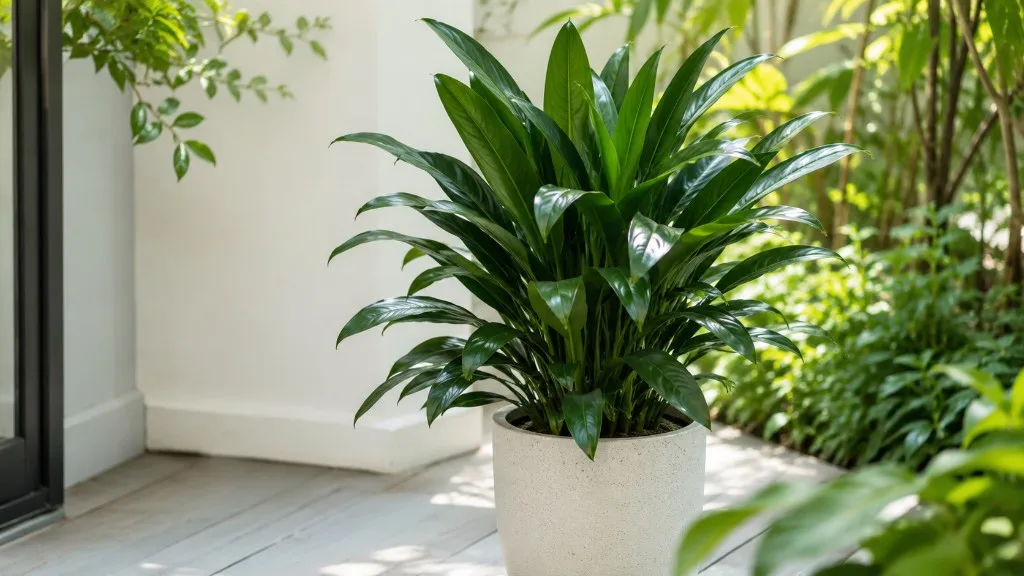 Medium
Janet Craig Dracaena
Likely causeMar 1, 2023 · In this article, we’ll explore some of the main reasons why your Janet Craig Dracaena might be looking a little worse for wear and, more importantly, what you can do to help it recover.
Quick fixConfirm diagnosis on your Janet Craig Dracaena, then address the most likely care or pest factor described in current extension guidance.
 Easy
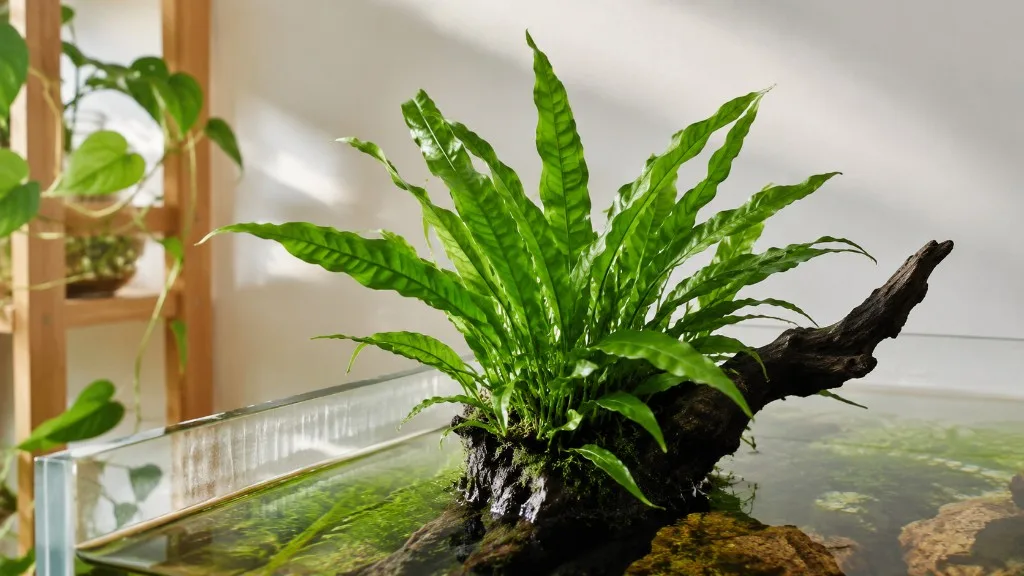
EasyJava Fern
Likely causeDec 20, 2025 · Java fern is a tough plant, but it gives us clear signals when something in its environment is off. Let’s look at why those lush green leaves might be changing color and, more importantly, how you can get your plant back to f
Quick fixConfirm diagnosis on your Java Fern, then address the most likely care or pest factor described in current extension guidance.
 Medium
Lavender
Likely causeAug 22, 2025 · When lavender is underwatered, it experiences stress, leading to wilting, yellowing of leaves , and, ultimately, faded blooms. The plant’s ability to produce vibrant pigments is compromised as it struggles to survive.
Quick fixConfirm diagnosis on your Lavender, then address the most likely care or pest factor described in current extension guidance.
 Medium
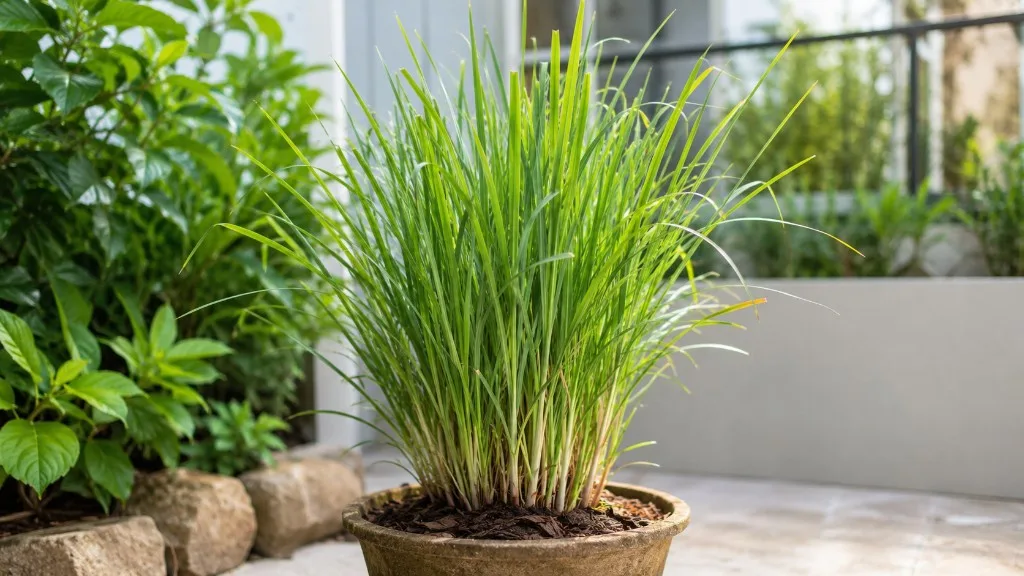
Lemongrass
Likely causeKeep the leaves on the plant over winter to protect the stems and trim any dead leaves back in spring. Your plant should grow back well when the weather warms in the next spring.
Quick fixConfirm diagnosis on your Lemongrass, then address the most likely care or pest factor described in current extension guidance.
 Medium
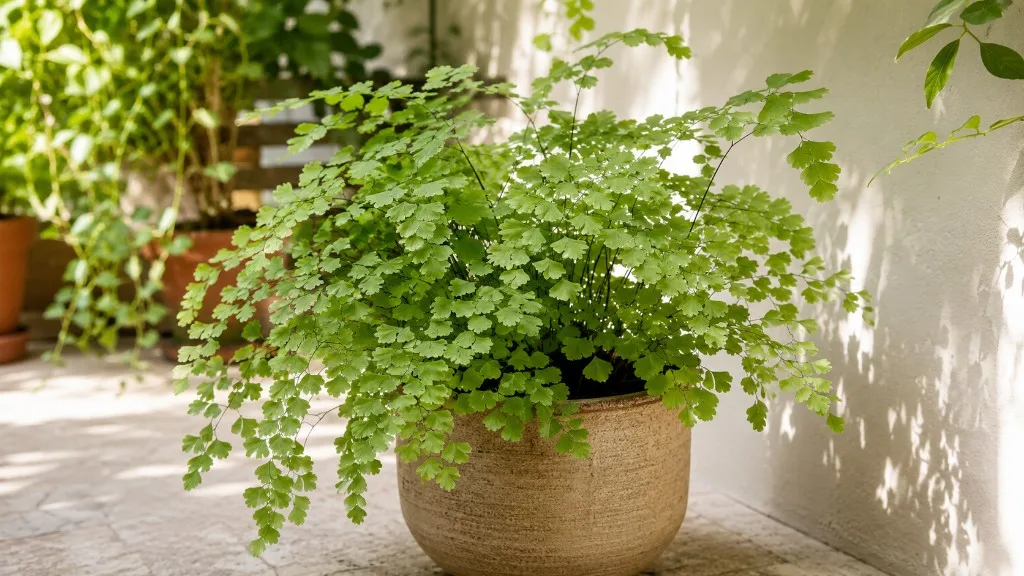
Maidenhair Fern
Likely causeIt’s normal for your Maidenhair Fern to prioritise its energy on new bigger growth, meaning it will lose its oldest leaves in order to mature. As long as your Maidenhair Fern is growing more new leaves than it is losing them, then you don’t
Quick fixConfirm diagnosis on your Maidenhair Fern, then address the most likely care or pest factor described in current extension guidance.
 Medium
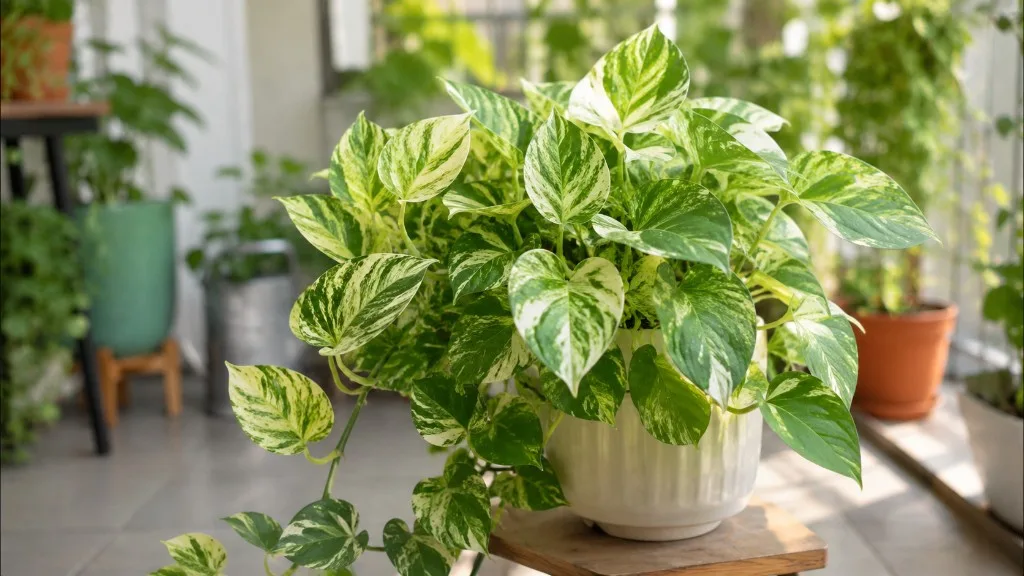
Manjula Pothos
Likely causeFeb 7, 2026 · Too little light: New leaves come out mostly green (reverting). Existing variegation may fade . Growth becomes leggy with long gaps between leaves . The plant stretches toward the light source. Too much direct sun: Brown, cris
Quick fixConfirm diagnosis on your Manjula Pothos, then address the most likely care or pest factor described in current extension guidance.
 Medium
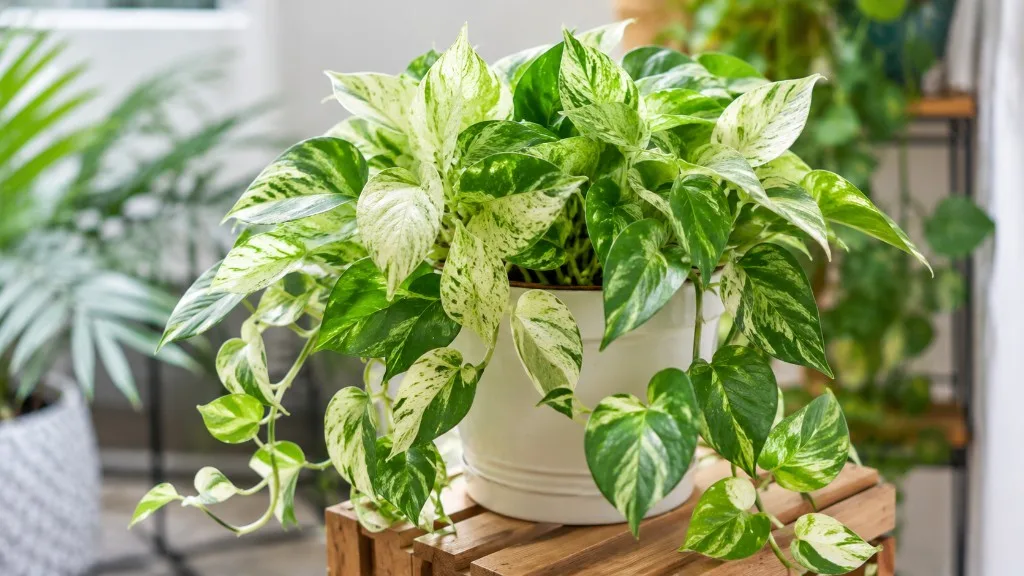
Marble Queen Pothos
Likely causeIf your Marble Queen Pothos is producing mostly green leaves or its white variegation is fading , it's almost certainly due to insufficient light. The white parts of the leaves lack chlorophyll, and in low light conditions, the plant priori
Quick fixConfirm diagnosis on your Marble Queen Pothos, then address the most likely care or pest factor described in current extension guidance.
 Medium
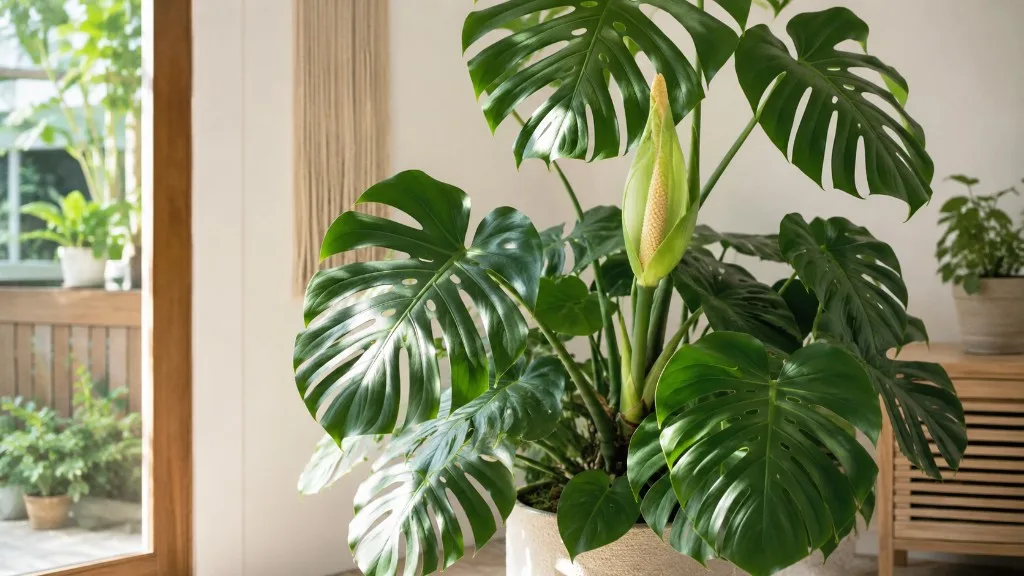
Monstera Deliciosa
Likely causeMar 13, 2025 · Monstera deliciosa: The most popular variety, Monstera deliciosa, is known for its large, dark green leaves that can reach 2 feet or more across and are decorated with fenestrations, says …
Quick fixConfirm diagnosis on your Monstera Deliciosa, then address the most likely care or pest factor described in current extension guidance.
 Medium
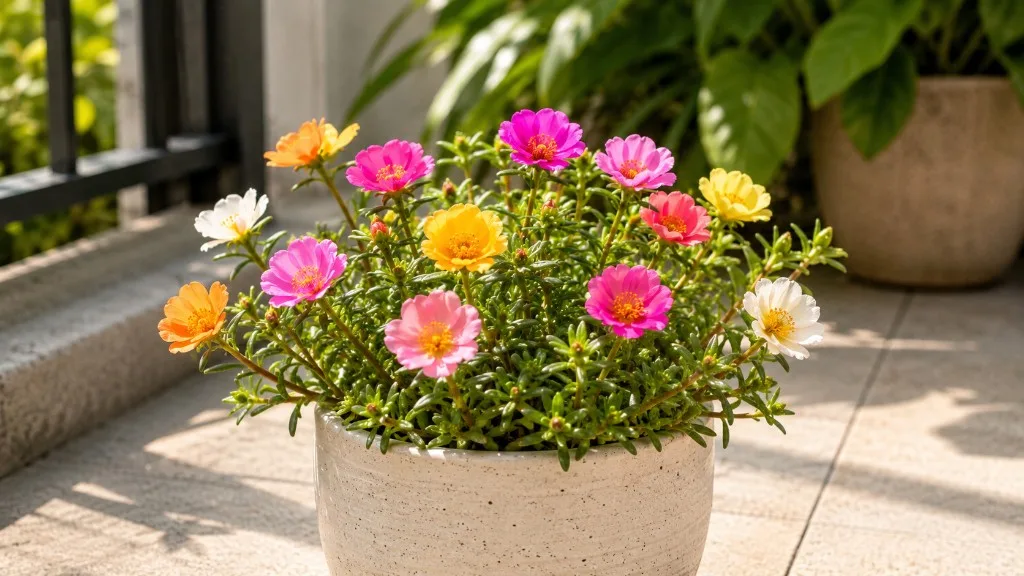
Portulaca
Likely causeJan 16, 2026 · Learn why portulaca leaves turn yellow, brown, or drop—and how to revive them with precise watering, light, and soil fixes. Get species-specific care for Portulaca grandiflora and oleracea.
Quick fixConfirm diagnosis on your Portulaca, then address the most likely care or pest factor described in current extension guidance.
 Medium
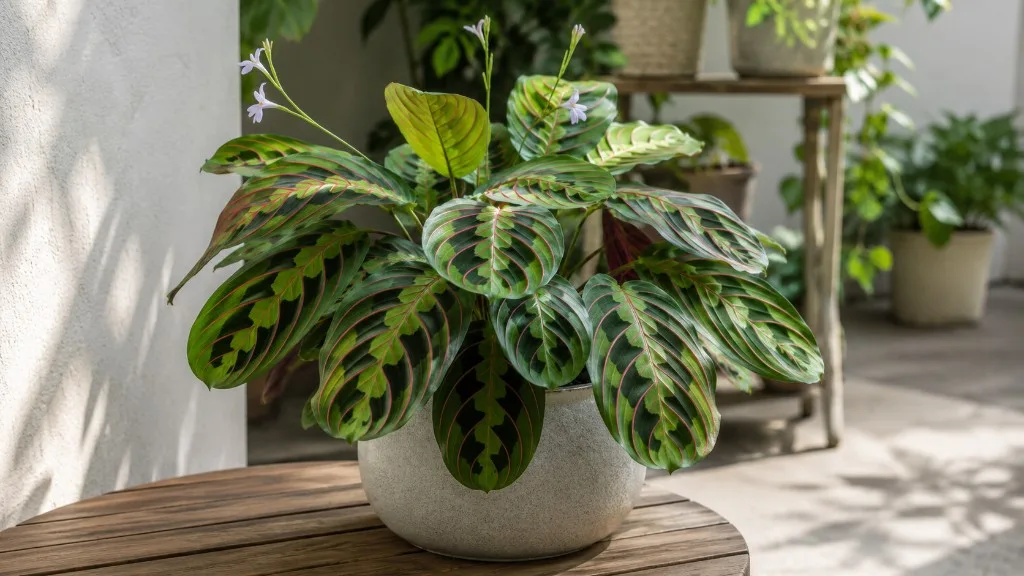
Prayer Plant
Likely causeMay 5, 2026 · Prayer plant leaves usually fade because of too much direct sun, low light over time, nutrient weakness, dry air stress, or roots that are not supporting strong color.
Quick fixConfirm diagnosis on your Prayer Plant, then address the most likely care or pest factor described in current extension guidance.
 Medium
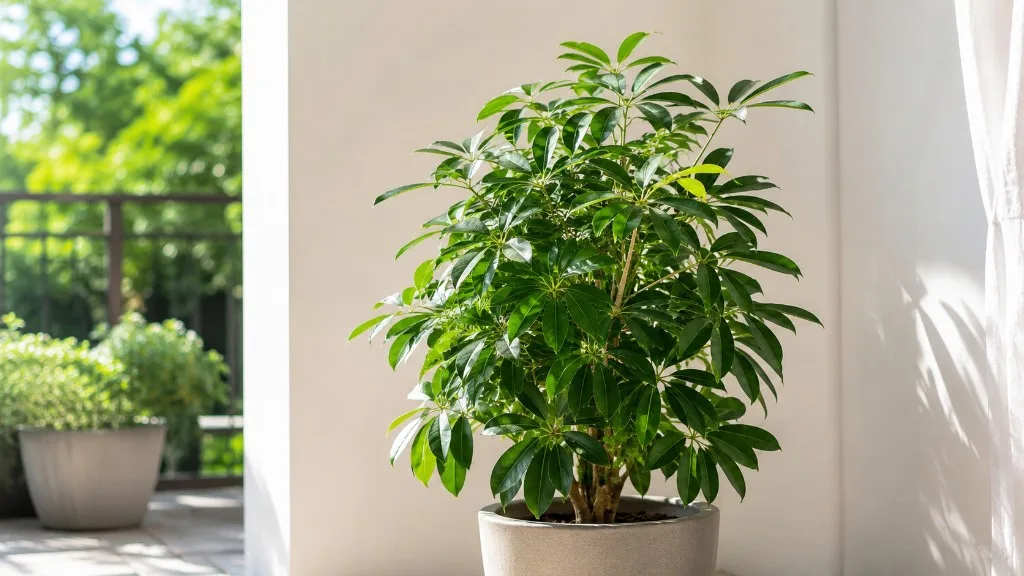
Schefflera
Likely causeFeb 14, 2026 · The large Schefflera actinophylla shows off long, shiny, oval green leaves that hang like an umbrella from a central stalk, while the smaller Schefflera arboricola (or dwarf schefflera) has …
Quick fixFollow extension or botanical guidance for Schefflera faded leaves; adjust care before applying broad treatments.