Cauliflower Propagation: Seed to Transplant Guide
Cauliflower Propagation: Seed to Transplant Guide
Cauliflower Propagation: Seed to Transplant Guide
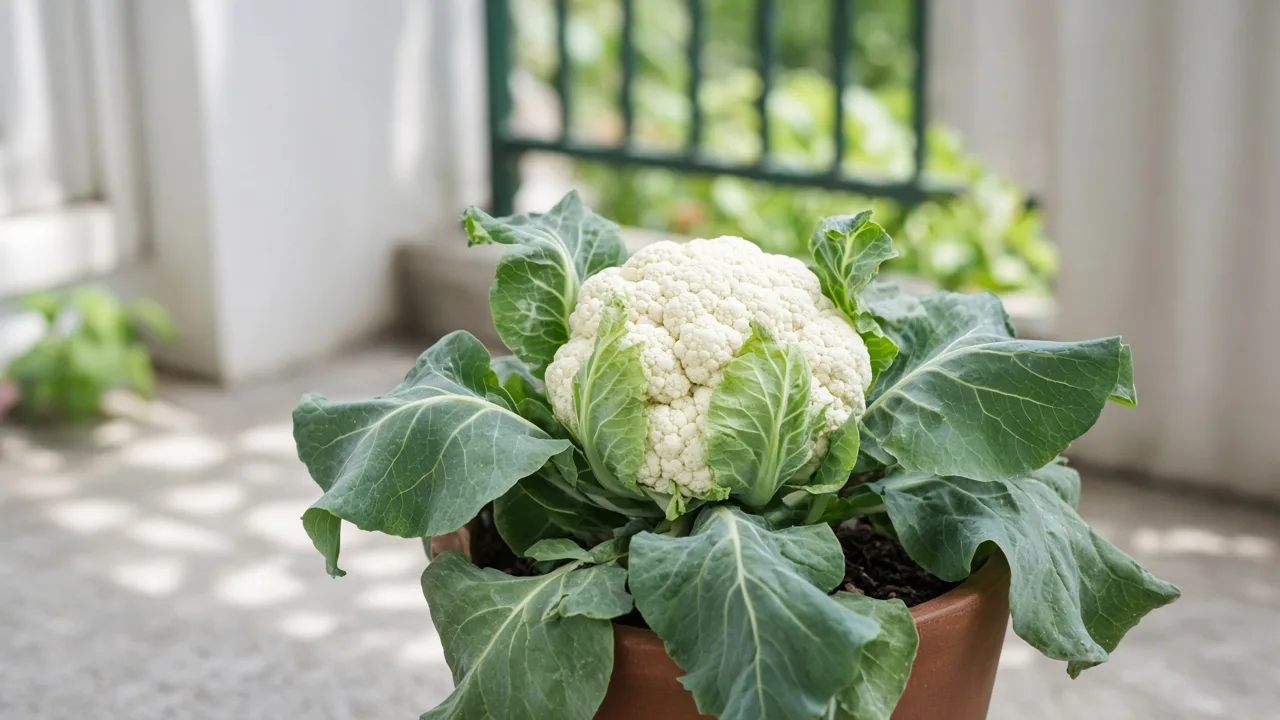
Cauliflower propagation for Brassica oleracea var. botrytis—the dense-headed phool gobi grown across India—means starting from seed. Unlike perennial kales you might divide, cauliflower is a cool-season annual (botanically a biennial) grown for one harvestable curd. The RHS notes cauliflowers are usually grown from seed, sown indoors or outside, then transplanted after about six weeks. Success depends less on a secret technique than on cool, uninterrupted growth from germination through head formation.
If you only need a quick cluster map, start with the cauliflower overview. This page is for sowing, thinning, hardening off, and placing young plants where they can form a firm curd.
How cauliflower multiplies
Cauliflower shares the cabbage family’s basic life cycle: leaves and a head in year one, flowers and seed in year two if the plant survives. Most growers harvest the curd long before that second year, so propagation at home is almost always raising new plants from purchased seed.
Seed is the reliable home method
Stem cuttings, leaf rooting, and division do not produce predictable heading cauliflower the way they work for many houseplants. The plant’s architecture channels energy into one modified flower cluster—the curd—not a persistent crown you can split. Gardening Know How describes seed as the simplest propagation route, with optional second-year seed collection if you allow a plant to flower.
Epic Gardening recommends starting indoors in flats or cells four to six weeks before transplanting, sowing ¼–½ inch deep, keeping mix moist, and expecting germination in about eight to ten days when temperatures are warm enough. Thin to one seedling per cell so neighbors do not compete for light and roots later.
Why cuttings and kitchen scraps rarely work
Internet tutorials sometimes show regrowing cauliflower from the stalk left after harvest. Side shoots can appear, but they rarely give the same tight, market-style curd as a well-timed seed crop, and heat on Indian plains often pushes them toward loose leaves or bolting. Treat stalk experiments as a bonus, not your main propagation plan—same caution applies to grocery stumps.
Biennial seed-saving versus packet seed
Saving seed is possible: cauliflower is insect-pollinated and can cross with broccoli, cabbage, and other B. oleracea types, so isolation is required for true-to-type seed. Gardening Know How warns that careless seed saving mixes genetics from the neighborhood brassica patch. For predictable head size, heat tolerance, and color (white, purple, orange, Romanesco), use labeled packet seed each season and note whether the cultivar is hybrid F1.
Choose indoor starts or direct sowing
Both paths are valid; cauliflower simply rewards the option that keeps seedlings cool, bright, and unstressed.
When trays win on balconies
Indoor or sheltered starts protect cotyledons from flea beetles, heavy rain, and sudden heat on terrace rails. They let you sow during the tail of monsoon warmth while transplanting into October–November winter sun on most Indian plains—the window described in the cauliflower overview.
UF/IFAS Gardening Solutions lists transplants and greenhouse starts among planting options and calls transplants the most foolproof for many gardeners. On a balcony, modules also make it easier to match the cauliflower soil guide before plants move to final pots.
When direct sowing makes sense
Direct sowing suits large beds with rich, moist soil and time to thin ruthlessly. Epic Gardening suggests clusters of three to four seeds every 18 inches (45 cm), then thinning to one strong plant per station after true leaves expand. The trade-off is exposure: young brassicas in open soil need steady moisture and pest scouting from day one.
Time sowing for cool weather
Cauliflower is more temperature-sensitive than many brassicas. Gardening Know How places ideal growth around 60–65°F (15–18°C) and warns that swings too hot, too cold, or too dry can ruin head development. Propagation timing must aim for curd formation during that cool band—not during peak summer on the plains.
India and tropical lowland calendars
On hot plains, work backward from winter: sow in late September through October in trays or well-shaded nursery space, then transplant October into November so curds size up in December–February sun before March heat. Cooler hill districts can start earlier and harvest longer, but still avoid tray culture in peak summer unless you can keep temperatures moderate and light very strong.
Pair sowing dates with the cauliflower light guide so seedlings are not sitting in dim corners while outdoor weather is still too hot for transplant. Delaying a week is often better than rushing August modules that will bolt or button outdoors.
Translating foreign packet dates
Northern packets often say to start indoors four to seven weeks before the last spring frost or to sow midsummer for fall. Translate the logic: sow when your weather is cool and bright, and count days-to-maturity from transplant or favorable direct sowing so heads finish before the next heat wave. Early Snowball-type whites, heat-tolerant hybrids, and Romanesco do not share the same calendar—keep the seed label with the tray.
Set up trays and final spacing
Wash reused trays, use sterile or fresh seed compost, and label cultivars if you run multiple brassicas. Avoid heavy garden soil in cells; it compacts and invites fungal collapse.
Sowing depth and germination warmth
Sow one to two seeds per cell, ¼–½ inch (6–13 mm) deep, cover lightly, and mist to settle. UF/IFAS repeats the same depth range for direct seeding. In a warm room (roughly 18–24°C / 65–75°F), cotyledons often appear within eight to ten days Gardening Know How. Epic Gardening notes ideal germination near 70°F but recommends easing temperatures toward 60°F after emergence so stems stay stocky.
A loose humidity dome helps the first 48 hours—remove it as soon as green shows. Epic Gardening also warns that summer tray culture for fall planting may need shade cloth when air temperatures exceed 80°F, because even seedlings dislike extreme heat.
Container spacing for one mature head
Plan final spacing before you sow. UF/IFAS advises 12–18 inches (30–45 cm) between plants, with row spacing varying by cultivar. Standard field spacing in the plant hub runs 45–60 cm per mature cauliflower—roughly one plant per 20–30 litre pot with drainage holes. Mini or patio cultivars can go tighter; full-size winter types need more root room and steady moisture from the cauliflower watering guide.
Grow seedlings under strong light
Cauliflower seedlings stretch quickly on a dim windowsill. Give bright light immediately after emergence—a sunny cold frame, greenhouse bench, or grow lights within a few inches of leaves for 14–16 hours daily Gardening Know How. Cool air plus strong light keeps stems firm.
When the first true leaves expand, thin to one plant per cell or pot up into slightly larger containers so roots do not circle. NC State Extension notes cauliflower is more challenging than broccoli and should be timed for reliable cool weather—leggy, root-bound starts held too long in trays are a common reason for stalled curds later.
Hold heavy nitrogen until plants are established in final pots; the cauliflower fertilizer guide covers feeding after transplant, not on day-old cotyledons.
Harden off and transplant without checks
About seven to ten days before planting out, harden seedlings: move trays to a sheltered outdoor spot for increasing hours, bringing them in only if frost beyond their rating threatens. Transplant on a cloudy afternoon or cool morning, set each seedling at the same depth it grew in the cell, firm soil around the root ball, and water in well.
RHS guidance stresses preventing checks in growth—any stall from drought, root disturbance, or heat shock can produce small or deformed heads. If starts are root-bound before the final container, pot up once using the cauliflower repotting guide rather than teasing roots bare.
UF/IFAS describes buttoning—premature small heads—when transplants experience prolonged cool between about 35–50°F or when nutrition and irrigation slip. Grow transplants warm enough (about 55°F / 13°C or higher) to avoid chilling injury in the tray stage.
For the first two to three weeks outdoors, keep moisture even and scout for flea beetles and caterpillars; light row cover helps until plants are sturdy. Outer-leaf management and blanching belong in the cauliflower pruning guide once curds show—not during propagation.
Fix poor germination and damping off
If seed never emerges, check depth, seed age, and temperature. Old seed or a tray that dried on day three fails more often than “bad luck.” Resow rather than waiting three weeks on empty cells.
If seedlings collapse at the soil line, suspect damping off—fungi such as Pythium and Rhizoctonia attacking weak, crowded, overwatered starts NC State Extension. Prevention beats cure: clean trays, avoid overcrowding, improve air movement, and water from below when possible. Discard affected flats and restart with fresh mix.
Yellow, stunted seedlings in wet compost may also be too warm indoors without enough light; cooler, brighter conditions often outperform another splash of water.
When to use this page vs other Cauliflower guides
Use this propagation guide when you are starting cauliflower from seed or planning transplant timing. For day-to-day care after plants are in final pots or beds, use the cluster below: light for sun and heat-wave shade, watering for moisture rhythm through curd formation, soil for mix and pH, fertilizer for feeding after establishment, repotting if seedlings become root-bound before the final container, and pruning for wrapper leaves, blanching, and harvest—not for multiplying plants.
Related Cauliflower guides
- Cauliflower overview — growth habit, varieties, and cool-season timing on Indian plains.
- Cauliflower light — full winter sun and when to shade young transplants.
- Cauliflower watering — even moisture from germination through head formation.
- Cauliflower soil — fertile, well-drained mix for containers and raised beds.
- Cauliflower fertilizer — when to feed after transplant without burning seedlings.
- Cauliflower repotting — moving starts into larger pots before roots stall.
- Cauliflower pruning — blanching white curds and harvest timing.
Conclusion
Propagate cauliflower by seed on a cool calendar: sow shallowly in clean trays, give seedlings immediate bright light, harden them off, and transplant with generous spacing into rich, well-drained soil. Indoor starts protect fragile cotyledons on terraces; direct sowing works when you can thin ruthlessly and keep beds moist.
On Indian plains, the propagation season is the winter growing season. A tray started in autumn cool often produces firm curds by late winter; the same cultivar pushed through peak summer heat frequently bolts or buttons before it heads. Match method, spacing, and timing to steady cool weather, and cauliflower remains one of the most rewarding heading brassicas to raise from seed at home.