How to Propagate Sweet Potatoes from Slips
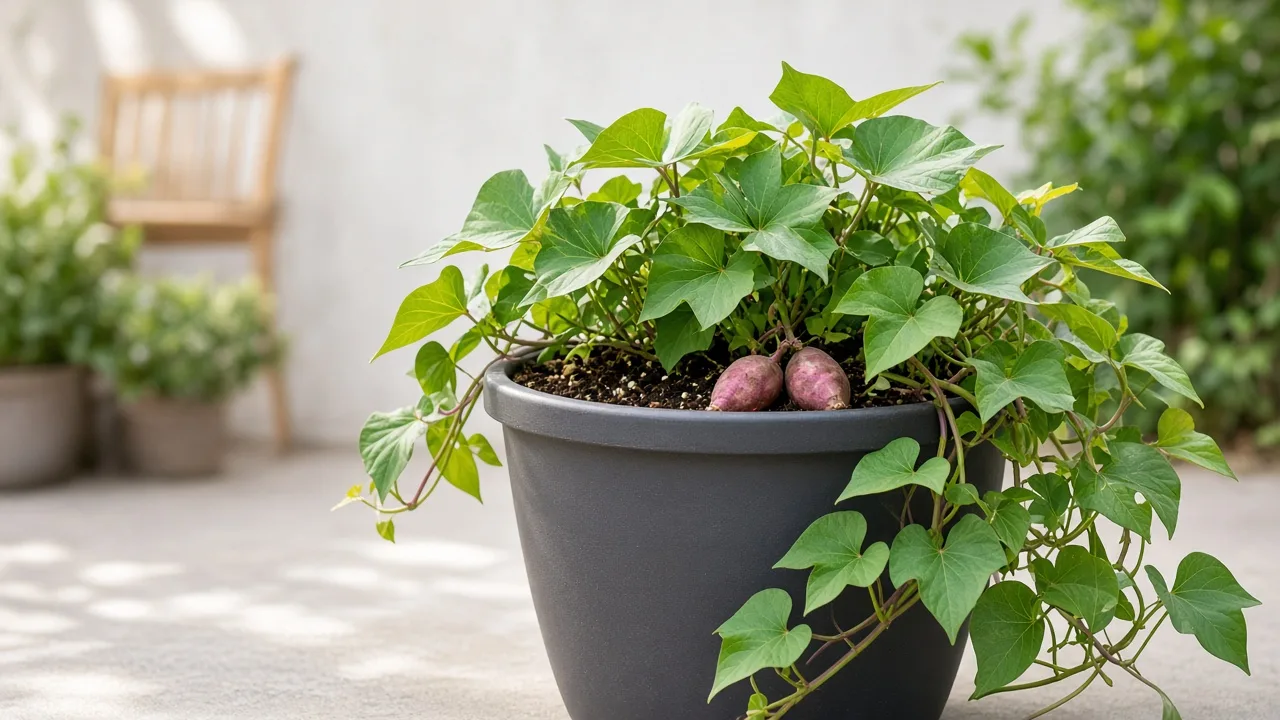
How to Propagate Sweet Potatoes from Slips
How to Propagate Sweet Potatoes from Slips
Sweet potato (Ipomoea batatas) is propagated almost entirely from slips—young shoots sprouted from a storage root—not from true seed for dependable kitchen harvests and not from tuber “eyes” like white potato. Your job is to produce warm, stocky slips with roots, then plant them into loose, warm soil with enough season left for tubers to size up.
If you only need the big-picture crop calendar, start with the Sweet Potato overview. This page is for making or buying slips, rooting them, timing plant-out for shakarkandi and terrace grow bags, and fixing the failures that show up before vines run.
Sweet potato propagation at a glance
Propagation method: slips (vegetative shoots from a tuber), optionally bought as rooted plug plants. The RHS growing guide states that sweet potatoes start from cuttings known as slips, unlike traditional potatoes grown from tuber pieces. NC State’s plant profile lists root cutting as the recommended propagation strategy for this species.
Timeline: allow several weeks to sprout and root slips indoors or on a warm terrace before planting. After plant-out, most edible cultivars need about 90–120 frost-free days for tubers to develop—plan propagation so slips are ready when soil is warm, not when the monsoon is still chilling raised beds.
Success factors: bright warmth while slips form, clean water or moist compost while roots grow, and soil at planting depth above about 18°C (65°F) with mild nights. Bob Vila’s growing guide notes that slips should go out when soil stays above 65°F and overnights remain above about 55°F (13°C) for reliable establishment.
Slips—not seed, not white-potato tubers
Sweet potato belongs to the morning-glory family. It spreads in the garden by vines and underground roots, but home growers restart the crop each season by planting slips that are genetic clones of the parent tuber. That is different from white potato (Solanum tuberosum), where you plant chunks of tuber with eyes.
Why vegetative propagation dominates kitchen crops
Botanical seed from sweet potato flowers is genetically variable and slow compared with slips. For shakarkandi on a balcony or a warm-season bed, slips give predictable variety, faster establishment, and the same maturity expectations printed on a seed catalog or slip label. Treat true seed as a specialist breeding path, not the default kitchen route.
Slips also carry the food reserves of the parent root into the first weeks of growth. A well-rooted slip can push leaves quickly once warm soil surrounds the stem—important when your season length is fixed by heat and day length rather than a long cool spring.
Ornamental vines versus edible shakarkandi stock
Ornamental sweet potato vine selections are bred for leaf color and trailing form; they may form tubers, but those roots are often poor for the kitchen. Edible cultivars are selected for storage-root quality and maturity windows. NC State warns that foliage cultivars rarely produce good edible roots, while vegetable types lack showy leaves.
Before you sprout ten slips from a random tuber, decide whether you want purple trailing foliage or harvestable shakarkandi. You can propagate either type by the same slip methods, but only edible stock repays the deep container and three-month commitment described in the Sweet Potato repotting guide.
Best propagation methods for Ipomoea batatas
Buying slips and plug plants
The lowest-risk route for a first harvest is to buy slips or rooted plug plants from a reputable nursery or vegetable plant supplier when your local warm season approaches. The RHS notes that unrooted slips and plug plants arrive from late spring onward in cool-temperate markets; in frost-free India, align orders with your warm planting window rather than a foreign calendar month.
Purchased slips should look green, not yellow, with stems firm enough to handle. Plant them immediately into small pots of free-draining compost if outdoor soil is still cool—see rooting below—or plant straight into the finishing grow bag if weather already matches hub guidance on warm soil.
Sprouting slips from a storage root (water method)
Home propagation often starts with a sound, unsprayed storage root. Bob Vila’s propagation steps are a reliable template: scrub the tuber, optionally cut large roots in half, suspend the piece half in water with toothpicks, and keep jars in a warm, bright place. When sprouts cover the tuber, twist each shoot off, stand slips in shallow water with leaves above the waterline, change water regularly, and wait until roots reach about 2.5 cm (1 inch) before planting.
This method is economical—guides often note that one tuber can produce dozens of sprouts—but it demands patience and hygiene. Weak winter light produces pale, brittle slips; pair jars with a bright windowsill or grow light as described in the Sweet Potato light guide.
Warm sand-bed sprouting for many shoots
For larger batches, the RHS recommends placing tubers in moist sand in a warm propagator or airing cupboard to encourage sprouting, then inserting shoots into small pots of peat-free compost until rooted. Sand holds moisture without waterlogging the whole tuber the way a soggy paper towel can.
This approach suits growers who want many slips for a community garden or long bed. Check tubers weekly; remove any that soften or smell sour before rot spreads to healthy sprouts.
When to propagate sweet potatoes in India and warm climates
Start slips several weeks before you expect to plant into final containers or beds. In hot lowlands, that often means beginning sprouting when nights are still mild but days are lengthening—so slips are rooted and stocky as soon as soil in grow bags warms after the coolest weeks. Hill stations and short-season sites should start earlier indoors under lights because plant-out may slip later.
Count backward from your harvest window
Work backward from 90–120 days of frost-free growth after planting, plus 3–6 weeks for sprouting and rooting slips. If you need tubers by a festival window or before terrace heat becomes extreme, choose early-maturing edible cultivars and avoid starting slips so late that vines never bulk roots.
Soil temperature matters more than air temperature on planting day. Extension-style guidance commonly cites 18°C (65°F) minimum at planting depth, with several degrees warmer safer for home-rooted slips. If your mix still feels cool to the touch in the morning, hold slips in pots on a warm tray rather than planting into a cold bag—see Sweet Potato soil for mix and drainage checks.
Rooting slips before you plant out
Whether you bought slips or grew your own, young shoots need roots and strength before they face full terrace sun. The RHS advises potting slips into small containers of free-draining compost or standing them in a glass of water until roots form, then keeping plants warm, bright, and evenly moist.
Water rooting is simple: change water every few days, keep only the stem base submerged, and transplant when roots are well branched and at least a few centimetres long. Compost rooting in a vented propagator reduces shock when you later plant into the same type of mix.
Harden slips for about a week before full outdoor glare: move pots from bright indoor light to morning sun, then to all-day sun once nights stay mild. Skipping hardening scorches young leaves even on a plant that loves sun. Time this transition with the Sweet Potato light guide hardening notes.
Plant sweet potato slips step by step
- Choose the finishing site — a deep grow bag, raised mound, or bed with excellent drainage; sweet potato is a plant-once crop for the season (repotting explains final depth).
- Prepare loose, warm mix — incorporate compost; avoid fresh high-nitrogen feed that pushes leaves before roots (fertilizer covers planting-time rates).
- Strip lower leaves — Bob Vila recommends leaving only top leaves on the slip so buried nodes contact soil without buried foliage rotting.
- Plant deep — set slips so several stem nodes sit below the surface; the RHS advises planting at the same depth slips previously grew, firmed in and watered generously, with about 30 cm (12 in) spacing between plants.
- Water in thoroughly — keep root zone evenly moist for the first 7–10 days while new roots anchor; then follow steady moisture guidance in Sweet Potato watering.
In containers, one strong slip per large deep bag usually outperforms crowding. In ground beds, mounded rows about 20 cm (8 in) high help soil warm and drain—useful where monsoon rains compact flat beds.
Propagation aftercare for the first weeks
Newly planted slips are vulnerable to desiccation and rot at the same time. Water when the top few centimetres of mix begin to dry, but never let the root zone stay saturated overnight in cool weather. Wilting with wet soil means rot or cold injury, not a call for more water.
Once vines begin running, propagation is effectively done—your focus shifts to sun, moisture, and feeding for tubers, not to producing more slips. Avoid repeated leaf harvest on plants grown for roots; leaves feed developing tubers. If you need more plants, take new slips from another tuber rather than expecting vine tip cuttings to behave like mature slips without careful rooting.
Watch for stem constriction at the soil line on windy terraces; mound a little extra mix if slips wobble. Stake or trellis only if needed for space—the Sweet Potato pruning guide explains foliage versus yield trade-offs later in the season.
Common sweet potato propagation failures
Slips rotting in cool or wet conditions
Brown, mushy stems at the base almost always trace to cold soil, overwatering, or buried leaves. Restart with fresh slips in warmer propagation conditions rather than planting the same collapsed stems deeper. In grow bags, ensure drainage holes are open before the first monsoon surge.
Indoor jars can also rot tubers if water covers too much of the surface or if the tuber was already damaged. Discard soft mother roots and disinfect jars before a second attempt.
Weak sprouting from grocery tubers
Supermarket shakarkandi may be treated to resist sprouting or stored too cold for vigorous shoots. They can still work as an experiment, but named disease-tested slips from a grower are more predictable for your main crop. Bob Vila recommends buying slips from a reputable source when disease pressure and season length already limit margins.
Leggy, white slips from a dark kitchen indicate low light, not “ready to plant.” Move sprouts to brighter conditions or supplemental LEDs before roots form, or new growth will collapse under terrace sun.
When to use this page vs other Sweet Potato guides
Use this propagation page when you need to create, root, or time slips and plant them the first time into warm soil. Stay on the overview for cultivar choice, season length, and harvest logic. Open light for terrace placement and slip grow lights; watering after establishment; soil for mix recipes; fertilizer for feeding roots; repotting for final container depth; pruning only once vines are running and you understand leaf-versus-tuber trade-offs.
Related Sweet Potato guides
- Sweet Potato overview — edible versus ornamental goals, season length, harvest cues
- Light — full sun, slip hardening, grow lights
- Watering — moisture through establishment and tuber bulking
- Soil — loose mix, pH, drainage for roots
- Fertilizer — low-nitrogen planting feed
- Repotting — why mid-season moves fail
- Pruning — containing vines without starving tubers
Return to the Sweet Potato plant hub for profile data and quick links across the cluster.
Conclusion
Sweet potato propagation is slip propagation: sprout shoots from a storage root or buy healthy slips, root them in warm, bright conditions, and plant into loose, warm soil with enough frost-free days left for tubers to swell. Match stock to your goal—shakarkandi roots or ornamental vine—and treat grocery tubers as optional experiments rather than your only plan.
Get slips rooted with clean water or compost, harden them into terrace sun, plant deep with spaced nodes, and keep moisture steady while young roots anchor. When those steps succeed, the rest of the season belongs to light, water, and soil guides—not to starting over with collapsed stems in cold mix.