Tomato Repotting: Seedlings, Pots and Planting Depth
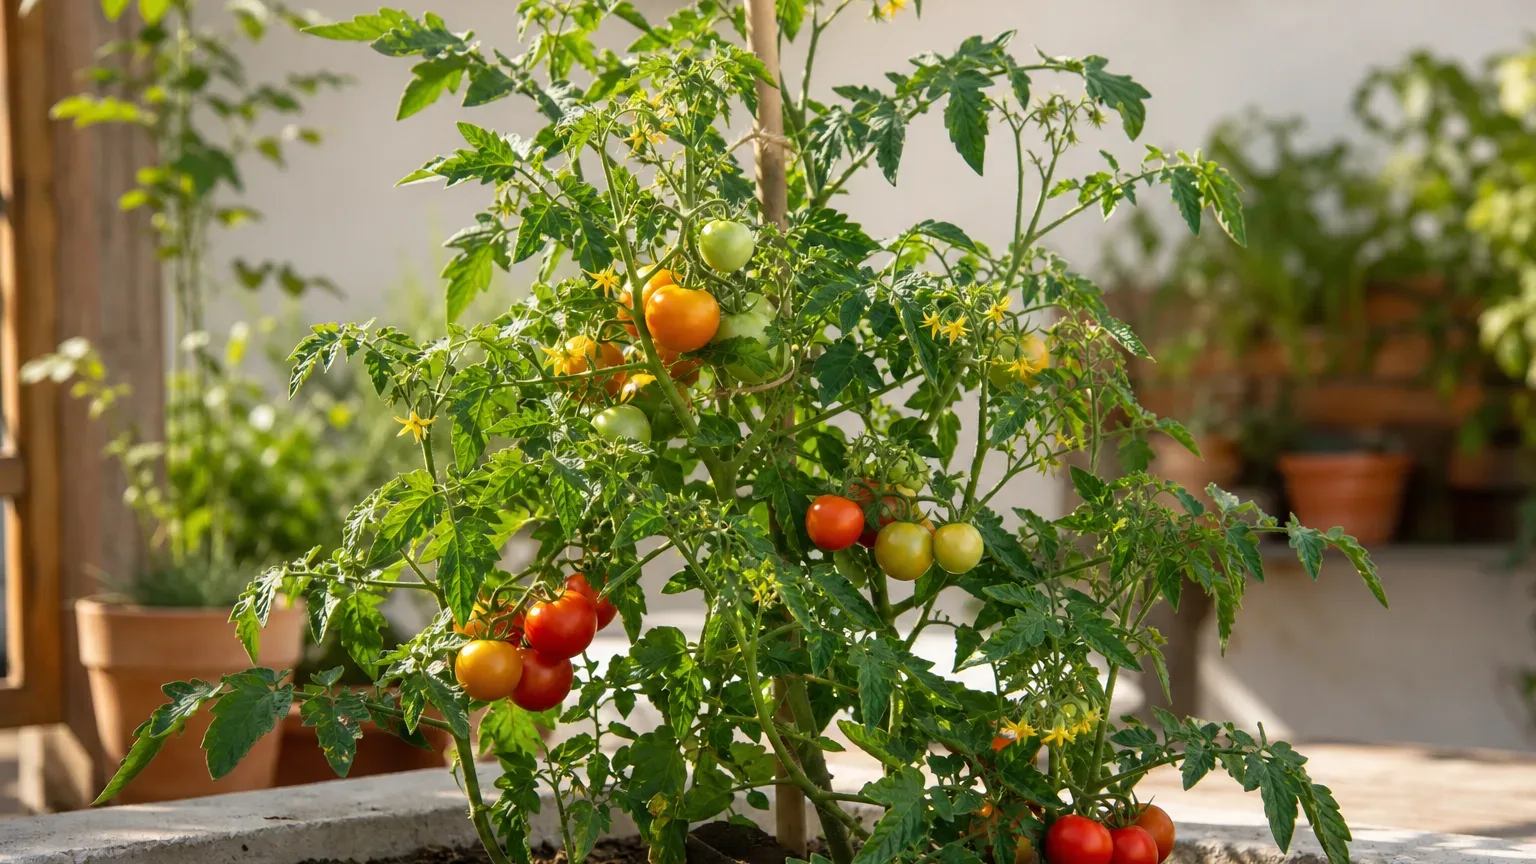
Tomato Repotting: Seedlings, Pots and Planting Depth
Tomato Repotting: Seedlings, Pots and Planting Depth
Tomatoes are not usually repotted year after year like permanent houseplants. A tomato is more often potted up once as a seedling, then transplanted into its final bed, grow bag, or large container for the cropping season. That distinction matters because a 7 cm nursery cell, a temporary 10 cm pot, and a fruiting container solve three different problems.
For Solanum lycopersicum, the safest move is timed by roots, leaves, weather, and cultivar—not by a recurring calendar. Protect the root ball, use fresh free-draining mix, plant an ordinary seed-grown tomato deeper when useful, and put permanent support in place during the final move.
The quick answer
Pot up a tomato seedling when it has true leaves and its roots hold the starter mix together, especially if roots are circling the cell, emerging from drainage holes, or the small volume dries very quickly. The RHS potting-on method moves young seedlings individually after their first true leaves appear and advises handling them by a leaf rather than the delicate stem.
Move the plant to its final outdoor home only after it has been hardened off and local conditions suit warm-season growth. A final container for a standard tomato should be large and stable; NC State Extension specifies at least 5 gallons and 1–2 feet deep, one plant per pot, while vigorous indeterminate cultivars often benefit from more root volume and heavier support.
Tomato “repotting” includes three different moves
Before taking the plant out of its pot, decide which move it actually needs. Unnecessary root disturbance does not make a tomato stronger, and moving a tiny seedling straight into an oversized, slow-drying container can make moisture control harder.
Seedling pot-up
Potting up moves a seedling from a seed tray, plug, or crowded cell into a modest individual pot. Do this to give roots more room while the plant is still being raised under protected conditions, not merely because the shoot has become tall.
A useful seedling is short and sturdy, with true leaves above the smooth seed leaves called cotyledons. If several seedlings share a tray, prepare each new pot first, tease them apart with as little root damage as possible, and hold each plant by a leaf; a damaged leaf can be replaced, but a crushed main stem usually cannot.
Final transplant
The final move places the tomato in the root volume where it will flower and fruit. In a bed, that means properly prepared soil and enough spacing; in a container, it means one plant, adequate drainage, and enough capacity for the cultivar and climate.
Treat “final” literally whenever possible. Fruiting tomatoes become awkward to lift, their stems and roots are easy to damage, and a later container change must also accommodate a cage, stake, or trellis.
Emergency move
Repot immediately only when the existing container is failing the roots—for example, it has no usable drainage, the mix remains saturated and smells sour, or the root ball has become so tightly bound that water runs down the sides without wetting it. Persistent wilt in wet soil is not a request for more water; inspect drainage and roots first.
If the problem is only midday droop during extreme heat, wait and reassess in the cooler evening. A tomato that recovers as temperatures fall may need better moisture management or temporary heat protection, not another transplant.
When a tomato seedling is ready to move
Look for a combination of true leaves, a coherent root ball, and declining room in the current cell. Roots visible at the holes are useful evidence, but do not wait until they form a dense mat; a seedling that needs water repeatedly in one day despite a thorough soak is often using nearly all the available volume.
Readiness is not the same as outdoor readiness. Indoor-raised tomatoes still need acclimation, and transplant dates must follow local temperature and weather rather than plant height alone. Clemson Cooperative Extension recommends stocky transplants and hardening indoor-grown plants for about a week before planting.
In much of India, the safe window is the locally mild tomato season rather than a northern-hemisphere “spring” date. Avoid a final move immediately before a heat wave, waterlogged monsoon spell, or several days of severe wind; use the cultivar’s regional sowing calendar and current forecast.
Choose the pot before lifting the plant
For an intermediate pot-up, increase volume enough to allow fresh root growth without surrounding a small root ball with a large mass of wet mix. A clean 9–10 cm pot is often a practical next step for a plug seedling, but root-ball size matters more than a precise diameter.
For the final container, check that water can leave freely and that the base will remain stable once foliage and fruit catch wind. Do not plan to “add drainage later” after the plant and support are installed.
Match final container size to the cultivar
Container advice must start with the label. Dwarf and patio tomatoes may be bred for compact containers; determinate tomatoes stop at a cultivar-defined size; indeterminate tomatoes continue extending and normally need more volume, height, and support. The RHS distinguishes compact bush plants from tall cordon types, and advises checking the packet because their training needs differ.
Use roughly 19 L (5 US gallons) as a practical minimum for one standard plant, not as a promise that every tomato will thrive in that volume. A vigorous indeterminate plant in a hot, windy site is easier to keep evenly moist in a larger, heavier container, while a purpose-bred dwarf may be comfortable in the size specified by its breeder.
Shape matters too. Choose useful depth and width rather than a decorative narrow neck, and leave room for a support to anchor firmly. The RHS gives a broad final-pot range of 30–45 cm for one tomato plant, which reinforces why plant habit and pot proportions should be considered together.
Use drainage and a container mix, not dense garden soil
Use a fresh, moisture-retentive but freely draining potting mix formulated for containers. Dense garden soil can compact in a pot, lose air space, and drain very differently from the same soil in a bed; review the mix components in the Tomato soil guide before filling the final container.
Pre-moisten dry mix so it is evenly damp, not muddy. Fill around the root ball gently, then firm just enough to remove large air pockets; hard packing reduces the pore space young roots need.
A low-stress tomato repotting method
Water a dry seedling lightly in advance so its root ball holds together, and prepare the destination pot before lifting it. Make the planting hole, remove lower leaves only if they would be buried, then tip the current pot while supporting the root ball instead of pulling on the stem.
Set the plant at the chosen depth, backfill evenly, and water once until the whole root zone is moist and excess drains. If roots circle densely, loosen only the outermost mat with your fingers; do not strip healthy roots clean of mix.
For a seedling pot-up, return the plant to bright protected light and monitor it closely. For a final move, add the permanent support now, label the cultivar, and make sure ties are loose enough not to constrict the expanding stem.
Why non-grafted tomatoes can be planted deeper
Ordinary seed-grown tomatoes can form additional roots from buried stem tissue. NC State recommends removing lower leaves and burying the lower stem by 2–3 inches, while Clemson advises setting transplants deeply enough that only two or three sets of true leaves remain exposed.
Deep planting is particularly useful for a leggy seedling, but remove leaves that would sit below the mix and keep foliage above the surface. If the lower stem cannot fit vertically without an excessively deep hole, Clemson describes laying a leggy tomato at an angle so the buried stem can root while the leafy top remains above ground.
Do not bury the graft union on a grafted tomato. Keep the visibly swollen graft point above the mix so the fruiting scion does not root past the disease-resistant rootstock; follow the nursery label when its planting instructions differ from seed-grown tomatoes.
Install support during the final transplant
Put the cage, stake, or trellis in place as part of the final move. Driving a large support through an established root ball weeks later can damage roots, and a top-heavy container tomato can become unstable before fruit is full sized.
Match support to habit. Clemson advises placing stakes soon after transplanting, while RHS guidance for cordon tomatoes uses a tall cane or vertical string and notes that bush types may need only targeted support as fruit loads develop. For pruning choices after support is installed, use the Tomato pruning guide rather than removing shoots by a universal rule.
Harden off before an outdoor final move
Hardening off is gradual exposure to outdoor sun, wind, and temperature swings; it is not withholding water until a seedling wilts. Clemson recommends starting about a week before transplanting, beginning in bright indirect light and increasing time outdoors while reducing watering frequency without allowing wilting.
Start in a sheltered, shaded outdoor position for a short period, bring the plants back under protection, then extend exposure over successive days. Add gentle morning sun before harsher midday or afternoon sun, and postpone the final move if a damaging weather change arrives.
Tomatoes are warm-season plants. NC State advises planting outdoors after frost risk has passed, while the RHS waits for reliably warm conditions; in frost-free climates, the equivalent decision is whether nights, rain, and daytime heat are suitable for active growth.
Tomato care immediately after repotting
Water thoroughly once to settle mix around the roots, let excess escape, and then check moisture rather than watering on autopilot. Keep the root zone evenly moist during establishment, but never leave the container standing in a full saucer; the Tomato watering guide explains how pot volume, heat, and wind change the interval.
A newly moved plant may benefit from one or two days of bright shelter if conditions are severe, but a hardened tomato should return promptly to the strong light it needs. Gradual acclimation is better than leaving it in deep shade long enough to produce weak new growth.
Do not try to cure transplant stress with a strong fertilizer dose. Wait for normal posture and visible new growth, then follow a measured feeding plan appropriate to the mix in the Tomato fertilizer guide; excess nitrogen can favor foliage over fruit, as NC State’s tomato profile cautions.
Signs the move worked—and signs to investigate
A successful transplant holds itself upright after the initial adjustment, resumes extension, and develops new leaves without progressive yellowing. A little temporary droop can occur, especially in warm weather, but it should improve rather than worsen over several days.
Investigate persistent wilt, a dark or soft stem at the soil line, mix that stays saturated, rapidly yellowing lower leaves, or no new growth. First check moisture at root-ball depth and confirm that drainage holes are open; watering again without checking can make oxygen-starved roots worse.
If the root ball has pulled away from very dry mix, re-wet slowly in stages so water reaches the centre. If the mix is saturated, stop adding water, empty any saucer, improve airflow around the container, and assess whether the roots need an emergency move into fresh mix.
When not to repot a tomato
Do not repot merely because the plant has started flowering, because leaves droop at noon, or because a calendar reminder appeared. A healthy tomato already established in an adequate final container gains little from being disturbed during flowering or fruit set.
Delay a non-emergency move during severe heat, strong drying wind, or prolonged heavy rain. Also wait if a very young seedling has only cotyledons and loose mix falls away from undeveloped roots; giving it bright light and a little more time is usually safer.
At the end of the crop, most tomatoes are removed rather than overwintered and repeatedly stepped into larger pots. Clean reusable containers before the next crop, discard diseased material appropriately, and avoid reusing suspect mix when root or wilt disease was involved.
When to use this page vs other Tomato guides
Use this page for pot-up timing, transplant depth, container choice, hardening, and immediate aftercare. Use the Tomato propagation guide for sowing and raising new plants, and the Tomato overview for the full cultivar-aware care picture.
Use the Tomato light guide when seedlings are stretching or you are choosing a final site. Use the soil, watering, and fertilizer pages for ongoing root-zone management after the plant has established; repotting cannot compensate for a permanently unsuitable growing position.
Related Tomato guides
For the next decisions after transplanting, start with Tomato soil to refine the container mix and Tomato watering to manage the faster drying of a fruiting pot. Then use Tomato fertilizer when growth resumes and Tomato pruning to train the cultivar without removing productive growth indiscriminately.
The cluster works best as a sequence: identify the cultivar on the overview page, provide adequate light, transplant once into a suitable final home, and adjust water and feeding to the plant’s actual growth. That is more reliable than trying to correct every later problem with another pot.
Conclusion
Tomato repotting is usually a short progression, not a recurring chore: move a rooted seedling into a modest individual pot if needed, harden it off, then place it in a cultivar-sized final container or bed. Preserve the root ball, use free-draining mix, bury a non-grafted stem deeper when useful, and install the correct support during the final move.
If you are unsure whether to act, check three things first: roots, moisture, and weather. Repot when the current root space or mix is the real constraint; otherwise improve the existing conditions and let the tomato keep growing.